Managing your soil is easily the most critical task in gardening. Well-managed soils retain water and nutrients, making them available to your plants, thus enabling them to thrive. It may seem daunting, but with a bit of knowledge, you’ll quickly discover that soil management is much simpler than you thought. Soil management can be broken down into two major topics. The first is the physical properties outlined in a previous article, which may be found here. The second, and arguably more complicated of the two, are those chemical properties that drive plant growth.
The What and Why of Soil pH
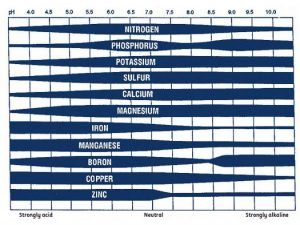
When considering chemical properties, you first need to look at soil pH. This is the measure of acidity or alkalinity within your soil profile. Innate soil pH is a product of the parent material from which your soil has formed, which tends to be slightly acidic on the Panhandle. Testing is the only accurate way to measure your soil’s pH level and buffering capacity. Your county extension office will be happy to facilitate that testing.
So, why is pH so important to plant growth? You’ll want to manage your soil’s pH for two reasons. The first is that soil acidity greatly influences the form that fertilizers and herbicides take in your landscape. Put into context, if you add fertilizers into the soil with an incorrect pH, that fertilizer may not dissolve in the water present. It will thus be unavailable to your plants. Here is another example of putting the right plant in the right place. Some, such as centipedegrass, thrive in a low-nutrition environment created by a low pH, whereas most vegetable plant species and many other landscape species only want a slightly acidic environment. Placing plants that will grow in the natural pH of your soil is a great way to ensure success in your gardens.
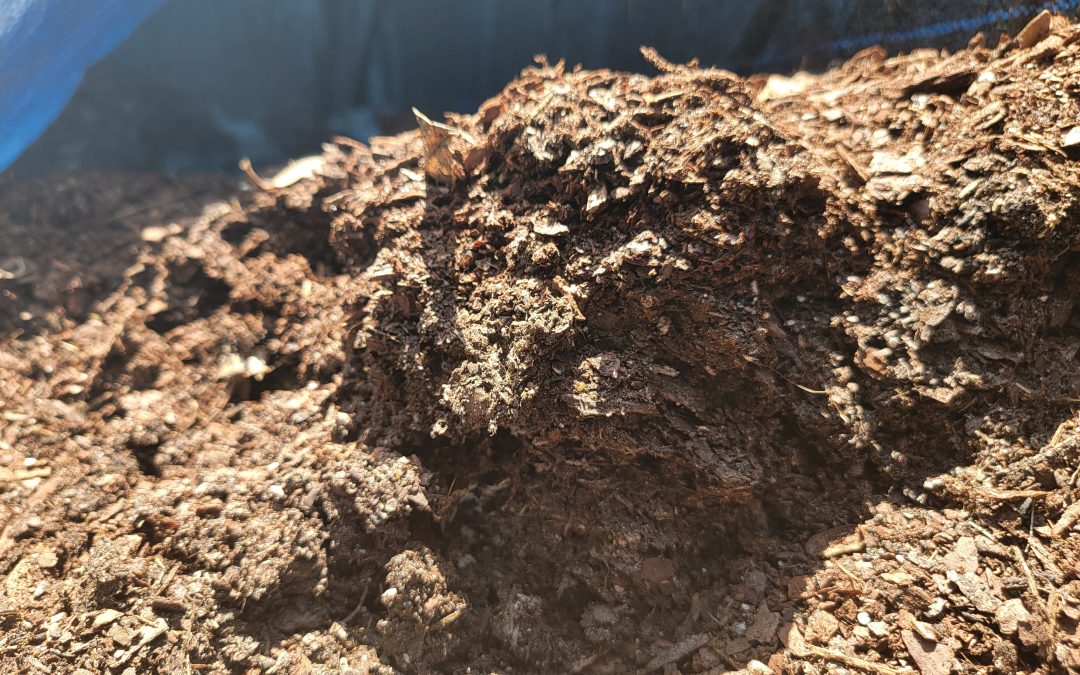
UF/IFAS photo
Ok, you’ve tested your soil and discovered it is not optimal for the plants you want to grow. Fear not, as you can take some actions to adjust your soil’s inherent acidity levels. Keep in mind that any changes will be very localized and are temporary. To raise soil pH, you must apply some version of calcium, colloquially called liming. Your calcium source should be based on soil testing, as different types may also add needed nutrients. Most notably, dolomitic lime will change soil pH while adding magnesium. Soil testing will also tell you to provide the buffering capacity of your soil, which will dictate the amount needed to adjust the soil properly. Soil pH may also be lowered through elemental sulfur additions, but this process is very difficult and may become detrimental to plant growth through repeated application. In this instance, it may be preferable to address via plant selection versus pH adjustment.
How Does Soil Hold Onto Water and Nutrition
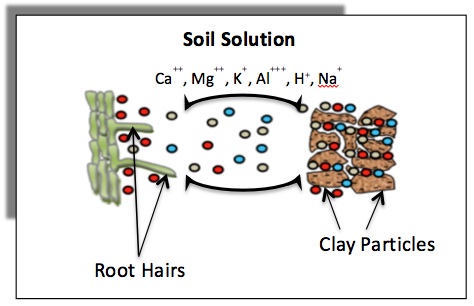
The other main consideration for soil chemical properties is cation exchange capacity or CEC. Now, this can be a very complicated topic. Put very simply, it refers to your soil’s ability to retain both water and applied nutrients. It’s important to understand as it holds components critical to plant growth in the root zone of said plants. This happens as there are negative charges on the surfaces of clay particles in your soil that latch onto the positive ions of applied fertilizers.
Photo: University of Georgia Extension
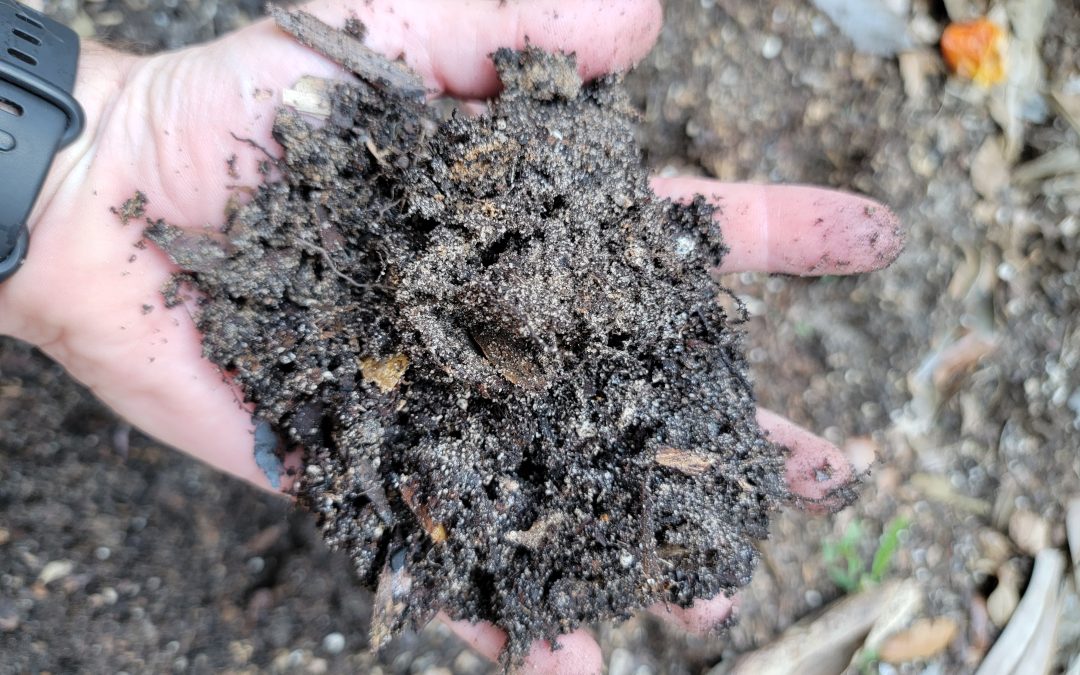
So, what about soils low in clay, such as those in Florida? Organic matter will help in this arena. It mimics clay’s properties and will retain nutrients better than your native soil. However, this is not a pass to add endless amounts of compost, as they come with a nutritive load that must be considered in your garden management plan. Adding 1-3 inches worked into your plant root zone is more than enough when establishing new gardens.
Understanding your soil is critical when gardening anywhere. In Florida, where soils are less than optimal, understanding how water and nutrients are retained and used by your plants will help avoid much frustration. For more information on soil management refer to these IFAS documents, or contact your local extension agent for additional information on this and any topic regarding your gardens and more.
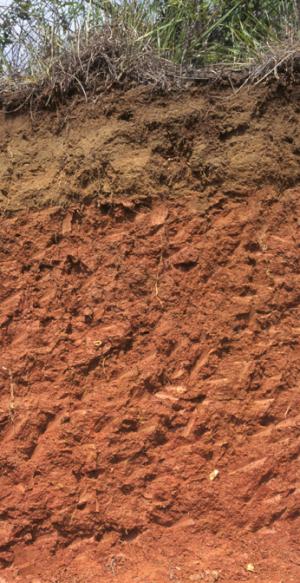
Understanding soil composition is crucial for successful gardening. Soil is the slow interaction of parent material with regional climates, topography, and soil biota over millennia. The breakdown of parent materials results in layers of material called horizons. A subset of soil science is dedicated naming soils with similar horizon development. In North Florida, three of these soil types predominate. Near the northern border, we find ultisols, these sandy soils have a higher clay content and are suitable for row crops with proper management. Through the center of the Panhandle counties, you’ll find entisols. These are sandy and undeveloped, thus requiring close attention to irrigation and fertilization. Finally, by the coast are spodisols rife with mineral pockets and known for being waterlogged. All are usable for plant growth, and with little knowledge of cultural practices can make your landscape thrive.
Soil horizons of ultisols Photo: USDA/NRCS
The Panhandle Parent Material
In Florida’s panhandle, the parent material stems from the Citronelle formation transitioning into the Miccosukee formation around Gadsden County. The Citronelle formation consists of unconsolidated quartz (sand), gravel, clay, and mineral deposits from rock formations in the Appalachian Mountains. Clay associated with this formation is the basis for the ultisol concentrations in the northern portion of the state. Alluvial flow or deposits left by rivers washes the sandier particles down into the center portions of the panhandle, and siltier particles flowing to the coast depositing minerals as they settle. The Miccosukee formation is similar but has different textures and particle sizes in the quartz deposits. Knowing where your soils originate will help you understand two major aspects with regard to soil’s physical properties. Those being texture and aggregation.
Soil Texture
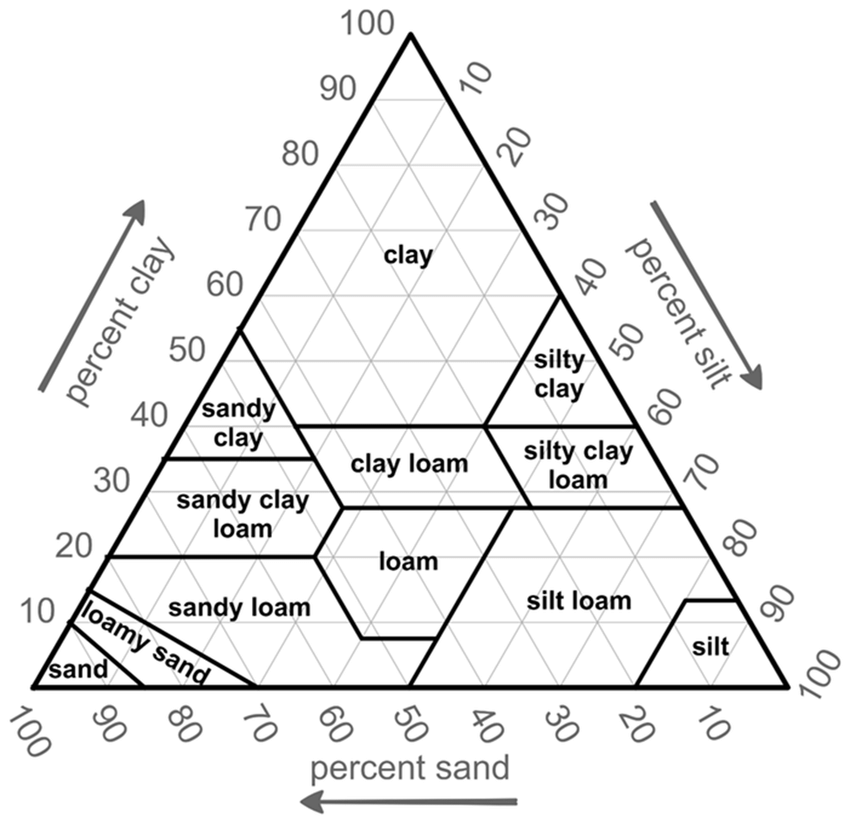
Soil, a blend of sand, silt, and clay, is not just the ground you walk on but the very foundation of your garden. These components, deposited in your location through natural processes (as outlined above), have been blended to create a soil unique to your garden. Sand is the largest of these particles, with silt considerably smaller and clay smaller still. This size difference, means there will be air spaces known as pore space within what appears to be a consistent material. These spaces comprise approximately 45% minerals, 25% air, 25% water, and 5% organic matter. Higher sand soils have larger pore spaces which facilitates water flow through that soil profile. What that means for your soil is less water holding capacity and higher losses of nutrients. In contrast, higher clay percentages have smaller pore spaces which coupled with charges at the atomic level are better at holding onto water and nutrients. Understanding your soil texture is key to determining the right timing for irrigation and fertilization while providing insight as to potential aggregation of your soils.
Soil Texture Triangle Photo: USDA
Aggregation
Soil structure is an often overlooked aspect of garden management. Well structured soils resist compaction, hold on to water, and retain plant nutrients. They also provide growth space for roots which have access to the resources they need to fuel healthy plants. Conversely, poor soil structure makes your garden more susceptible to ponding and inhibited plant growth. Soil aggregation is what provides this structure. Aggregation is the conglomeration of soil particles bound through chemical bonds and physical forces bolstered by soil biota. Aggregates form through a few mechanisms both inherent and dynamic. Inherent factors include clay content which form and break with changing moisture levels. Other inherent factors include those minerals inherently present in the soil such as calcium. Dynamic factors include levels of organic matter, and those fauna present in that soil.
Types of soil structures credit: USDA/NRCS
Maintaining Healthy Physical Structures
Many Florida soils are poorly structured which is why they need to be properly managed for homeowners to have successful gardens. Before you can begin to improve your soil, you must understand your soil’s story. Start with testing for compaction by pressing a screwdriver into the ground. If this is difficult, you need to take action to relieve the situation and increase the availability of air in your root zone. Tillage is a good way to do so, but be wary as excessive tilling can lead to higher compaction problems long term. Look into conservation tillage as a methodology to avoid this problem. Perform a jar test to understand the texture of your soil and thus its propensity to develop aggregates. For high sand soils, add organic matter to improve structure. Be careful to add smaller amounts at a time as organic matter has an inherent nutrition load and too much may begin to limit nutrients. Cover crop strategies are a great way to add organic matter while keeping soil covered during non-active growth periods.
Soil improvement and management will take multiple growing seasons. Stick to it and monitor your soil to keep your gardens healthy and thriving. For more information on soil, see these Ask IFAS documents, or contact your local extension agent for additional information on this and any topic regarding your gardens and more.
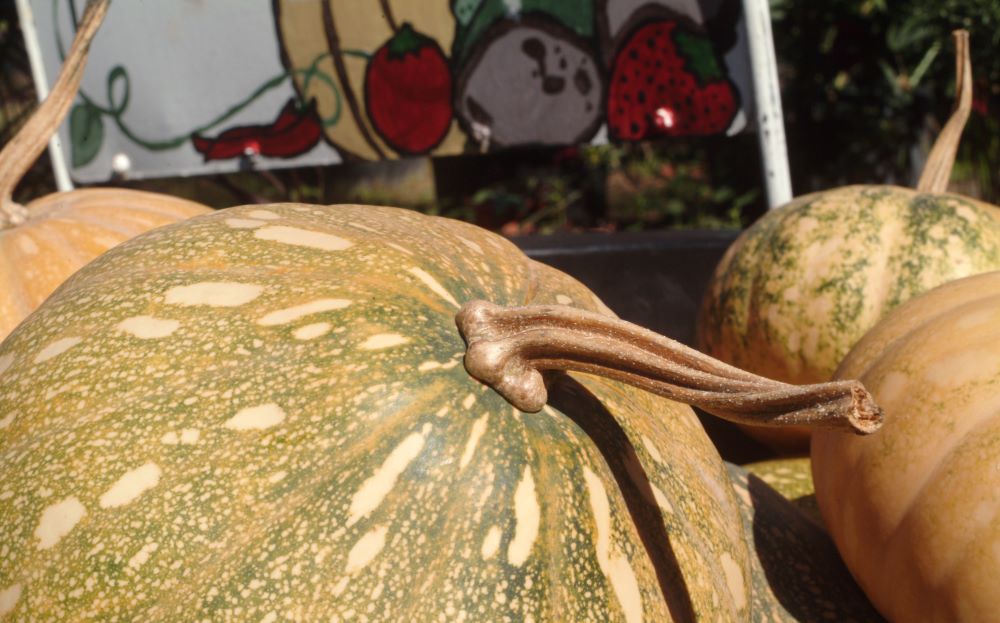
You’re in the right hands if you want to grow pumpkins in Florida. While growing pumpkins can be tricky in Florida’s hot and humid climate, you can successfully grow Sunshine State pumpkins with the proper planning and care. Pumpkin is a popular vegetable in the cucurbit family. It shares this family with members of summer and winter squash. The pumpkin varieties differ from those called squashes by having coarser, more intensely flavored flesh and rinds that are softer at maturity than the winter squashes but harder than the summer squashes. Pumpkins refers to certain varieties of C. pepo L., C. moschata Duch. ex Poir., C. mixta Pang., and C. maxima Duch. Local tradition and common usage may dictate that a particular variety is called a squash in one area of the country and a pumpkin in another.
Pumpkin Varieties Choosing the right pumpkin variety is a major decision when growing pumpkins in Florida. Not all pumpkin varieties are suited to Florida’s warm and humid climate. Seminole Pumpkin is a native pumpkin variety well-suited to the state’s warm and humid environment. Traditionally grown by the Calusa, Creek, and Miccosukee peoples, Seminole pumpkins remain one of the tastiest and most reliable for Florida gardens. Seminole pumpkins are known for their hardiness and resistance to disease and pests. The Big Max variety is known for producing giant pumpkins that can weigh up to 100 pounds or more. Big Max pumpkins do well in Florida’s warm climate but may require extra care to prevent pests and diseases. The Jack-o-Lantern variety is the classic Halloween pumpkin for carving and decorating. Look for types suited to warm climates, such as “Funny Face” and “Big Moon.” The Pie Pumpkin variety is best used for cooking. If you plan to use your pumpkins for cooking, look for pie pumpkin varieties such as “Small Sugar” and “Early July.” These pumpkins are smaller and sweeter than carving pumpkins and are ideal for making pies, bread, and other baked goods.
Planting
Most pumpkin varieties need around four months to reach maturity. Pumpkins should be seeded by early July to be ready for Halloween. Spring pumpkins planted in March or April can be stored for use in October and November (though long storage is difficult in Florida). Early August seeding provides a fall crop for late November. Choose a sunny spot with well-drained soil for your pumpkin patch. Pumpkins can be grown in small gardens or containers if you need more space. Plant your pumpkin seeds about 1 inch deep and should be placed 6 feet in either direction, except for the bush types. Plant 3-4 seeds per hill, then thin when the plants are 2-4 inches tall.
Seminole pumpkins planted in raised beds at UF/IFAS Extension Jefferson County Office
Photo: De’Anthony Price
Maintenance
Once your pumpkin seeds have sprouted, it’s time to start caring for your plants. Pumpkins need consistent moisture to grow, so be sure to water them regularly. Aim to give your plants about 1-2 inches of water per week. Water thoroughly after planting to help the seeds settle in. Climbing varieties like Seminole can be trellised for more space while using slings to support larger fruits. Use a balanced fertilizer to help your pumpkins grow strong and healthy. Apply the fertilizer according to the package instructions. Pumpkins do well with large amounts of compost. Place compost under each hill before seeding. Side dress with a handful every three weeks or as needed. Keep an eye out for pests such as squash bugs and cucumber beetles, which can damage your plants. If you notice any signs of pests or disease, treat your plants with a pesticide or fungicide as needed.
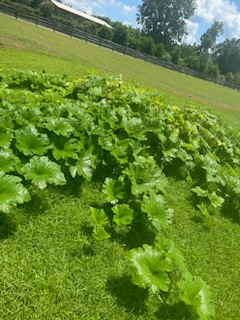
Intercropping of okra and pumpkin (Jack-o-Lantern) planted at UF/IFAS Extension Jefferson County Office
Photo: De’Anthony Price
Fruiting
Like other cucurbits, pumpkins need bees for pollination to produce fruit. Bees are the primary pollinators for pumpkins, so make sure to plant flowers and other plants that attract bees to your garden. Each plant holds male and female flowers, and knowing the difference between them is essential. Male flowers have a long, thin stem and no fruit behind the flower. Female flowers have a swollen, bulbous base that will eventually become pumpkins. It’s essential to have a good balance of male and female flowers to ensure a proper fruit set. If large-size fruits are desired, keep only two fruits on the vine. Once two fruits are the size of baseballs, remove all others as they form.
Harvest and Storage
Pumpkins are ready to harvest when the skin is hard, and the stem is dry and brown. Cut the stem about 2 inches above the pumpkin. After harvesting, allow your pumpkins to cure in a cool, dry place for 10-14 days. Curing helps the skin to harden and protect the pumpkin from pests and diseases. Once your pumpkins are cured, store them in a cool, dry place with good air circulation. Avoid storing them on concrete or damp surfaces, which can cause them to rot. Pumpkins keep for a few weeks, but long-term storage of 1–4 months is challenging in Florida. Store them in a dry (70% RH) and cool (50–60°F) place where possible.
Want to grow a vegetable garden but don’t know where to start?
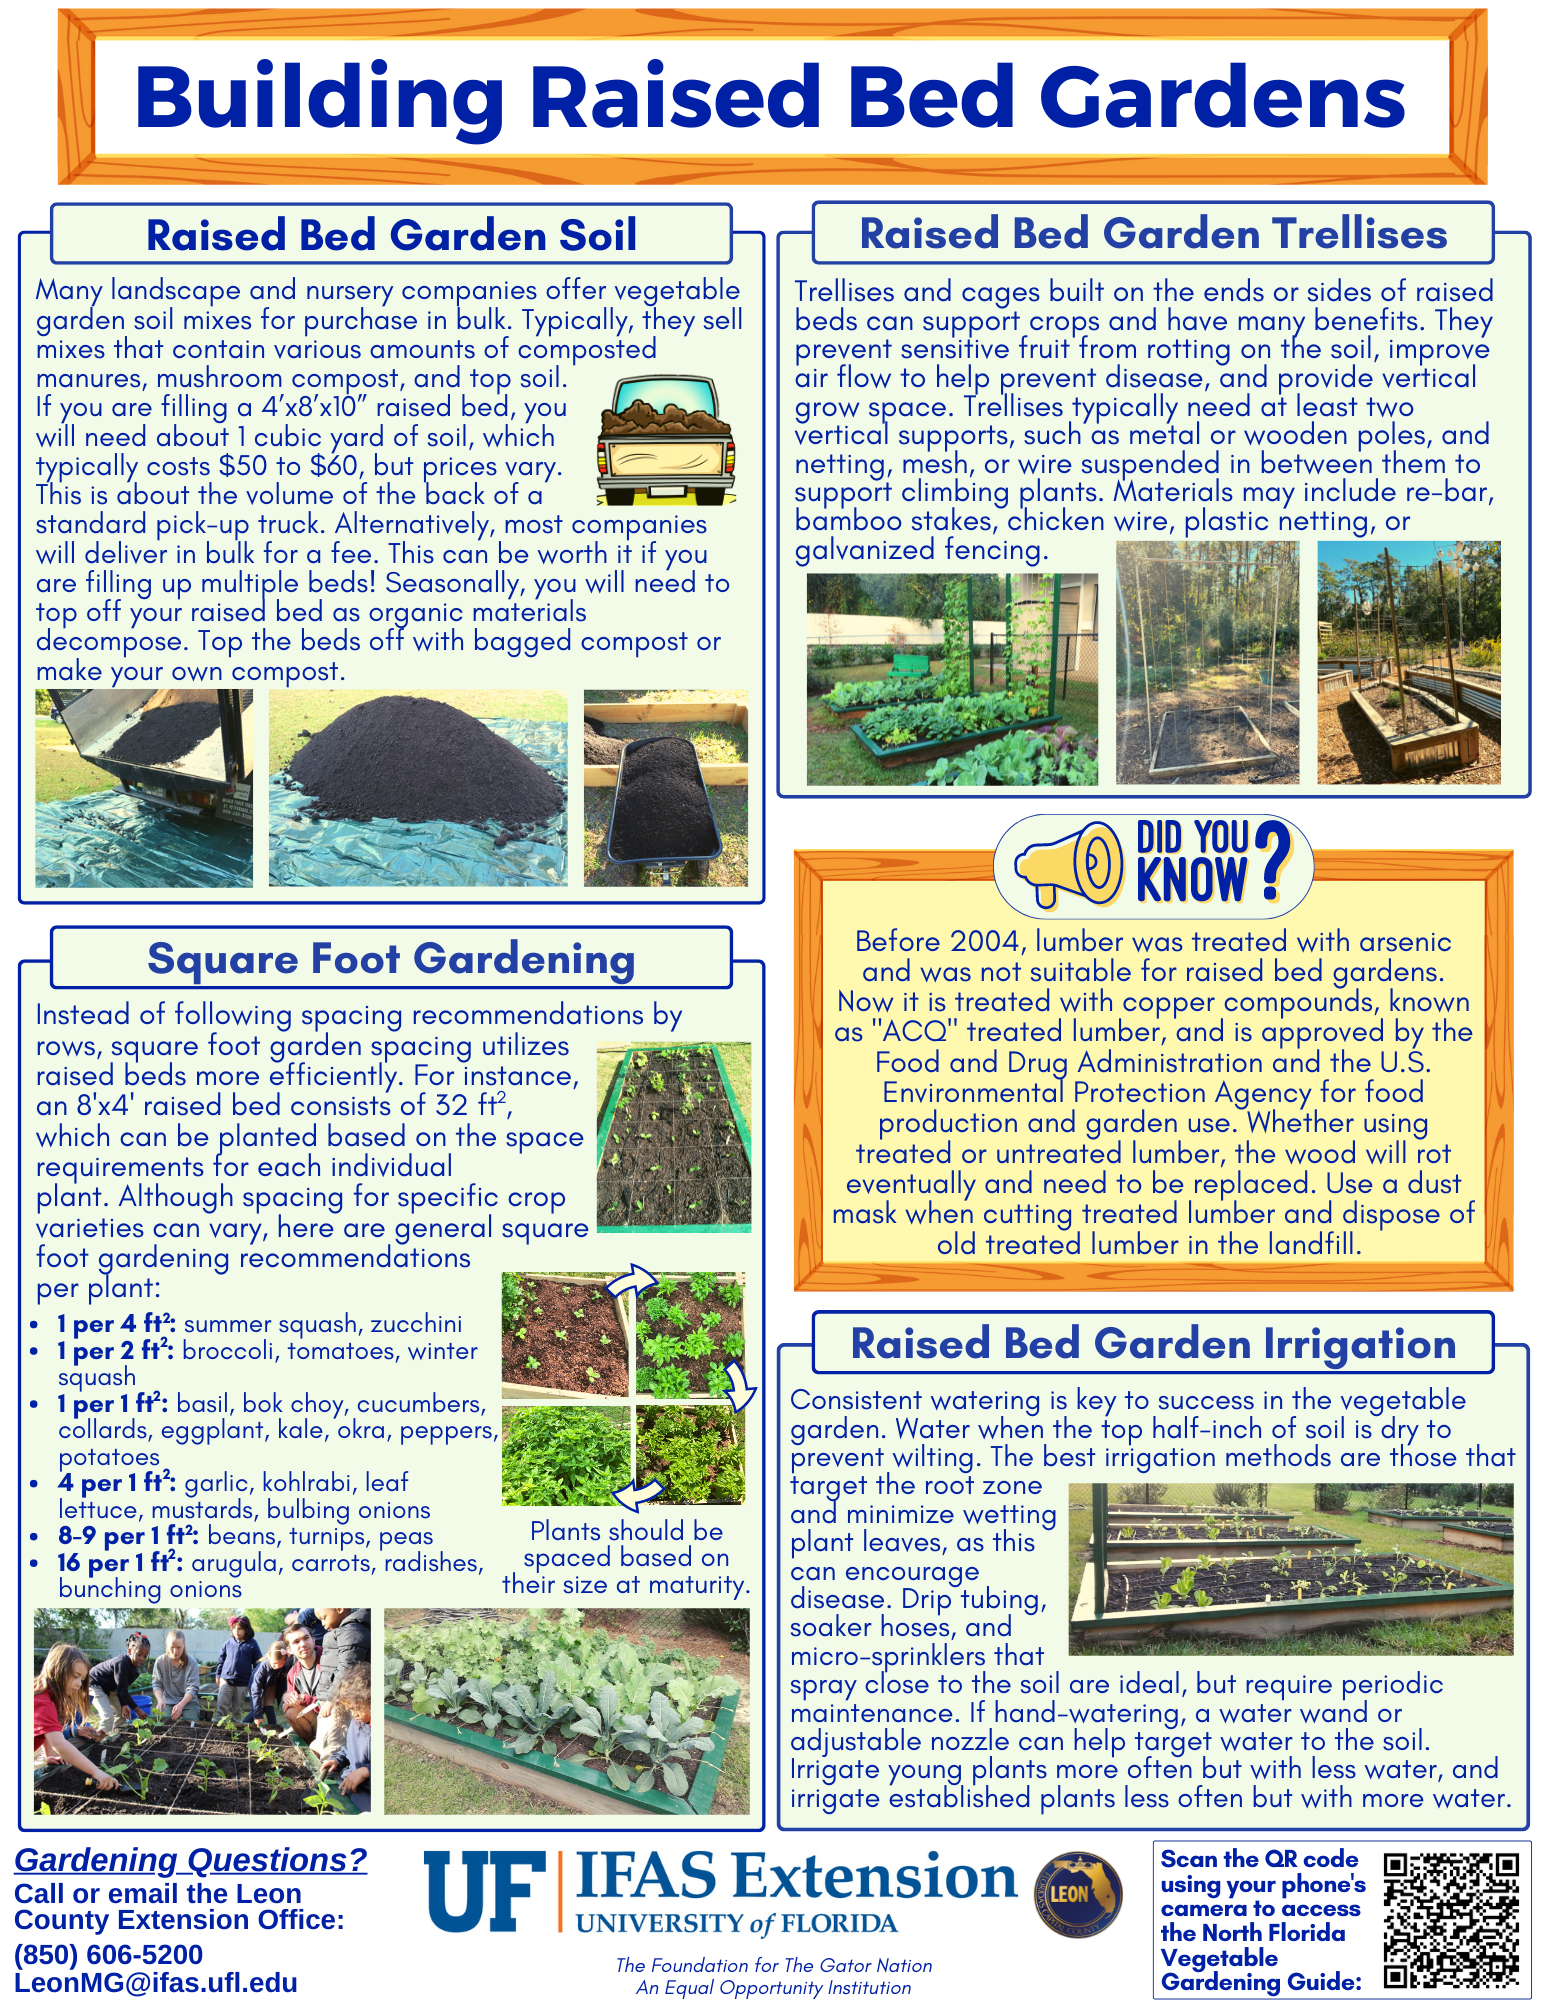
Raised bed gardens give you the ability to put a garden anywhere you have at least six hours of sunlight and access to water, regardless of your native soil type.
See the fact sheet below (Or Click Here for the downloadable PDF version!) for tips on how to build a raised bed vegetable garden. And be sure to reach out to your local Extension office with any questions!
Page 1 of the Building Raised Bed Gardens Fact Sheet created by UF/IFAS Leon County Extension.Page 2 of the Building Raised Bed Gardens Fact Sheet created by UF/IFAS Leon County Extension.
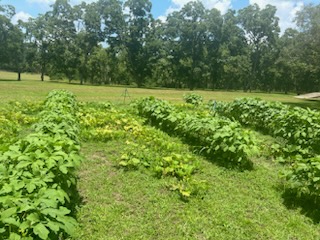
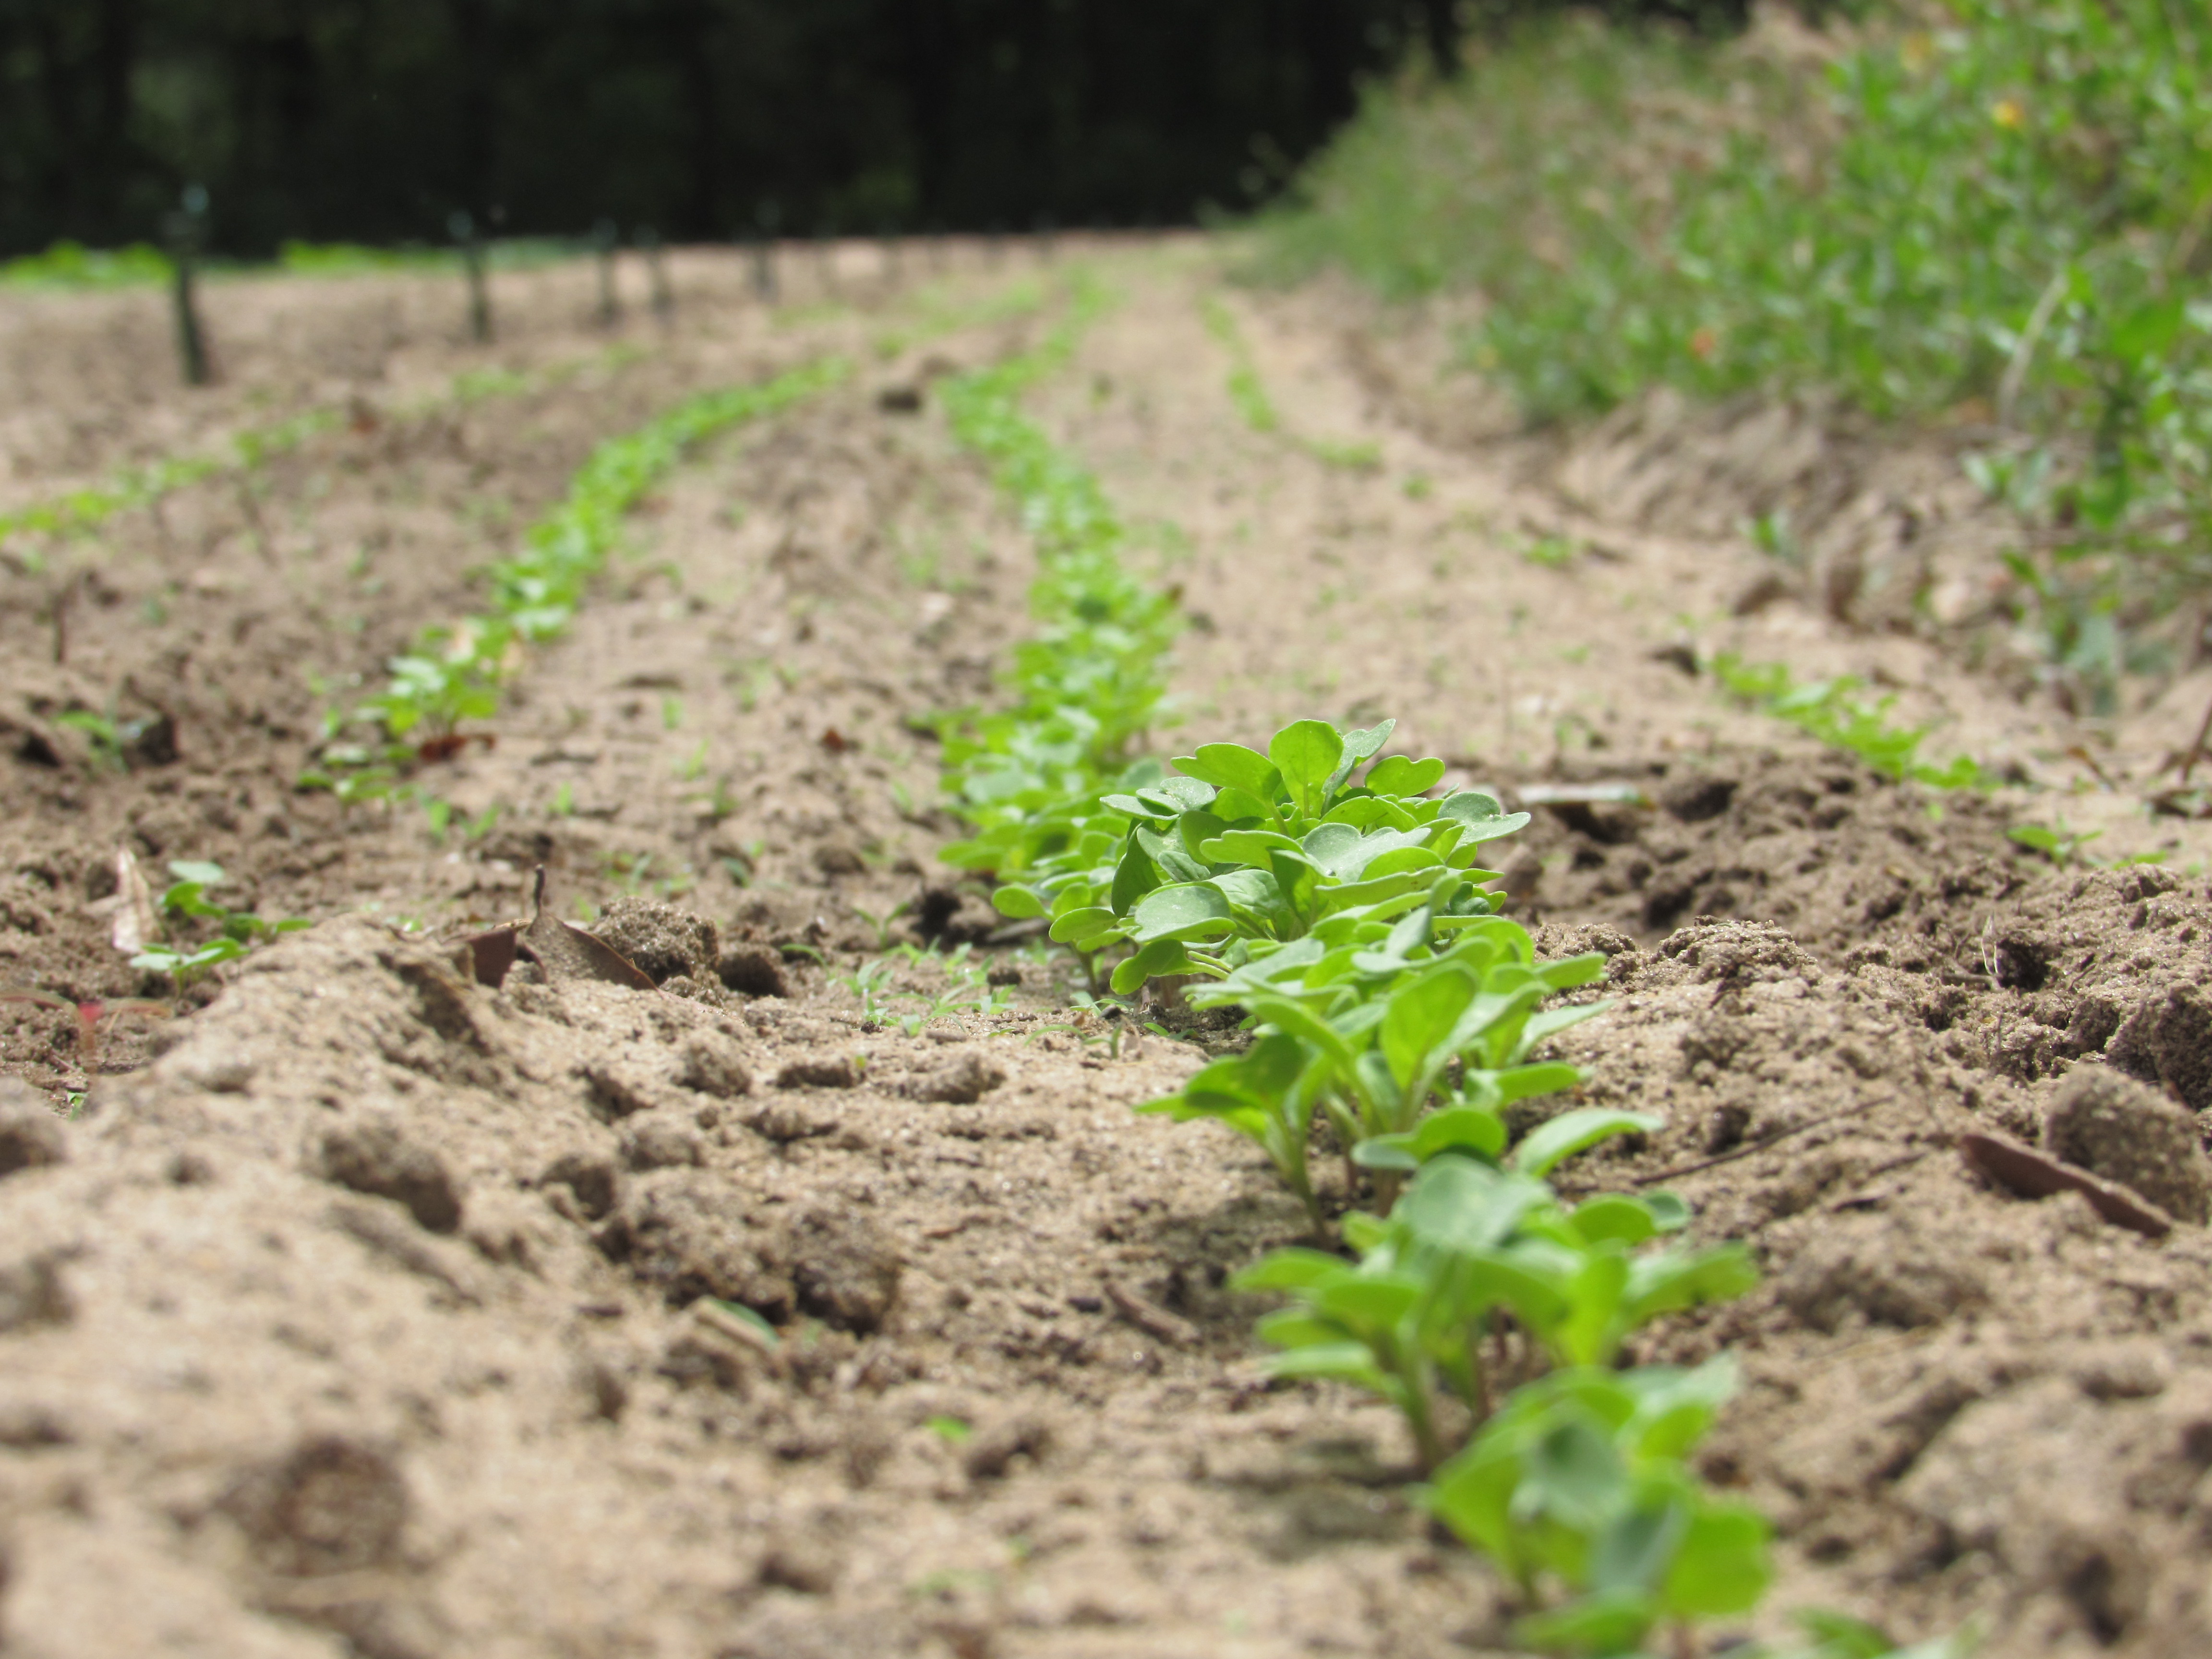
Yay, we are halfway through with August and our summer is winding down! This is the perfect time to start prepping for that fall garden. Growing a productive fall vegetable garden requires thoughtful planning and good cultural practices. This process consists of selecting a site, planning the garden, preparing the soil, choosing the seeds and plants, planting a crop, and nurturing the plants until harvest time. In the Florida Panhandle it can be a challenge to get cool season crops started; there is a balance in starting them early enough to allow them to mature (50-60 days) before a hard frost and getting them through the end of a hot summer.
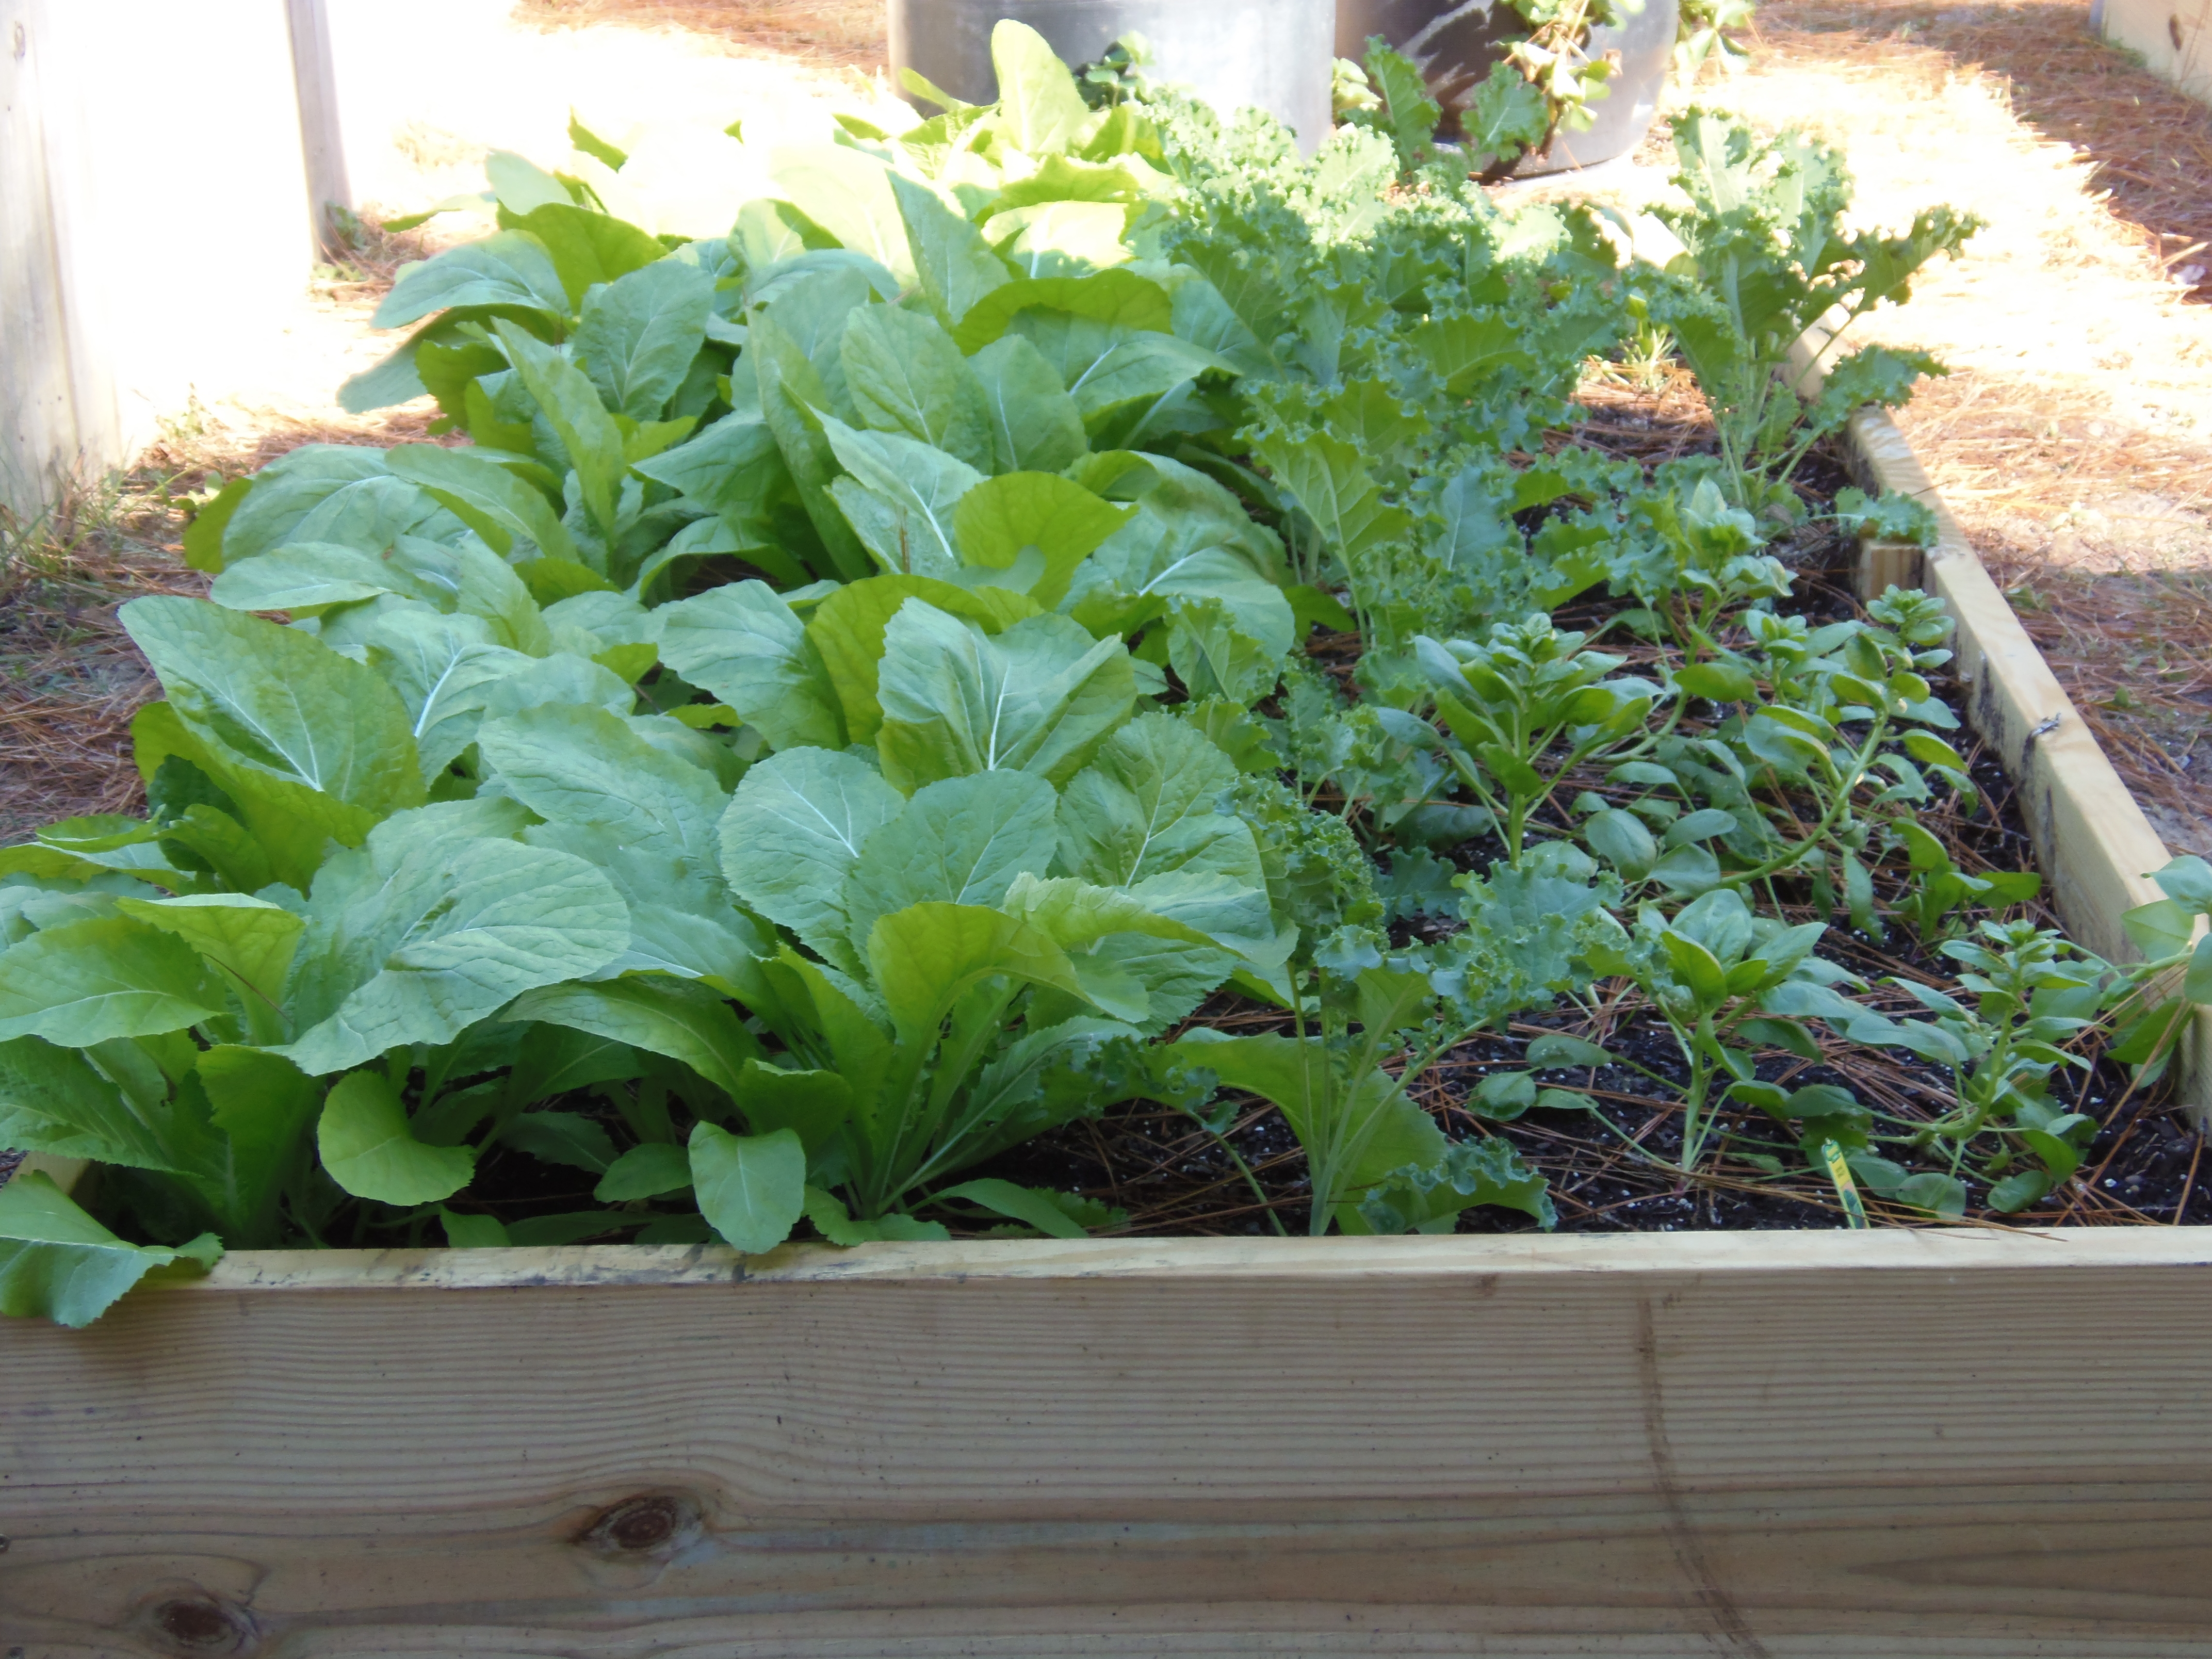
August and September are the main planting times for a fall garden. There are several cool-season crops and a final crop of warm-season vegetables that can be planted. Some good warm season crops are lima beans, cucumbers, eggplant, peppers, and tomatoes. Going into September it will be a good time to establish strawberry plants. Some good vegetables to start growing just around the corner are broccoli, carrots, cabbage, collards, mustard, and Swiss chard. https://edis.ifas.ufl.edu/NorthFloridaGardeningCalendar Herbs that do well are cilantro, parsley, and lemongrass. Mint, oregano, and thyme should be planted in containers as they tend to spread. Mexican tarragon, mint, rosemary, and basil will also do well in September. See Herbs: http://edis.ifas.ufl.edu/topic_herbs
Transplants from the local garden center will get the garden off to a fast start while seeds will offer more varieties to choose from. It is also important to think about your location. A vegetable garden can be in the ground, a raised bed, or even grown in containers. Your plants will need more than just a place to grow. They will also need sunlight, water, air, soil, fertilizer, and care. Most vegetables require at least 8 hours of sunlight. Keep an eye out for pest problems such as insects, diseases and weeds because they will continue to flourish in warm temperatures and high humidity. To help conserve soil moisture a layer of newspaper and mulch can be placed between the rows. Mulch also aids in weed control.
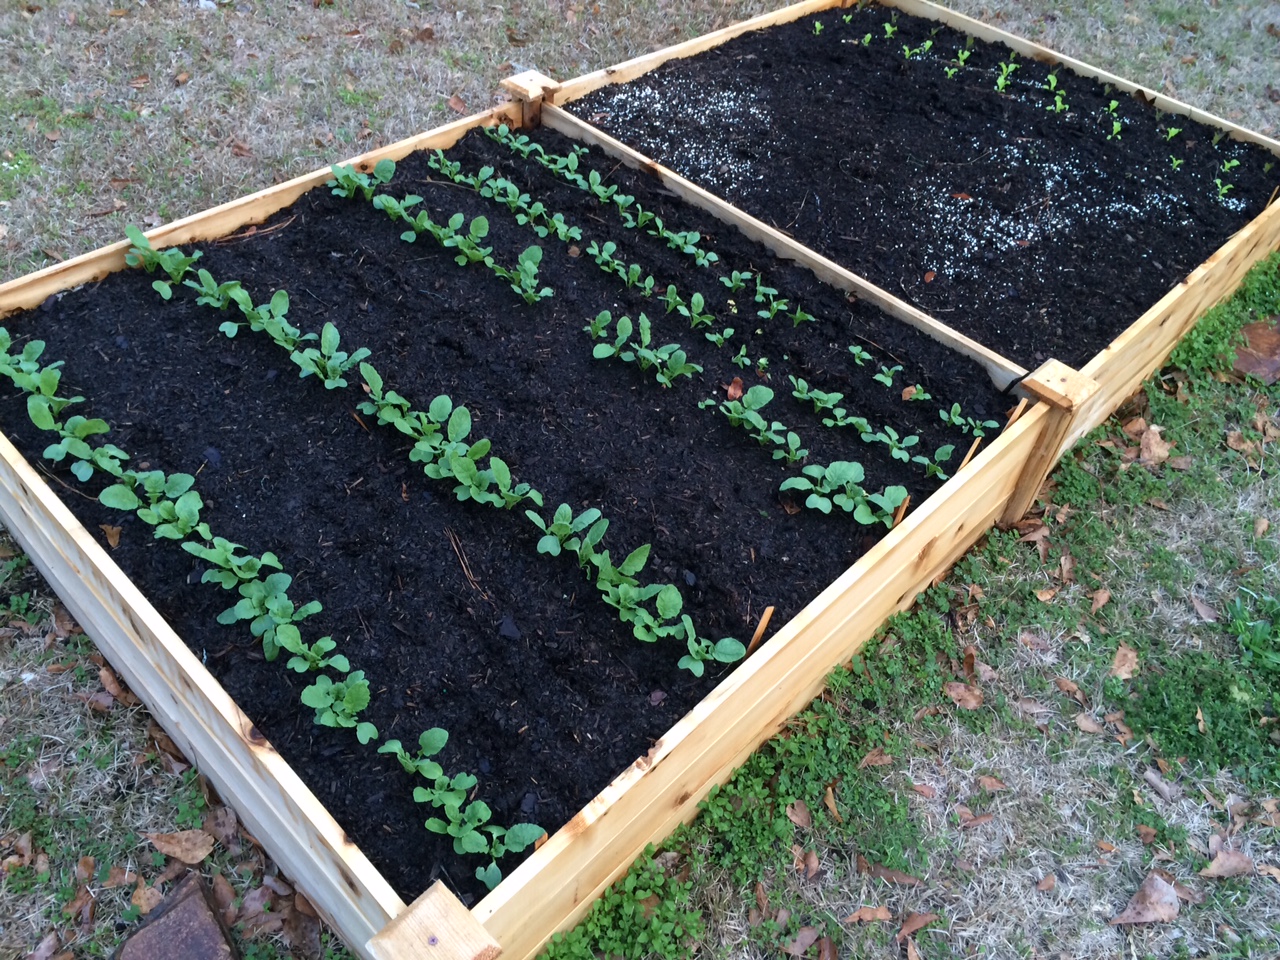
Raised beds are an excellent way to get started with gardening. Photo by Molly Jameson.
The result of a beautiful, successful vegetable garden is fresh produce to eat, share with neighbors, family, and friends and even the possibility to sell your harvest. With patience and practice your gardening skills will improve every year! Follow the above few tips and you will be well on your way to a great harvest! For more information about starting a fall garden or any other horticultural or agricultural topic, contact your local UF/IFAS County Extension Office. Happy Gardening