by Blake Thaxton | Jan 20, 2016
It is cold right now…at least it is this week. Even though the winters in northwest Florida do not have consistent cold temperatures, it is not warm enough to grow warm season vegetables all year around. The cold spells come and go but will soon be gone and spring will have sprung. With spring comes birds chirping, flowers blooming, and spring vegetable gardening. Now is the time to begin to prepare for what is ahead. Here are a few things to begin to think about before the work begins:
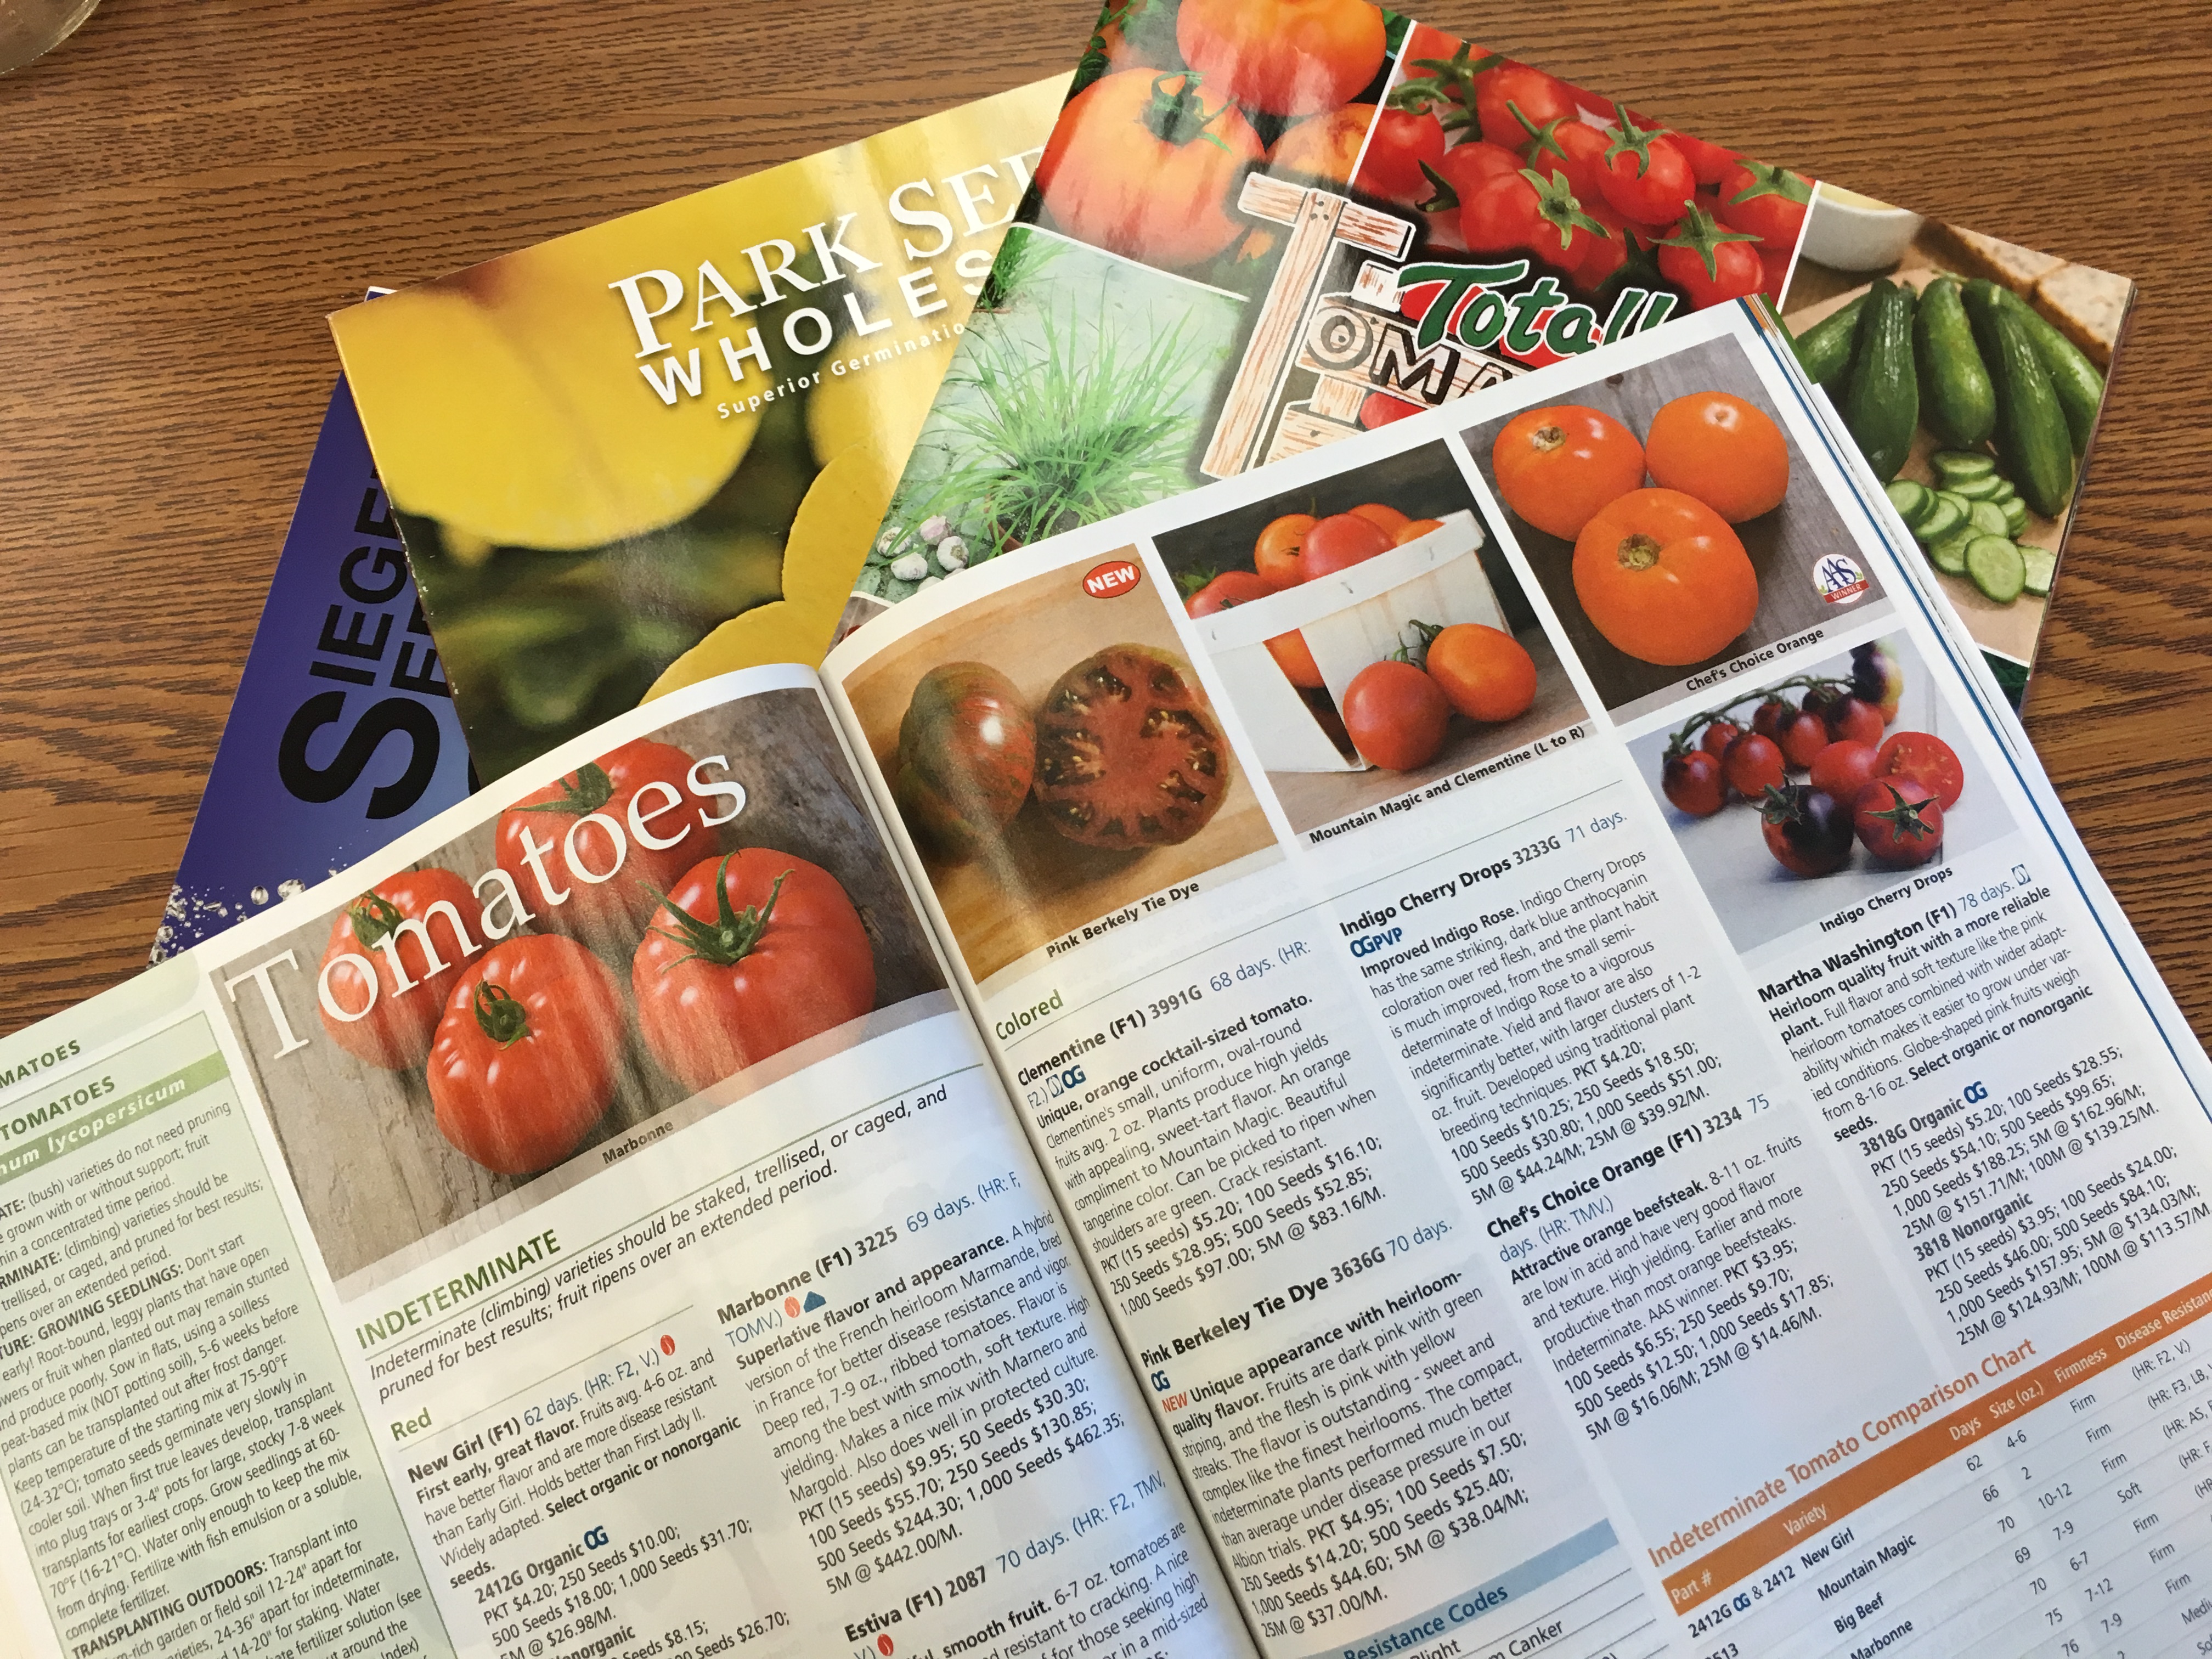
- Variety Study – This is a great time of year to sink into a seed catalog and pick out the different vegetables and fruits to try this year. Make sure to explore University of Florida/IFAS recommended varieties before making final selections. Think of problems that have occurred in past years and search for varieties that tolerate these conditions. Look through the Florida Vegetable Guide to see recommended varieties.

Seed Catalogs.
- Seed Searching – Recommended varieties are not always available at the local seed and feed store and sometimes take a little bit of searching. Of course, the internet can assist greatly in finding desired varieties. A simple search engine inquiry could help in locating and purchasing desirable selections.
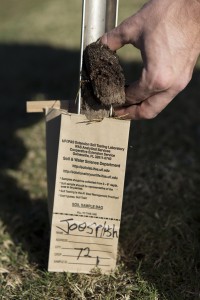
A man taking a soil sample with an auger. UF/IFAS Photo by Tyler Jones
- Soil testing – Soil testing is the cornerstone of having a healthy garden that has been fertilized correctly. Although it would not be appropriate to put out fertilizer this early before the crop, the pH should be adjusted through liming if there is an indicated need on the soil test. This will give time for the pH to begin to adjust before the crops are planted.
- Starting transplants – Another activity that can begin before the actual planting in the garden takes place is seeding inside. Transplants are vegetable and fruit seedlings that begin in potting soil in small containers. This can happen in make shift containers made out of Styrofoam coffee cup with drainage holes or multi celled commercial plastic trays. Seeds can be started in the house and moved inside and out of the climate control depending on the weather or in a greenhouse. Wherever they are, they need to be in high light conditions to prevent plants from becoming stretched and weak. Learn more about Starting the Garden with Transplants.
Now It’s time to start thinking of consistent warm days. The vegetable garden tasks will be overwhelming soon enough. Go ahead and get an early start with some of the winter tasks of spring vegetable gardening.
by Matthew Orwat | Aug 11, 2015
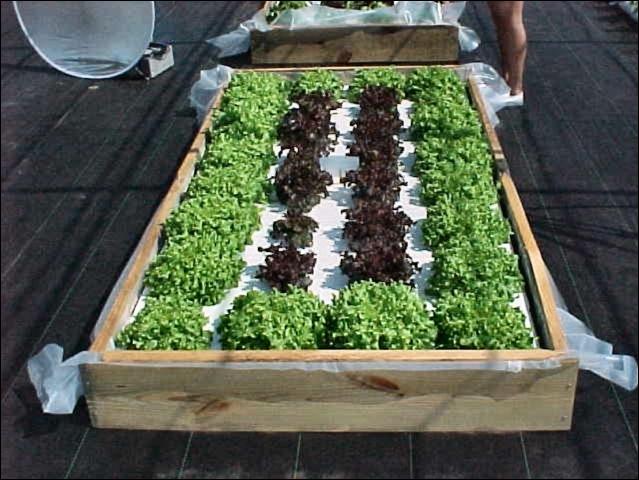
Building a floating hydroponic garden as a fall project could be rewarding and delicious. In the fall, lettuce, cabbage and greens are ideal for floating hydroponic gardens.
Watch a video by UF / IFAS Extension Agents to learn how to construct your own floating hydroponic garden by clicking on the picture below.
The publication, Building a Floating Hydroponic Garden, is also available for those interested in more information.
by Eddie Powell | Mar 17, 2015
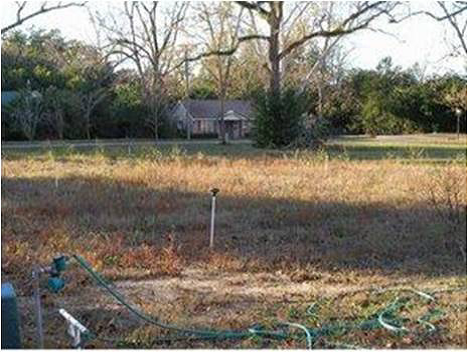
Site selection of your vegetable garden is a very important part of vegetable gardening because if the appropriate site is not selected than success may be limited.

Identify distance between vegetable garden and water source. Image of a Walton County Community Garden site in DeFuniak Springs, FL.
Photo Credit: Eddie Powell
First, the gardener should place the garden in a convenient location near the house so it will be easier to maintain. The garden area also needs to be located near a good water source. Second, the gardener needs to determine how well-drained the soil is in the area and make sure that the soil is not compacted. If it is compacted, tilling will be needed to reduce compaction of the soil and help roots reach out into the soil so that optimal nutrient uptake is ensured. Third, the garden needs to be located in an area that receives at least six hours of direct sunlight daily.
Vegetable plants can be added in the landscape with other ornamental plants with proper care. Garden sites along coastal areas are also suitable places for gardens. It is good, when possible, to rotate the garden from place to place to prevent soil diseases and other pests with specific host species from accumulating in one location. One helpful tip for gardeners is to have a vegetable garden plan drawn out including the names of the plants, their location, and the dates they were planted.
Determine how many hours of sunlight is available to the garden. Image of a Walton County Community Garden site in DeFuniak Springs, FL.
Photo Credit: Eddie Powell
Stop by your local University of Florida IFAS extension office to pick up a Vegetable Gardening Guide. It contains the dates for planting vegetables and maturity timeframes. This guide will also help you decide if you prefer ordering seeds or transplanting bought plants. If using transplants, seeds need to be sowed 4 to 6 weeks before the recommended planting date to allow time for adequate growth before transplanting. The vegetable gardening guide also includes a list of plants that do best as transplants and ones that perform better directly seeded. To learn more on this topic please feel free to stop by your local University of Florida / IFAS Extension office or visit http://edis.ifas.ufl.edu/

by Eddie Powell | Jan 27, 2014

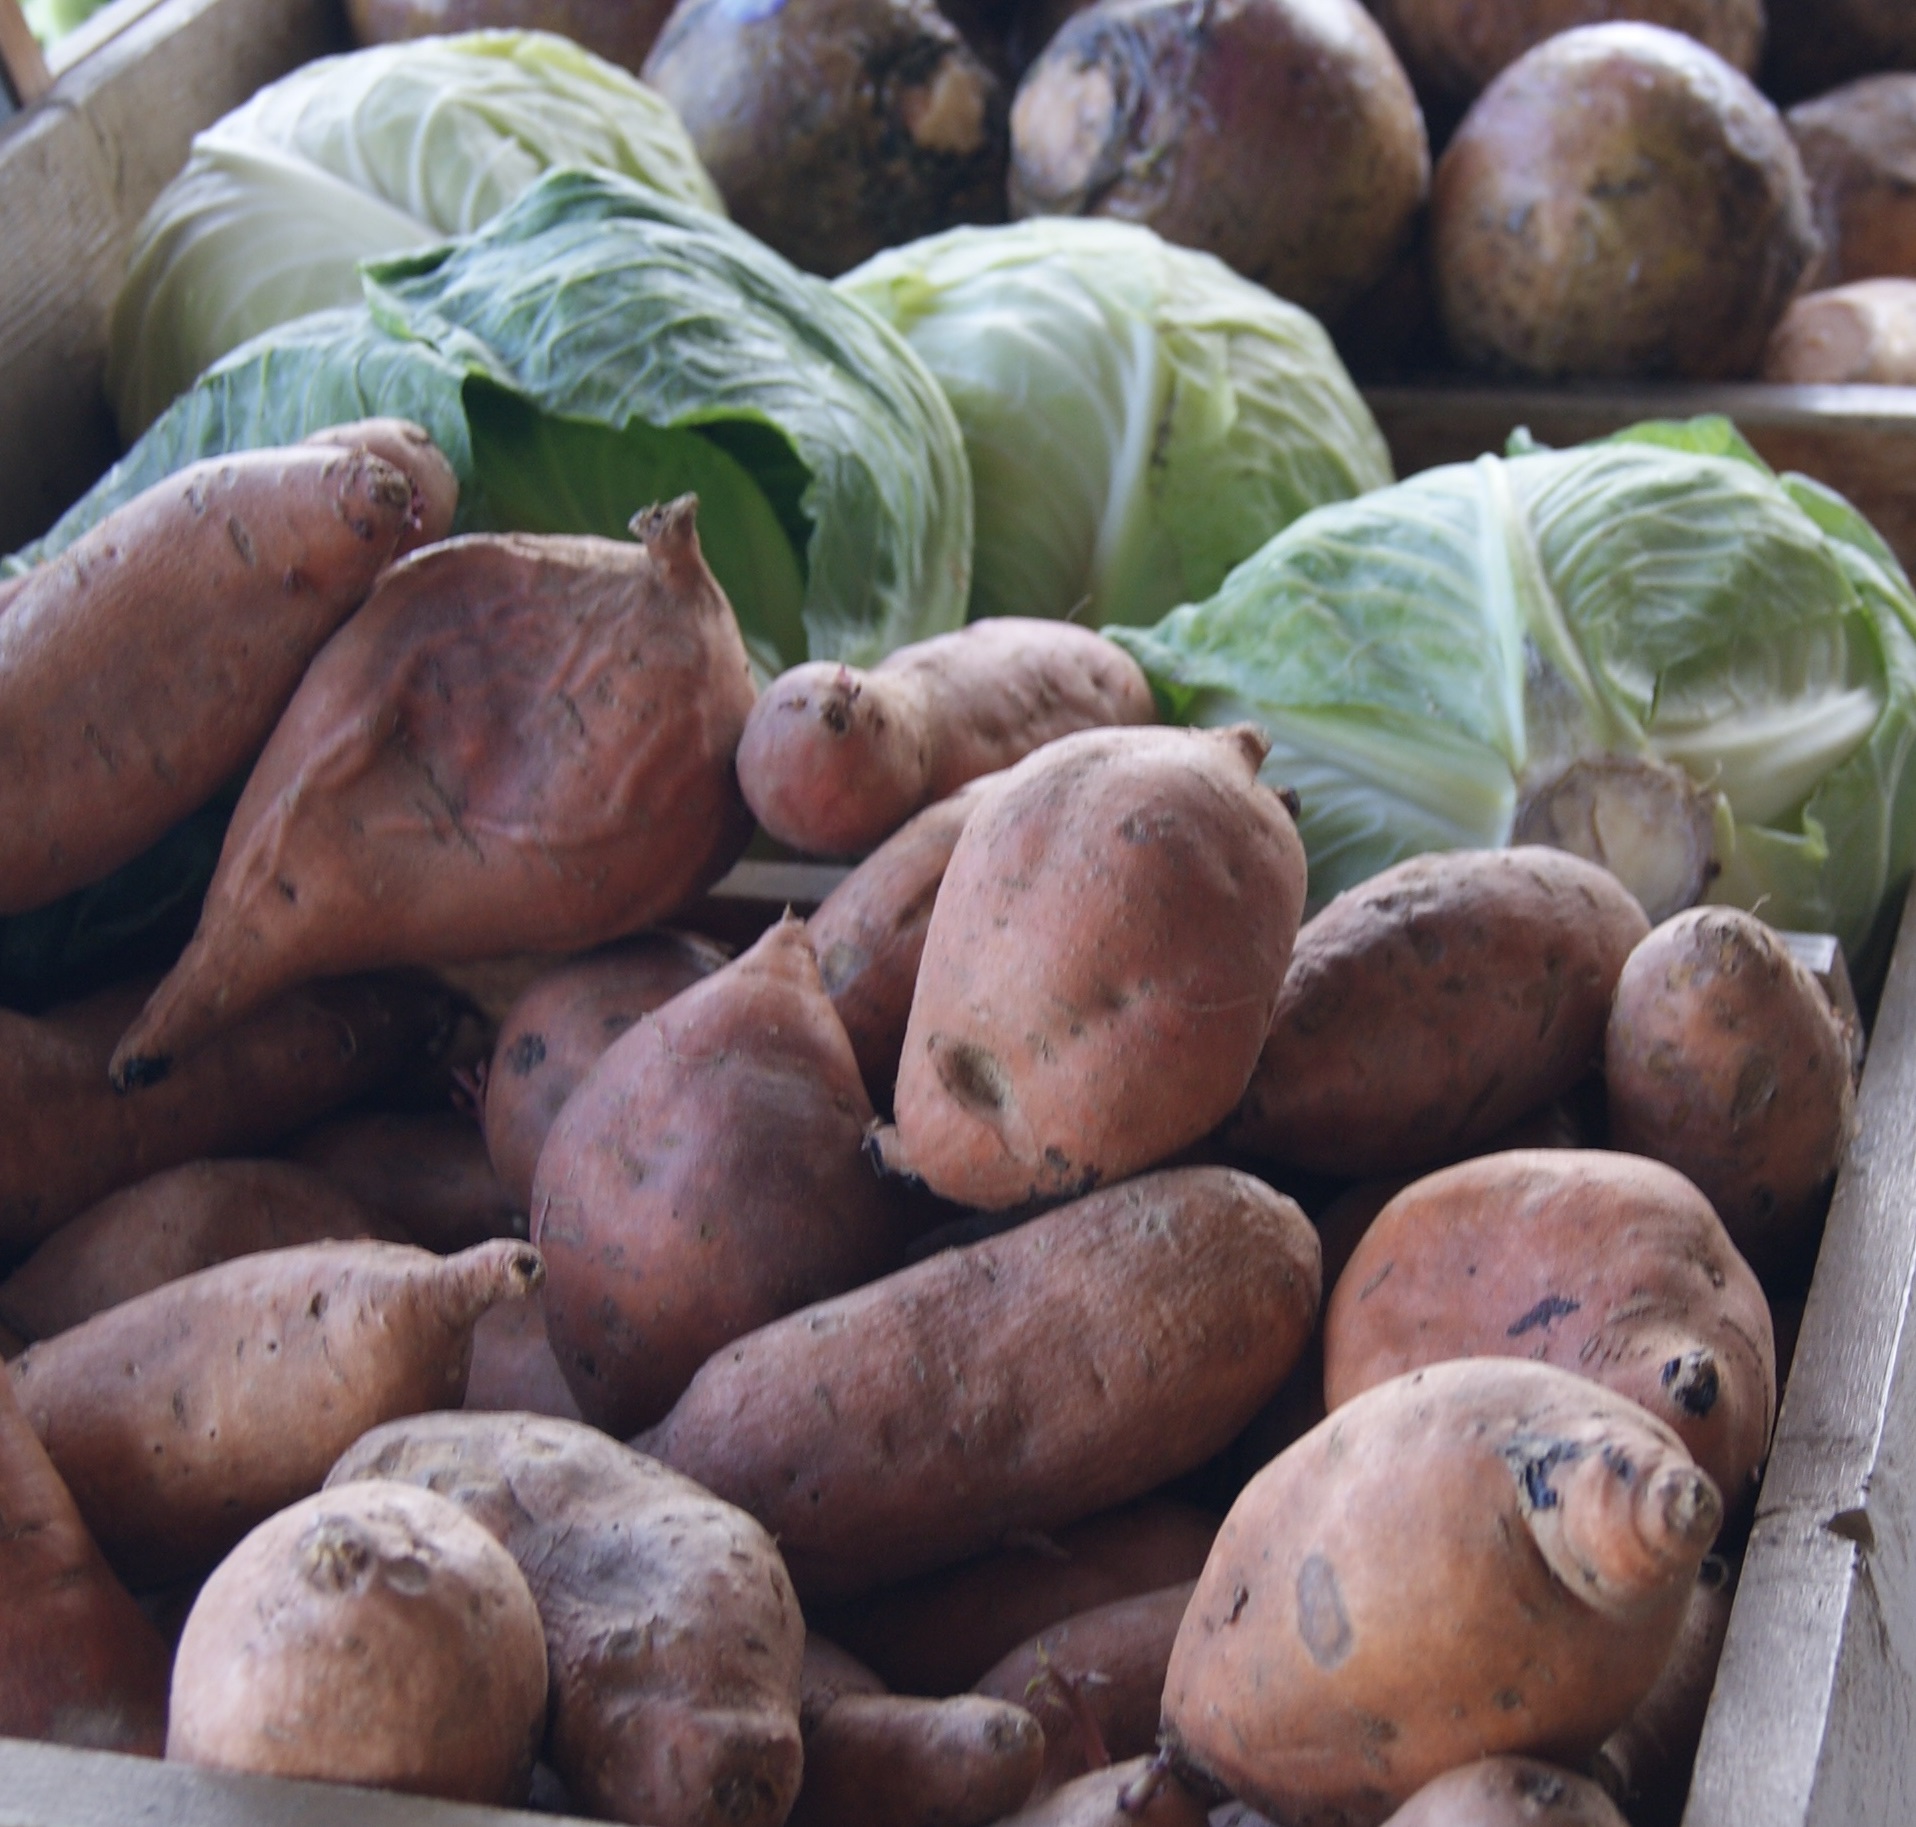
A bountiful harvest
Every winter, many Florida homeowners enjoy growing their own vegetable plants. It is definitely cheaper to buy vegetable seeds than vegetable transplants, and some vegetables grow better when direct seeded.
One factor to take into consideration when planning a vegetable garden is that each vegetable has a different germination response to temperature. Some seeds germinate best under low soil temperature while other respond best under high soil temperatures.
When planting vegetable seeds, remember that cool season crops, such as cabbage, turnips, and cauliflower, will perform best under cooler soil conditions.
The key to getting the highest seed germination rate is to match the correct soil temperature to the vegetable seed of choice.
Below is a listing of correct soil temperatures needed for vegetable seed germination.
MINIMUM Soil Temperature for Germination in Degrees Fahrenheit
- 32- Endive, Lettuce, Onion, Parsnip, and Spinach
- 40 -Beet, Broccoli, Cabbage, Carrot, Cauliflower, Parley, Pea, Radish, Swiss Chard, and Celery
- 50-Asparagus, Sweet Corn, Tomato, and Turnip
- 60-Lima bean, Snap Bean, Cucumber, Okra, and Pepper
- 65-Eggplant, Muskmelon, Pumpkin, Squash, and Watermelon
OPTIMUM Soil Temperature for Germination in Degrees Fahrenheit
- 70-Celery, Parsnip, and Spinach
- 75-Asparagus, Endive, Lettuce, and Pea
- 80-Lima Bean, Carrot, Cauliflower, Onion, Radish, Tomato, Turnip
- 85-Snap Bean, Beet, Broccoli, Cabbage, Eggplant, Parsley, Pepper, Sweet Corn, and Swiss Chard
- 95-Cucumber, Muskmelon, Okra, Pumpkin, Squash, and Watermelon.
MAXIMUM Soil Temperature for Germination in Degrees Fahrenheit
- 75 -Celery, Endive, Lettuce, and Spinach
- 85-Lima Beans, Parsnip, and Pea
- 95-Asparagus, Snap Bean, Beet, Broccoli, Cabbage, Carrot, Cauliflower, Eggplant, Onion, Parsley, Pepper, Radish, Swiss Chard, and Tomato
- 106-Cucumber, Muskmelon, Okra, Pumpkin, Squash, Sweet Corn, Turnip, and Watermelon
by Taylor Vandiver | Jan 21, 2014
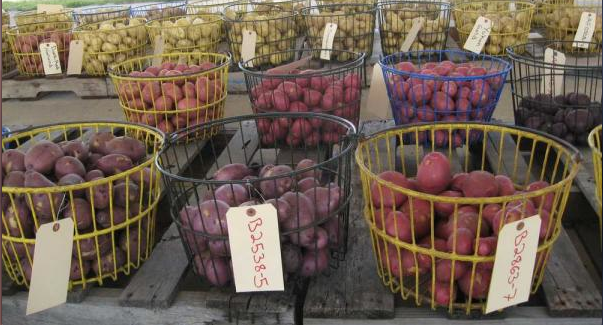
Florida-grown potatoes. Photo courtesy UF/IFAS.
The time to plant potatoes is now!
Potatoes are a good way to usher in the growing season of your home garden. They are easy to grow and their harvesting date doesn’t coincide with many other vegetables. In North Florida you can plan to put in your potatoes around the end of January through February. It’s easy to grow red- and white-skinned Irish potatoes. Also, brown-skinned russet potatoes do nicely in the garden. However, before we get ahead of ourselves, the first step you need to take is preparing your soil and garden plot.
Since potatoes prefer a loose, well-drained, slightly acidic soil (pH 5 to 6), little needs to be done in many Florida gardens. However, potatoes do not grow well in flooded conditions. Care must be taken to ensure that the root zone has adequate drainage. To help alleviate flooding conditions, beds should be formed into mounds (hills) about 10 to 12” above soil level. It’s always a good idea to add in organic matter to your soil, this will provide nutrients and structure to your soil.
The potato tuber is the plant “part” required to grow a new potato plant. When a piece of the tuber is planted, it is called a “seed” potato. Only certified seed potatoes should be planted in the home garden. Certification ensures that the seed tubers are free of disease and viruses. Certified seed can be obtained from a number of reputable garden supply stores. Do not purchase potatoes from the grocery store to plant in the home garden. Potatoes from grocery stores are often sprayed with chemicals that inhibit sprouting and they can contain diseases that would be harmful to your garden. Also, remember to never store tubers in direct sunlight. Seed potatoes should be cut so that each piece is about the size of an egg with at least one eye per seed piece. Seed potatoes should be allowed to “heal” before planting; this will reduce the risk of rot upon planting.
Potato plants should be spaced at about 6–8 in. within the row with at least 36 in. between rows. Seed pieces should be planted with the cut side down and eyes (or sprouts) facing up. Due to the fact that the seed piece should be planted only 4 in. below soil surface, new tubers could emerge from the soil surface. These exposed tubers will turn green and inedible in the sun. Therefore, hilling is a necessary process in growing potatoes. Hilling is the act of adding about 2 – 3 in. of soil to the top of the potato row.
Potatoes, in Florida are generally grown during the drier times of the year. As a result, supplemental irrigation may be required to provide plants with an adequate amount of water. Moderate soil moisture levels should be maintained throughout the season. Just remember to never over water!
Most potatoes are ready for harvest between 80 and 115 days after planting. To harvest, carefully dig potatoes below the potatoes and remove them from the root system of the plant. Potatoes are best stored in cool, dark, well-ventilated locations. An important fact to remember when harvesting potatoes is to always avoid eating green potatoes. Green potatoes have high levels of a toxin called solanine, which has a bitter taste. It is toxic even at very low levels. Potatoes can “green” in the field, in storage, and at home when exposed to the light.
As always, if you have any question or need further information please contact your local extension agent!