by Abbey Smith | Feb 5, 2026
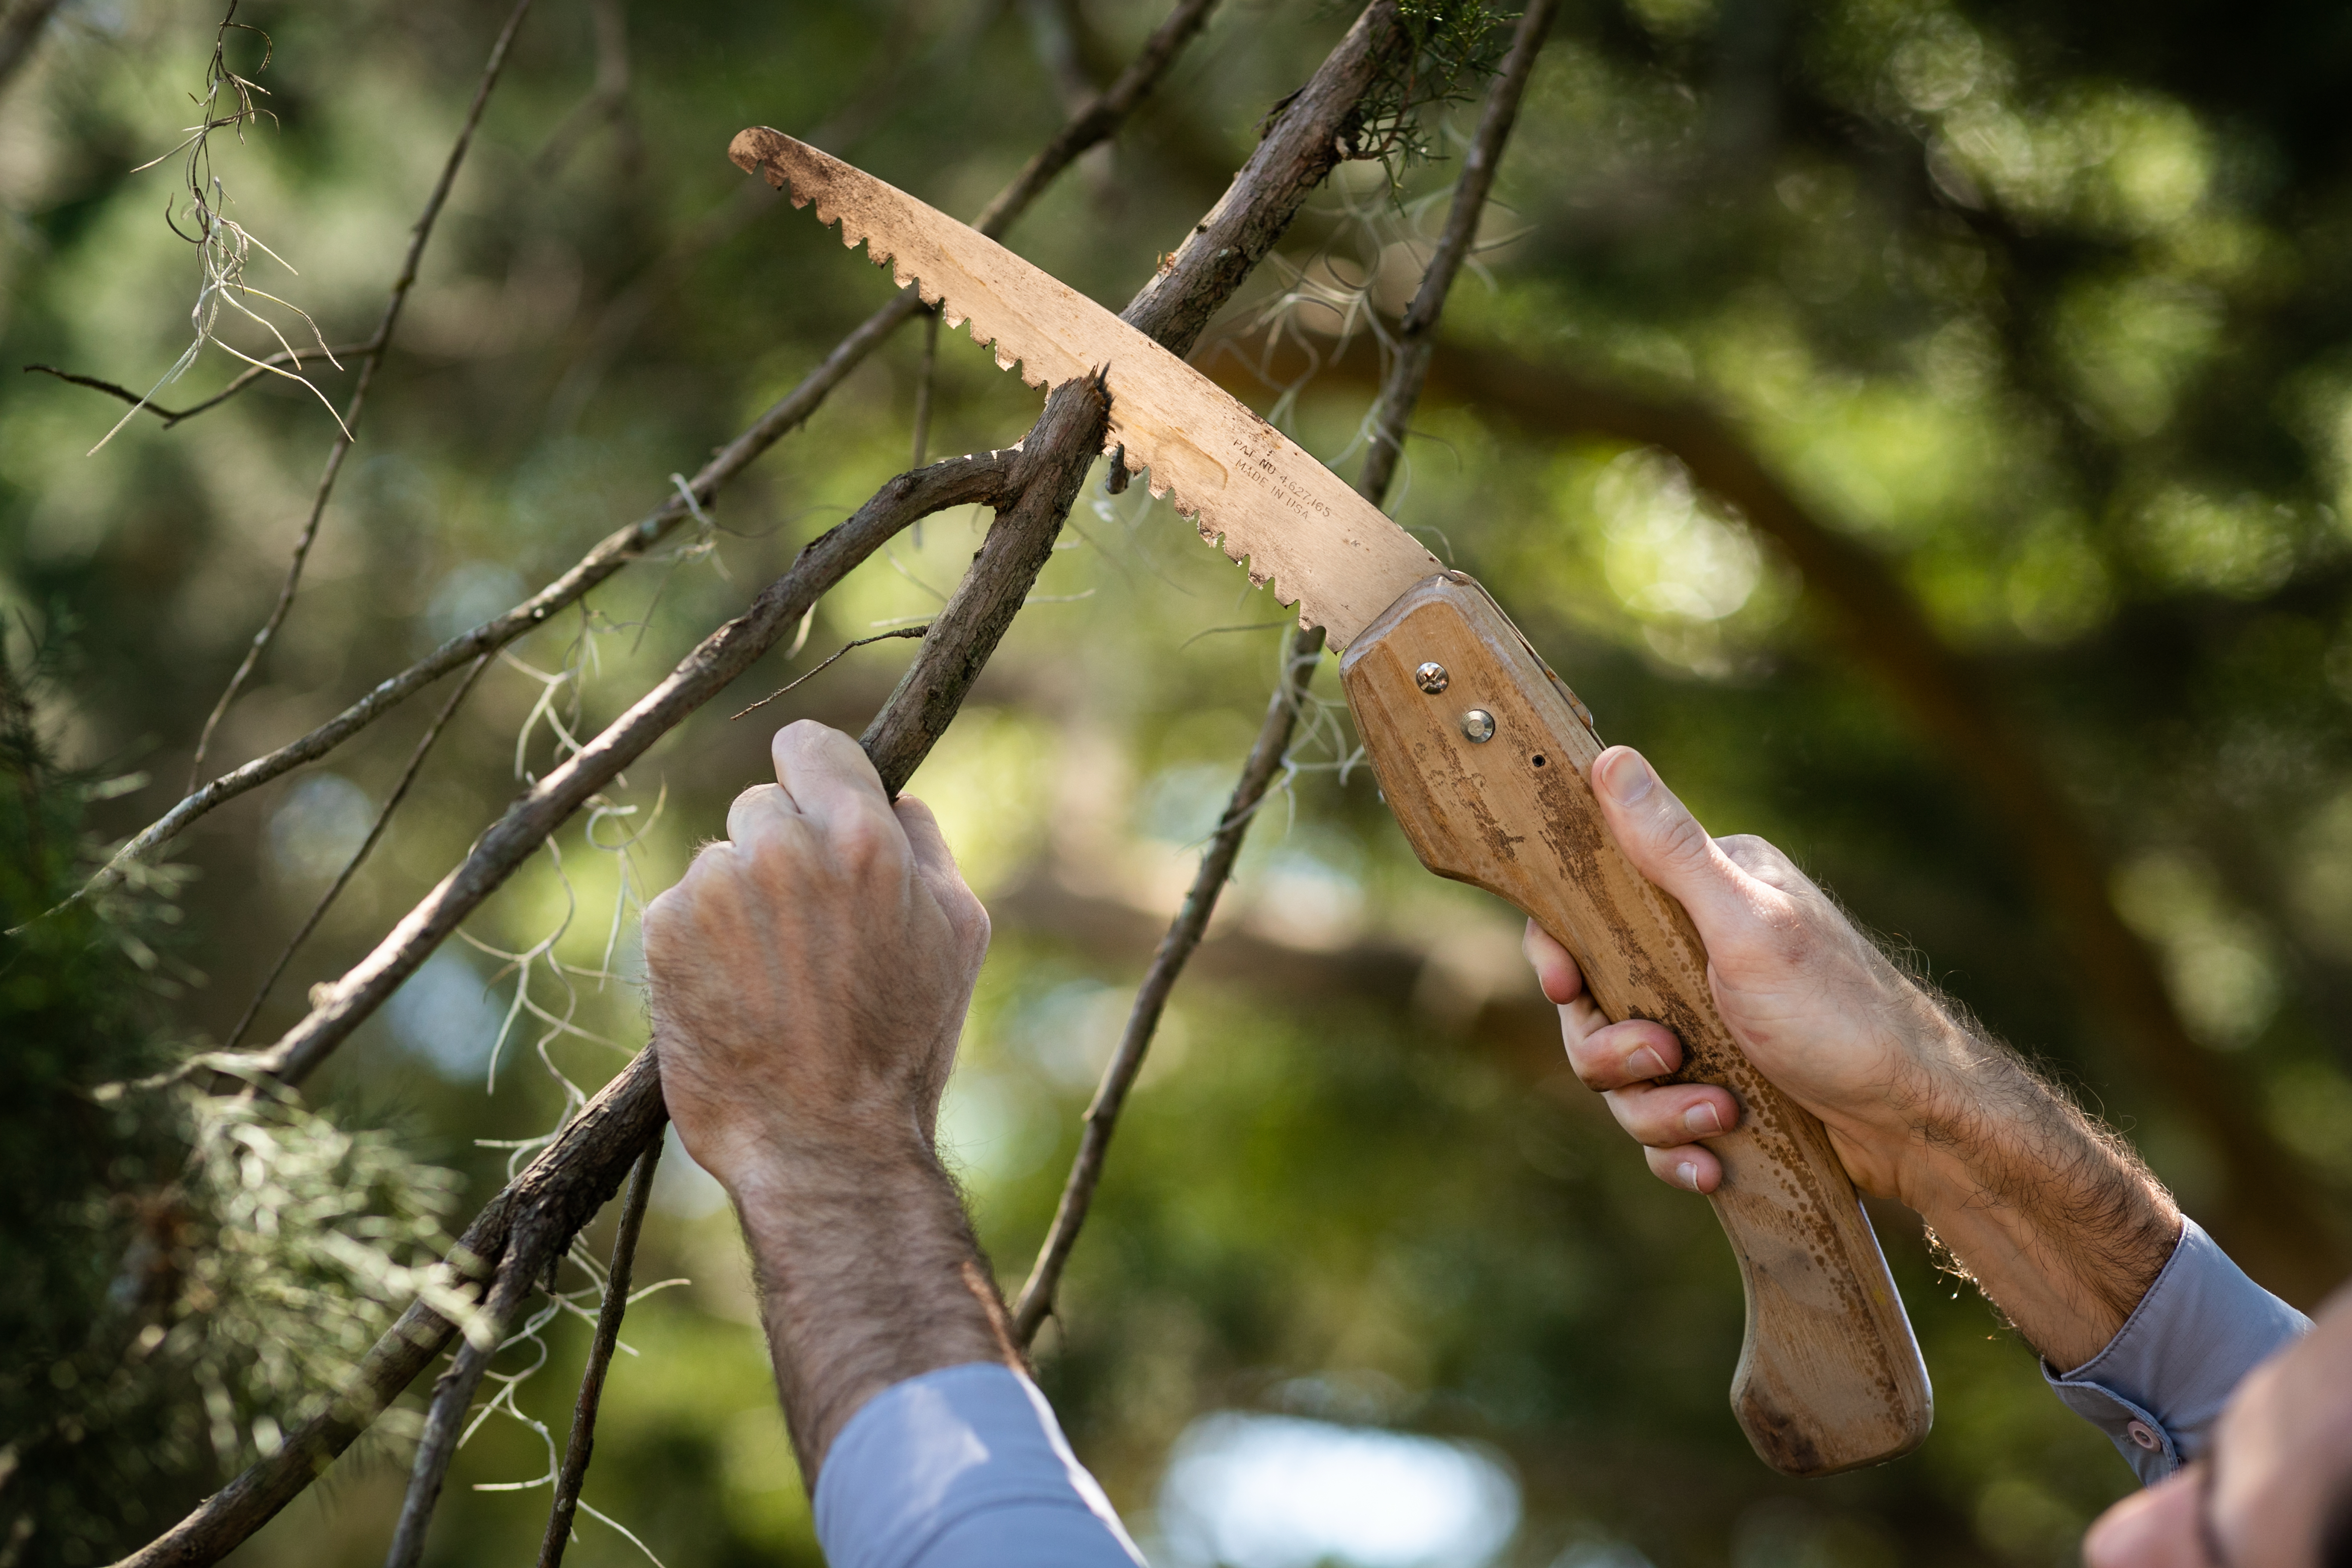
Cool weather in North Florida often inspires gardeners to grab the pruners and “clean up” the landscape. But, winter pruning should be selective and intentional. The right cuts can improve plant health, structure, and flowering, while pruning the wrong plant at the wrong time can reduce blooms or increase cold damage. Timing in winter is crucial. Many plants slow down or go dormant, which can make it easier to see branch structure and remove limbs. Some plants benefit from dormancy pruning, because it can help reduce pest and disease pressure and prepare plants for a strong flush of spring growth. However, getting lopper-happy too early can trigger tender new growth to emerge that becomes susceptible to late-freeze injuries.
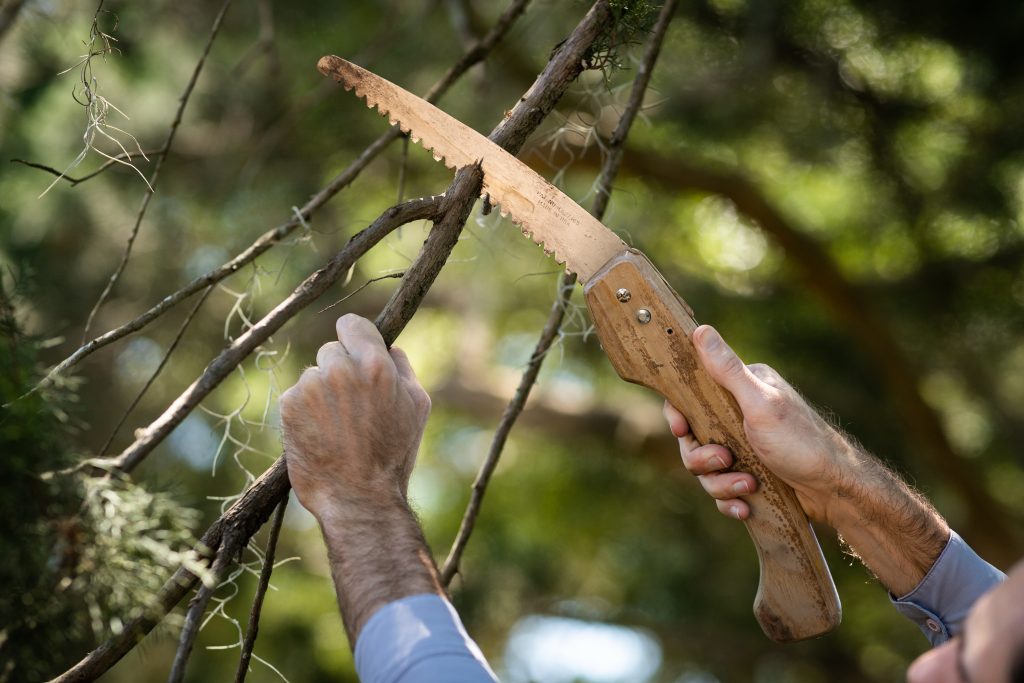
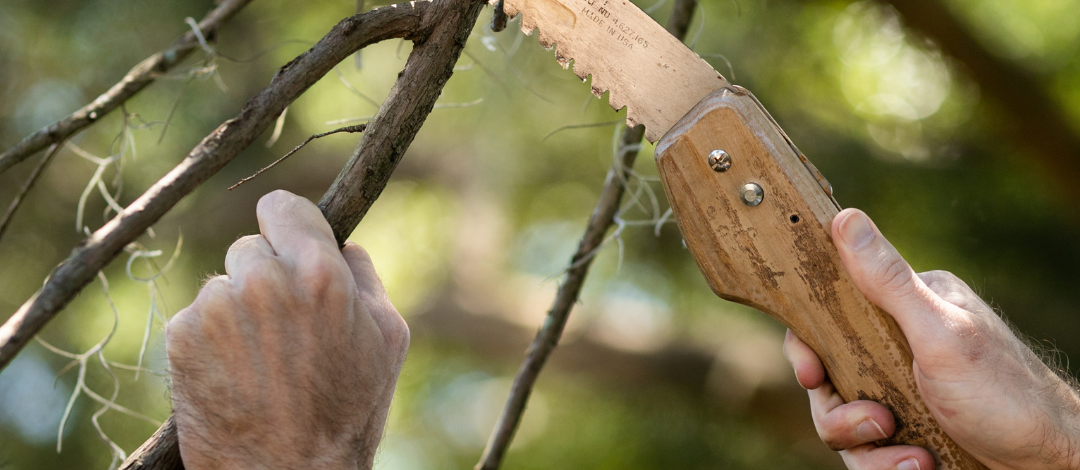
Hand saw cutting a tree branch. Photo taken 05-01-20.
So, what is safe to prune currently? You should stick with dead, diseased, or damaged trees or shrubs. These cuts improve plant health overall and reduce placement for insects and pathogens to lay waiting during the winter months. Deciduous fruit trees often benefit from a winter haircut as well. Trees that drop their leaves, like plums, apples, and pears will benefit from winter pruning by opening their canopy for light and air and encouraging stronger spring flushes.
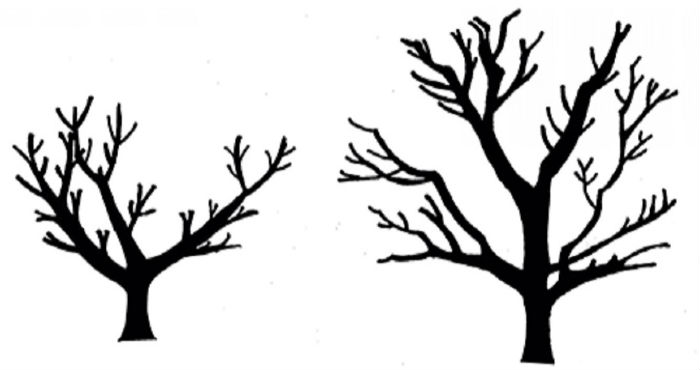
An illustration of the pruning structures. On the left is the open center training system and the right is modified central leader. Photo rights: http://gardeningsolutions.ifas.ufl.edu/care/pruning/pruning-deciduous-fruit-trees.html
There are a few plants you should leave alone until the spring. Many spring flowering shrubs like azalea and camellia should be left until spring. This is due to their late winter blooming patterns and should be pruned right after their flowering window. Tender, cold-sensitive plants and evergreens that you are not trying to shape should also be left until the warmer months.
Overall, timing matters when considering cleaning up your landscape during the temperate months. The best pruning principles are knowing why you’re pruning (removing dead wood, etc.) and not removing more than about twenty-five to thirty percent of the live canopy in one growing season. Making correct, angled cuts to promote healing of the pruned areas is also very important to promote growth to come back to the plant.
Winter pruning in North Florida is not about “tidying” everything at once, it’s about timing and purpose. By being selective of what you are cutting and when to leave plants along, you will set your landscape up for healthy growth and beautiful blooms this spring.
For more information:
https://blogs.ifas.ufl.edu/gulfco/2019/01/09/winter-pruning/
https://blogs.ifas.ufl.edu/marionco/2020/01/16/pruning-in-winter
https://hort.ifas.ufl.edu/woody/pruning-when.shtml
by Daniel J. Leonard | Feb 5, 2026
If your drab dormant lawn is getting you down, you might be tempted to overseed your Centipedegrass with ryegrass next fall and enjoy lush green grass all winter long. The idea of a pretty green lawn breaking up the brown of winter is indeed alluring. There are reasons golf courses and highly visible/trafficked public landscapes overseed in winter – overseeding significantly enhances both the aesthetics and recreational uses of those areas and it absolutely can offer the same benefits to homeowners. However, winter overseeding also has several potential major drawbacks, particularly for residential lawns. Before you make the decision to turn your lawn green in the winter, keep the following factors in mind.
Overseeding Can Cause Centipedegrass Lawn Health Issues
Overseeding ryegrass in winter has two primary problems from warm season grass’ (i.e. Centipedegrass) perspective. First, to look its best, deepest green, ryegrass needs to be fertilized to encourage optimal growth like any other grass. This means applying Nitrogen and other plant nutrients at the exact time when your Centipedegrass is dormant and trying to NOT grow. This excess nitrogen applied to “feed” the ryegrass can absolutely wreck the dormant Centipede (which is very sensitive to nitrogen fertilizer), causing serious disease problems like Centipede Decline and Large Patch. Second, ryegrass is growing at its absolute maximum rate in late spring in the Panhandle, as our weather begins to be consistently warm. This coincides with the exact time Centipedegrass is trying to emerge from winter dormancy. This intense competition with the overseeded ryegrass at greenup can inhibit Centipede’s ability to recover from dormancy, delay emergence, and lead to decline of the summer turfgrass.
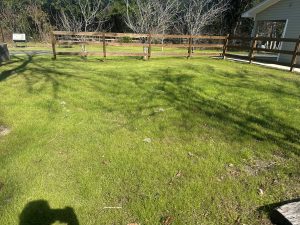
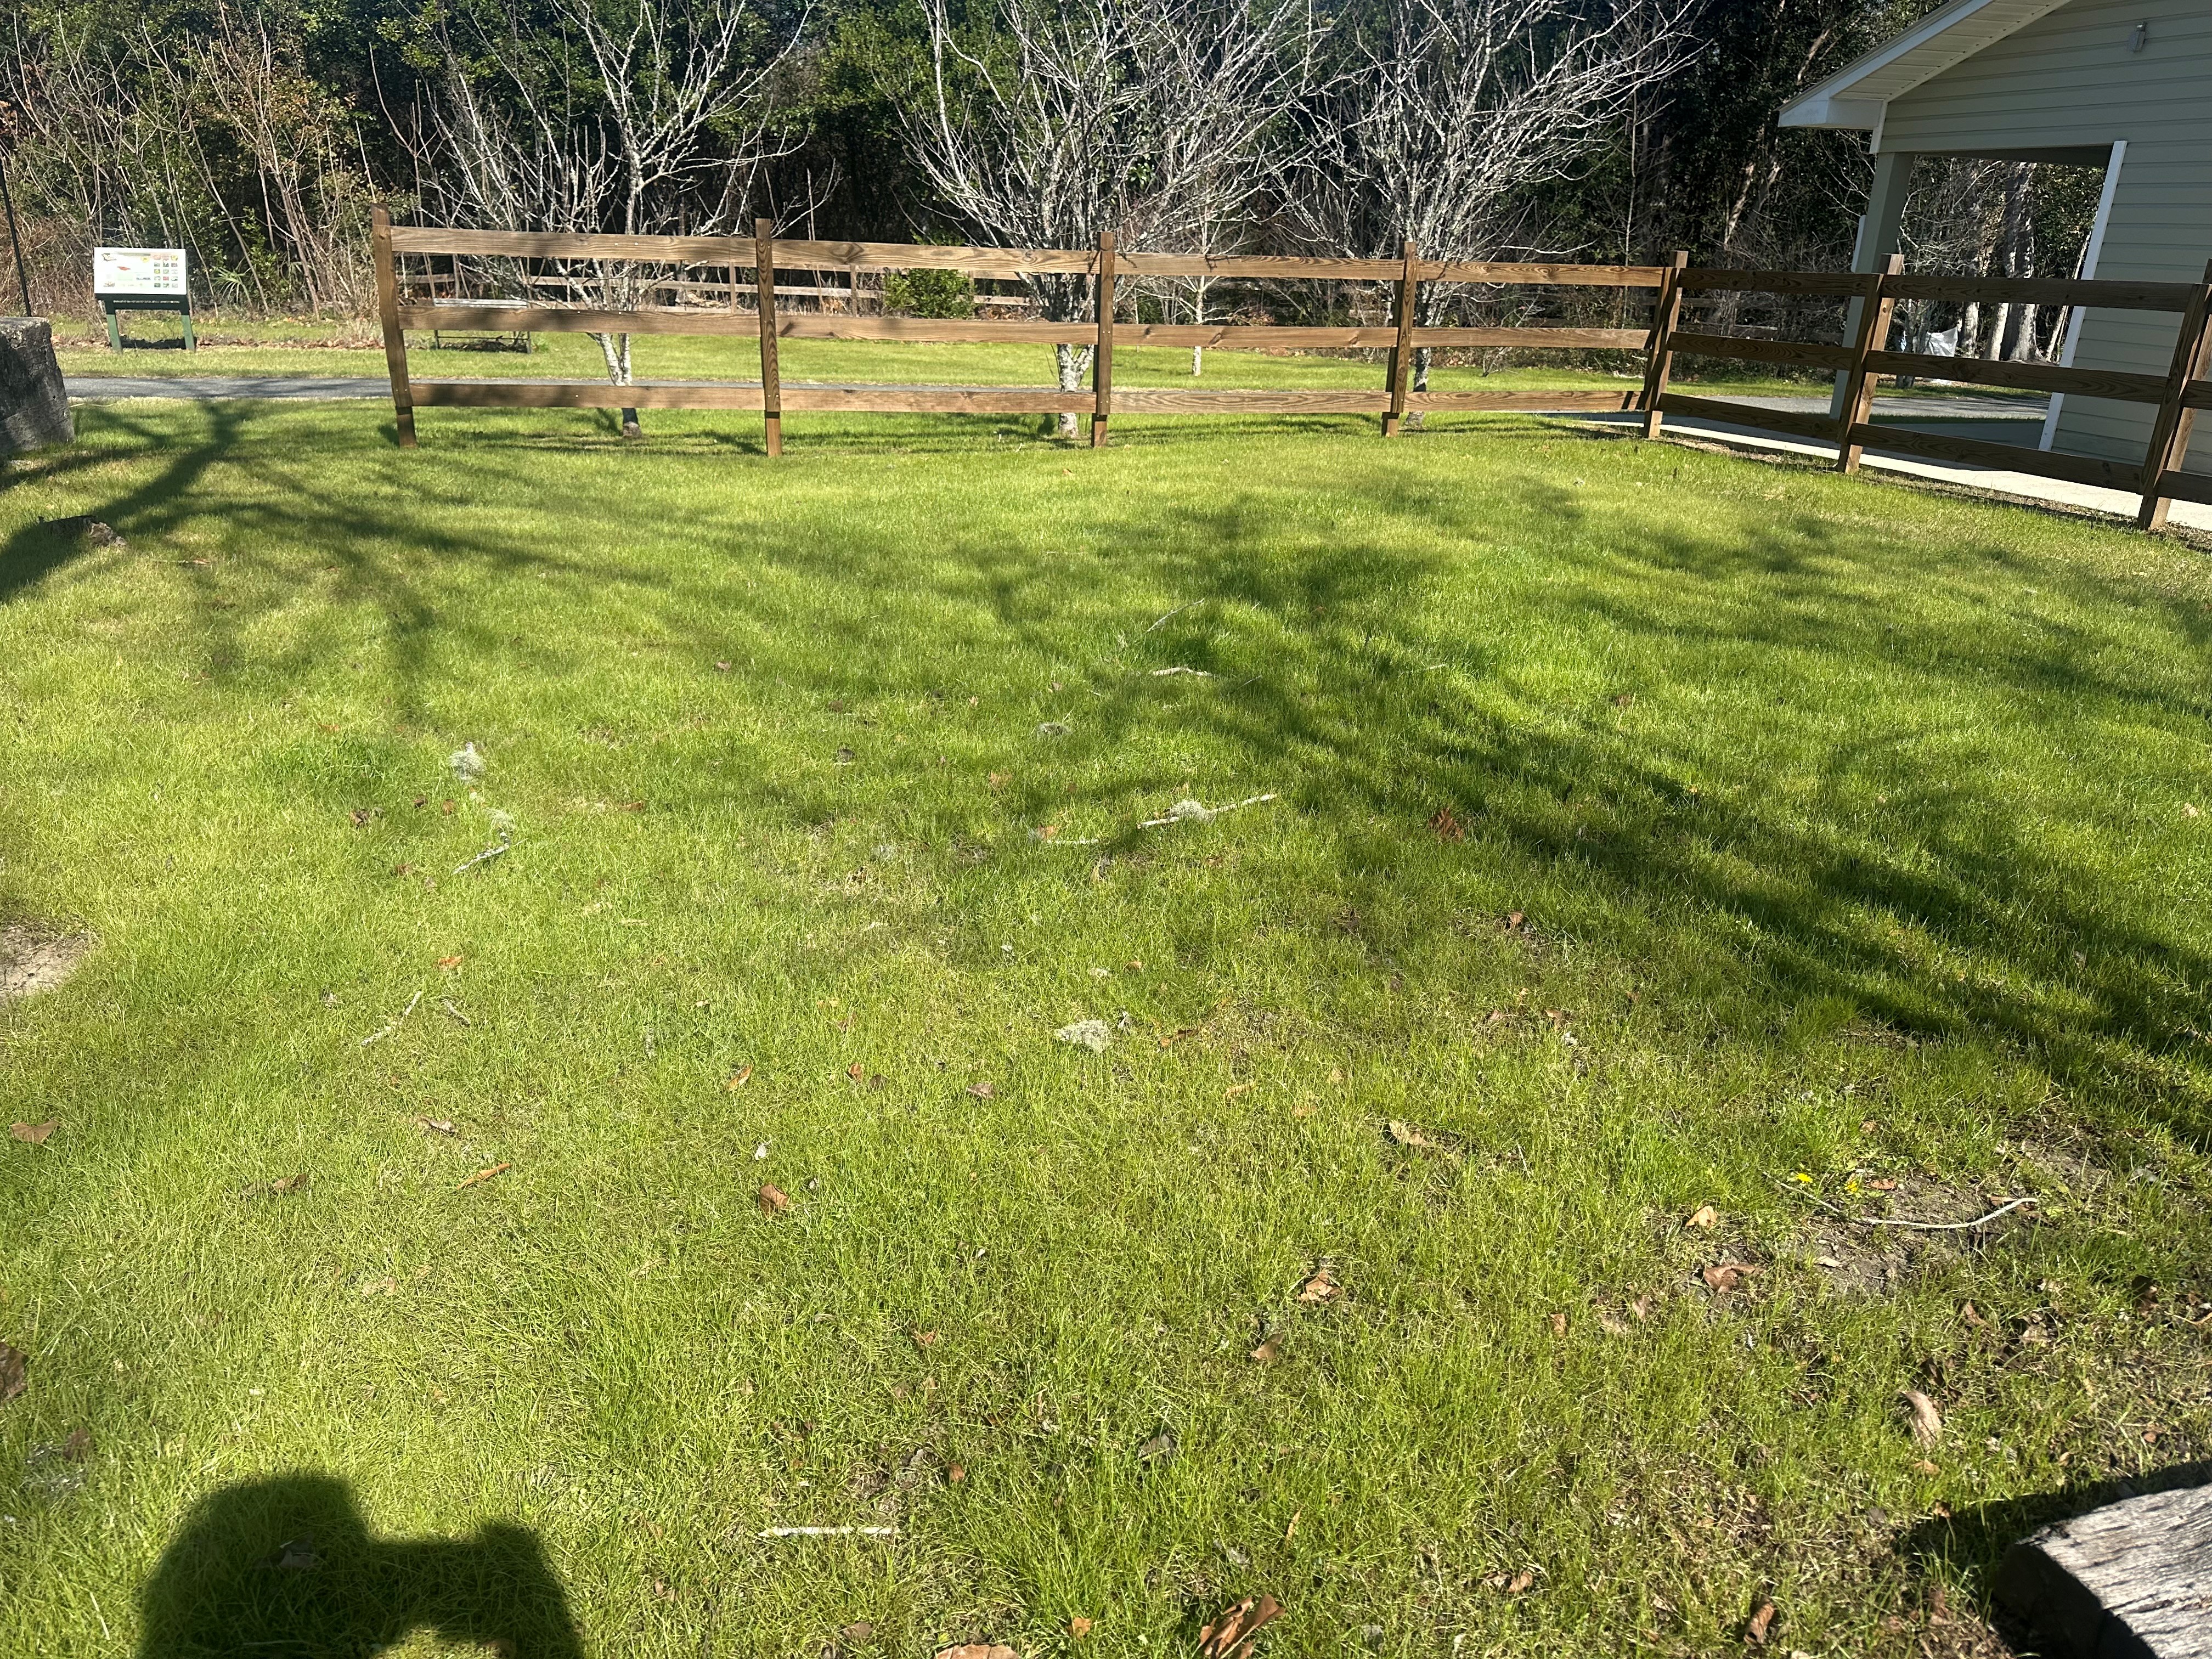
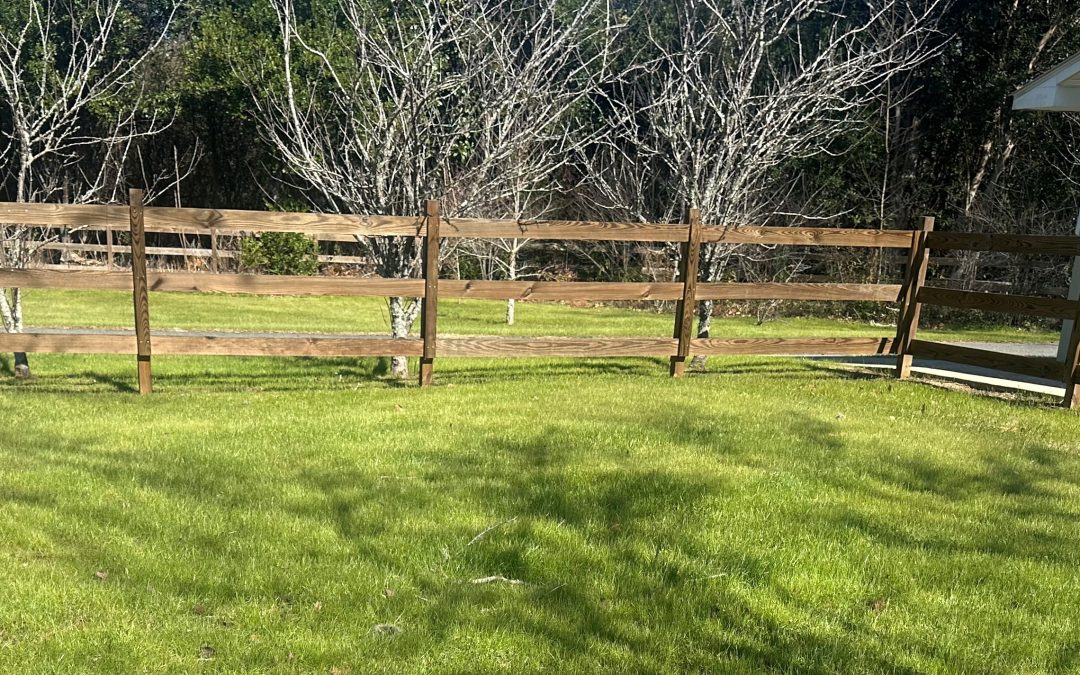
Municipal Centipedegrass turf area overseeded with winter ryegrass. Photo courtesy of Daniel Leonard.
Maintenance Annoyances
As mentioned earlier, ryegrass, though it grows in the cool weather, is still grass and has to be managed as such to look its best. This means frequent mowing, irrigating in droughty winters (like this year), and fertilizing. In my experience, people don’t enjoy or keep up with these tasks nearly as much in winter. There is a reason that the winter months are the slowest, least profitable times for lawn and garden centers – people just don’t spend their time and money on their lawns and landscapes in the winter when the weather is cold and days are short. I can testify that I very much enjoy my November-March break from mowing and maintaining my lawn and the idea of having to mow year-round doesn’t appeal to me in the slightest.
I get it, sometimes overseeding must be done. Like the aforementioned examples, winter golf and other athletic activities are much more enjoyable on lush green ryegrass turf than the normal winter mixture of dormant Bermudagrass and mud, and city parks are much more attractive to tourists and passersby when green, vibrant, and inviting. However, these situations are usually managed by professionals that are willing and able to treat potential disease issues when they arise and/or replace weakened turf as needed, expenses and effort the average homeowner is often not willing or able to incur. Given overseeding’s potential detrimental effects to your warm season turf and the maintenance annoyance of caring for a winter lawn, most homeowners are better off avoiding the temptation to overseed with ryegrass.
For more information on overseeding with ryegrass or any other horticultural topic, contact your local UF/IFAS Extension county office! Happy Gardening.
by Evan Anderson | Feb 5, 2026
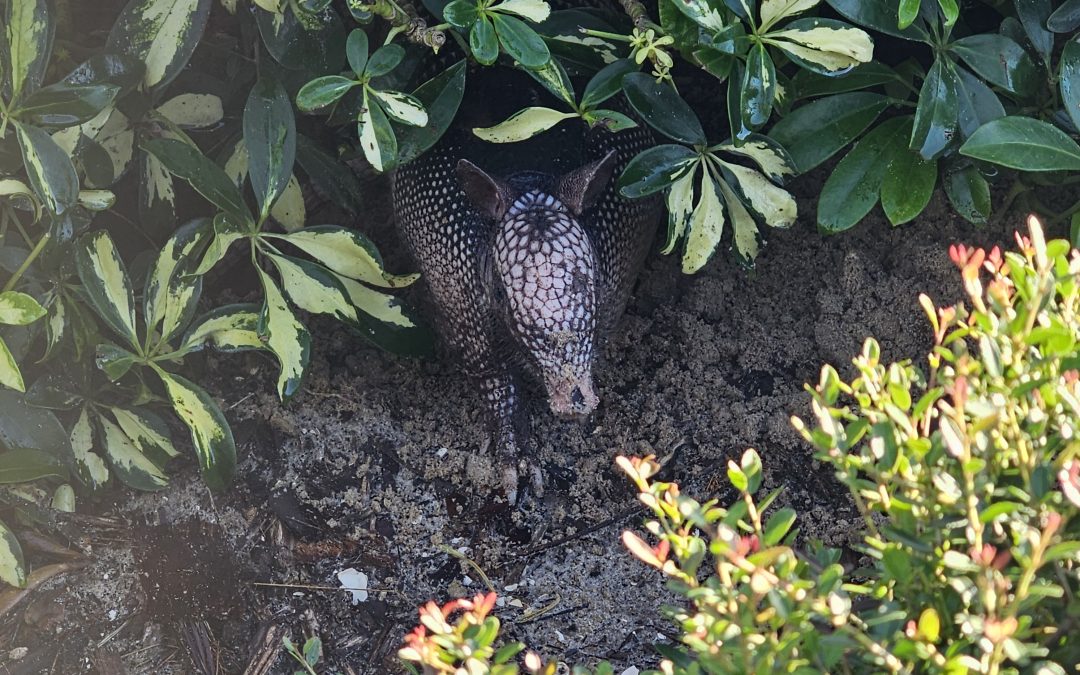
Owners of lawns and landscapes occasionally find that something has dug holes in their turf or plant beds. Sometimes this is the work of squirrels, but another common resident of our area can be much more of a digging pest. The nine-banded armadillo, in its search for food, can do a lot of damage in a short period of time.
Nine-banded armadillos are not native to our neck of the woods. Considered an invasive species, they migrated to North America in the 1850s from Mexico. They have spread ever since, ranging now throughout the Southeast, with populations as far north as Kansas in the western part of their range and South Carolina to the east.
An armadillo foraging in a landscaping bed.
As far as meals go, armadillos prefer to snack on insects, but will supplement their diet with seeds, fruit, or other food. They are very good diggers, looking for grubs and worms in the soil; when landscaping gets in the way, they unfortunately do not hesitate to dig it up. They are in turn predated upon by larger animals, though their hard shells give them a measure of protection against this. They are usually active at night time, though cool weather may see them active during the warmer parts of the day.
Beyond digging for food, armadillos also construct burrows for shelter, which can reach depths of up to seven feet and lengths of twenty feet. This is not a problem out in wooded areas, but can become an issue when the burrow is located near a structure or beneath a walking path. Another potential concern with the presence of armadillos is that they are able to become infected with the bacteria that causes leprosy.
If armadillos are becoming a problem in your landscape, there are a few steps to take that can help discourage them from staying around. Use proper cultural practices for plants, including turfgrass, and treat for grubs if necessary. This helps to remove sources of food. Fencing an area can help stop armadillos from accessing it, but remember that they can dig and fences need to be buried about a foot and a half deep. Armadillos can be trapped, though they may be difficult to bait, so placing traps where they are more likely to wander into them (such as near burrows) can help. For more information on armadillos in general, see our fact sheet here: https://edis.ifas.ufl.edu/publication/UW456
For more information on using baits for armadillos, see this fact sheet: https://edis.ifas.ufl.edu/publication/UW362
by Mark Tancig | Jan 29, 2026
Most folks are familiar with the concept of supply and demand and how it affects cost. The more numerous a product, the lower the cost. The cost also reflects value, so the more abundant something is, typically the lower the value. This idea of abundance being tied to little value can also be applied to the amazing world of nature around us. Water, for instance, is usually valued little in areas where it is abundant compared to areas where it is scarce. Unfortunately, when it comes to common native plant species found in our local ecosystems, their sheer abundance leads many to consider them not too valuable. However, sometimes, if we step back and learn about these species, we find that many may be locally abundant, but globally very special. Hopefully, this new found knowledge encourages us to value them a little more!

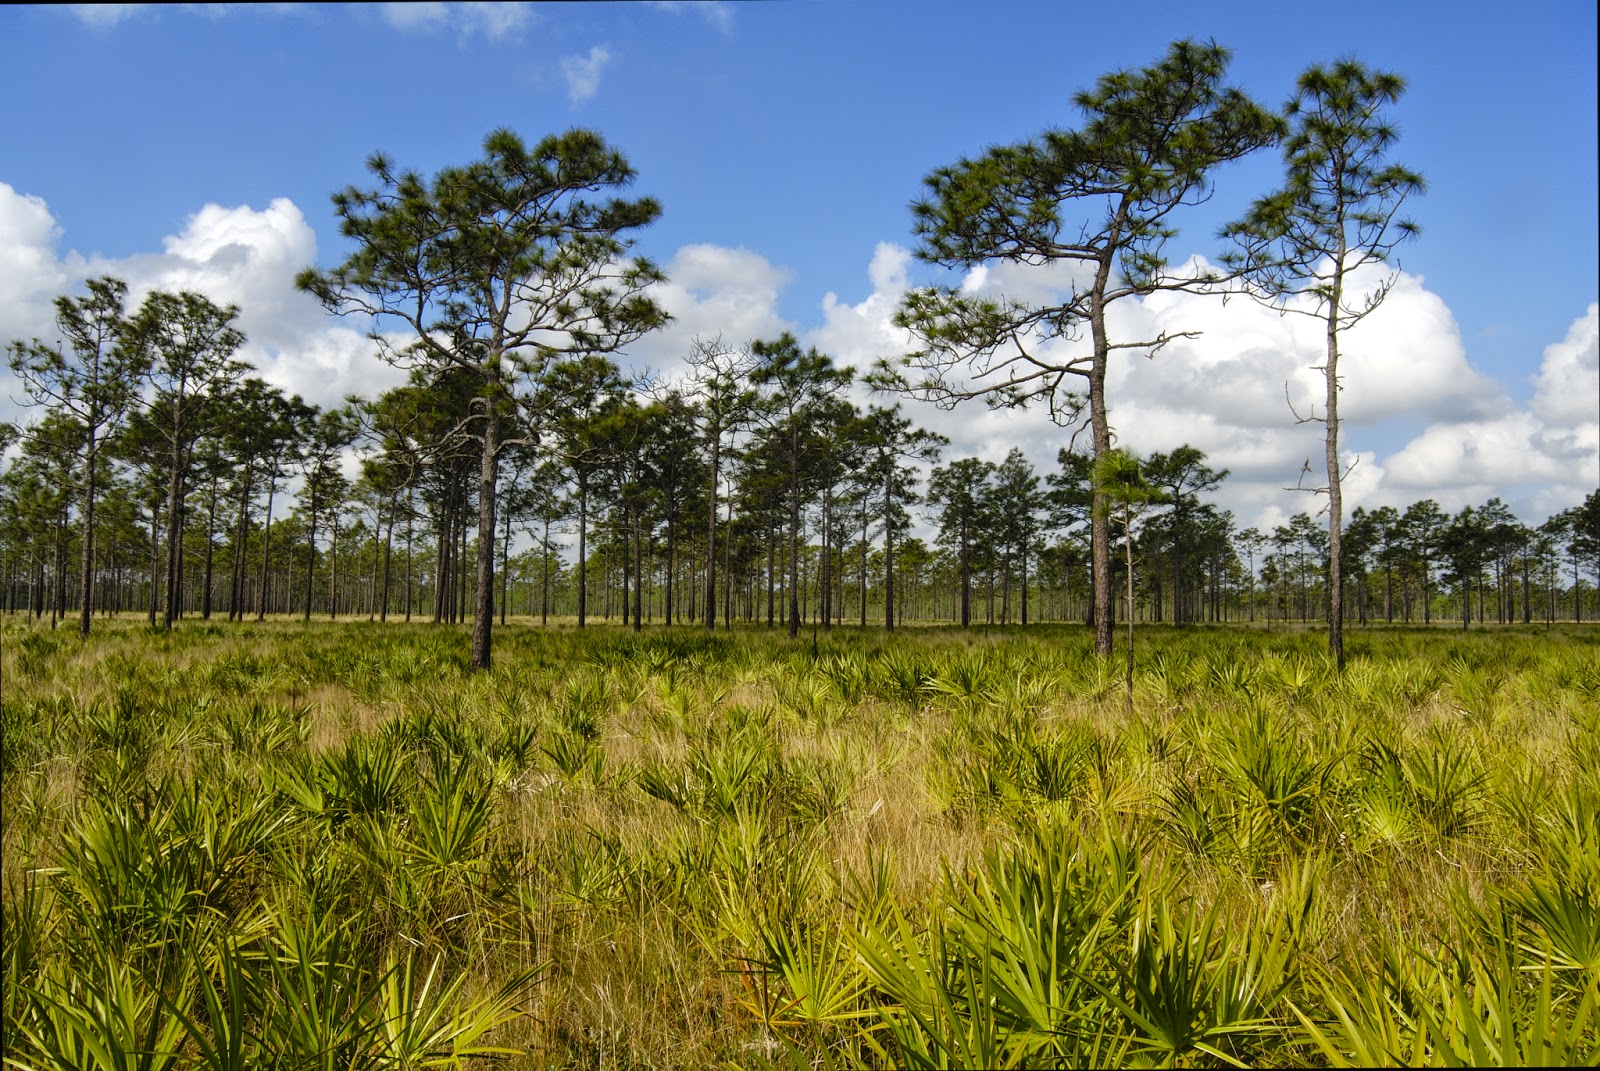
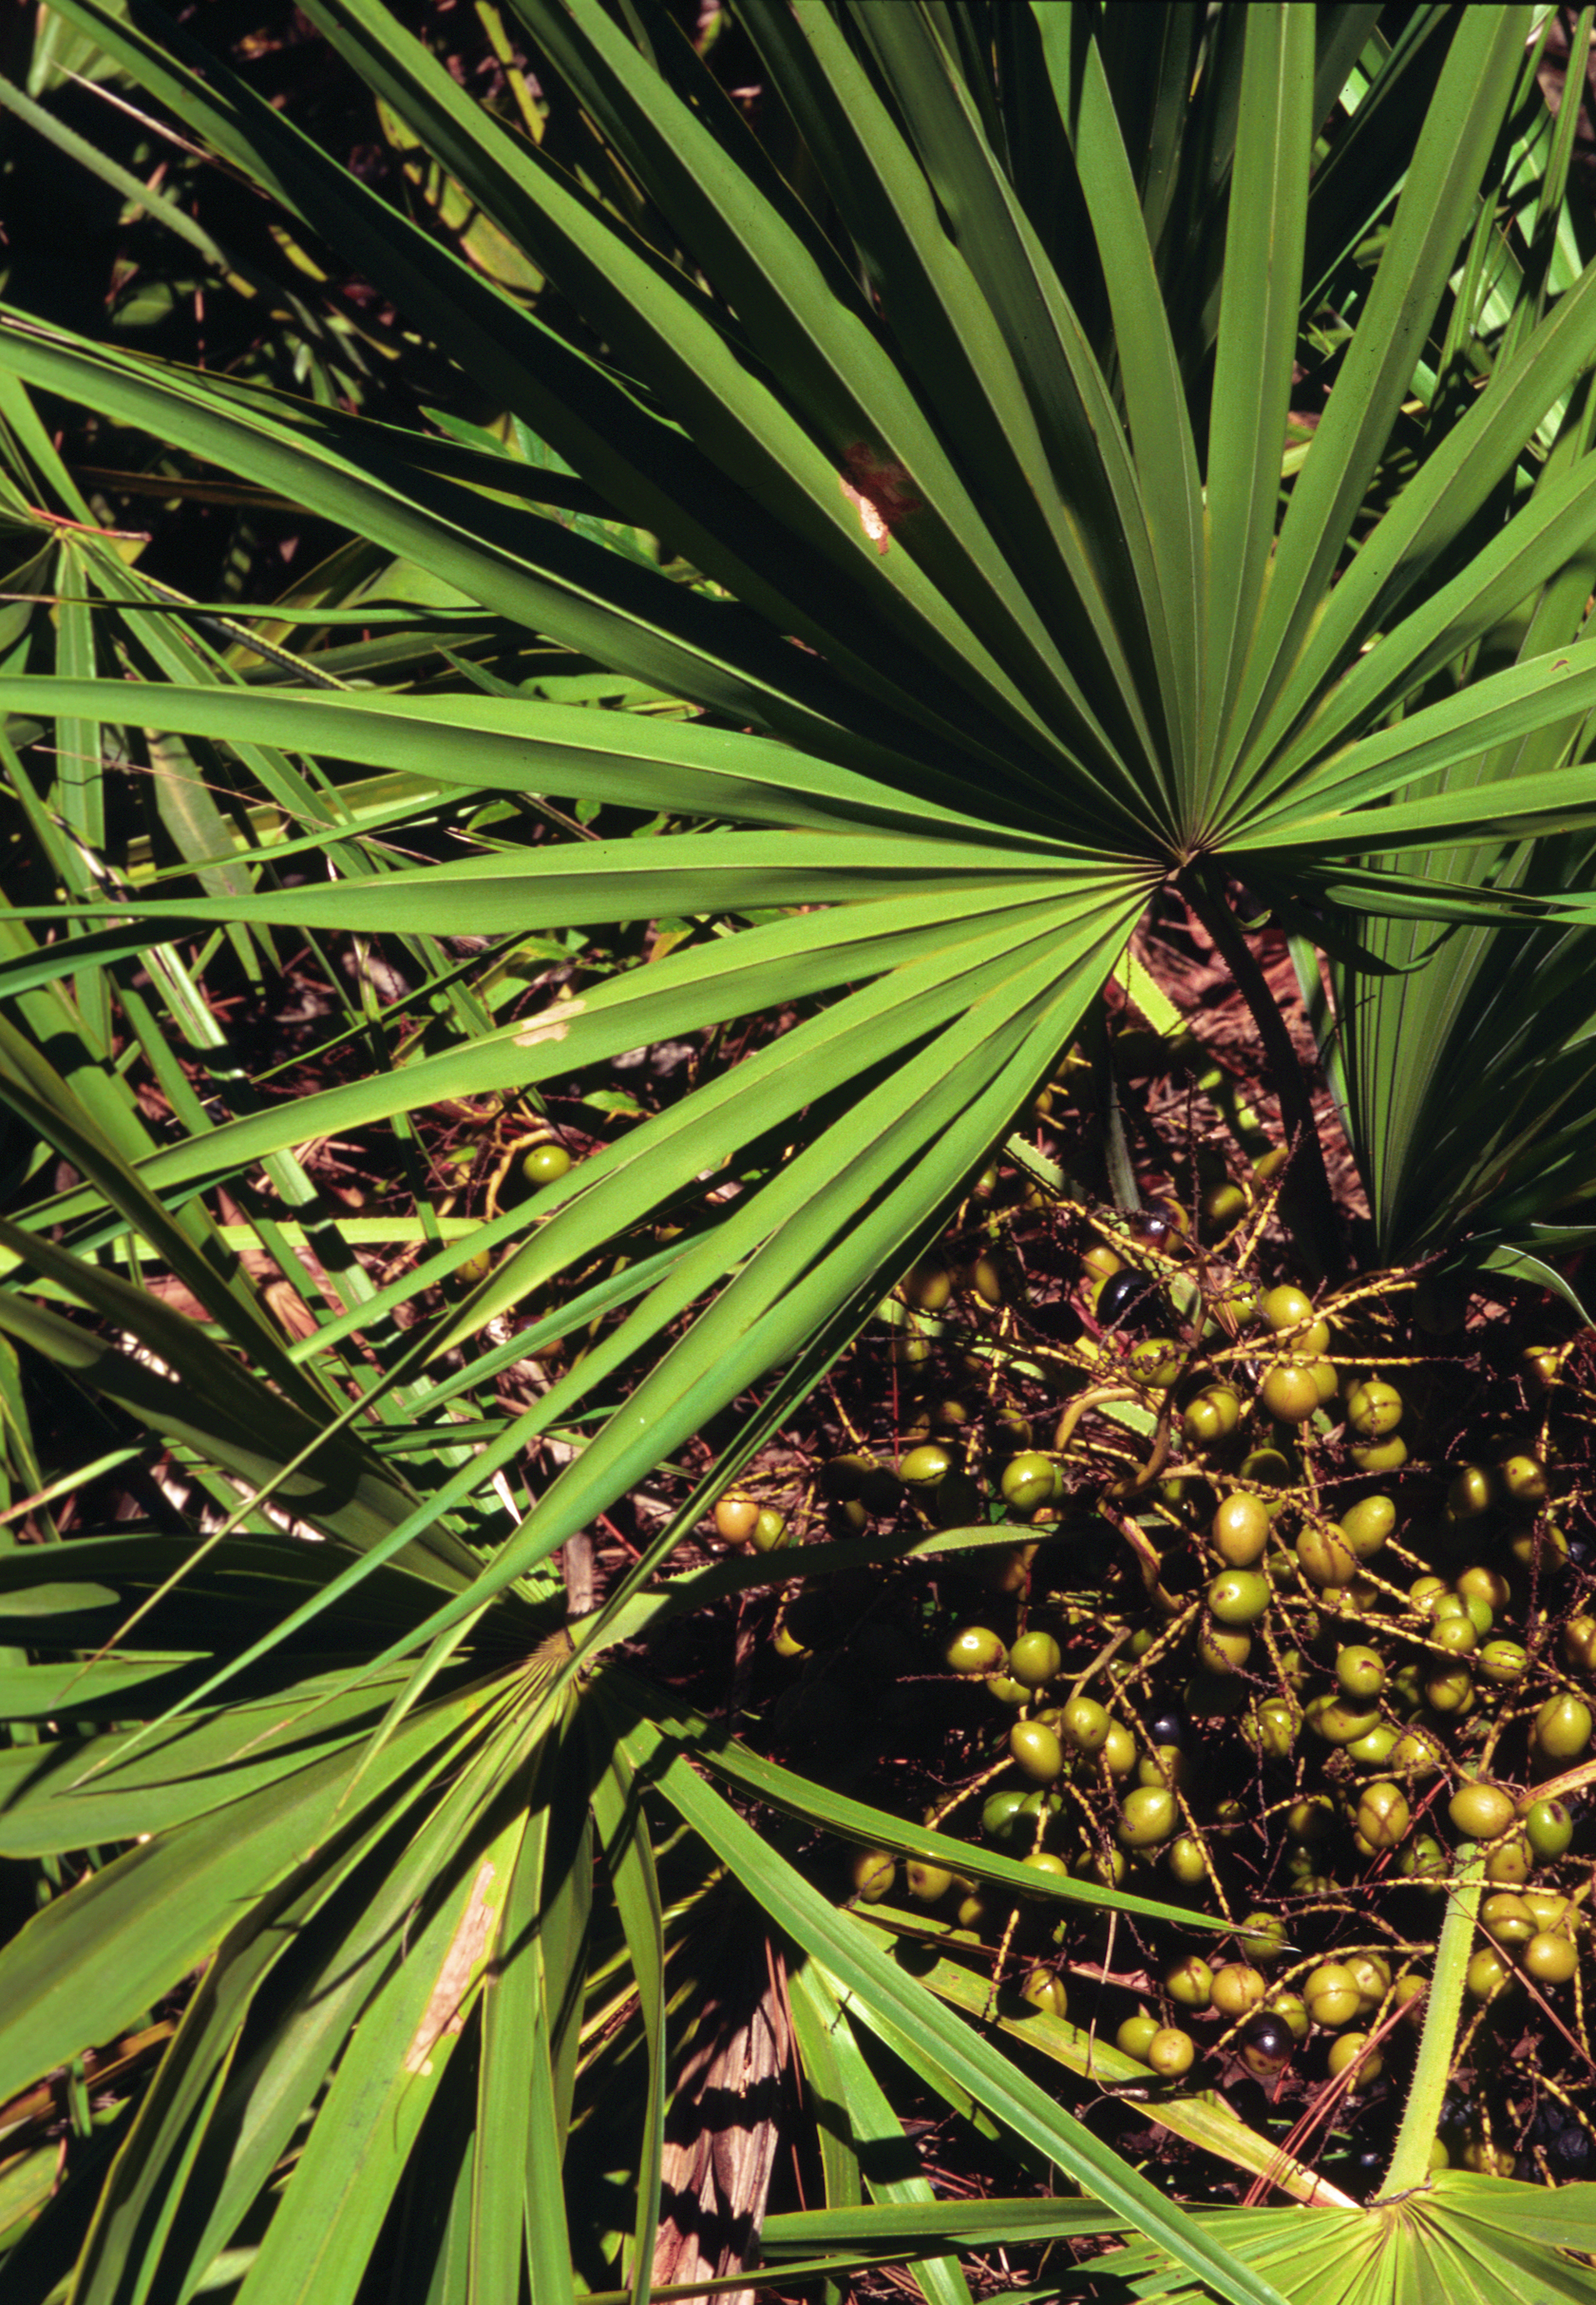
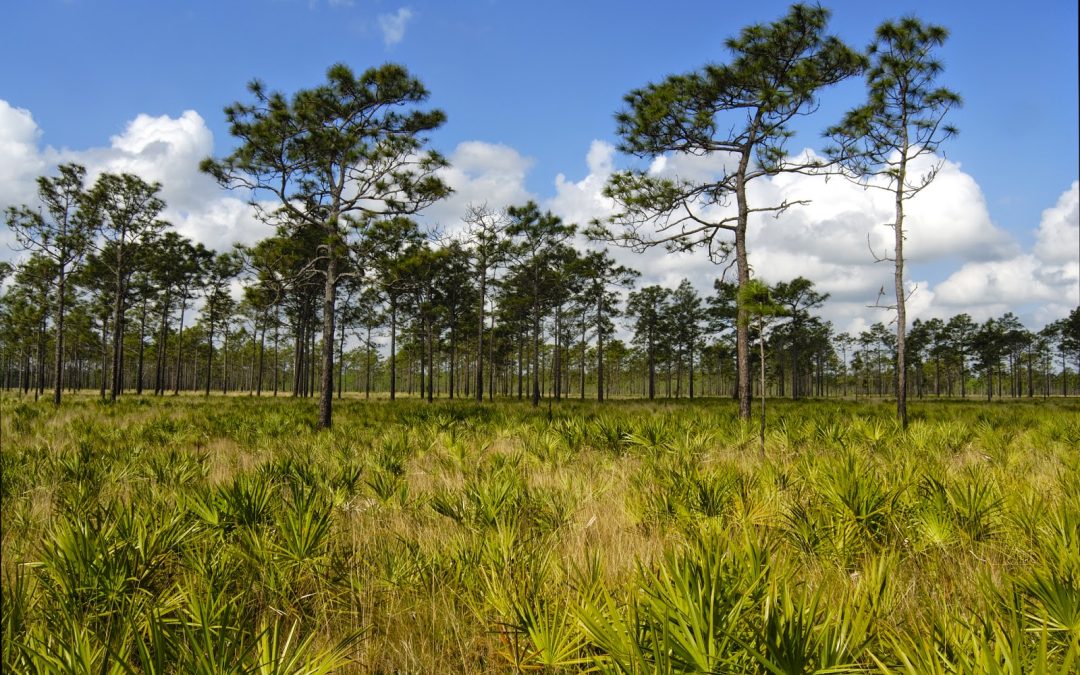
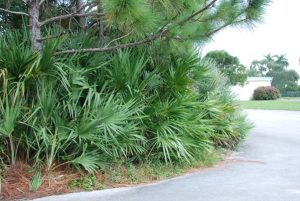
Saw palmetto is common element of many Florida ecosystems. Credit: Gary Knight, Florida Natural Areas Inventory.
One such example is our very common saw palmetto (Serenoa repens), a plant that is so common in our area that it often goes overlooked and undervalued. How many of you have observed a pine flatwoods loaded with saw palmetto, and gone – “Ehh, it’s so plain and boring?” However, saw palmetto, while locally abundant, is not so plain and boring. Did you know that saw palmetto is found nowhere else on Earth except in our little pocket of the southeastern USA? Its range hugs the Gulf coastal plain from Louisiana to South Carolina, and that’s it.
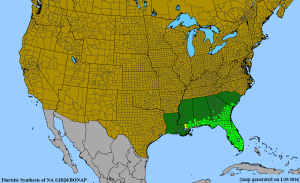
The limited range of saw palmetto. Credit: Kartesz, J.T. 2026. Floristic Synthesis of North America, Version 1.0. Biota of North America Program (BONAP) [website http://bonap.org/] Chapel Hill, N.C
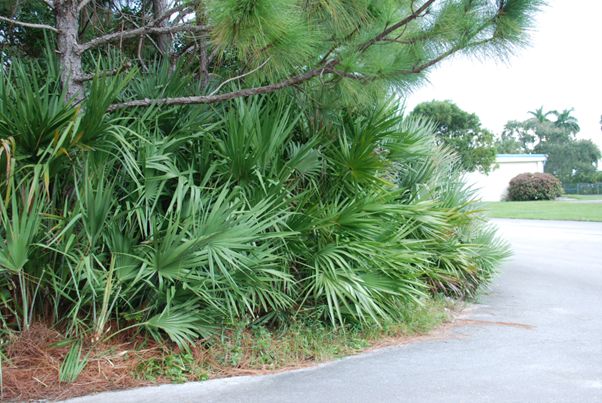
- Saw palmettos are a native, flowering shrub that do well in ornamental landscapes. They provide a tropical look, and the flowers are very attractive to insects and other pollinators. Just be sure to select the right place for them, as they do expand to 4-10 feet wide so it can become a problem near walkways or in tight spaces.
Saw palmetto does spread wide, so give it plenty of space. Credit: Karen Williams, UF/IFAS.
- While saw palmetto fruits are an important food source for birds and other wildlife, humans also have an interest in them. The fruits are harvested by pharmaceutical companies for medicinal purposes, and extracts of saw palmetto fruits are easily found for sale in health food stores and online. The extracts are mainly marketed as a natural remedy for issues related to enlarged prostate or inflammation, though many physicians and medical groups remain skeptical of any benefits.
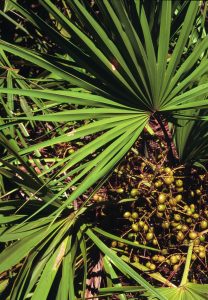
The fruits of saw palmetto are valued by wildlife and humans alike. Credit: USDA.
- Saw palmetto clumps can live a long time! As a clonal shrub species (it spreads from runners), it has long been assumed that each clump could be as much as 500 years old. However, recent genetic work has found that saw palmetto clumps living in the Lake Wales Ridge of Florida are at least 1,000 to 5,000 years old, conservatively. This means that there are likely saw palmettos living in south Florida that were around when Aristotle was tutoring Alexander the Great!
Hopefully, you now value saw palmettos just a little bit more than before you started reading this article. Knowing that such a unique plant is right in our backyard, common as dirt, let’s try to find ways to appreciate it and maybe include it in our landscapes, too. Keep in mind that saw palmetto is just one of many locally abundant, but globally special plants that thrive in our local ecosystems.
If you want to start learning more about the plants all around us, you can start by first identifying the species you observe. iNaturalist is a great, free app for your phone that can get you started. Your local extension office is also a resource. Once you have an identification, the Flora of North America and Biota of North America Program websites can give you detailed descriptions and range maps to help you discover the marvelous elements of our local flora.
by Matt Lollar | Jan 29, 2026
Peach and plum trees are prone to diseases and often produce inconsistent yields. The best way to remedy these issues is with proper pruning. Annual pruning reduces disease incidence, improves fruit quality, and increases tree longevity. So when should trees be pruned and how do we go about it?
Pruning Timing
Peach and plum trees should be pruned in late winter before blooming begins. Mid- to late-February is a good time for the Florida panhandle. If trees are pruned too early they may put on new growth too early and be exposed to late winter freeze events.

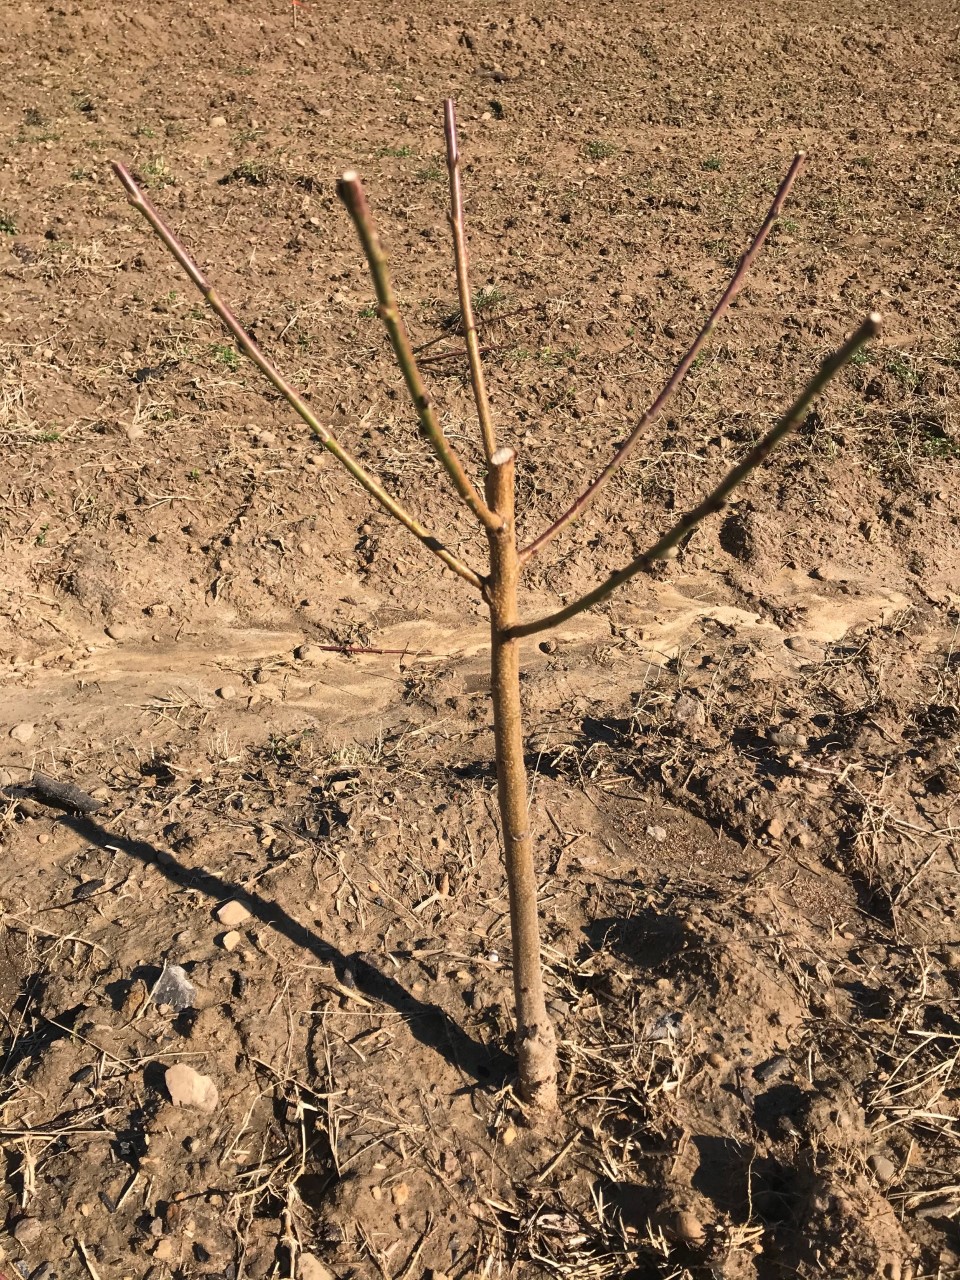
Heading cut made on a recently planted whip, selecting five scaffolds and stopping terminal growth. Photo Credit: David Lawrence, Auburn University
Pruning Cuts
Two types of pruning cuts are utilized for pruning peach and plum trees; thinning and heading cuts. Thinning cuts remove unwanted shoots from their point of origin. Heading cuts are made about a 1/4 inch above a bud. Thinning cuts are used to open up the tree canopy to increase air circulation and sun exposure. Heading cuts stimulate growth in a desired direction.

Heading cut made to an outward growing bud to promote growth and direction. Photo Credit: David Lawrence, Auburn University
Open Center Training
An open center tree consists of a main trunk and three to five scaffold branches. Scaffold branches are the primary branches originating from the main trunk. These scaffold branches will produce the fruiting wood. At planting, a heading cut should be made to the main trunk about 30 inches above the soil line. This cut will promote lateral growth (scaffolds). If the tree already has lateral growth at planting, three to five scaffold branches can be selected at this time and the heading cut should be made just above these branches. Scaffold branches will be selected during year two of growth if no scaffolds were on the tree at planting. Heading cuts, removing about a 1/4 of each branch, should be made on all selected scaffold branch about a 1/4 inch above an outward growing bud. From the third year of growth and beyond annual maintenance pruning will be performed to maintain the open center growth habit. All damaged or diseased wood, suckers, and water sprouts should be removed. Large branches growing from scaffold branches toward the center of the tree should be removed, along with any upright growth that will shade out fruiting shoots. Downward growth should also be removed. Heading cuts are to be made on remaining growth to encourage desired direction of growth based on bud direction. Excessive fruit wood should be thinned to promote larger fruit and less fruit thinning.

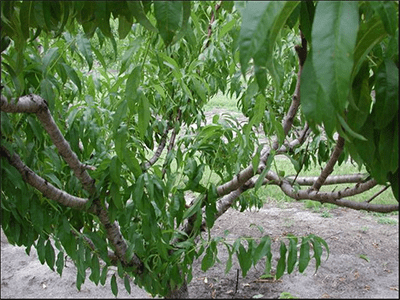
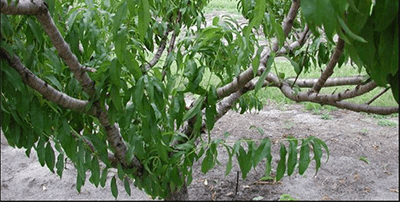
A peach tree pruned with an open center. Photo Credit, University of Florida/IFAS Extension
Pruning peach and plum trees sounds a bit labor intensive, but once it’s part of routine maintenance it will reduce labor during the season and promote the growth of larger and better quality fruit.