The Northwest District Agents discussed foodscaping by answering questions submitted by program participants. Included are the panelist’s answers along with supporting publications for the questions. You may view the session on YouTube at https://www.youtube.com/watch?v=wEMXmaZqRTU
When do I start spring vegetable garden? Still follow the guidelines for warm season edibles. Many seeds are started earlier (inside in January/February) and outside (now through April). For established landscapes with large trees, direct sowing is not the best amongst all the roots. Publication: What to Plant Month by Month https://gardeningsolutions.ifas.ufl.edu/plants/edibles/text-version-of-what-to-plant-by-month/
Suggestions for only 4-6 hours of sunlight in an oak tree hammock. Bell peppers can grow in some shade in containers or in the ground. Leafy lettuces for the cooler months. Publication: Peppers in the Shade, https://edis.ifas.ufl.edu/publication/HS368
What herbs work well mixed into the landscape? Many will work but look for those with essential oils such as thyme and rosemary. Mint is good in a container. Add a bay laurel tree for a evergreen selection.
Publication: Herbs, https://gardeningsolutions.ifas.ufl.edu/plants/edibles/vegetables/herbs/
What is the best citrus for North Florida? Satsuma would be a cold hardy selection with delicious fruit. Owari and Brown Select grow well in Panhandle. Tangerine and Meyer lemon is intermediate in cold hardiness. Start fruit in about a year but remove those early to but energy into the tree. Look for harvesting fruit in about 3-5 years. Look at our citrus publication for citrus fertilization with a fertilizer that contains zinc and iron.
Soil test to match plants with the right locations. Publication: The Satsuma Mandarin, https://edis.ifas.ufl.edu/publication/CH116
What fruit trees can I grow? Choose a variety adapted to our area. Peaches, pears, plums, some citrus, Pineapple guava, Loquat. Choose ones with chill hours for our area. Look at Auburn and Georgia selections rather than Florida selections which are more adapted to central and south Florida. Publication: Dooryard Fruit Varieties, https://edis.ifas.ufl.edu/publication/MG248
What about companion planting? One plant will benefit another – attracts beneficials, provides chemicals for a purpose. Use a trap crop that attracts insects to catch them before they move to your desirable fruit.
Marigolds is an example of use around some edibles to reduce nematodes. Publication: Companion Planting, What is It?https://nwdistrict.ifas.ufl.edu/hort/2023/02/21/companion-planting-what-is-it/
What vegetables can I grow on a trellis? Cucumbers, squash, passionflower, pole beans, indeterminate tomatoes benefit for a trellis. Provides shade for ground plants in heat of summer.
Publication: Trellises and Cages for Vegetable Gardens, https://extension.umn.edu/planting-and-growing-guides/trellises-and-cages
I need to add soil to my native/food garden. What are considerations? Sandy soils may need some amendments. Compost should be mixed in and not grow straight in compost. Maybe add ½ inch.
Soil test first so you don’t add too much nitrogen through amendments. Publication: Soils and Fertilizers, https://sfyl.ifas.ufl.edu/lawn-and-garden/soil-and-fertilizer/
What vegetables grows among pine trees and cherry laurel trees? This environment may have a lower pH. Sweet potatoes may work well if you can bank up hills for planting the potatoes.
Make a pine straw bed too to plant sweet potatoes.
Publication: Sweet Potatoes, https://aggie-horticulture.tamu.edu/vegetable/wp-content/uploads/sites/10/2010/10/EHT-026-Easy-Gardening-Sweet-Potatoes.pdfGrowing Miss Figgy and how to fertilize a kumquat tree growing in a large pot?Fruit tree selections that are dwarf may work better and be prepared to up pot. Watering and fertilizer will have to be managed carefully in the container environment. Video: Small Edibles for Small Spaces,https://www.youtube.com/watch?v=3oVTBqs3I44
I have 3-4 blueberry bushes and they are 2-4 years old and haven’t fruited. What is wrong? Know the cultivar so you are sure they have a cross pollinator. Need the right conditions too. Blueberries set in the fall so if fall pruning, you may have cut off flowering structures. Soil pH is critical. Blueberries like acidic soil and they will struggle in higher pH soils. Publication: Blueberry Gardener’s Guide,https://edis.ifas.ufl.edu/publication/MG359
How do I grow lavender in the landscape? Lavender likes low humidity and drier conditions. Soil should be well drained and plants need good air circulation. Maybe try Phenomenal lavender. Grow in a pot that is very well drained and don’t amend soil when planting in the ground. Prune as needed to open up plant. Publication: Lavender, https://edis.ifas.ufl.edu/publication/FP337
Which apple trees grow best in North Florida? You can grow a tree but it does not produce well due to lack of proper chill hours. Try the Shell apple which is more adapted to north parts of the counties.
Our area may get 500-600 hours of chill generally. Publication: Dooryard Fruit, https://edis.ifas.ufl.edu/publication/MG248
How to protect plant from insects without pesticides, including squirrels? Reduce stressed by planting in the right spot and providing care. You will also have many diverse plantings in a foodscape to allow beneficial to help manage pest. Monitoring the garden is very important to catch problems early and physically remove. Consider safer options when pesticides are needed that are labeled for food crops.
Might use some screening for small mammals and fencing for large animals. Motion activated sprinklers and scare devices such as ribbon, foils. Chemical repellents that contain capsaicin. Publication: Natural Products for Pest Control,https://edis.ifas.ufl.edu/publication/IN197
What are the most common vegetables for small spaces?
Some plants will need at least 12 inches of depth such as tomatoes. Lots for winter edibles do well in small spaces and containers. Consider a patio version of the plant. There are small selections of Pineapple guava and Pomegranate although they may produce smaller fruit.
How easy is it to grow in containers?
You can grow in the ground with good soil and if you can work with plants on the ground.
Containers allow you to create the right soil environment easy. You do have to manage water carefully as the heat builds up. Publication: Growing Vegetables in Containers,https://gardeningsolutions.ifas.ufl.edu/plants/edibles/vegetables/growing-vegetables-in-containers/
What are the best tomatoes for the area? Determinate and cherry will perform a little better. Choose early or mid producing plants to get fruit
Panelist’s favorites are:
Everglades and Sungold, Early Girl, Cherokee Purple is an heirloom
What edibles can handle full sun? Most fruit plants like sun since they are needing lots of energy. Water must be available when rainfall is lacking.
Three fruit trees have not produced in 3 years. What do we need to do? We really need to know what they are first. Do they need a plant for cross pollination? Are they flowering but not fruiting? How are they planted? Deep planting will cause a plant to struggle. Contact your Agent for more help.
Will glyphosate residues from a fall application carry over to spring? Chemicals are regulated extensively so follow the label directions for safety. There should not be residue issues with this pesticide.
Try to manage weeds with other techniques like mulches, handpulling, directed watering, soil solarization, etc. Publication: Use of Glyphosate and Herbicide Alternatives for Weed Control in Florida Landscape Planting Beds, https://edis.ifas.ufl.edu/publication/ep580
What are some native plants for foodscaping?
Blueberries, blackberries, Chickasaw plum, pecans, persimmons, Maypop, Mulberry.
Use native plants to attract animals such as beautyberry.
Where can we find compost? Cotton gin to get cotton gin trash will need to be composted first. Manure from equestrian centers or zoos. Make sure it is composted too.
Peanut processing facility.
Escambia County has bloom compost from ECUA.
Note: Amended soil with compost can be flammable. Ash can benefit garden if needed. Test soil pH first so you don’t add too much.
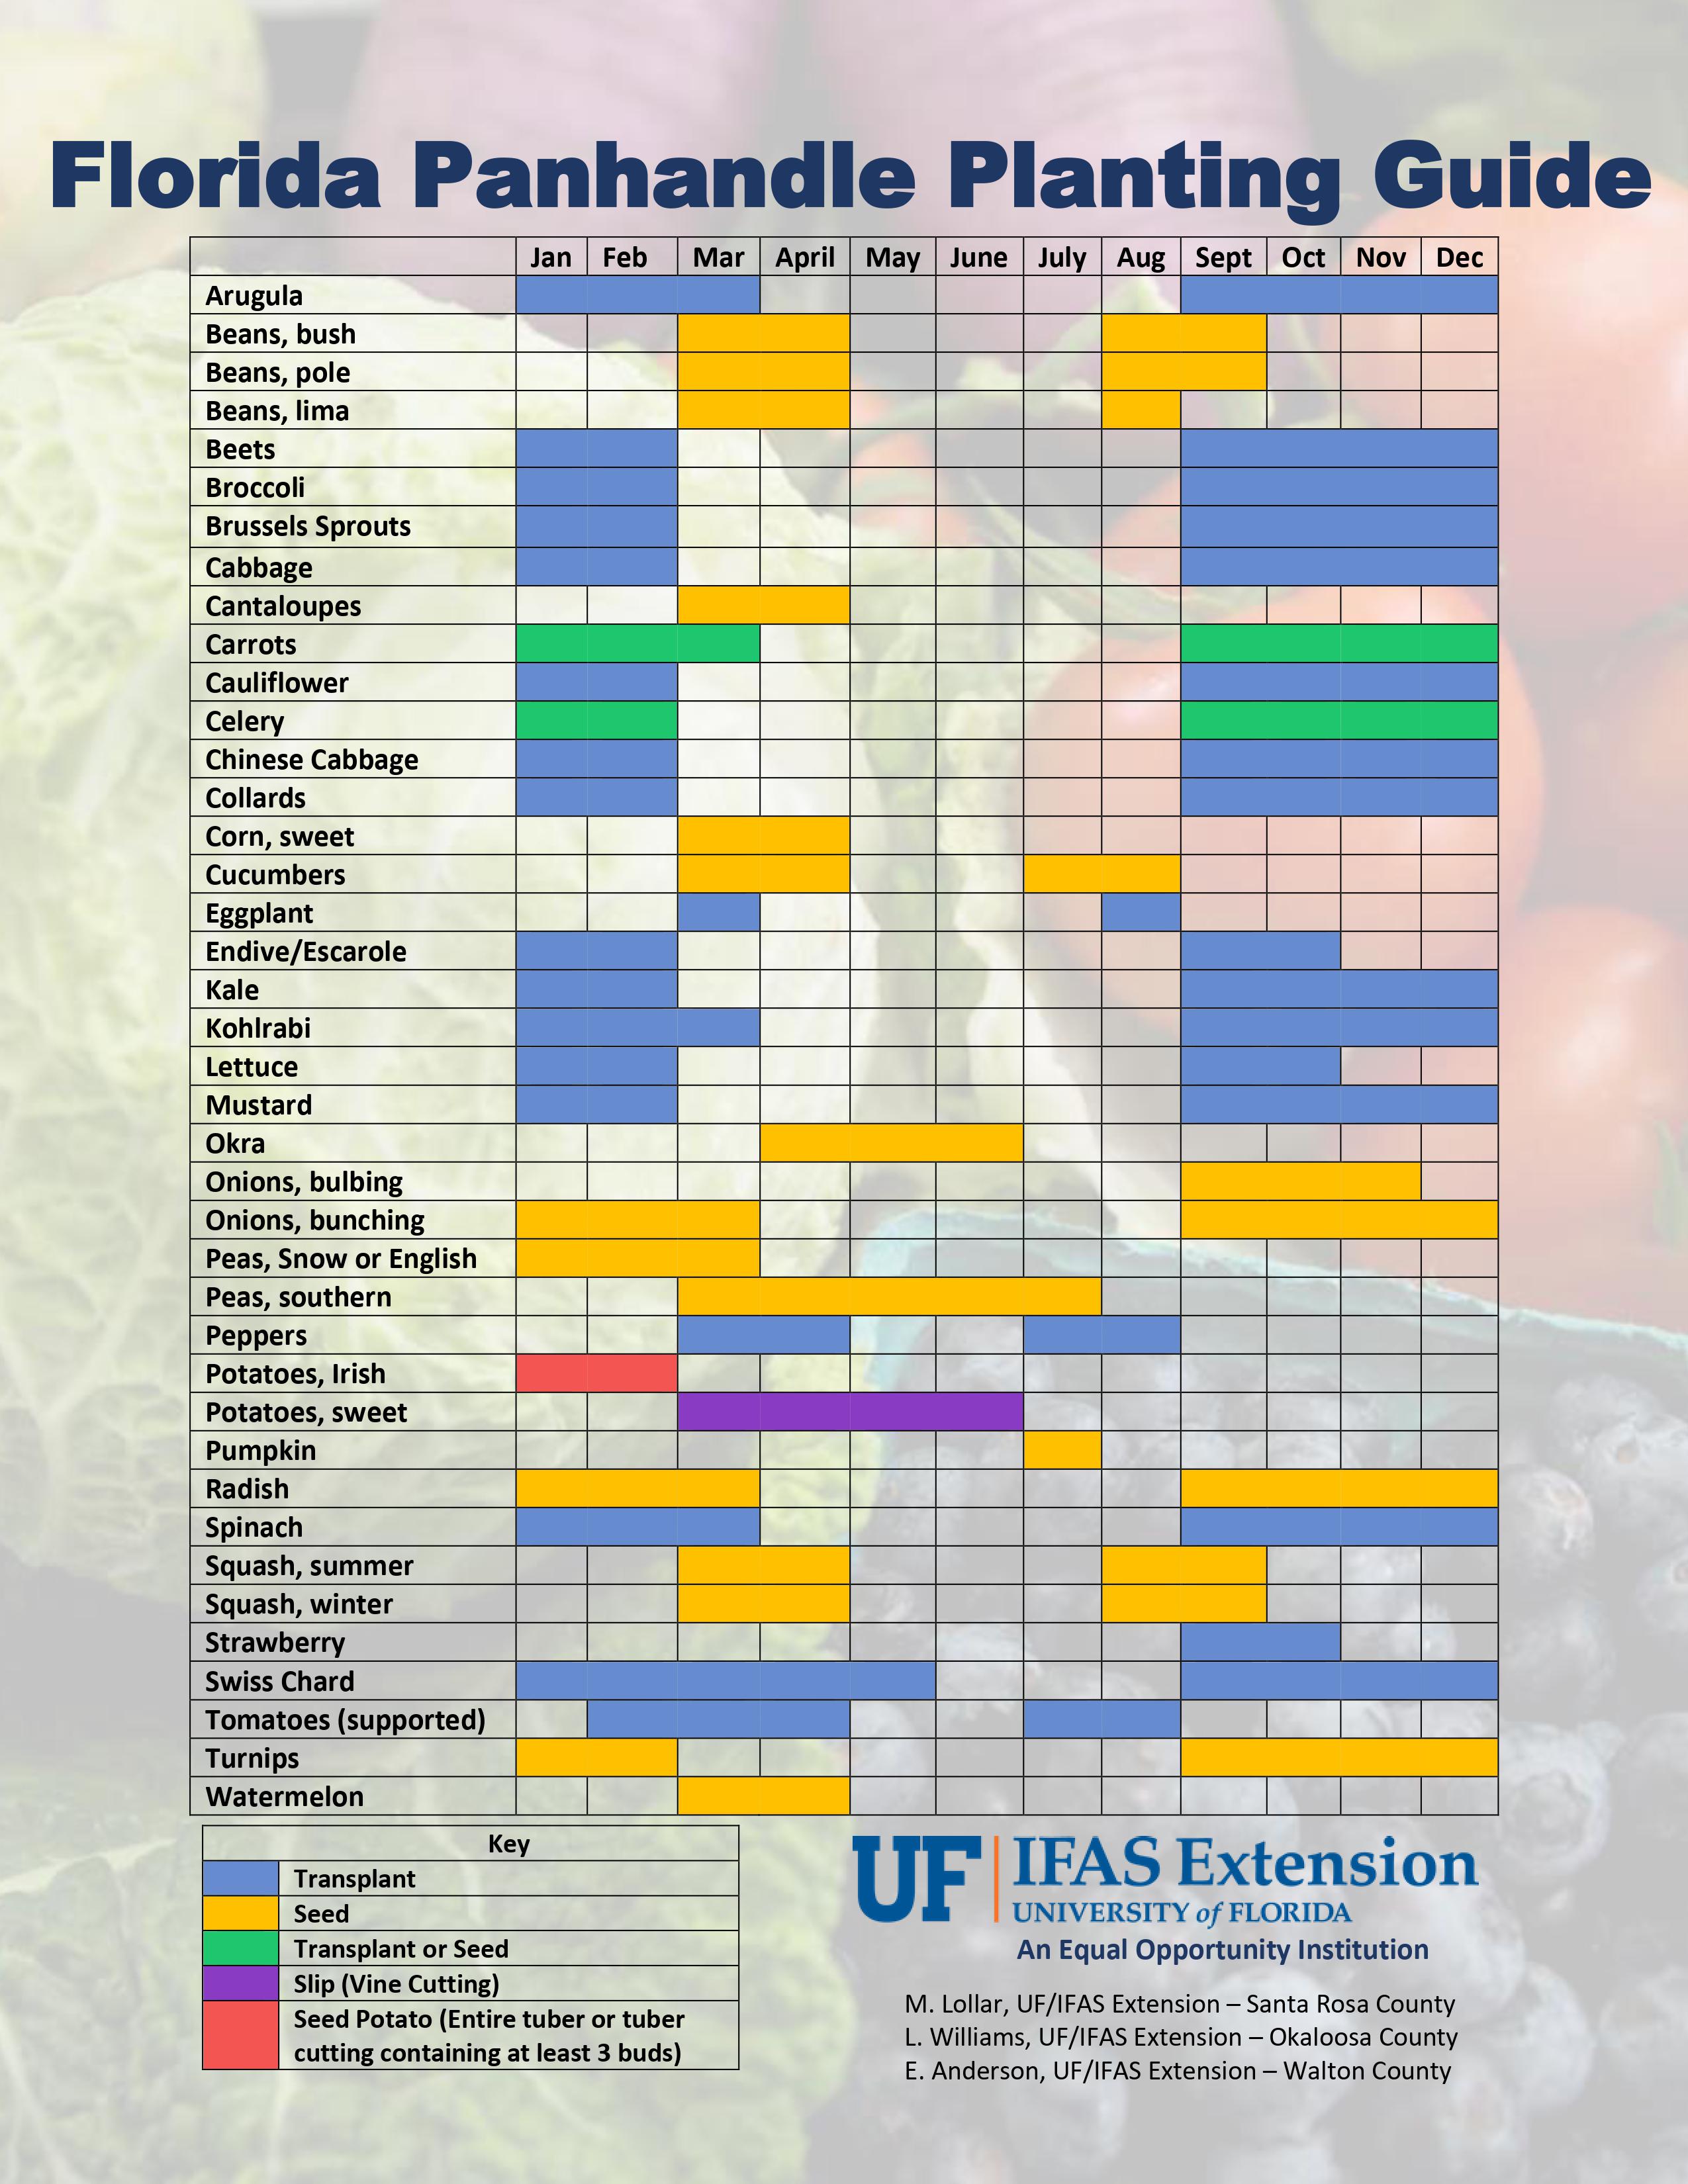
It’s a new year and if you’re still contemplating resolutions, here’s one for you. Stay organized with your vegetable planting schedule. Since it’s January, let’s start with what you can do now. Crops like beets, broccoli, and Brussels are best planted as transplants in January. But carrots and celery can be started from seed and potatoes can be planted as seed potatoes, which are usually pieces of potato tubers containing at least 3 buds (eyes). January is also a good time to start transplants indoors for the spring garden. Tomato and pepper transplants can be planted in the garden as early as February or March depending on the year. If all this planting talk is overwhelming, then at least consider collecting and mailing off a soil sample for nutrient analysis. More information on soil testing can be found on askIFAS. This will give you a head start on adjusting pH with lime and improving soil health with compost and other organic materials. To help plan this “Year of the Vegetable Garden” please click below to enlarge the image of the handy “Florida Panhandle Planting Guide”.
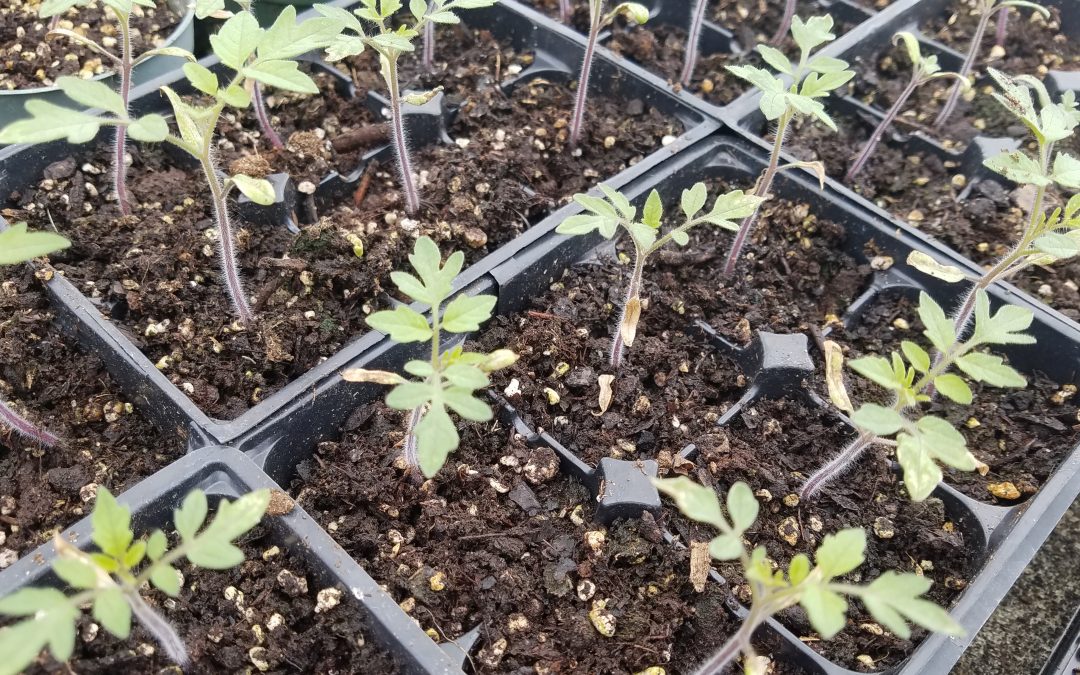
As we eagerly anticipate the arrival of spring, it’s the perfect time to begin thinking about planning your garden. A key thing to do to help prep yourself is starting your seeds. Whether you’re a seasoned gardener or just beginning, having the right tools and supplies is crucial for garden success.
Photo Credit: Tyler Jones, UF/IFAS
Seed Trays and Containers
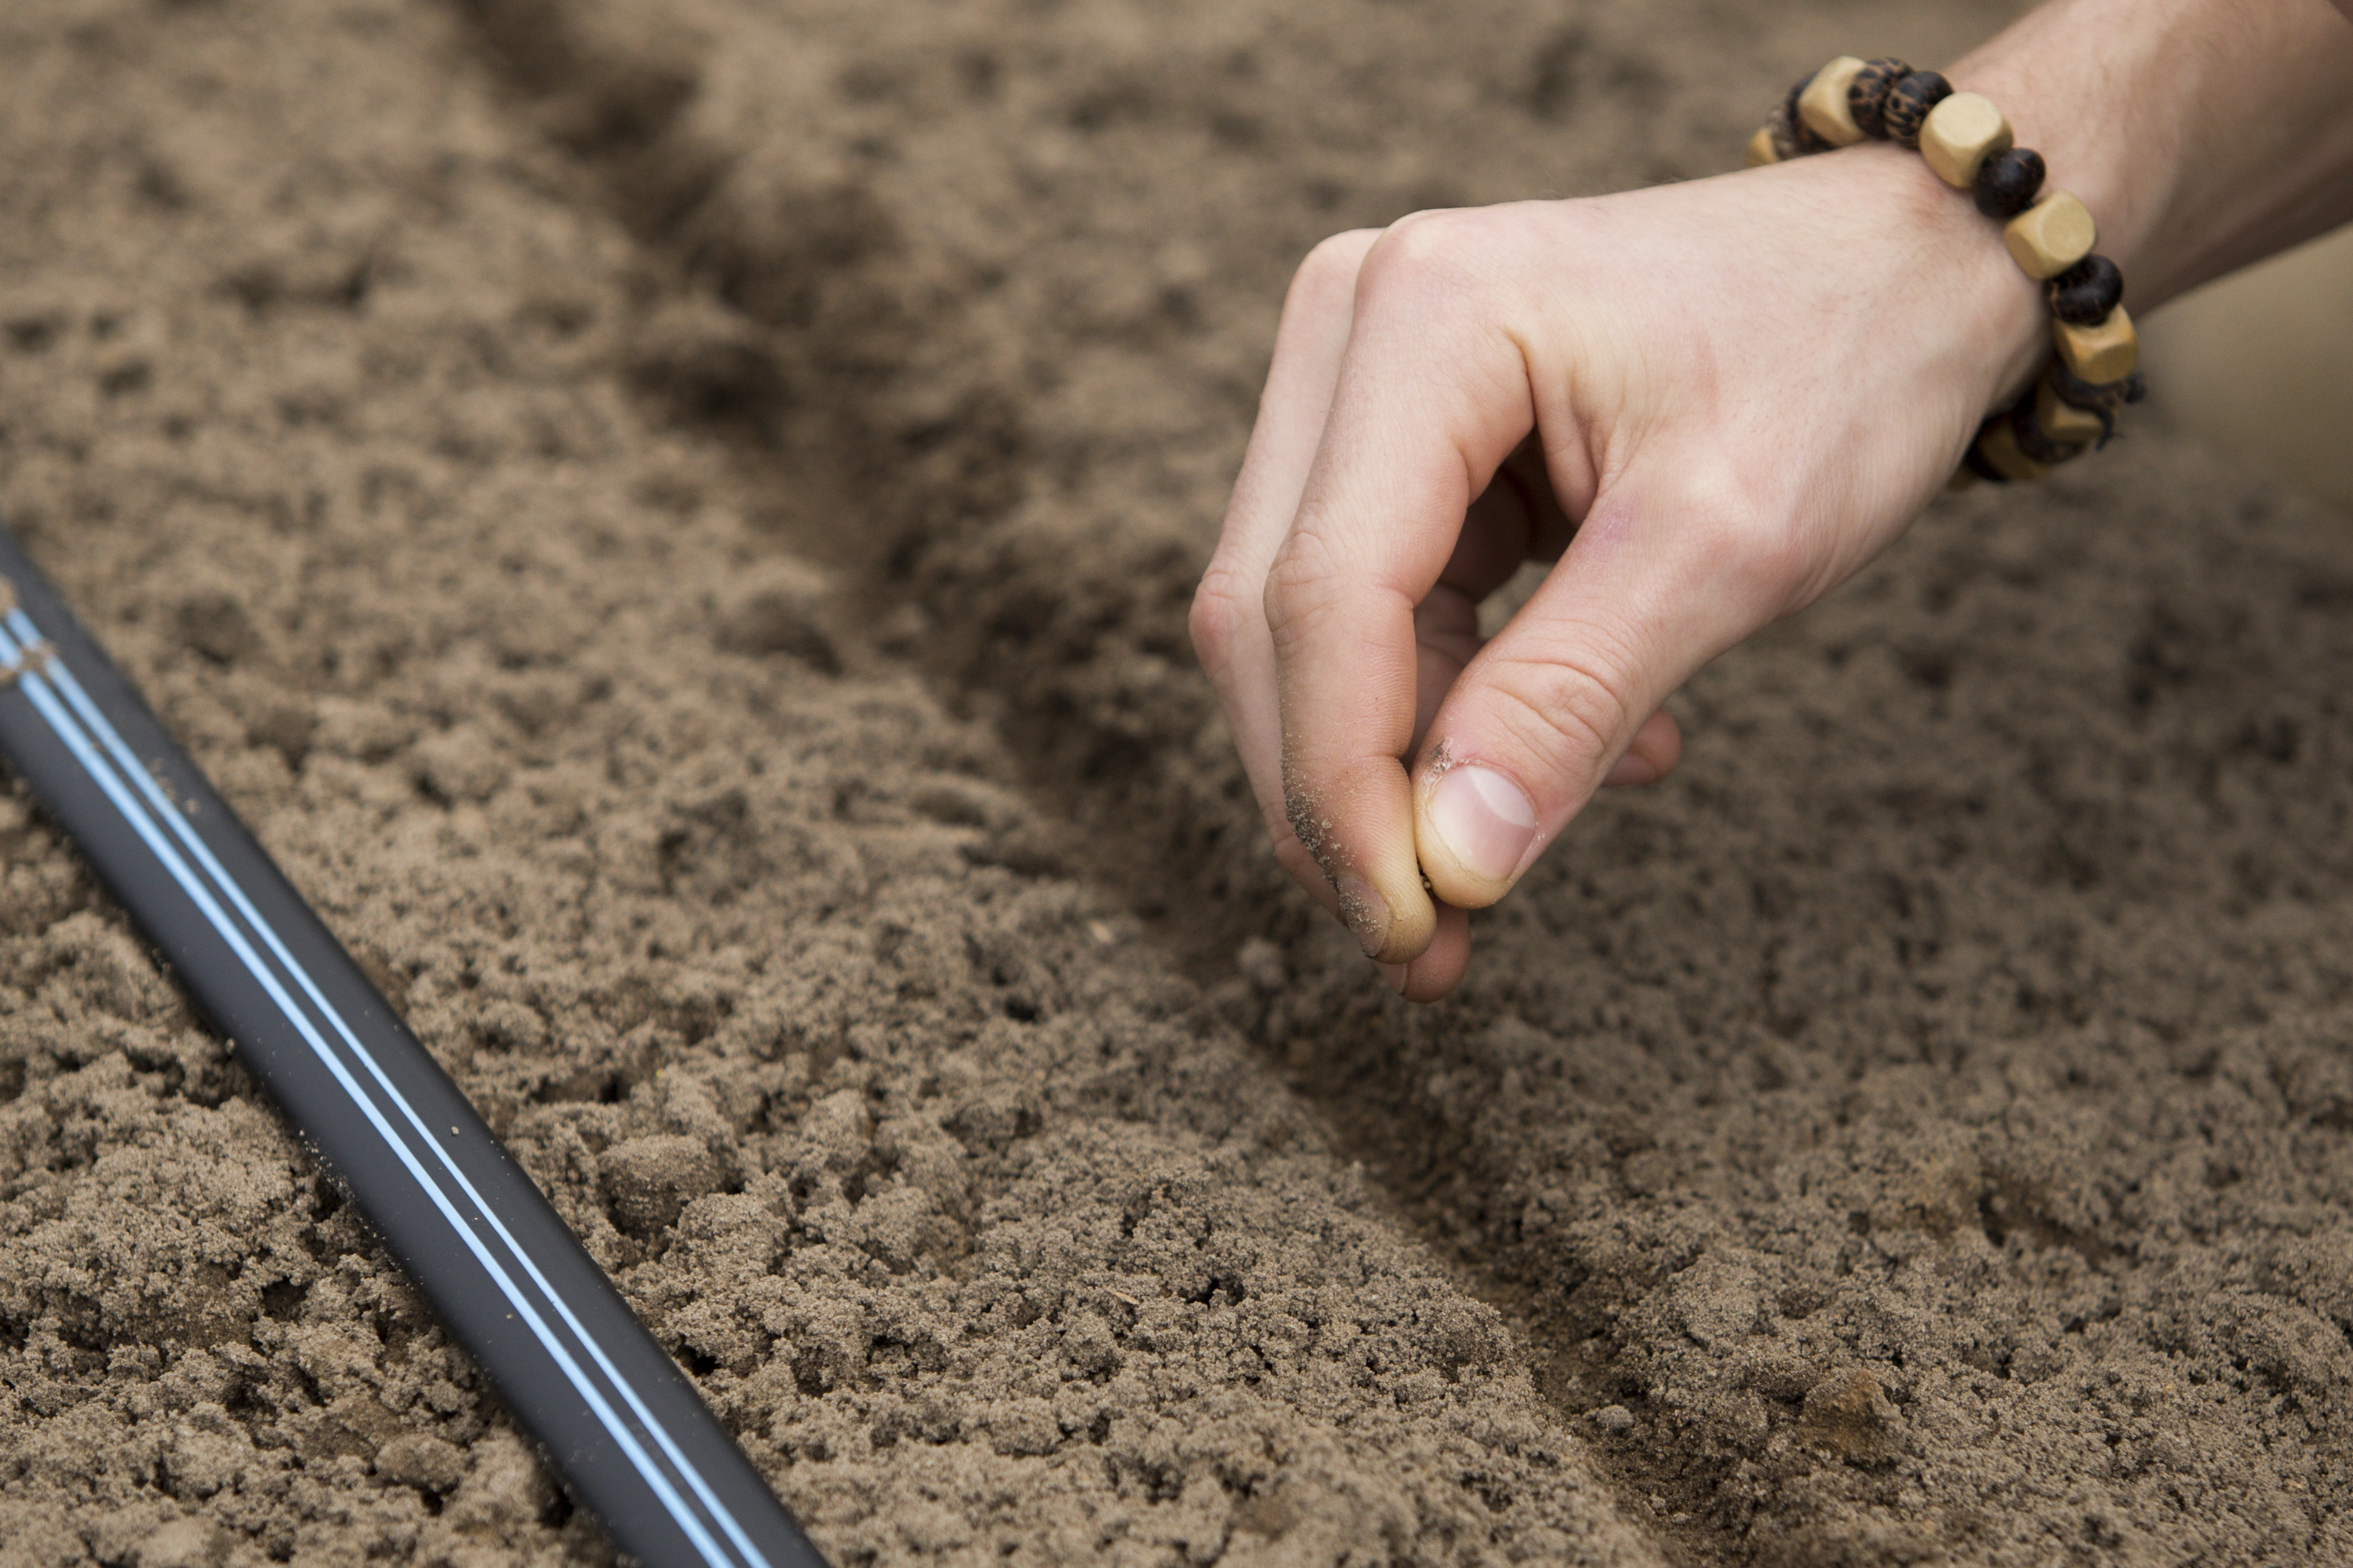
If you are intending to start seeds to plant between February and March, you will need to obtain seed trays or containers to germinate your seeds. Seed trays can come in different shapes and sizes, allowing you to accommodate for different types of seeds. When you have selected what seeds you are planting for this year, you will need to follow the seeding rates and spacing measurements on the back of the seed packet. You want to opt for a tray that has proper drainage to prevent any type of waterlogging, but still keeps some moisture to support seed germination. You will need a quality seed starting mix to create a strong foundation for your seeds to germinate in. Using a light weight media that will allow airflow is also important. When planting your seeds in the tray, smaller seeds can be broadcasted over the surface of your soil media and larger seeds will need to be covered.
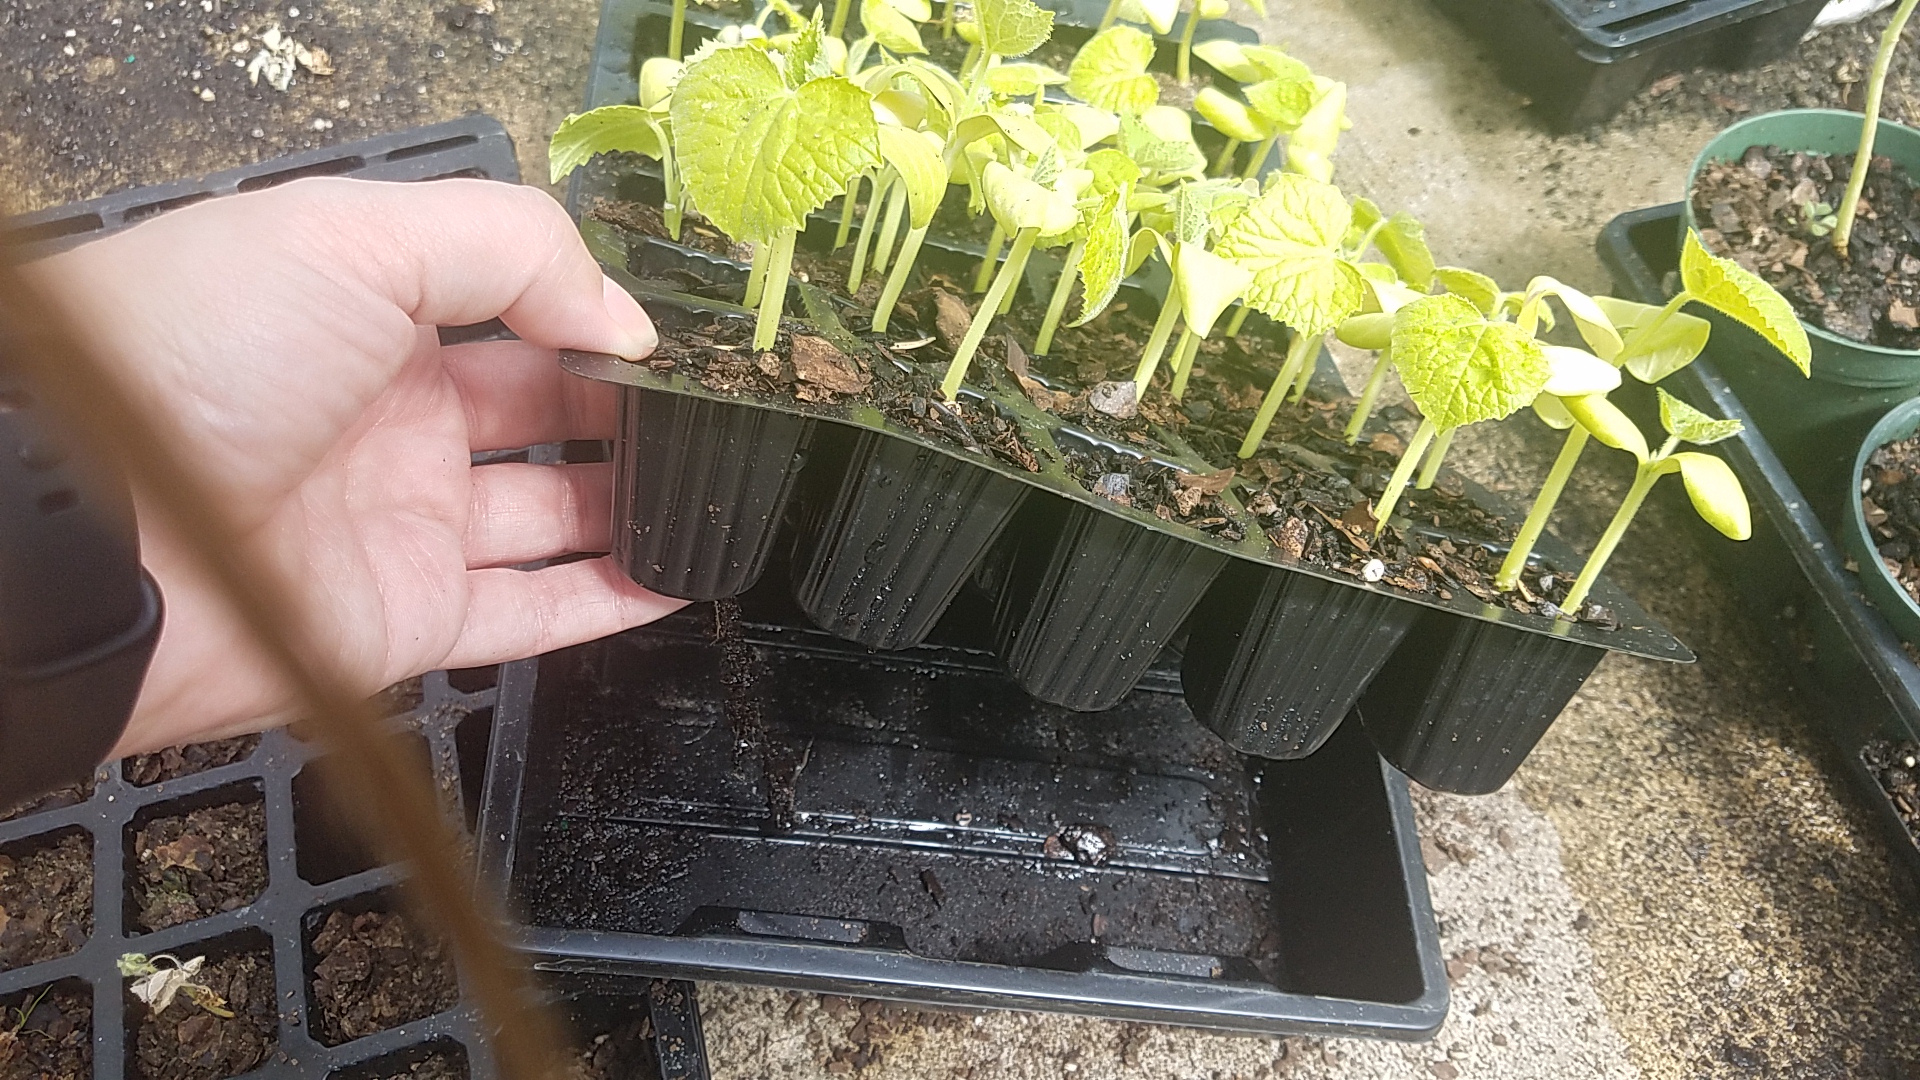
Example of a seed tray. Photo Credit: Terri Keith, UF/IFAS Extension Jackson County
Temperature & Humidity
Correct temperatures and humidity are both very important for successful germination of your seeds. Some trays come with a clear plastic cover or “dome” to help regulate the temperature and the humidity in the soil media. This creates a “greenhouse” effect for your seeds. If you are having trouble controlling the humidity, you may consider poking holes in the cover if there is too much moisture in the soil media. Once the humidity is controlled, cover the holes with clear tape.
Your seeds will need warmer temperatures to aid the process of germination. A tool you might consider investing in is a heat mat. The heat mat lays underneath the seed tray and helps provide warm temperatures consistently during the day and night, keeping the soil media warm enough to allow the seeds to germinate properly. Most heat mats are electrical and will need to be plugged in, so starting your seeds indoors may be a better option during January and February. After the seeds have germinated and have grown to about 2 inches high, they will need to be thinned out and transplanted to a bigger container until the time is right to transplant them to your garden.
Organization
When planning any type of project, it is always important to stay organized. If you are planting different kinds of seeds in one tray, using labels to know which seeds were planted will help you after the transplants have grown to their desired height. Once you have planted all the seeds that will be used, storing them correctly for the next season is vital. Storing them in a temperature controlled environment that is free from excess moisture is crucial so that they stay viable for the next season. It is also important to keep stored seeds labeled with the packet they came from to know spacing and number of days to harvest for the coming year.
Arming yourself with the necessary tools and knowledge is essential to nurture your seeds into thriving plants. Whether you’re cultivating a windowsill garden or preparing for an outdoor oasis, knowing the key steps to starting your seeds will lay the groundwork for a great harvest.
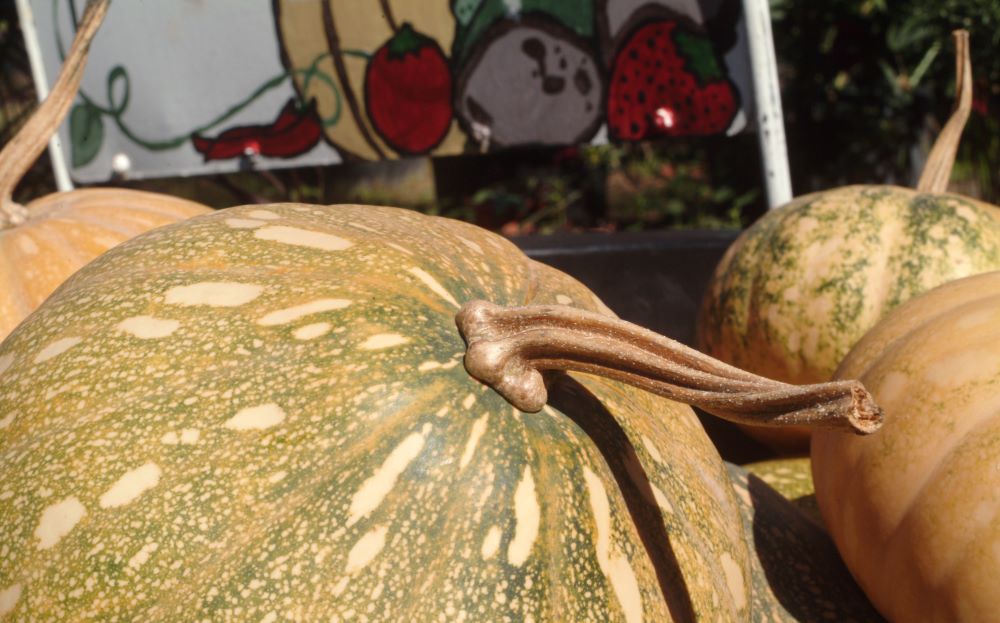
You’re in the right hands if you want to grow pumpkins in Florida. While growing pumpkins can be tricky in Florida’s hot and humid climate, you can successfully grow Sunshine State pumpkins with the proper planning and care. Pumpkin is a popular vegetable in the cucurbit family. It shares this family with members of summer and winter squash. The pumpkin varieties differ from those called squashes by having coarser, more intensely flavored flesh and rinds that are softer at maturity than the winter squashes but harder than the summer squashes. Pumpkins refers to certain varieties of C. pepo L., C. moschata Duch. ex Poir., C. mixta Pang., and C. maxima Duch. Local tradition and common usage may dictate that a particular variety is called a squash in one area of the country and a pumpkin in another.
Pumpkin Varieties Choosing the right pumpkin variety is a major decision when growing pumpkins in Florida. Not all pumpkin varieties are suited to Florida’s warm and humid climate. Seminole Pumpkin is a native pumpkin variety well-suited to the state’s warm and humid environment. Traditionally grown by the Calusa, Creek, and Miccosukee peoples, Seminole pumpkins remain one of the tastiest and most reliable for Florida gardens. Seminole pumpkins are known for their hardiness and resistance to disease and pests. The Big Max variety is known for producing giant pumpkins that can weigh up to 100 pounds or more. Big Max pumpkins do well in Florida’s warm climate but may require extra care to prevent pests and diseases. The Jack-o-Lantern variety is the classic Halloween pumpkin for carving and decorating. Look for types suited to warm climates, such as “Funny Face” and “Big Moon.” The Pie Pumpkin variety is best used for cooking. If you plan to use your pumpkins for cooking, look for pie pumpkin varieties such as “Small Sugar” and “Early July.” These pumpkins are smaller and sweeter than carving pumpkins and are ideal for making pies, bread, and other baked goods.
Planting
Most pumpkin varieties need around four months to reach maturity. Pumpkins should be seeded by early July to be ready for Halloween. Spring pumpkins planted in March or April can be stored for use in October and November (though long storage is difficult in Florida). Early August seeding provides a fall crop for late November. Choose a sunny spot with well-drained soil for your pumpkin patch. Pumpkins can be grown in small gardens or containers if you need more space. Plant your pumpkin seeds about 1 inch deep and should be placed 6 feet in either direction, except for the bush types. Plant 3-4 seeds per hill, then thin when the plants are 2-4 inches tall.
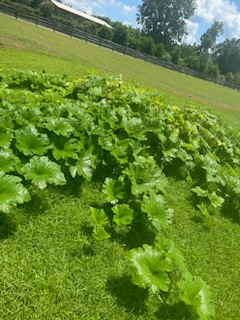
Seminole pumpkins planted in raised beds at UF/IFAS Extension Jefferson County Office
Photo: De’Anthony Price
Maintenance
Once your pumpkin seeds have sprouted, it’s time to start caring for your plants. Pumpkins need consistent moisture to grow, so be sure to water them regularly. Aim to give your plants about 1-2 inches of water per week. Water thoroughly after planting to help the seeds settle in. Climbing varieties like Seminole can be trellised for more space while using slings to support larger fruits. Use a balanced fertilizer to help your pumpkins grow strong and healthy. Apply the fertilizer according to the package instructions. Pumpkins do well with large amounts of compost. Place compost under each hill before seeding. Side dress with a handful every three weeks or as needed. Keep an eye out for pests such as squash bugs and cucumber beetles, which can damage your plants. If you notice any signs of pests or disease, treat your plants with a pesticide or fungicide as needed.
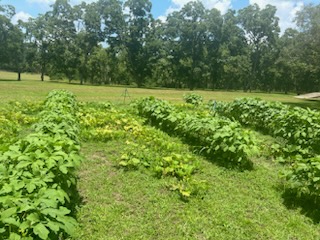
Intercropping of okra and pumpkin (Jack-o-Lantern) planted at UF/IFAS Extension Jefferson County Office
Photo: De’Anthony Price
Fruiting
Like other cucurbits, pumpkins need bees for pollination to produce fruit. Bees are the primary pollinators for pumpkins, so make sure to plant flowers and other plants that attract bees to your garden. Each plant holds male and female flowers, and knowing the difference between them is essential. Male flowers have a long, thin stem and no fruit behind the flower. Female flowers have a swollen, bulbous base that will eventually become pumpkins. It’s essential to have a good balance of male and female flowers to ensure a proper fruit set. If large-size fruits are desired, keep only two fruits on the vine. Once two fruits are the size of baseballs, remove all others as they form.
Harvest and Storage
Pumpkins are ready to harvest when the skin is hard, and the stem is dry and brown. Cut the stem about 2 inches above the pumpkin. After harvesting, allow your pumpkins to cure in a cool, dry place for 10-14 days. Curing helps the skin to harden and protect the pumpkin from pests and diseases. Once your pumpkins are cured, store them in a cool, dry place with good air circulation. Avoid storing them on concrete or damp surfaces, which can cause them to rot. Pumpkins keep for a few weeks, but long-term storage of 1–4 months is challenging in Florida. Store them in a dry (70% RH) and cool (50–60°F) place where possible.
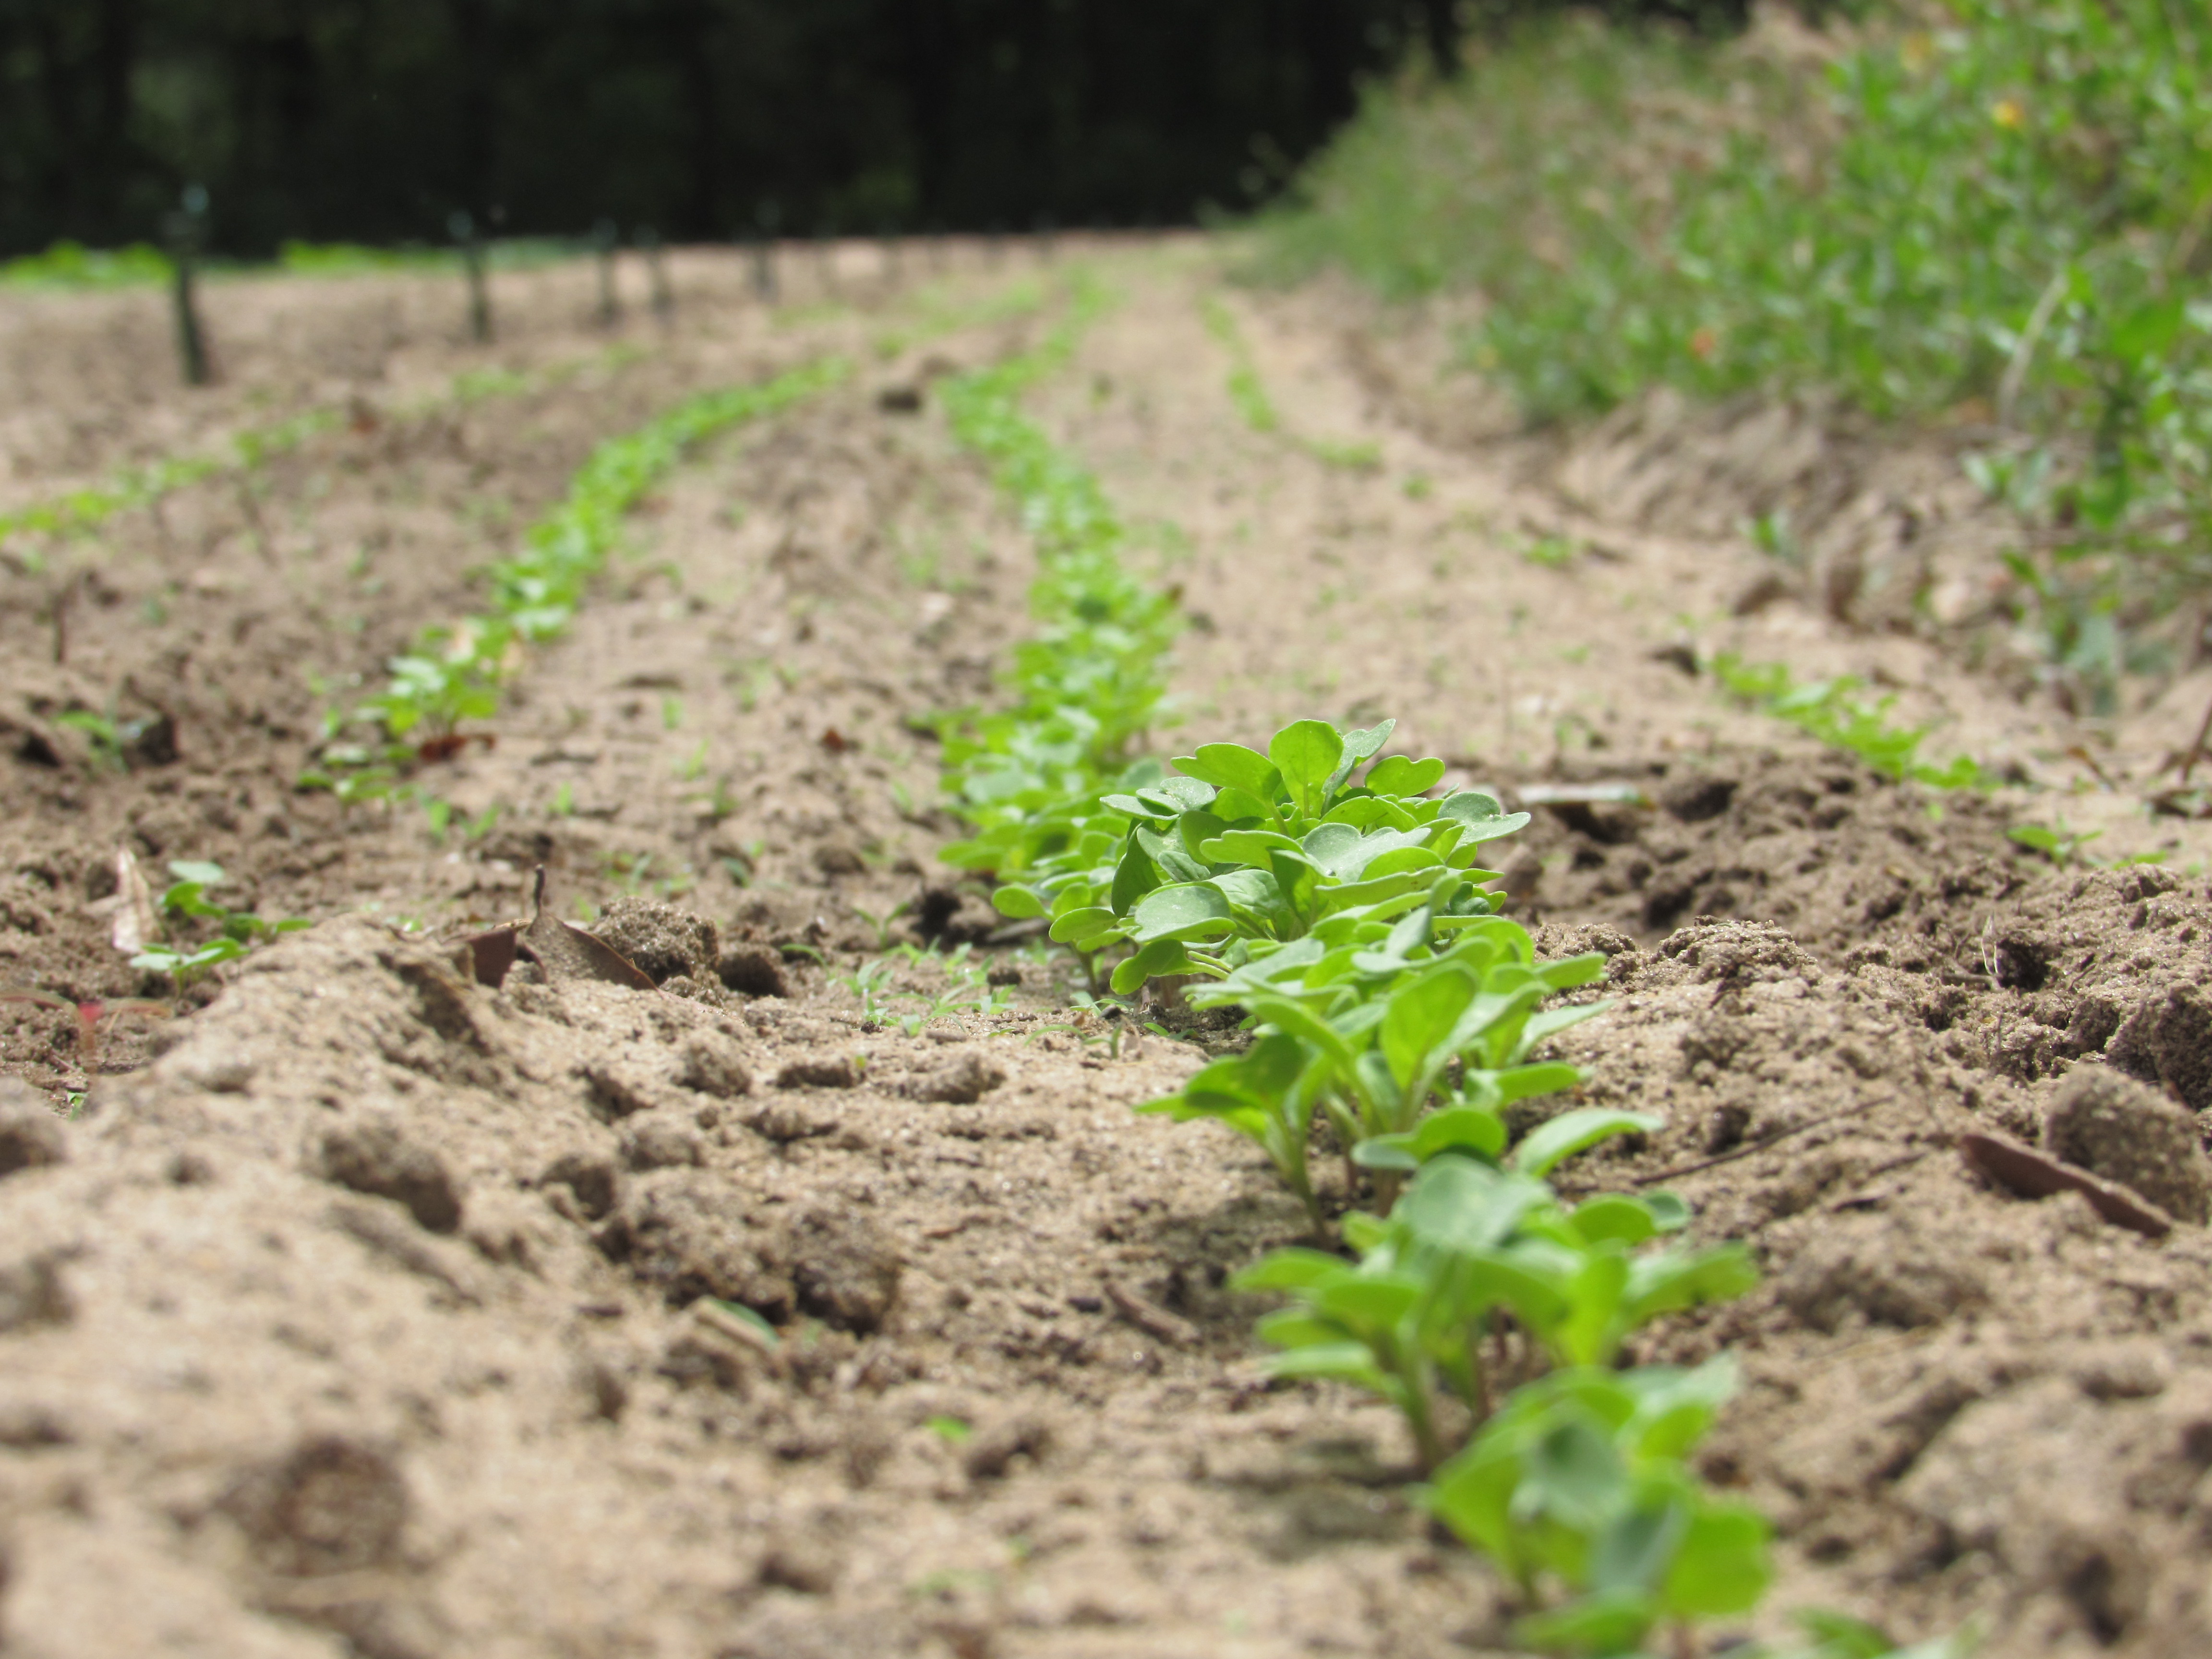
Yay, we are halfway through with August and our summer is winding down! This is the perfect time to start prepping for that fall garden. Growing a productive fall vegetable garden requires thoughtful planning and good cultural practices. This process consists of selecting a site, planning the garden, preparing the soil, choosing the seeds and plants, planting a crop, and nurturing the plants until harvest time. In the Florida Panhandle it can be a challenge to get cool season crops started; there is a balance in starting them early enough to allow them to mature (50-60 days) before a hard frost and getting them through the end of a hot summer.
August and September are the main planting times for a fall garden. There are several cool-season crops and a final crop of warm-season vegetables that can be planted. Some good warm season crops are lima beans, cucumbers, eggplant, peppers, and tomatoes. Going into September it will be a good time to establish strawberry plants. Some good vegetables to start growing just around the corner are broccoli, carrots, cabbage, collards, mustard, and Swiss chard. https://edis.ifas.ufl.edu/NorthFloridaGardeningCalendar Herbs that do well are cilantro, parsley, and lemongrass. Mint, oregano, and thyme should be planted in containers as they tend to spread. Mexican tarragon, mint, rosemary, and basil will also do well in September. See Herbs: http://edis.ifas.ufl.edu/topic_herbs
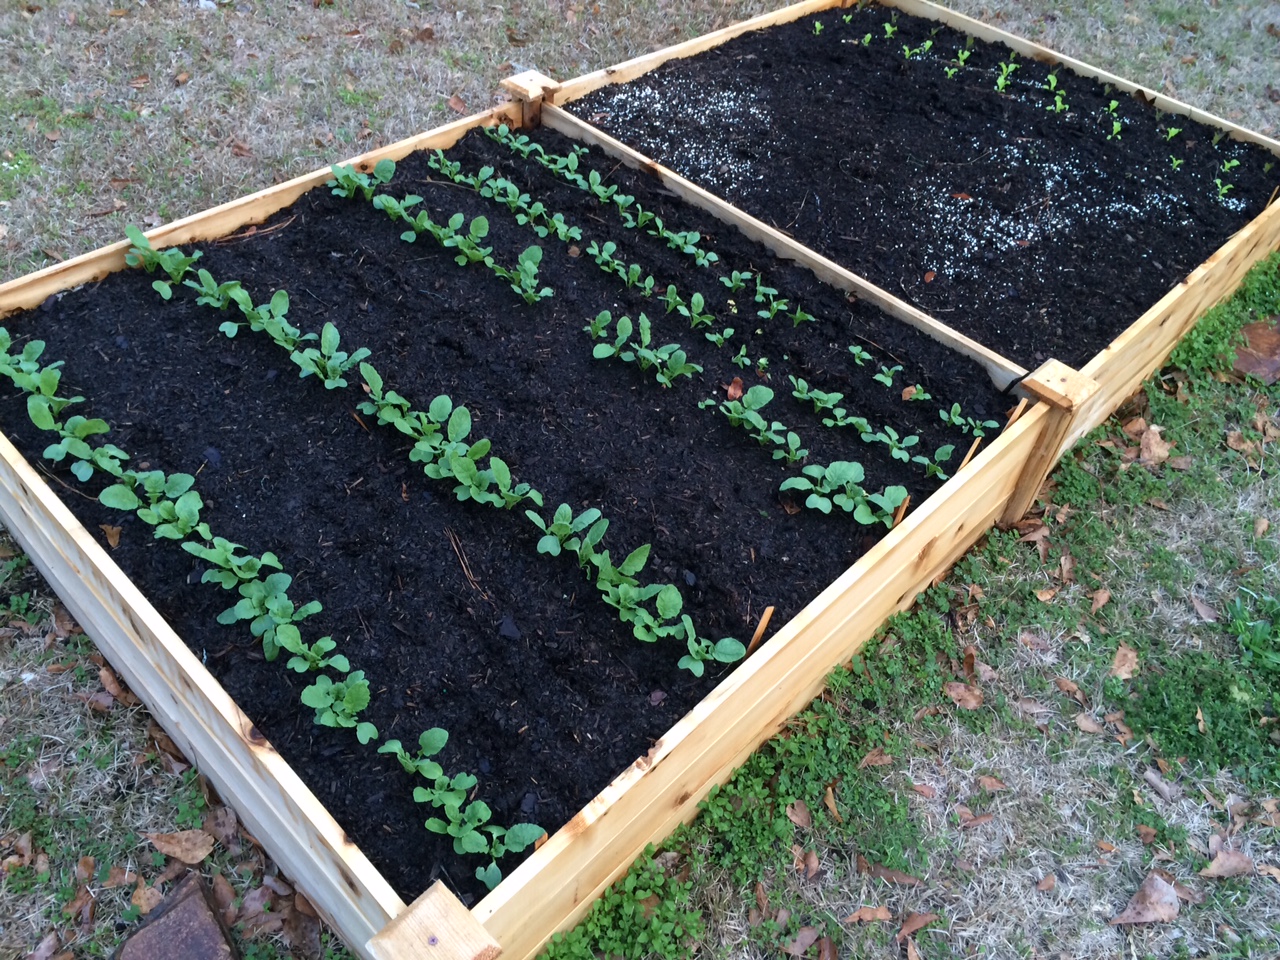
Transplants from the local garden center will get the garden off to a fast start while seeds will offer more varieties to choose from. It is also important to think about your location. A vegetable garden can be in the ground, a raised bed, or even grown in containers. Your plants will need more than just a place to grow. They will also need sunlight, water, air, soil, fertilizer, and care. Most vegetables require at least 8 hours of sunlight. Keep an eye out for pest problems such as insects, diseases and weeds because they will continue to flourish in warm temperatures and high humidity. To help conserve soil moisture a layer of newspaper and mulch can be placed between the rows. Mulch also aids in weed control.
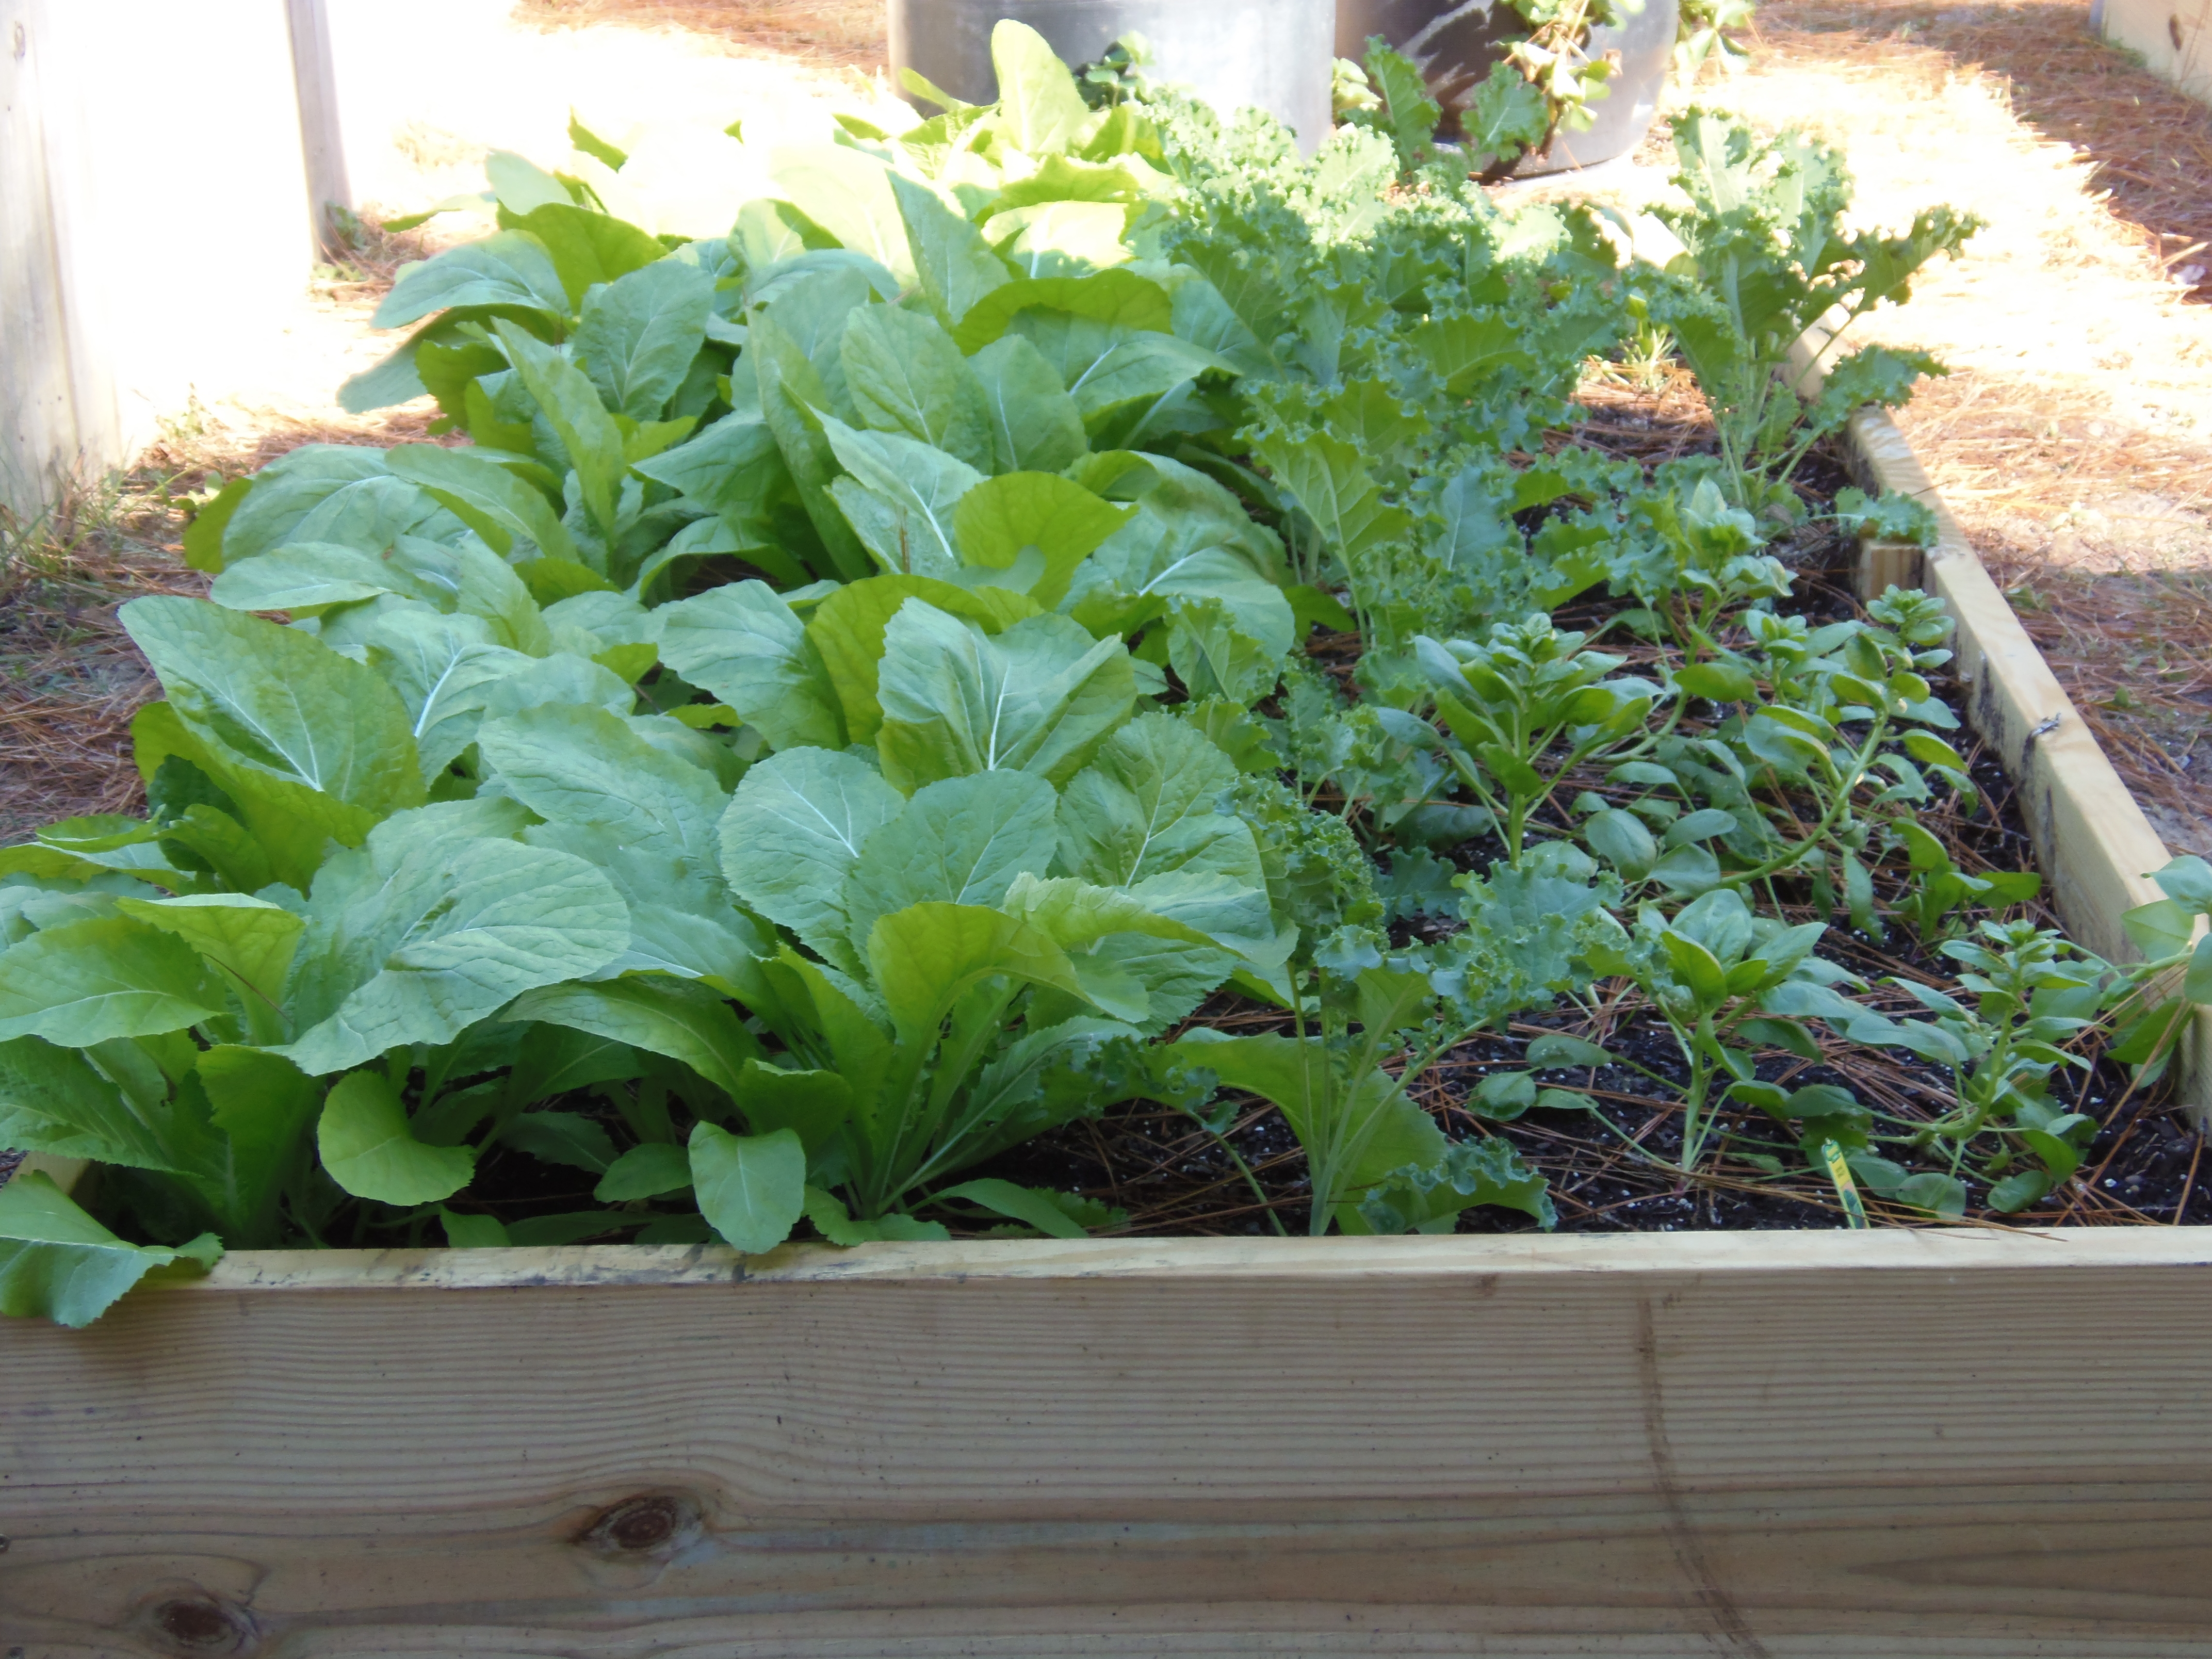
Raised beds are an excellent way to get started with gardening. Photo by Molly Jameson.
The result of a beautiful, successful vegetable garden is fresh produce to eat, share with neighbors, family, and friends and even the possibility to sell your harvest. With patience and practice your gardening skills will improve every year! Follow the above few tips and you will be well on your way to a great harvest! For more information about starting a fall garden or any other horticultural or agricultural topic, contact your local UF/IFAS County Extension Office. Happy Gardening