by Molly Jameson | Mar 26, 2018
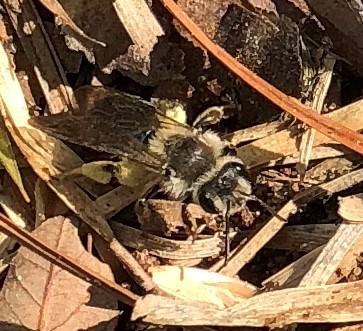
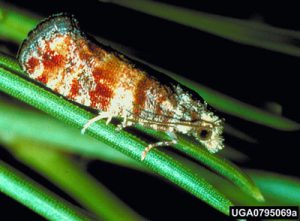
Digger bees resemble honey bees, although they do not sting, and would only bite if mistreated. Photo by Molly Jameson.
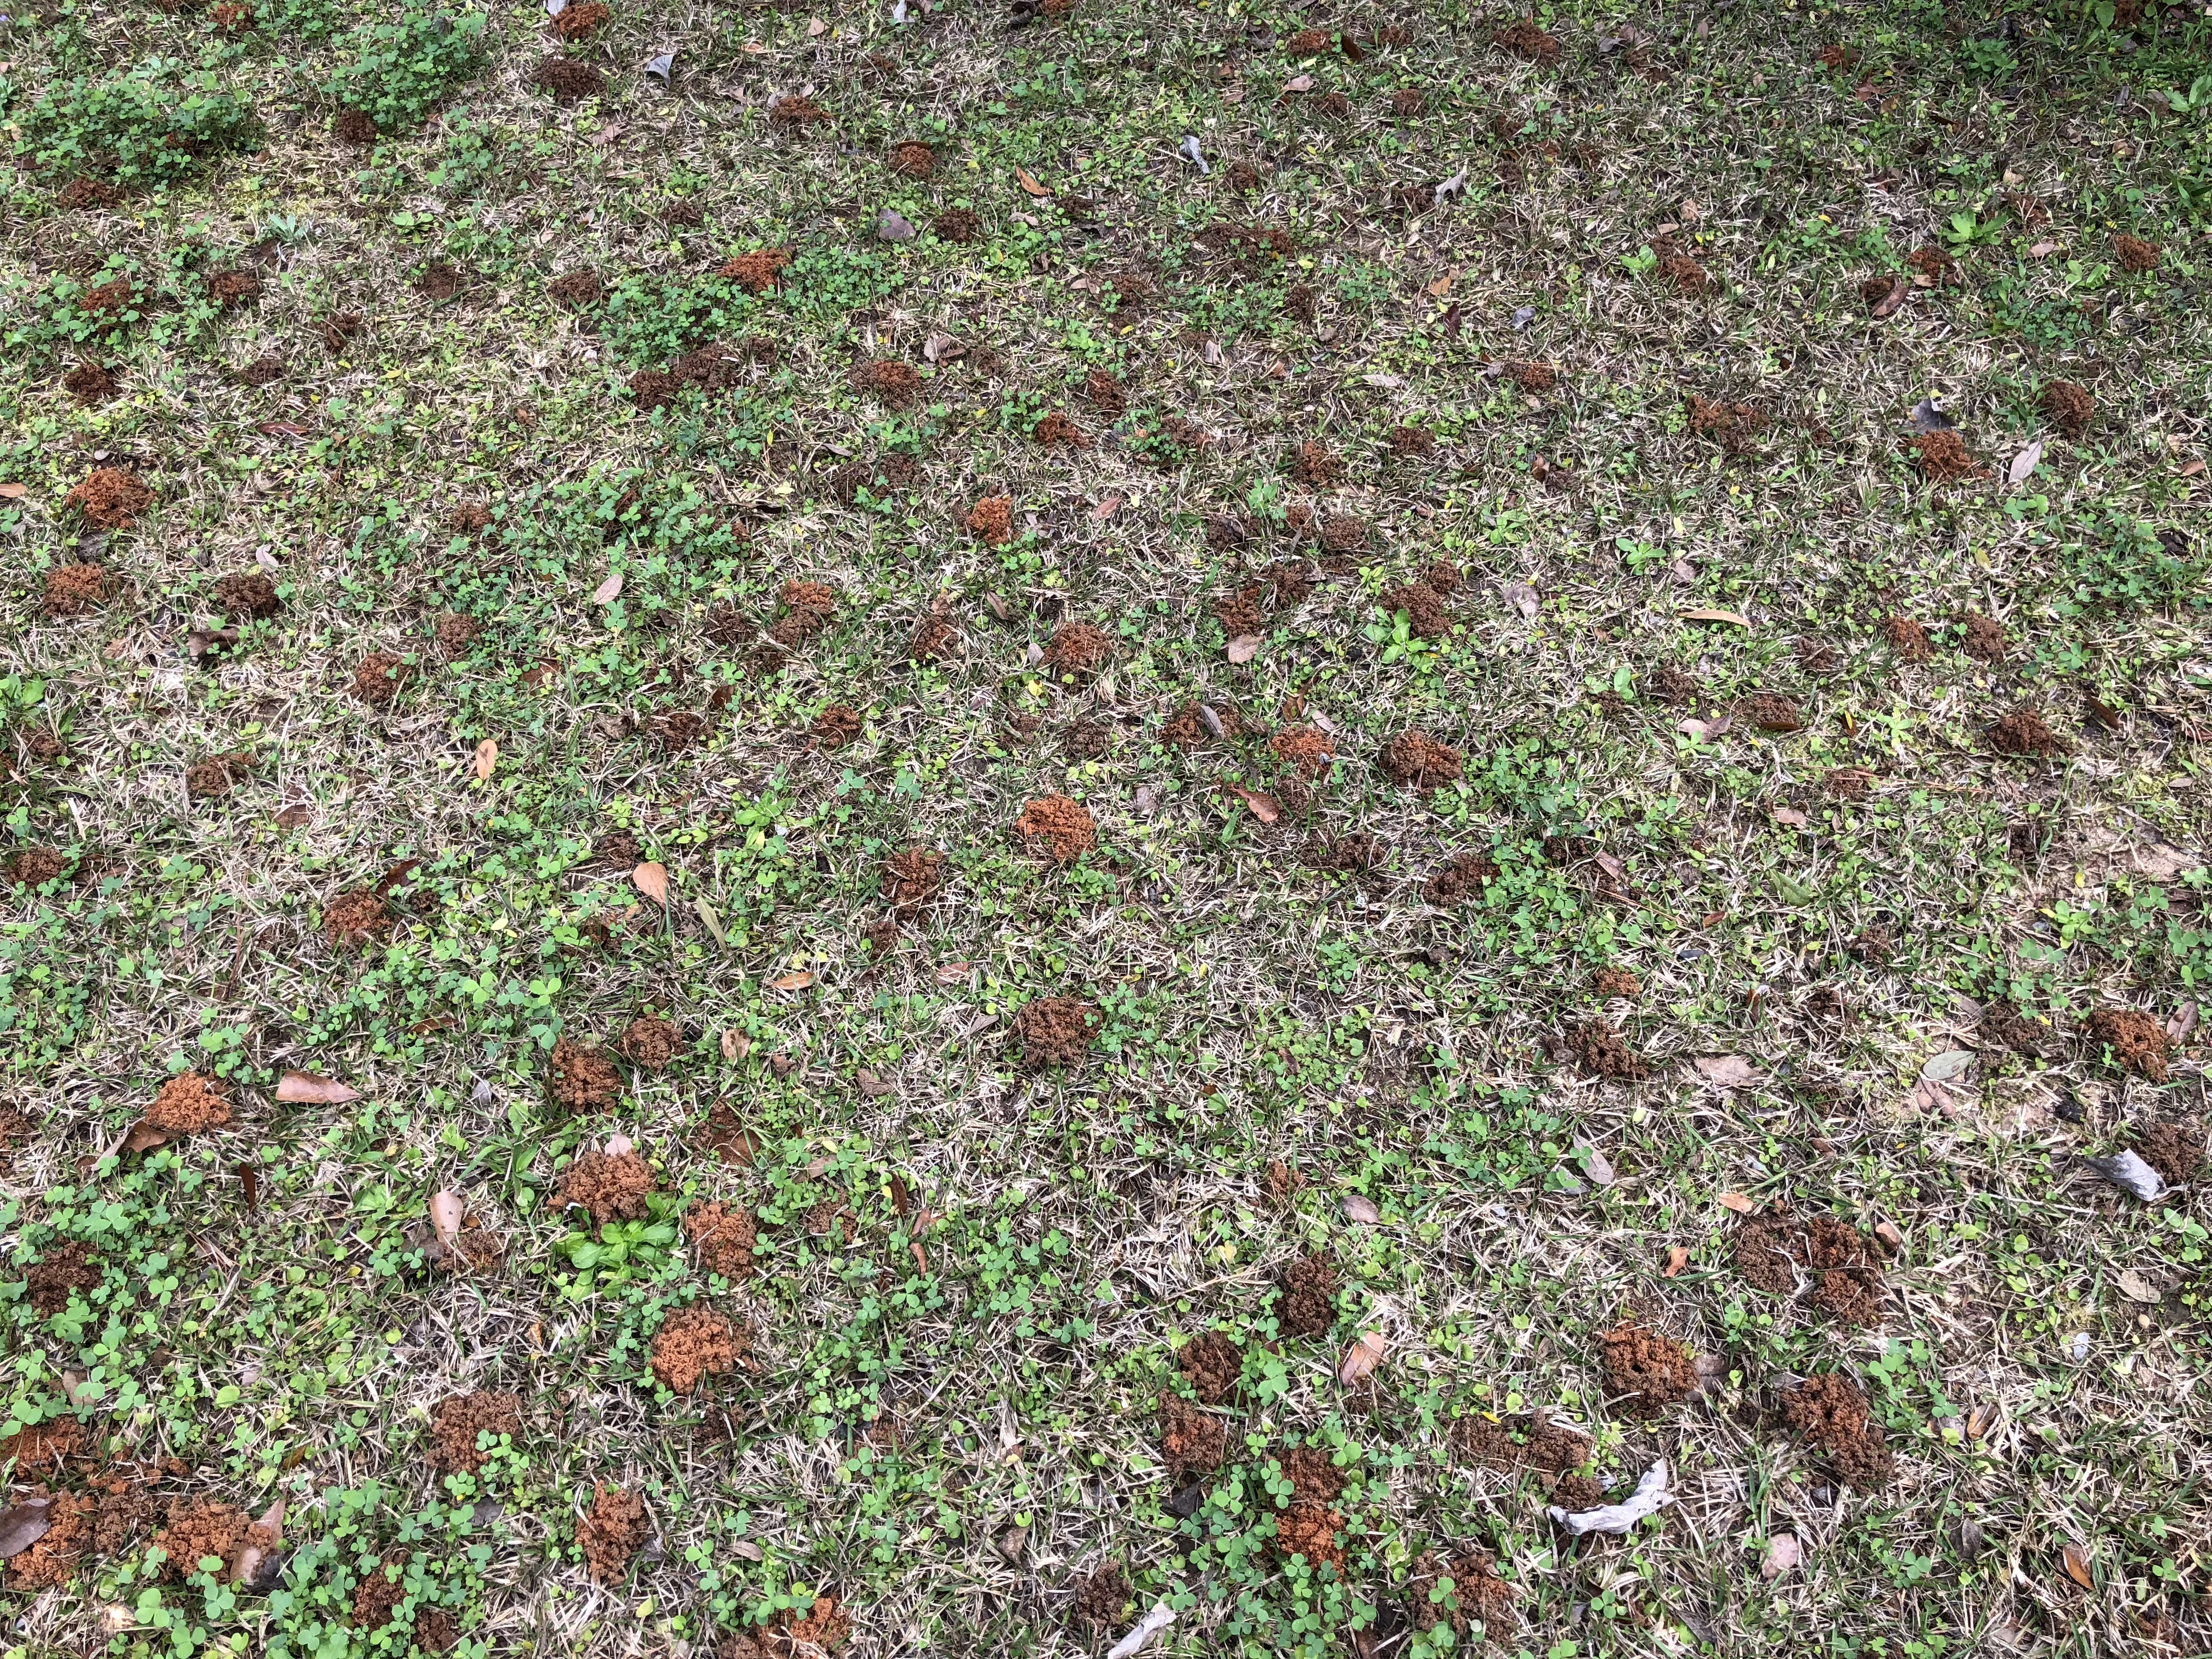
Have you noticed many little dirt piles that resemble mini ant mounds around your yard? Well, fear not, for these mini mounds are made by digger bees who are excellent, yet ephemeral, early-spring pollinators.
These solitary ground-nesters are native to our area and only appear for four to six weeks to raise their offspring. Although they do not produce honey, they resemble honey bees in size and shape. They also do not sting and would only bite if they were handled roughly.
Female digger bees build their nests close together, creating clusters of many small mounds. Photo by Molly Jameson.
Otherwise known as miner bees, females create their underground cylinder-shaped nests in dry, well-drained soils, often right next to each other, creating patches of many mounds in a small area.
These bees will pollinate many early-spring blooming flowers – a bonus for gardeners – as they collect pollen to add to each cell that they excavate. They then lay their eggs on these pollen masses, cap the cells with clay, and complete their life cycles. The eggs hatch about five days later and emerge from the chamber created by their mothers.
While digger bee mounds may detract from an otherwise tidy lawn, they will do no harm, and can actually be beneficial, in that they improve air, water, and nutrient percolation. If you feel you must discourage their presence, simply run a sprinkler over the area as their season approaches. They prefer dry soil rather than wet soil and will look elsewhere to build their nests.
But better yet, take a seat on your front or back porch, pour yourself some lemonade, and take in the soothing hums of their wings as they do their work.
by Carrie Stevenson | Mar 26, 2018
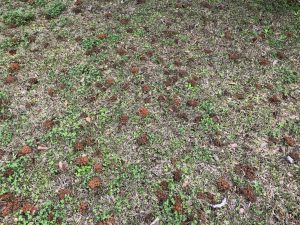
Ah, the oft-ignored pine tree. They are so ubiquitous throughout the southeast, that many people consider them undesirable in a landscape. Having grown up near the “Pine Belt” of Mississippi, I figured I knew plenty about them, but this week I learned something new. While on a field tour with local foresters in the business of loblolly and longleaf pine farming, they introduced me to the pine tip moth. These insects can wreak havoc on valuable young pine trees.
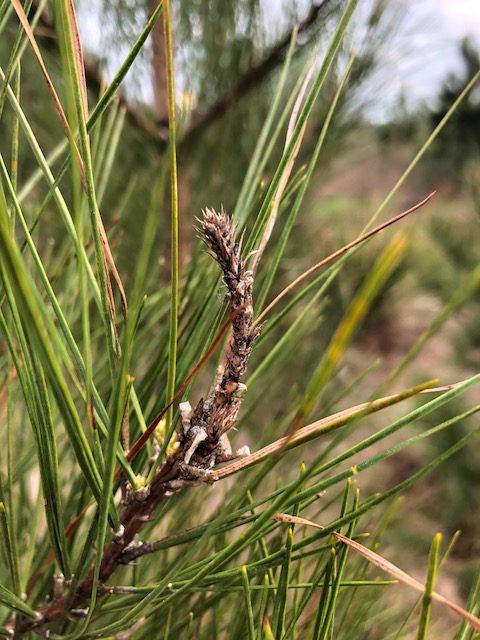
Dead branch tip and needle damage caused by pine tip moths. Photo credit: Carrie Stevenson, UF IFAS Extension
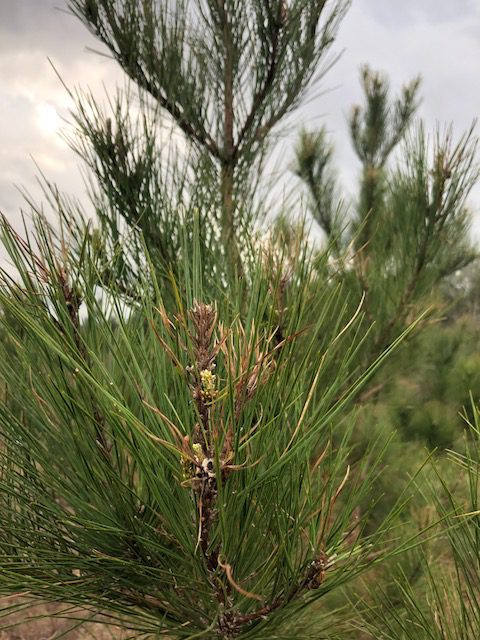
Hollow space in pine tree branch created by pine tip moth. Photo credit: Carrie Stevenson, UF IFAS Extension
Female pine tip moths lay eggs on the growing end of a pine branch—particularly young, healthy loblolly and shortleaf (longleaf is rarely affected). When the eggs hatch 5-30 days later, the larvae start feeding. They tunnel into the shoot and bud of the pines, feeding on the tissue and burrowing a hollow cavity for several weeks. The larvae then pupate inside the space until becoming adult moths, exiting from the hole they created. The cycle restarts, with more adult moths, eggs and larvae.
Adult Nantucket pine tip moth Rhyacionia frustrana (Comstock). Photograph by James A. Richmond, USDA Forest Service, www.Forestryimages.org.
Two insect species are most common in our area; the subtropical pine tip moth (Rhyacionia subtropica) and Nantucket pine tip moth (Rhyacionia frustrana). The moths are reddish copper in color, small (1/2” wingspan and 1/4” body length) and active at night. Caterpillar larvae have black heads and start out with off-white bodies, but change in color to brown and orange as they age.
While this insect activity typically does not kill the tree, it does cause some die-off of terminal needles and branches. In extreme cases, it can cause tree death. Moths prefer younger trees and rarely affect pines taller than 15 feet.
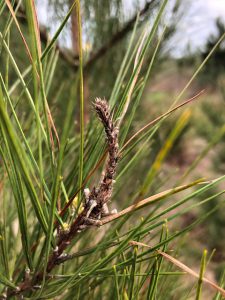
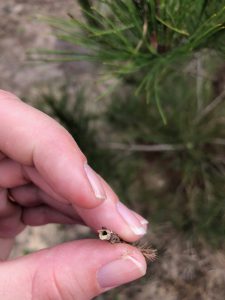
If you see a cluster of dead needles at the ends of young pine branches of your property, you can easily snap off the dead tip. You will likely find the hollow space formed by the larvae, which in spring may still contain the insect. Treatment in a home landscape can managed by hand removal of infested shoots, but those in the commercial forestry business may need to install traps and consider insecticidal management.
Visit the UF School of Forest Resources and Conservation website for more information.
by Mark Tancig | Mar 26, 2018
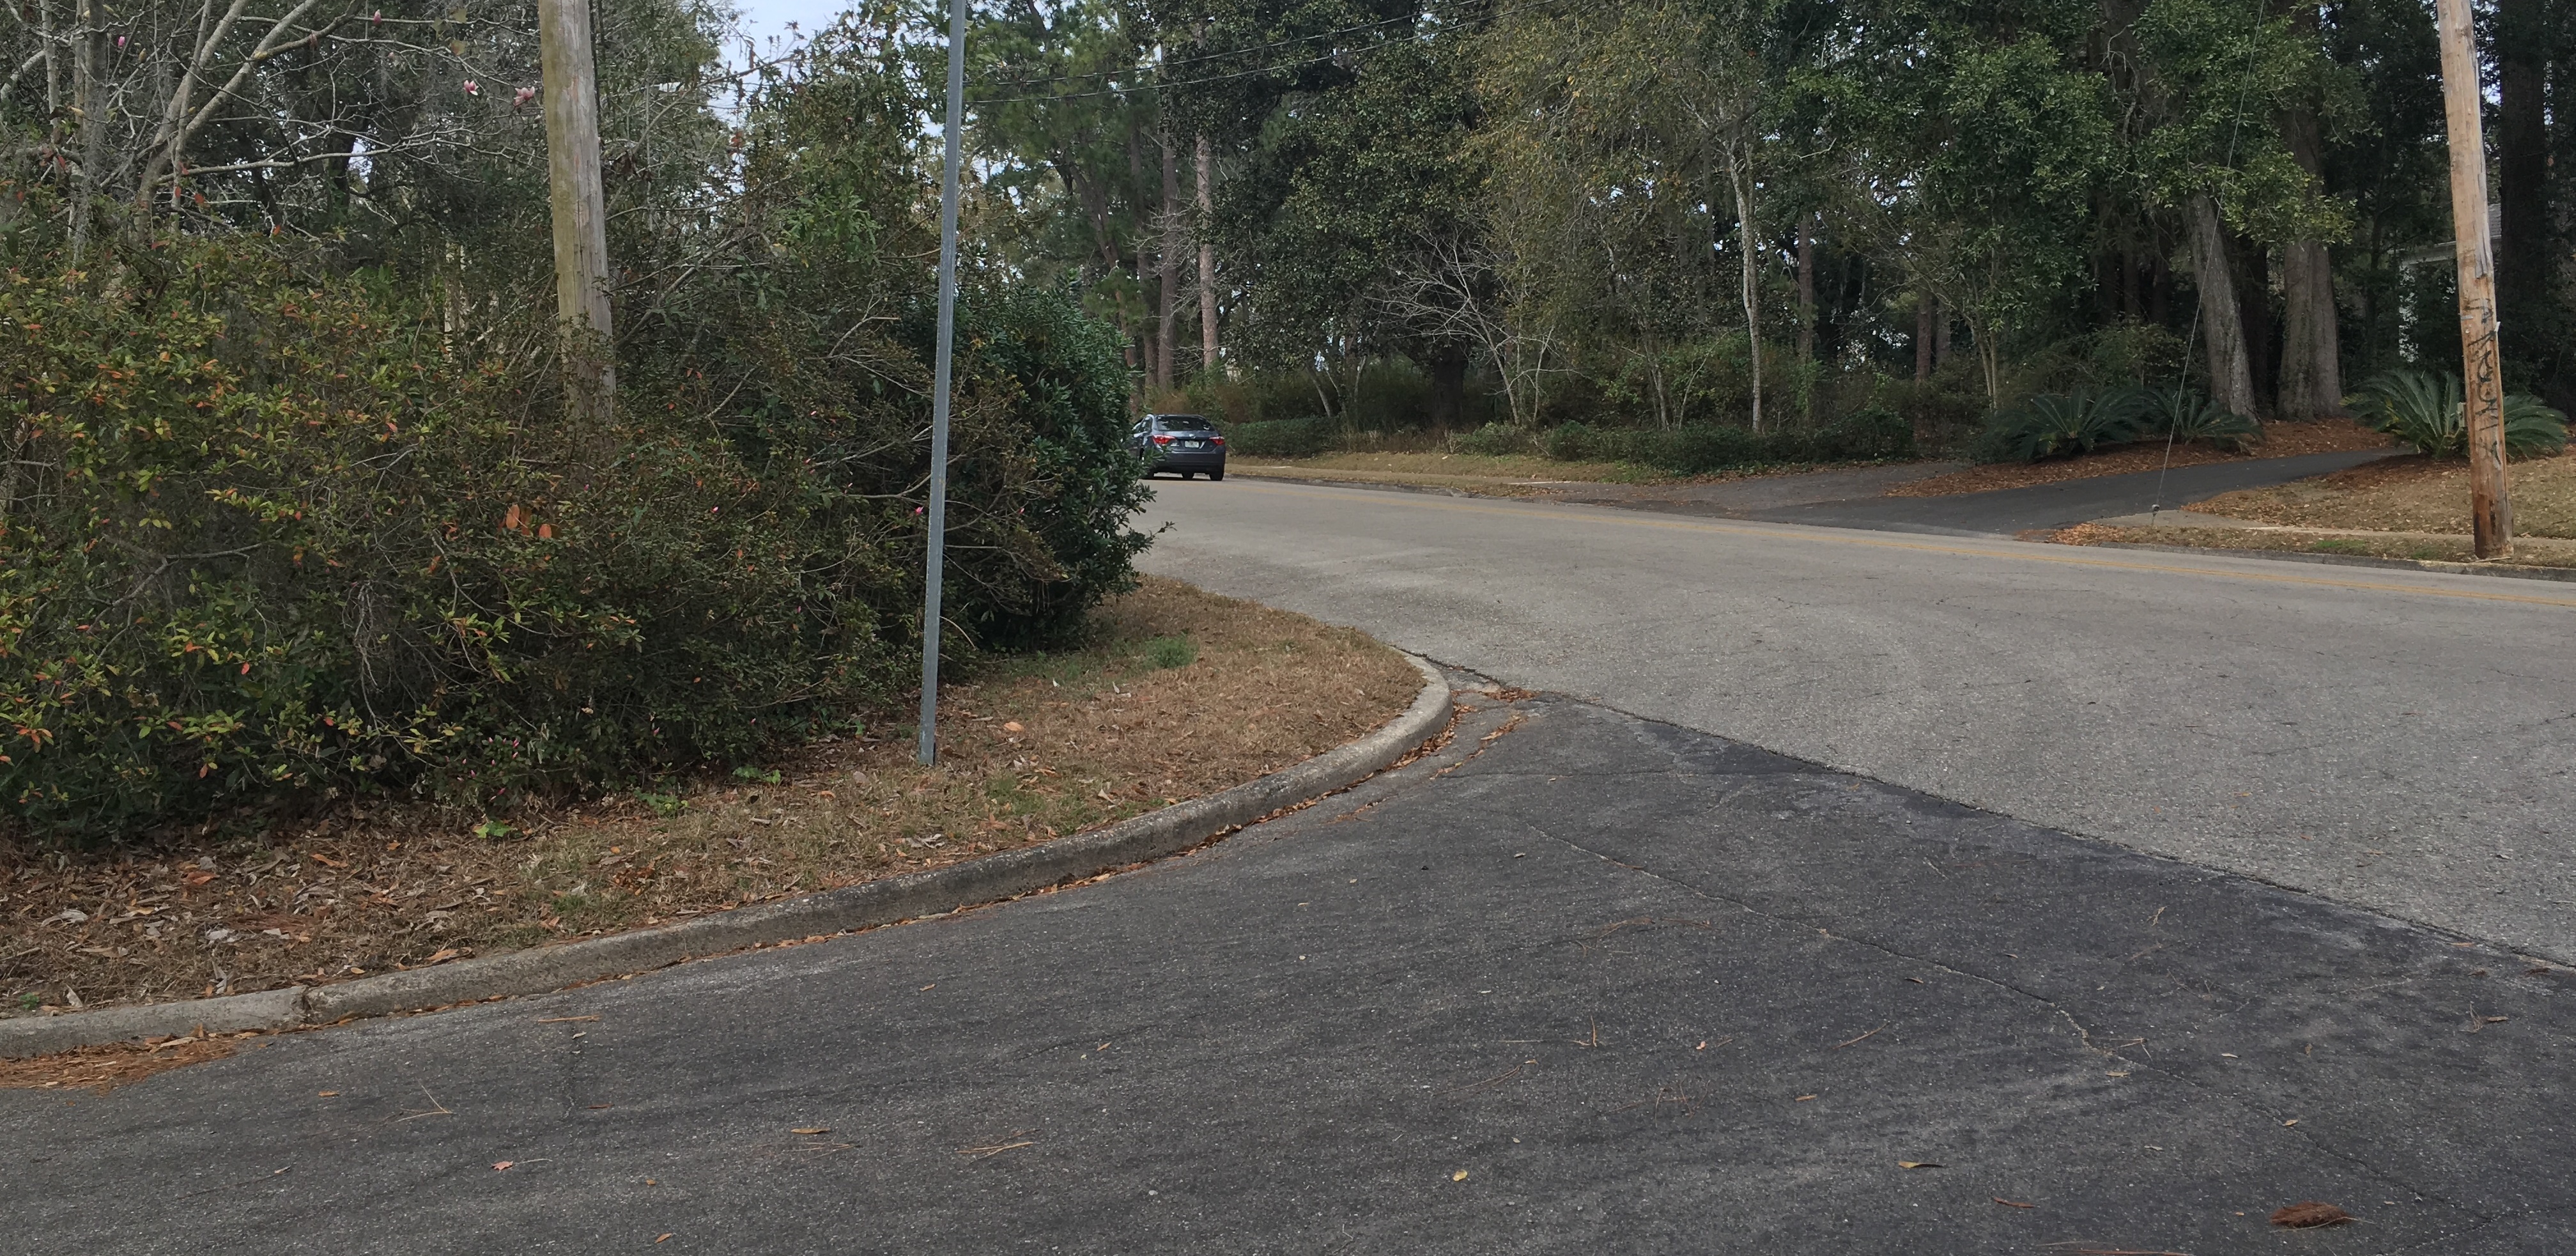
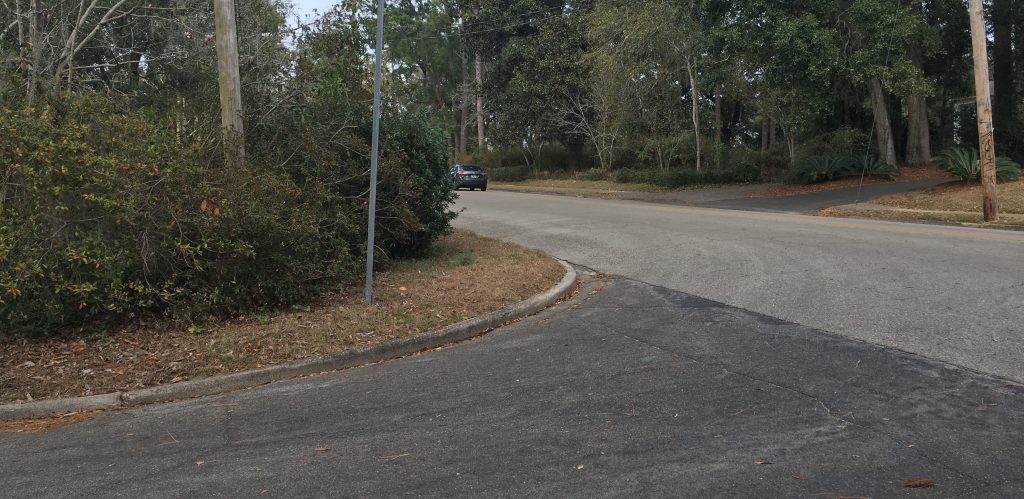
How many times have you pulled up to an intersection and couldn’t see oncoming traffic because a shrub was in the way? It’s frustrating, and unsafe. To help each other out, we should all pay attention to landscape plants that may be blocking the view of oncoming traffic and/or pedestrians, including your own driveway. Keeping a clear sight distance doesn’t mean you need a moonscape, but proper planning and maintenance of the landscape can look good and keep a clear sight distance.
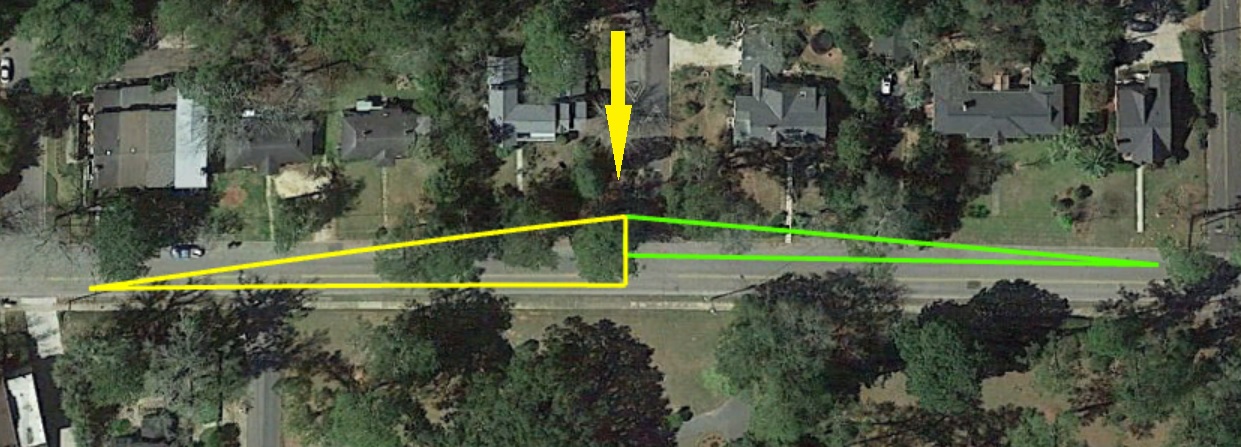
“Site distance” is what traffic engineers call being able to see driving lanes and sidewalks, in both directions. I knew engineers had such a term and assumed they would have a precise way to measure it. Of course, since they’re engineers, they did. A local traffic engineer with the Leon County Public Works Department sent me the sketch. The figure should help, but, basically, you need to think of it as a sight triangles. The three points in each triangle are 1) the driver’s location at an intersection stop (where triangles meet), 2) the centerline of each lane, and 3) a point 300 – 500 down each lane. To determine if the view is clear, stand where a driver would stop, and approximate the height of the driver’s eye.
Please be safe as you rush to measure!
I can’t see if anyone’s coming! Credit: Mark Tancig/UF IFAS.
If you have vegetation in the way, assess the situation. First thing to determine is what plant(s) you have. If you don’t know, send a photo to your local Extension Office. Next, determine if the identified plant(s) can be pruned to get out of view and/or below the height of the driver’s eye. Transplanting to another location is a possibility, if it’s a plant that transplants well and isn’t too large. Otherwise, removing and replacing is the best option for the safety of the community.
When needing a low-growing replacement, consider the following Florida-Friendly plants:
African Iris (Dietes vegata) – Part Sun/Shade
Black-eyed Susan (Rudbeckia spp.) – Sun
Blue-eyed grass (Sisyrinchium angustifolium) – Part Sun/Shade
Butterweed (Packera glabella) – Shade
Coontie (Zamia florida) – Sun – Shade
Lily of the Nile (Agapanthus orientalis) – Part Sun/Shade
There are many, many more plants to choose from, including dwarf varieties of common ornamental plants. Your local Extension Office can help provide resources to help you make a good choice. Online resources, such as the Florida-Friendly Landscaping Pattern Books and the Guide to Plant Selection and Landscape Design, are also available.
by Mary Salinas | Mar 26, 2018
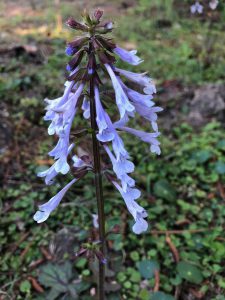
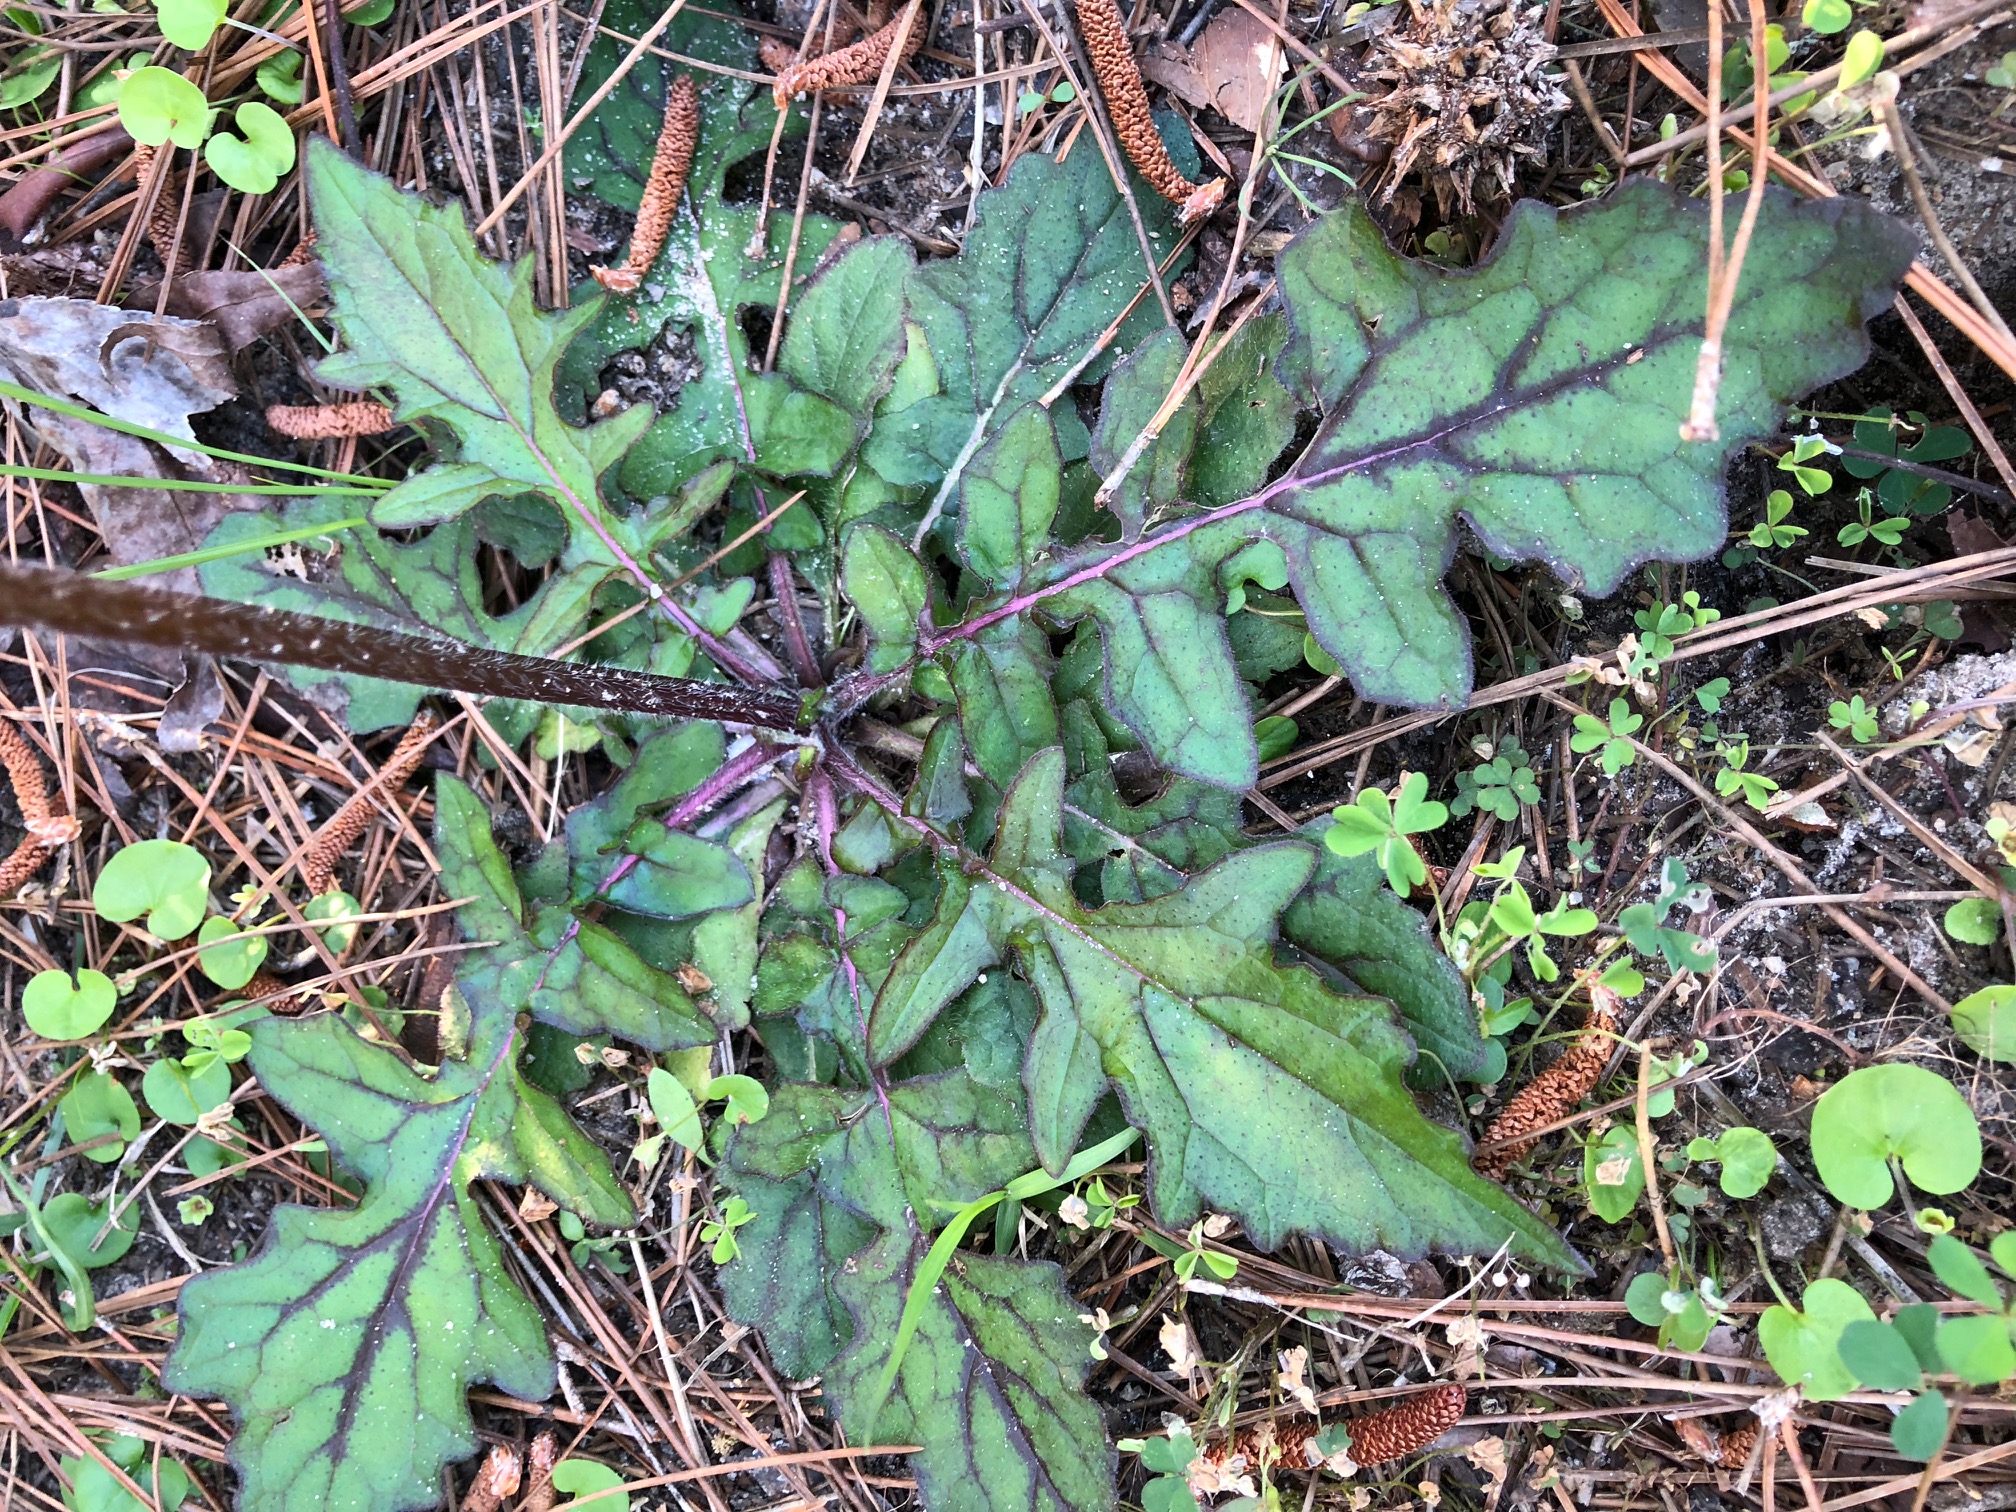
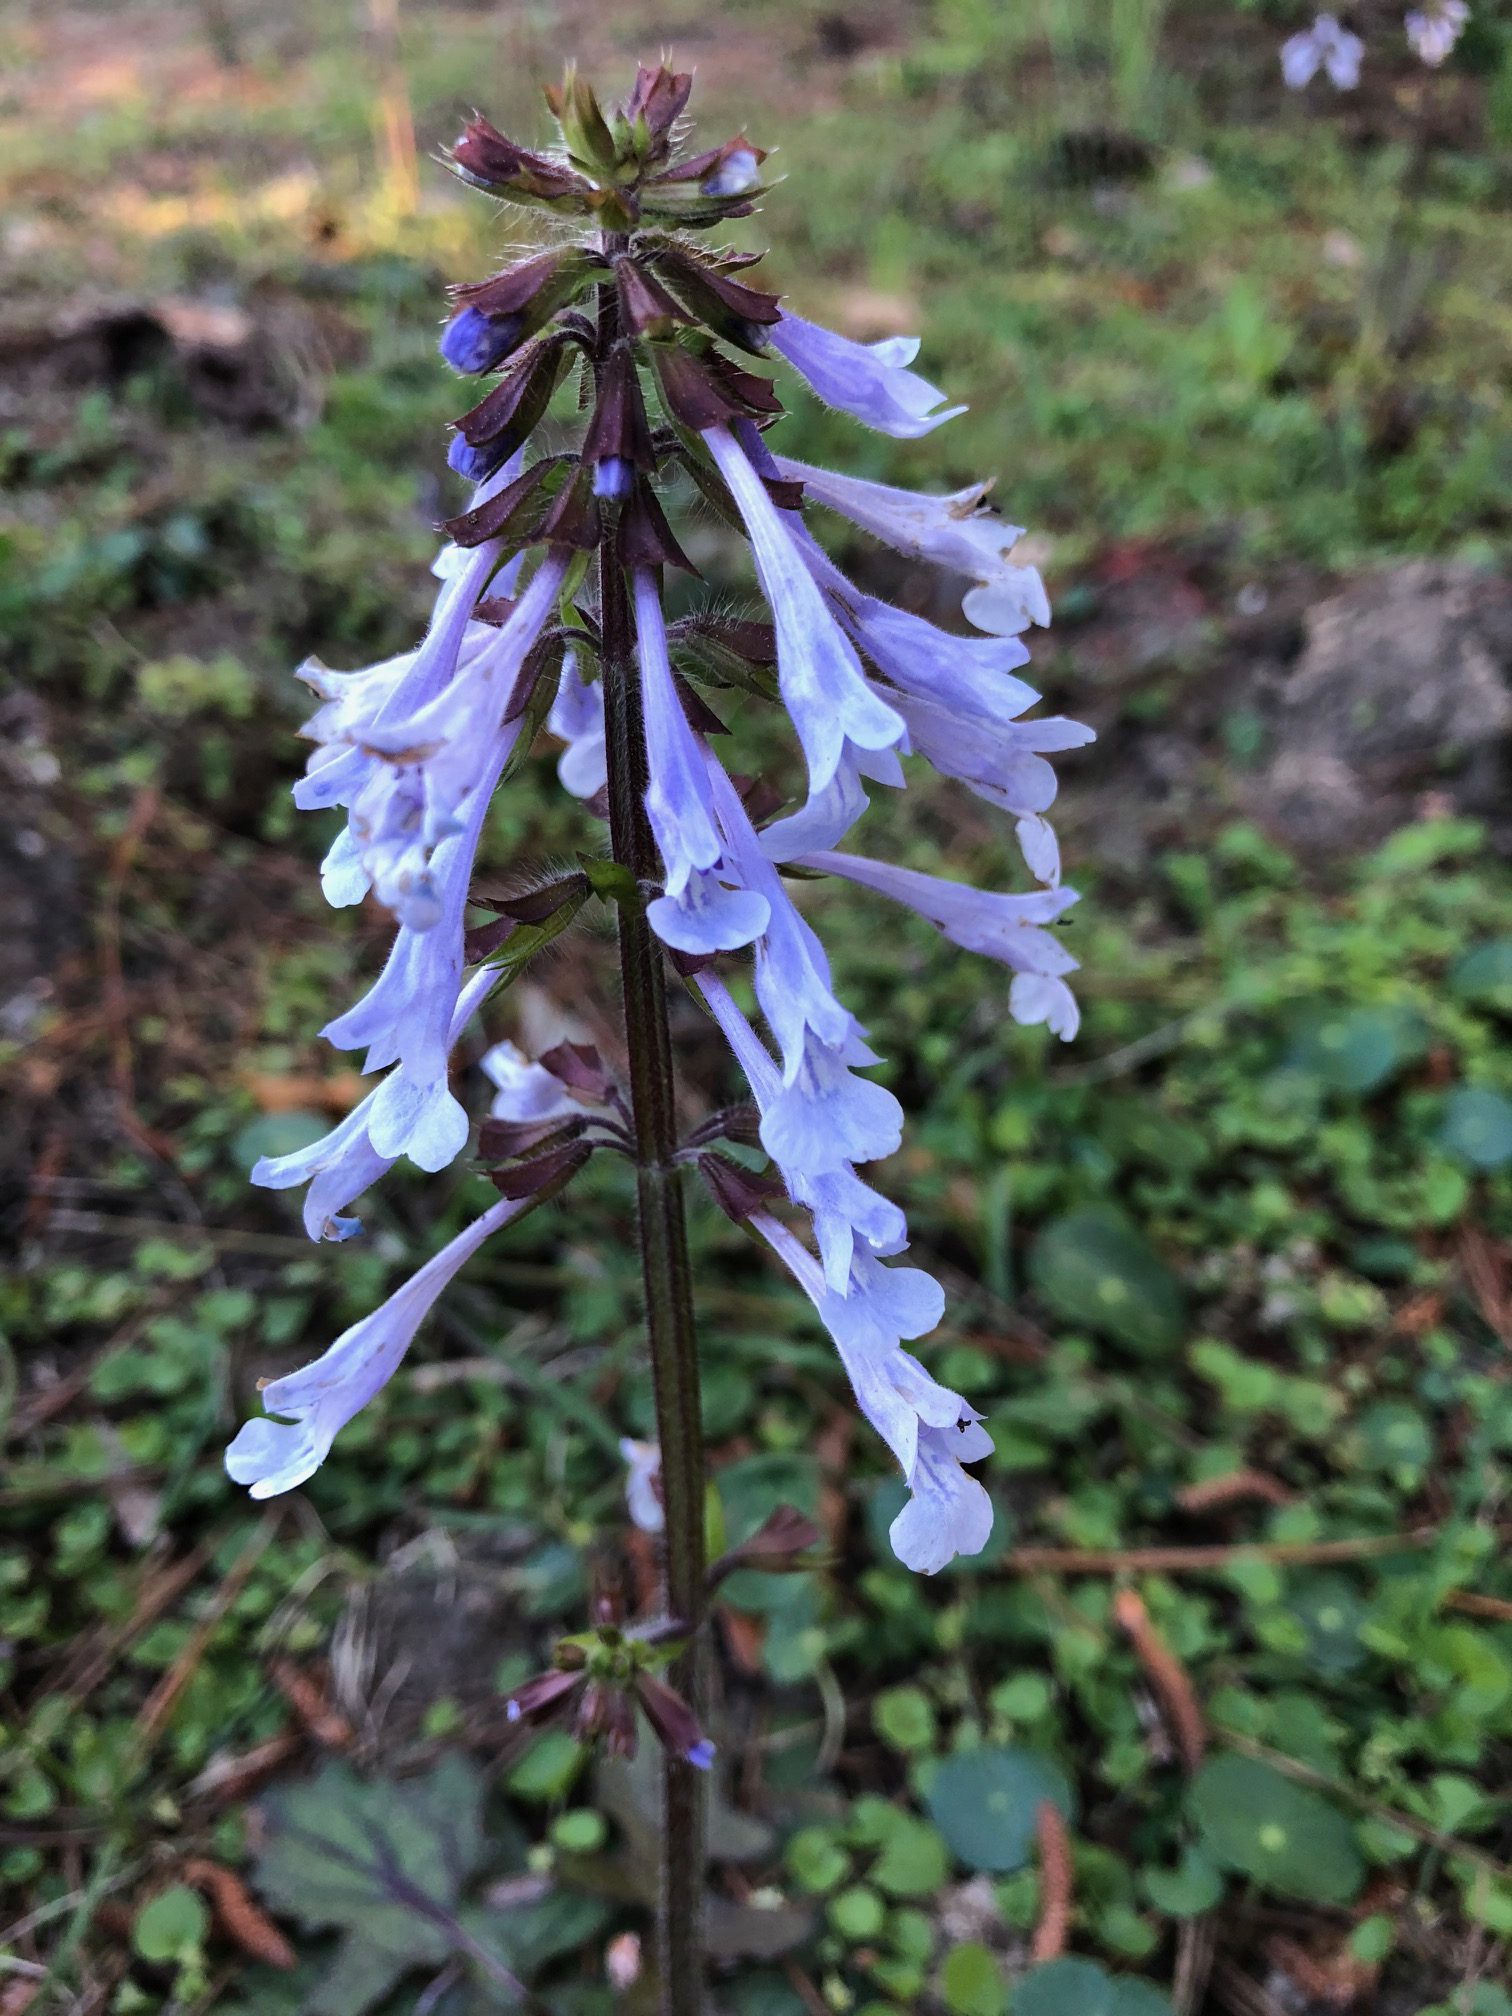
The spike of lavender blooms of lyreleaf sage. Photo credit: Mary Salinas.
Spring wildflowers are popping up along our roadways and along woodland edges. One of our native perennial beauties you can enjoy right now is lyreleaf sage, Salvia lyrata, with spikes of tubular lavender flowers rising about a foot above the ground. The blooms, which occur late winter through late spring, attract bees and butterflies and provide them a good source of nectar. It also is a good host plant for aphids, which in turn, can make it a good banker plant and feeding station for ladybug larvae.
The irregularly-shaped leaves grow in a rosette hugging the ground and can make for a natural ground cover in part shade areas. These attractive leaves are easily identifiable by their purple stems, edges and veins in sharp contrast to the bright green of the rest of the leaf. Lyreleaf sage belongs to the mint family and shares the characteristic square-shaped stems and two-lipped flowers.
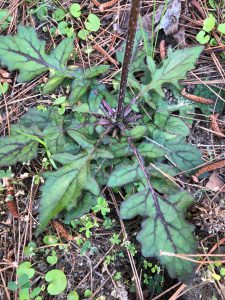
Leaves of lyreleaf sage form a ground hugging rosette. Photo credit: Mary Salinas.
Whatever garden conditions you have, lyreleaf sage should be able to adapt. It tolerates drought, flooding and most soil types. Be aware, though, that this beauty produces lots of seed and can spread quickly. This can be a very desirable trait for establishing a wildflower meadow but challenging if you want to keep it contained in a small area. To manage its’ spread, remove flower spikes after the blooms fade to prevent most seed formation.
Lyreleaf sage can usually be found in native plant or local nurseries; seed can be found through online wildflower seed sources.
For more information:
Planting and Care of Salvias in Landscapes
Florida Wildflower Foundation
by Larry Williams | Mar 21, 2018
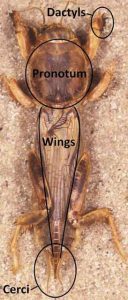
Tawny mole cricket adult.
Credit: L. Buss, UF/IFAS, IPM-206
The best time to treat for mole crickets is June through July, but don’t treat at all if mole crickets have not been positively found and identified in the affected lawn areas.
Don’t worry about the adults that are seen flying around lights in the evenings or about the mole crickets found dead in swimming pools this time of year. They are in a mating phase and are doing very little to no damage to lawns during late winter and spring.
We can take advantage of the fact that there’s only one generation per year in North Florida. The eggs will have all hatched by mid to late June. At that time, you’re dealing with young mole crickets that can’t fly and that are much more susceptible to the insecticides designed to kill them. Mole crickets spend winter as adults in the soil. In late February and March, adults emerge and begin mating. Shortly after mating, males die and females fly to suitable areas for egg laying. Mated females deposit eggs in tunnels. After depositing her eggs the female dies. Attempting to control adult mole crickets during this mating period a waste of time, money and product. Plus, adult mole crickets are difficult to control and can easily fly out of treated areas. See this excellent graphic from the Mole Cricket IPM Guide for Florida.
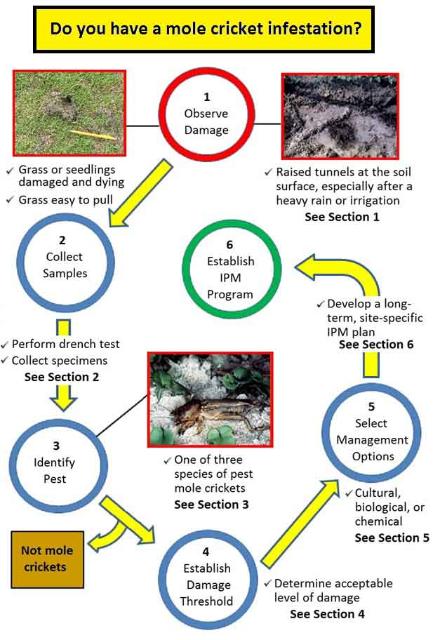
IPM-206: Mole Cricket IPM Guide for Florida
Figure 1. Pest mole cricket management: observe damage, collect samples, identify specimens, establish a damage threshold, select management options, and develop a long-term IPM program. Graphic sourced from Edis Publication IPM-206: Mole Cricket IPM Guide for Florida
You can easily determine if mole crickets are the cause for your lawn problem by flushing them out with a soap and water mixture.
Mix 1½ ounces of a lemon scented liquid dishwashing soap in two gallons of water in a sprinkling can or bucket. Pour the soapy water over an area approximately four square feet and count the number of mole crickets that emerge. It only takes several minutes for mole crickets to crawl to the surface after the soap treatment if they are present. Repeat the process around the yard where you suspect mole cricket problems. If you flush an average of two to four crickets are flushed out per site, control may be needed.
There are a number of insecticides on the market to control mole crickets. But before using any product, first identify the problem as mole cricket damage by using the soap flush technique. Then choose a lawn insecticide that lists mole crickets on its label. And finally read the label carefully for use directions, application techniques, irrigation requirements and precautions.
For more information on mole crickets, including recommended insecticides and other non-chemical control options, contact the UF/IFAS Extension Office in your County.