by Mark Tancig | Jul 29, 2021
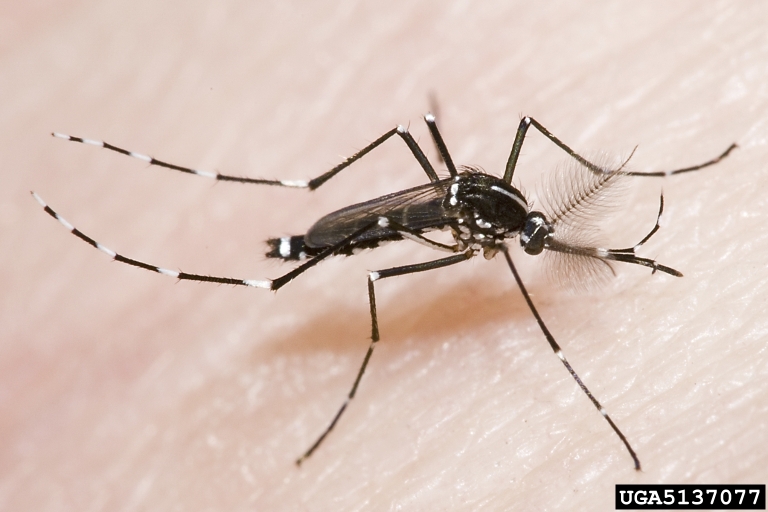
Now that we’re getting plenty of rain and the temperatures are nice and toasty, our nemesis to enjoying the outdoors is back in full force. Yes, I’m talking mosquitoes, the reason for inventing window screens! If you’re gardening outside these days, you’ve probably been annoyed by one of the many mosquito species that occur in our area. Many of these mosquitoes are native species that play an important role in the food chain, feeding many aquatic and terrestrial wildlife, but some of them, like the daytime biting Asian tiger mosquito, are invasive species that were accidentally introduced. While mosquitoes are an important food source to more charismatic critters, they are annoying and can spread disease, and so we can benefit by reducing their presence.

The Asian tiger mosquito, another annoying invasive species. Photo credit: Susan Ellis, Bugwood.org.
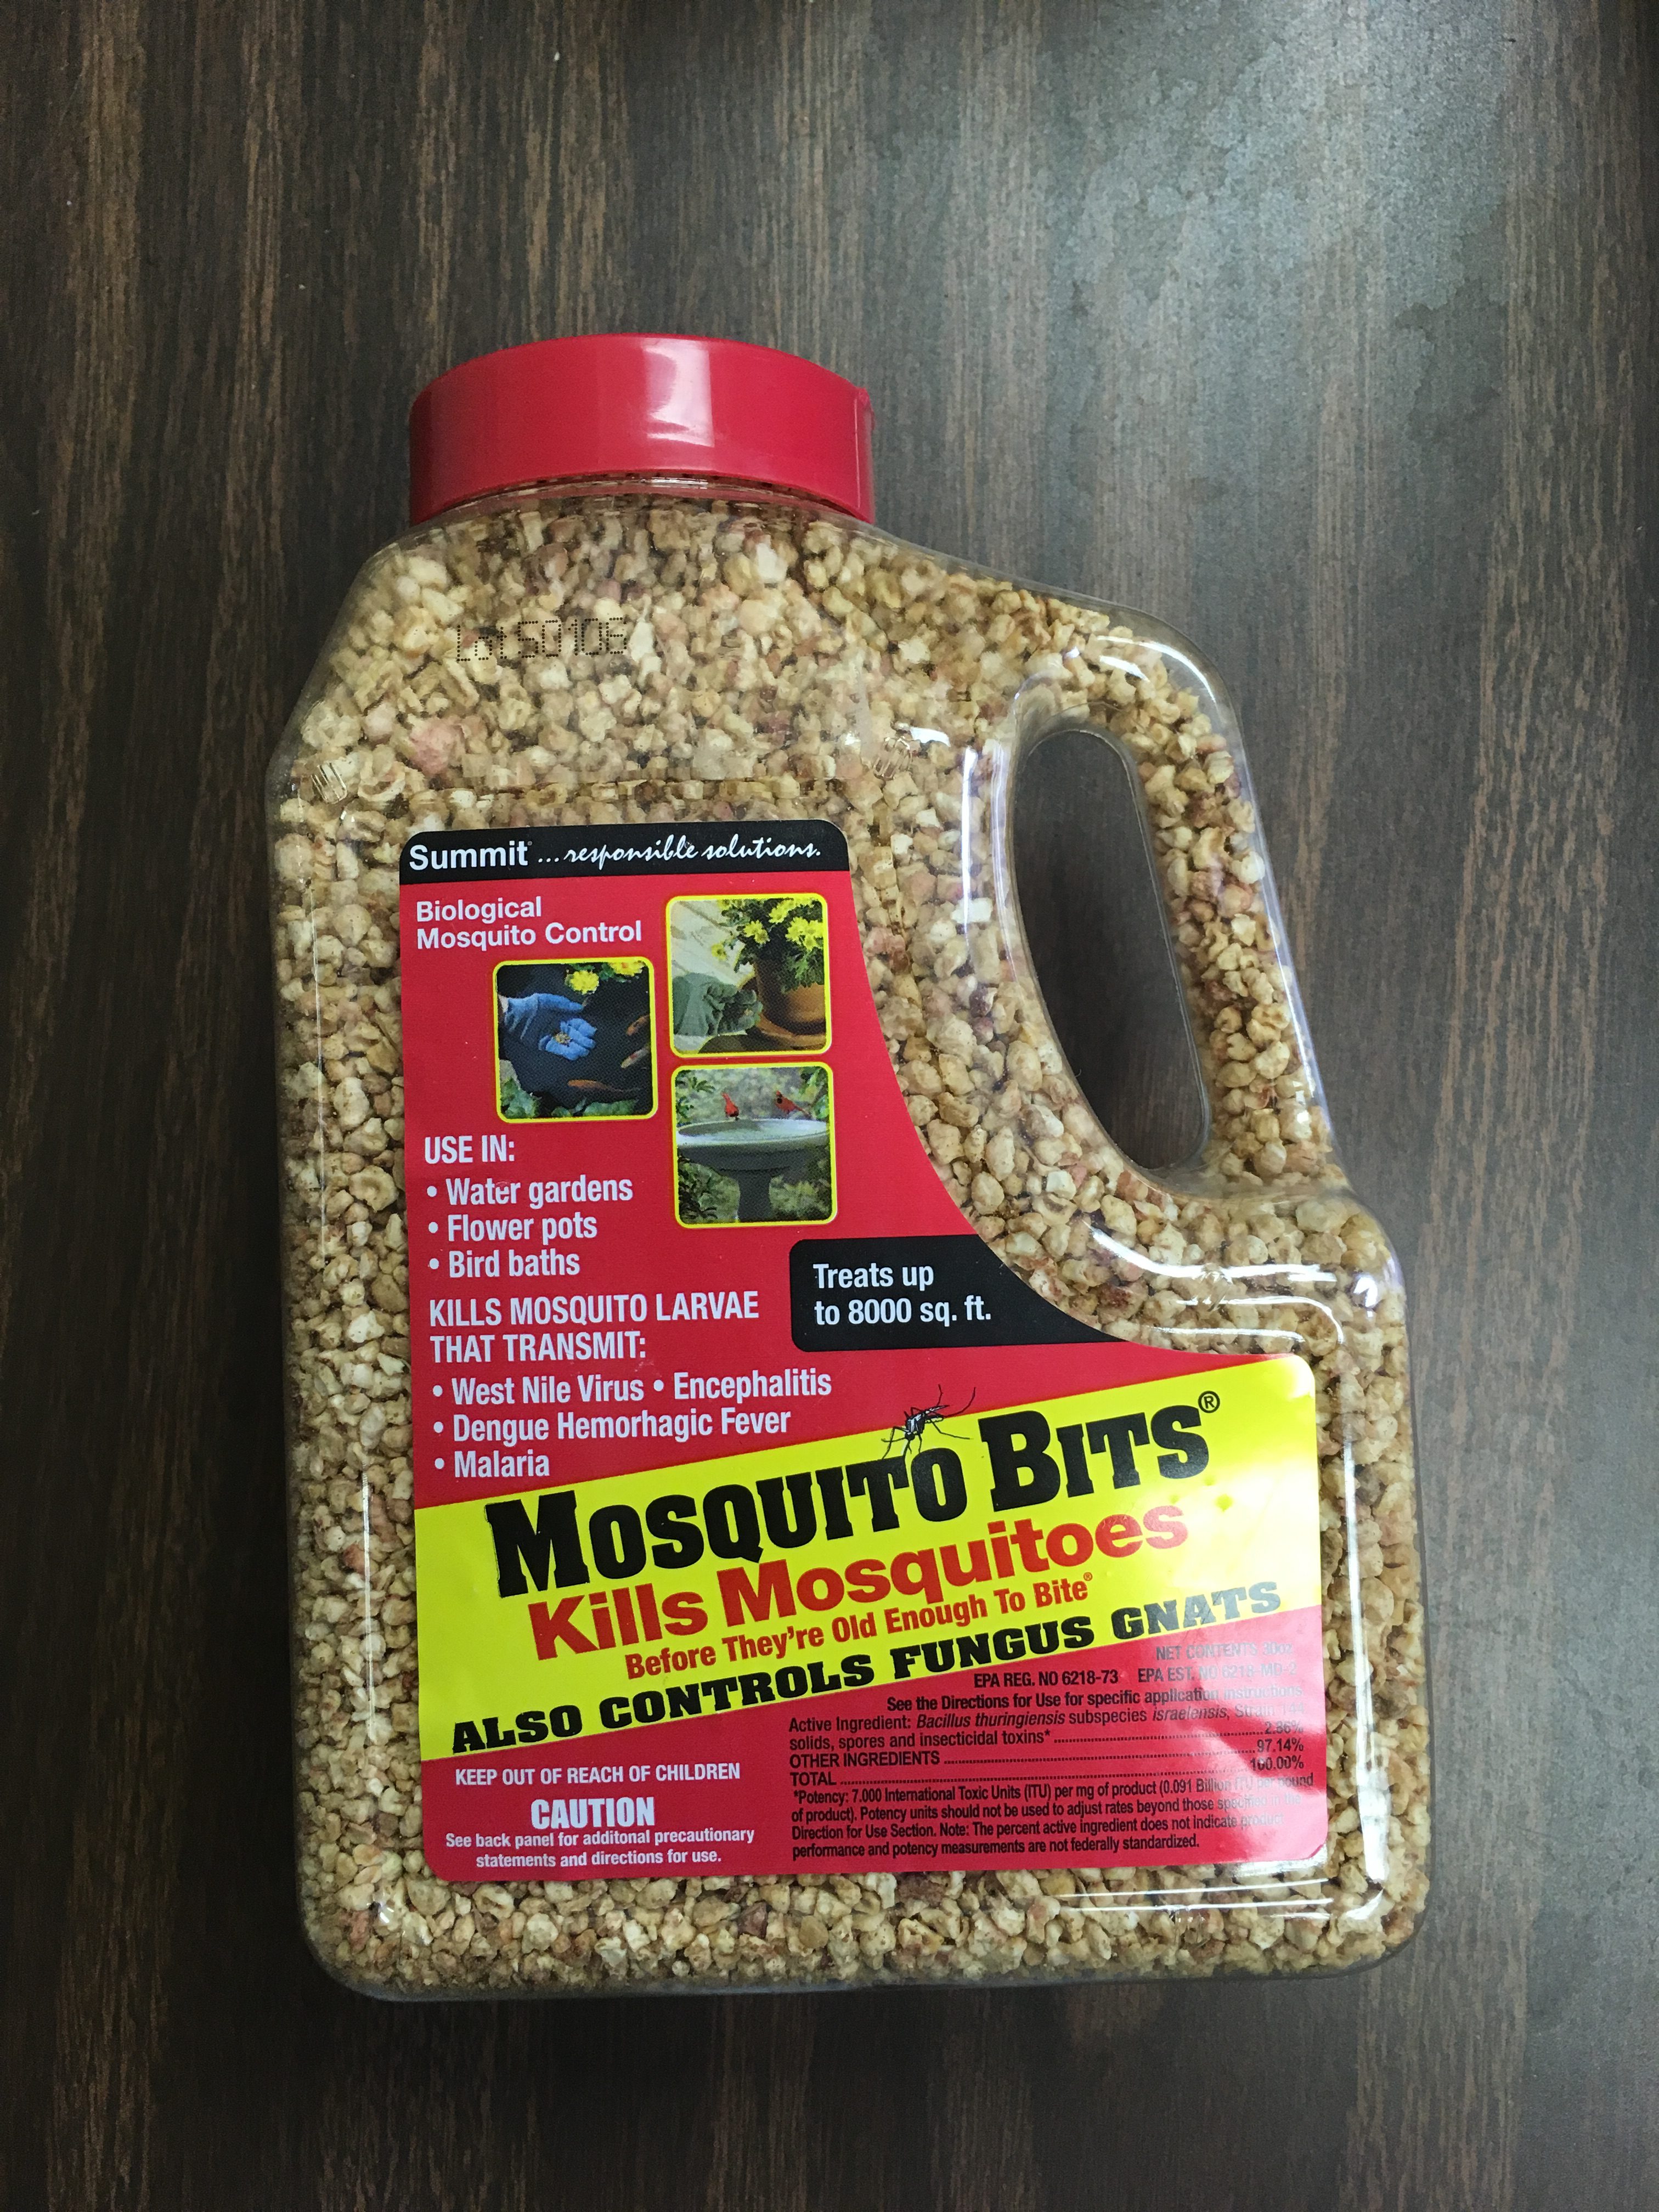
In addition to the age-old advice of draining any standing water, there are other control methods that can be very effective at reducing the mosquito population. One of the most effective and least-toxic options is the use of Bti products. These products come in granular or “donut” forms with the smaller granules being best for various uses around the home and the dunks/donuts for larger areas of standing water like ponds. These Bti products are considered a type of biological control since it is a species of bacteria, Bacillus thuringiensis israelensis to be precise, that causes mosquito, blackfly, and fungus gnat larvae to perish as they wiggle around and grow into their pupal stage. Because it only affects a narrow range of species, it is considered a selective pesticide that does not cause harm to non-target species, such as bees, birds, butterflies, frogs, lizards, and other desirable garden visitors. Bti can be sprinkled into rain barrels, bird baths, bromeliads, gutters, and other places where water may stand more than 5-7 days, the amount of time needed for mosquito eggs to develop into adults.

Bti granules prevent mosquito larvae from becoming biting adults. Photo by: Mark Tancig, UF/IFAS.
If considering other methods of mosquito control, such as the use of foggers, keep in mind that many of the pesticides used to control adult mosquitoes are not selective products and can kill the pollinators you may be trying to invite to your garden. Additionally, planting citronella plants, eating copious amounts of garlic, wearing repellent bracelets, or using ultra-sonic devices or cell phone apps has not been shown to repel mosquitoes so stick to what is known to work.
For a more enjoyable mosquito season, keep the window screens tight, wear long pants and sleeves and use appropriate repellents when outdoors, and do your best to minimize standing areas of water. If you have questions about mosquitoes and their control, visit the UF/IFAS Florida Medical Entomology Lab website (https://fmel.ifas.ufl.edu/) and browse the many resources available.
by Matthew Orwat | Jul 29, 2021
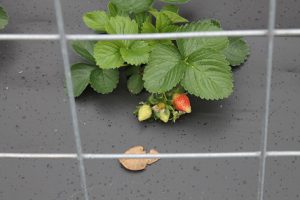
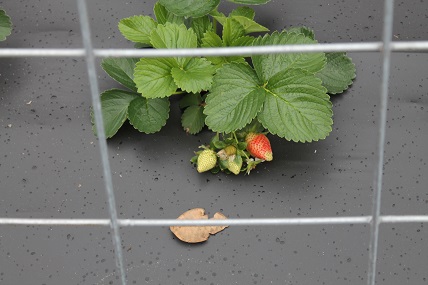
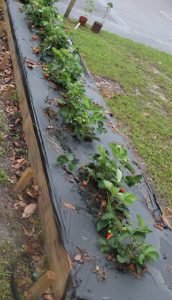
Strawberries growing on “plastic” to protect them from water splashed fungal spores found in soil. Image Credit: Matthew Orwat UF/IFAS Extension Washington County
As the alternating cycles of sun, heat and rain shape our summer days, I start thinking about cooler times of the year, the fall planting season. One plant to consider planting in the fall are strawberries. Planting strawberries in the fall is really an exercise in preparation for bountiful production of fruit beginning in January and continuing into May and June. The following procedure will lead to a successful strawberry production if followed!
The best location for strawberry production provides well-drained, moist, sandy soil with substantial organic matter. It must not be too wet. pH should be between 5.5 and 6.5, which is considered slightly acidic. A fertilizer scheme of 2 lbs. of a 10-5-10 fertilizer per 100 sqft of raised bed or 10 feet of row should be applied at pre-plant, with ¼ of the fertilizer over the top and the rest in a one-inch-deep band near the location of drip irrigation.
*DO NOT apply fertilizer directly below the plants, as the fertilizer may burn the young transplants.
This is a raised bed of strawberries, which has been filled with rich composted growing media. Image Credit: Matthew Orwat UF/IFAS Extension Washington County
Commonly, a preferred system is the development of a hill system, which is 6-8 inches high and 24 inches wide. Drip irrigation should be installed for best results, thus keeping the leaves free of irrigation water. This hill should be covered with weed barrier, such as grower’s polyurethane plastic to reduce weed growth and soil splashing onto leaves. Additionally, strawberries do well when planted in a raised bed. This system can still utilize weed barriers and drip irrigation but gives the gardener the added benefit of manipulation of the growing media. Growing media made up of compost and coconut coir works especially well for this and may be found at local large garden centers.
Short day cultivars that have been proven to do well for home gardeners in Northwest Florida production are Sweet Charlie and Camarosa and should be purchased certified disease free from a reputable nursery. Both dormant bare root and actively growing plug plants are available for purchase, but I have had best luck with actively growing plug transplants.
While strawberry plants can easily withstand our winter temperatures, fruit can suffer damage from frosts below 32 degrees Fahrenheit. The good news is that small row covers or “low tunnels” can be constructed to prevent fruit loss and encourage early fruiting.
When setting out the transplants:
- Keep plants moist before planting
- Spread roots out in fan-shape
- Set plants in moist soil at the correct depth. Do not cover the plants crown with dirt or leave its roots exposed above the soil.
- Space plants 12 to 18 inches apart.
- Pack the soil firmly around the roots, then sprinkle with water. Overhead sprinkling may keep the tops from drying out until the roots can get established.
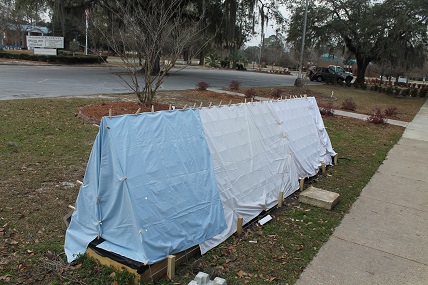
Homemade row cover for strawberries made of cow panels and sheets. Commercial row covers can be purchased using hoops and frost cloth. You can also make your own with pipes and bulk rolled frost cloth. Image Credit: Matthew Orwat UF/IFAS Extension Washington County
As stated above, strawberries should be mulched. Black polyethylene plastic mulch at 1 to 1½ mil thick is best (completely cover the top and sides of bed before planting). Be sure the bed is firm, formed correctly, moist, and fertilized adequately. Place soil on the edges of the plastic to hold it in place. Cut slits in the plastic for the transplants.
When using alternatives like straw, bark or other natural organic materials mulch to a depth of 1 to 2 inches, but do not completely cover the plant.
For more information, Please consult these references or contact your local extension agent:
by Ray Bodrey | Jul 29, 2021
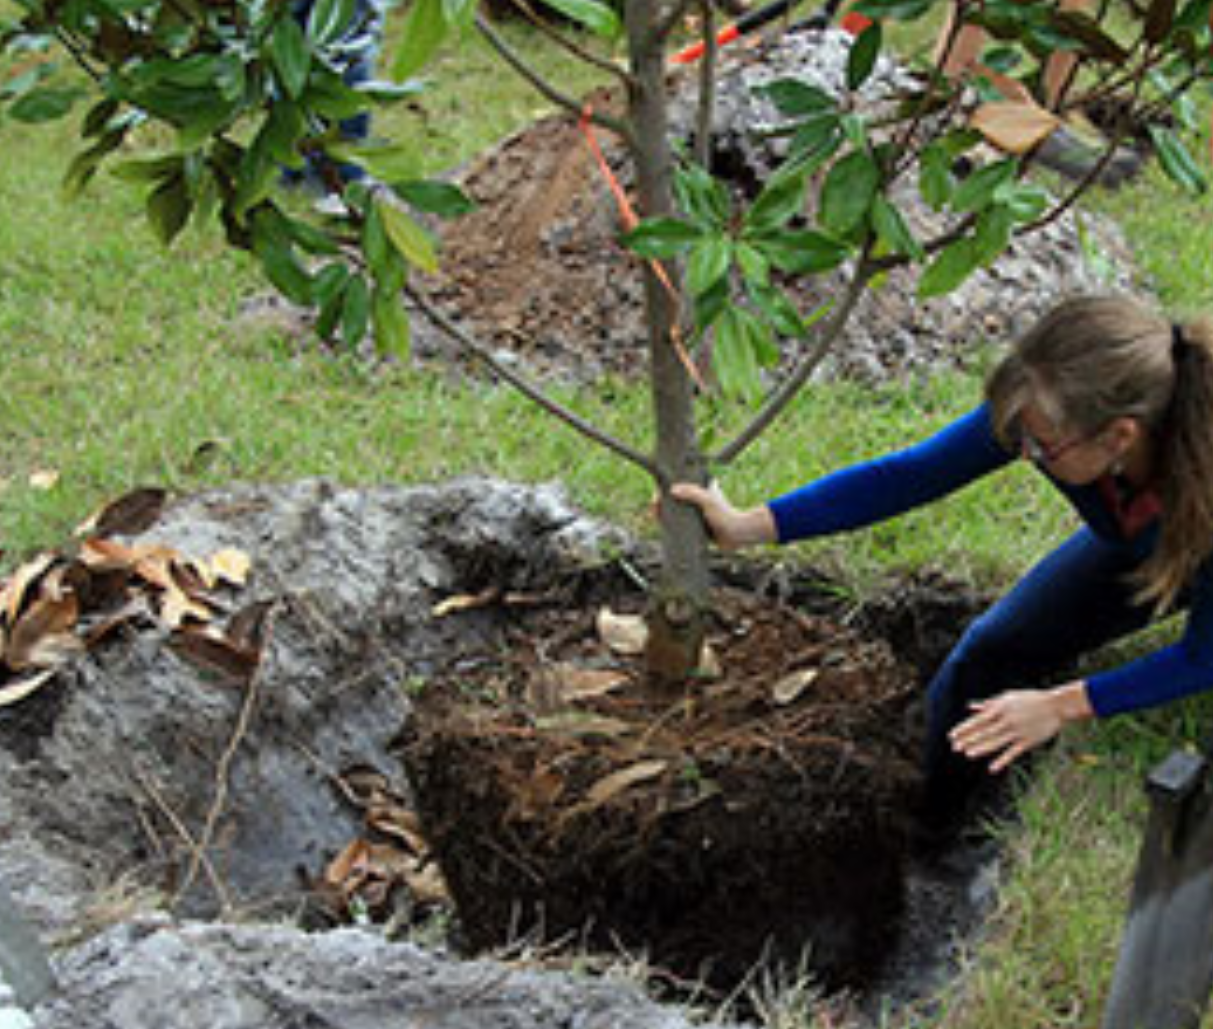
Need tips on planting and caring for trees? The primary focus in care of your newly planted tree is root development. It takes several months for roots to establish and newly planted trees and shrubs do not have a very strong root system. Start by digging the hole in a popcorn bowl shape. Once planted, backfill around the root system, but be careful not to compact the soil as this will hinder root growth. Be sure to keep the topmost area of the root ball exposed, about one to two inches. A layer of mulch will be applied here.
Frequent watering is much needed, especially if you are planting in the summer. Water thoroughly, so that water percolates below the root system. Shallow watering promotes surface root growth, which will make the plant more susceptible to stress during a drought. Concentrate some of the water in a diameter pattern a few feet from the trunk. This will cause the root system to grow towards the water, and thus better establish the root system and anchor the tree.
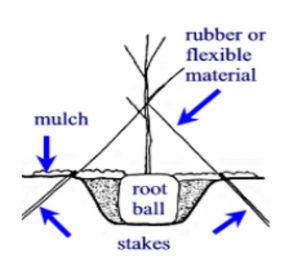
Figure: A Traditional Staking Option. Credit: Edward F. Gilman, UF/IFAS Extension.
Mulch is important in the conservation of soil moisture. Pine needles, bark, wood chips, and other organic materials make a great mulch. A three inch layer of mulch will usually suffice. It’s important to keep the mulch a few inches from the trunk as mulching too close to the tree trunk can cause rot.
You should always prune the bare roots of trees during planting. These exposed roots in containers can be damaged in shipping and removing some of the roots will help trigger growth. Pruning some of the top foliage can also reduce the amount of water needed for the plant to establish, as well. Trees and shrubs grown and shipped in burlap or containers usually need very little pruning.
Newly planted trees often have a difficult time establishing if the root system cannot be held in place. Strong winds and rain can cause the plant to tip over. Avoid this by staking the plant for temporary support. A good rule of thumb to determine staking need is if the trunk diameter measures three inches or less, it probably needs some support! Tie the stake to the plant every six inches from the top. However, only tie the trunk at one spot. Don’t tie too tightly so that the tree has no flexibility. This will stunt the growth of the tree.
Following these tips will help ensure your tree becomes well established in your landscape. For more information please contact your local county extension office.
Information for this article can be found in the UF/IFAS EDIS publication: “Planting and Establishing Trees” by Edward F. Gilman and Laura Sadowiski: https://edis.ifas.ufl.edu/pdf%5CEP%5CEP31400.pdf
Supporting information also provided by UF/IFAS Extension Forestry Specialist Dr. Patrick Minogue, of the North Florida Research Education Center in Quincy, Florida.
by Evan Anderson | Jul 22, 2021

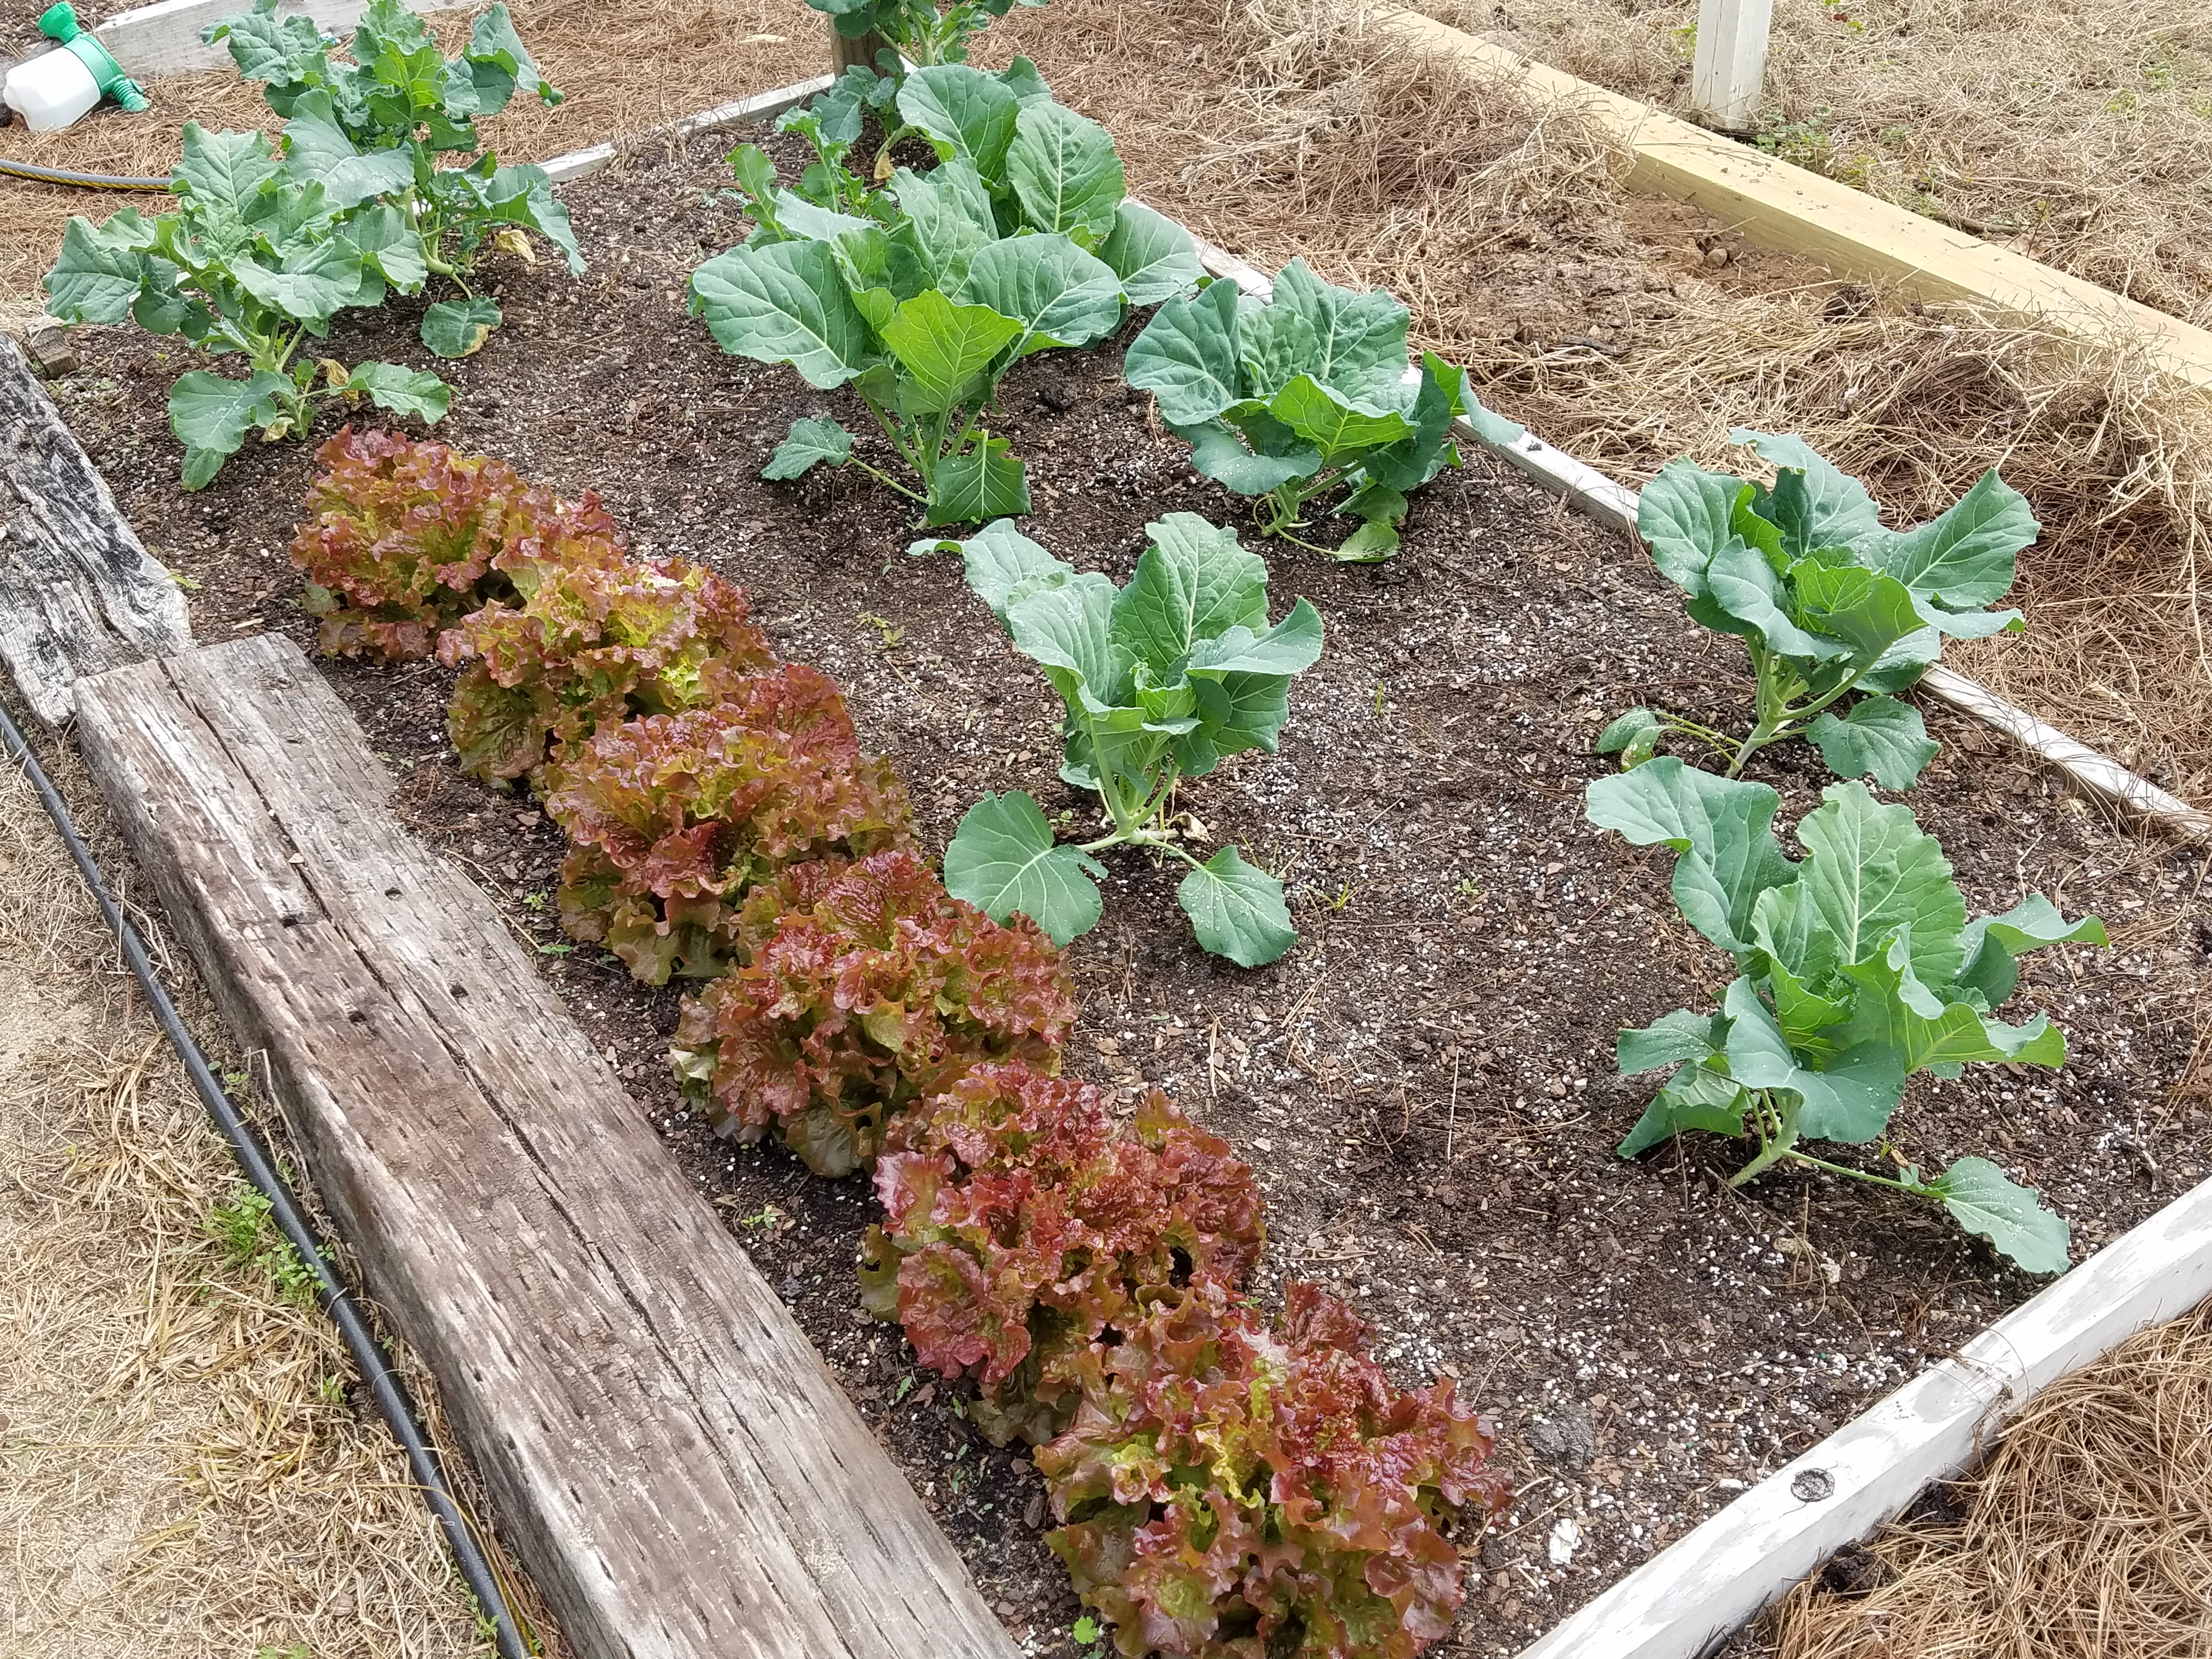
A good garden takes some time and effort!
Gardening in North Florida can be a challenge. Conditions in the panhandle are very different than in most other locations in the country, and learning what and how to grow takes time! Here are a few tips to help the aspiring gardener adapt to the unique climate and soils here.
- Know Your Varieties
Not every variety of vegetable is the same. Some differences may be obvious – a purple cabbage isn’t hard to distinguish from a green one, and a cherry tomato will never be mistaken for a beefsteak. Other differences are not so obvious, and you may have to do some research to figure out what you’re getting with a particular cultivar. Some are better adapted to growing in the heat, or may have resistances to certain diseases or pests. See the Florida Vegetable Gardener’s Guide (https://edis.ifas.ufl.edu/publication/VH021) or the Vegetable Production Handbook of Florida (https://edis.ifas.ufl.edu/publication/CV292) for varieties that do well in Florida.
- Light is Your (Plants’) Friend
Space for a garden is often limited, but remember that light can’t be! A shady location leads to unhappy vegetables. Plants produce energy by absorbing the rays of the sun, and garden plants need a lot of light to make the food we eat. If your plants are looking spindly and not producing well, look up and see what’s shading them. If possible choose a location for your garden that gets at least six hours of full sun each day. Even more is better!
- Plant at Proper Times
There are really two growing seasons in North Florida: spring and fall. It gets too cold for most plants in the winter, and tropical plants will especially suffer. The heat of the summer is similarly hard on a garden. Few plants can continue producing their best in the face of such high heat and humidity. Okra and peppers might soldier on through the heat, but cool-weather loving crops like peas, lettuce, and broccoli will meet defeat. Know what temperatures each plant prefers and plan your garden accordingly. Consider starting transplants indoors early to get the most growing time possible – February or March is a good time to start transplants in the spring, and September in the fall.
- Watch your Watering
Even watering is important for crops, and the weather rarely cooperates. The occasional drought followed by a ten inch rain can make managing irrigation a headache, but try to keep up with the weather! Remember that warmer weather causes more evaporation, and larger plants take up more water. That being said, a ten-inch rain during the summer will probably supply all the water your plants need for the day, so consider turning off the irrigation when it rains. It’s just as possible to overwater as it is to let plants dry out too much.
- Be Wise When you Fertilize

A raised bed is a good choice for gardening where soil is particularly sandy.
The soil in much of our area is very sandy. In some places, it’s nothing but! Highly sandy soils don’t hold on to much in the way of water or nutrients, so the gardener needs to balance their inputs to adjust for this fact. Get your soil tested so you know what nutrients are in the soil (your local Extension office can help with that). When you do fertilize, don’t dump all your plants need for the year on at once! Chances are, much of it will just wash away in the next rain. Instead, split your fertilization up into several applications over the growing season. Try also using slow-release fertilizers or organic sources of nutrients that break down over time and feed plants. You can also amend your soil with organic matter (things like compost and manure are good sources) to help add some nutrient-holding capacity. Organic matter can also help deter sandy-soil-loving nematodes, which are microscopic worms that can damage the roots of plants.
- Scout for Pests and Diseases
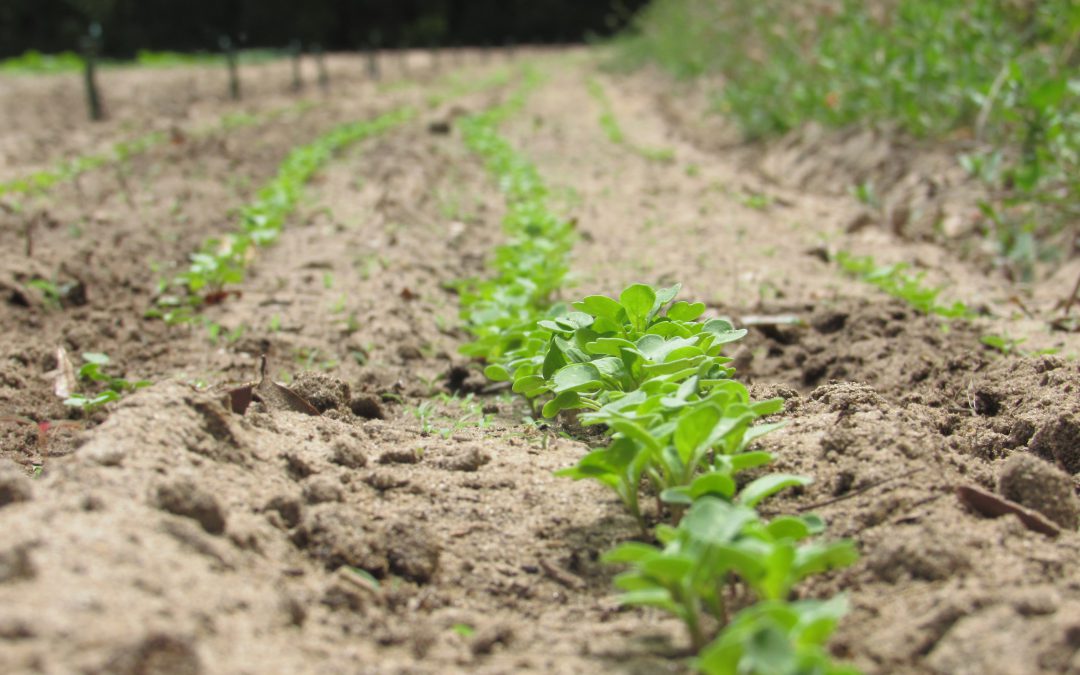
Spider mites are a tiny, but common garden pest.
Florida’s climate makes it very attractive not just for retirees, but also for all sorts of plant pests and diseases as well. Keep a close eye on your garden and deal with anything out-of-the-ordinary before a problem becomes overwhelming. Pests of all sorts, whether they are weeds, insects, or fungi, are much easier to eliminate when they’re young or in small numbers. Remember that not everything is a plant pest – some insects are beneficial predators that can keep the enemies at bay, so don’t always immediately reach for a chemical that’s going to kill everything. Natural and biorational options such as neem oil, Bacillus thuringiensis or Bt, insecticidal soap, or diatomaceous earth can work just as well as other pesticides, and can help avoid harm to pollinators and beneficials. Know the pest you’re treating before you try getting rid of it! See our EDIS publication on natural garden products (https://edis.ifas.ufl.edu/publication/IN197) for more information.
Remember not to get discouraged! If you need help figuring out what’s going wrong in your garden, you can always talk to the folks at your local Extension office. There’s also plenty of other information out there – look for our other EDIS publications on a variety of topics (https://edis.ifas.ufl.edu/). Happy gardening!
by Daniel J. Leonard | Jul 22, 2021
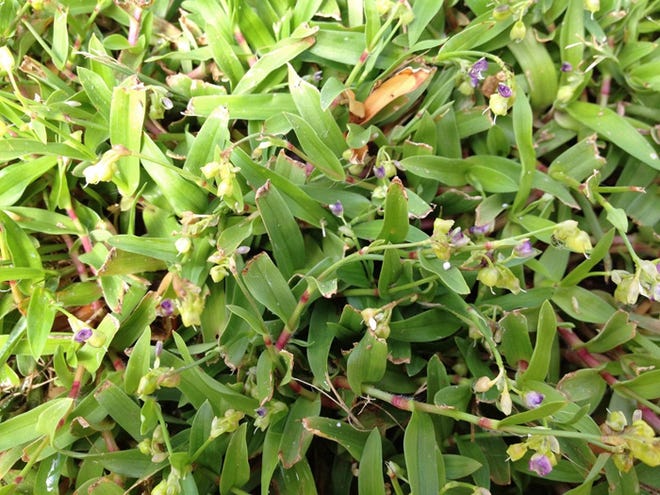
If you’ve taken care of your yard properly from spring green-up to now (mid-July), you might think you can comfortably coast into the cool temperatures of fall without any problems. You would be mostly right, save for one extraordinarily tough weed that waits until the depths of summer to rear its troublesome head: Doveweed (Murdania nudiflora).

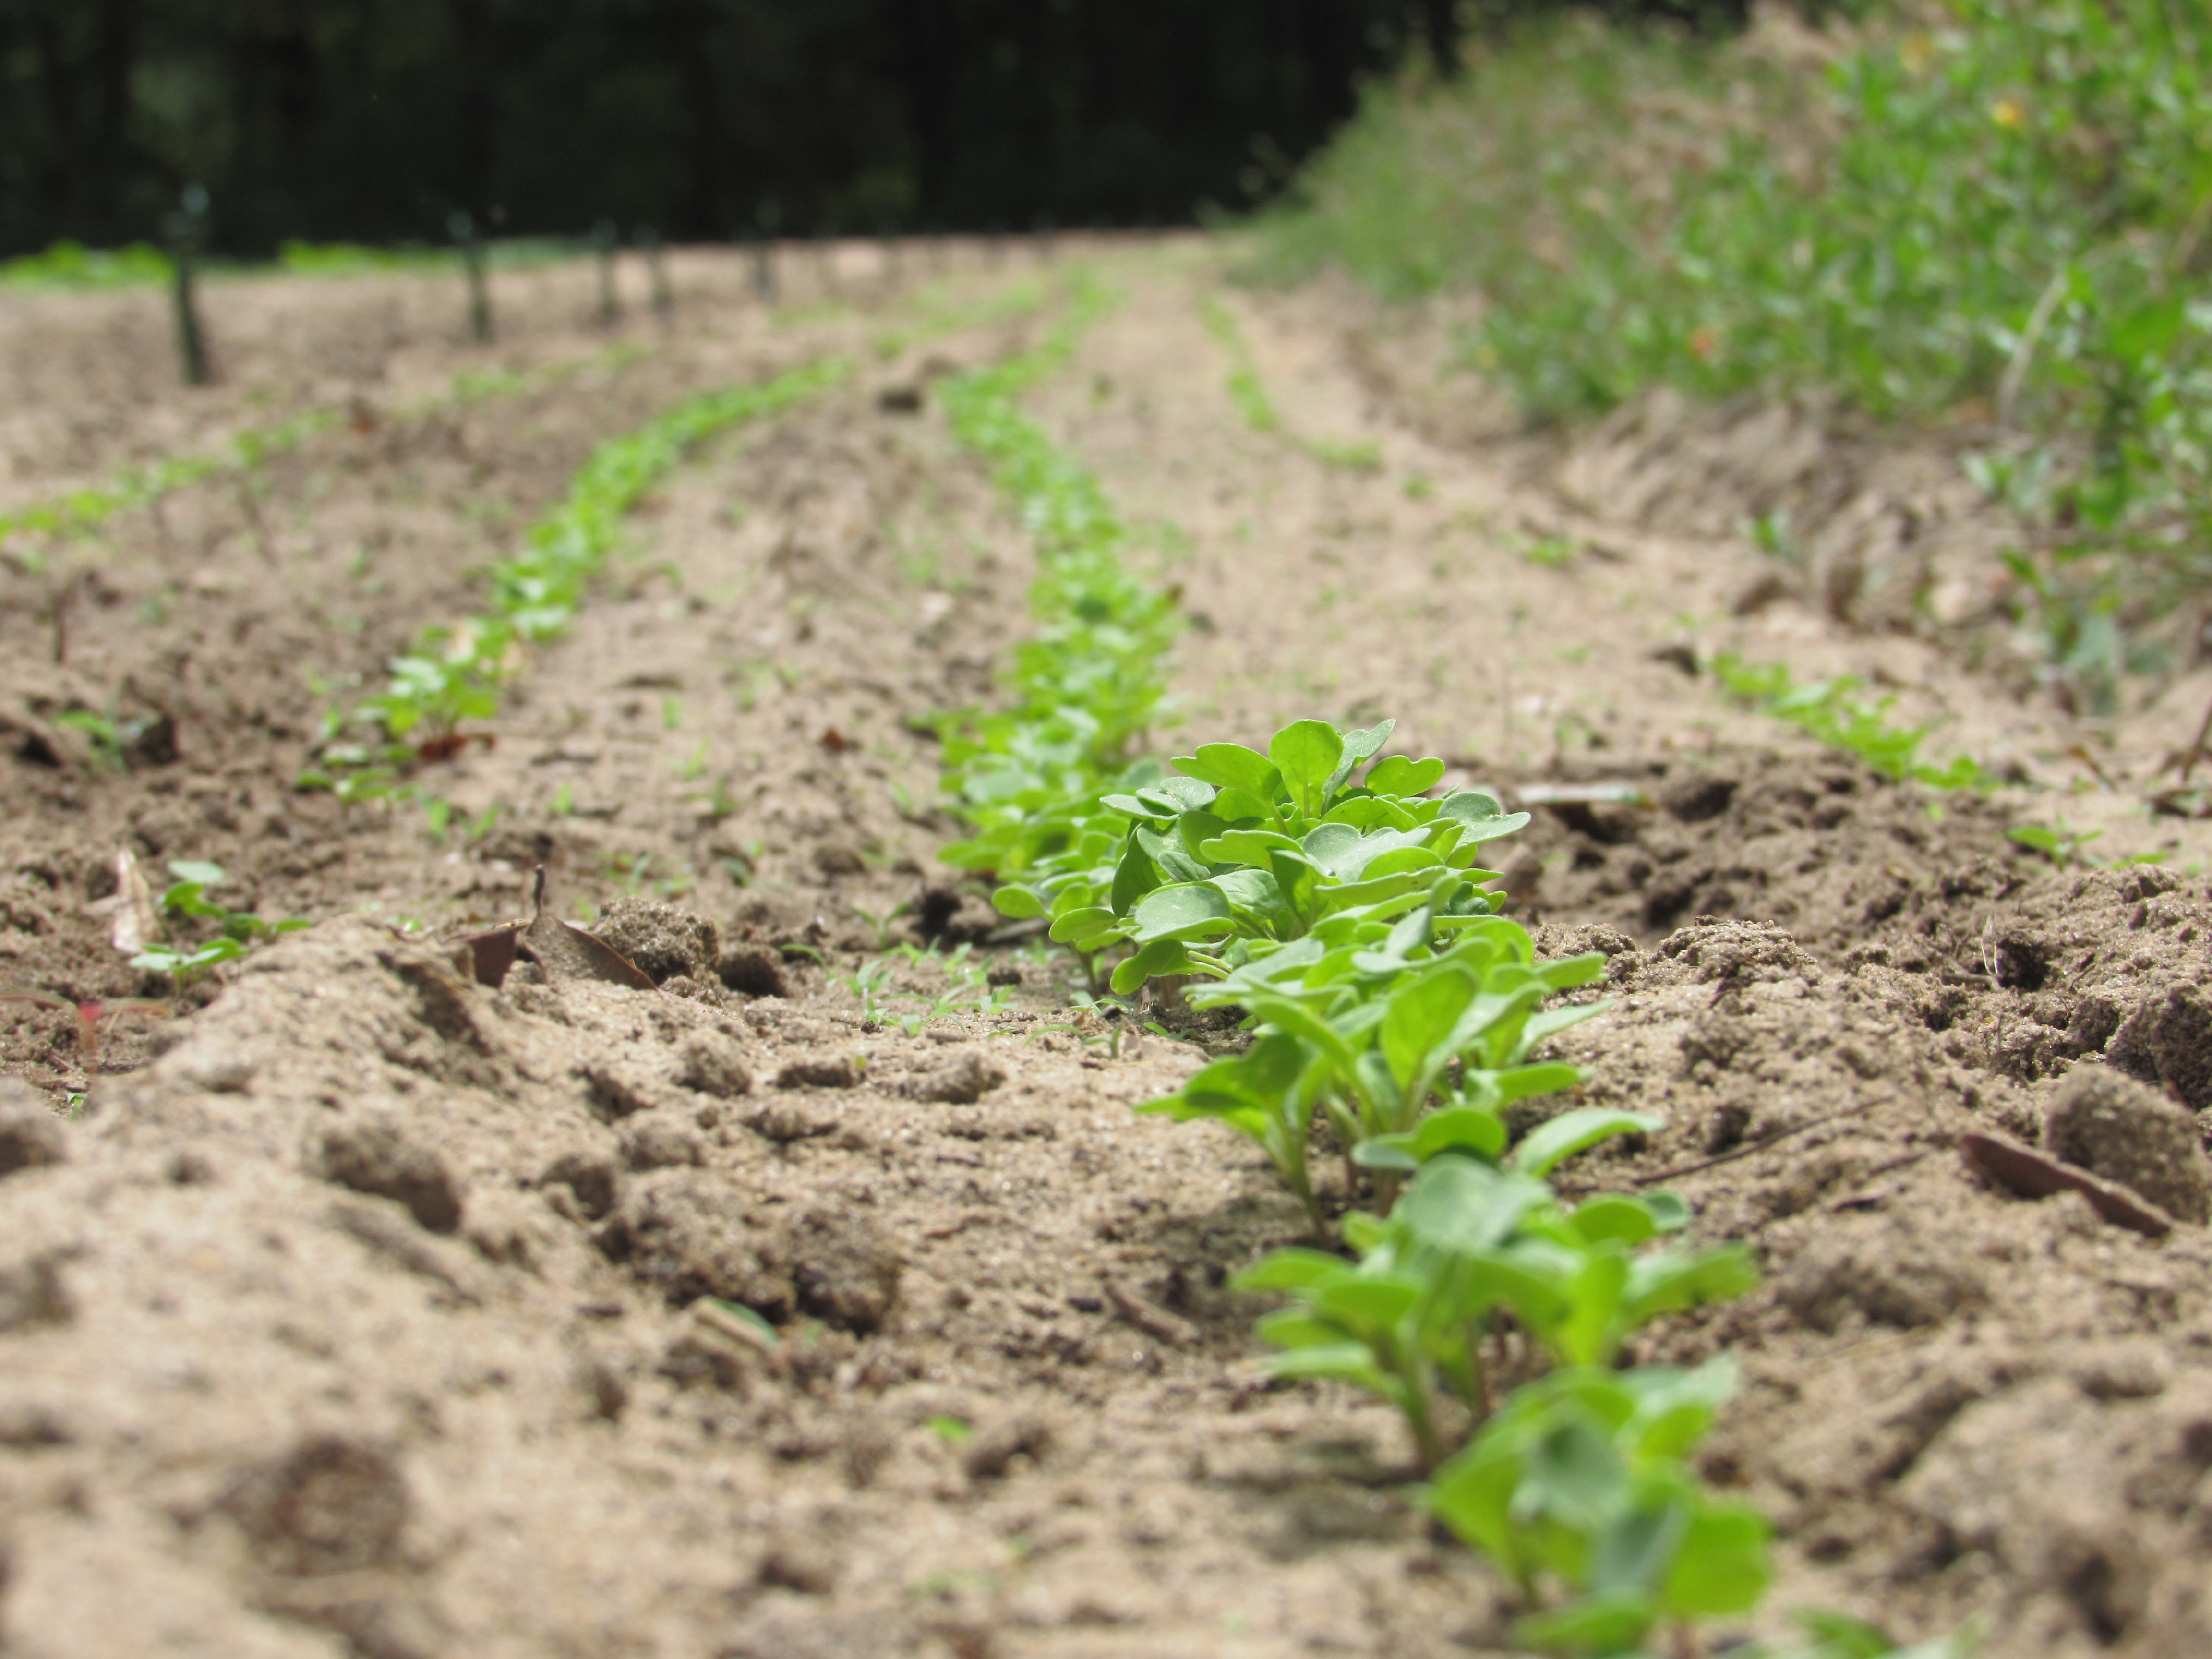
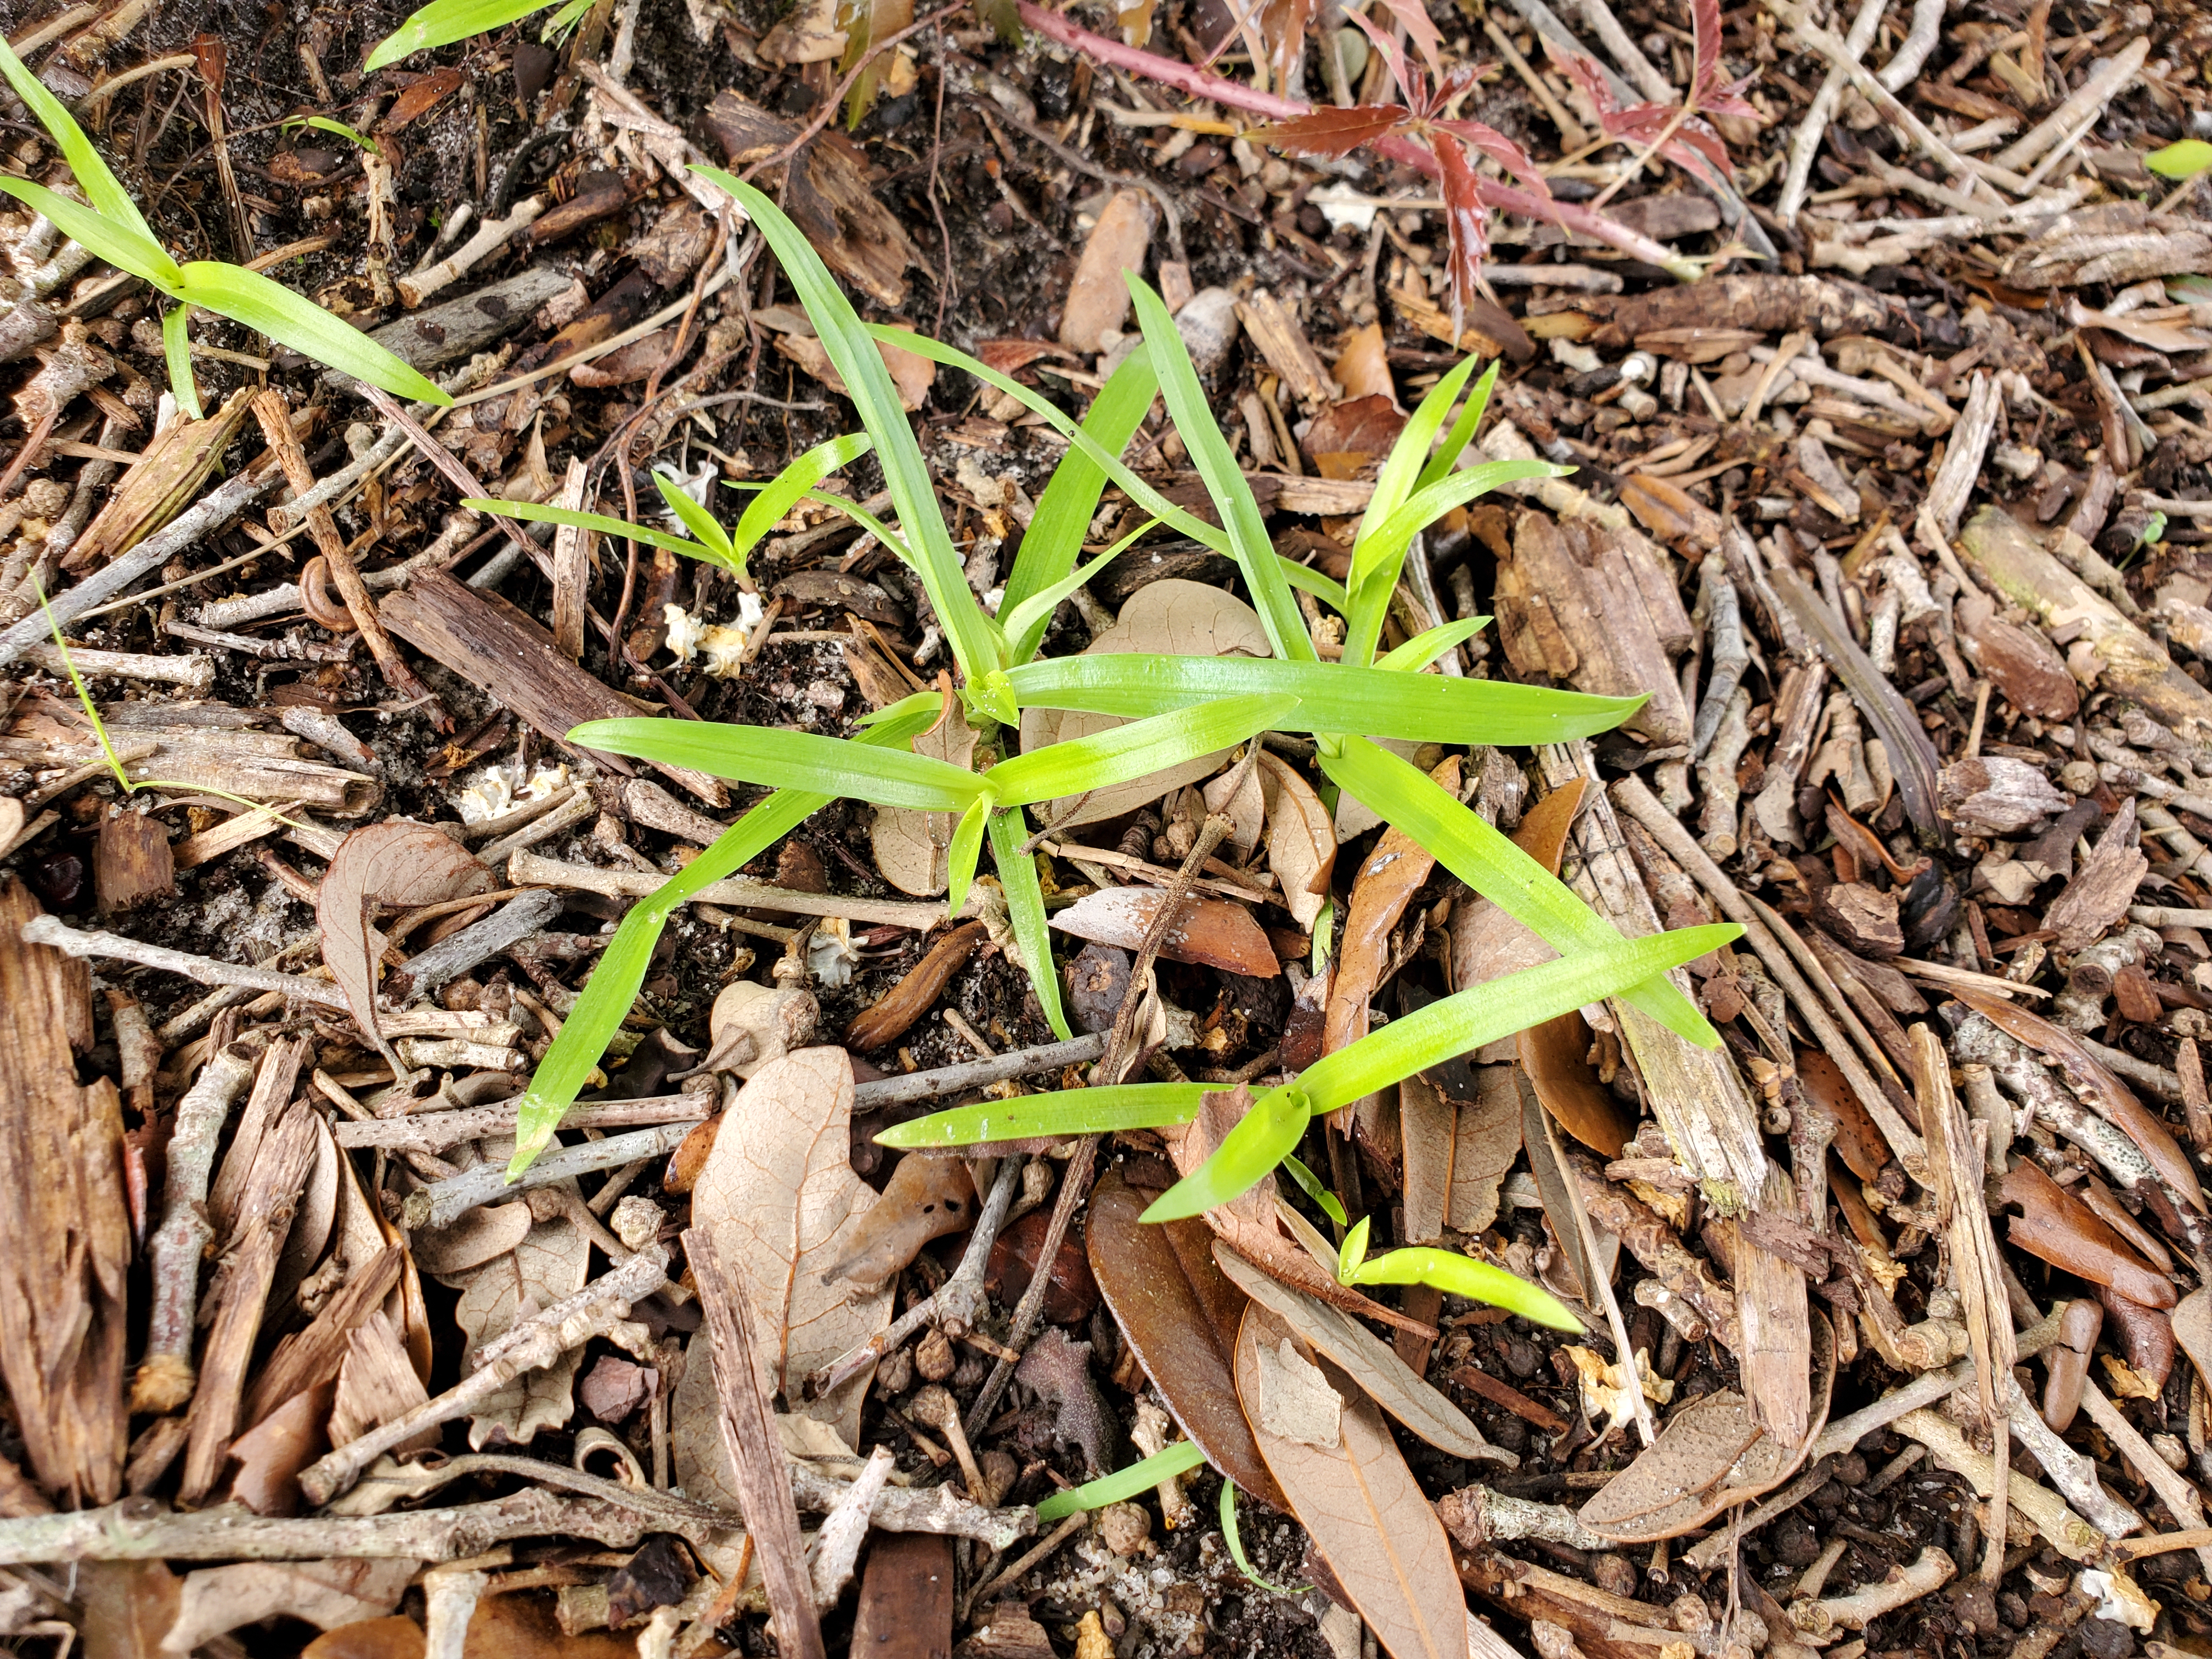
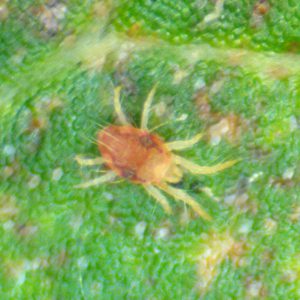
Doveweed seedlings just emerged on July 9, 2021. Photo courtesy of Daniel Leonard.
Doveweed is an insidious invader of Panhandle lawns. In the Panhandle, Doveweed germinates (sprouts) long after most other summer annual weeds, from late May-June when soil temperatures reach ~70°F. This allows it to sneakily avoid spring pre-emergent herbicide applications and even early summer post-emergent applications that target common weeds like Florida Pusley, Spurge species, and others. Doveweed also looks an awful lot like many of our common lawn turfgrasses, especially Centipede and St. Augustine Grass. It possesses thick, shiny, grass-like foliage and even grows in a spreading, low to the ground fashion. This mimicry causes many homeowners to not realize there is a problem until it’s too late. Once Doveweed is mature and displaying its characteristic purple flowers, it is very difficult to control. Finally, Doveweed is extremely tough and aggressive, particularly thriving in moist areas of the lawn. In these areas, Doveweed can easily outcompete the desirable turfgrass and, without intervention by you, will soon have the whole lawn to itself.
Controlling Doveweed is no easy task and requires a combination of practices to keep it out of your lawn. The first line of defense against any weed, Doveweed included, is through proper cultural practices. In turfgrass lawns, this means ensuring that you mow your lawn regularly and at the proper height (2.5” or so for Centipedegrass), keeping the lawn irrigated during droughty periods, fertilizing based on a soil test, etc. Being diligent in the above tasks will go a long way to ensuring that your turfgrass is healthy and better able to ward off a Doveweed invasion. However, even when homeowners maintain their turf perfectly, chemical herbicides are usually required to keep Doveweed at bay.

Doveweed patch in St. Augustine Sod.
While many commonly used homeowner herbicides are not effective on Doveweed, there are several quality options at your disposal.
- Doveweed is most easily controlled with preemergent herbicides, specifically one of the following: Atrazine, Pennant Magnum (S-metolachlor), Tower (dimethenamid), and Specticle (indaziflam). The issue with pre-emergents is that most folks shelve them after spring application in February or March. Since these products lose their efficacy after 4-6 weeks, Doveweed’s emergence in May is undeterred. To obtain control on Doveweed with these products, split the spring application and apply once in late Feb/early March and again in mid-late April.
- Doveweed can also be controlled by post-emergent herbicides after it is up and growing, though multiple applications may be required. The most effective formulations contain a combination of 2,4-D or Dicamba and other herbicides. While most of these products have at least fair efficacy on Doveweed, stronger, more expensive products like Celsius, Tribute Total and others provide better results.
- If Doveweed has already displaced turfgrass in large areas of your lawn, you may unfortunately be better off to make an application of a non-selective herbicide like glyphosate (Roundup), kill out the entire area of infestation and start over by resodding.
While Doveweed is a major problem in Panhandle lawns, it doesn’t have to be in yours! By keeping your turf healthy with proper cultural practices and making timely applications with effective herbicides, your lawn can be a Doveweed free zone! For assistance in Doveweed identification in your lawn, help choosing herbicides and calculating application rates, or any other horticultural information, contact us at the UF/IFAS Calhoun County Extension office! Happy Gardening!