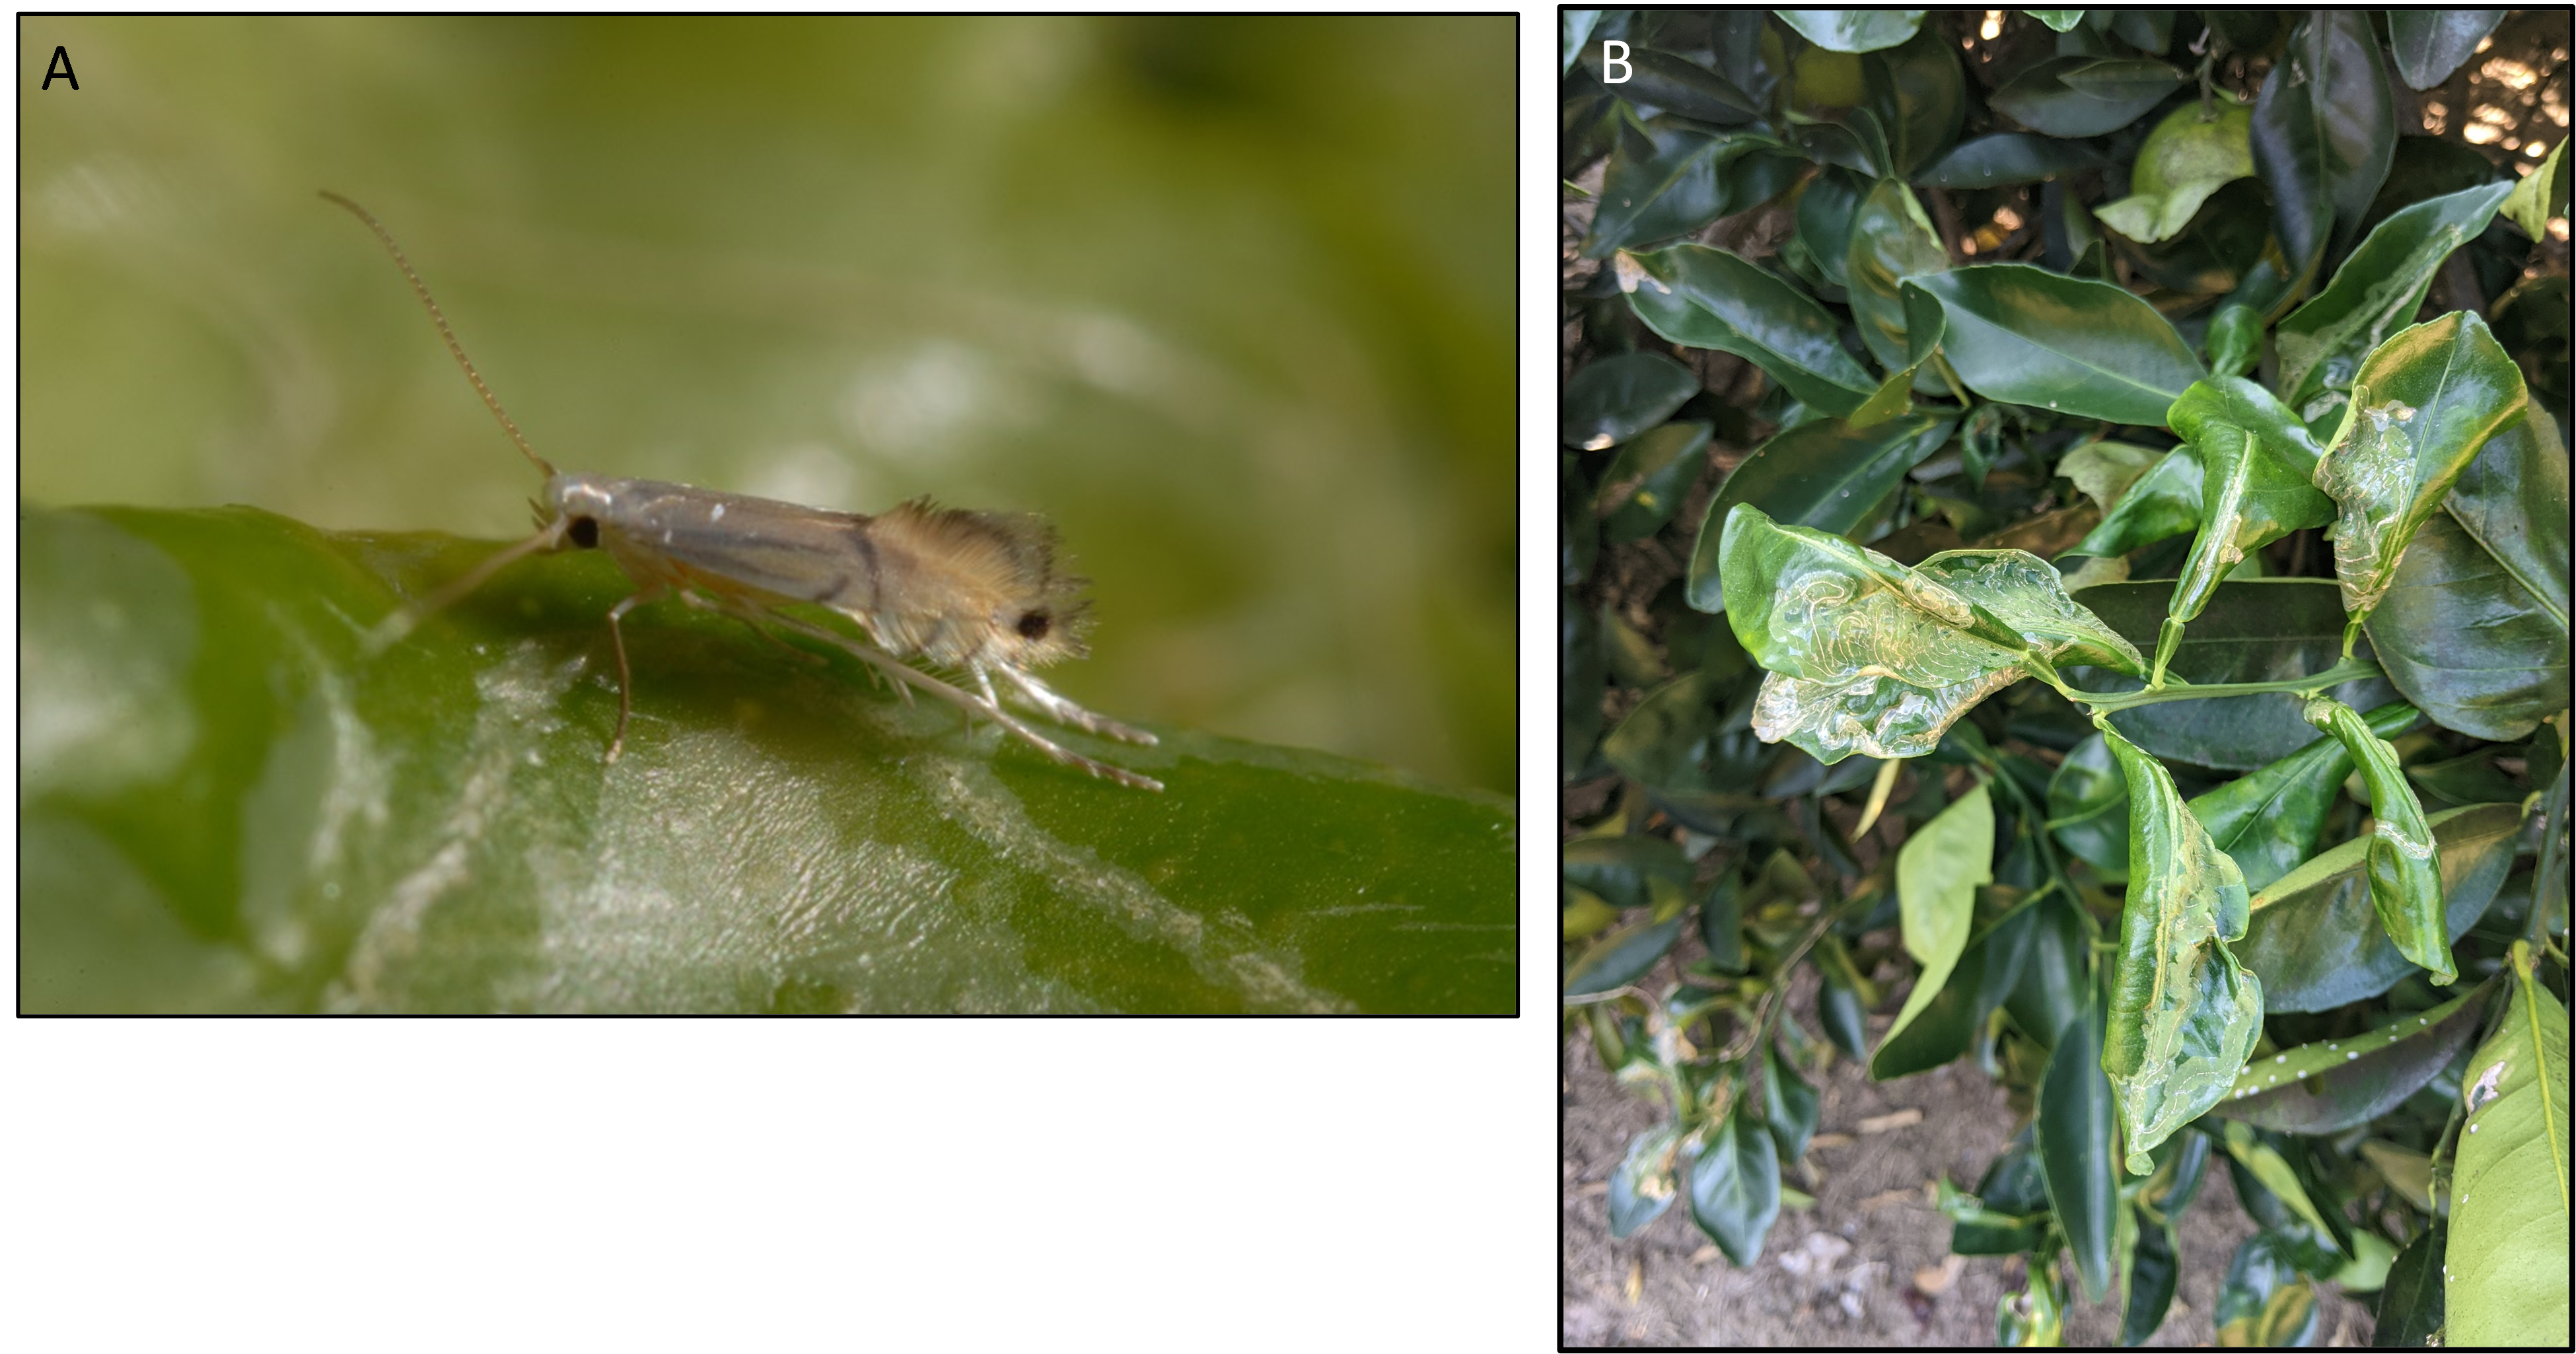
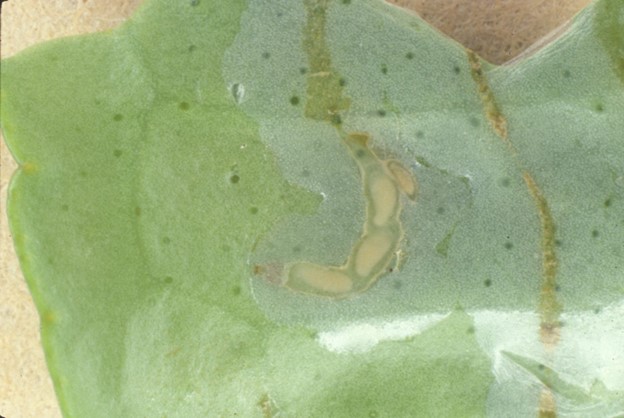
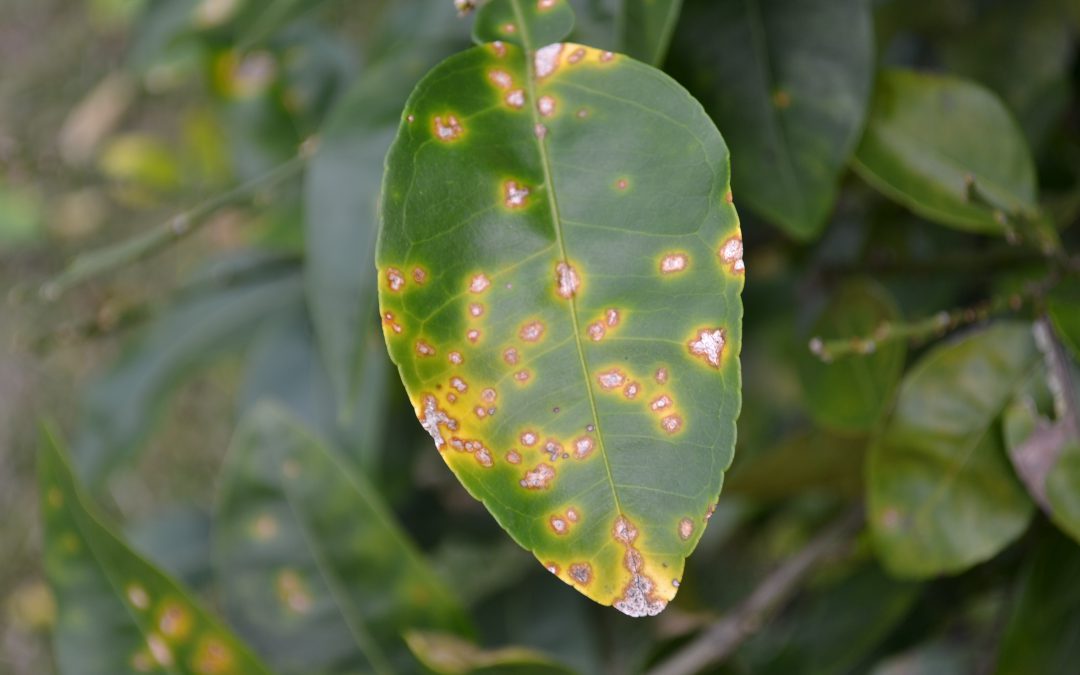
Citrus is one of the most cherished fruit trees in the Panhandle. Citrus owners are well aware that every year the main damage to their trees come from citrus leafminer (CLM). CLM is a small moth and its larvae feeds between the tissue layers of new leaf growth, causing serpentine mines to form under the leaf cuticle (Fig. 1). The feeding damage results in leaf curling and distortion, and severe infestations of CLM on young trees can retard the growth of trees. Another threat concerning CLM in Florida is that the mines provide an open wound for citrus canker to enter, a bacterial disease that has been found recently in the Florida Panhandle, Georgia, and Alabama.
Most commercial growers deal with CLM in young trees by a soil application of systemic insecticide before the flush season, followed by a foliar insecticide when the systemic drench’s toxicity is declining. Homeowners, however, have limited access to these chemistries. Garden systemic insecticides that include imidacloprid (Bayer’s Tree & Shrub Insect Control™, Merit®, etc.) and dinotefuran (Greenlight Tree and Shrub Insect Control™, Safari®, etc.) are among the few options for CLM control. For the best efficacy, those insecticides should be applied two weeks before the start of the flushing season to allow time for the insecticide to move from the roots into the canopy. To avoid leaching of insecticide away from the root zone, soil applications should be made within a 24-hour period without rain. Citrus trees usually have several flushes per year, depending upon cultivar, climate, and crop load. However, in the Florida Panhandle, most citrus cultivars have two major flushes in May and September.
Importantly, systemic insecticides are only efficient against CLM for small immature trees; therefore, the only products labeled for use against CLM on mature trees are foliar sprays. Horticultural oils or insecticides with spinosad (such as Monterey® Garden Insect Spray) are some options available for homeowners. However, achieving leafminer control with foliar applications on mature trees is challenging due to unsynchronized flushing of trees. Foliar applications should be timed with the appearance of the first visible leaf mines. In any case, be sure to READ THE LABEL and follow all the label directions.
Cultural practices, and non-insecticidal methods.
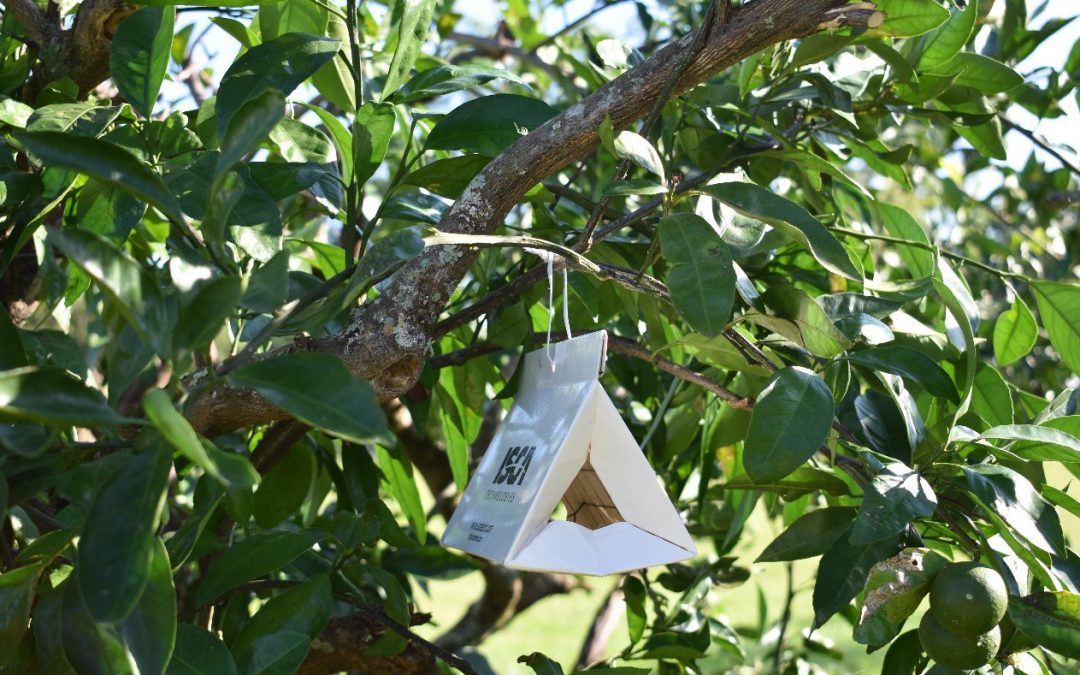
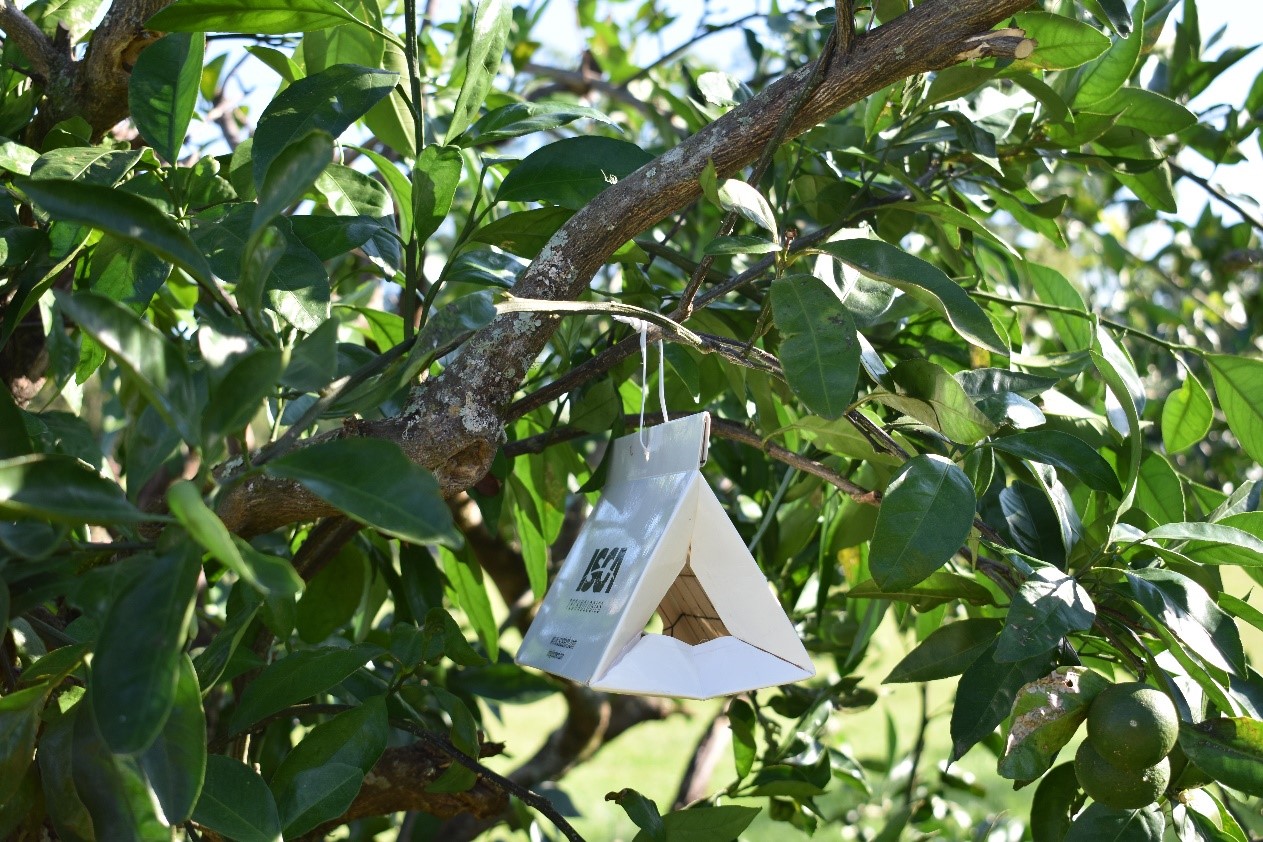
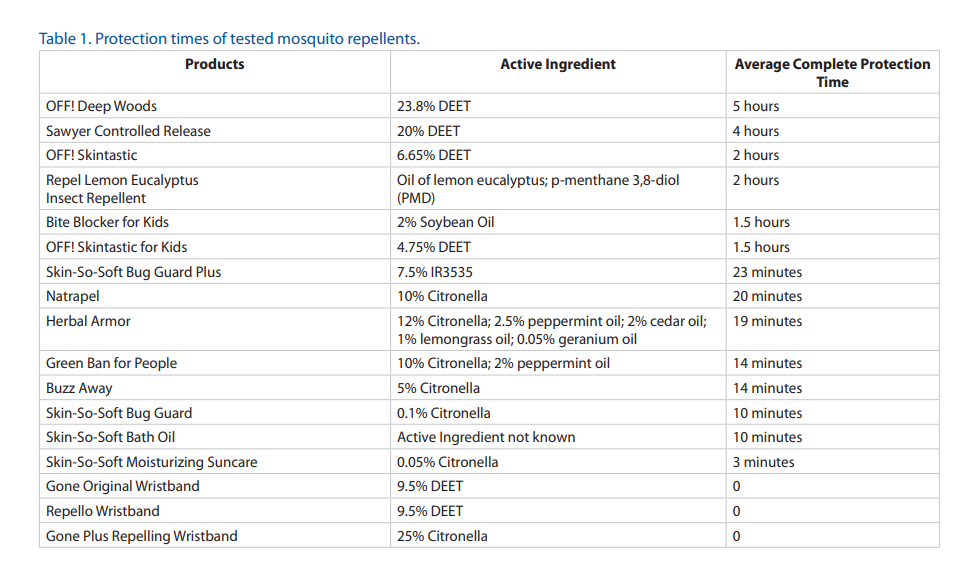
For isolated trees in a backyard, cultural practices and control through mass trapping are usually sufficient to control CLM and insecticide use is not recommended, especially for mature trees. One of the basic cultural practices is to remove any stems that grow below the bud union or from the rootstock, also called ‘suckers’ (Fig. 2). Those rootstock shoots compete with the scion shoots and are great reservoirs for CLM; removing them will help reducing CLM population. On isolated trees, mass trapping using CLM pheromone provide good results (Fig. 3). The mass trapping method is constituted of a delta trap baited with a lure that emits a large quantity of CLM sex pheromone. CLM males are attracted by the odor and are captured in the delta trap’s sticky liner. Those traps are commonly used by growers to monitor CLM populations, but for homeowners they are sufficient to control CLM on a single tree. This trap and a lure method should protect a single tree for approximately 3 months. Finally, the last option is the use of biological control. Several natural enemies are predators or parasitize CLM. In some case, biological control can reduce CLM populations by 90%. Primary predators of CLM include ants, lacewings, and spiders, as well as a parasitic wasp, Ageniaspis citricola that was introduced into Florida and has become established (Fig. 4).
New growth from the rootstock (called ‘suckers’, red arrow) are a source for CLM infestation and should be removed.
Baited pheromone trap for citrus leafminer (picture Danielle Sprague).
Are you a homeowner in Florida? Do you have citrus on your property? Consider helping the University of Florida/IFAS Extension by taking a survey!
This survey is part of a research project carried out by the UF/IFAS to gather information on citrus pests in residential settings in Florida. This survey is designated for Florida residentswho have citrus on their property that are not intended for commercial use. The outcomes of this survey will serve to develop appropriate control methods against critical citrus pests for dooryard citrus. We kindly ask that you complete all questions on this survey which will take approximately 20 minutes.
The University of Florida is conducting a survey among Florida homeowners that have citrus on their property. This survey is supported by USDA-NIFA and is about pests that might be found on citrus and how to manage them. The survey should take only 10 min and will help the University of Florida to develop an Extension program adapted to residential areas.
Thank you for your help!
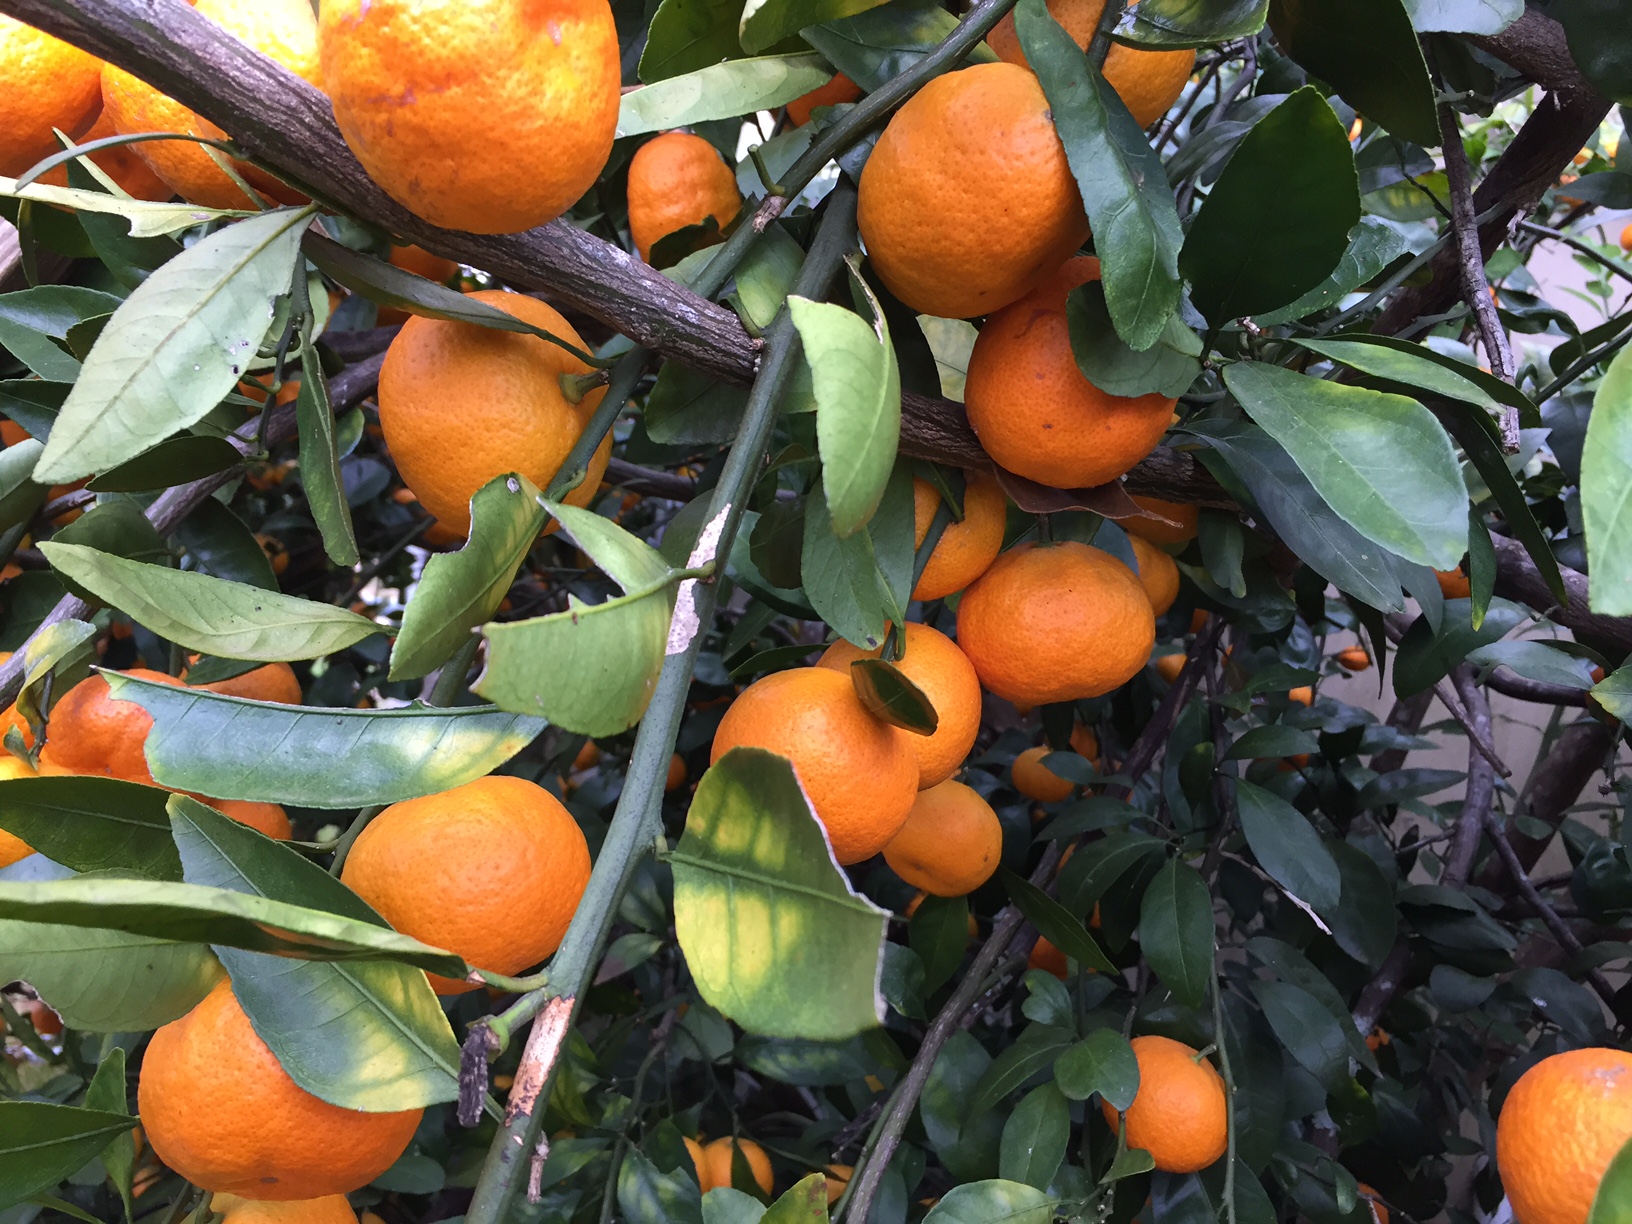
Citrus: Bearing Branches. Image Credit Matthew Orwat, UF/IFAS
Mosquitoes are a pesky nuisance we’re all too familiar with, especially as we move into the summer months. Their presence can certainly make being outdoors undesirable. Not only are they a blood-sucking nuisance but they also carry and can transmit many diseases to humans. Mosquito-borne diseases of public health concern in Florida include St. Louis encephalitis, eastern equine encephalitis, West Nile virus encephalitis, dengue, and Zika. While it can be difficult to eliminate mosquito populations completely, there are steps we can all take to protect ourselves and to prevent our landscape from becoming a major breeding ground for mosquitos.
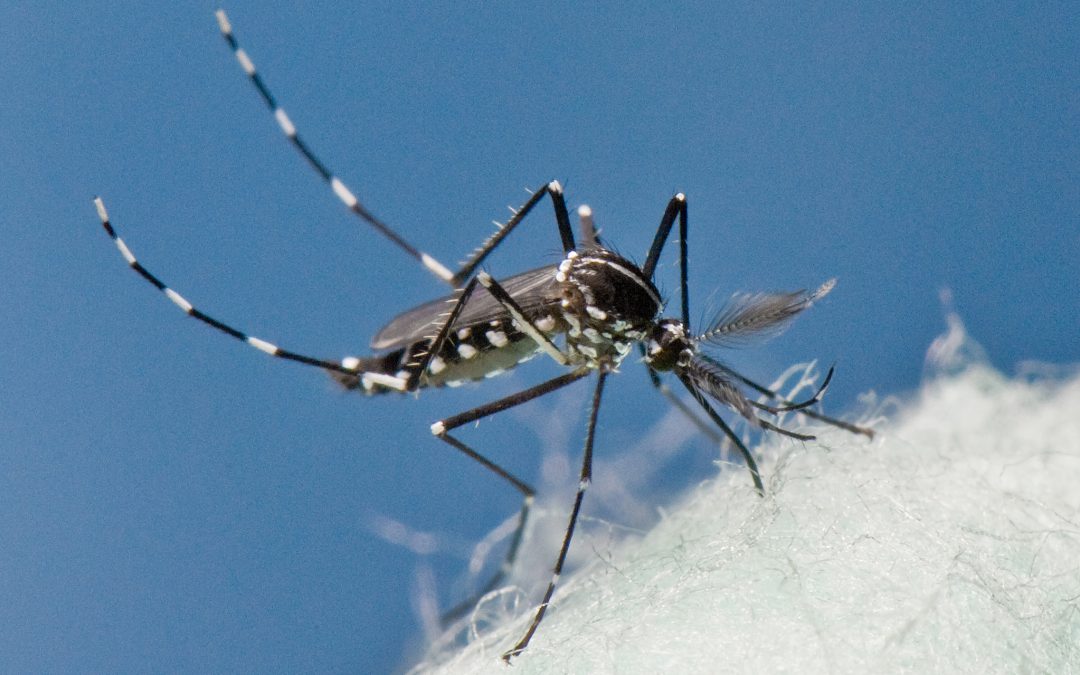
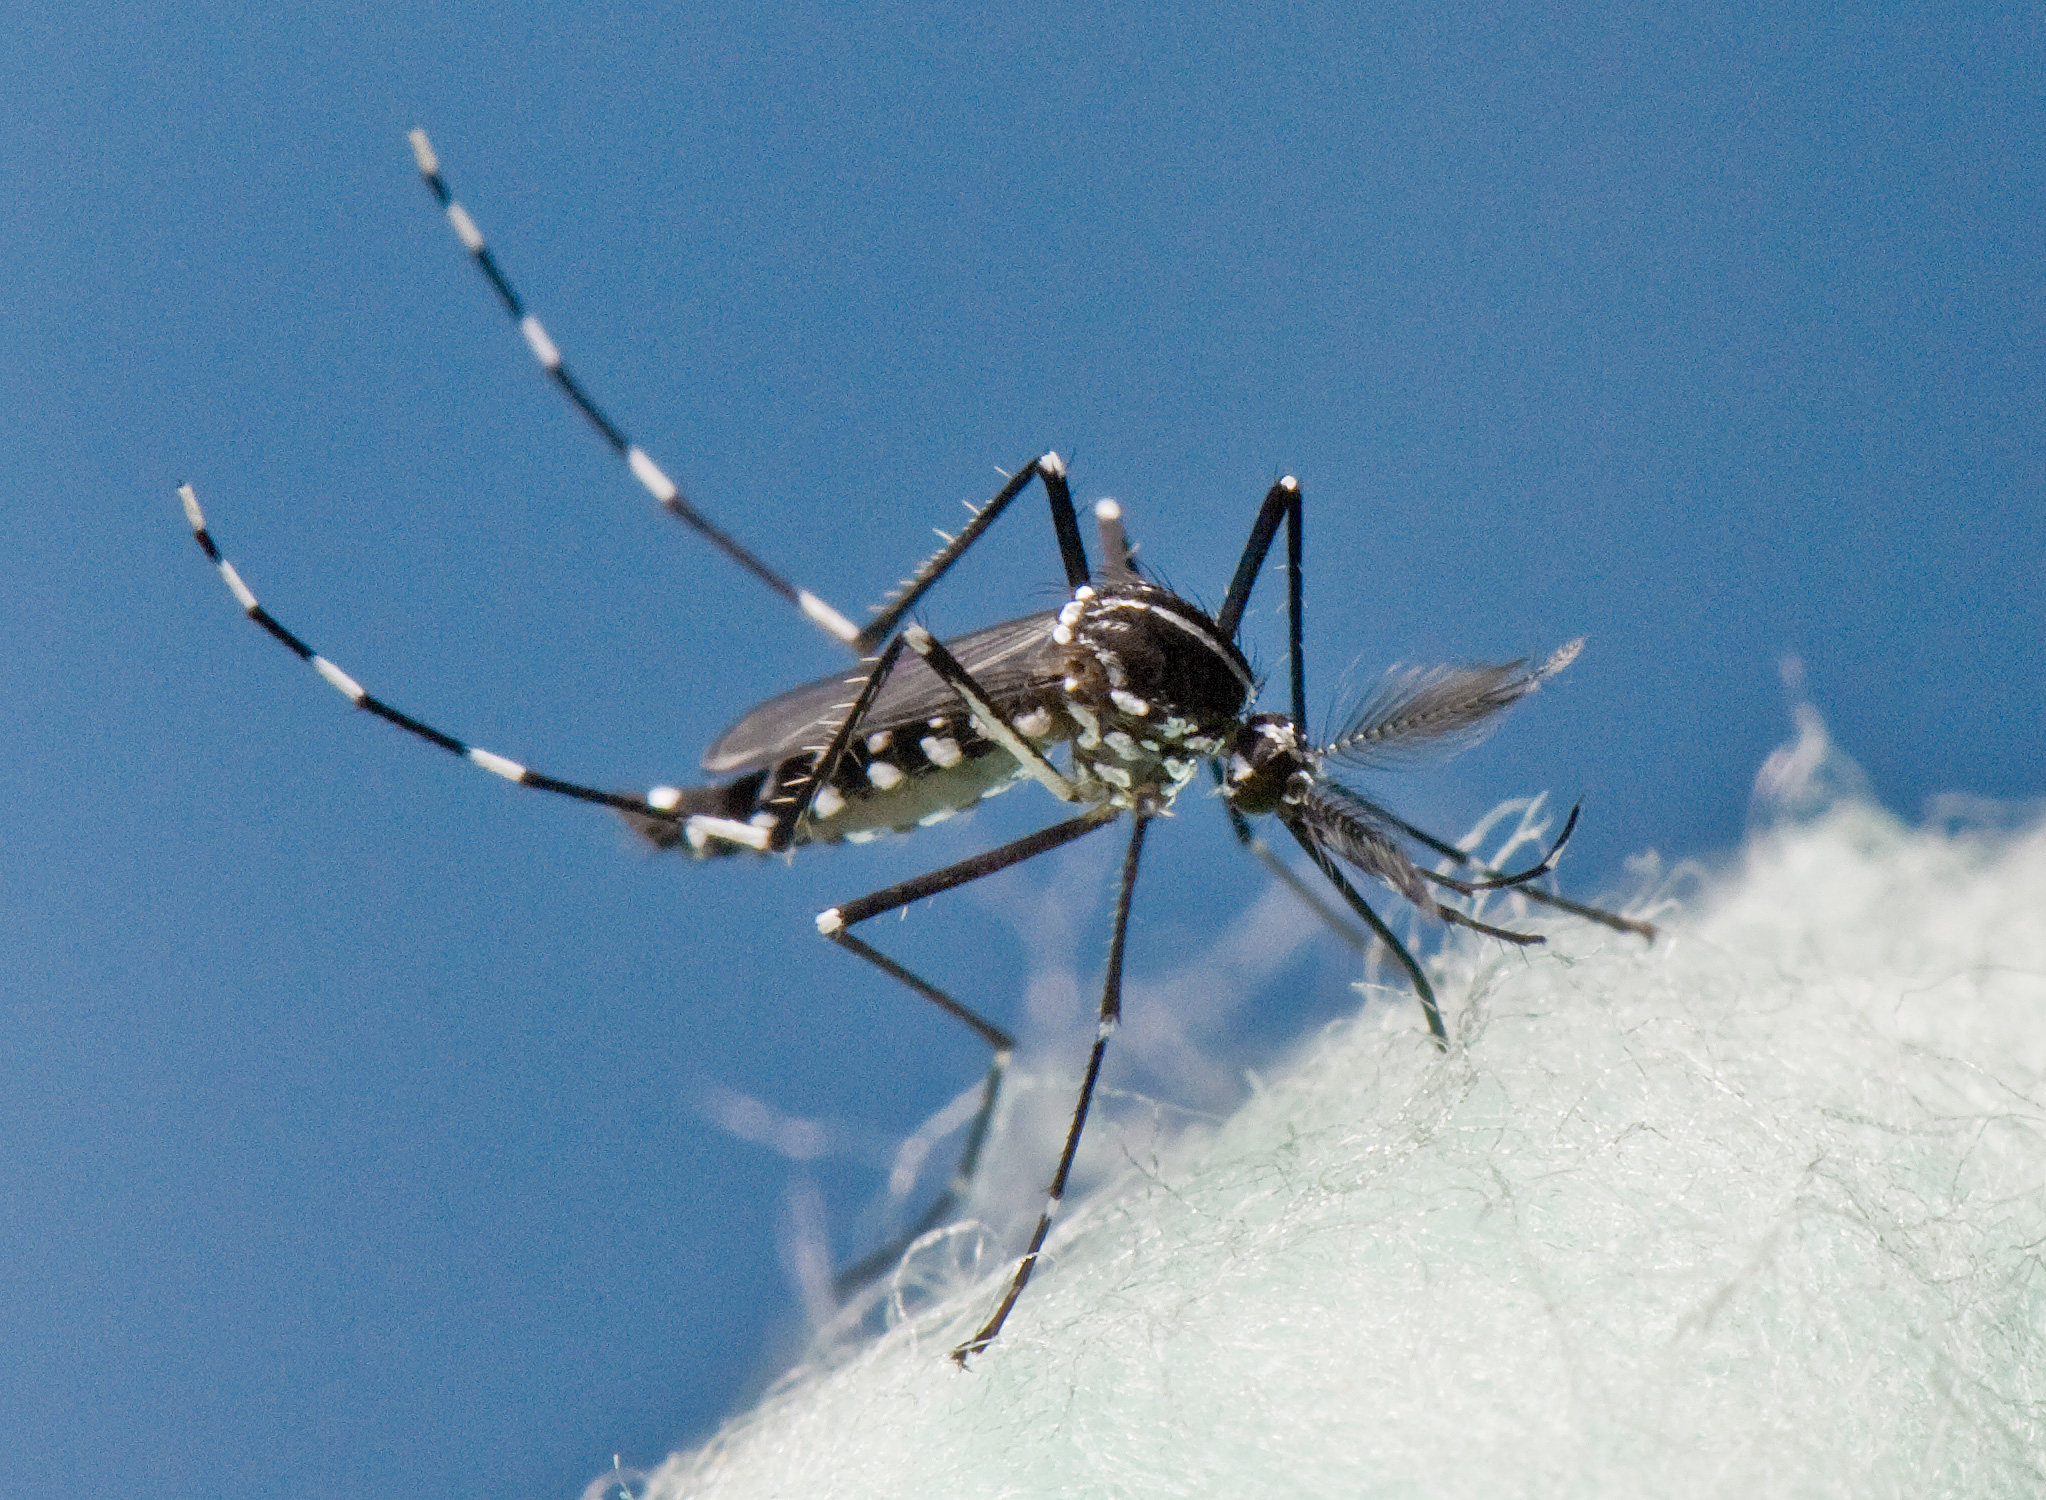
Asian Tiger Mosquito. Photo Credit: James Newman. UF/IFAS Photo.
Source Reduction
One way to keep mosquito populations down is to prevent the landscape from being a breeding ground for them. Many species of mosquitoes require standing water to lay their eggs; therefore, eliminating standing water can help keep populations low. Mosquitoes can develop in a variety of water-holding containers such as flowerpots, birdbaths, pet dishes, tree holes, bamboo trunks, and many others. It is important to:
Drain water from garbage cans, gutters, buckets, coolers, or any other containers where water is collected
Discard any old tires, bottles, broken appliances, or items not being used that could potentially hold water
Change water in birdbaths and/or outdoor pet dishes once or twice a week
Mosquito larvae. UF/IFAS File Photo
For areas such as ornamental ponds or water gardens, aeration or stocking them with mosquitofish (Gambusia species) can also help to keep mosquito populations down. The small fish will feed on the mosquito larvae and add movement to the water. They are most effective in small ponds with no other fish present.
For other areas with standing water that cannot be drained, such as rain barrels or ornamental ponds, products containing Bacillus thuringiensisisraelensis (Bti) are effective in controlling mosquito larvae. Products containing Bti come in the form of granules or “dunks”, which look like miniature donuts. These Bti products are considered a form of biological control as it is a naturally occurring bacteria that is specific to mosquito, blackfly, and fungus gnat larvae. Therefore, Bti products are not harmful to fish, waterfowl, pets or humans when used according to label directions.
Protective Clothing and Repellents
The most effective way to protect yourself from mosquito bites is to avoid infested areas, wear protective clothing, and wear insect repellent when outdoors. There are several repellents that are currently available such as DEET, picaridin, and IR3535, or plant derived chemicals such as citronella and oil of lemon eucalyptus.
It is important to read the label before applying mosquito repellent and to remember that there are different recommendations for frequency of application for different products. Below is a table comparison of products based upon University of Florida research.
Integrated Pest Management or ‘IPM’ is a sustainable approach to managing plant pests by using several different methods to cause the least harm to people, property, and the environment. IPM focuses on the management of problems rather than their eradication. Using IPM strategies in your garden is one way to ensure its productivity!
Avoiding Pest Problems
Prevention is key to IPM! It is important to select the right plant, for the right place at the right time. It’s also important to select pest-resistant plant varieties and maintain healthy plants through proper watering and fertilization.
Plan before you plant. Be sure not to plant in a location not suited for a particular plant. Stressed plants are more susceptible to insects and disease.
Start with healthy plants. Do not plant plants with insects or disease.
Monitor the lawn and garden regularly. You’ll want to be able to detect a pest problem earlier rather than later.
Water and fertilize properly. Too much of either can make plants vulnerable to insects and disease.
Encourage beneficial insects in your garden. Learn to recognize the insects in your garden and let the good ones do the work for you!
Recognizing Pest Problems
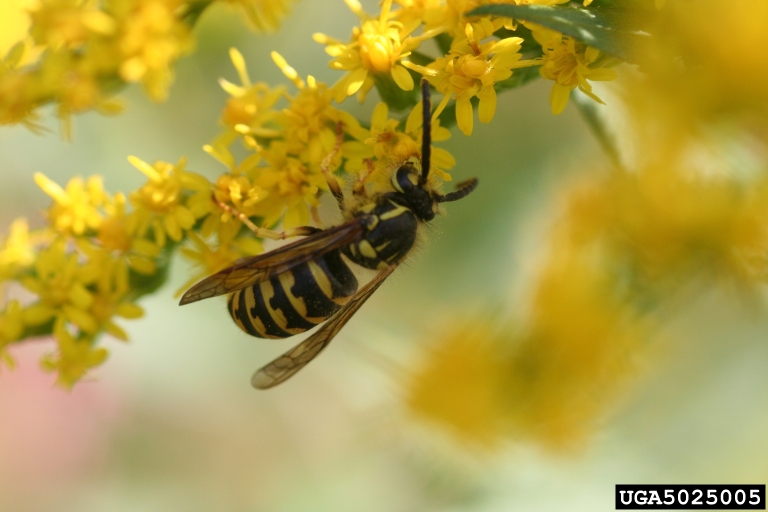
Depending upon the insect and the life cycle stage they are in, they may look different than we are used to! Here is a photo of the pupal stage of a lady beetle.
Scouting or monitoring the garden or plants in the yard frequently helps detect problems early. Some of the common insects you’ll find in your garden are: aphids, mealybugs, scales, whiteflies, thrips, mites, caterpillars, and stinkbugs. Often times you’ll find damage from the insect before you see the insect itself. Chewed or deformed leaves, sooty mold or a colony of ants scurrying up and down stems are all signs an insect may be present.
Treating Pest Problems
IPM is the best strategy for dealing with pests in the lawn and garden. IPM strategies:
Remove affected plant leaves or parts. If an insect or disease is heavily concentrated in an area, you can reduce or eliminate the problem by simply removing it.
Pick insects off by hand. Be sure to dispose of them so they don’t make it back into the garden.
Look for beneficial insects. If you see a pest outbreak, try to determine if it is being managed by natural enemies. Many insects such as ladybugs and lacewings prey on pest insects and removing them will just help the pest insects. If you need help identifying insects, contact your local county Extension agent!
Try the above strategies before pesticide use. If the problem persists and pesticides are needed, use products that have a reduced-risk to the environment such as insecticidal soaps, horticultural oils, botanicals, or microbials.
Read and follow all pesticide label instructions. The label is the law!
For more information on integrated pest management, please visit: