by Danielle S. Williams | May 12, 2022
Mosquitoes are a pesky nuisance we’re all too familiar with, especially as we move into the summer months. Their presence can certainly make being outdoors undesirable. Not only are they a blood-sucking nuisance but they also carry and can transmit many diseases to humans. Mosquito-borne diseases of public health concern in Florida include St. Louis encephalitis, eastern equine encephalitis, West Nile virus encephalitis, dengue, and Zika. While it can be difficult to eliminate mosquito populations completely, there are steps we can all take to protect ourselves and to prevent our landscape from becoming a major breeding ground for mosquitos.
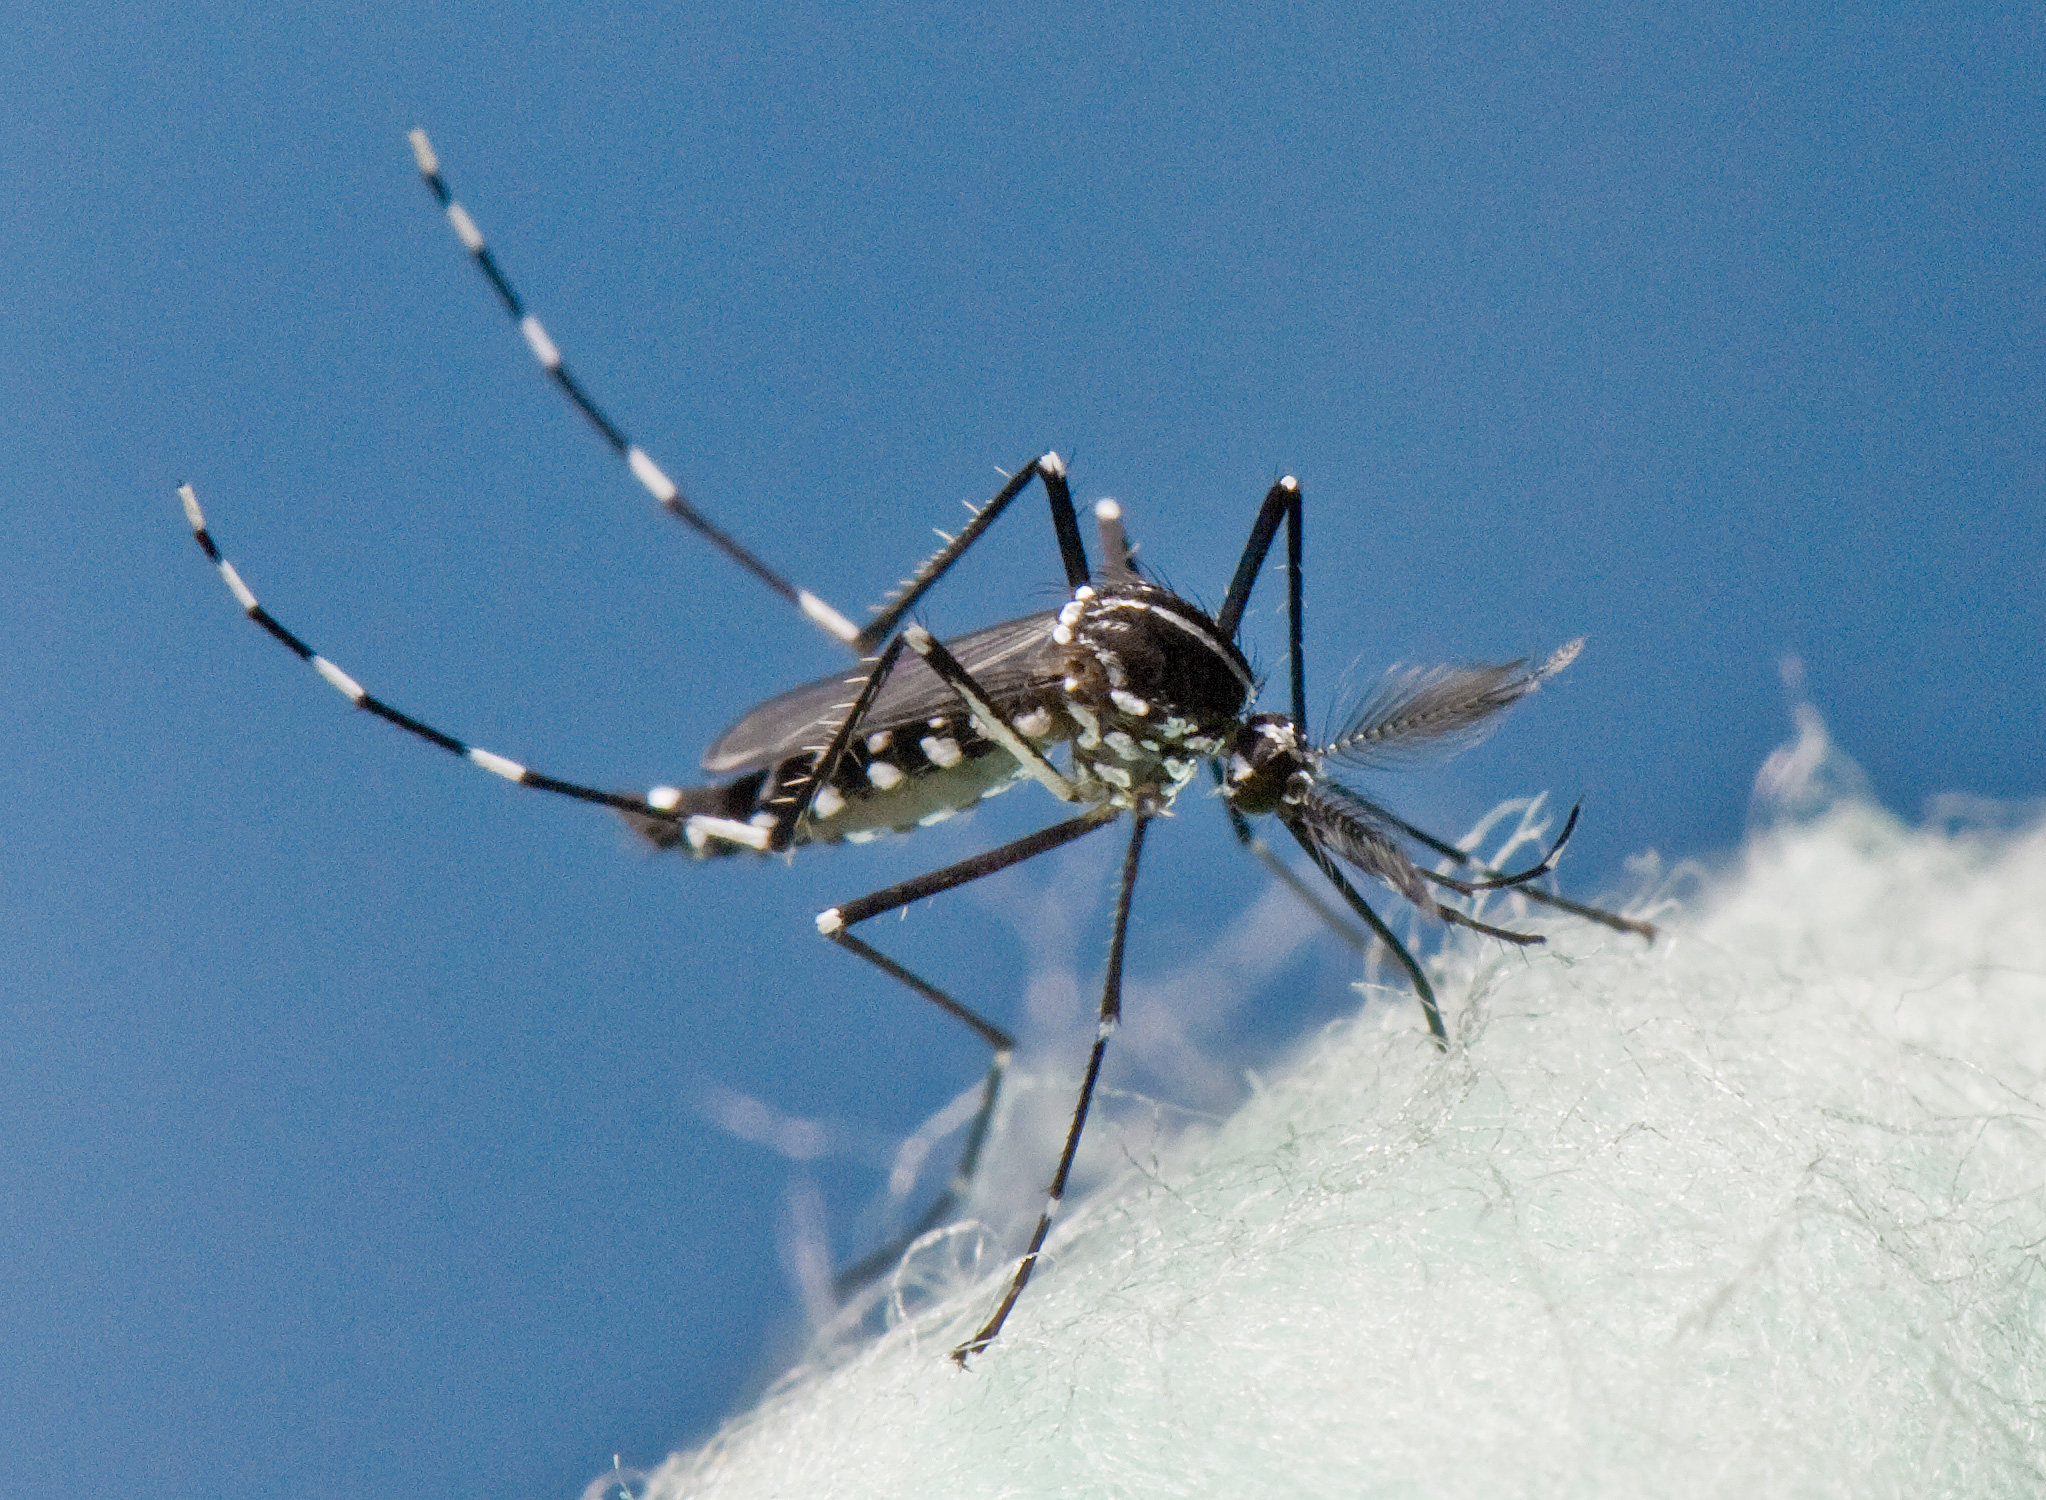
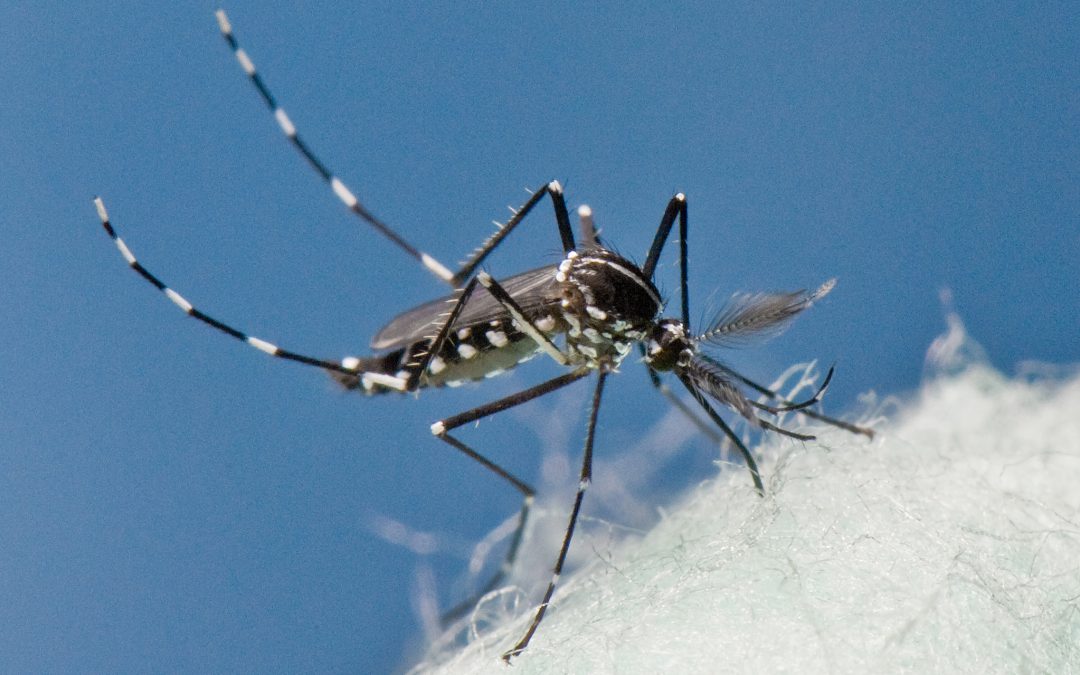
Asian Tiger Mosquito. Photo Credit: James Newman. UF/IFAS Photo.
Source Reduction
One way to keep mosquito populations down is to prevent the landscape from being a breeding ground for them. Many species of mosquitoes require standing water to lay their eggs; therefore, eliminating standing water can help keep populations low. Mosquitoes can develop in a variety of water-holding containers such as flowerpots, birdbaths, pet dishes, tree holes, bamboo trunks, and many others. It is important to:
- Drain water from garbage cans, gutters, buckets, coolers, or any other containers where water is collected
- Discard any old tires, bottles, broken appliances, or items not being used that could potentially hold water
- Change water in birdbaths and/or outdoor pet dishes once or twice a week

Mosquito larvae. UF/IFAS File Photo
For areas such as ornamental ponds or water gardens, aeration or stocking them with mosquitofish (Gambusia species) can also help to keep mosquito populations down. The small fish will feed on the mosquito larvae and add movement to the water. They are most effective in small ponds with no other fish present.
For other areas with standing water that cannot be drained, such as rain barrels or ornamental ponds, products containing Bacillus thuringiensis israelensis (Bti) are effective in controlling mosquito larvae. Products containing Bti come in the form of granules or “dunks”, which look like miniature donuts. These Bti products are considered a form of biological control as it is a naturally occurring bacteria that is specific to mosquito, blackfly, and fungus gnat larvae. Therefore, Bti products are not harmful to fish, waterfowl, pets or humans when used according to label directions.
Protective Clothing and Repellents
The most effective way to protect yourself from mosquito bites is to avoid infested areas, wear protective clothing, and wear insect repellent when outdoors. There are several repellents that are currently available such as DEET, picaridin, and IR3535, or plant derived chemicals such as citronella and oil of lemon eucalyptus.
It is important to read the label before applying mosquito repellent and to remember that there are different recommendations for frequency of application for different products. Below is a table comparison of products based upon University of Florida research.
Table from UF/IFAS Publication: Mosquito Repellents
For more in-depth information on selecting mosquito repellents, please visit the UF/IFAS Publication: Mosquito Repellents.
For more information about mosquitos, please visit:
by Danielle S. Williams | Aug 11, 2021
Integrated Pest Management or ‘IPM’ is a sustainable approach to managing plant pests by using several different methods to cause the least harm to people, property, and the environment. IPM focuses on the management of problems rather than their eradication. Using IPM strategies in your garden is one way to ensure its productivity!
Avoiding Pest Problems
Prevention is key to IPM! It is important to select the right plant, for the right place at the right time. It’s also important to select pest-resistant plant varieties and maintain healthy plants through proper watering and fertilization.
- Plan before you plant. Be sure not to plant in a location not suited for a particular plant. Stressed plants are more susceptible to insects and disease.
- Start with healthy plants. Do not plant plants with insects or disease.
- Monitor the lawn and garden regularly. You’ll want to be able to detect a pest problem earlier rather than later.
- Water and fertilize properly. Too much of either can make plants vulnerable to insects and disease.
- Encourage beneficial insects in your garden. Learn to recognize the insects in your garden and let the good ones do the work for you!
Recognizing Pest Problems

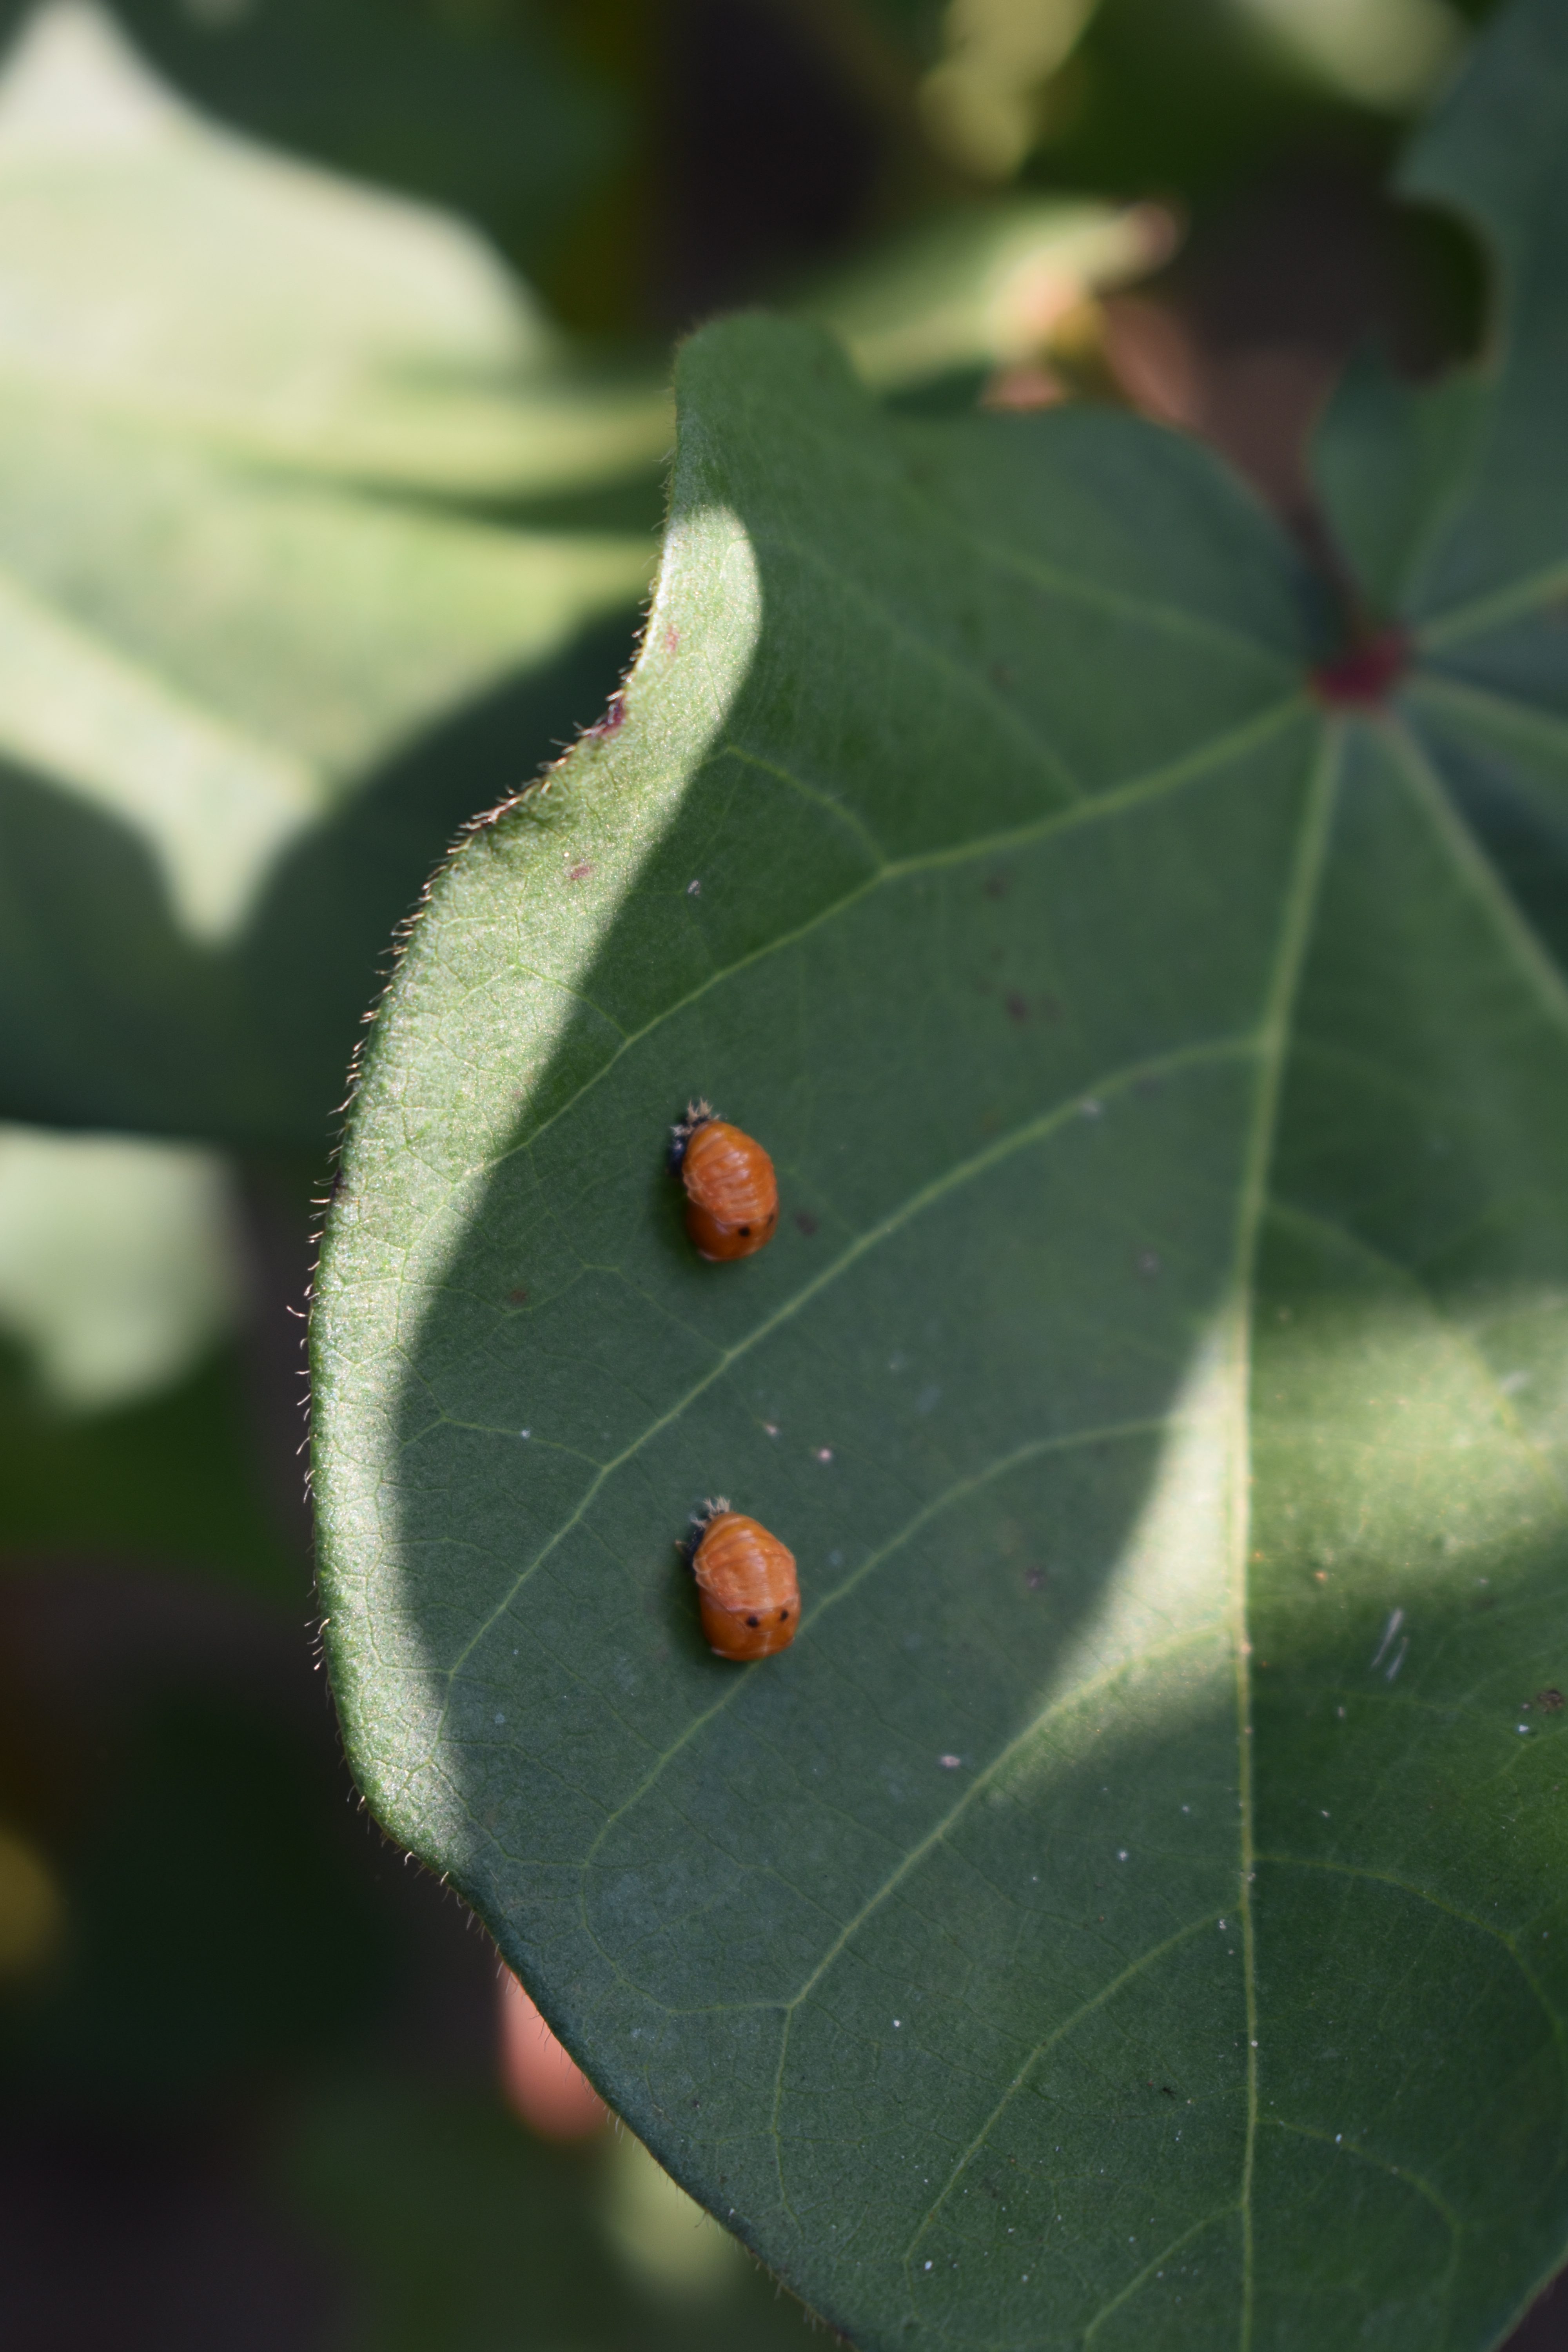
Depending upon the insect and the life cycle stage they are in, they may look different than we are used to! Here is a photo of the pupal stage of a lady beetle.
Scouting or monitoring the garden or plants in the yard frequently helps detect problems early. Some of the common insects you’ll find in your garden are: aphids, mealybugs, scales, whiteflies, thrips, mites, caterpillars, and stinkbugs. Often times you’ll find damage from the insect before you see the insect itself. Chewed or deformed leaves, sooty mold or a colony of ants scurrying up and down stems are all signs an insect may be present.
Treating Pest Problems
IPM is the best strategy for dealing with pests in the lawn and garden. IPM strategies:
- Remove affected plant leaves or parts. If an insect or disease is heavily concentrated in an area, you can reduce or eliminate the problem by simply removing it.
- Pick insects off by hand. Be sure to dispose of them so they don’t make it back into the garden.
- Look for beneficial insects. If you see a pest outbreak, try to determine if it is being managed by natural enemies. Many insects such as ladybugs and lacewings prey on pest insects and removing them will just help the pest insects. If you need help identifying insects, contact your local county Extension agent!
- Try the above strategies before pesticide use. If the problem persists and pesticides are needed, use products that have a reduced-risk to the environment such as insecticidal soaps, horticultural oils, botanicals, or microbials.
- Read and follow all pesticide label instructions. The label is the law!
For more information on integrated pest management, please visit:

by Danielle S. Williams | Mar 4, 2021
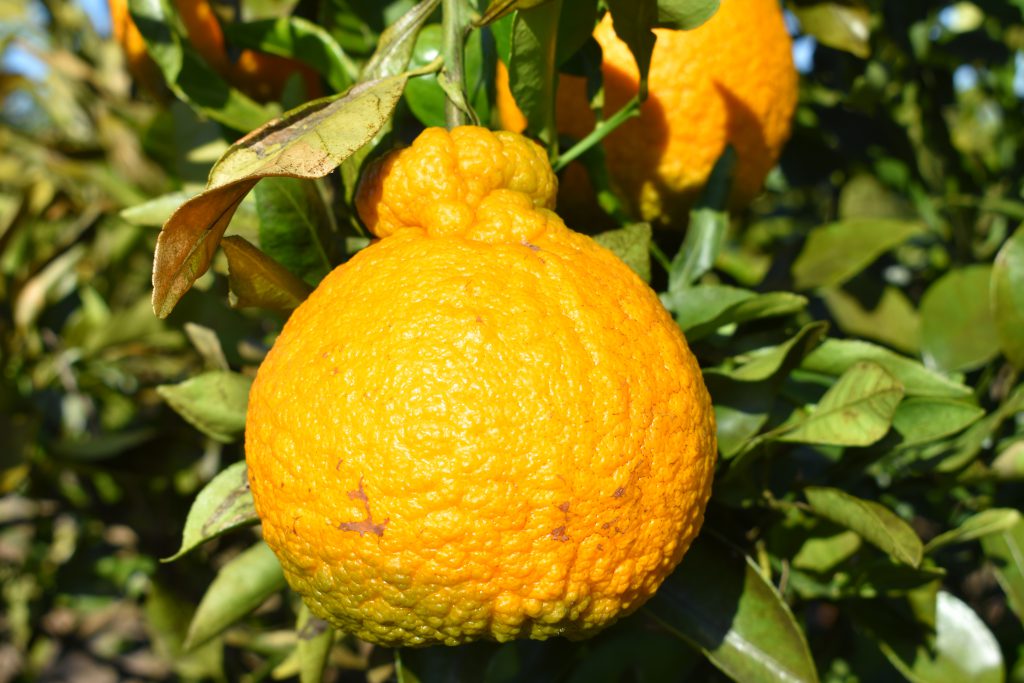
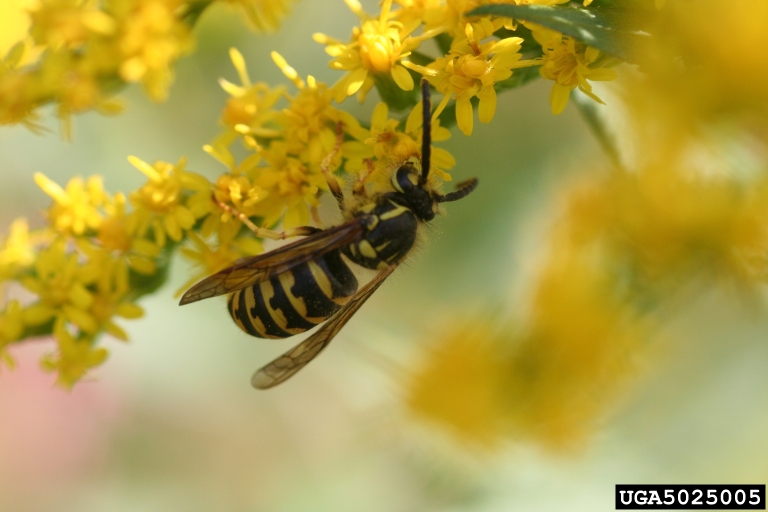
Shiranui mandarin
You’ve likely seen them in the grocery stores, and you’ll see them now through April. A large, lumpy (some may say ugly) piece of orange fruit with a bump near the stem. But what exactly is this special looking fruit? It’s a Shiranui mandarin!
The name ‘Shiranui’ is the generic term for this variety of citrus. You may have seen the same variety of mandarin marketed in grocery stores as ‘Sumo Citrus’ which is a trademarked name for the variety. In Japan, they are widely known as ‘Dekopons’. No matter what you call them, they are easily recognized by their distinctive appearance.
The Shiranui mandarin is a hybrid between a Ponkan tangerine and a Kiyomi Tangor (sweet orange x satsuma mandarin). They are easy to peel, sweet, and seedless. Shiranuis are considered to be one of the sweetest and most flavorful varieties of citrus on the market. The fruit are large and have a large protruding bump near the stem that resembles the top knot hairstyle of a Japanese sumo wrestler (hence the trademarked name ‘Sumo Citrus’).
While the majority of Shiranui mandarins on the market are grown in California, the variety can be grown here in Florida and several citrus growers in North Florida and South Georgia have began to experiment with plantings in the region. Homeowners, too, can try their hand at growing the variety as many Florida certified citrus nurseries carry the variety. For more information on different citrus varieties, contact your local UF/IFAS Extension Agent.
by Danielle S. Williams | Nov 13, 2020
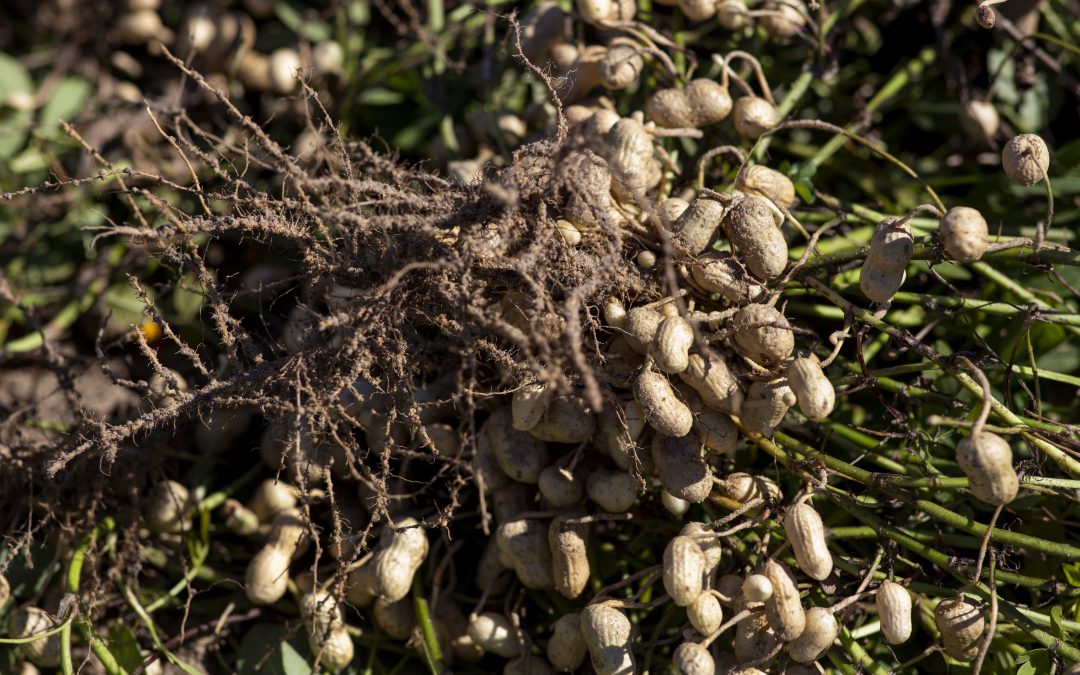
Peanuts, also known as groundnuts, earthnuts or goobers have a long history of cultivation. Unlike other nuts, peanuts are grown underground and not on a tree (hence the name nickname groundnut or earthnut). Originally native to South America, peanuts made their way to North America from Africa, where they were introduced by African slaves in the early 1800’s.

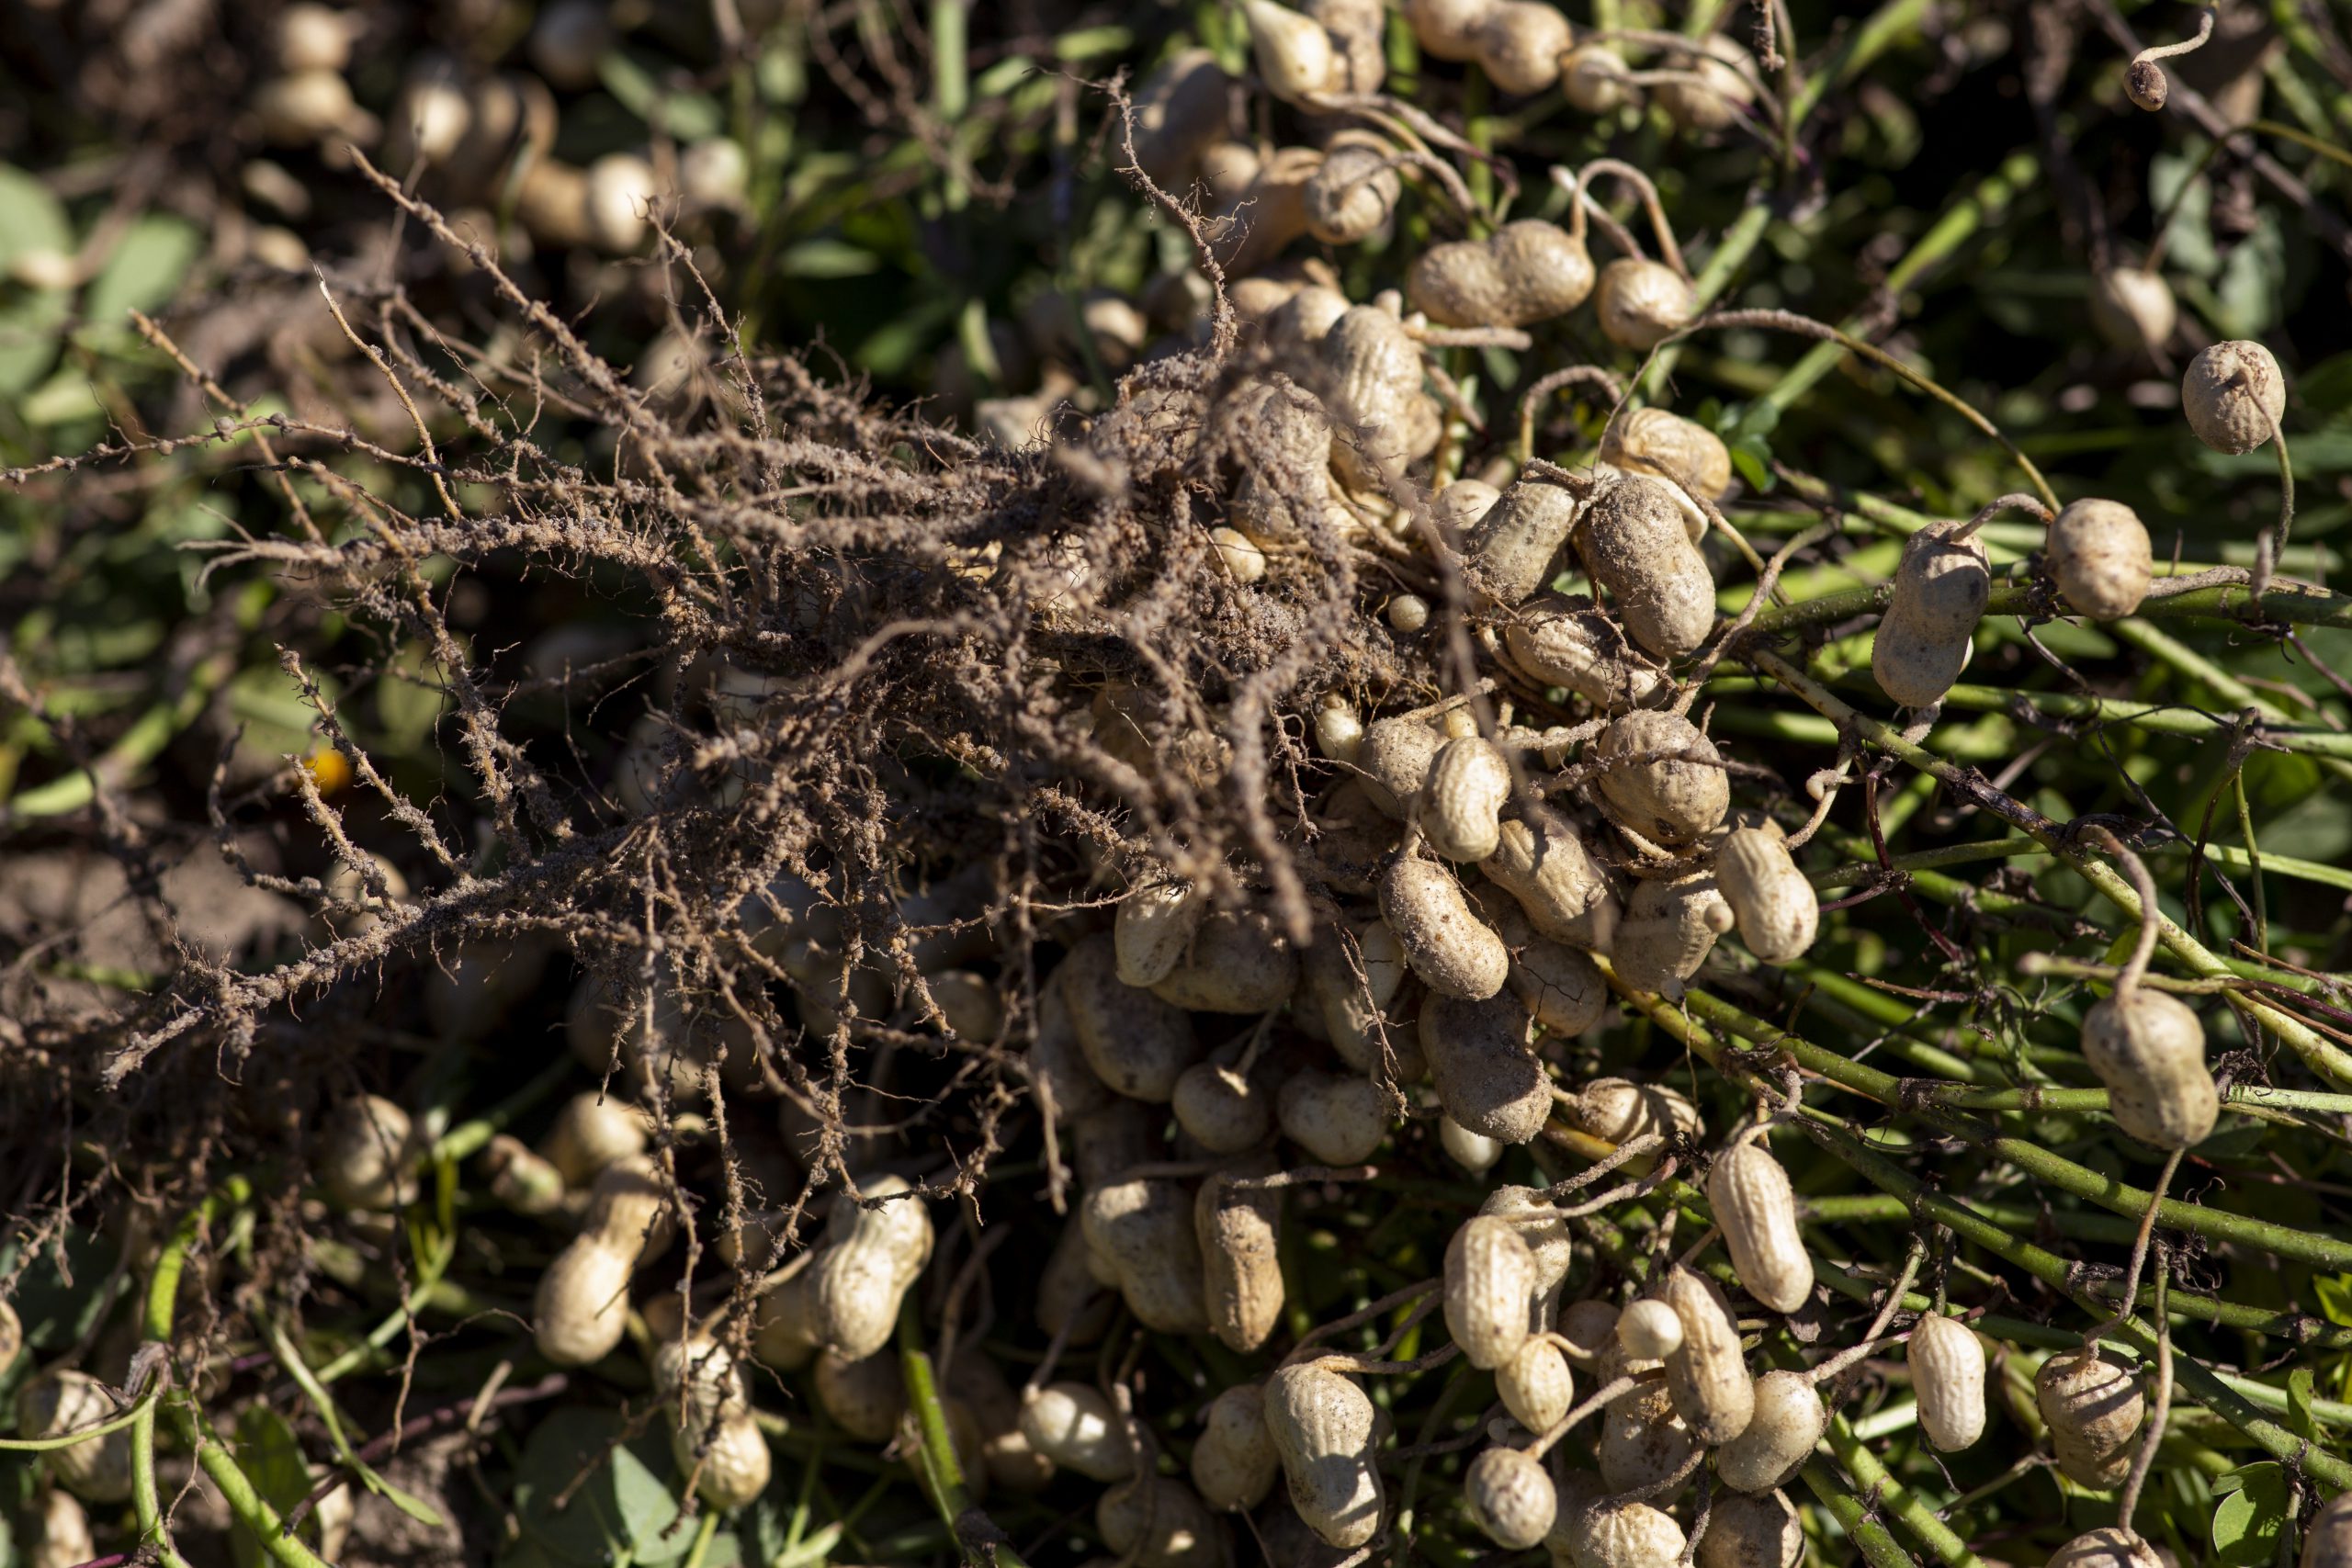
Overturned peanuts in a field ready to be harvested. Photo credit: UF/IFAS
First grown in Virginia, peanuts were grown mainly for oil, food, and as a cocoa substitute. During this time, they were regarded as food for livestock and the poor. It wasn’t until the late 1800’s did their demand increase as there was a need for an affordable, high-protein food during the Civil War and world wars. Their popularity also increased when P.T. Barnum began selling hot roasted peanuts at circuses.
In the 1900’s, peanuts became a significant agricultural crop when the cotton boll weevil threatened the South’s cotton crop. Through the research findings and suggestions of Dr. George Washington Carver, peanuts were grown as a successful cash crop and contributed greatly to the sustainability of the farm. Though Dr. Carver did not invent peanut butter, he did invent more than 300 new uses for the peanut and peanut byproducts including shaving cream, leather dye, coffee, ink and shoe polish.
Now, peanuts are grown in 13 states, across the United States and the U.S. is the third largest producer of peanuts in the world. In 2019, Florida grew 155,000 acres of peanuts with a production value of roughly $119 million. Did you know you can even grow peanuts in your home garden? Check out the UF/IFAS EDIS publication: Producing Peanuts for Home Use to learn more!
Peanut Fun Facts:
- 99% of peanut farms are family-owned, businesses averaging 200 acres
- There are four different types of peanuts – Runner, Valencia, Spanish and Virginia
- Peanut plants are legumes and fix beneficial nitrogen back into the soil
- Peanut butter is an excellent source of niacin, and a good source of vitamin E and magnesium
- Peanuts do not contain cholesterol and are low in saturated fat
- Peanut butter accounts for half of all peanuts eaten in the U.S.
- It takes about 540 peanuts to make a 12-ounce jar of peanut butter
- There are enough peanuts in one acre to make 35,000 peanut butter and jelly sandwiches
- The average person will eat almost 3,000 peanut butter and jelly sandwiches in their lifetime
- Women and children prefer creamy peanut butter, while most men opt for chunky
- Peanut allergies affect just 0.6% of the U.S. population
UF/IFAS Peanut Butter Challenge
Help us fight hunger in the Panhandle by donating unopened jars of peanut butter to the Peanut Butter Challenge! Every year UF/IFAS Extension Offices across the Panhandle coordinate the Peanut Butter Challenge to address hunger and food insecurity in our area. You can support the challenge and help fight hunger by donating unopened jars of peanut butter, now through November 25th to your local UF/IFAS Extension office. Through a partnership with the Florida Peanut Producers Association and the Florida Peanut Federation, for every one pound of peanut butter you donate, TWO pounds are given back locally to those in need!


by Danielle S. Williams | Nov 4, 2020
 Danielle Sprague is the Agriculture and Natural Resources Extension Agent in Jefferson County, Florida and has been for almost three years. Danielle is originally from the land of Indian River Grapefruit, otherwise known as Vero Beach, Florida! Her Extension program areas include Agriculture, Horticulture and Natural Resources.
As a young girl, Danielle always thought she would be a nurse. She always wanted to help others and make a difference in her community. It wasn’t until she was exposed to the agriculture industry through 4-H in high school, did she realize there were other avenues to do so. With a newfound appreciation and passion for the agriculture industry, Danielle changed career paths completely.
She went on to earn her Bachelor’s degree in Agriculture Studies from Warner University in Lake Wales, Florida. While at Warner University, she completed internships at the UF/IFAS Citrus Research and Education Center as well as with Dow AgroSciences. Following that, she earned her Master’s degree in Entomology from the University of Florida where she worked as a Graduate Research Assistant at the UF/IFAS North Florida Research and Education Center in Quincy. She considers her current position as an Agriculture Extension Agent her dream job.
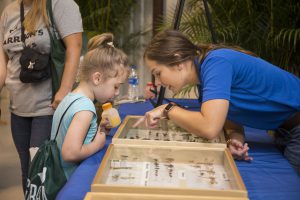
Danielle teaching about insects.
When she isn’t working, Danielle enjoys boating, fishing, hunting, camping, visiting different agritourism operations, pretty much anything outdoors! She also enjoys cooking and baking.