by Mary Salinas | May 23, 2018
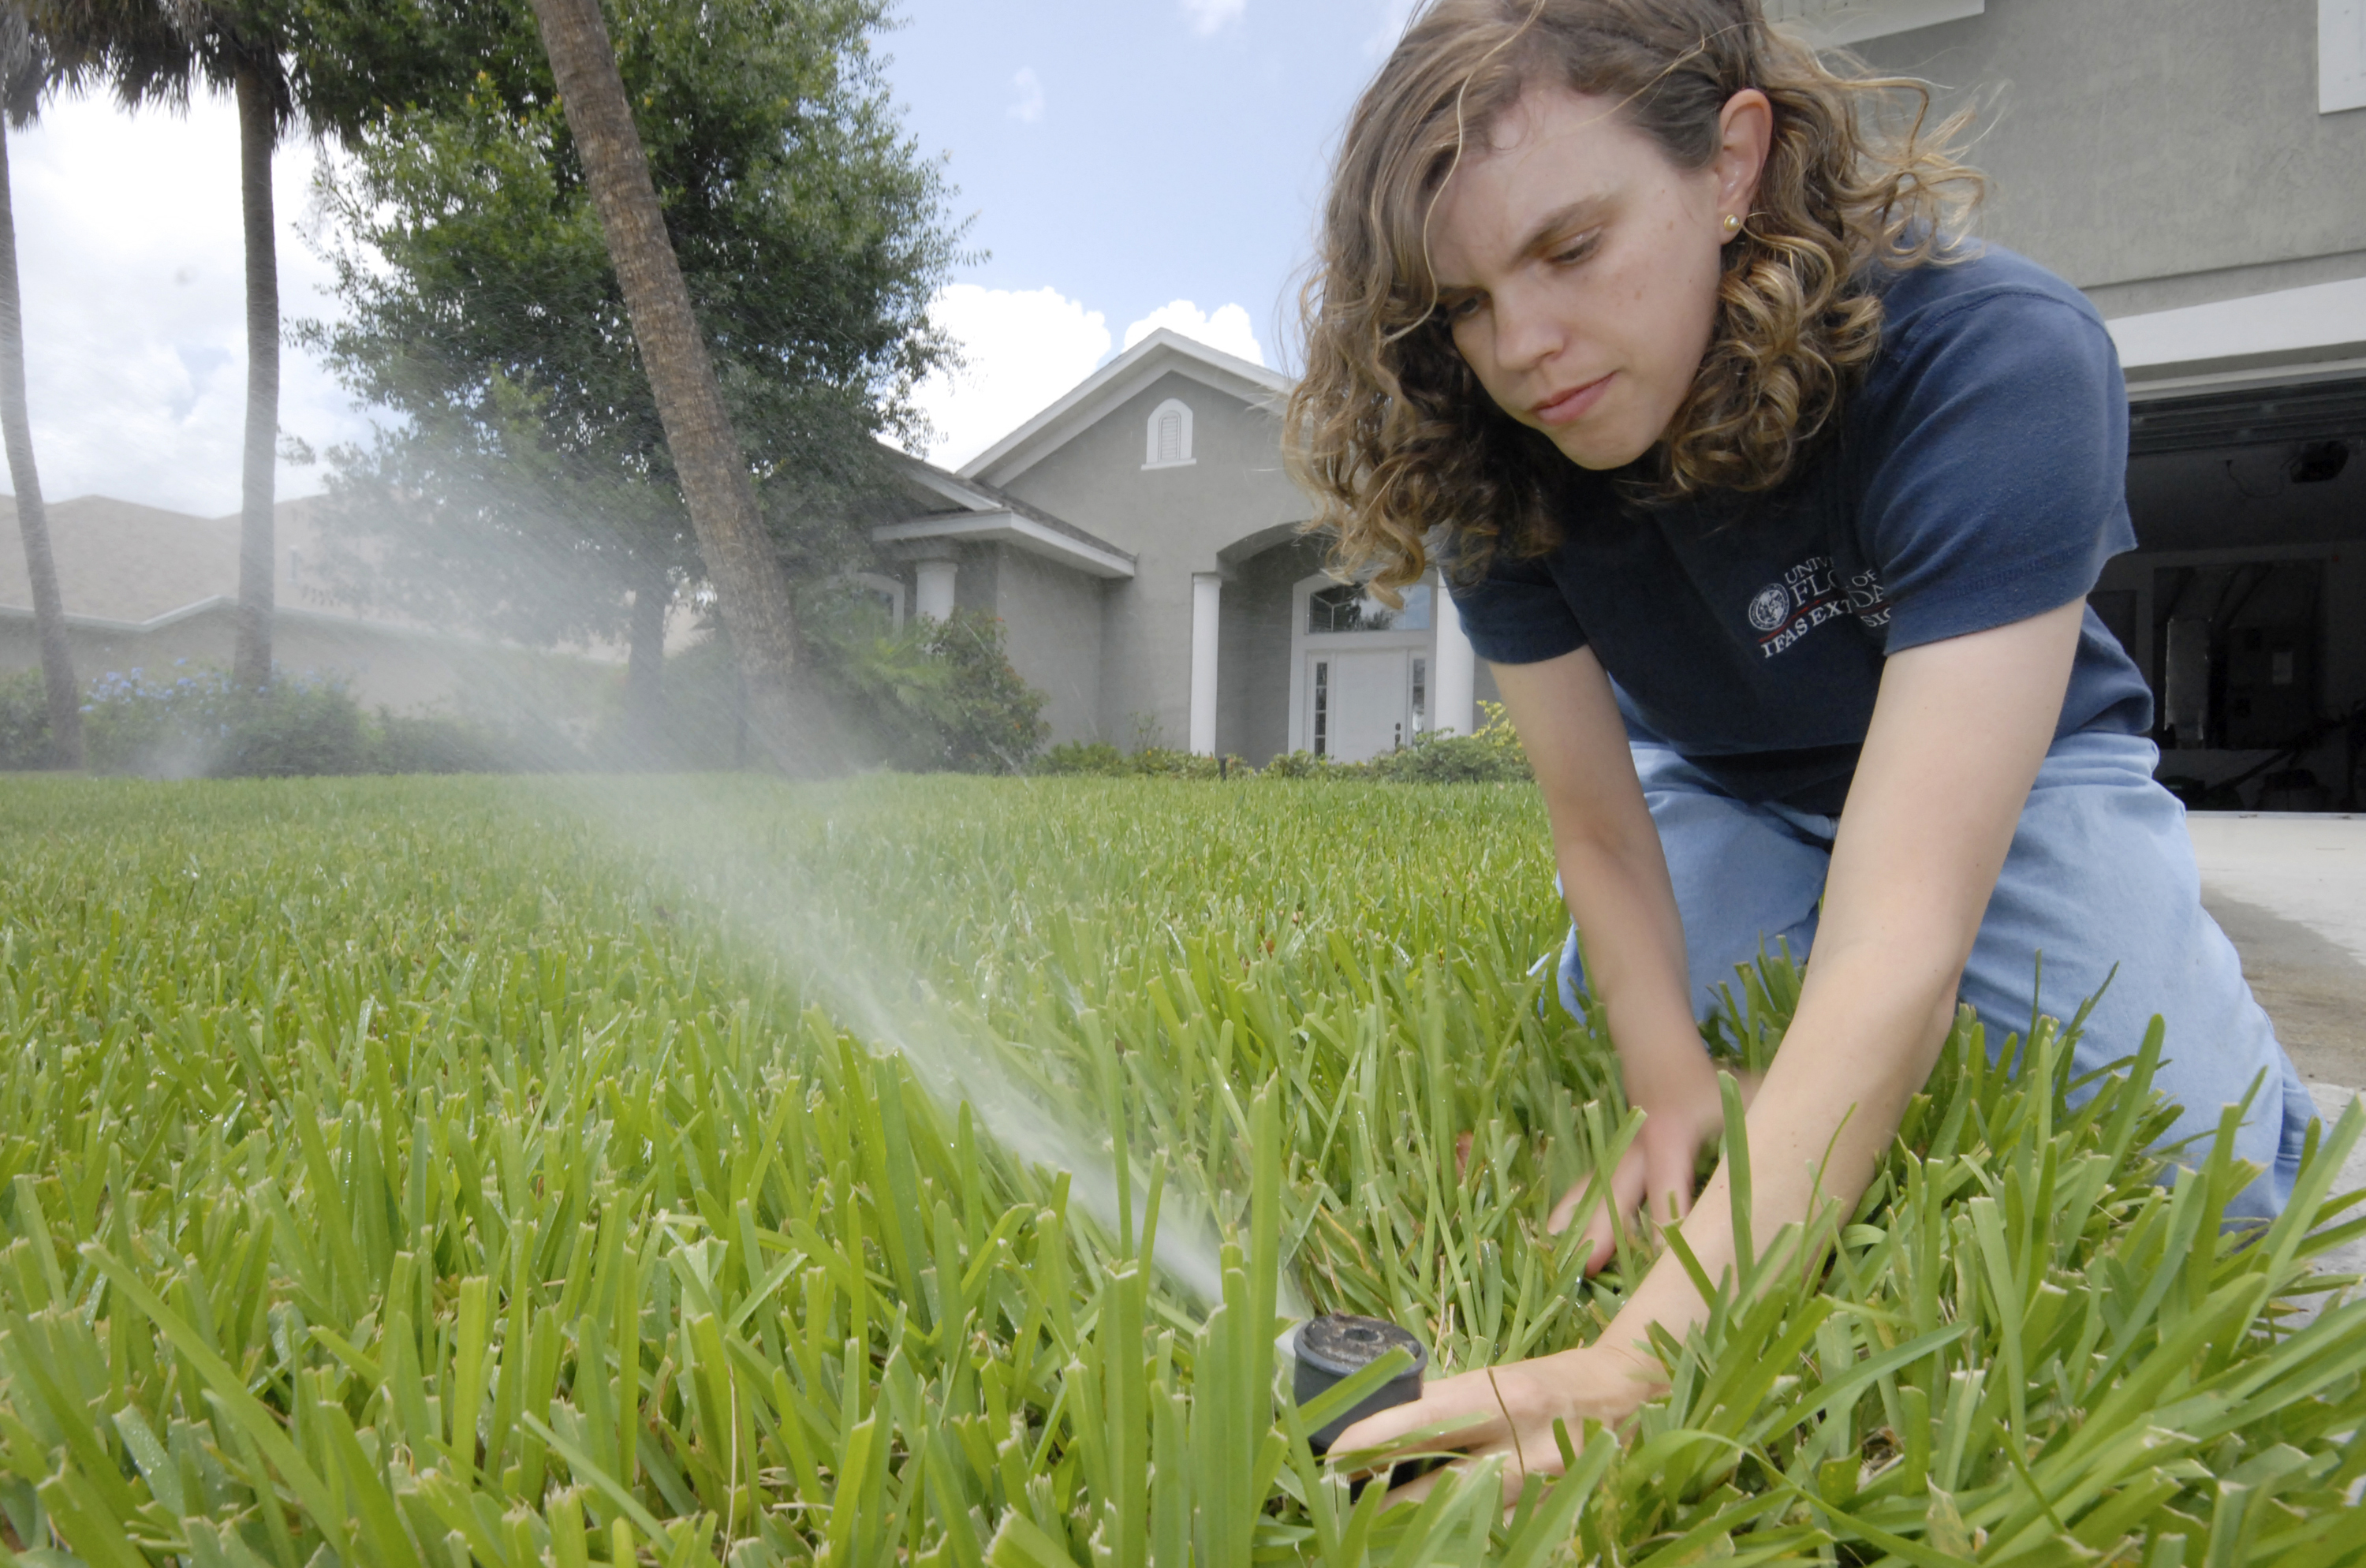
A healthy lawn is a joy to stroll, relax and play on. It can also be part of an environmentally friendly landscape. But, sometimes it can seem to be a mystery on how to achieve that lush, healthy lawn in the Florida environment. Since we have lots of sandy soils and experience long periods of warm and hot weather, many suppose that giving the lawn lots of water will help do the trick. Not so.
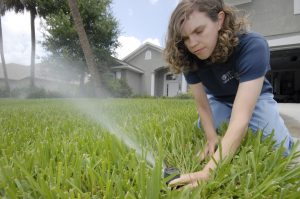
Photo credit: UF/IFAS.
But what harm can it cause to give the lawn plenty of water all the time? Isn’t that a good thing? No! Overwatering your lawn can lead to the following problems:
- Development of fungal diseases (fungi love a moist environment!)
- Increased insect pest pressure
- More rapid thatch development
- More weeds (those little emerging weed seedlings thrive on consistent moisture!)
- Some weeds, like dollarweed and sedges, can be an indication of overwatering
- A shallow root system when frequent, light watering is applied
- Washing away of fertilizer down into the soil past the root system
- Higher water bills.
Our lawns need, on average, about 1/2 to 3/4 “of water a week during the summer. This recommendation changes depending on soil type, shade, temperature, wind, and season. To figure out how long to run your sprinklers, watch this YouTube video from UF/IFAS.
We recommend running your automated system only when your lawn shows signs of needing water such as:
- Leaf blades fold
- The lawn looks ‘off-color’
- Footprints remain and are visible
For more information:
Watering Your Florida Lawn
Gardening Solutions: Irrigation
Your Florida Lawn
by Mary Salinas | Mar 21, 2018
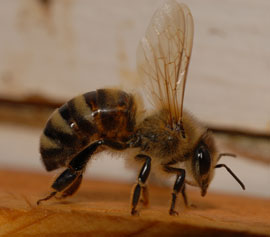
European honey bee. Photo credit: UF/IFAS.
Bees, butterflies and other insects play important roles as pollinators in our environment. Over 50 major crops in the United States and at least 13 crops in Florida depend on honey bees. Many native plants in natural areas also depend on insect pollinators for reproduction. In Florida, over 300 bee species play a role in pollination!
Many factors affect the health of our pollinators. One of those factors we can easily control in our own landscapes is exposures to pesticides. How are bees and other pollinators exposed to pesticides? Here are some of the major routes:
- Drift of pesticides sprayed in breezy/windy conditions
- The erosion of contaminated topsoil blowing in the wind
- Direct feeding on pollen and nectar of treated plants
- Contact with pesticides that have blown onto plant surfaces
- Contact with water transpired by leaves of treated plants
- Pesticides that move down through the soil to affect ground dwelling bees and other insects
Did you know that bees become statically charged when they fly causing particles in the air to attract to them?
What are some ways that we can reduce the risk of exposure to pollinators in our landscapes?
- Use integrated pest management principles to reduce the incidence of pests and their impacts.
- Avoid treating areas containing flowering weeds/plants with insecticides. If you must treat your lawn with an insecticide, and it contains flowering weeds, mow the lawn and remove the flowers just before applying the insecticide.
- If you must apply a systemic insecticide to your lawn, leave a buffer strip of several feet between the lawn and the border of landscape beds with flowering plants. This will prevent the flowering plants from up taking the systemic product.
- Postpone any insecticide treatment until after all blooms have fallen from flowering ornamentals. Never apply an insecticide to blooms or flowering plants.
- Avoid the use of neonicotinoids as this class of insecticides can be more toxic to bees than other classes of insecticides. There are many effective alternatives.
Bee friendly to our pollinators!
For more information:
Minimizing Honey Bee Exposure to Pesticides
Creating and Maintaining Healthy Pollinator Habitat – Xerces Society

by Sheila Dunning | Feb 5, 2018
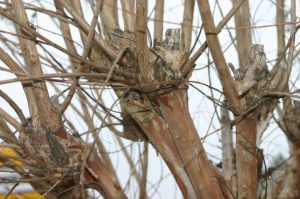 Pruning is one of the most controversial aspects of maintaining crapemyrtle. Traditionally, many crapemyrtles are routinely topped, leaving large branch and stem stubs. This practice has been called “crape murder” because of the potential impacts on the crapemyrtle health and structural integrity. Topping is the drastic removal of large-diameter wood (typically several years old), with the end result of shortening all stems and branches.
Hard pruning (topping) stimulates crapemyrtle sprouting from roots, upper stems, or the base of main stems. If basal and root sprouts are not removed, one or more may form woody stems that eventually compete with existing main stems. These additional or competing stems may result in poor form and structure, such as stems that rub against each other.
Topping typically delays flowering up to one month compared to unpruned crapemyrtle. On some cultivars, topping also shorten the season of bloom. Long-stem sprouts emerge just below large-diameter cuts that result from topping. These sprouts usually develop into upright, unbranched stems that eventually flower, often bending under their own weight. Rain or wind storms can cause extreme bending and some will break because they are weakly attached to the main stem.
Topping removes large amounts of starches and other food reserves stored within branches. Topping dramatically reduces the size of the plant canopy, ultimately decreasing the plant’s ability to produce food (starches) through photosynthesis. The large branch stubs caused by topping result in large areas of exposed wood that allow access by insects and wood-rotting organisms, weakening the plant’s structure. Finally, topping results in many dead stubs throughout the tree.
Proper pruning may be needed, just like any other tree. Lower limbs of crapemyrtle are removed to increase clearance for pedestrians or vehicles. Stems are cut to increase branching. Other pruning may be conducted to direct growth away from structures, stimulate flowering, and remove spent flowers, seed capsules, and dead or damaged branches and twigs.
Properly placed, crapemyrtle is a low-maintenance plant needing little or no pruning. Problems with overgrown, misshapen, or misplaced crapemyrtle can be greatly reduced with proper selection of crapemyrtle cultivars, proper plant selection at the nursery, and proper placement in the landscape. For more information on cultivar selection go to: http://edis.ifas.ufl.edu/mg266.
If pruning is necessary, use the following recommendations:
- Pruning for safety may be done anytime. This may involve removing damaged or weak branches or pruning lower limbs for pedestrian and vehicle clearance and visibility.
- Pruning to improve plant structure, redirect growth, or alter plant shape and appearance should occur when plants are leafless and dormant–typically December through February. Although this can be accomplished at any time, without leaves, the branching structure is clearly visible to more easily determine appropriate branches for pruning.
- Prune to remove crossing or rubbing branches.
- Prune dead, damaged, or diseased branches at the branch collar.
- Remove vigorous branches growing toward the center of the canopy.
- Severe pruning should be performed late in the dormant period. Pruning too early might stimulate new growth that could be damaged by low temperatures.
by Molly Jameson | Jan 10, 2018
Every gardener should know a thing or two about farming. Join UF/IFAS Extension at the 2018 Panhandle Fruit and Vegetable Conference to not only learn about market vegetable production, fruit and nut production, and much more, but also to attend the pre-conference farm tour and listen to a speech by the Keynote Speaker, Dr. Joy Rumble, an Assistant Professor in the Department of Agricultural Education and Communication at the University of Florida.

Dr. Joy Rumble, the 2018 Panhandle Fruit and Vegetable Conference Keynote Speaker.
Dr. Rumble is originally from Mount Gilead, Ohio. She earned a bachelor of science degree from The Ohio State University, majoring in animal science. During her undergraduate studies, Dr. Rumble raised livestock, worked as an intern on two large swine operations, and served as a summer intern for the USDA Farm Service Agency. She earned a master of science degree in agricultural communication and continued her education at the University of Florida, where she graduated with her doctorate in agricultural education and communication in 2013.
Dr. Rumble is now an Assistant Professor and Extension Programming Coordinator with the University of Florida. Her research focus is effective communication and raising awareness of agricultural and natural resources issues within the agricultural industry. She concentrates many of her outreach initiatives at the UF/IFAS Center for Public Issues Education in Agriculture and Natural Resources (PIE Center).
At the PIE Center, Dr. Rumble strives to measure knowledge, behaviors, and perceptions of agriculture of Florida constituents and responds to the many economic, environmental, and social challenges we face within the state. She often shares her findings through the Easy as PIE webinar series to allow both the public and Florida’s policymakers to make informed decisions to preserve the assets of the state’s agricultural and natural resources. Most recently, Dr. Rumble was a speaker for an Easy as PIE webinar to discuss a statewide strategic plan for agritourism.
Dr. Rumble’s service as the UF/IFAS Extension Programming Coordinator creates improved citizen awareness of agriculture and natural resources through UF/IFAS County Extension Offices.

Dr. Rumble assisting with a UF/IFAS campus tour for Florida Senator Bill Nelson’s staff on October 18th, 2016.
Make plans to attend the 2018 Panhandle Fruit and Vegetable Conference on Tuesday, February 20, from 8 a.m. to 5 p.m., at the University of West Florida Conference Center (11000 Conference Parkway, Building 22) in Pensacola, Florida. You will learn about the importance of agricultural communication from Dr. Rumble directly, and attend conference educational tracts on North Florida Citrus Production, Fruit and Nut Production, Vegetable Production, Marketing, Food Safety, and Protected Agriculture. The conference will also provide an opportunity for networking and give you a chance to meet farmers from across our region.
Also included in the conference ticket price is the pre-conference “Buy Local” farm tour on Monday, February 19, 1 p.m. to 8 p.m. Tour buses will start out at the University of West Florida and will make three stops, traveling to the Gulf Coast Research and Extension Center in Fairhope, Alabama, a hydroponic vegetable farm in Daphne, Alabama, and the Allegri Farm Market, also in Daphne, Alabama.
For more information and registration visit https://pfvc2.eventbrite.com. Early bird registration is $50 (+ service fee), before February 1, 2018. Your registration includes continental breakfast, lunch, refreshments, educational materials, and transportation to the farm tour locations. We look forward to seeing you there!

by Molly Jameson | Nov 27, 2017
If you are a regular reader of Gardening in the Panhandle, you know that this e-newsletter covers many topics related to ornamental and vegetable gardening, Florida-friendly landscaping, pest management, and lawn and garden fertility.
But did you also know that UF/IFAS Extension in the Florida Panhandle has four other E-newsletters covering topics such as Florida agriculture, wildlife and natural resources, 4-H youth, economic well-being, health and nutrition, and overall life quality for individuals and families?
These other E-Extension in the Panhandle newsletters include Panhandle Agriculture , Panhandle Outdoors, 4-H in the Panhandle, and Living Well in the Panhandle.
[notice]Additionally, UF/IFAS also has an extensive collection of publications on many of these e-newsletter topics. If you haven’t already, check out the Extension Data Information Source (EDIS) website. It is a comprehensive, single-source repository of all current UF/IFAS numbered peer-reviewed publications. Visit EDIS for a complete listing.[/notice]
As a Gardening in the Panhandle enthusiast, here is a list of horticulture and gardening related EDIS publications you might find useful:
Vegetable Gardening
Home Lawns and Landscapes
Soil and Fertility
Pest Management
by Molly Jameson | Nov 13, 2017
Take lessons from a farmer to control fire ants in your garden. Photo by Molly Jameson.
As I near the three-year mark of being an Extension Agent, I think about how fortunate I am to have a career that not only encourages me to meet all our local farmers, but also to learn from them and share their knowledge with the community.
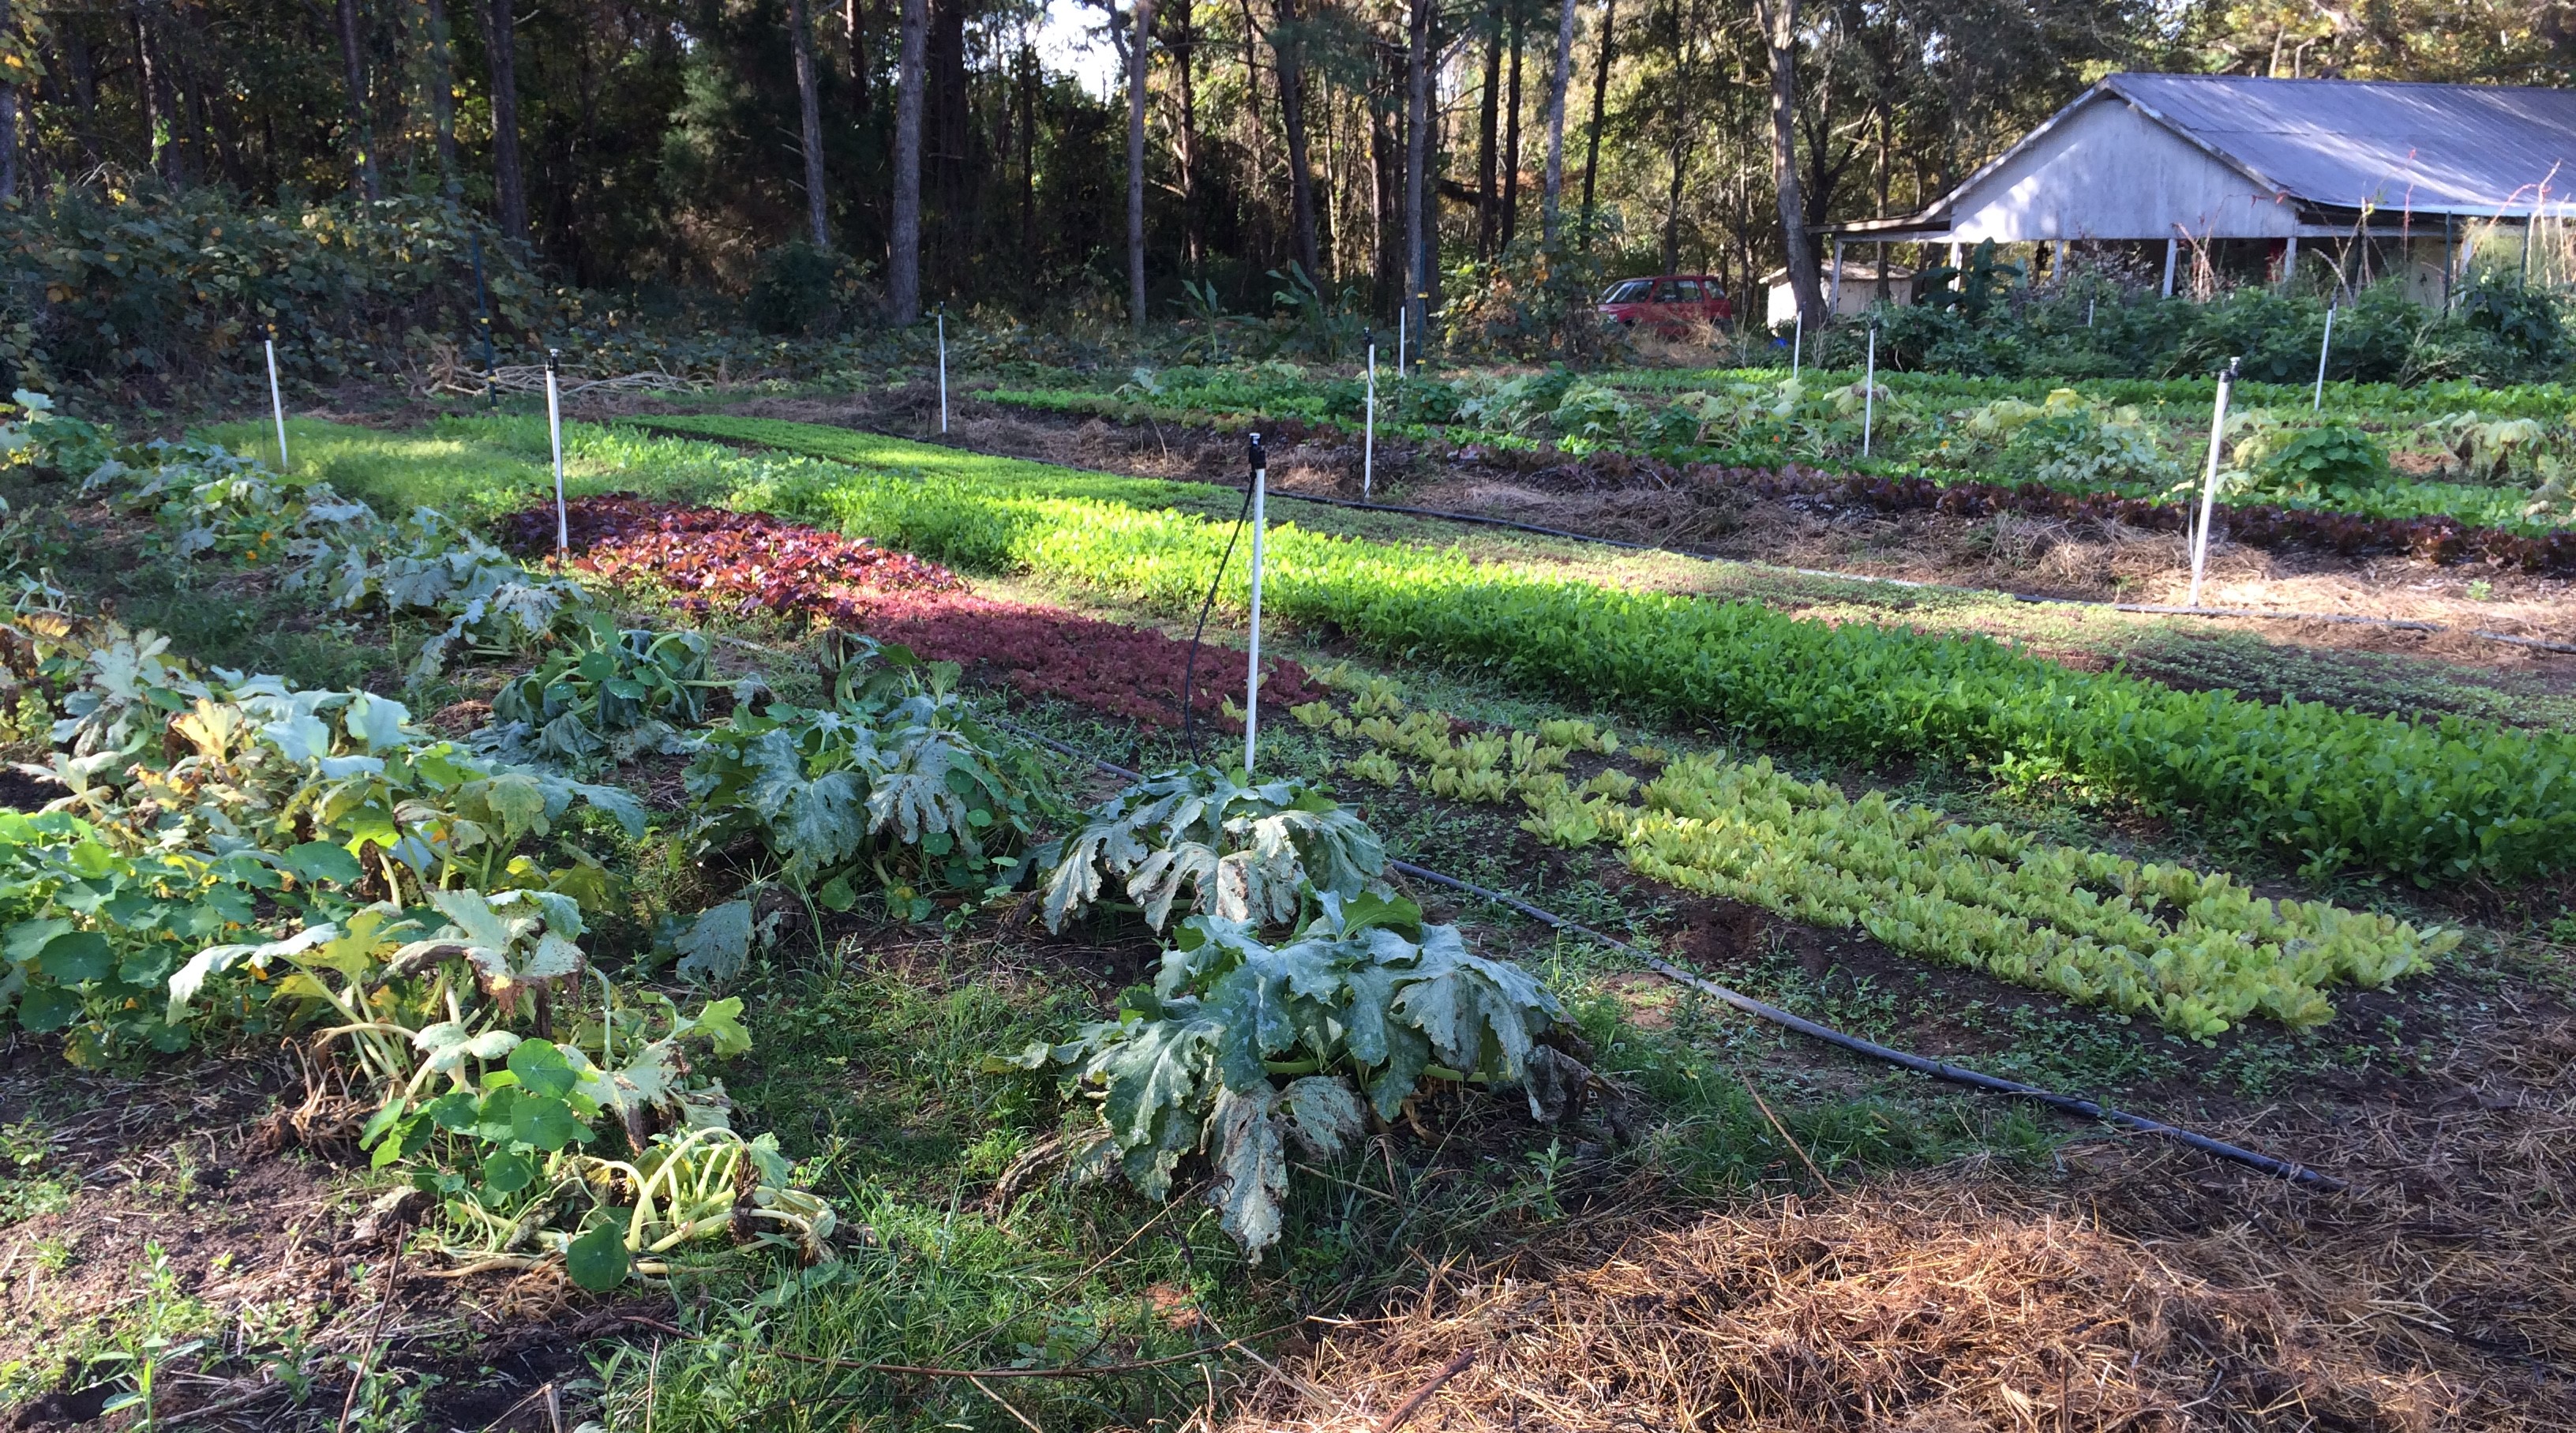
A few months ago, I visited Blake Canter of Owen River Farm. Blake gave me the grand tour of his small mixed vegetable plot, which is in far east Tallahassee.
One thing that I remember most about my visit with Blake was what has worked for him in controlling the notorious red imported fire ant (Solenopsis invicta). I have heard of many different ways to control these non-native invaders, each with its drawbacks, and, it seems, anecdotally limited success.
For instance, spinosad, a nervous system toxin, has been known to be effective on fire ant populations and is considered safe to use in vegetable gardens. But in practice, I have heard mixed reviews. In my home garden, I either douse the mounds with boiling water (be careful!) or leave my garden hose in the hot sun and scorch them while the water is still hot. But often, I signal defeat, letting them take captive of two corners of my raised beds.
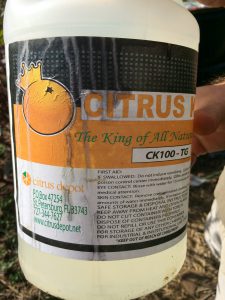
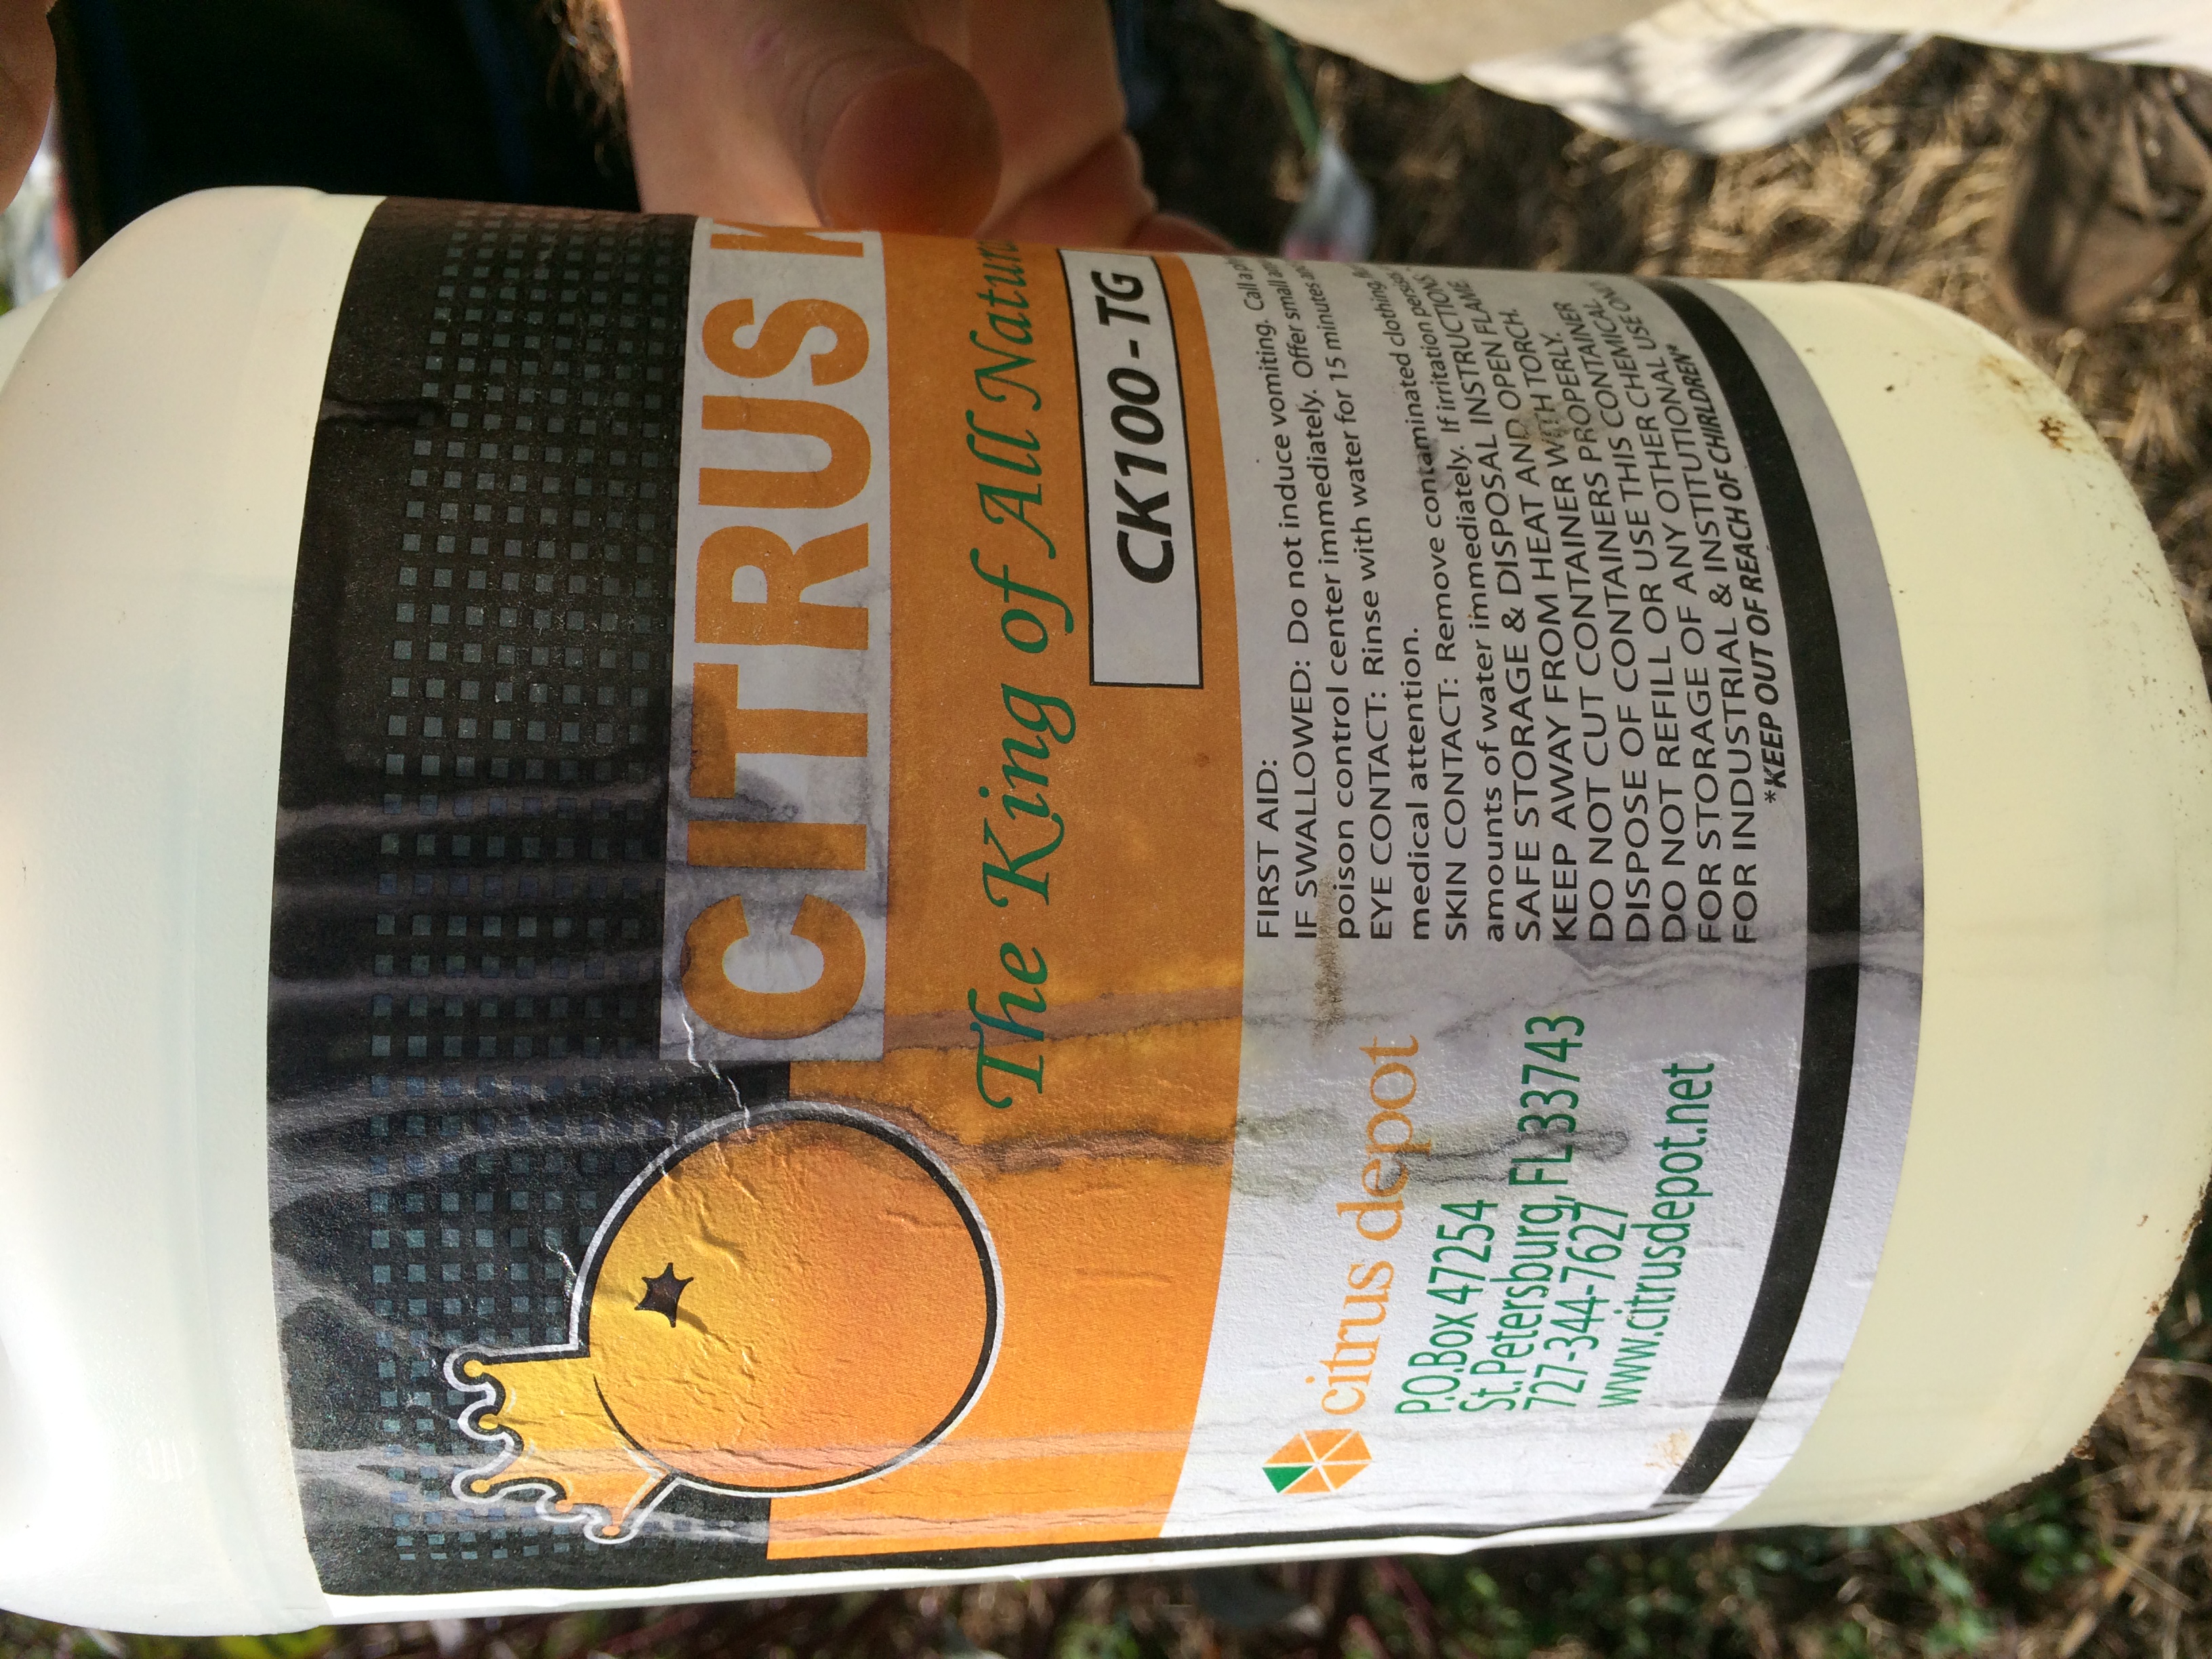
Blake at Owen River Farm makes his fire ant control mixture by combining commercial grade d-Limonene and a hefty squirt of eco-friendly dish soap into five gallons of water. Photo by Molly Jameson.
Blake’s technique on Owen River Farm is using commercial grade d-Limonene, which is a distilled orange oil nerve toxin. Blake mixes one-third cup of d-Limonene with a hefty squirt of eco-friendly dish soap in a five-gallon bucket of water. He then uses this mixture as a drench for fire ant mounds – which he figures is about as effective as boiling water – but much safer and easier to handle (be sure to follow the label carefully when using any product).
Blake goes out early in the morning (when fire ants move slower and queens are usually higher in their nests) and pours the mixture onto the mounds in a spiral formation, from outside in, to minimize escape. He tries to collapse the mound as much as possible, while pouring slowly so it penetrates deeply, with minimal runoff.
Depending on colony size, Blake uses about half the bucket, or more, on just one mound. He warns that he has lost a cucumber plant that was about a foot away to this method, but he knows the ants will often do even more damage, if not sting and bite (they do both!) him hundreds of times, as he works in his vegetable beds.
Blake likes this method because, “I can specifically target the fire ants, and after doing its job, the all-natural orange oil quickly becomes inert. When I used organic ant bait I found that the native ants took up the poison, often times faster than the fire ants. This was particularly bad because native ants are the number one competition for fire ants.”
Blake also points out, “Make sure anyone you recommend this to can identify the difference between fire ant mounds with no center opening to the mound, and native ant mounds, where there is usually an entrance hole in the center of the mound.”
The hardest part, Blake says, is finding the queens. For instance, he says ants often make auxiliary mounds at the base of okra plants, but this is not where the queen resides. The queen will often be in a central mound many yards away from where her workers are foraging. And, unfortunately, these worker ants love easily habitable soft soil, just like in our raised bed vegetable gardens.
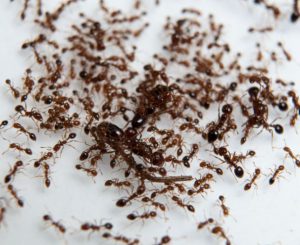
Fire ants in a petri dish. Photo by UF/IFAS.
Despite these challenges, last fall Blake drenched colonies whenever he found a mound around his farm (sometimes daily), and after a few weeks he noticed a drastic reduction in fire ant populations. And happily, an increased population of harmless (and even helpful!) native black ants. His brassica (think kale, collards, broccoli, cabbages) transplants were no longer getting girdled by vicious fire ants and he was no longer ending up with dozens of ant bites every time he worked in his beds!
Blake does warn that you must stay vigilant, especially in the summer and fall and after rain events, when the ants become busy building new colonies.
Lastly, Blake also uses his orange oil mixture as a spray for contact killing ants and other garden pests. However, just as with all horticultural oils and soaps (often made from plant oils, animal fats, or petroleum), care must be taken not to burn the foliage of your crops. Blake will sometimes dilute his mixture for this purpose. But just remember, to really stop an ant infestation, you must take down the queen!
For more information on least-toxic garden pest control strategies, read the UF/IFAS EDIS publication “Natural Products for Managing Landscape and Garden Pests in Florida” available at: https://edis.ifas.ufl.edu/in197.