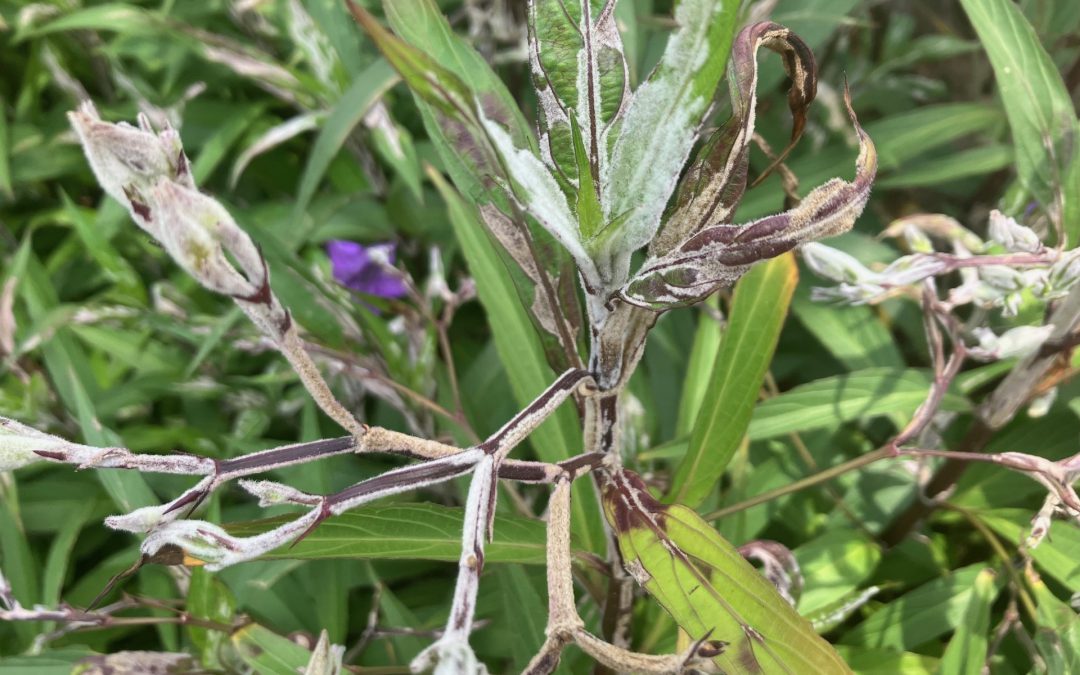
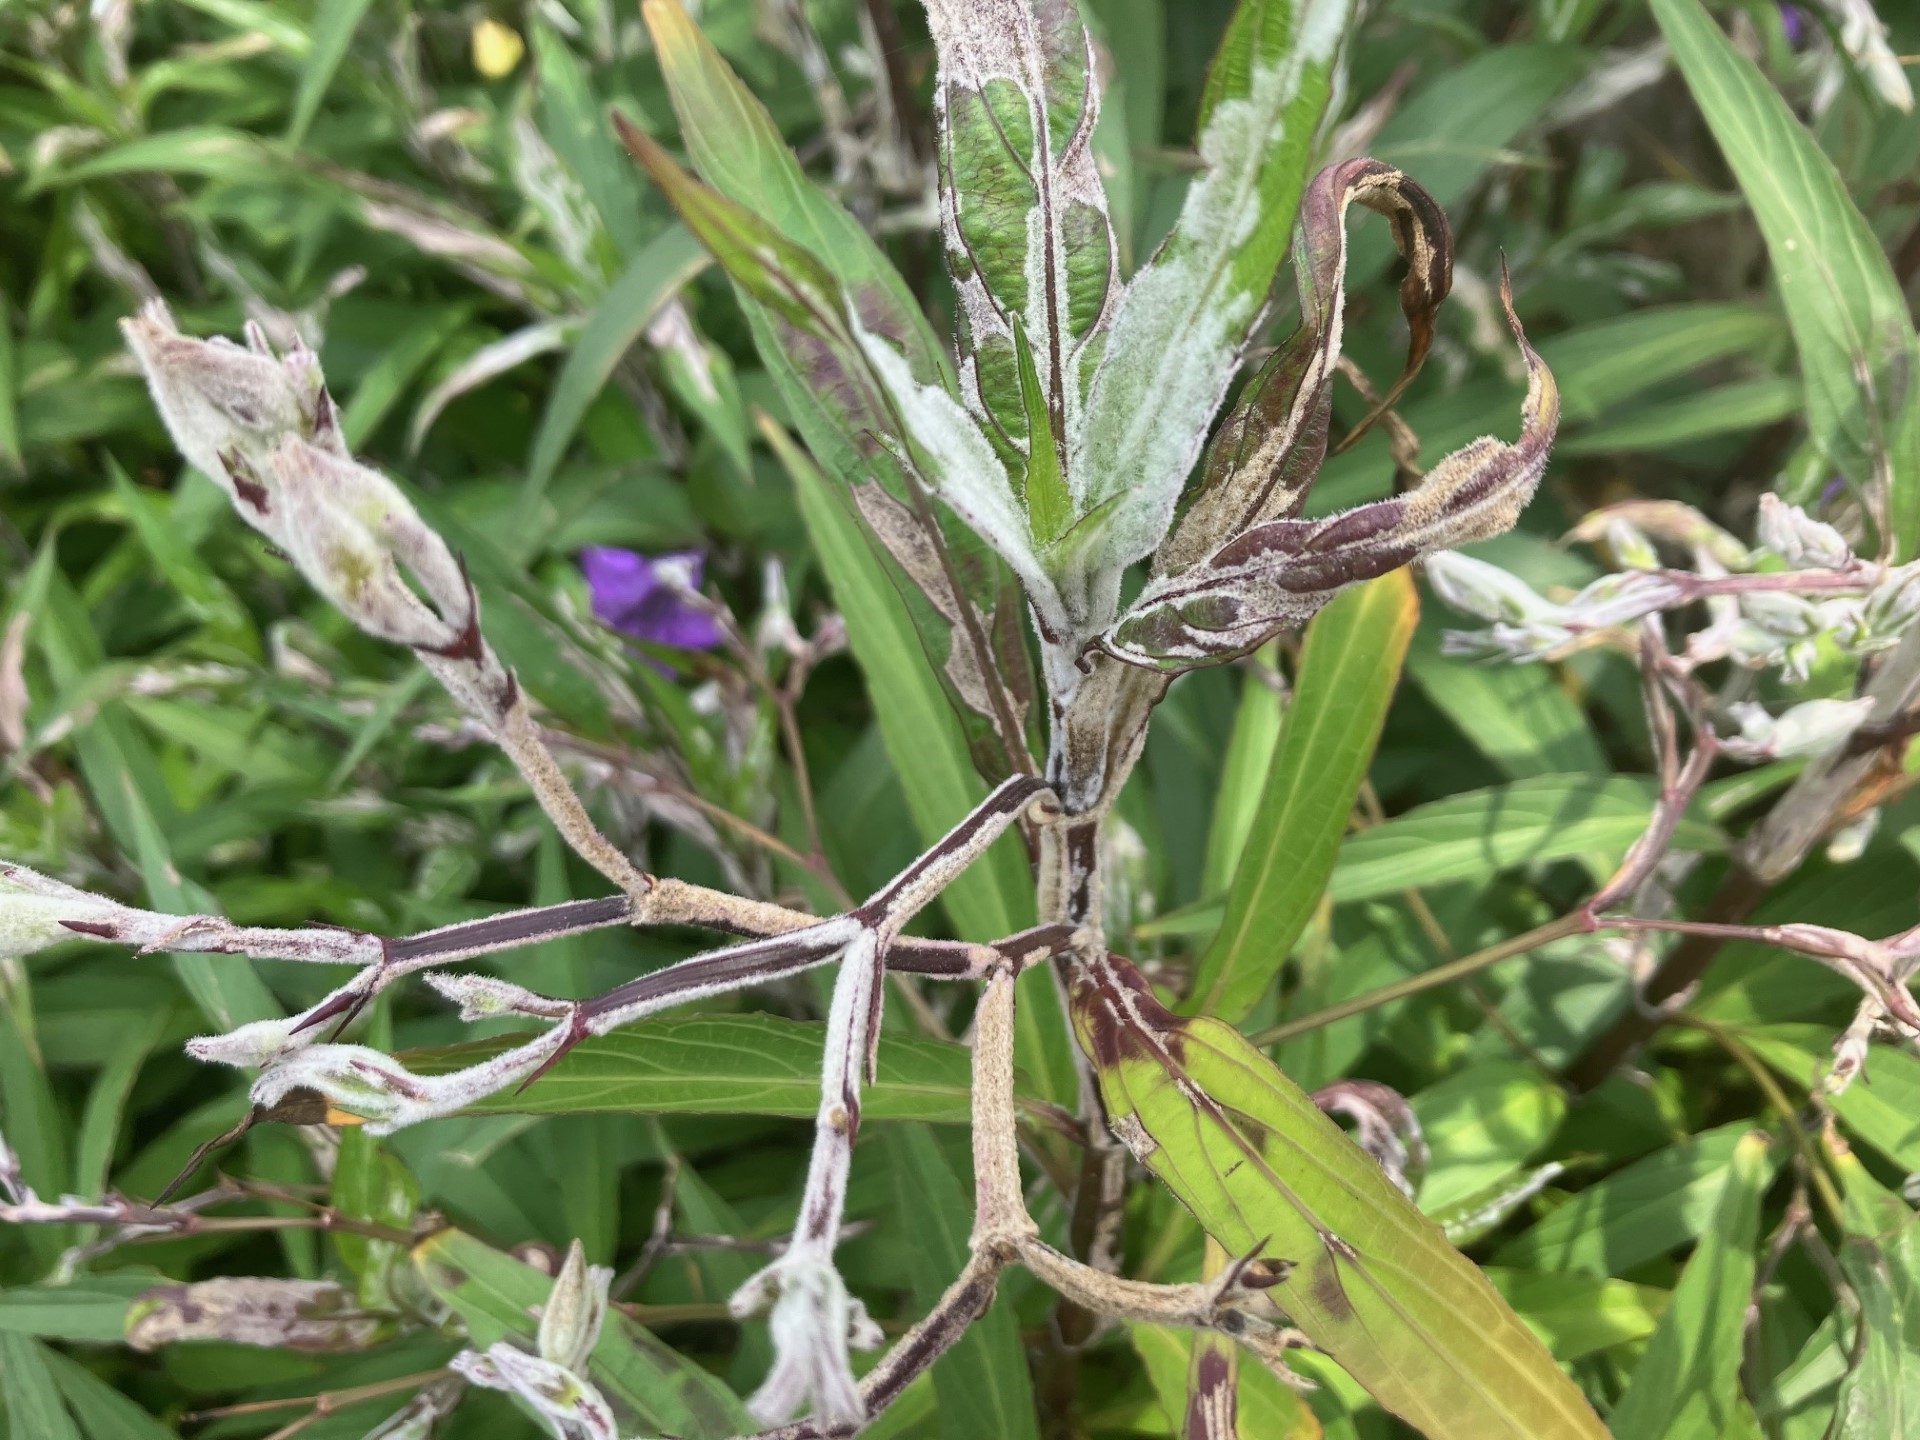
Many of the Mexican petunia plants, Ruellia simplex, growing in the landscape along the Gulf Coast are covered in white patches. The leaves appear to be growing fur, actual hairs, much denser than the dust of powdery mildew fungus. Excessive development of leaf trichomes, or surface hairs is referred to as erinea. The “fuzz” is the plant’s response to the feeding of eriophyid mites, also called gall mites. These native tiny, microscopic mites feed on the Mexican petunia leaves and stems, causing the plant to produce the white velvety masses. The distorted tissue provides shelter so the mites can continue to feed without being impacted by the weather or contact pesticide applications. Hot, dry conditions favor mite population increases. We have had plenty of that. However, the native mites are not likely to kill the invasive Mexican petunia, so they are not acting as an effective biological control for the plant.
Mexican petunia damage from the eriophyid mite.
Control of this native eriophyid mite begins with heavy foliage removal. Cutting the plants back to just a few inches above the ground removes the infested portion of the plant. The pruned parts need to be placed in a tightly sealed plastic bag before being sent to the landfill. If the location allows burning on-site, that is an even better option. Remember that these mites can feed on many other plants if allowed to escape. They have caused galls in crape myrtle, loropetalum, and hollies, as well as, vectoring diseases like rose rosette.
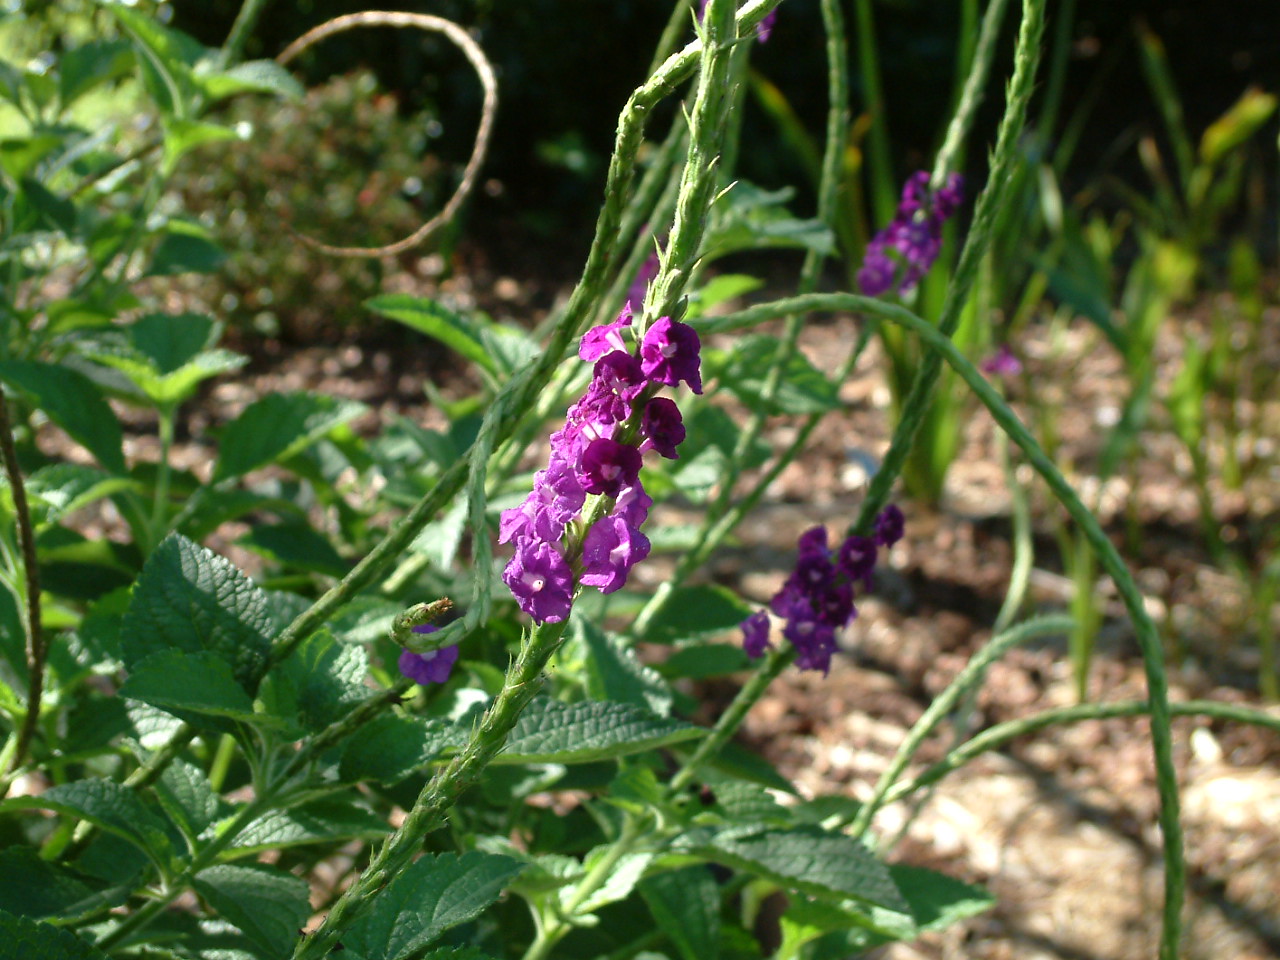
Then comes the tough decision. If the Mexican petunia is not one of the new sterile cultivars should the new growth be protected as it grows back? If you didn’t plant them or don’t remember what they were called when you purchased them, there is still a way to determine whether they are the invasive Mexican petunia or not. Invasive Mexican petunia produces seed after flowering. Were there any seed pods on the pruned parts? If so, you may consider killing off the entire planting. Several applications of a total vegetation herbicide with surfactant will remove them, leaving you a spot for a new purple flower, maybe a porterweed (Stachytarpheta), verbena or blue salvia.
Blue porterweed can be a substitute for non sterile Ruellia. Photo by Beth Bolles UF IFAS Escambia Extension
If your plants are sterile (have no seed pods), an application of horticultural oil and/or a miticide like abamectin sprayed with each flush of new growth will produce a pretty bed of purple flowers in a short period of time.
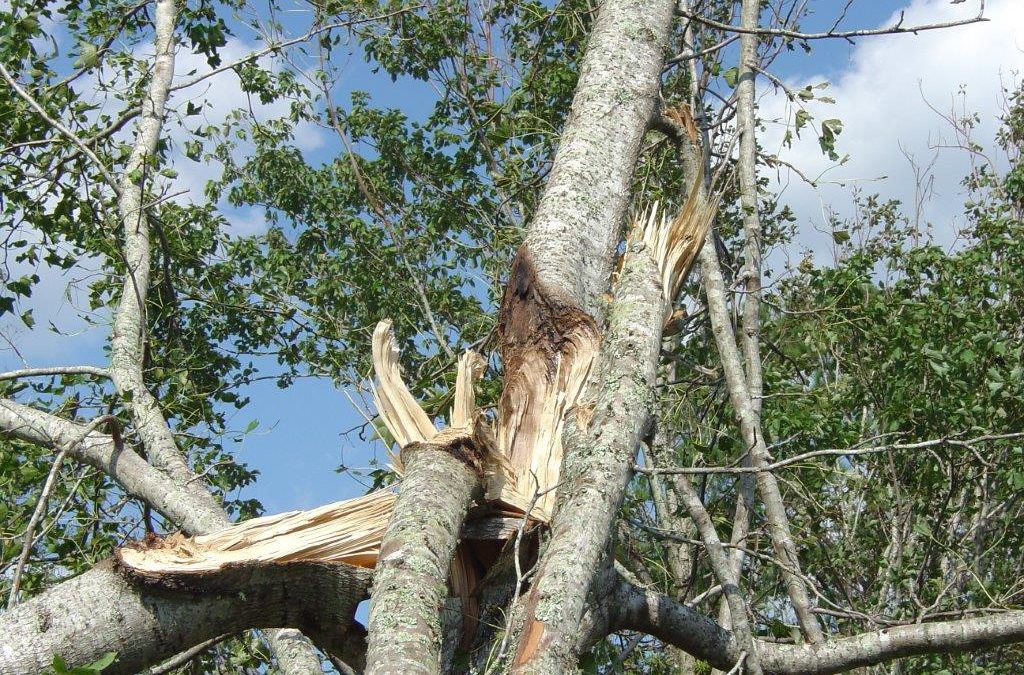
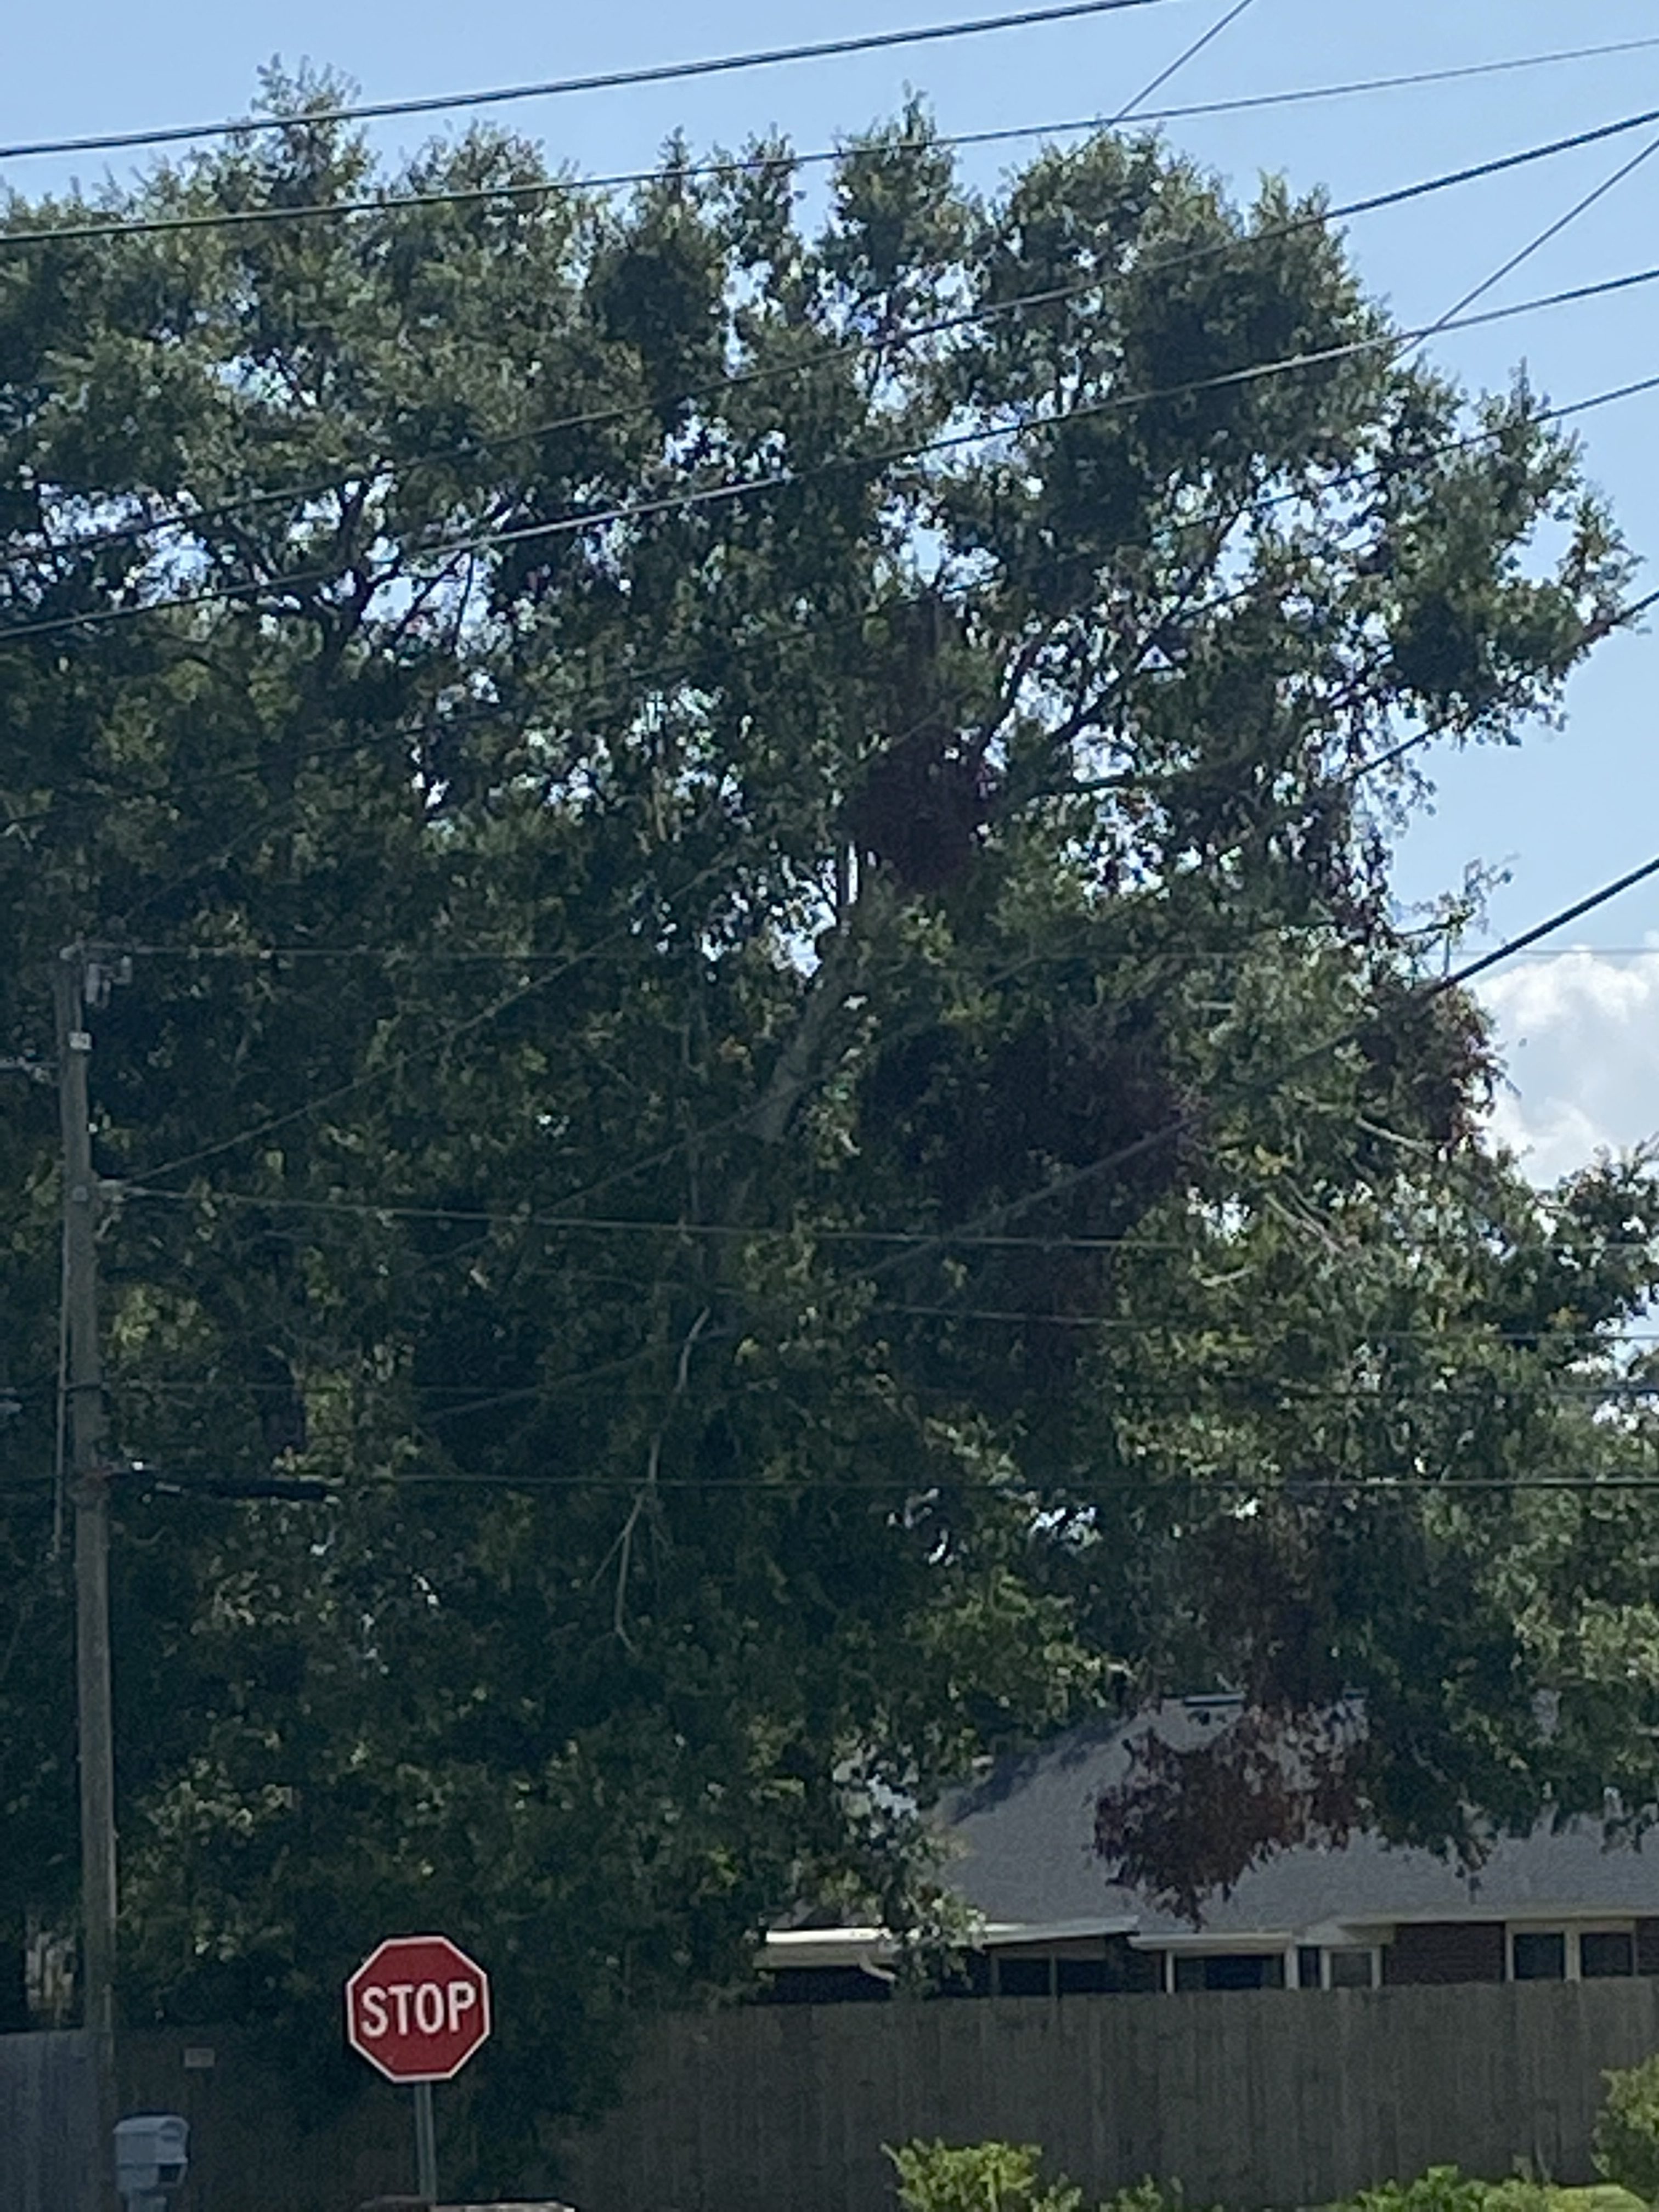
Tree with dead “hangers” from recent windstorms in the Panhandle. These dead broken limbs should be assessed and removed accordingly. Photo Credit: Ian Stone
Recently our area has experienced multiple severe wind events. You may have noticed some light to moderate damage to some of the trees in your yard. You may have even experienced severe damage or a complete failure of a tree on your or a neighbor’s property. While a complete failure or severe damage pose obvious hazards and need removal, it is the more minor to moderate damage that often raises questions on how to address the issue. Hanging broken branches are often called “Hangers” in forestry or tree care circles. These are often smaller to mid-sized branches which have partially broken off but are still lodged in the tree. After several weeks to a month the foliage starts to die and turn brown, and these “hangers” become obvious in trees that received damage. How do you assess these and when should you get a professional involved? Do they pose a potential health issue if not removed?
These broken limbs are becoming quite noticeable as they die and turn brown. It is important to make good decisions on how to handle these hanging dead branches and how to maintain your tree. Often these hangers are more unsightly than anything else, especially if they are small. Larger ones may pose a risk of damage or injury if they are located over a structure or may fall in an area frequented by people. Most of these hangers will break and dislodge over time, especially in wind events. You should consider the risk posed by the hanging limb, the difficulty and cost of addressing it, and the risk posed by the limb falling. For trees that got noticeable damage with several larger limbs broken, having some repair and rejuvenation pruning done is often good for tree health. You may be able to address some issues yourself if you are handy with a pole pruner and the broken limb is in reach. Anyone attempting even light tree work should be aware of risks posed by falling limbs and use of pole saws. Remember to never attempt to climb trees yourself or perform tree trimming from a ladder or height, as this is fundamentally unsafe. Even limbs which may be safely reached from the ground with a pole pruner can pose risks of injury. If you are attempting to remove some of these hangers with a pole pruner, be very cautious and use good safety techniques. You need to make sure the branch has a landing zone, and you are well clear of it when using a pole saw or pruner. Be aware of vines and other entanglements, and do not work around or within the right of way of electrical or other lines. Larger limbs and those not reachable from the ground should be considered outside the scope of homeowners and left to professionals.
Here is a quick reference guide for how to size up any broken or damaged limbs in your tree and address the situation
Small branches and branch tips with a diameter of the broken branch is 1 inch or less and the branch is hanging or lodged. These size hangers pose little risk and are mostly unsightly. They should fall out of the tree on their own over time. These may be trimmed out slightly behind the break of those within reach of a pole pruner.
Small to Medium branches-1-3 inches in diameter. The branch has partially broken or has completely broken and is lodged in another branch. Branches this size can do some light to moderate damage if they fall on a roof, fence, or other structure. If the branch overhangs areas where people or pets frequent it could cause injuries if it fails. If the branch does not pose a hazard or danger it should dislodge on its own over time. Consider removing these if they pose a risk. They can be removed from the ground with a pole pruner or pole saw but be very cautious as branches this size can easily injure someone that is in the fall zone. Consult a professional if a lift or climbing is required.
Large Canopy Branches 3 inches and larger. These are significant branches and can hold a significant amount of weight. If they are partially broken, hung, or lodged in the tree they may come out at any time and do significant damage or cause injury. These branches are beyond the tools and scope of homeowners, and the damage may require some recovery pruning to keep the tree healthy. Consult with a professional and consider having the damage removed and tree properly trimmed.
Main Branch and Trunk Failures- This is significant damage to the tree which can make it unsound or susceptible to disease in the future. If large main branches have failed, the top has completely failed, or part of the trunk has cracked or split from the damage; major damage has occurred and the tree may not recover. If your tree has suffered this level of damage consult a professional with a tree service and have a certified arborist examine the tree.
It can be hard to tell from the ground what level of damage a tree sustained until the brown foliage appears past the break. Once you can identify what type of damage occurred you can better determine what action is needed. For small branches it may be best just to wait for them to come out naturally or prune them out if this can be done safely with a pole pruner. For larger branches or more severe damage a professional is the best bet. For those hangers that pose a risk to structures or people in an area removal is best, as these could fall at any time and cause damage or injury. Remember never to attempt tree work yourself especially if it involves climbing or working from heights. You can find a certified arborist at www.treesaregood.org to address large limbs and significant damage. A good arborist can help you rehabilitate a tree that has had only moderate damage from a storm. If you are unsure of where to start with a tree that has wind damage, consult your local extension office for some advice.
It amazes me that even under flood conditions, people still water their lawns.
I’m sure you’ve seen it too – we get enough rain to cause some areas to flood and yet you see irrigation systems going full blast.
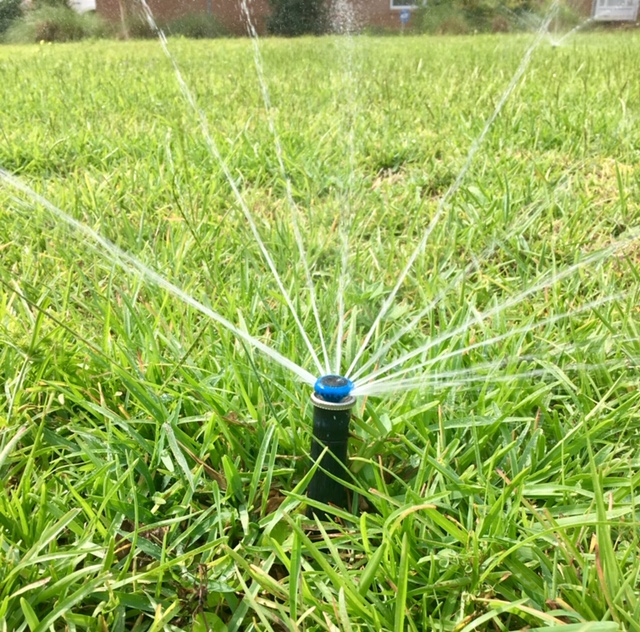
Lawn irrigation should be applied on an as needed basis. Credit: Larry Williams
We should water our lawns, landscapes and gardens on an as-needed basis. The way that some people water their lawns is as logical as saying that a pet dog needs a drink of water at 4 p.m. everyday. This is not true. When watering, we are simply replacing water that is lost. This is true when we drink water ourselves, when we provide water for a pet dog, or when we provide water for our lawns, landscapes and gardens.
An irrigation system is a great tool when used to supplement rainfall. Irrigating too much not only wastes water but it also is the cause for many lawn problems such as shallow, weak root systems, leaching of fertilizer and numerous lawn diseases. Cutting the irrigation timer to off and operating the system manually will solve many lawn problems.
Also, there are tools to prevent an irrigation system from coming on during rain or when adequate rainfall has occurred. As a matter of fact, it has been state law in Florida for every automatic irrigation system to have a rain shutoff device installed since 1991.
Florida Statutes, Chapter 373.62 – Water conservation; automatic sprinkler systems states, “Any person who purchases and installs an automatic lawn sprinkler system after May 1, 1991, shall install a rain sensor device or switch which will override the irrigation cycle of the sprinkler system when adequate rainfall has occurred,”
Rain sensors are available, inexpensive and are not difficult to install. Rain shutoff devices really do work when installed properly. If you do not feel qualified to install such a devise on an existing system, check with a reputable irrigation company.
Water only when lawn indicates that water is needed. When the grass needs water, leaf blades fold along the midrib – like a book closing, footprints remain in the lawn long after being made and the lawn turns grayish in spots, indicating it needs water.
When 30 to 40 percent of the lawn shows these signs of water need, turn the irrigation system on and let it run long enough to apply one-half to three-quarters inch of water. Don’t water again until the lawn begins to show these signs of water need. Watering this way will develop a deep-rooted lawn and landscape. Here’s a UF/IFAS Extension link with more information on lawn and landscape irrigation. https://gardeningsolutions.ifas.ufl.edu/care/irrigation
We are nearing the end of the NO MOW MARCH launch that several counties participated in this month. Maybe you have been mowing this month because you live in an area where it is required or maybe you were able to go the whole month but now you are wondering what’s next. The fact is that keeping a lawn healthy can maximize plant use and minimize environmental adverse impacts. In this article we will talk about the steps to help keep a healthy lawn.
Mowing is one of the most important aspects of maintaining a good quality lawn. When using proper mowing practices along with fertilization and irrigation, you can increase the density of your turfgrass. This produces a tighter lawn that the weeds cannot compete with and naturally reduces those unwanted weeds. Cutting height and frequency are the most important factors to consider when mowing. This will vary by turfgrass species, cultivar, and maintenance level of lawn desired. If too much leaf tissue is removed at one mowing cycle it can cause your turfgrass to stress. Over time the damage could be insects, disease, drought and sunscald. Leaf clippings are beneficial to the turf and give back nutrients and organic matter to the lawn. Some other helpful tips are to keep your mower blades sharp, do not mow grass when wet (I know this can be very difficult when we get into the rainy season.), and if you have several properties that you are mowing it is good to remove clippings and weed seeds from the mower. These tips can help improve the appearance and greatly reduce insect and disease infestation. For more details on your specific type of lawn refer to this document: ENH10/LH028: Mowing Your Florida Lawn (ufl.edu)
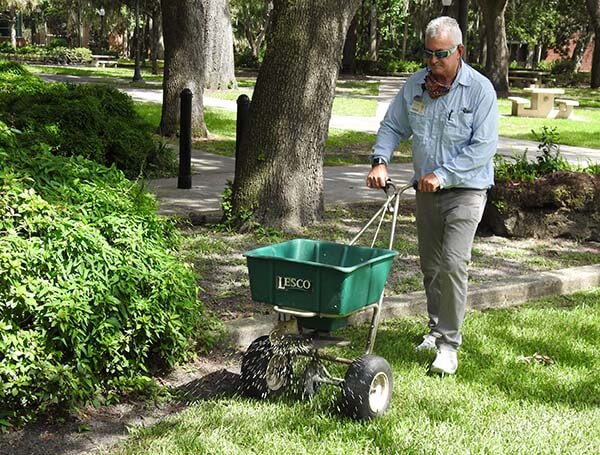
Turf can benefit from fertilization but only if done correctly. Timing and the appropriate rate can help maintain a healthy Florida-Friendly lawn. The turf roots and shoots need to be actively growing and this can vary depending on the use of the area, water stress (presence of rain or irrigation) and the environment of where the grass is grown. For North and Central Florida active growth occurs from spring through fall. Our neighbors down in South Florida can see growth year-round. Fertilizing when your grass is dormant not only wastes time and money, but it may also contribute to nutrient leaching or runoff. This is the perfect time of year to do a soil test to see exactly what nutrients are available and what your soil is lacking. This article will give you more insight on soil testing for Florida turfgrasses SL 181/SS317: Soil Testing and Interpretation for Florida Turfgrasses (ufl.edu)
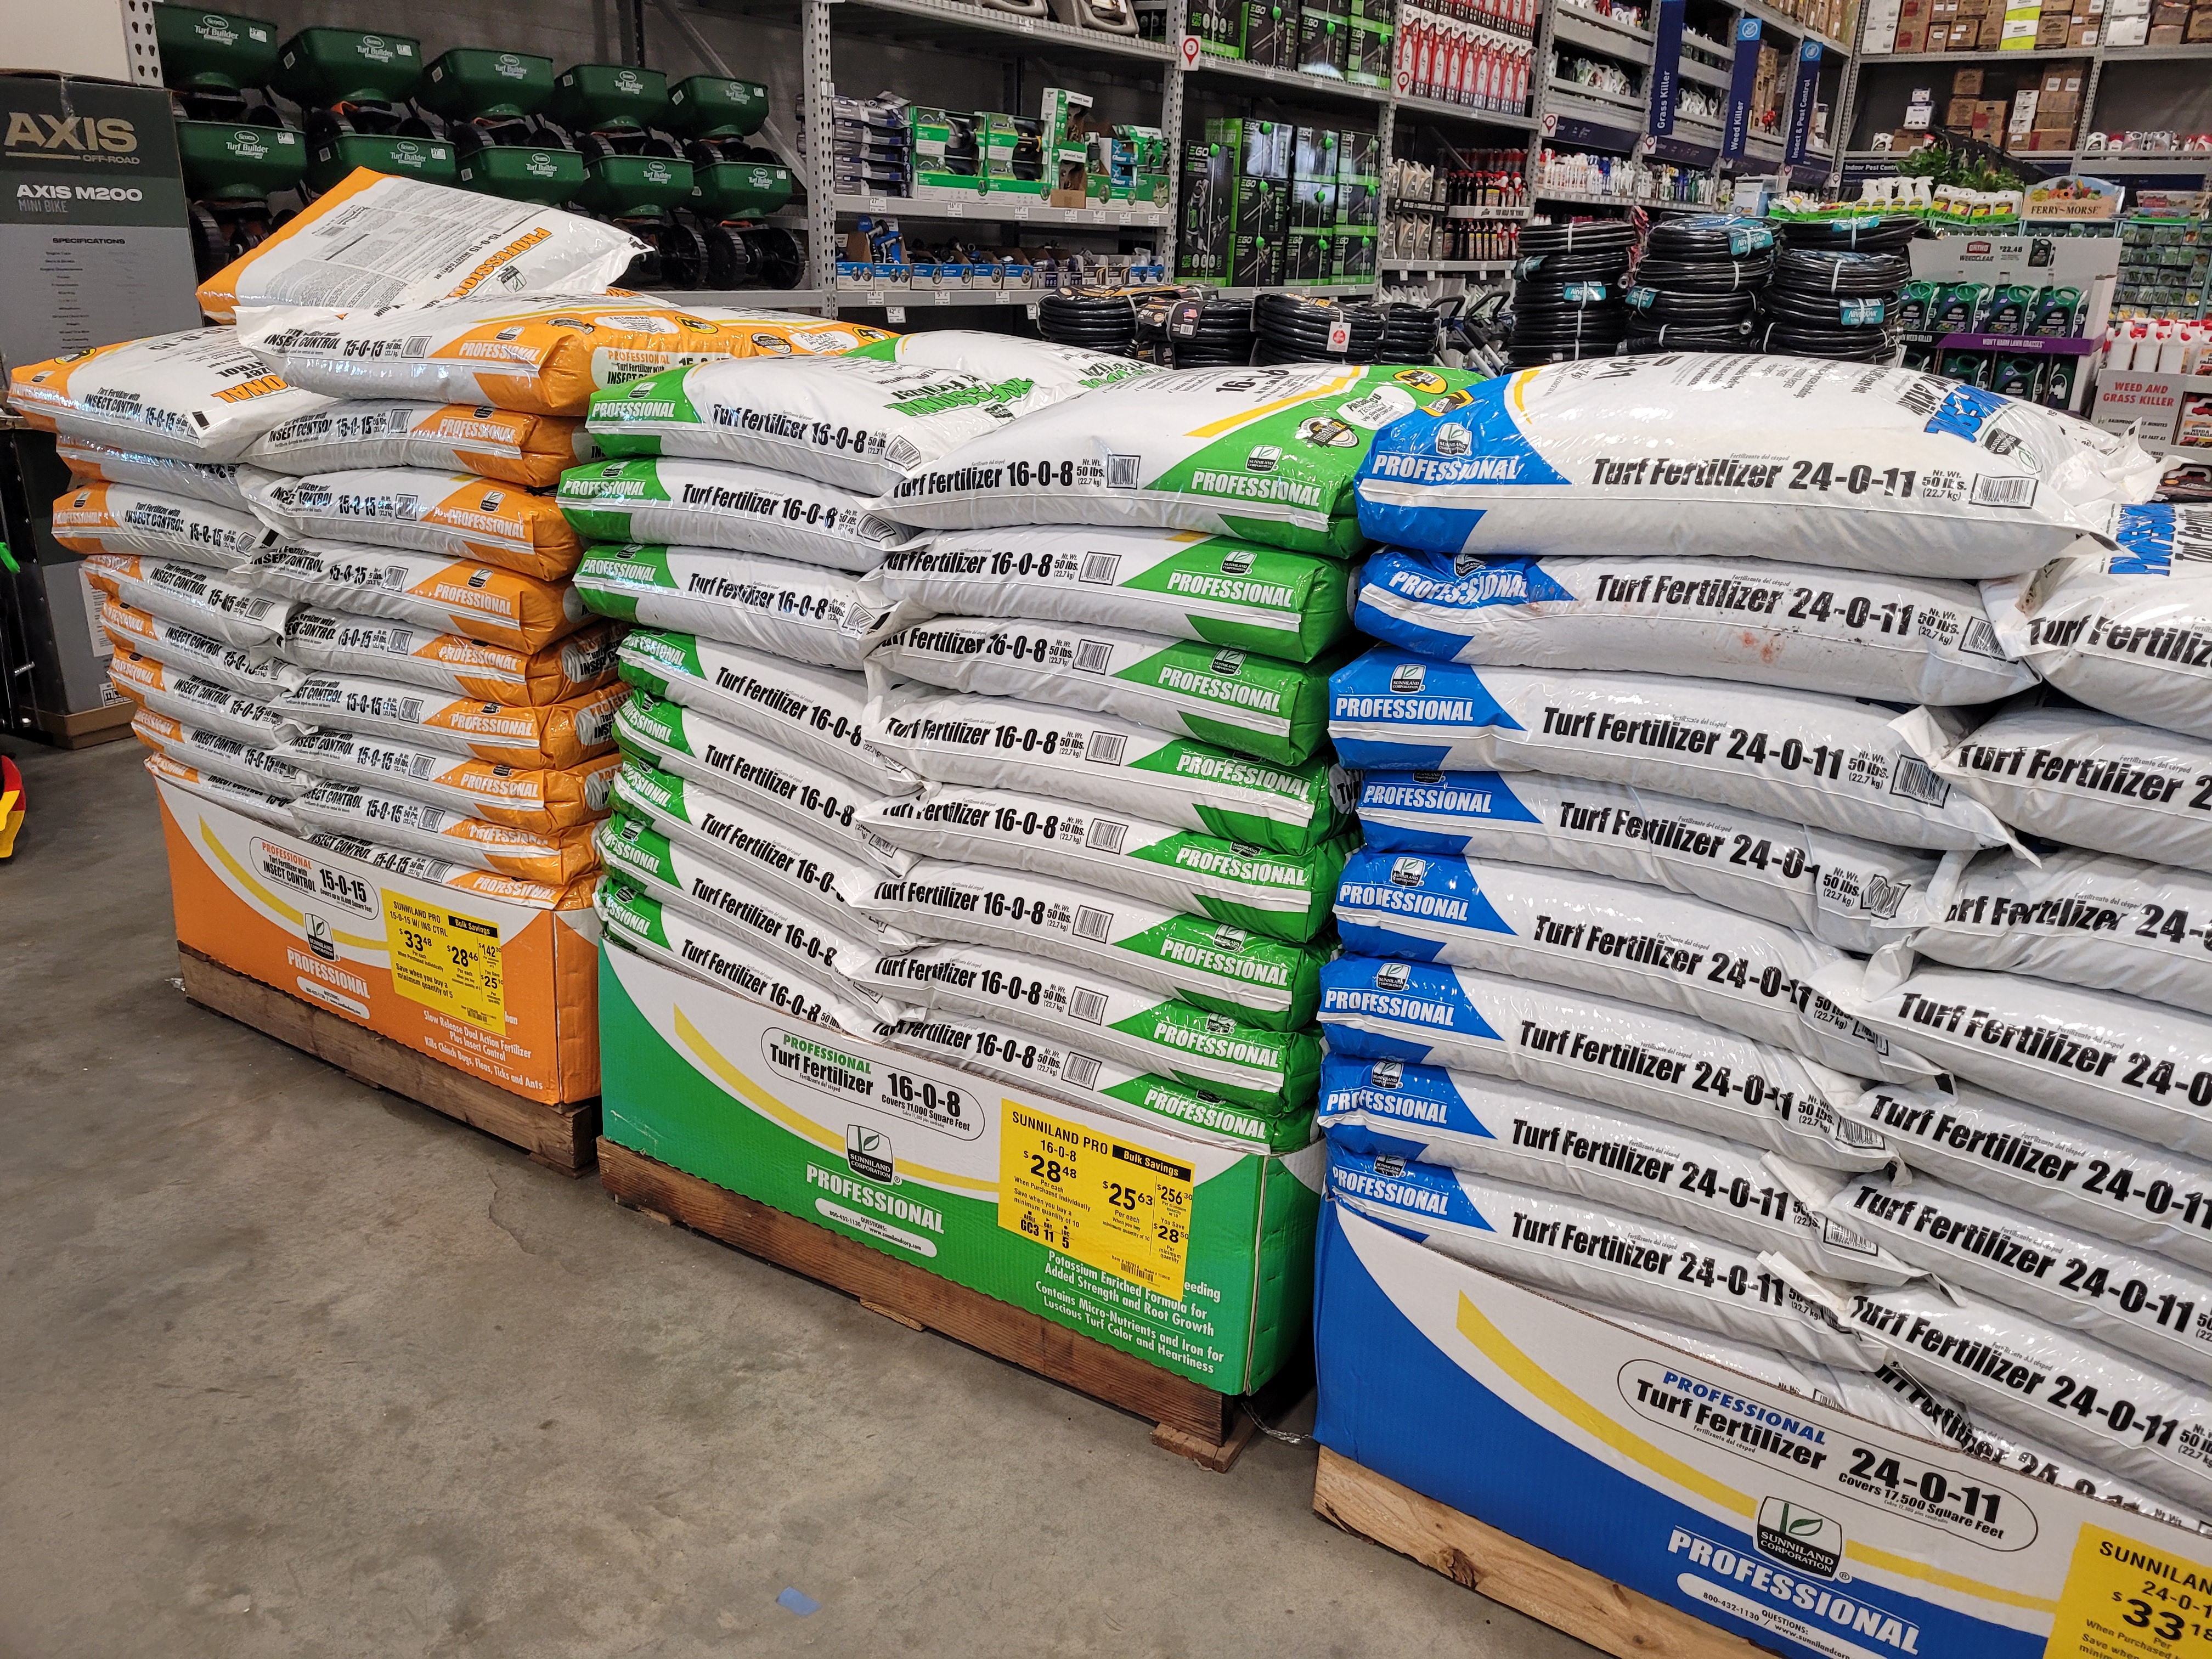
Turf Fertilizers; Photo taken by: Ashley Stonecipher
There are many benefits to having healthy turfgrass. It can slow stormwater from moving to water bodies. Healthy turf can filter and remove contaminants and help protect our ground water. Leaching and erosion are also reduced when you have healthy dense turfgrass. In Florida there are environmental stresses that may alter the required management level and health of the turf. Using proper cultural practices can alleviate the effects of stress. For instance, during times of drought do not try to fertilize until water is available, increase mowing heights in shaded areas to avoid thinning, and avoid effects of vehicle and foot traffic on stressed turf. ENH979/EP236: Homeowner Best Management Practices for the Home Lawn (ufl.edu)
Just by hitting on some of these key aspects such as the mowing height, cultural practices and the timing and rate of your fertilizer can make a difference in the health of your turf. Remember a healthy dense turf means less weeds and less insect and disease pressure later in the season. For more information or questions concerning your lawn please contact your local extension office!
Did you know that Petunias repel asparagus beetle or that Marigolds planted among potatoes discourage Colorado Potato beetles? Are you aware that cabbage planted near lettuce has an adverse effect on the growth and flavor? In this article I would like to talk about one of my favorite topics, companion planting. Companion planting can be defined as the practice of planting two or more plant species close together to gain benefits either on growth, flavor or pest control. I would like to talk about the many benefits of companion planting in more detail.
Trap cropping: when a neighboring crop is selected to attract the pests and distract from the main crop. An example of this is planting collards to attract the diamond back moth from cabbage or planting dill with tomatoes because tomato horn worms prefer dill.
Nitrogen fixation: planting legumes such as beans and peas have a relationship with bacteria in the soil called Rhizobium. Legumes can convert it to a form that plants can use.
Biochemical Pest Suppression: Some plants can exude chemicals from roots or aerial parts that suppress or repel pest and protect the neighboring plants. An example of this is African Marigold release thiopene which acts as a nematode repellent.
Physical Spatial Interactions: Tall growing sun loving plants can share space with lower growing shade tolerate plants. This results in higher yields and has pest control benefits. One of the oldest examples of this is Three Sisters (corn, beans, and squash). Corn is planted for the pole beans to climb and provides a high canopy of foliage that can confuse squash borer and reduce damage. Beans are nitrogen fixing and corn requires a lot of nitrogen. Squash has broad spreading leaves that provide a living mulch and reduce weeds and hold moisture.
Beneficial Habitats: provide a desirable environment for beneficial insects such as lady beetles, lacewings, hover flies, mantids, non-insects such as spiders and predatory mites. Plants in the Umbel family (carrots, parsley, dill) are known for this as well as sweet alyssum.
Security through Diversity: More mixing of various crops and varieties equals a degree of security to the grower.
Some good examples of Companions are the following:
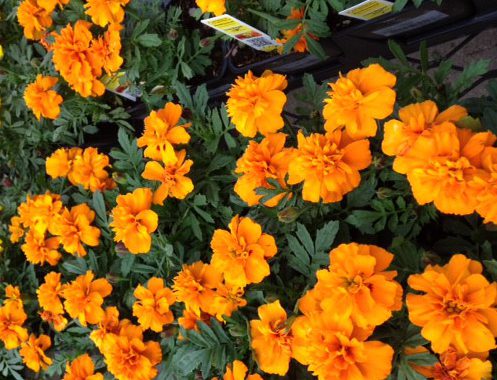
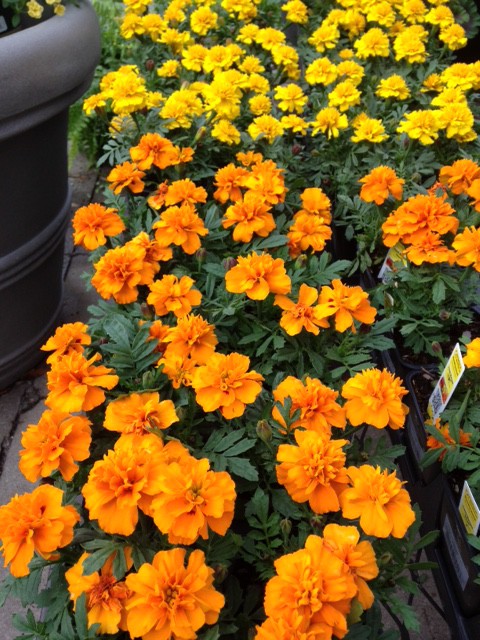
Broccoli: mint, dill, rosemary; aromatic herbs help repel pest Cabbage: mint, onion, oregano, dill, sage, clover, chamomile, nasturtium; Chamomile improves the growth and flavor and Nasturtiums offer caterpillars an alternate food source Carrots: English peas, lettuce, onion family, tomato; maximize space, provide shade and nitrogen fixer Peppers: tomato, beans, onion, geranium, petunia; Geranium repels Japanese beetles and petunias repel a variety of insects Spinach: strawberry, cauliflower, eggplant, radish; radish repels leaf miners Tomato: asparagus, carrot, parsley, basil, marigold, garlic; garlic repels red spider mites
Garden and landscape maintenance can be relaxing, but it can also be stressful. Sometimes you may just not have the time or the patience to get all the work done. In that case, you may choose to hire a professional to get your yard to looks its best. A number of things should be considered when selecting a company. First of all, make sure you find a company that provides the services needed. You probably don’t want to hire a business that specializes in planting food plots if you need some trees removed from around your house. And you may not want to hire a company that manages sports fields if you want some trees and shrubs installed. Please find a checklist below of some things to consider when choosing a landscape professional.
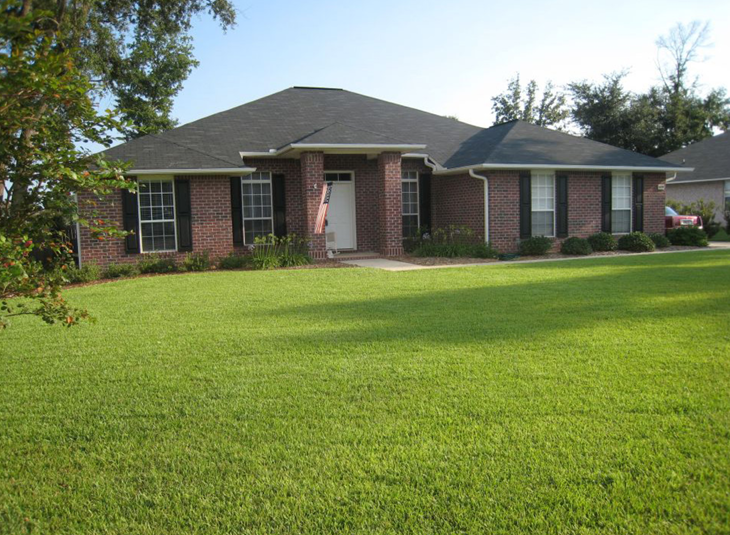
Applying the proper amount of fertilizer keeps your landscape healthier and protects local waterbodies. Credit: UF/IFAS.
Insurance, Licenses, and Certifications – Make sure to hire professionals who meet all state and local license and insurance requirements for the work they are are contracted for.
General Liability Insurance – General liability insurance protects against bodily injury, property damage, and personal injury. Ask for proof of this coverage.
Workers’ Compensation Insurance – Worker’s compensation insurance provides medical and wage benefits to employees who are injured or get sick at work. More information on this coverage can be found at myfloridacfo.com.
Pesticide Applicator License – A pesticide applicator license is required for individuals spraying pesticides in and around your home. Some licenses allow the applicator to spray your entire landscape while others only grant the applicator to lawfully spray ornamental beds and shrubs around the home. You can search for applicators by name or license number at Licensed Pesticide Applicator Search.
Fertilizer Applicator License – A fertilizer applicator license is required for individuals applying fertilizer to turf and ornamentals on your property. You can search for applicators by name or license number at Licensed Pesticide Applicator Search.
FNGLA – The Florida Nursery, Growers and Landscape Association (FNGLA) certifies landscape professionals on their landscape installation and/or maintenance expertise. You can search for certified individuals at FNGLA Certifications.
FFL – The Florida-Friendly Landscaping Program offers a Florida-Friendly Landscaping Certified Professional (FFLCP) certification to individuals are familiar with the latest UF/IFAS recommendations and who implement the 9 Florida-Friendly Landscaping principles by using environmentally friendly landscape management practices. A list of certified individuals can be found at Florida-Friendly Landscaping Certified Professionals Listing.
ISA – The International Society of Arboriculture certifies landscape professionals and arborists on their expertise on tree care and installation. You can search for certified arborists at Certified Arborist Search.
In addition to checking for accreditations, a number of questions can be asked to determine if a company meets your needs. These questions will help determine whether the company follows environmentally friendly landscape management and installation practices.
Does the landscape professional understand irrigation system design and know how to calibrate an irrigation system?
Does the landscape professional maintain mowing and pruning equipment and tools to make clean cuts?
Does the landscape professional maintain turf at the appropriate height for the species/cultivar being grown?
Does the landscape professional follow UF/IFAS fertilizer recommendations for fertilizer rates and products?
Does the landscape professional apply fertilizer only when turf and ornamentals are actively growing?
Does the landscape professional use soil tests to help determine fertilizer needs?
Does the landscape professional regularly check turf and ornamentals for insect pests and diseases?
Does the landscape professional follow recommendations for plant installation and spacing?
These are just a few things to consider when hiring a landscape professional/company. After reviewing qualifications and asking tough questions you’ll also want to consider cost. Make sure to consider the scope of work of the companies that gave you quotes. For more comprehensive guidelines, please check out the UF/IFAS Publication Guidelines for Hiring a Florida-Friendly Landscape Professional.