by Ray Bodrey | Aug 19, 2016
Being a gardener in the panhandle has its advantages. We’re able to grow a tremendous variety of vegetables on a year-round basis. However, in this climate, plant diseases, insects and weeds can often thrive. Usually, chemical measures are applied to thwart these pests. Some panhandle gardeners are now searching for techniques regarding a more natural form of gardening, known as organic. With fall garden planting just ahead, this may be an option for conventional vegetable gardeners looking for a challenge.

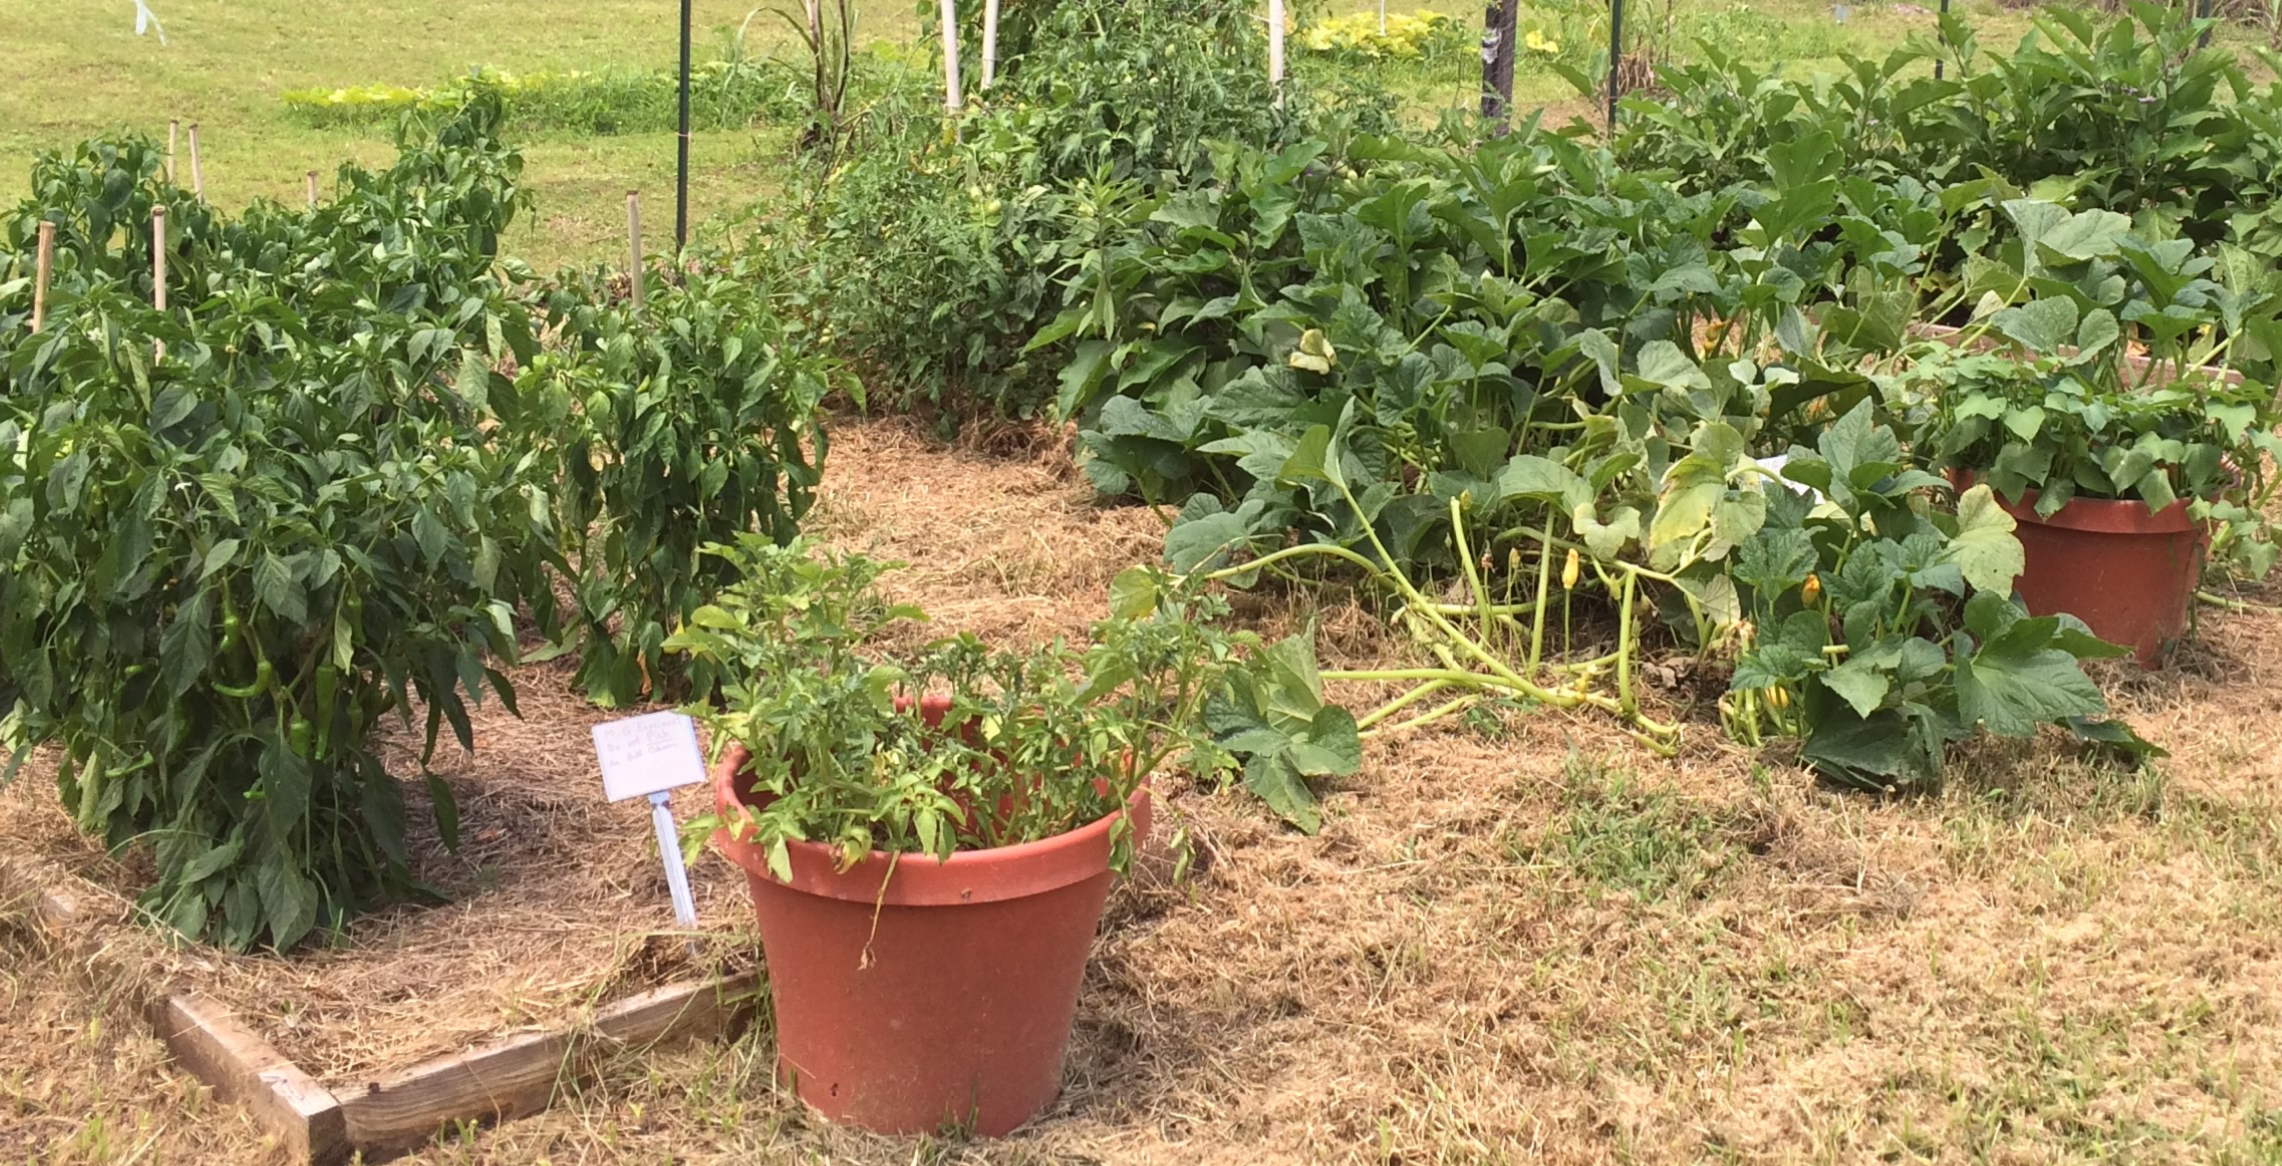
Vegetable Garden at UF/IFAS Extension Wakulla County. Photo credit: Ray Bodrey UF/IFAS.
So, what is organic gardening? Well, that really depends on who you ask. A broad definition is gardening without the use of synthesized fertilizers and industrial pesticides. Fair warning, “organic” does not translate into easier physical gardening methods. Laborious weeding and amending of soil are big parts of this gardening philosophy. This begs the question, why give up these proven industrial nutrient and pest control practices? Answer: organic gardening enthusiasts are extremely health conscious with the belief that vigorous outdoor activity coupled with food free of industrial chemicals will lead to better nutrition and health.
As stated earlier, the main difference between conventional and organic gardening is the methods used in fertilization and pest control. In either gardening style, be sure to select a garden plot with well-drained soil, as this is key for any vegetable crop. Soil preparation is the most important step in the process. To have a successful organic operation, the garden will require abundant quantities of organic material, usually in the form of animal manures and compost or mixed organic fertilizer. These materials will ensure water and nutrient holding capacity. Organic matter also supports microbiological activity in the soil. This contributes additional nutrients for plant uptake. Organic fertilizers and conditioners work very slowly. The vegetable garden soil will need to be mixed and prepped at least three weeks ahead of planting.
Effective organic pest management begins with observing the correct planting times, selection of the proper plant variety and water scheduling. Selecting vegetable varieties with pest resistant characteristics should be considered. Crop rotation is also a must. Members of the same crop family should not be planted repeatedly in the same organic garden soil. Over watering can be an issue. Avoid soils from becoming too wet and water only during daylight hours.
For weed management, using hand tools to physically removing weeds is the only control method. As for insect management, planting native plants in the immediate landscape of the organic garden will help draw in beneficial insects that will feast on garden insect pests. The use of horticultural oil or neem oil is useful. However, please read the product label. Some brands of oils are not necessarily “organic”. Nematodes, which are microscopic worms that attack plant roots, are less likely an issue in organic gardens. High levels of organic matter in soil causes an inhospitable environment for nematodes. Organic disease management unfortunately offers little to no controls. Sanitation, planting resistant varieties and crop rotation are the only defense mechanisms. Sanitation refers to avoiding the introduction of potential diseased transplants. Disinfecting gardens tools will also help. Hydrogen peroxide, chlorine and household bleach are disinfecting chemicals allowed in organic gardening settings as these chemicals are used in organic production systems for sanitation. Staking and mulching are also ways to keep plants from diseases by avoiding contact with each other and the soil.
Organic gardening can be a challenge to manage, but better health and nutrition could be the reward. Please take the article recommendations into consideration when deciding on whether to plant an organic garden. For more information, contact your local county extension office.
Supporting information for this article can be found in the UF/IFAS EDIS publication, Organic Vegetable Gardening in Florida, by Danielle D. Treadwell, Sydney Park Brown, James Stephens, and Susan Webb.
by Mark Tancig | May 24, 2016
Humans have used animal manures to fertilize food crops for thousands of years. Manures are an organic source of plant nutrients and are often a waste byproduct that must be properly managed when raising animals. Today, many farmers and backyard gardeners continue to use animal manures to provide nutrition to their crops. However, a recent experience at our local extension office brought to our attention the need to know what else, besides nutrients, is in the manure used.
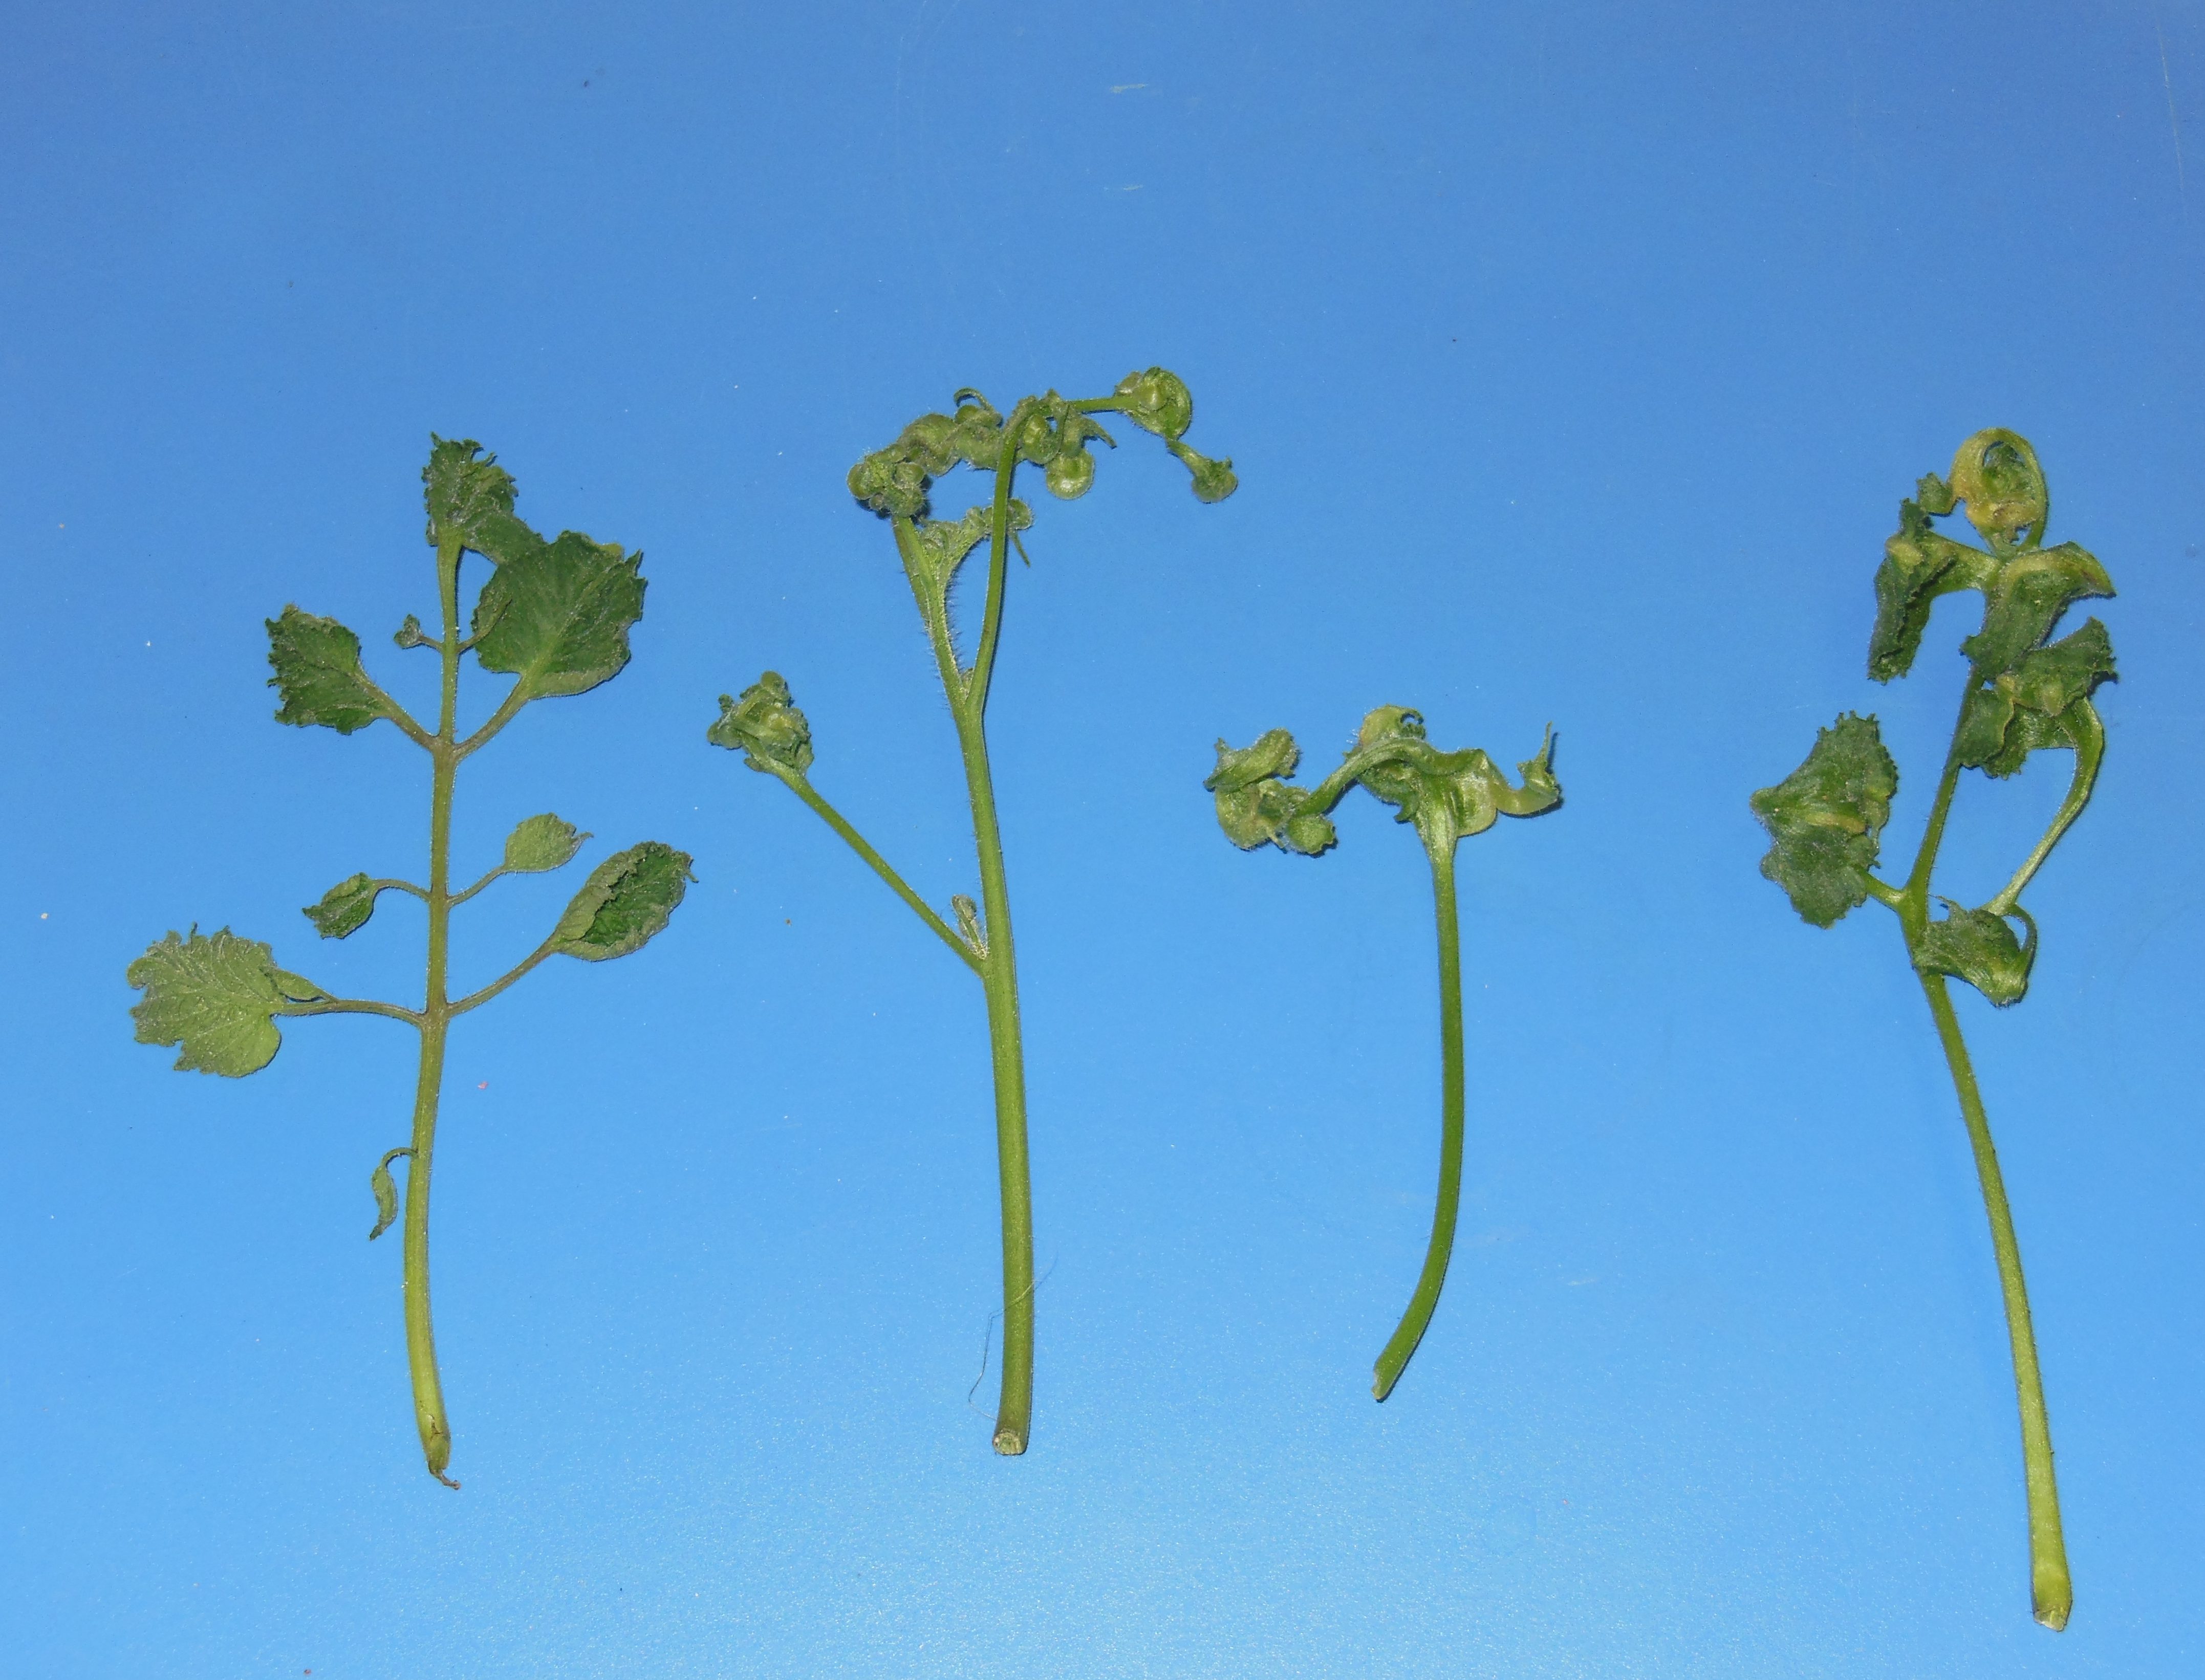
A local backyard gardener brought in samples of tomato plants that had strange new growth. She had purchased the tomato plants, along with other vegetable plants, from a local nursery. When she repotted the tomato plants into larger pots, she added horse manure from her own horses to the soil mix. She then noticed this strange growth on the tomatoes, but not in the other vegetable plants that were repotted without adding horse manure. Herbicide damage was one of the first potential causes we suggested, since the new growth was twisted and distorted, a common symptom of plants that have been sprayed by herbicides. The gardener was sure she had not sprayed any herbicides near these plants, or in the pasture where she keeps her horses.
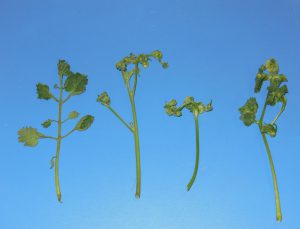
Herbicide damaged tomato plants. Photo by: Mark Tancig
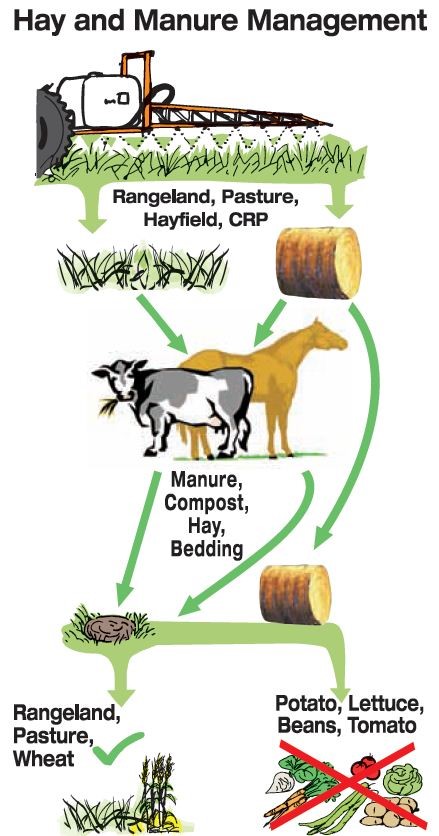
Photos of the tomato plants were shared with other NW District agents and an agriculture agent with livestock and hay producer experience had the probable answer – herbicide damage due to the horses being fed hay from a hayfield that was treated with a particular herbicide. Interestingly, this agent also had experience with these symptoms after their neighbor had similar issues using manure to fertilize the garden.
Herbicides with the active ingredients picloram or aminopyralid are able to cause this kind of unexpected damage to many gardeners’ crops. Herbicides containing these active ingredients are used in hayfields to control broadleaf weeds. These herbicides are especially effective at controlling hard to manage weeds such as thistle, nightshade, and nettle. They also provide long-lasting weed control. Unfortunately, the persistence of these ingredients extends into the hay, and also persists in the manure and urine of animals who eat hay from treated fields. These ingredients pass through the animal unchanged and remain active as an herbicide. Since many vegetable crops are broadleaf plants, the herbicide’s ingredients cause injury.
So what can a farmer or backyard gardener do to prevent this problem? When purchasing hay for livestock, ask the seller if they know whether the hayfield has been treated with herbicides that contain either picloram or aminopyralid. Most herbicides are known by their common names, rather than their chemical name. If they give you a common name or brand name, the active ingredient can be obtained by contacting your local extension office. If the seller can’t tell you, then, as a precaution, do not use the manure to fertilize broadleaf vegetable crops. The same question should be asked if purchasing hay for mulch as well. Composting the manure or hay does not break down the active ingredient, and may even concentrate it.
While we continue to use animal manures to fertilize our crops as our ancestors did, it’s important to remember that many of the tools and products we use today are much more advanced. These advanced products require that we stay informed of all precautions, use them responsibly, and, in this case, inform end users of any precautions. Remember to always read and follow the label and ask questions. And if a science-based answer is what you’re looking for, your local extension office is a good place to go!

Warning from herbicide label.

by Molly Jameson | Apr 7, 2016
Got Compost?
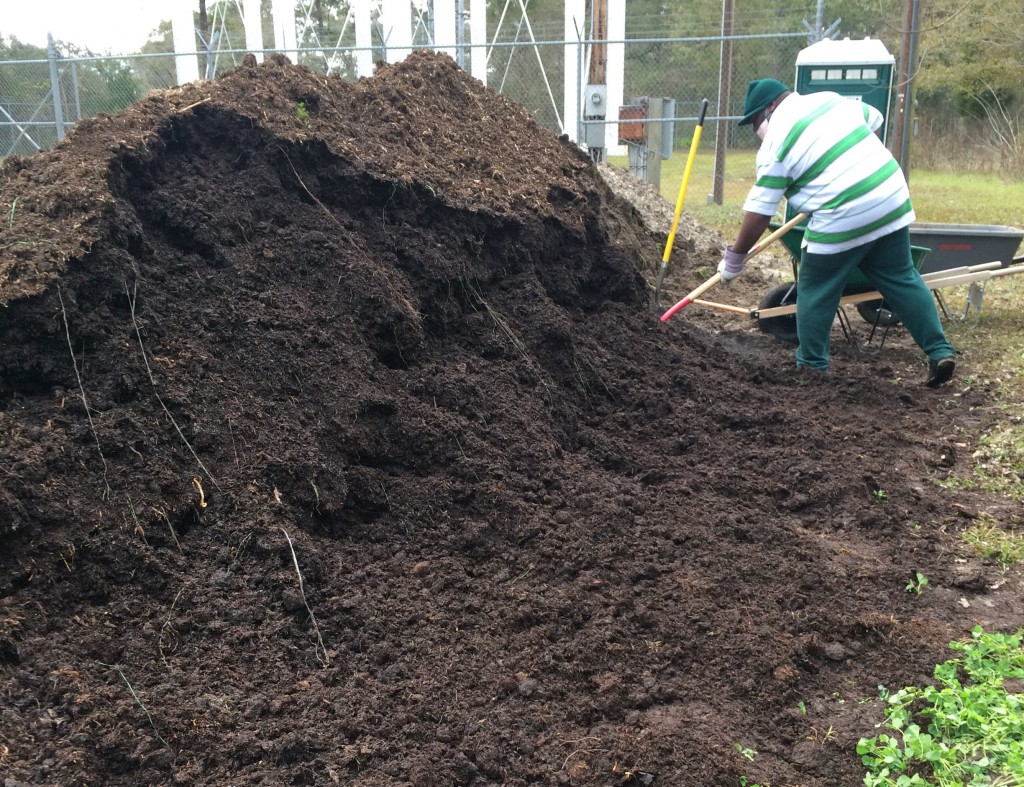
Please join UF/IFAS Leon County Agricultural and Horticultural Extension Agents for a hands-on composting workshop.
Extension Agents Mark Tancig and Molly Jameson will lead participants through:
-
An in-class presentation on composting science and research based composting methods
-
A hands-on demonstration on building and maintaining compost piles
-
Participants will help turn an existing compost pile and build a new pile
There are three chances to catch the workshop:
April 9, 10 am – 12 pm
April 19, 9 am – 11 am
April 25, 5:30 pm – 7:30 pm
General Admission: $10.00
Students: $5.00
Couples or Families: $15.00
The workshops will be held at the Leon County Extension Office, located at 615 Paul Russell Road, Tallahassee, Florida 32301.
by Beth Bolles | Dec 4, 2015
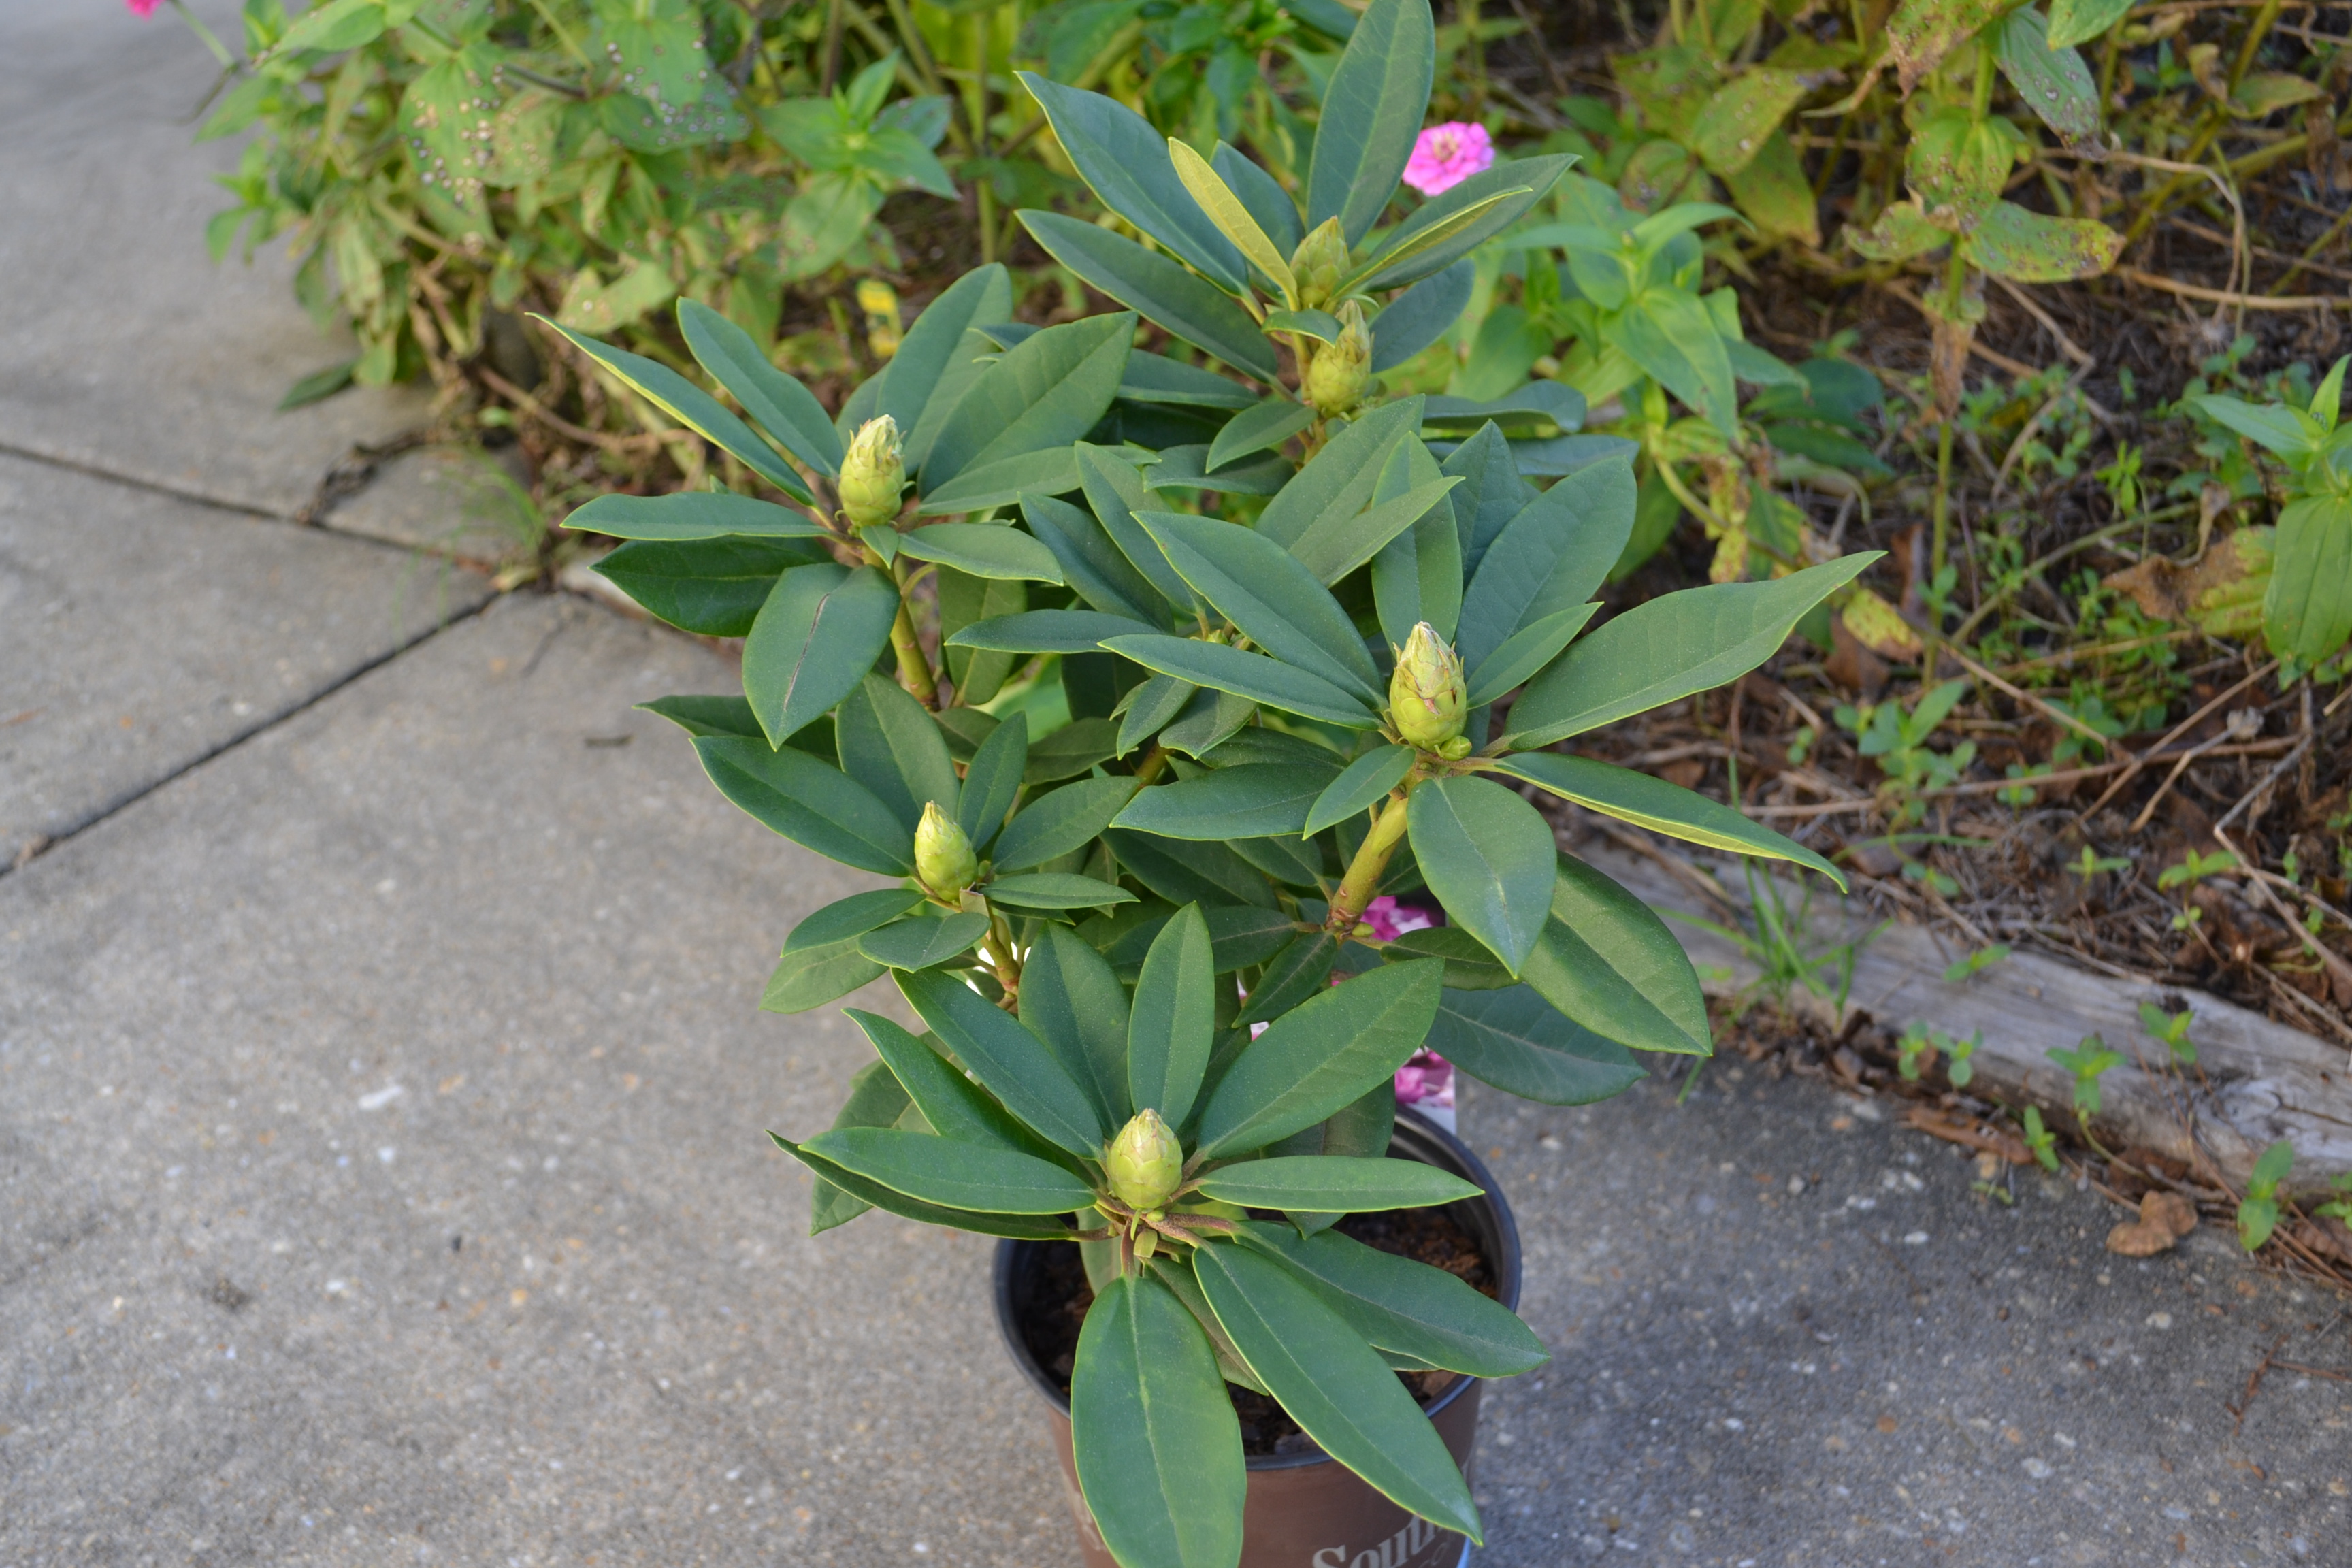
A visit to a nursery and homeowners will see so many new selections of plants for the landscape. Some of these plants are new plant developments and may include plants we could not previously grow in Florida’s heat and humidity. One new plant series is the Southgate® Rhododendrons.
Anyone from more northern areas of the South is very familiar with the rhododendrons that offer showy spring blooms. Those particular rhododendrons just don’t make it in our Florida climate.
The Southgate® series from Louisiana were developed to be more tolerant of our weather conditions. Homeowners must still consider plant placement very carefully since these plants have some specific requirements even in Florida. Plants will do best in shade or filtered shade, especially in the afternoon. They do like an acid soil amended with compost and areas that are well drained. Homeowners will need to supply water during the growing season to maintain a uniform soil moisture.

Rhododendron foliage with buds.
Consider trying one of these newer rhodendrons if your landscape has a suitable spot and you will definitely enjoy a bright spot of color come spring.
Special Note: If you have animals or children be cautious since all plant parts are toxic if ingested.

by Carrie Stevenson | Oct 28, 2015
Dirt, earth, humus, terra firma, soil—no matter what you call it, the ground below us is one of the most important substances on, well, Earth. As children, most of us stomped in mud puddles, dug holes, and played in sand boxes—the tactile experience of moving dirt around seems to appeal to humans innately. Just last weekend a local charity raised thousands of dollars by setting up an obstacle course for adults (and kids) called the “Mud Run,” with participants exiting the race completely covered in mud.

Kids have an innate appreciation for soil! Photo credit: Carrie Stevenson
Despite how much fun it can be to play in, the humble soil often gets overlooked. Mixtures of clay, sand, and loam seem less exciting when competing for attention with more charismatic natural phenomena such as colorful flowering plants or powerful top predator animals. Partially because of this status, soil scientists and agronomists declared 2015 the “International Year of Soils” with the goal of educating the general public on soil’s importance.
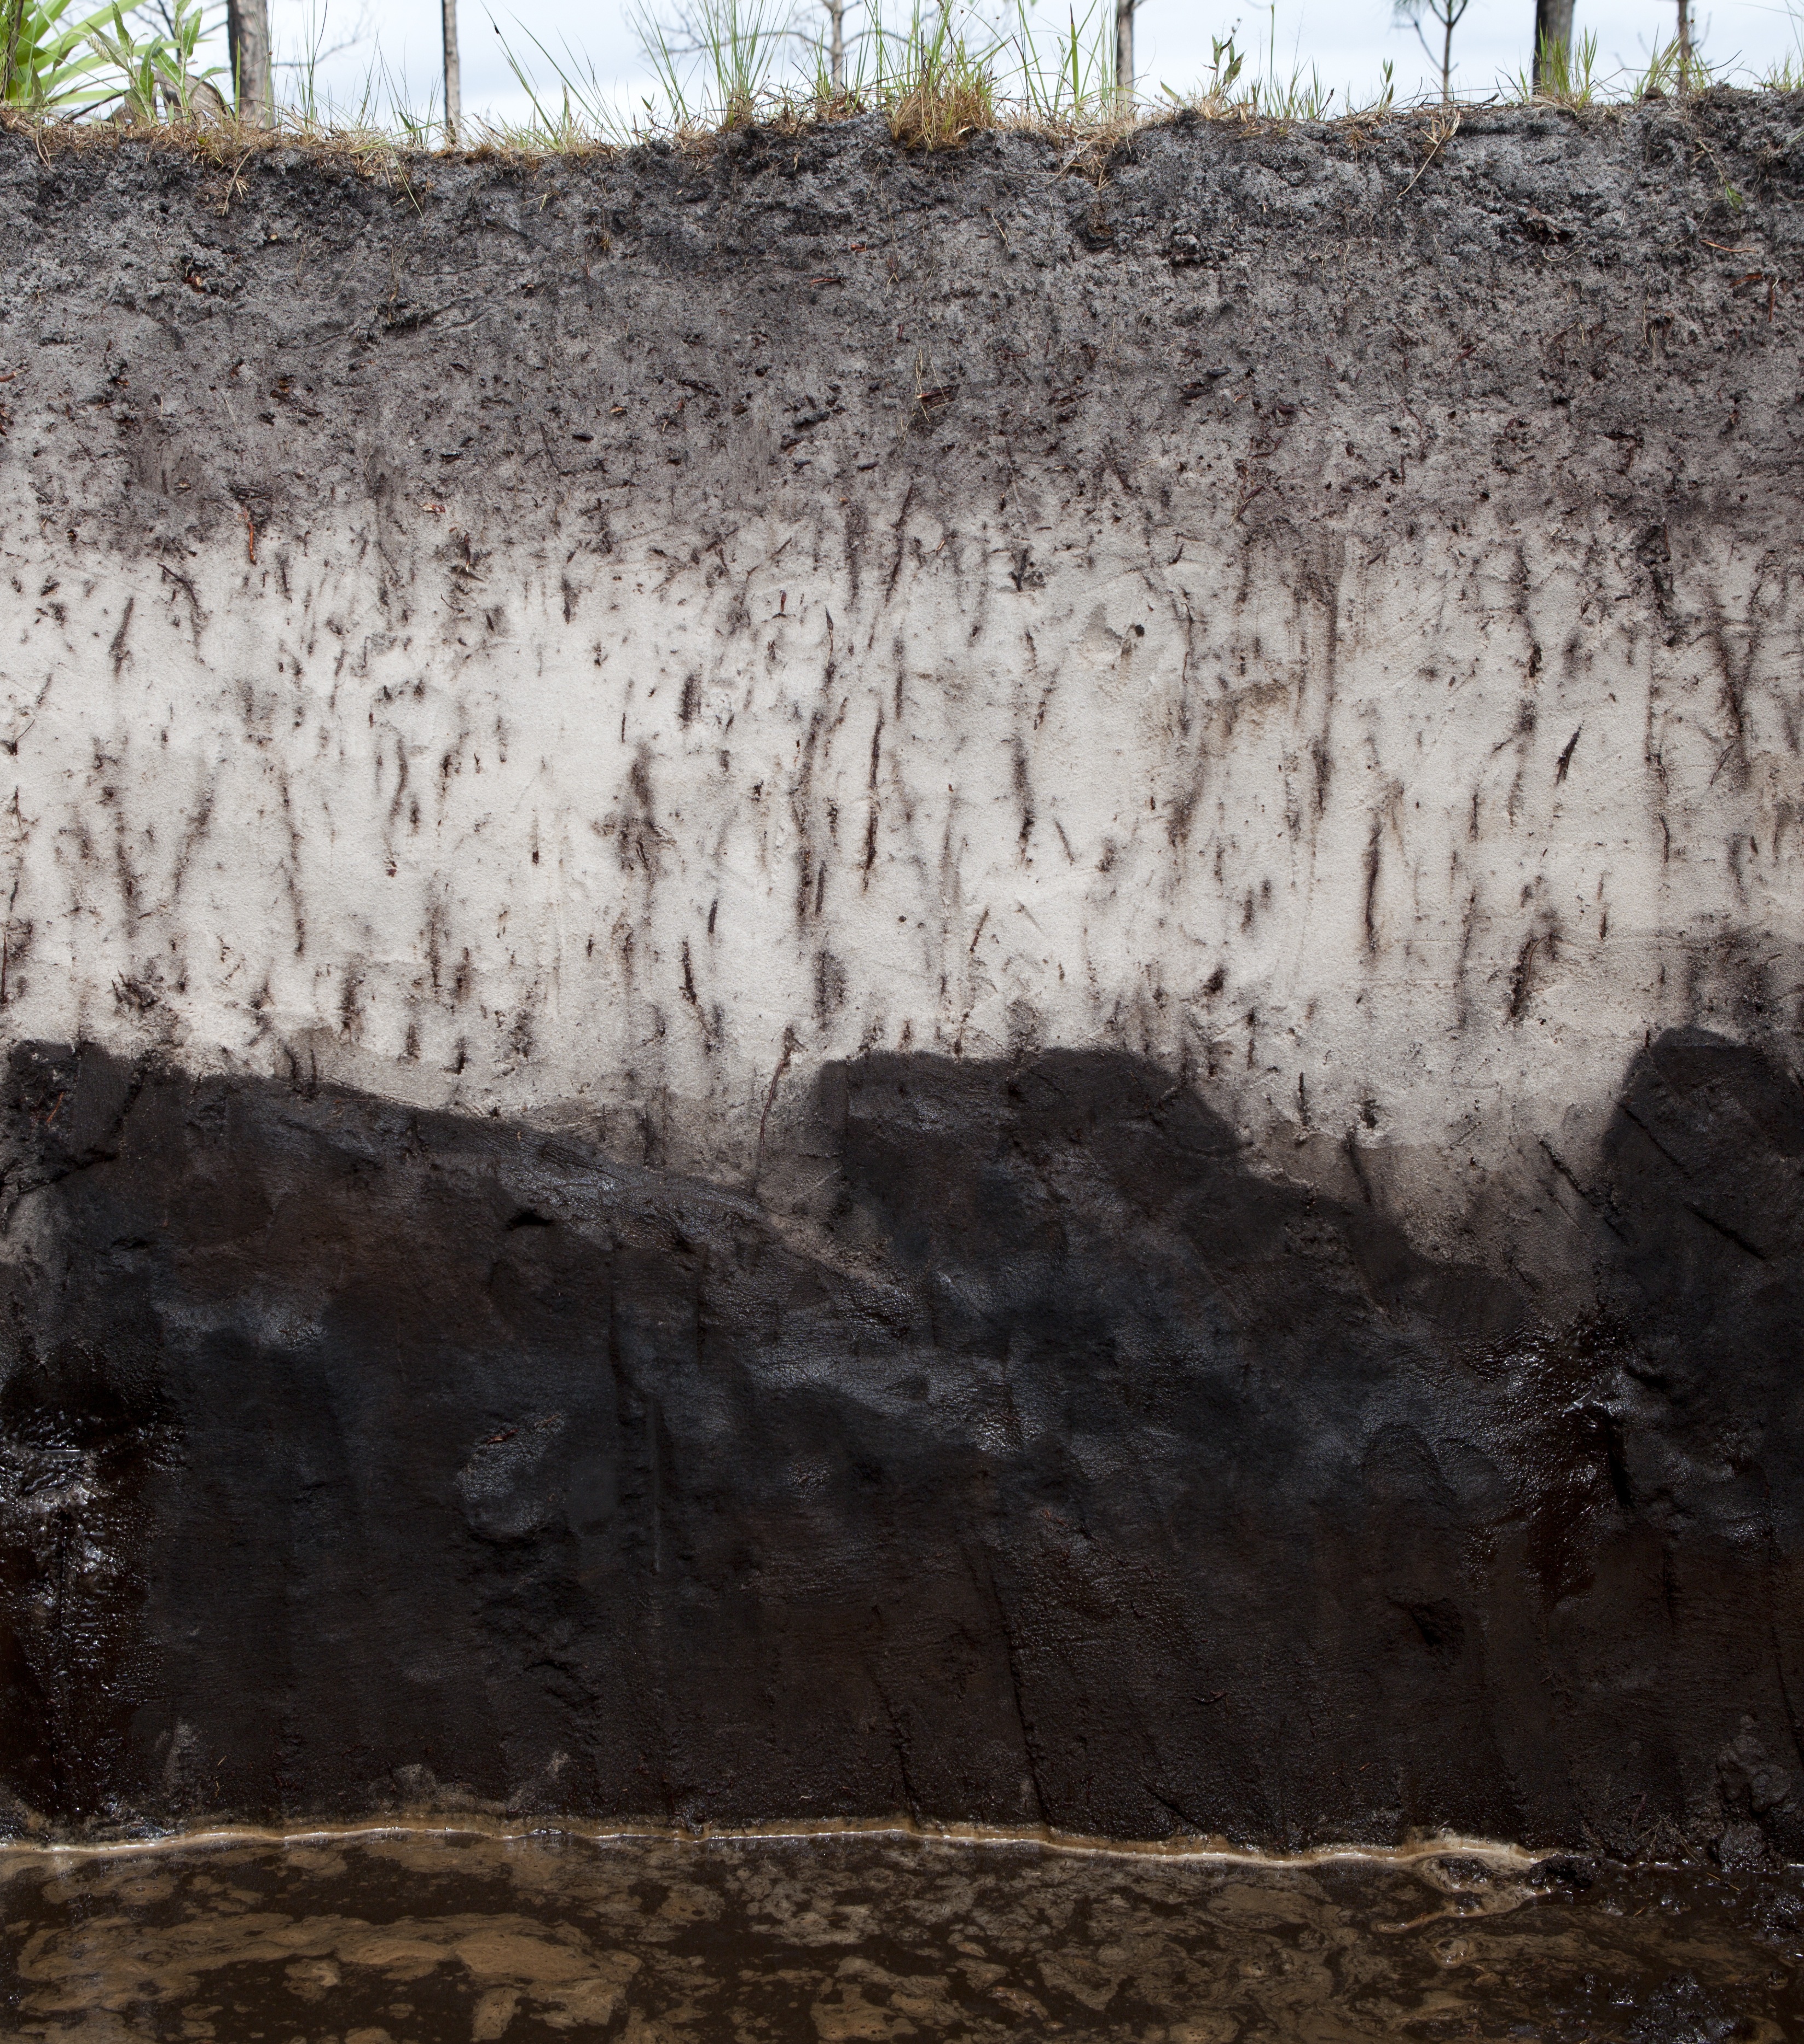
While most of us don’t think about soil on a regular basis, it is the literal foundation for producing healthy food and much of our clothing, along with fuel sources and many medicinal products. Without the small organisms and insects living in the soil to break things down, everything that ever died could still be slowly decaying on the surface of the earth. Soil is the primary player in recycling and making crucial nutrients such as phosphorus, nitrogen, and potassium available to plants. If you’ve ever tried to grow vegetables in the Panhandle, you know the high sand content and low nutrient levels of many of our native soils leave much to be desired. Gardeners know that a mix of organic materials is necessary to give soil enough structure, water-holding capacity, and nutrient sources to provide plant roots a healthy growing environment.
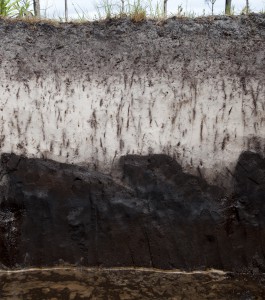
Soil profile. Photo courtesy UF/IFAS.
Soils are crucial to agricultural production, but they also play important environmental roles. On a global scale, soils are a “sink” for carbon and help combat climate change. At the same time, soils help reduce pollution through filtration and store water to recharge our drinking water aquifers. The water absorbed within healthy soils can help protect communities from both drought and flooding.
Pollution and erosion are among the biggest threats to healthy soil, and governmental agencies at all levels devote considerable funds and staff to protecting this life-giving limited natural resource. To learn more about soil and how to test for soil nutrients and pH, talk to your local Extension agent. There are many great online resources devoted to soil science, such as the Natural Resource Conservation Service’s new “Unlock the Secrets in the Soil” campaign, the USDA’s online soil surveys, and the UF IFAS Soil & Water Science Department newsletter, “Myakka.”
by Molly Jameson | Sep 3, 2015
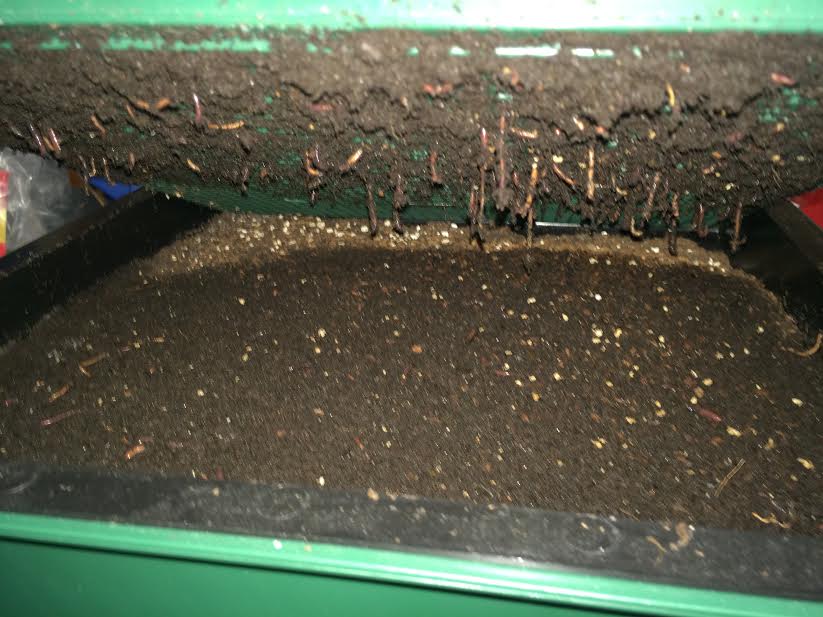
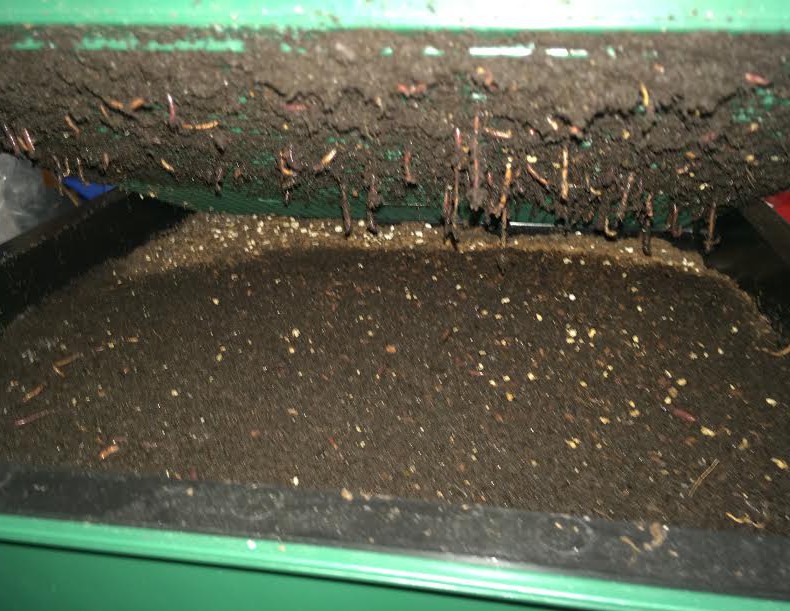
Red wigglers hanging through the bottom bin of a “Worm Factory” vermicompost system. Photo by Molly Jameson.
What if I told you there was a way to create compost indoors? No pitchfork required, no hot steamy temperatures, a simple mix of ingredients, and it would fit right under your kitchen sink? As long as you can convince your family to have worms in the house… you can start vermicomposting.
Vermicomposting uses a type of worm called red wigglers. These worms specialize in digesting organic matter, can digest their own body weight in food each day, and can double their population within months. It is, therefore, a wonderful way to responsibly dispose of food waste and can reduce your garbage by more than a third. Microorganisms inside the worms are actually doing most of the work, and the “castings” excreted are teaming with beneficial microbes and nutrients that will condition your soil and make the plants in your garden shine.
You can easily construct a vermicompost bin at home, but you can also purchase one online. Bins should hold about five gallons for one to two people or ten gallons for three to four (Rubbermaid containers work nicely). Your container should not exceed 12 inches in depth, as red wigglers do not like to burrow deeply. You will also want good aeration, so drill holes in the bottom of the bin and either place the bin in another container or put the bin on bricks and use a tray underneath to capture escaped materials. Either way, you will want a lid – as worms do not like light and need moisture – but they also need to breathe, so make sure it is not airtight. Be sure your bin is never in direct sunlight or in a location that regularly exceeds 80°F.
To get started, you will need about 1,000 worms, which weighs about one pound. Red wigglers can also be purchased online, at local nurseries, and some bait shops. Better yet – if you know vermicompost enthusiasts, they may be happy to share.
Before you purchase your worms, you want to prepare your worm bedding. Shredded newspaper and coconut fiber (coir) – which you can find at your local nursery – work great. You will also need to add a small scoop of garden soil to inoculate your bin with microbes. To get started, lightly moisten your bedding material and fill your bin about two-thirds full.
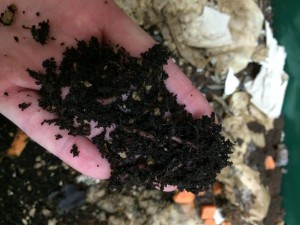
Finished worm castings will be dark, slightly moist, and will have an earthy smell. Photo by Molly Jameson.
Now it is time to add the food. Worms love vegetable scraps, most fruits, moldy bread, coffee filters and grounds, tea bags, and crushed eggshells. Chop their food into small pieces for fastest consumption. Foods to avoid include meat, dairy, large amount of citrus, and onion peels. Start out slow, and put the chopped food in the corner of your worm bin. Once your worms are settled, maintain the bin as half bedding, half food scraps. If your bin looks too dry, add more food. If your bin looks too wet, add more bedding or hold back on food a few days. Bad odors will develop only if the worms are overfed.
Give your worm bin about three to four months, and then you can begin to harvest. Add a handful of castings to potting mix or a thin layer directly to your garden. Give vermicomposting a try – your plants will thank you, your trash will not stink, and you will reduce your global impact.