by Mary Salinas | Jul 7, 2016
Peppers and tomatoes are in the same plant family – solanaceae or more commonly known as the nightshade family – and can be susceptible to some of the same diseases. This is true of Tomato Spotted Wilt Virus (TSWV). The solanaceae family includes potatoes, eggplant, tobacco, petunia, tomatillo and deadly nightshade in addition to pepper and tomato.
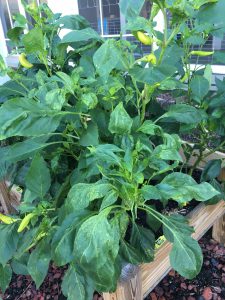
Pepper with TSWV. Photo credit: Mary Derrick, UF IFAS Extension.
This virus is spread by very small insects known as thrips. They acquire the virus as larvae when feeding on an infected plant and then transmit the disease when they fly to other susceptible plants as adults.
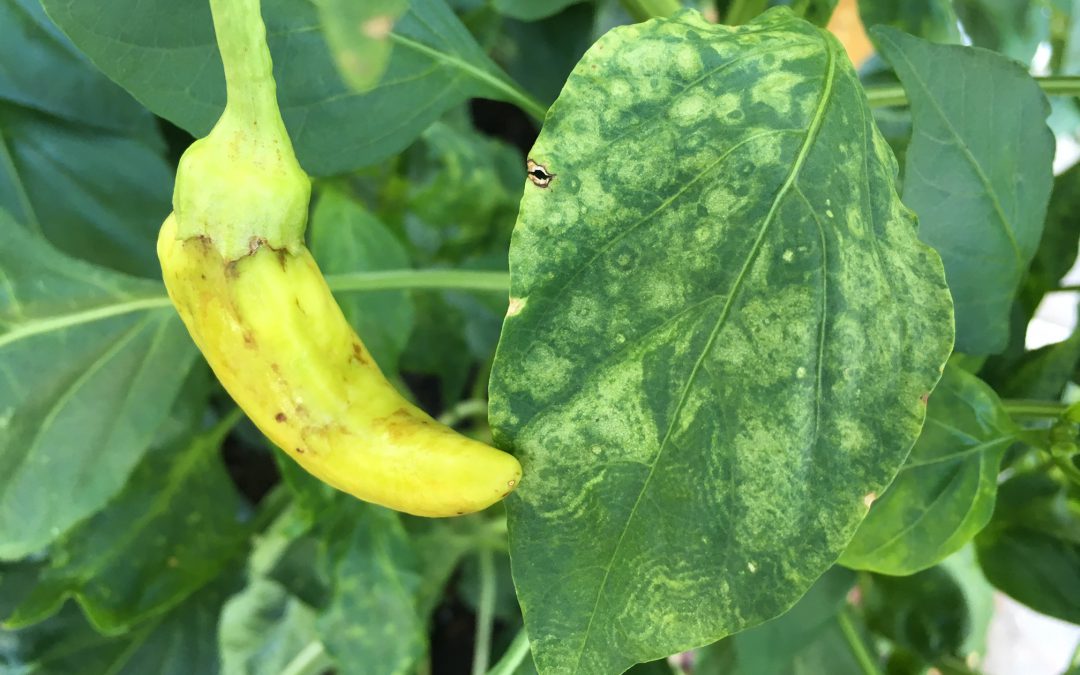
Initial symptoms are yellowing and distortion of the leaves. The leaves can also display yellow or brown circular ring spots. The severity of the virus can depend on the particular cultivar of pepper, its age and the environmental conditions in which the pepper is growing. Fruit can develop yellow, brown or ring spots as well.
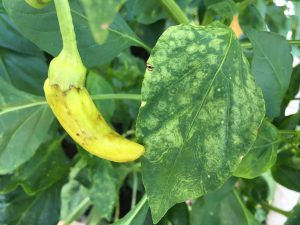
TSWV infection showing ring spot on leaves and lesions on fruit. Photo credit: Mary Derrick, UF IFAS Extension.
If you think your pepper has TSWV, consult your local extension agent to confirm the diagnosis. But once infected, there is no treatment for the plants and they should be pulled up and disposed of in the trash to prevent other susceptible plants from becoming infected.
For more information:
Some Common Diseases of Pepper in Florida

by Molly Jameson | Jun 8, 2016
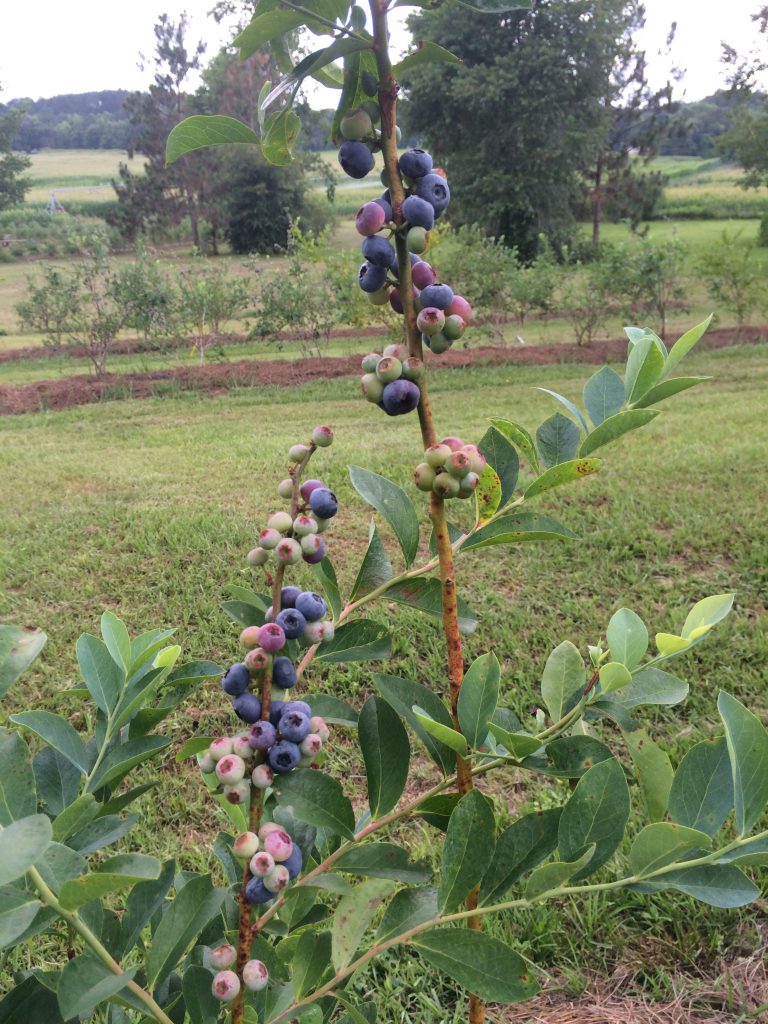
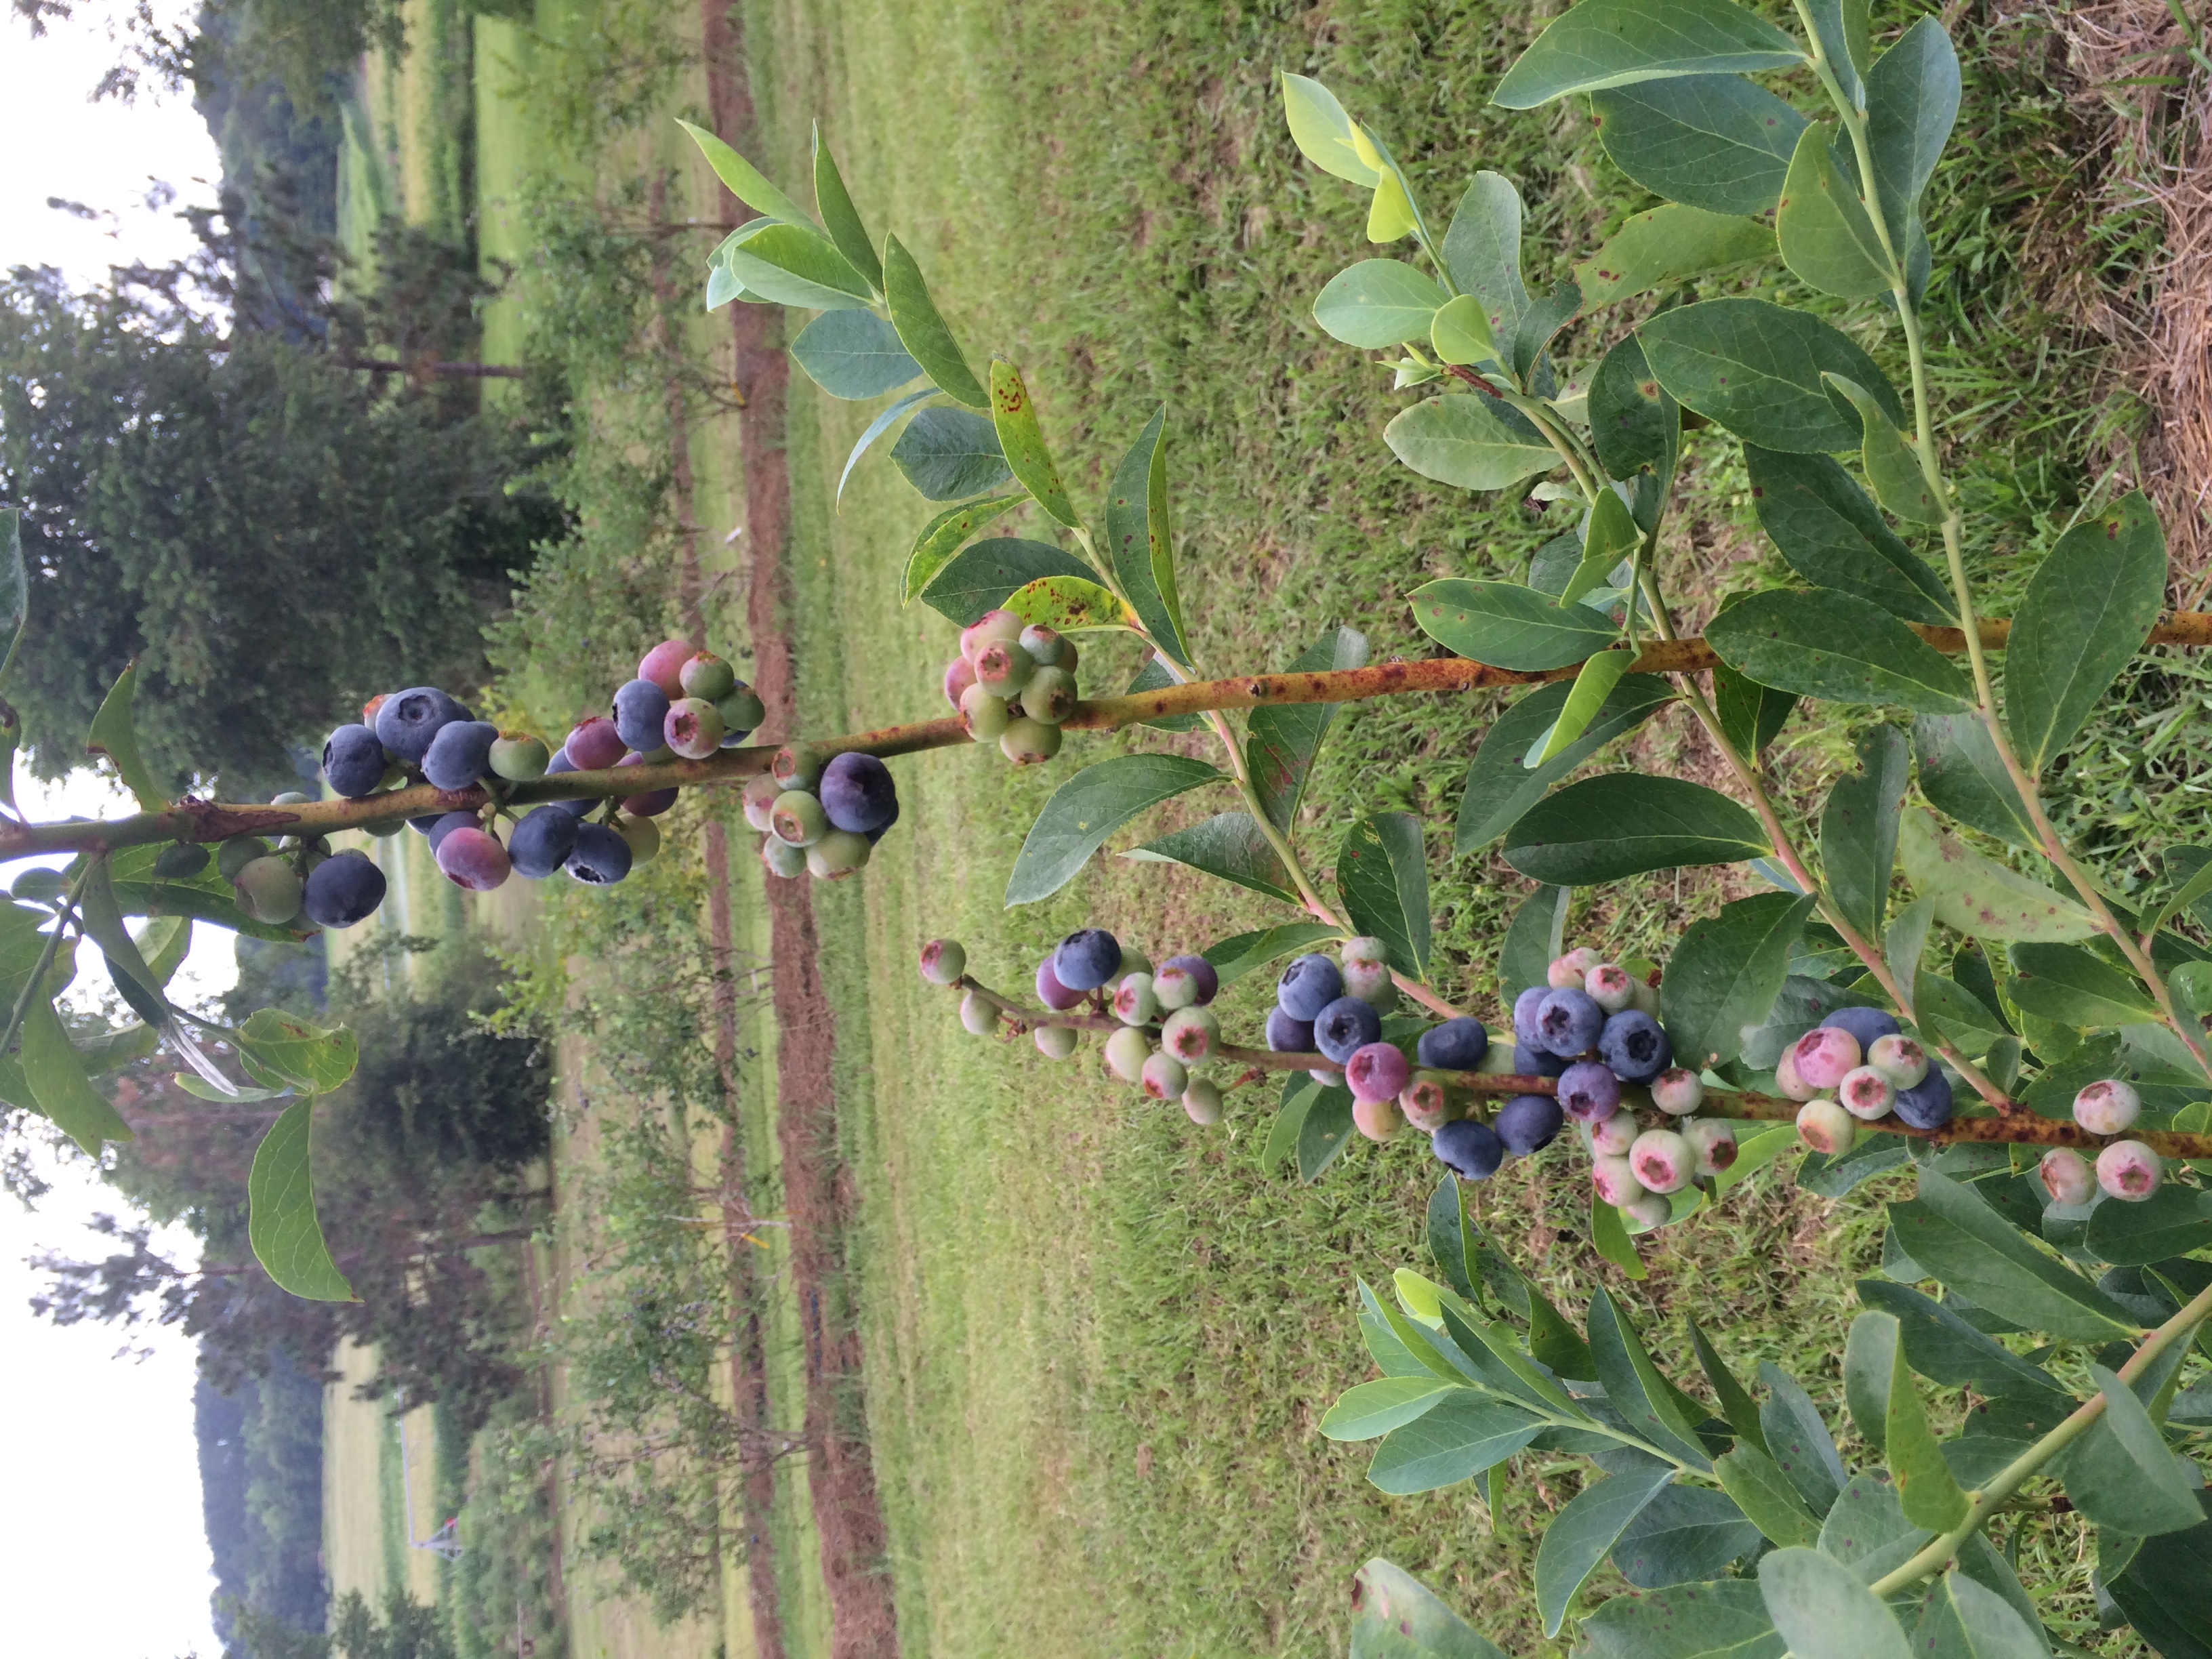
Blueberries beginning to ripen at Blue Sky Berry Farm. Photo by Molly Jameson.
There is something almost magical about picking vibrantly blue blueberries off a bush and eating them fresh. If you watch the blueberries develop, you see them go from shades of pale green and blush red to dark and puffy and bright blue. When a blueberry is ready – you know it!
Blueberries are one of the few crop plants that are actually native to eastern North America. The most popular types are the rabbiteye blueberry (Vaccinium ashei) and the highbush blueberry (Vaccinium corymbosum). Both can be found in northern Florida and southern Georgia, and the highbush blueberry can be found as far north as southeastern Canada. There are at least eight other Vaccinium wild blueberry species that can be found in the woods and near swamps in Florida. They are usually smaller and don’t taste quite as sweet as the rabbiteye and highbush, but birds rely on them heavily for forage.
If you’ve never experienced a fresh blueberry right off the bush, then you may want to consider either foraging for wild blueberries, growing your own, or scouting out a local u-pick blueberry farm near you.
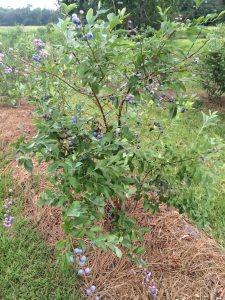
Mulch blueberries with pine straw. Photo by Molly Jameson.
Let’s first consider the joys of growing your own. Blueberries require an acidic soil pH, between about 4.0 and 5.5. Lucky for most of us in the Panhandle, our soil pH is largely naturally acidic. If you have pine trees growing in your area, you most likely can grow blueberries. And the pine straw makes an excellent blueberry mulch! There are many rabbiteye cultivars that have been specifically developed to grow well in our hot climate – requiring fewer “chilling hours” than their northern counterparts. Check out varieties such as Powderblue, Brightwell, Tifblue, and Climax. Highbush blueberries can also do well in northern Florida, although they tend to flower early, making them susceptible to late freezes. Try highbush varieties such as Bluecrisp, Emerald, and Star. Each has its own advantages and drawbacks, such as fruit cracking and insect susceptibility. Click here to learn more about growing blueberries in Florida.
If you are not already growing blueberries, and you want fresh blueberries, then be sure to check out a local u-pick near you. This year you may have noticed we had a warm winter, which delayed the onset of blueberry dormancy. This means the crop is hitting its peak about two or three weeks later than normal. But don’t delay – blueberry season in north Florida typically declines by the beginning of July, so the season is upon us!
If you are in the east Panhandle, be sure to check out u-pick operations such as Blue Sky Berry Farm, Myrtle Creek Farm, Green Meadows Farm, and Blueberry Springs Farm.
Blue Sky Berry Farm, which is located just three miles south of the courthouse in Monticello, on 1180 Ashville Highway, is entering its second season as a u-pick, and its bushes have really grown! They use organic fertilizer and grow using sustainable farming methods. Blue Sky Berry Farm anticipates being open Saturdays and Sundays from 8 a.m. to 1 p.m. this summer, but anyone interested in picking blueberries should first check the Blue Sky Berry Farm website (http://www.bskyfarm.com), as it is updated regularly during the season.
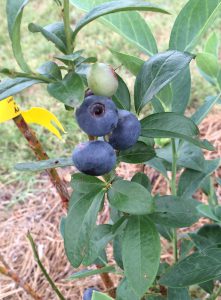
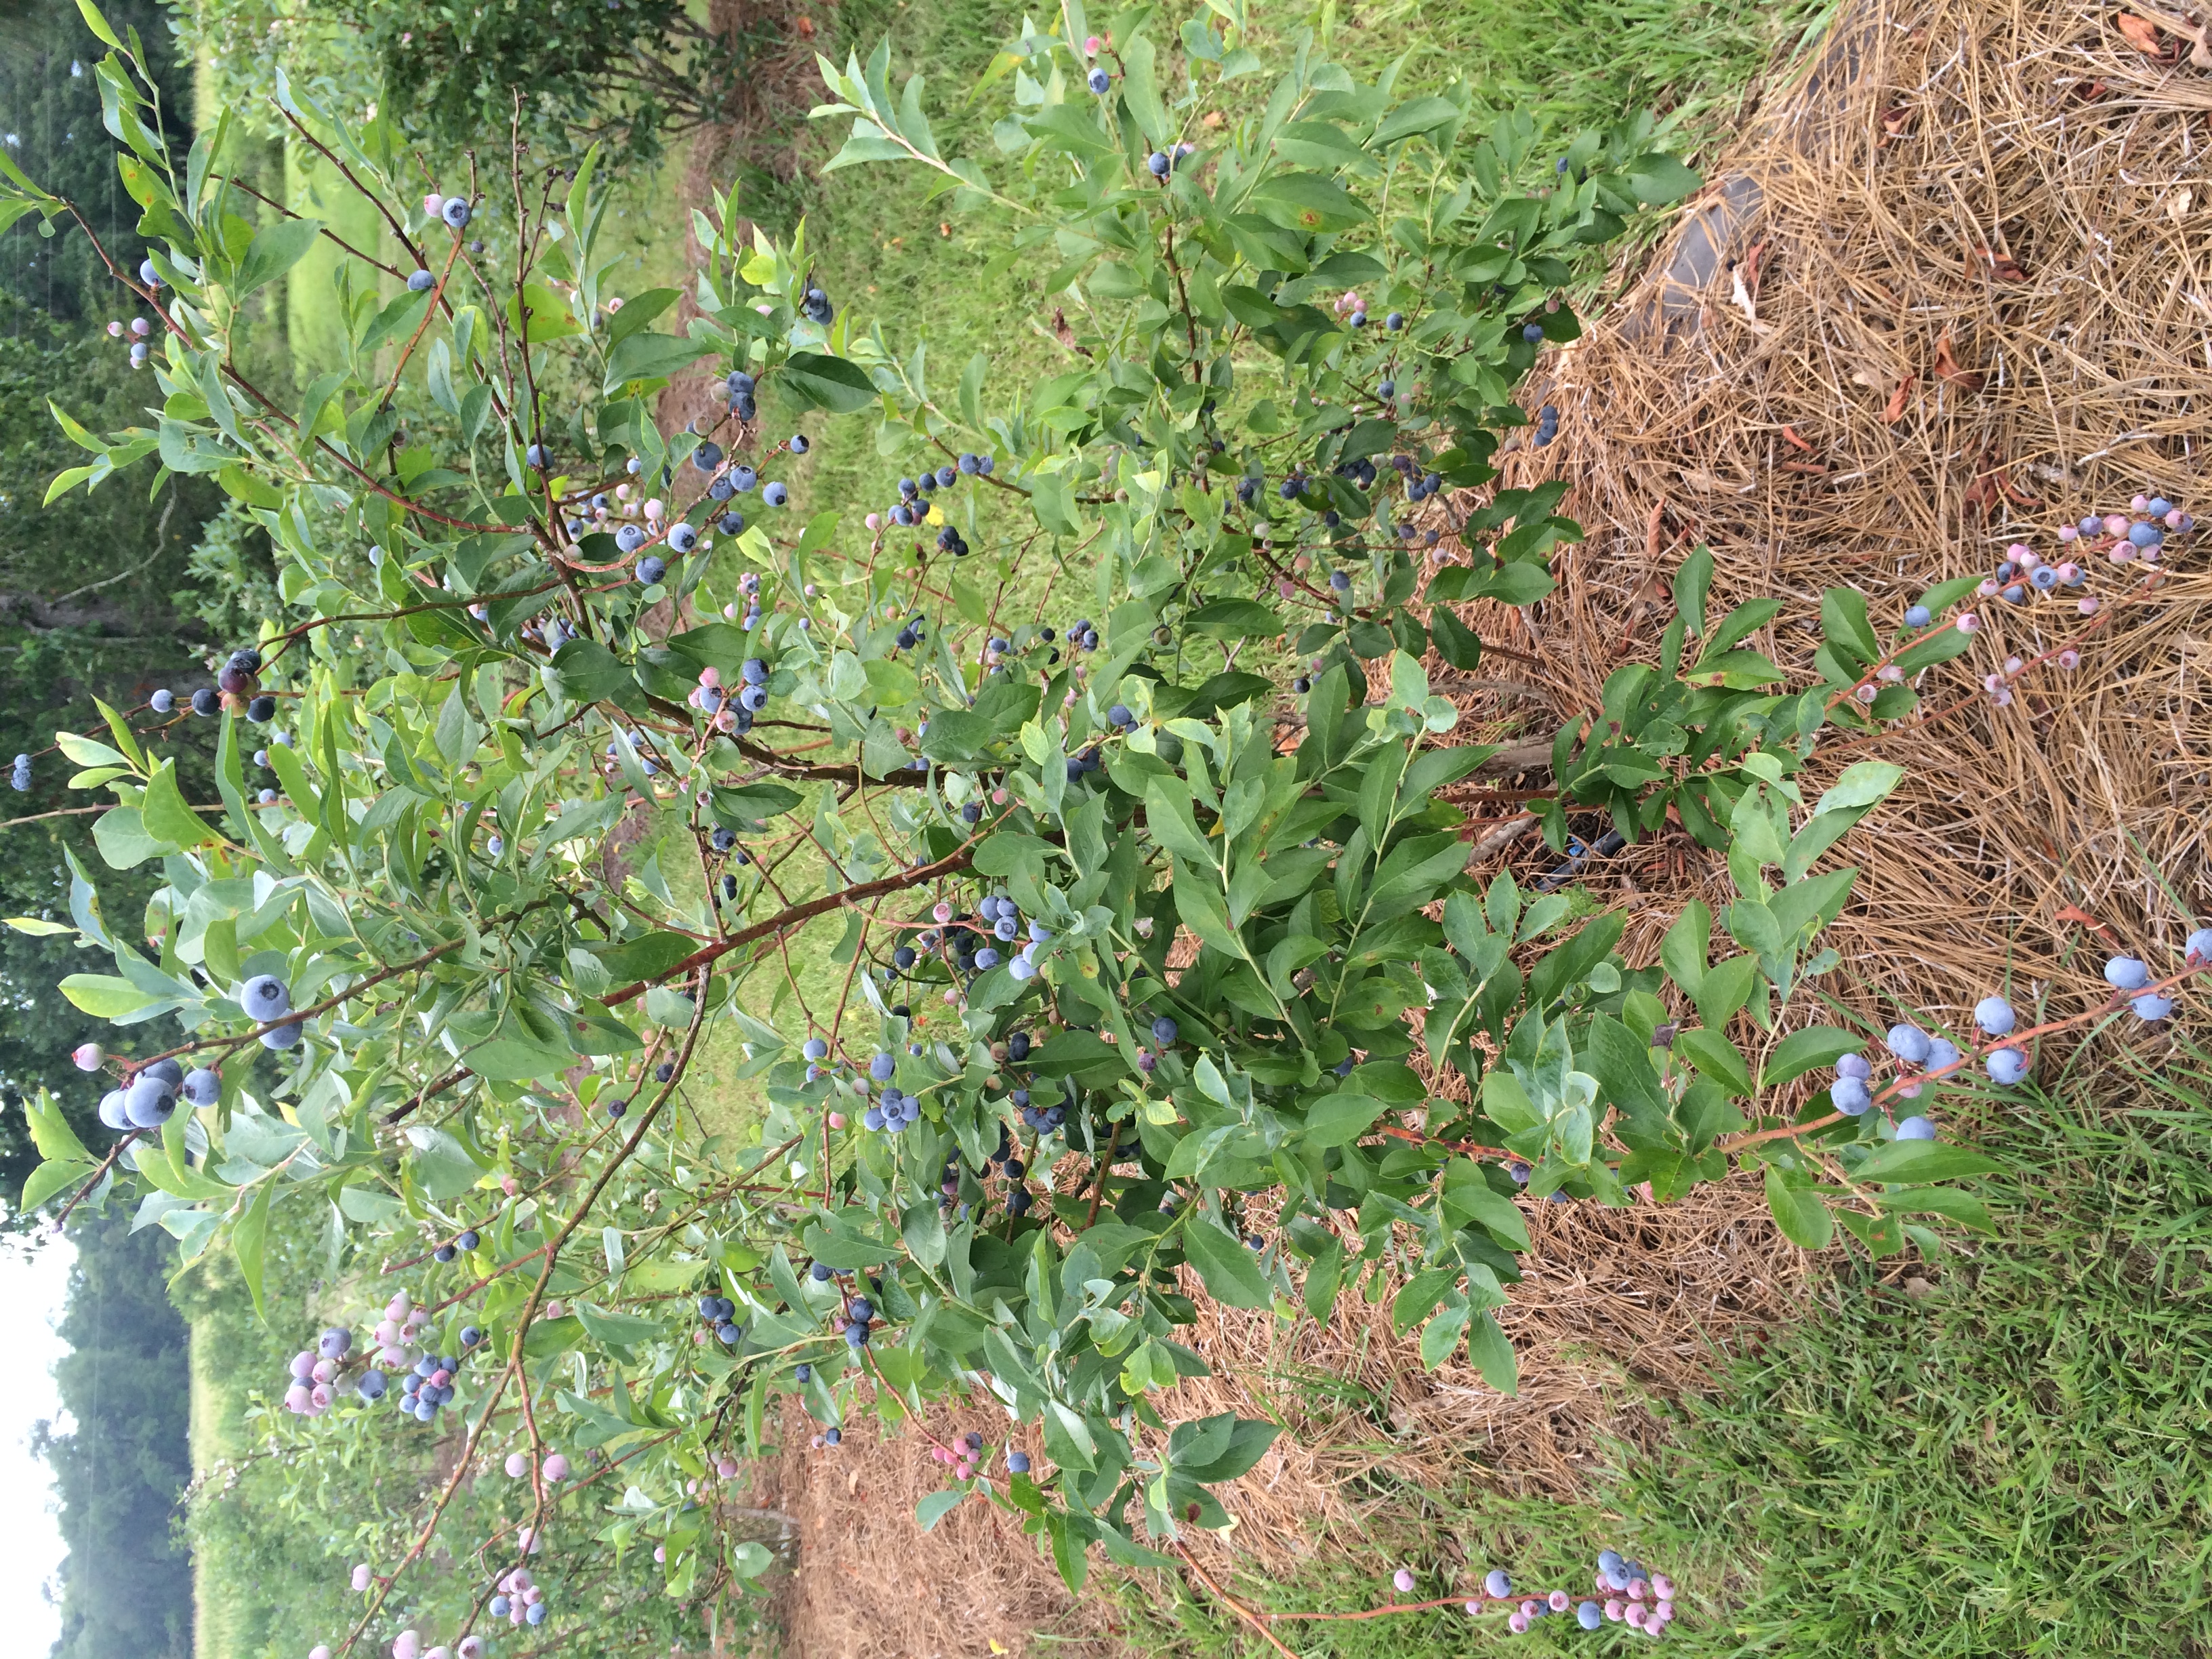
‘Titan’ blueberries at Blue Sky Berry Farm. Photo by Molly Jameson.
Green Meadows Farm, located at 177 East Bluebird Road in Monticello, is five acres of USDA certified organic blueberries. The farm is located among the trees and has been designated a Certified Wildlife Habitat by the National Wildlife Federation. It is open Fridays and Saturdays from 7:30 a.m. to noon and 5:00 p.m. to dusk, and Tuesdays from 7:30 a.m. to noon, while the blueberries last.
Myrtle Creek Farm, located at 2184 Tram Road in Monticello, has beautiful blueberry fields that are dappled with shade in the late afternoon and early evening. They currently have u-pick blueberries and blackberries available. They are open during the weekdays and weekends while the blueberries last, but do call ahead (850-997-0533) to check on availability.
Blueberry Springs Farm is located at 383 Wacissa Springs Road in Monticello, and is celebrating their 25th anniversary of harvesting blueberries. They first planted in December of 1991 and had their first harvest in June of 1991. They are open Tuesdays through Sundays 7:00 a.m. to noon and 5:00 p.m. to 7:00 p.m. You can contact Blueberry Springs Farm at (850) 997-1238 for updates, pricing, and directions.
Also check out the Florida Blueberry Growers Association website and the Florida Department of Agriculture and Consumer Services u-pick locator to discover u-picks around the state, including grape and blackberry u-picks.
Whether you are foraging for wild blueberries, picking your own blueberries, or visiting a u-pick, be sure to bring along plenty of water, a hat, close-toed shoes, and sunscreen, as blueberry season can be a very hot and sunny time of year! But once you’ve experienced your first taste of hand-picked Florida blueberries, you will be hooked and coming back for more each and every summer!
by Blake Thaxton | May 17, 2016
In the last few weeks, more garden pests have arrived! It is a fact of life in northwest Florida that we will have a few things in our garden including heat, moisture (humidity and rainfall), and BUGS! With a cooler spring the arrival of some of the troublesome pests in the garden seemed to be delayed a few weeks. It was nice while it lasted but the insect pests are here to stay until frost in the fall or winter (at least we hope for a frost this year).
There are thousands of insects that you can see in your garden. It’s wise to identify them before making a decision to spray an insecticide or remove them by another method. Insect samples can be taken to your local county extension office for identification.
In this article we will just discuss one of the top insect pests in the vegetable garden, caterpillars, and what you can do about them.

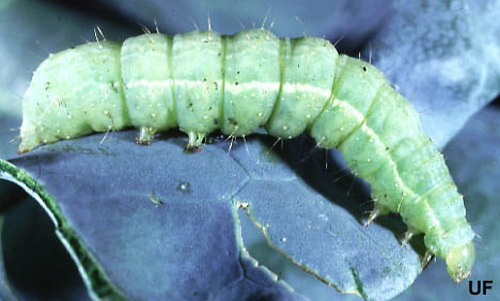
Mature larva of the cabbage looper. Photograph by John L. Capinera, University of Florida.
Beet armyworms, fall armyworms, hornworms, cabbage loopers, southern armyworms, tomato fruitworms, and other caterpillars love to feed on tomato foliage and fruit. They will show up eventually on tomato plants in the garden, if not this year then in the future. These larvae are immature moths and cause a lot of damage if left unchecked. The homeowner can control them effectively with Organic Materials Review Institute (OMRI) approved pesticides. A bacterial biological insecticide called Bacillus thuringiensis, also referred to as B.t., can be very effective in controlling these caterpillar pests. B.t. is a stomach toxin to these pests and will cause them to quit eating and starve to death. The key to using B.t. effectively is to routinely apply it before the caterpillars hatch from their eggs as the smaller caterpillars are easiest to control. Larger caterpillars are more difficult to control.
For more information related to using OMRI pesticides:
Organic Vegetable Gardening in Florida
Insecticides for Organic Commercial & Backyard Vegetable Production
by Mary Salinas | May 5, 2016
The panhandle of Florida is a great place to grow citrus with our plentiful sunshine and sandy soil. But some varieties do better than others. Here are some that thrive in the more northerly climes of Florida:
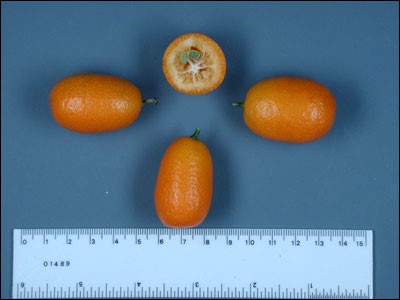
Nagami kumquat. Photo credit: UF/IFAS.
- Satsuma mandarin is cold hardy to 15°F once established. There are a few different available cultivars with fruit ripening October through December. Fruit needs to be picked promptly when ripe.
- Kumquat is cold hardy to 10°F once established. ‘Nagami’ and ‘Meiwa’ are the two common cultivars of the small tart fruits. Fruit matures in fall and winter and holds fairly well on the trees.
- Calamondin is a lesser known variety that bears small fruit that resemble tangerines. The tart fruit is great for jams and chutneys. Fruit is borne all year.
- Some of the sweet oranges that do well in the panhandle are Navel, Hamlin and Parson Brown. They are cold hardy to 14°F once established and are harvested November through January.
- Minneola or Honeybell tangelo is also hardy to 14°F and harvested in January. This is a cross between a Duncan grapefruit and a Darcy tangerine. This bell-shaped fruit is very juicy and sweet. Unlike the other citrus varieties, it needs another citrus nearby for cross-pollination in order to produce an abundant crop.
- Meyer Lemon is the choice to make if you would like to grow lemons in the panhandle. Other lemons may be damaged by our occasional freezes.
Grapefruit and lime can be grown – although unreliably – on the coast with protection from northwestern winter winds. They are much more susceptible to freezes in more northerly panhandle locations.
In order to have the healthiest and most productive trees, learn about how to properly care for citrus and how to recognize and combat the pests and diseases that occur.
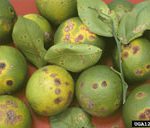
Citrus canker symptoms on leaves, fruit and stem. Photo by Timothy Schubert, FDACS
There are threats to our dooryard and commercial citrus from pests and disease. Only vigilance will help to combat the challenges so that we may continue to grow and enjoy our citrus. What can we do to protect our citrus?
- Report any serious diseases like suspected citrus canker or citrus greening to the Division of Plant Industry by calling toll-free 1-888-397-1517. Inspections and diagnosis are free. Citrus canker has been confirmed in south Santa Rosa County in the past 3 years.
- Purchase citrus trees only from registered nurseries – they may cost a little more but they have gone through an extensive process to remain disease and pest free. That will save you $$ in the long run!
- Don’t bring plants or fruit back into Florida – they may be harboring a pest!
- Citrus trees or fruit cannot move in or out of the State of Florida without a permit. This applies to homeowners as well as to the industry. This rule protects our vital dooryard trees and citrus industry.
For more information please see:
Save Our Citrus Website
UF IFAS Gardening Solutions: Citrus
Citrus Culture in the Home Landscape
UF IFAS Extension Online Guide to Citrus Diseases
Your Florida Dooryard Citrus Guide – Common Pests, Disease and Disorders of Dooryard Citrus
by Mary Salinas | Feb 16, 2016
As you have read in other articles in this blog, it is too early to fertilize your lawn; however, this is a good time to start fertilizing your citrus to ensure a healthy fruit crop later in the year.
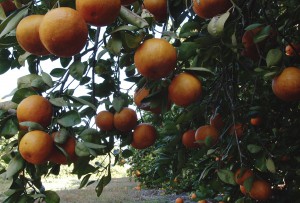
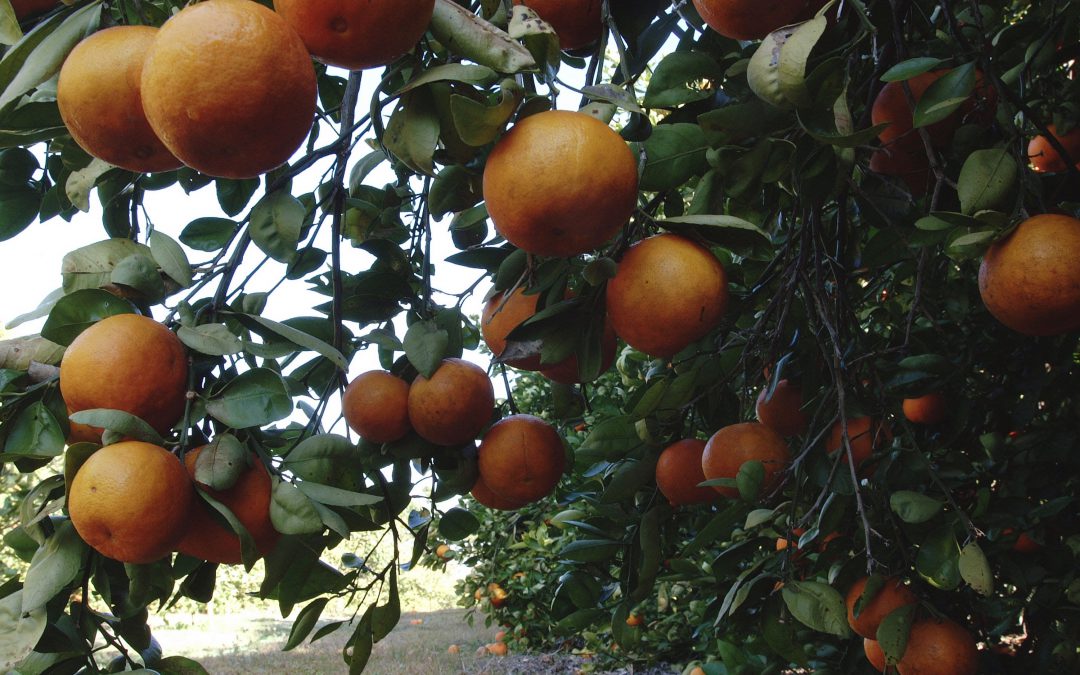
Orange grove at the University of Florida. UF/IFAS photo by Tara Piasio.
Citrus benefits from regular fertilization with a good quality balanced citrus fertilizer that also contains micronutrients. A balanced fertilizer has equal amounts of nitrogen, phosphorus and potassium such as a 6-6-6, 8-8-8 or a 10-10-10. The amount of fertilizer to be applied will vary on the formulation; for example you will need less of a 10-10-10 than a 6-6-6 as the product is more concentrated. Always consult the product label for the correct amount to use for your particular trees. Fertilizer spikes are not recommended as the nutrients are concentrated in small areas and not able to be widely available to all plant roots.
The number of fertilizations per year will vary depending on the age of the tree. Trees planted the first year need 6 light fertilizations that year starting in February with the last application in October. In following years, decrease the number of fertilizations by one per year until the fifth year when it is down to 3 fertilizations per year. From then on, keep fertilizing 3 times per year for the life of the tree. Good quality citrus fertilizer will have accurate and specific instructions on the label for the amount and timing of fertilizer application.
Fertilizer should be spread evenly under the tree but not in contact with the trunk of the tree. Ideally, the area under the drip line of the tree should be free of grass, weeds and mulch in order for rain, irrigation and fertilizer to reach the roots of the tree and provide air movement around the base of the trunk.
If you have not in recent years, obtain a soil test from your local extension office. This can detect nutrient deficiencies, which may be corrected with additional targeted nutrient applications.
For more information:
Citrus Culture in the Landscape
by Julie McConnell | Feb 3, 2016
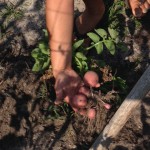
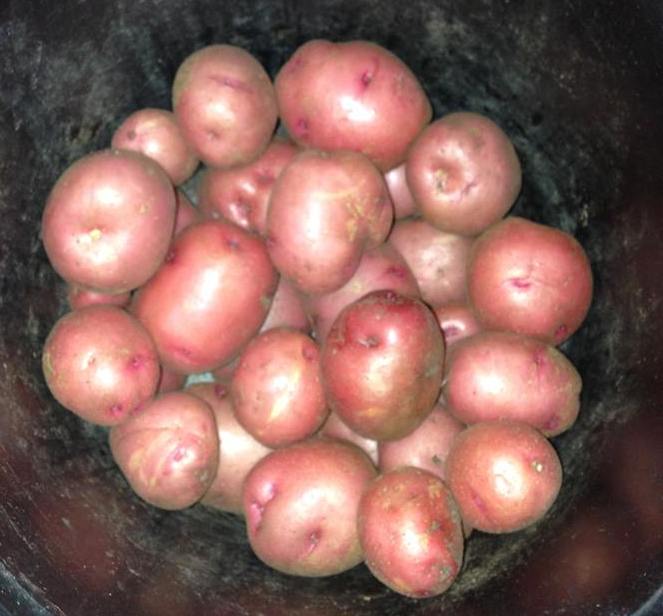
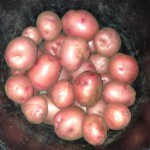
Potatoes planted in mid-February were ready to harvest in mid-May in Panama City. Photo: Vicki Evans, UF/IFAS Master Gardener
A common misconception is that all potatoes come from the Midwest. However, select Irish potato varieties are produced commercially in Florida on over 20,000 acres. Potatoes can also be grown in Florida home gardens if care is taken to select the correct type and recognize proper timing.
Potatoes are a cool season crop and the ideal time to plant in the Florida Panhandle is in January and February. Valentine’s Day is a good target planting date for home gardeners with plants producing tubers after about three months (variety and weather dependent).
The ideal site for potatoes has well-drained soils with a pH range of 5-6. To increase drainage, beds can be formed into hills that are 10-12 inches above the soil. Another option is to grow potatoes in raised beds or containers to ensure the plants will not sit in water during heavy rains.
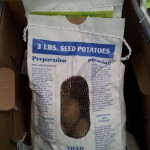
Certified seed potatoes are available in garden centers. Photo: Julie McConnell, UF/IFAS
Use certified “seed” potatoes to ensure you are starting with healthy tubers. Cut seed potatoes into egg sized pieces that contain at least one eye each. Allow the cut seed pieces to heal for a couple of days in a cool, dark spot with good ventilation. After healing they can be planted about four inches deep 6-8 inches apart with three feet between rows.
Sometimes potatoes will push to the surface of the soil and will need to be covered with more soil (hilling). If the potatoes are not covered, they can become damaged by the sun and inedible.
Keep your garden weed free to minimize competition with your crop and to also reduce the likelihood of weeds harboring insects or disease that can be harmful to potato plants.
A few weeks after planting seed potatoes, you should begin to see some vegetative (leaves and stems) growth above the soil. Potato plants can grow over a foot tall and are bushy. Small new tubers start to form underground before blooming, but they need more time to bulk up before harvesting. The entire growing process takes between 80 and 115 days from planting to harvest.
 If you plan to store your potatoes, allow them to remain in the ground for 2-3 weeks after the top of the plant has died to fully mature. If the vegetative portion of the plant does not die on its own the top can be cut to induce maturation of the tubers.
For recommended varieties and more information on care and harvesting please see “Growing Potatoes in the Florida Home Garden.”