by Beth Bolles | Jun 29, 2015
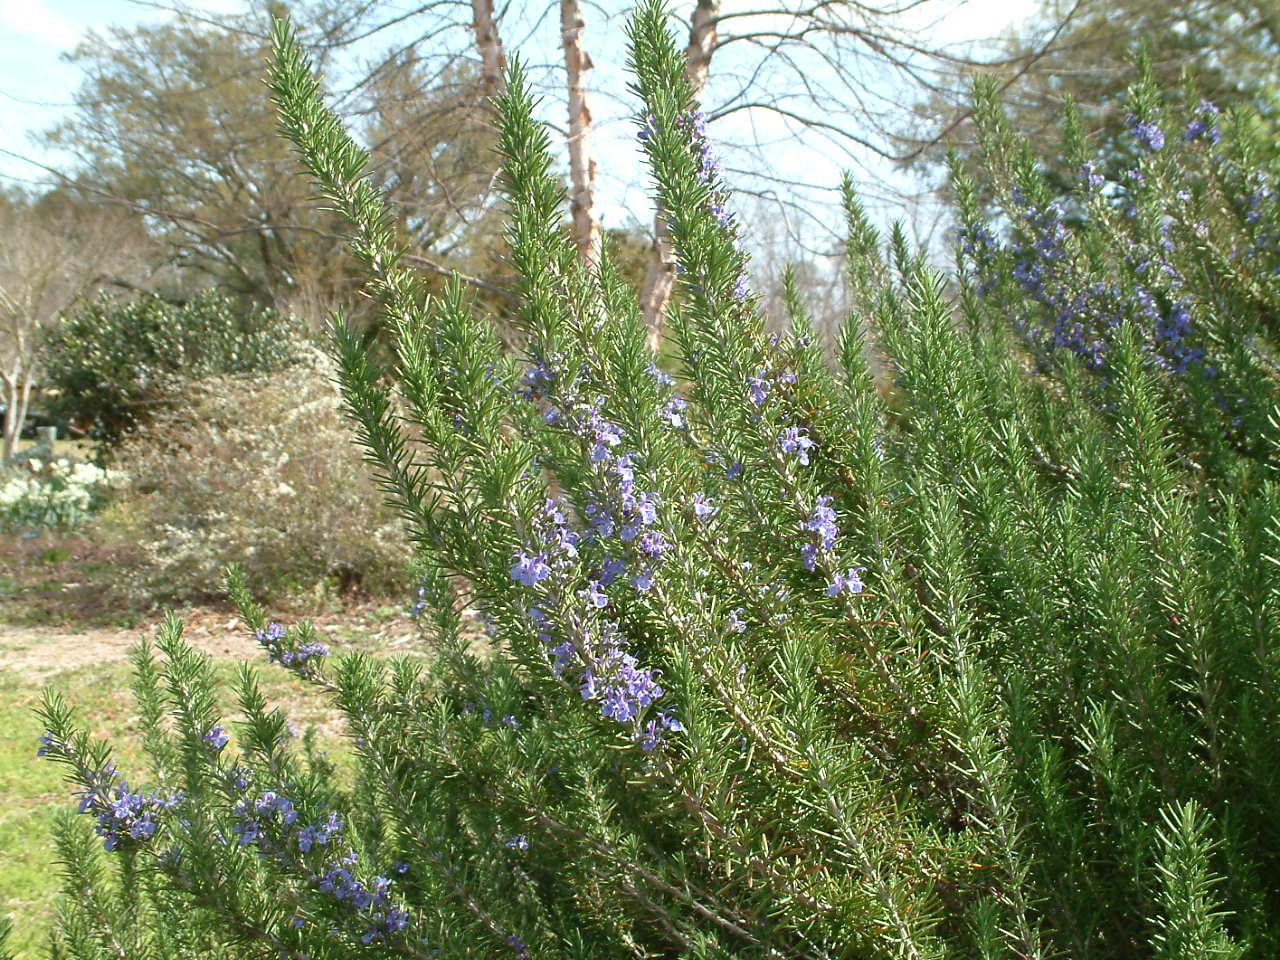
One very popular herb for the backyard garden is the evergreen Rosemary, Rosmarinus officinalis which serves as an attractive landscape shrub in addition to its culinary uses. Rosemary grows best in full sun and well-drained soils. When planted in the ground, rosemary can grow 4-5 feet in height and spread. Plants do have beautiful bluish flowers that form in late winter and early spring, providing nectar for bees.

Rosemary is generally a pest free plant but some gardeners may find damage resulting from an insect pest. Rosemary is one of the hosts for the Southern purple mint moth, Pyrausta laticlavia which will lay eggs on several plants in the mint family. Caterpillars feed on leaves along the stems which become matted with silken threads and frass from the insects. As a result of the feeding, leaves are not useable and plants do not look attractive. Heavy populations will stress plants.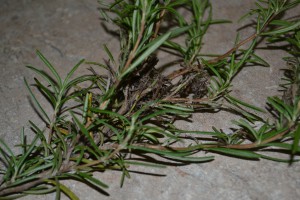
Since rosemary is often used to flavor many foods, many people do not want to use an insecticide on the plant. One least toxic option that can be used safely on edibles is Bacillus thuringiensis. The product is specific for caterpillar management and safe for predators that may help manage some caterpillars. Homeowners may also physically remove caterpillars or prune out damaged stems on larger plants.
by Roy Carter | May 12, 2015
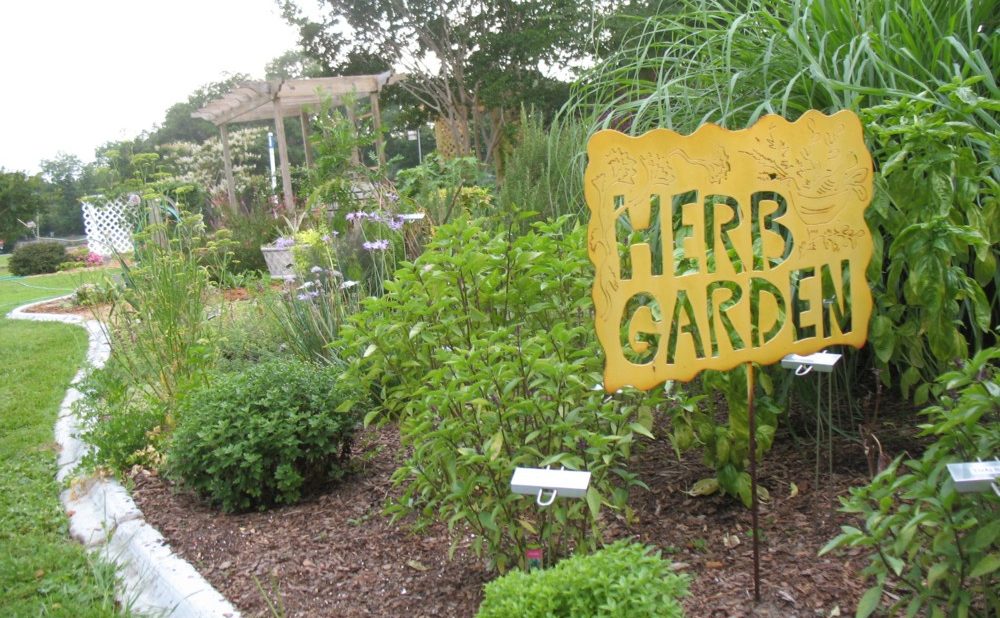
Herbs are plants that are grown for the special flavor and aroma of their various parts. They are used mainly to season, enrich, or otherwise improve the taste or smell of certain foods. Since they are not classified as vegetables. Since their growth habits and cultural requirements are similar, herbs are often included with vegetables in the garden.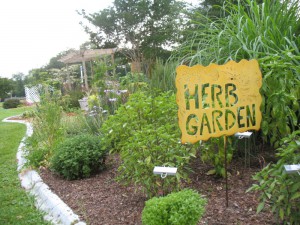
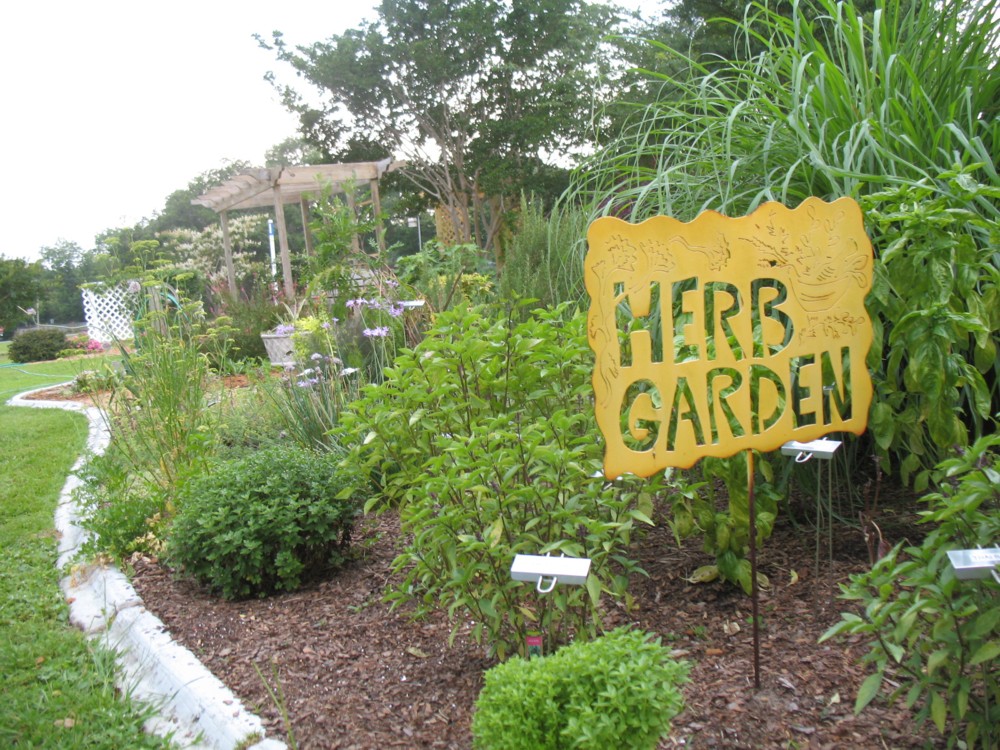
One of the best ways to enjoy year round gardening is to plant an herb garden. Herbs are easy to grow, they require very little care, and they don’t take up much room. Even if you don’t have a large backyard, you can still grow herbs successfully. A small garden bed, a window box, or even a few clay pots, can provide you with fresh, aromatic herbs year round. Herbs are rapid growers and they have a wide variety of uses in the home. They can be used either fresh or dried and when dried they’ll keep for long periods of time.
Herbs are fairly easy to grow. A good garden soil that’s free of weeds and close to a water supply will keep your herbs healthy and growing rapidly. If you can, plant herbs on a narrow strip of land, preferably at the border of your vegetable garden. This will keep your herbs easy to reach. If you scatter them across a wide garden plot, you’ll end up having to walk over the plants to reach and gather them unless you can provide some pathways within your garden. Of course, if you’re growing herbs in window boxes or clay pots, this won’t be a problem.
Dill is probably the easiest and the hardiest herb you can grow. It’s usually planted in late fall and early winter because of its ability to withstand cool temperatures. It may also be planted in the spring. Dill isn’t particularly fussy about its soil so any all-purpose soil that’s suitable for your regular garden vegetables is fine for dill. Another plus is that dill is rarely bothered by any diseases or insects. Fresh dill leaves add excellent flavor to salads and cream sauces, and as a dried herb, dill is well known for the distinct flavor it gives to pickles.
Another popular herb enjoyed by gardeners is sweet basil. This herb is an annual, and it can be replanted in the same area year after year. Basil is also used both fresh and dried. It is widely used as a flavoring for soups, meats and fish. One word of caution: don’t over plant this one. A few basil plants will usually provide more leaves and flowers than an entire family can use in a year.
A few plants, such as sage, balm, and rosemary can be propagated best by cutting. Stems from new growth or the upper parts of older stem make the best cutting for easiest rooting. Cut the stem into 3 to 4 inch pieces each containing a set of leaves or leaf buds near the upper end. To prevent wilting place the cutting in water as soon as they are removed from the plant. A shallow box filled with 4 to 5 inches of a mixture of clean sand, peat, and perlite makes a good root bed. Insert the cutting to a depth of one half-to two thirds their length in the moist mixture; then saturate the mix with water. Place the box in a protected place and keep moist (but not sopping wet) continuously until roots develop in about two weeks. Continue to water until the cuttings are ready to set out in pots or in the garden.
Such plants as thyme, winter savory and marjoram can be propagated by simple layering, which consist of covering the lower portion of the side branches with soil, leaving much of the top of the plant exposed. When the covered part of the stem have rooted, they can be cut from the parent plant and set as individual plants.
Older plants of chive, rosemary and tarragon can be multiplied by dividing the crown clumps into separate parts. These divisions can be set as individual plants.
Mint spreads rapidly by means of surface or underground runners that may grow several feet from the parent plant. The runners, with roots attached, can be removed and transplanted to other locations
Obviously, the list of herbs which grow very well in Florida is quite lengthy, so we won’t be able to go into all of them here. If you can keep in mind just a few points about herb gardens, maybe you can enjoy the virtues of some of these herbs yourself. Remember that herbs are generally very easy to grow and can be adapted to either outdoor garden or indoor container growing conditions. For just a small amount of effort, growing herbs can provide you with year-round gardening satisfaction.
For more information see UF/IFAS Gardening Solutions.
by Blake Thaxton | Apr 21, 2015
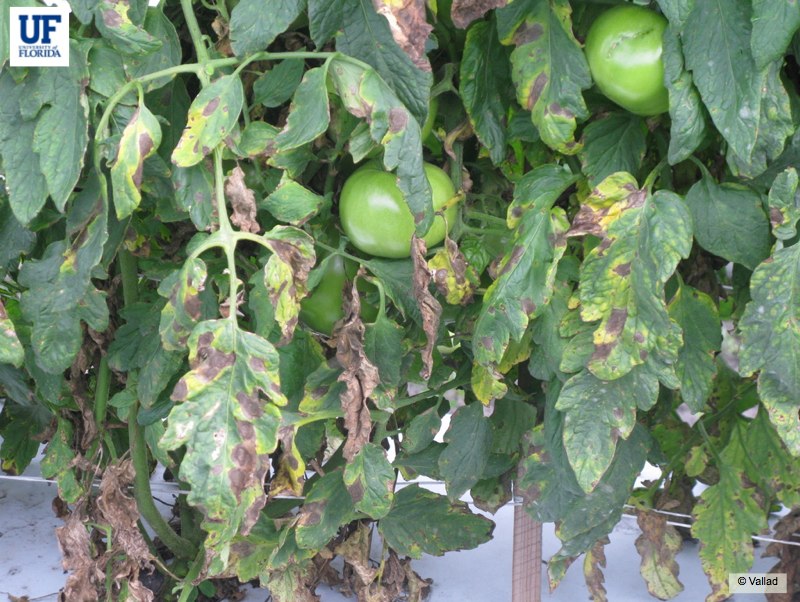
With the over abundance of rainfall the western panhandle has seen in recent weeks, tomato gardeners need to be aware of foliar diseases that could appear. Tomato leaves are an ideal host when moisture is present on the leaf surface. There are several of these diseases that, if not managed, can destroy the garden.
Early Blight
Advanced symptoms of Early Blight (Photo Credit: UF/IFAS U-Scout website)
Early Blight is a fungal disease that can affect tomato leaves and fruit. The disease is most prominent when temperatures are 80°F and excess moisture is present from rain or irrigation. The most classic system is the presence of leaf lesions that are approximately 1/2 inch in diameter.
Bacterial Spot
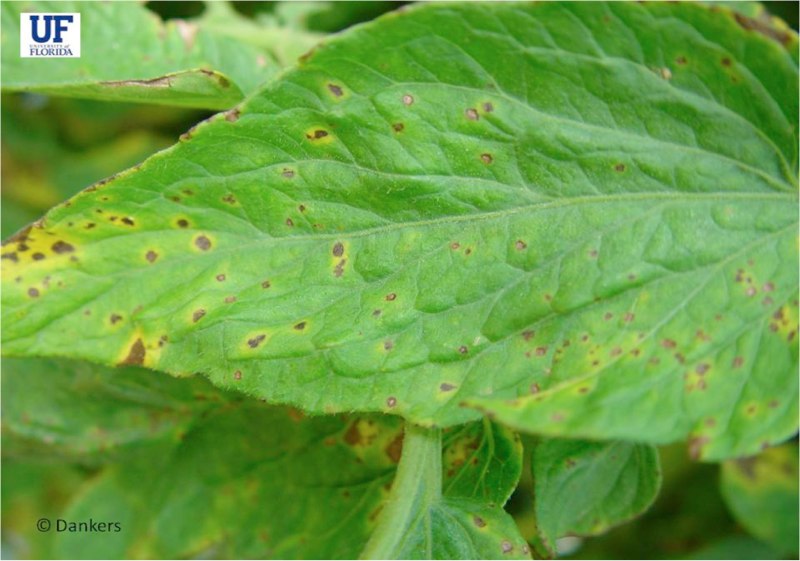
Bacterial Spot on a Tomato leaf (Photo Credit: Hank Dankers, From U-Scout)
Bacterial Spot can also cause problems for Florida tomato gardeners in rainy and high temperature periods. Generally the symptoms are darkened circular lesions on the leaves and fruit. Sometimes bacterial spot can be confused with other leaf lesion diseases. The bacterial spot will ooze when cut where as fungal type lesions will not.
How to prevent foliar diseases in tomato:
- Always start with disease free seed and transplants.
- Irrigate early in the day to minimize the time the leaves stay wet. Use drip irrigation when possible.
- Remove blighted leaves when the garden is dry. This technique should not be relied on exclusively.
- Remove and destroy crop residue at the end of the growing season. If not removed, it can become a breeding ground for disease next year.
- Rotate to different plant families that are not affected by the same diseases.
- Spray protective fungicides such as Mancozeb, Copper, and Chlorothalonil (for example sold as Daconil) when the conditions are right for disease (higher temperatures, excessive moisture, and rainfall).
If you have questions about these diseases or other tomato diseases, please comment below or call your local UF/IFAS Extension Agent.

by Matthew Orwat | Apr 21, 2015
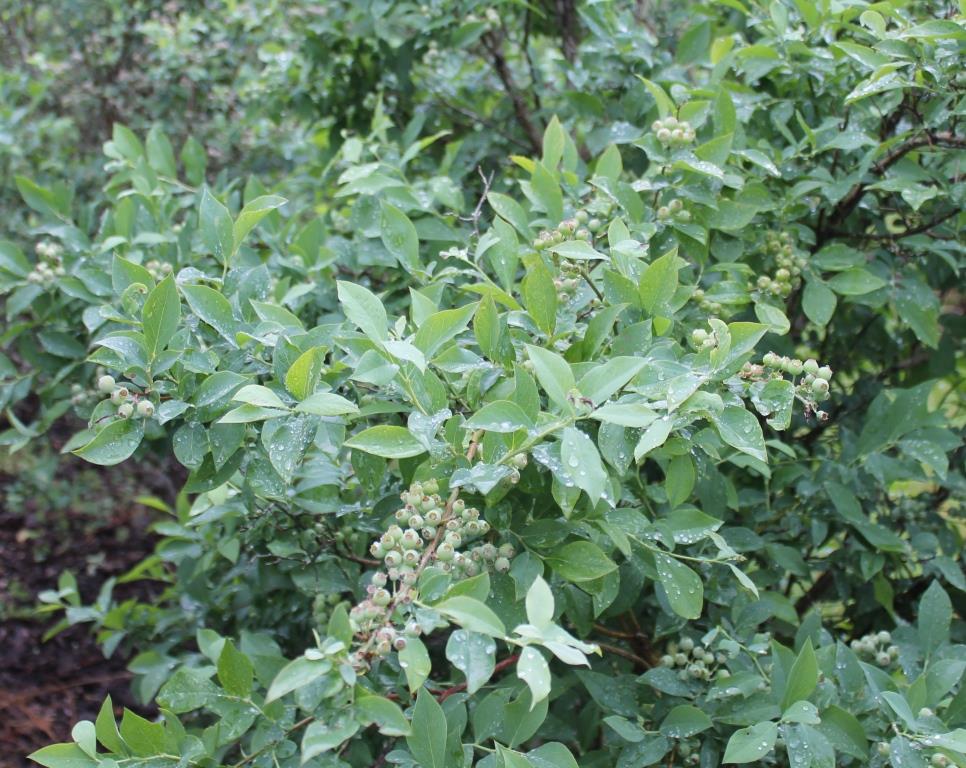
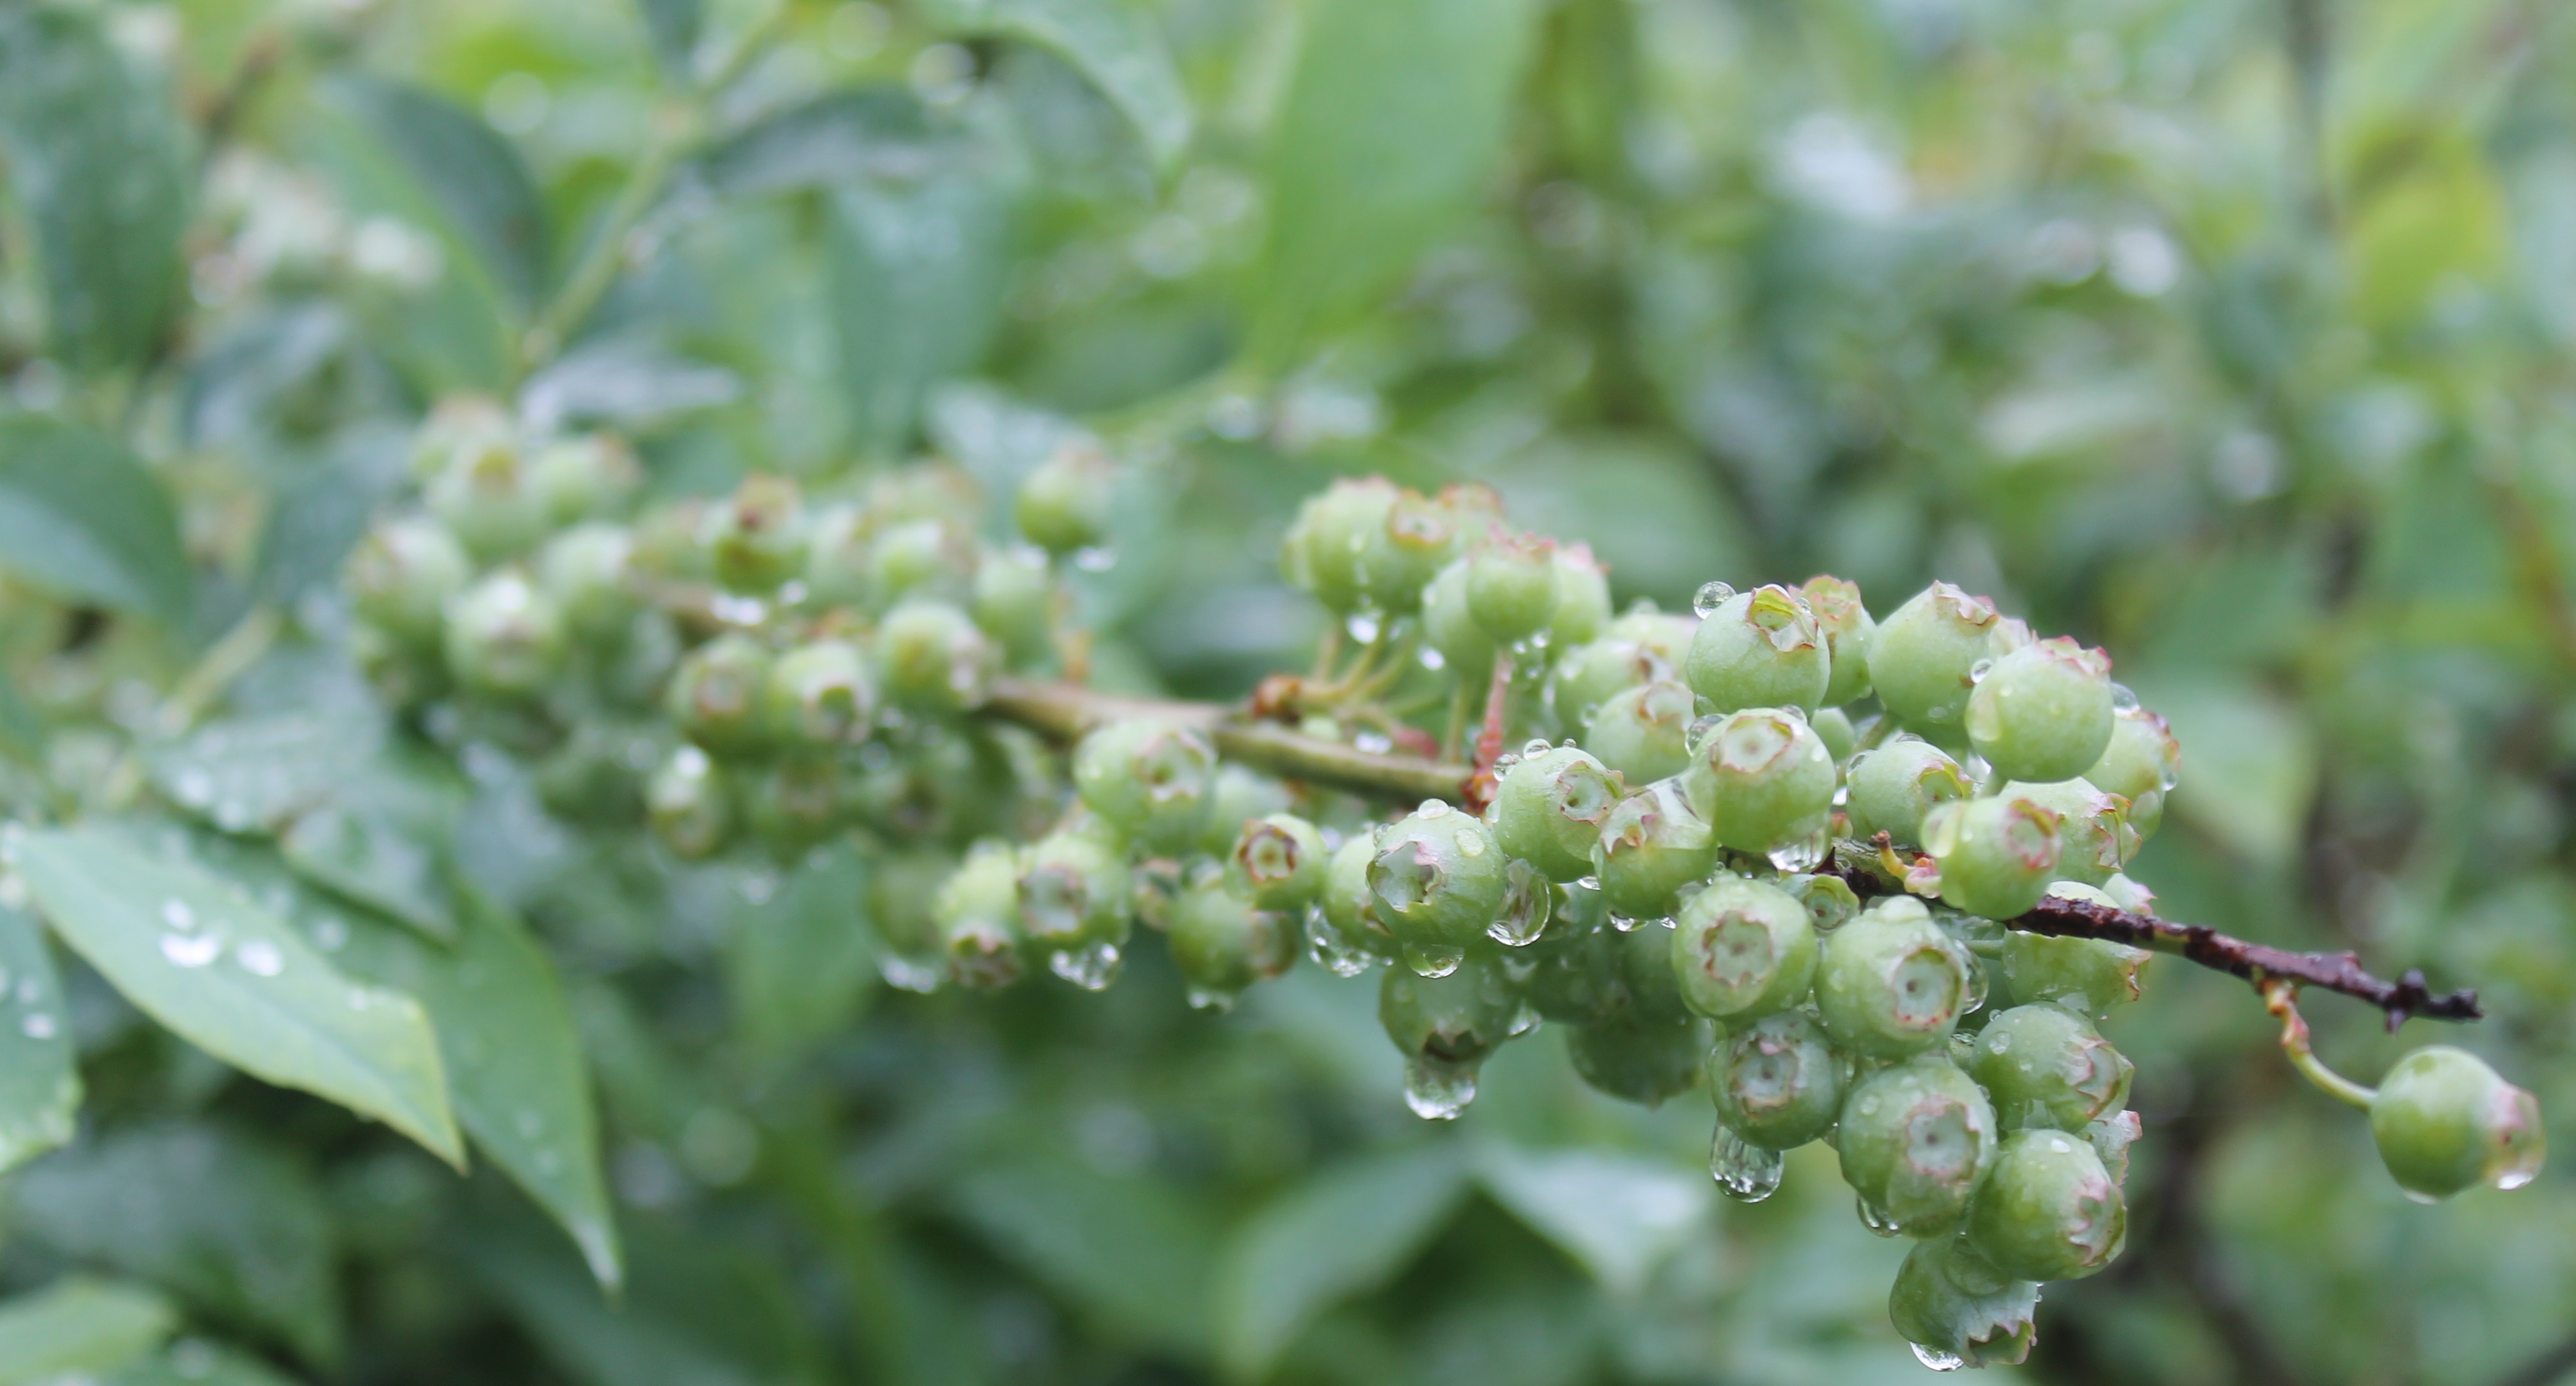
 In all North Florida Counties, blueberry jam, blueberry cobbler and fresh blueberries seem to be a staple. This is because there are many home gardeners are able to consistently grow a top quality product. This year blueberries are very large already on plants throughout the panhandle! The increased size may be indicating earlier maturity than in the previous few years.
Backyard gardeners also desire to grow the same type of blueberries grown by local farmers but sometimes struggle to find the correct type. Vaccinium ashei (commonly known as rabbit-eye blueberry) is a species of blueberry native to Florida and adapted to the late frosts we sometimes get in Northwest Florida during the months of February and March. It is recommended that this species be grown in this area, not its sister species the Southern Highbush, Vaccinium darrowii. There are several dwarf cultivars of Vaccinium darrowii that can be used to great effect in the landscape, but will not produce a noticeable crop of fruit most years.
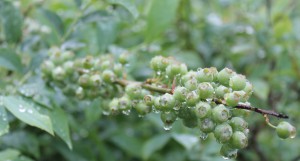
The rabbit-eye blueberry is a deciduous shrub growing to 3 to 6 feet tall and with up to a 3 foot spread. The leaves start out red-bronze that turn dark-green when fully developed. It has small, white bell-shaped flowers. It produces 5 mm diameter fruit, dark blue to black, with a pale gray wax coating.
Rabbet-eyes are self-infertile, meaning that they must have two or more varieties to pollinate each other. Therefore it is advisable to plant two or more cultivars close together to ensure complete fruit set. Recommended cultivars for our area include, ‘Brightwell’,’ Climax’, ‘Beckyblue’, ‘Tif-Blue’, Powderblue, ‘Woodard’, ‘Chaucer’ and ‘Bluegem’. Old, local plants can be found in gardens and in the woods, due to the fact that the WPA planted them under pines in the 1930s. These can easily be propagated by cuttings or by nicking and burying a lax stem under soil for a few month. Once the stem forms roots, it can be severed from the mother plant and transplanted.
Blueberries grow best on acid soil at a pH of 4.0 to 5.2. Few pests and diseases bother them, with the exception of scale, whitefly and mealybug. These are controlled with a combination of dormant oil sprays, and insecticidal soap.
Blueberries enjoy soil rich in organic matter and benefit to liberal applications of pine bark mulch. Their roots are fairly weak and should not be planted near turf or other weeds which may out-compete them in the race for water and nutrients. Mulching eliminates this grass and weed competition. In soil where organic matter is very low, such as in coastal sand hills, gardeners should grow blueberries in 2 foot deep trenches filled with rotting pine bark. Blueberries enjoy being spoon fed fertilizer, since heavy fertilizer doses stop fruit set and may damage fragile root systems.
When planting, it is advisable to not include fertilizer in the planting hole. “Blueberry Special” fertilizer mixes are available which are made up of ammoniacal or urea based nitrogen sources, with an analysis of 12-4-8 and 2% magnesium. This mixture is available at many local feed and garden stores. New plants should get one ounce per application in April, June, August and October. 2 year plants should receive 2 ounces per application and older plants should receive 3 ounces per application. Fertilizer should be spread in a circle 2-4 feet in diameter around the plant for optimal root uptake. It does no good to just pour the fertilizer at the plant base, since feeder root are further out from the plant.
Feel free to contact your UF IFAS extension agent for more information about blueberry cultivation

by Eddie Powell | Apr 14, 2015
Growing wholesome, healthy vegetables in a container are a way of life these days. Here are some easy and less expensive tips for creating that bucket garden.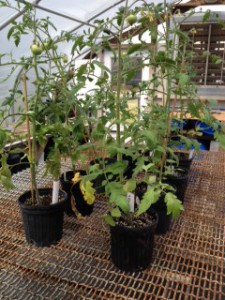
- In a large container or on a plastic mat on the ground, mix garden soil and compost in a 2:1 ratio. Two scoops of soil and one of compost, add the recommended quantity of slow release fertilizer from product label
- Drill 6 to 8- ½ inch holes in the bottom of the 5-gallon buckets. Make sure that the buckets did not contain toxic materials!
- Line the bottom of the bucket with gravel. You may substitute broken pottery or sticks that are broken in short links
- Fill the bucket to within 3 inches of the top of the container
- Place container in sunny spot that will allow drainage
- Plant chosen vegetable with two seeds in center of the container
- Water well and keep moist but not wet
- Place plant support around seeds
Plant requirements:
- Nutrients. Basic needs in plants are Nitrogen (N), Phosphorus (P), Potassium (K). These are listed on all fertilizers as a ratio, example – 8-8-8 contains 8% Nitrogen, 8% Phosphorus, and 8% Potassium and the remaining 76% is a filler. Soils contain many more trace minerals and they are listed on the fertilizer label including directions for use and amounts
- Sunshine or artificial sources of light (grow lights).
- Water. Soil must be kept moist but not wet. Wet soils will create root-rot and encourage fungus. Measure moisture by pinching the soil to see that the soil is moist but never wet. Adding water as needed; plants in hot areas will need much more water than plants in cool spots. Wilted plants need more water!
- Carbon Dioxide (CO2). Plants absorb CO2 and give off Oxygen making them VERY important to human and all animal life.
- Proper Temperatures. Plants will die when it is either too hot or too cold. Make sure that if your plants are outside and the temperature goes below freezing, the plants must be protected or brought inside.
Resources:
by Beth Bolles | Mar 10, 2015
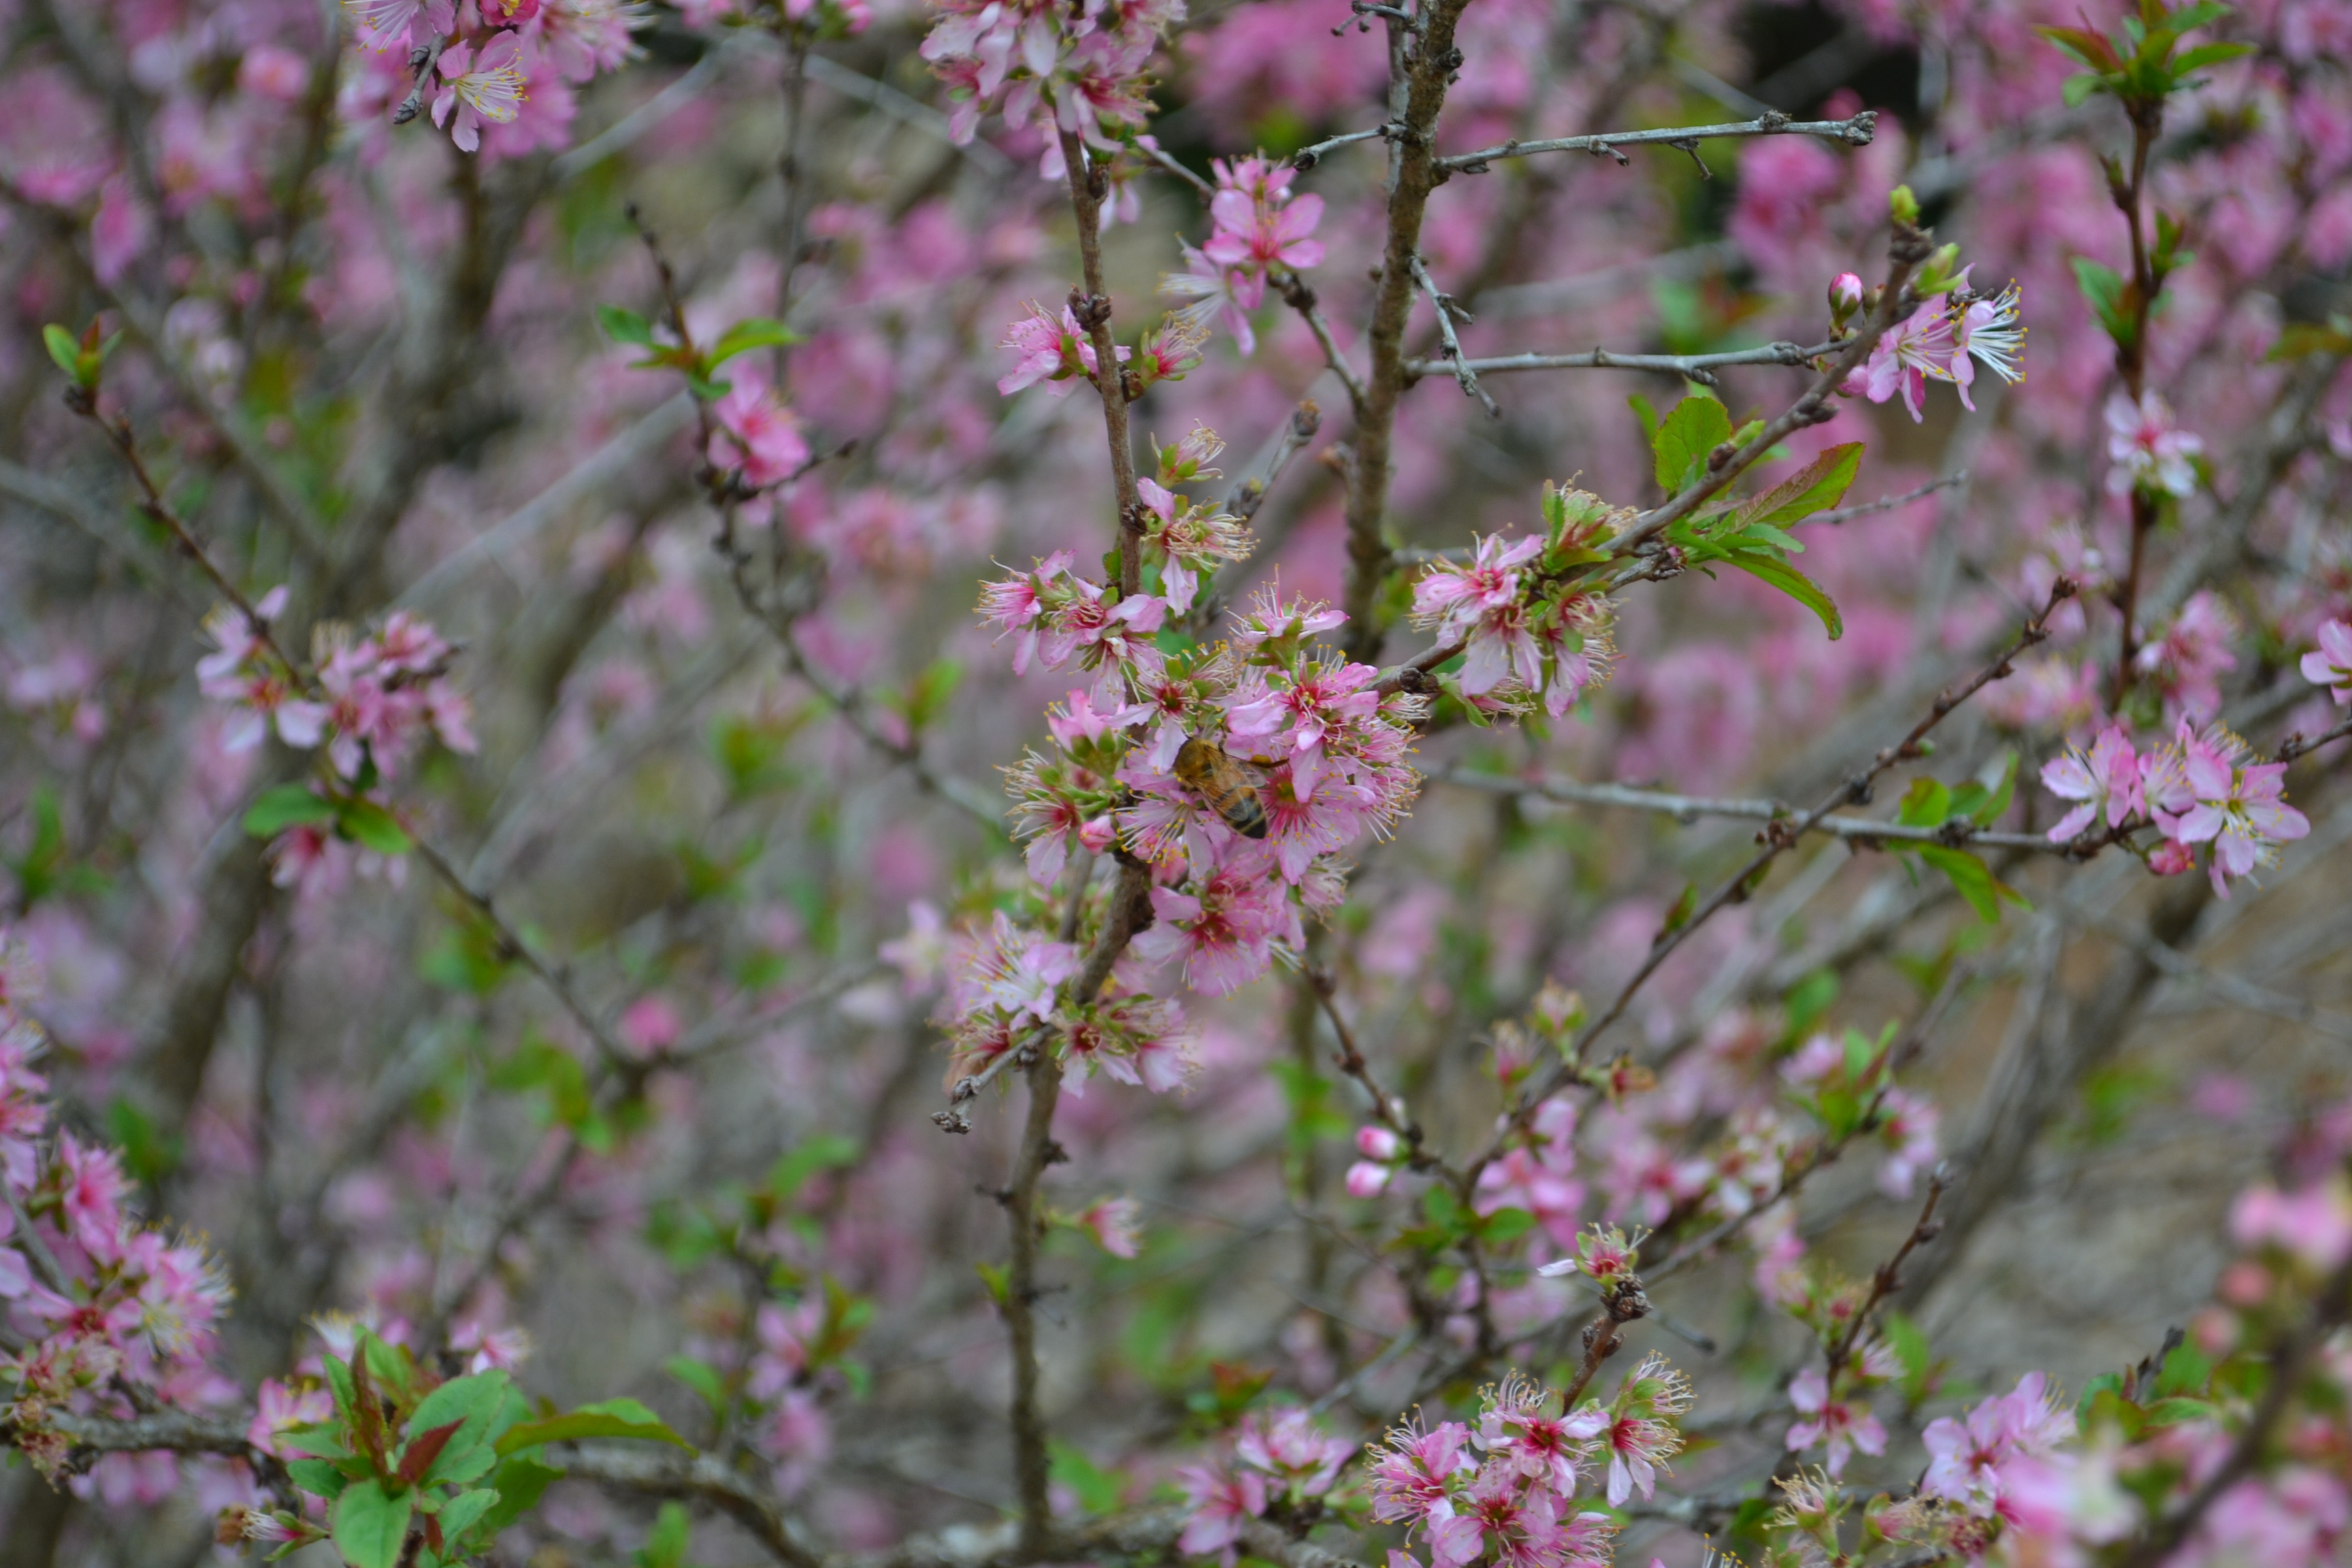
Although we are not able to grow edible cherry trees in more southern climates, there are a few ornamental relatives of the cherry that are worth adding to the landscape. The Bush cherry, Prunus jacquemontii, is an attractive deciduous shrub that is a highlight with pink blooms in late winter. Flowers provide an early nectar source to bees.

Bees are actively visiting flowers.
Plant the bush cherry is an area that receives sunlight and allows for the rounded shrub to grow about 5 feet by 5 feet. Plants like well-drained soil but benefit from some moisture during the growing season. Small berries serve as a food source for wildlife and can be used in jellies and jams. Leaves turn yellow in the fall before dropping. Plants are generally low maintenance and certainly brighten winter days. 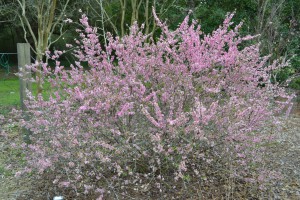
