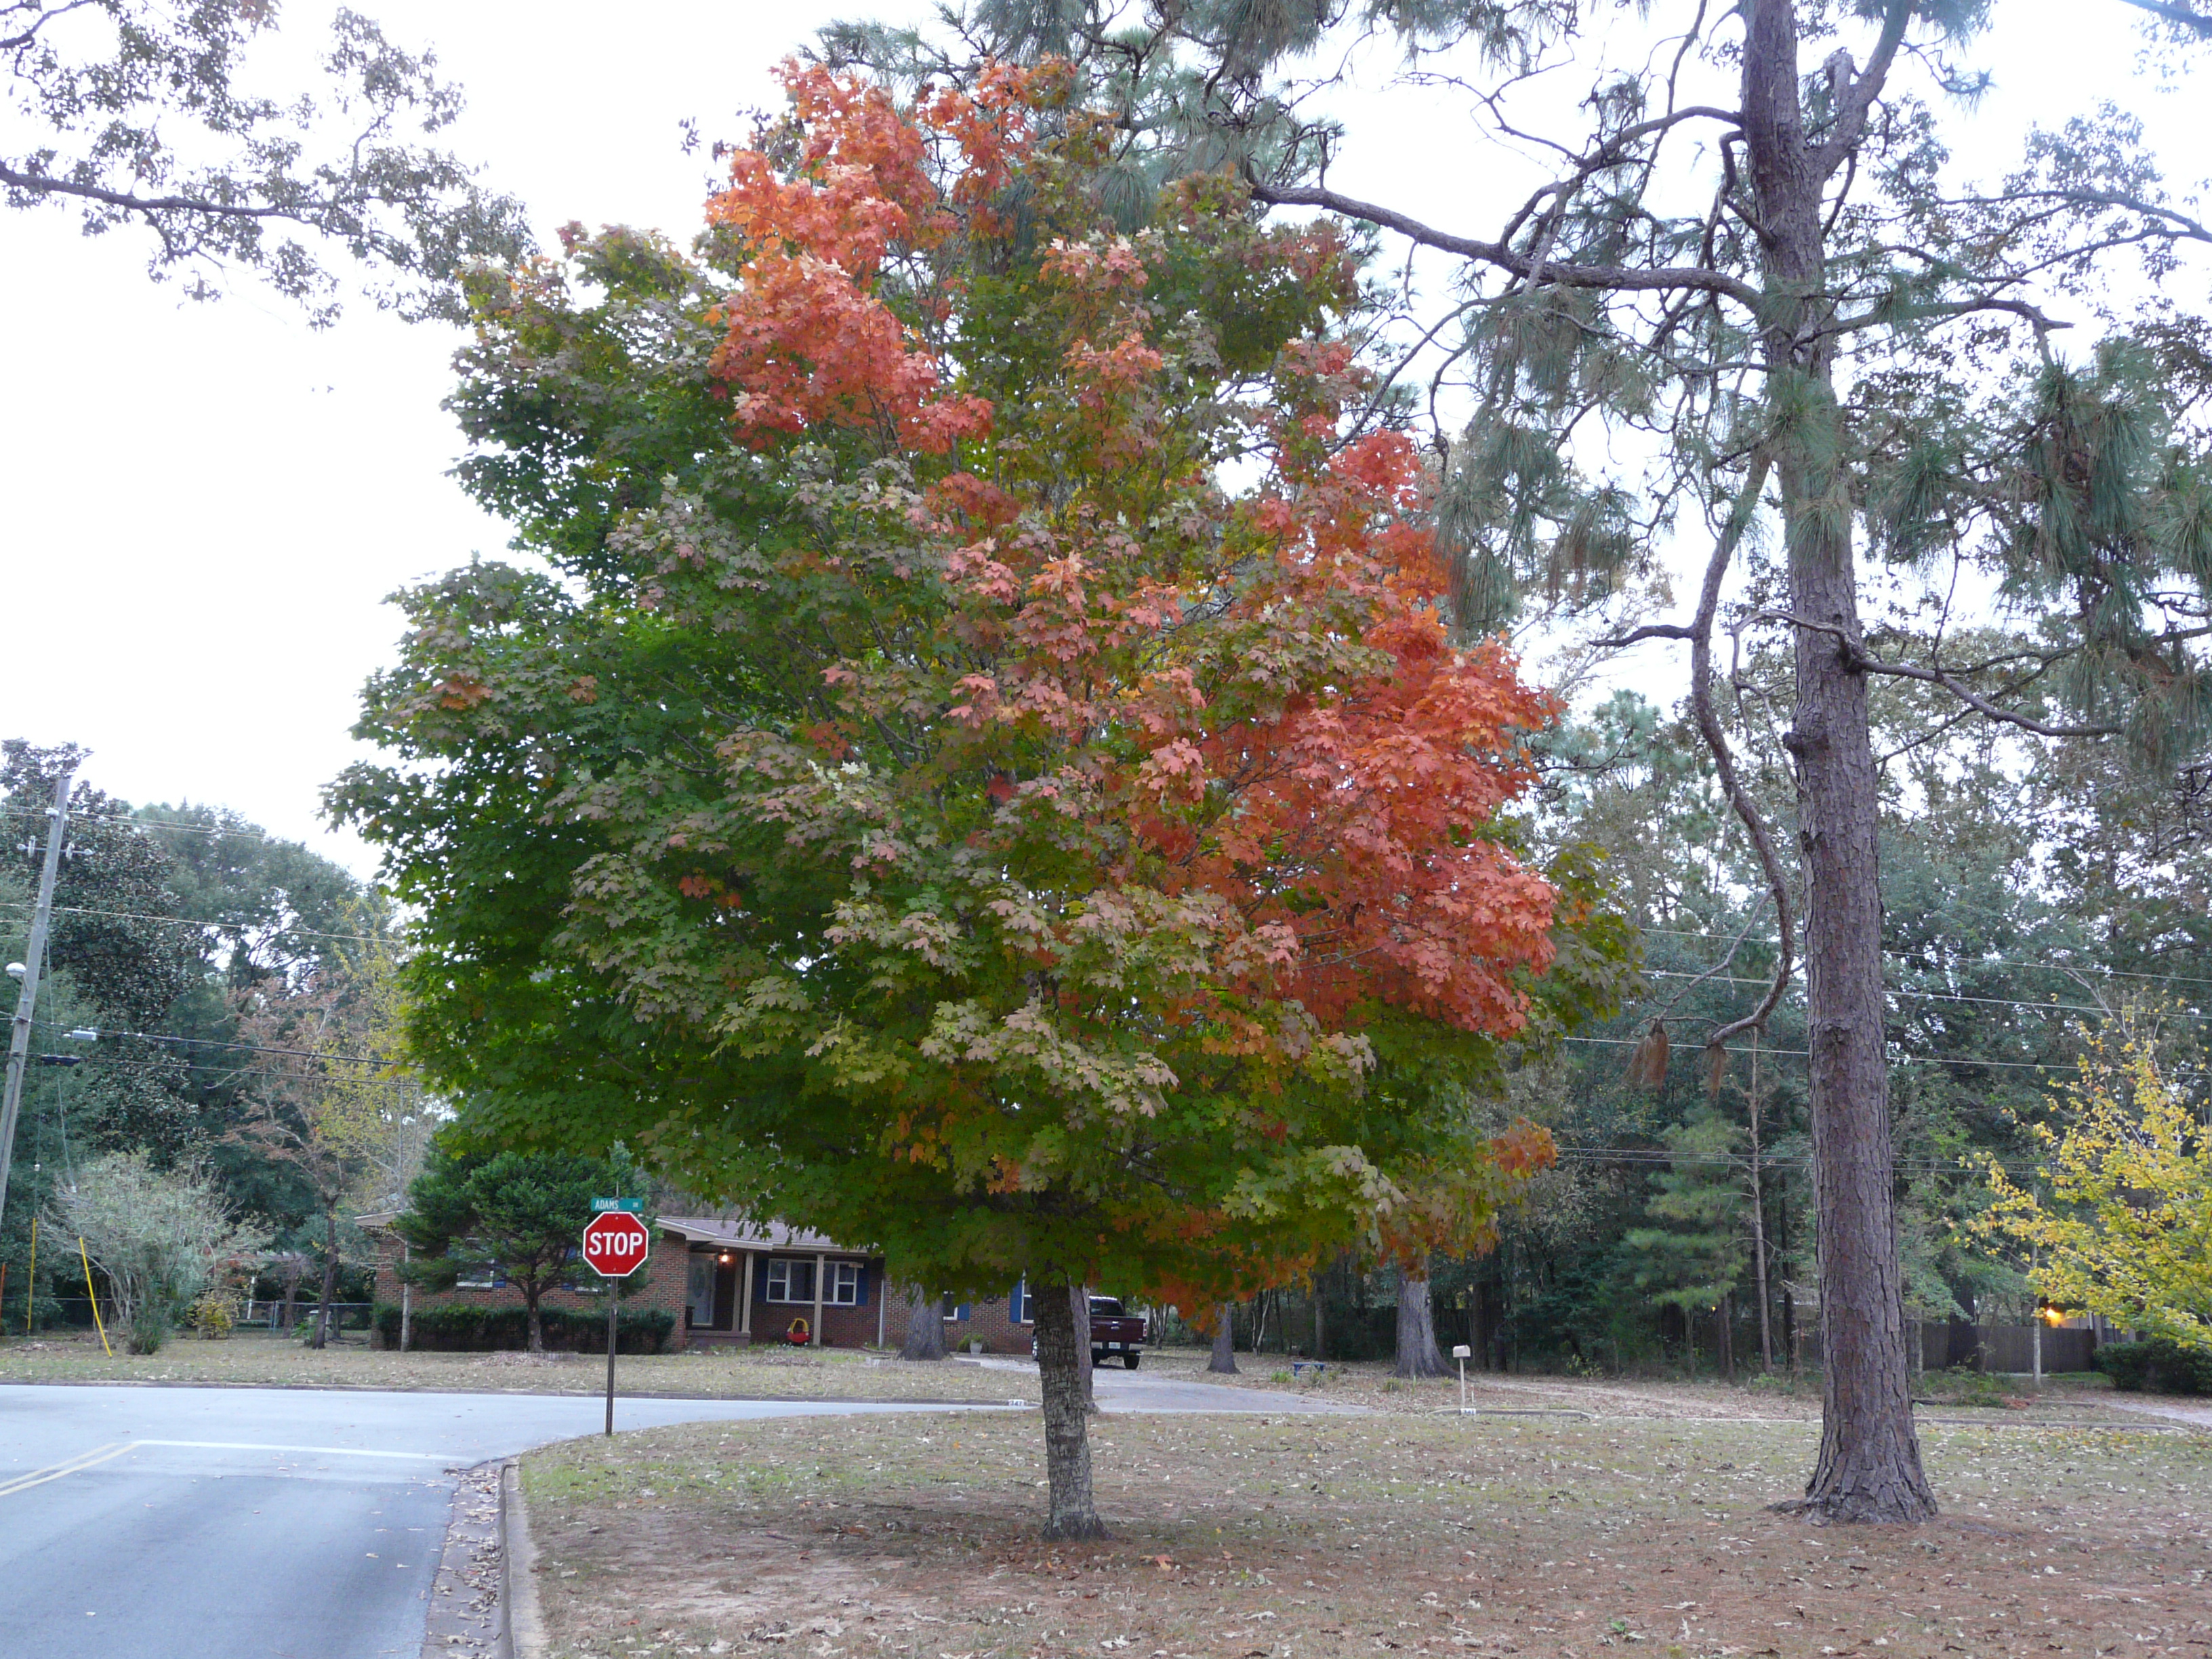
Fall is a season that is synonymous for two great joys in life…..football games and the changing leaf colors! However, in Florida we just don’t have the incredible burst of vivid fall leaf color as our northern neighbors enjoy each year, but we do have enough temperate region plants that can give us some seasonal change in foliage.
So what makes this brilliant display of autumn leaf color anyway? This seasonal change is brought on by a few variables, such as lower temperatures, shorter photo period/shorter days and chemical pigments found in leaf tissues. Some of the pigments that give autumn leaves their bright colors are actually present in the leaves as soon as they unfold as flush in early spring. But, during spring and summer, when the plants are growing vigorously, a green-colored material called chlorophyll dominates and shades out the other leaf pigments.
Chlorophyll plays on important role in a process called photosynthesis, which is the process by which plants capture energy from sunlight and manufacture food. Chlorophyll can also be found in water bodies and is an indicator of water quality. As plants get ready for cool season dormancy, the production on new chlorophyll decreases to almost being nonexistent. That’s when the before mentioned pigments, also called carotenoids, take over and make the leaves turn brilliant orange, red, purple and yellow.
There are some plants in the Florida’s landscape that do provide good fall color. Unlike most of the flowering shrubs, which hold their blossoms for only a brief period, the trees and shrubs that turn color in the fall will usually retain their varied hues for a month or more, depending on the weather.
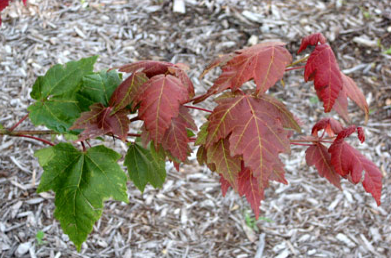
Red Maple. Credit. UF/IFAS Extension
What are some examples of trees that will lend fall color in your Panhandle landscape?
Shumard Oak
Turkey Oak
Ginkgo
Hickory
Golden Rain Tree
Red Swamp Myrtle
Dogwood
Red Maple (see photo)
Sweet Gum
Black Gum
Crape Myrtle
Tulip Tree
Bradford Pear
Cypress
What about annuals that provide color in the fall? Petunias, pansies and snapdragons will be in full bloom over the next few months.
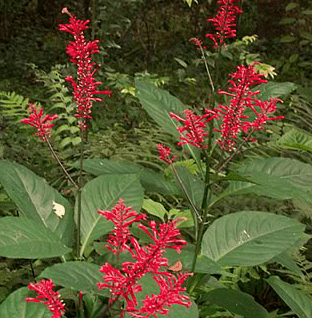
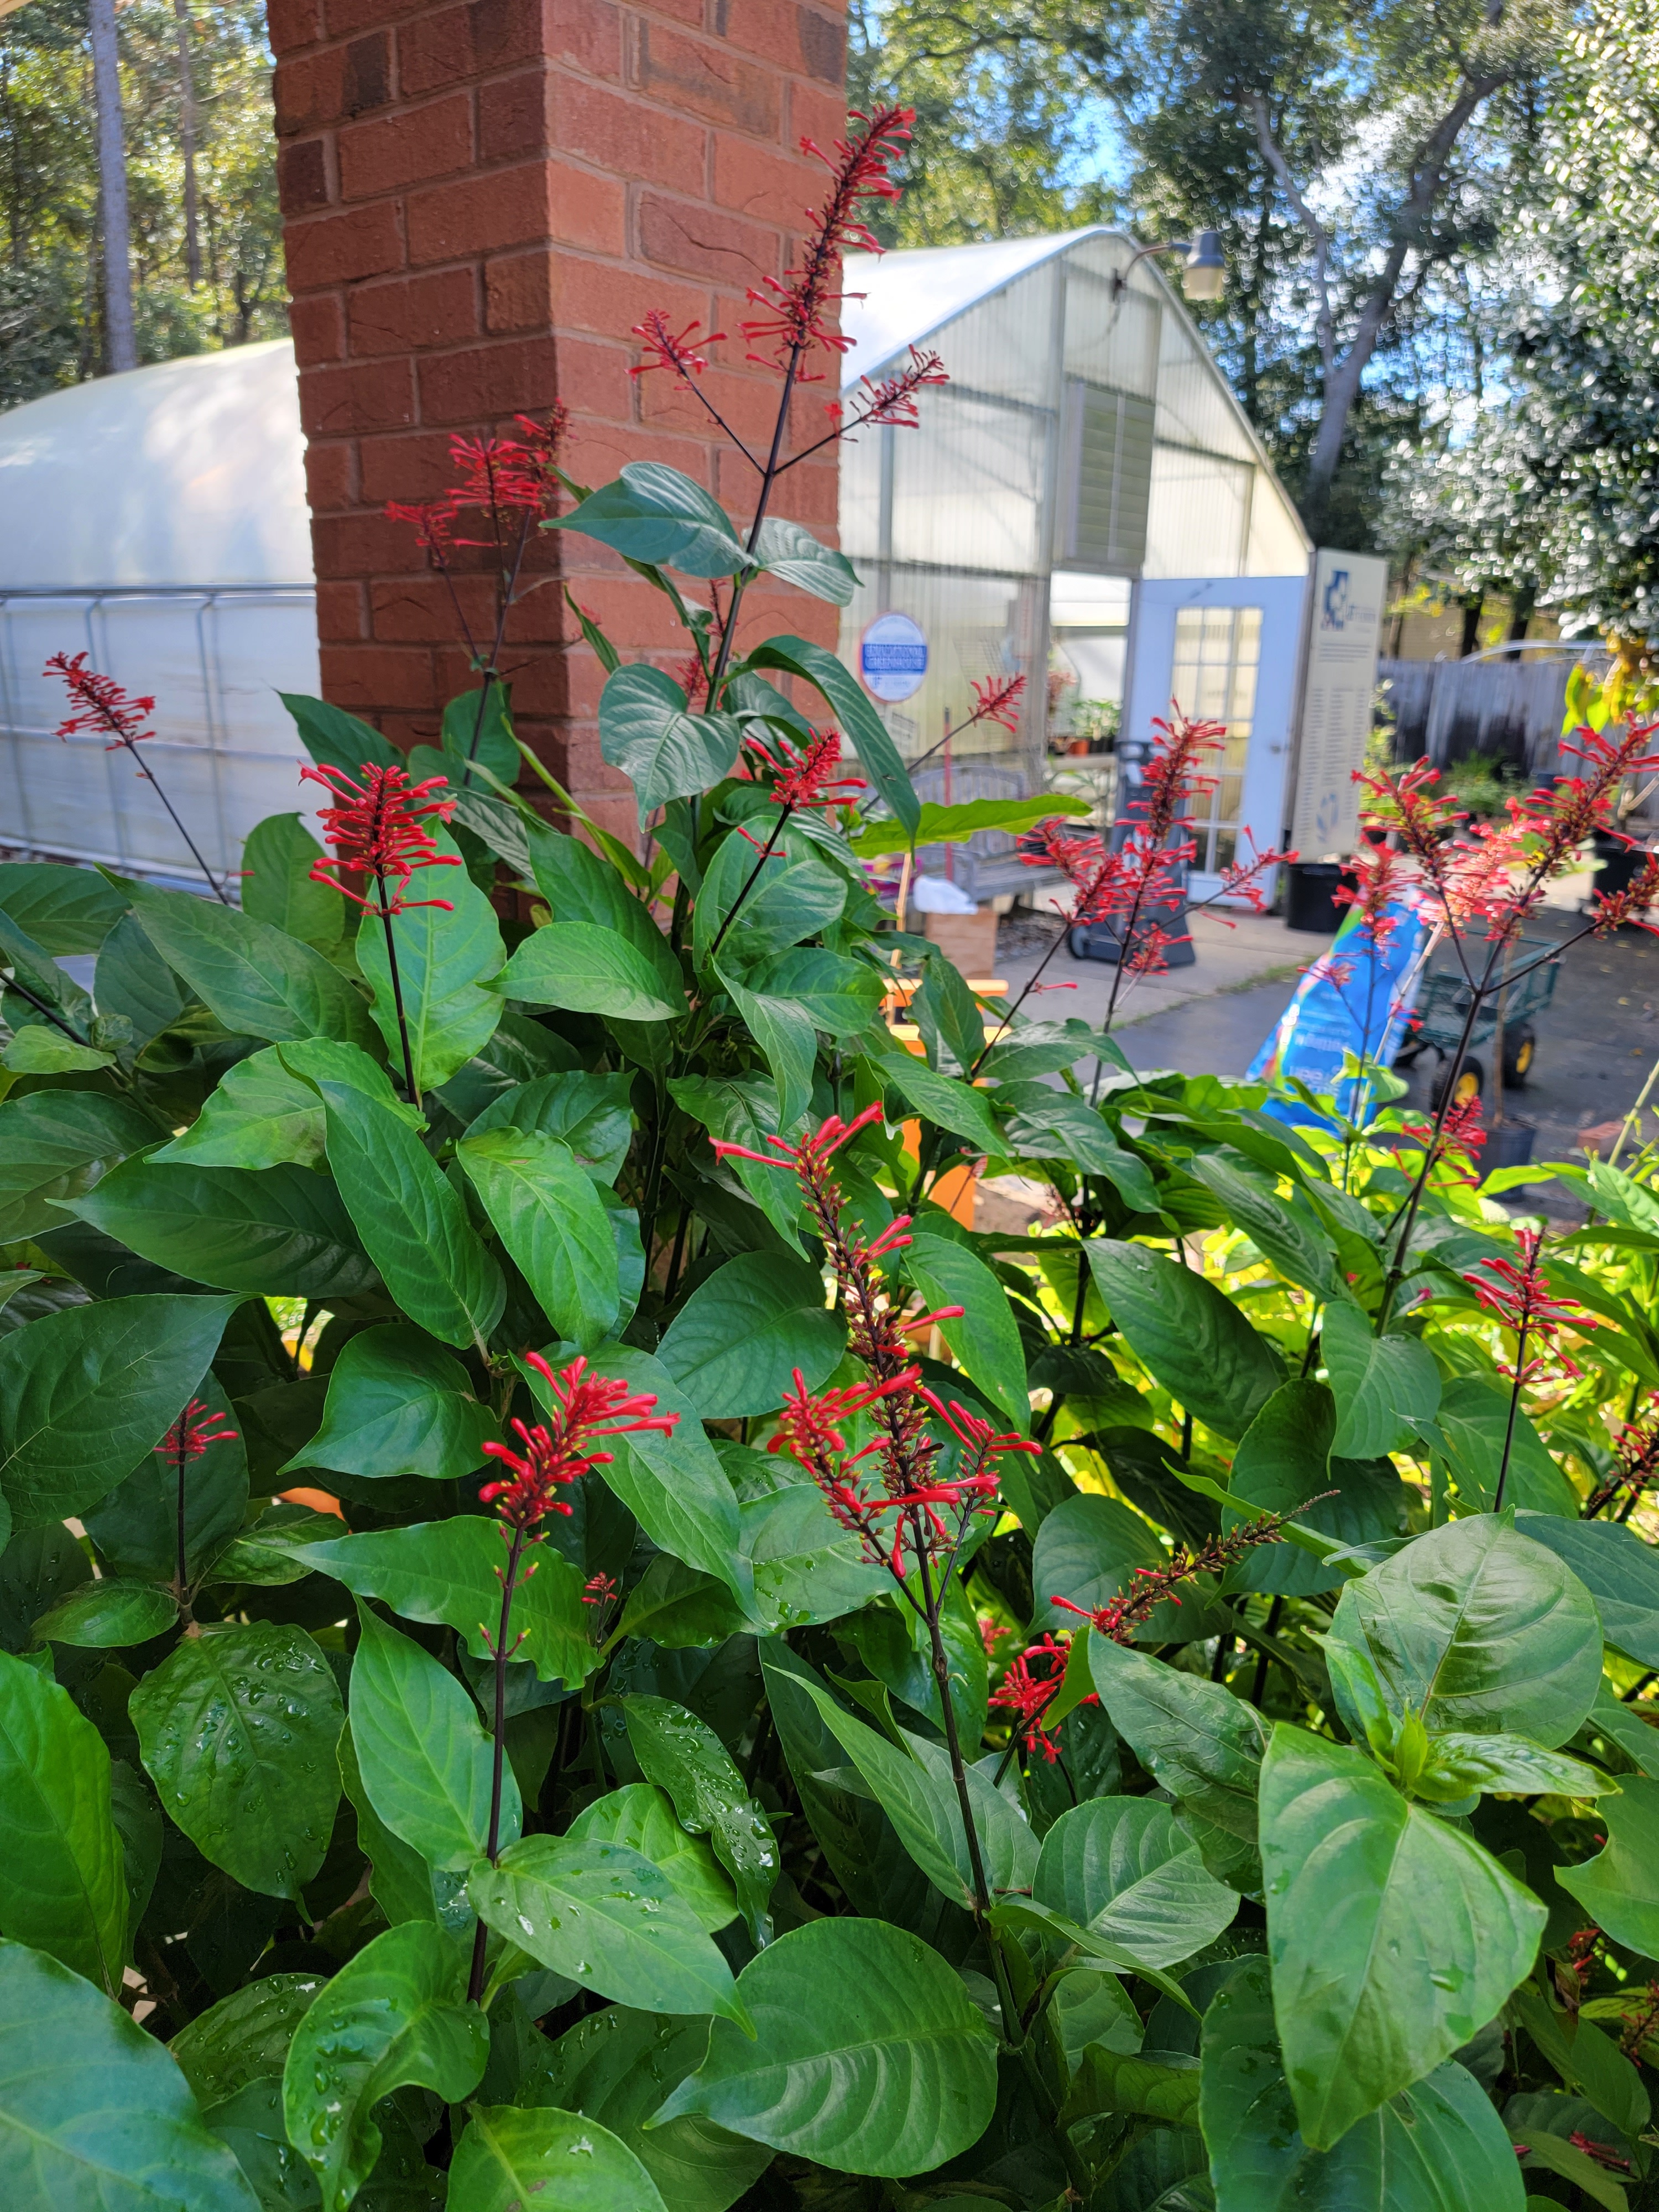
Firespike. Credit. UF/IFAS Extension
What about blooming perennials for fall? Salvia, firespike (see photo), chrysanthemum, beautyberry and holly are great for color in the fall and attract wildlife to your landscape.
A mix of these plants will ensure fall color in your landscape. For more information contact your local county extension office.
Even though it’s still 98 degrees outside, it’s the time of the year to be looking ahead to plan a fall garden. With the optimal climate of Northwest Florida, the fall season offers gardeners a time to refresh their plots and prepare for another productive season. Here’s a guide to make the most of the fall gardening season!
Site Prep for Fall Gardens
When transitioning from summer to fall, it is important to prep the area where a new crop will be placed. It’s best to remove all dead material from your spring garden so it will not spread disease or bacteria to the new plants. You also may consider adding nutrients to the soil after it has been tilled for fall vegetables. The best method to know how much to add into the soil is by first taking a soil sample. The soil sample results will show what is readily available for vegetables going in the ground and will give you a baseline of how much fertilizer or organic amendments to add. The fall season is also one of the best times of the year to prioritize soil health. Another way to do this in the off season is to incorporate a cover crop into your gardening regimen. For more information on cover crops please visit: https://nwdistrict.ifas.ufl.edu/hort/2023/10/19/cover-crops-in-the-garden/
UF/IFAS Photo by Tyler Jones.
What Vegetables Do I Plant in the Fall?
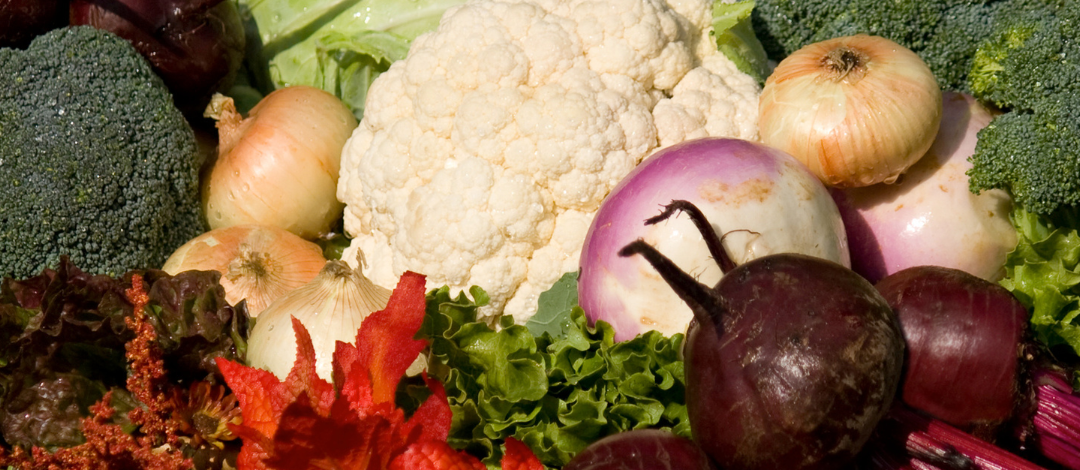
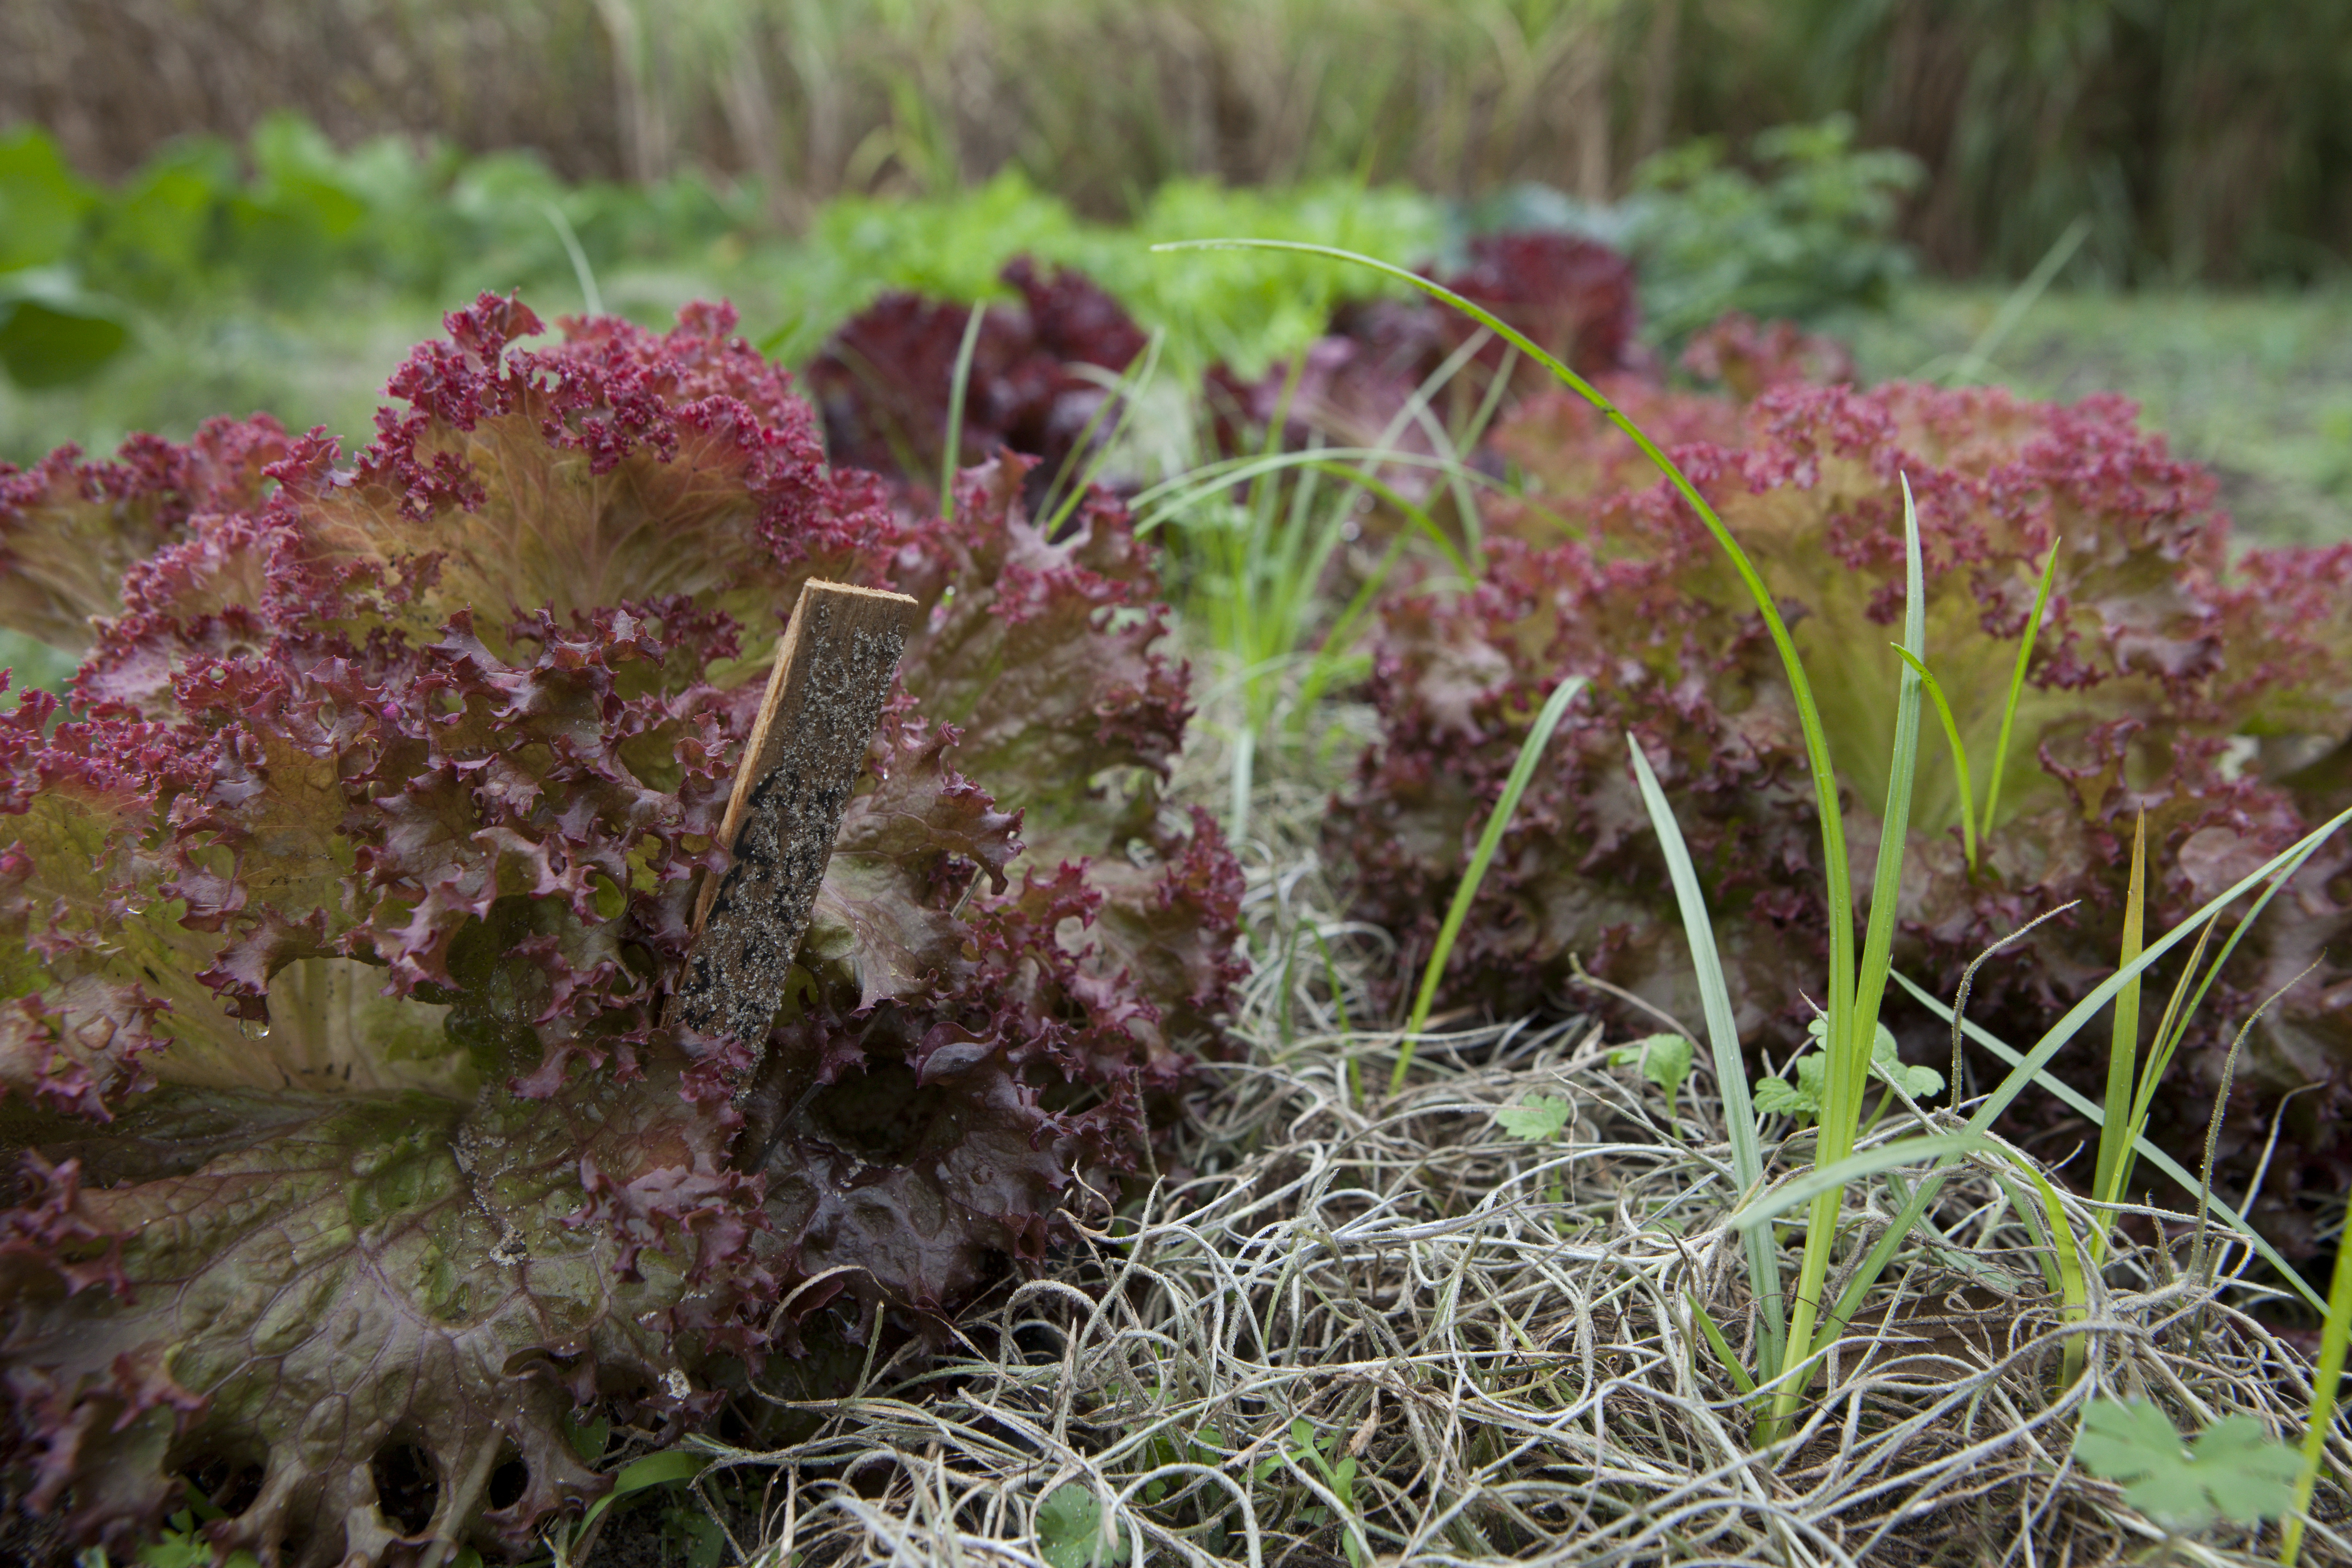
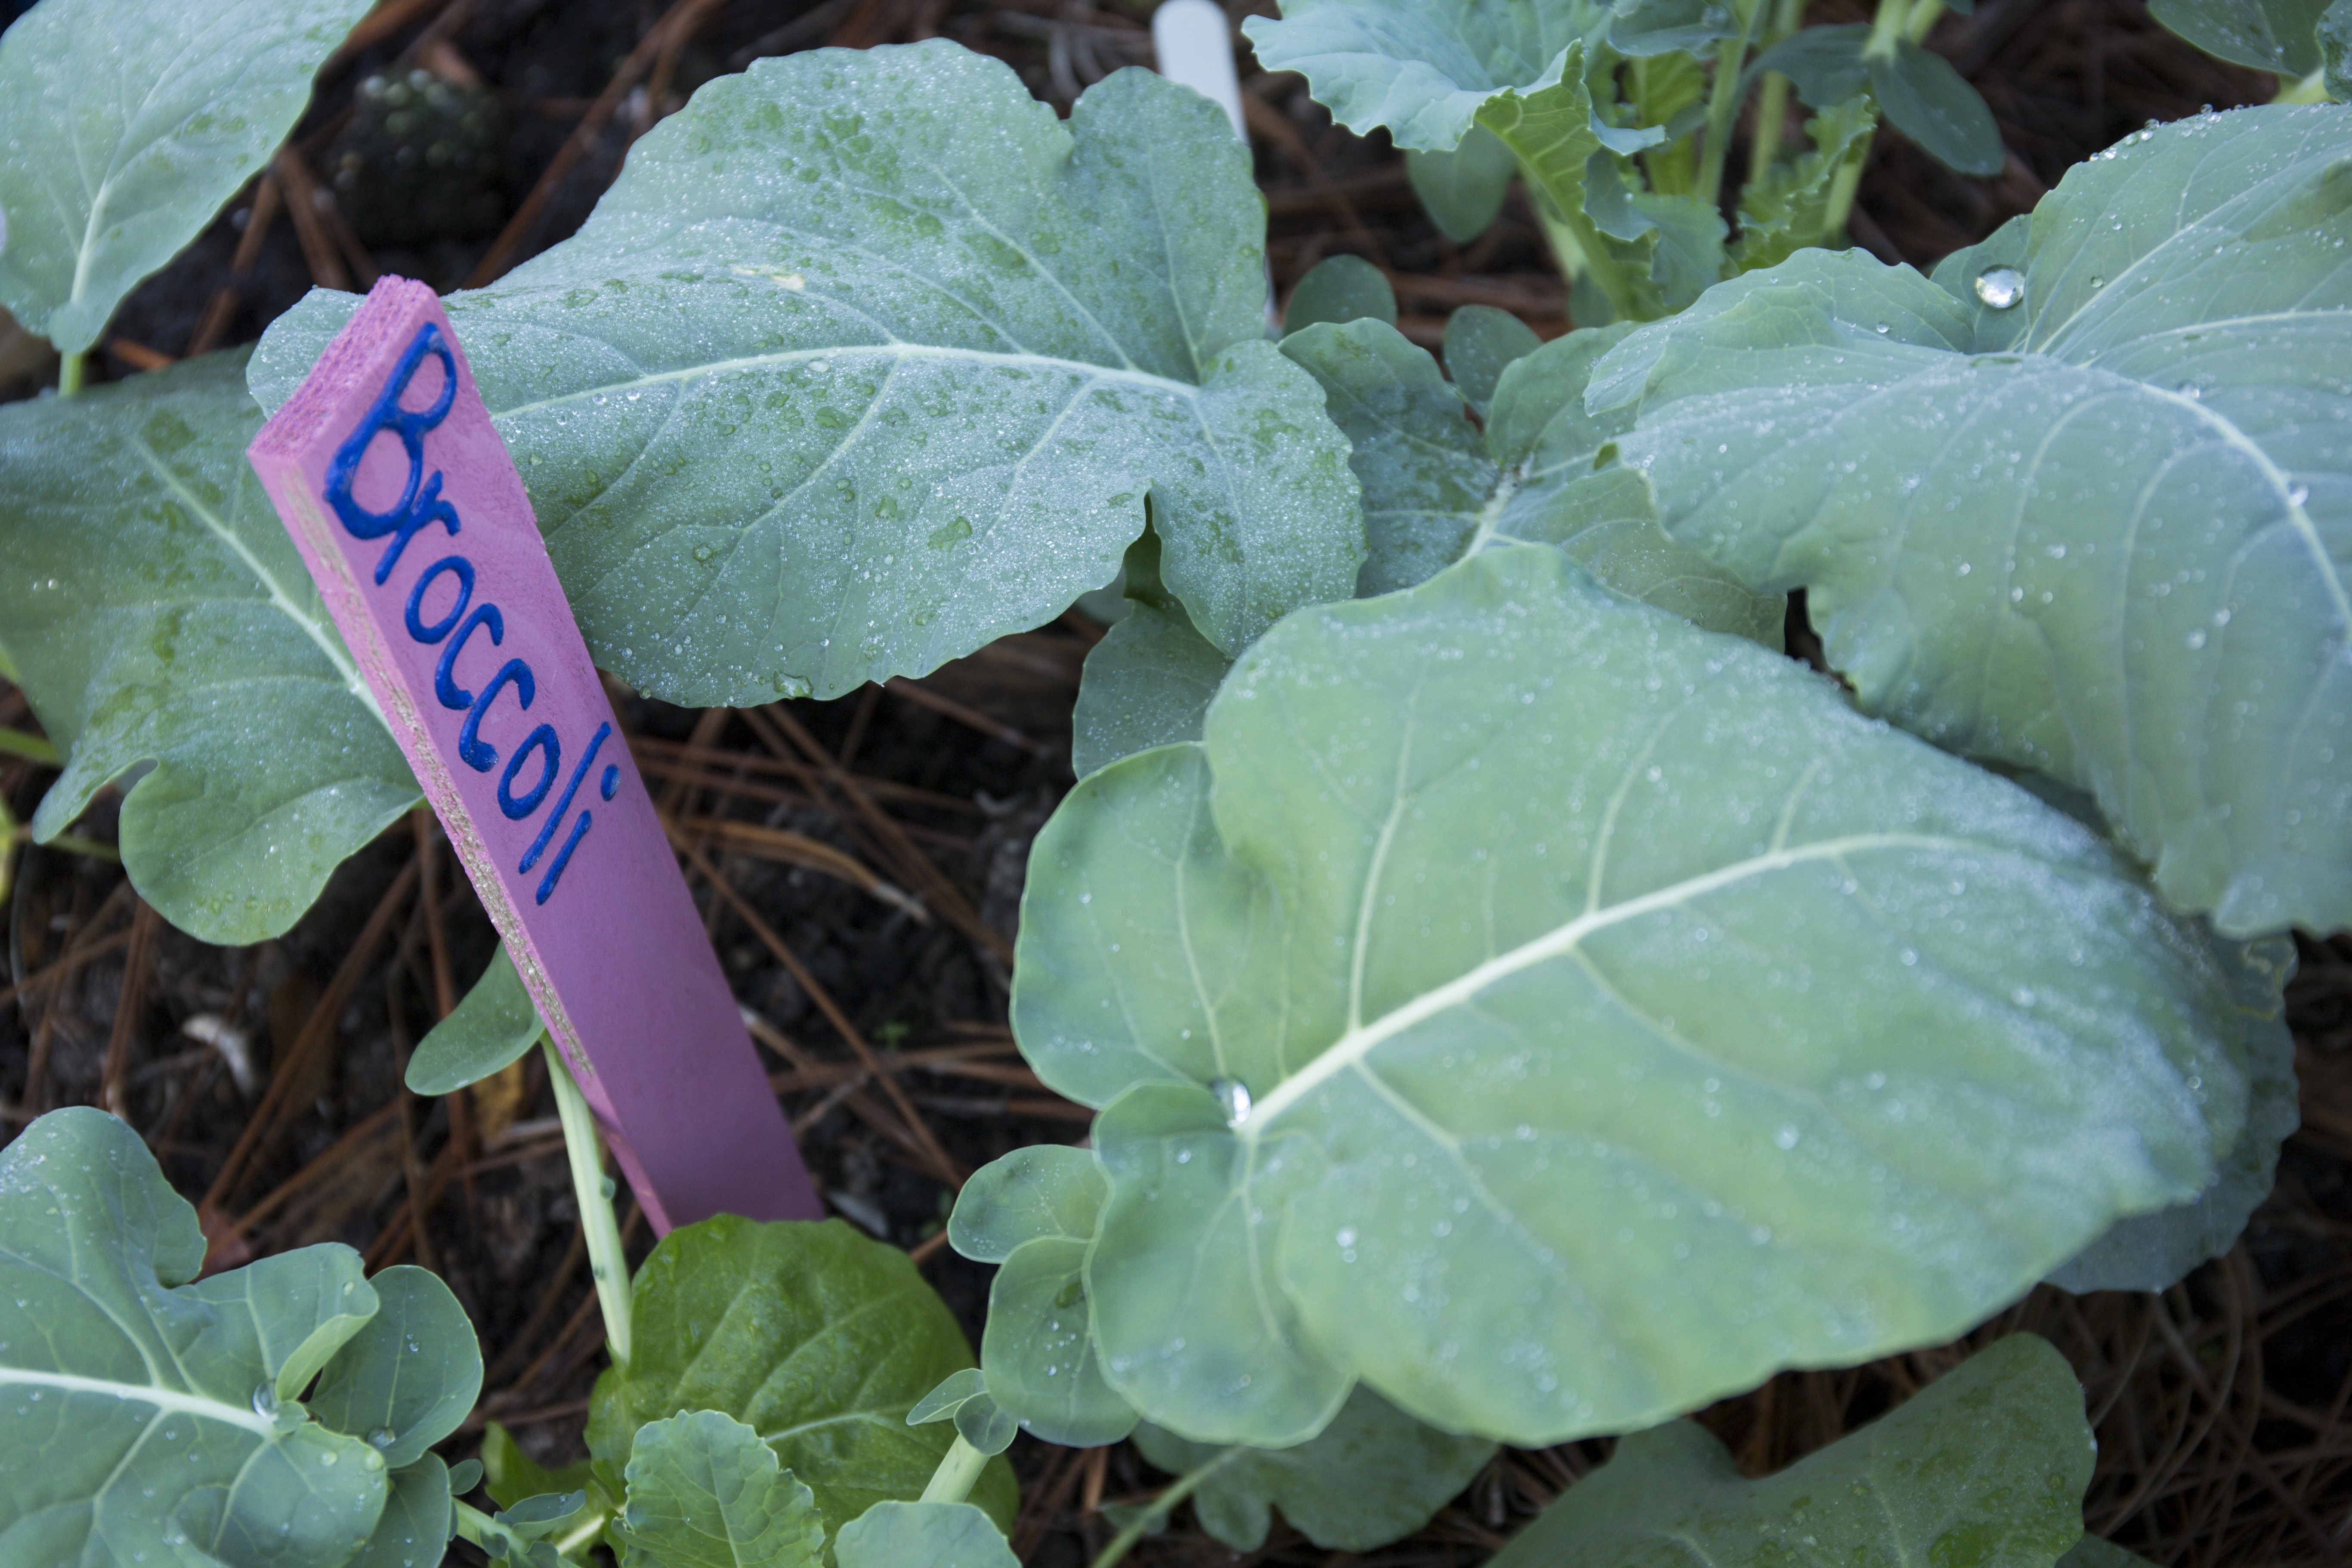
The “cool” temperatures of a Florida fall make it very ideal for a variety of cool-season vegetables. Vegetables can be classified a hardy, semi-hardy, and tender based on their abilities to withstand freeze conditions, cold temperatures, or high heat. That is how can put vegetables in warm-season and cool-season groups. Tender vegetables are considered short season and are typically seen in spring and summer months. Examples of tender vegetables are potatoes, tomatoes, and squash. Semi-hardy vegetables are mostly frost-tolerant but cannot withstand freezing temperatures. Examples are carrots, leafy greens like Swiss chard and Bok Choy, peas such as sugar snaps, and celery. Lastly, hardy vegetables are a true cool-season vegetable that is frost-tolerant and can withstand freezing temperatures up to a certain degree. Examples of hardy vegetables are broccoli, cauliflower, kale, onions, and garlic. To find more information on fall vegetables in northwest Florida, please visit: https://edis.ifas.ufl.edu/publication/EP451
UF IFAS Photo by Tyler Jones
Fall Garden Maintenance
With the temperatures being cooler in the fall months, your garden vegetables will require less water. It is best to water your garden early in the morning to allow the soil to dry out during the day. Doing this will prevent fungal growth and root rot. Utilizing mulch will also help conserve soil moisture, regulate the soil the temperature from the cool weather, and suppress weeds. Even through the winters are typically mild in Florida, it is still best to have a freeze protection plan for your garden. Using row covers or frost blankets will help shield your garden when the temperatures drop.
As you enjoy your fall garden, planning ahead for winter and spring will also set you up for success. Research what crops will follow best behind your fall harvest and consider starting your seeds indoors to get a head start. By embracing these fall gardening tips, you can enjoy a bountiful harvest and a thriving garden throughout the season. Happy Fall!
The “Dog Days” are the hottest, muggiest days of summer. In the northern hemisphere, they usually fall between early July and early September. The actual dates vary greatly from region to region, depending on latitude and climate. It is miserable right now, but fall is coming.
In ancient times, when the night sky was not obscured by artificial lights, the Romans used the stars to keep track of the seasons. The brightest constellation, Canis Major (Large Dog), includes the “dog star”, Sirius. In the summer, Sirius used to rise and set with the sun, leading the ancient Romans to believe that it added heat to the sun. Although the period between July 3 and August 11 is typically the warmest period of the summer, the heat is not due to the added radiation from a far-away star, regardless of its brightness. The heat of summer is a direct result of the earth’s tilt.
Spending time outdoors this time of year is uncomfortable, potentially dangerous, due to the intense heat. However, the chinch bugs are very active in St. Augustine grass (for more information: http://edis.ifas.ufl.edu/lh036), and the summer flowers need water. So, take care of those tasks early in the day and then retreat to the air conditioning to plan your fall planting.
Plant tomato plants in August for fruit in October. Varieties such as Phoenix, Florida 91, Solar Set and Heat Wave II are good selections for setting fruit in high temperatures, should summer temperatures continue. Otherwise, try some of the newer UF/IFAS recommended varieties for fall planting in North Florida such as Bella Rosa, Tribute or Finishline. For more information on tomato selection refer to: http://edis.ifas.ufl.edu/in756. For information on other vegetables for fall gardening refer to the Florida Vegetable Gardening Guide: http://edis.ifas.ufl.edu/vh021.
Many bedding plants flower quickly and can add color to the fall landscape. These include pentas, African marigolds, torenia, zinnias, melampodium and scaevola. Other can be planted in October for blooms all winter-long. Plan spaces and color themes for calendulas, pansies, snapdragons and violas. Add in ornamental cabbage or kale and some dusty miller to accent the garden. They too will perform through the cold. For more information on Annuals for the Florida Garden refer to: http://edis.ifas.ufl.edu/mg319.
Dependable fall blooming perennials include lion’s ear (Leonotis leonurus), pineapple sage (Salvia elegans), firebush (Hamelia patens), cigar plant (Cuphea micropetala), yellowbells (Tecoma stans) and firespike (Odontonema strictum). Also, garden mums (Chrysanthemum sp.) and many different Irises will add color again in the spring. To gain information on perennials for Florida refer to: http://edis.ifas.ufl.edu/mg035.
Webster’s second definition of “dog days” is a period of stagnation or inactivity. But, even when the heat forces you to slow down on the labor-intensive work, there is plenty of gardening “activity” to do. Stay in the air conditioning and plan that spectacular fall and winter yard.
The long summer days are beginning to wane, the mercury is starting its slow march down the thermometer, and your landscape displays all the signs of winter. It’s the time of year that many gardeners dread. Fear not, my fellow parishioners of the soil. I’m here to tell you that there is hope for your landscape. With a little planning, your home can remain beautiful as there are blooms aplenty even into the autumn months here in Florida.
Deciduous Trees
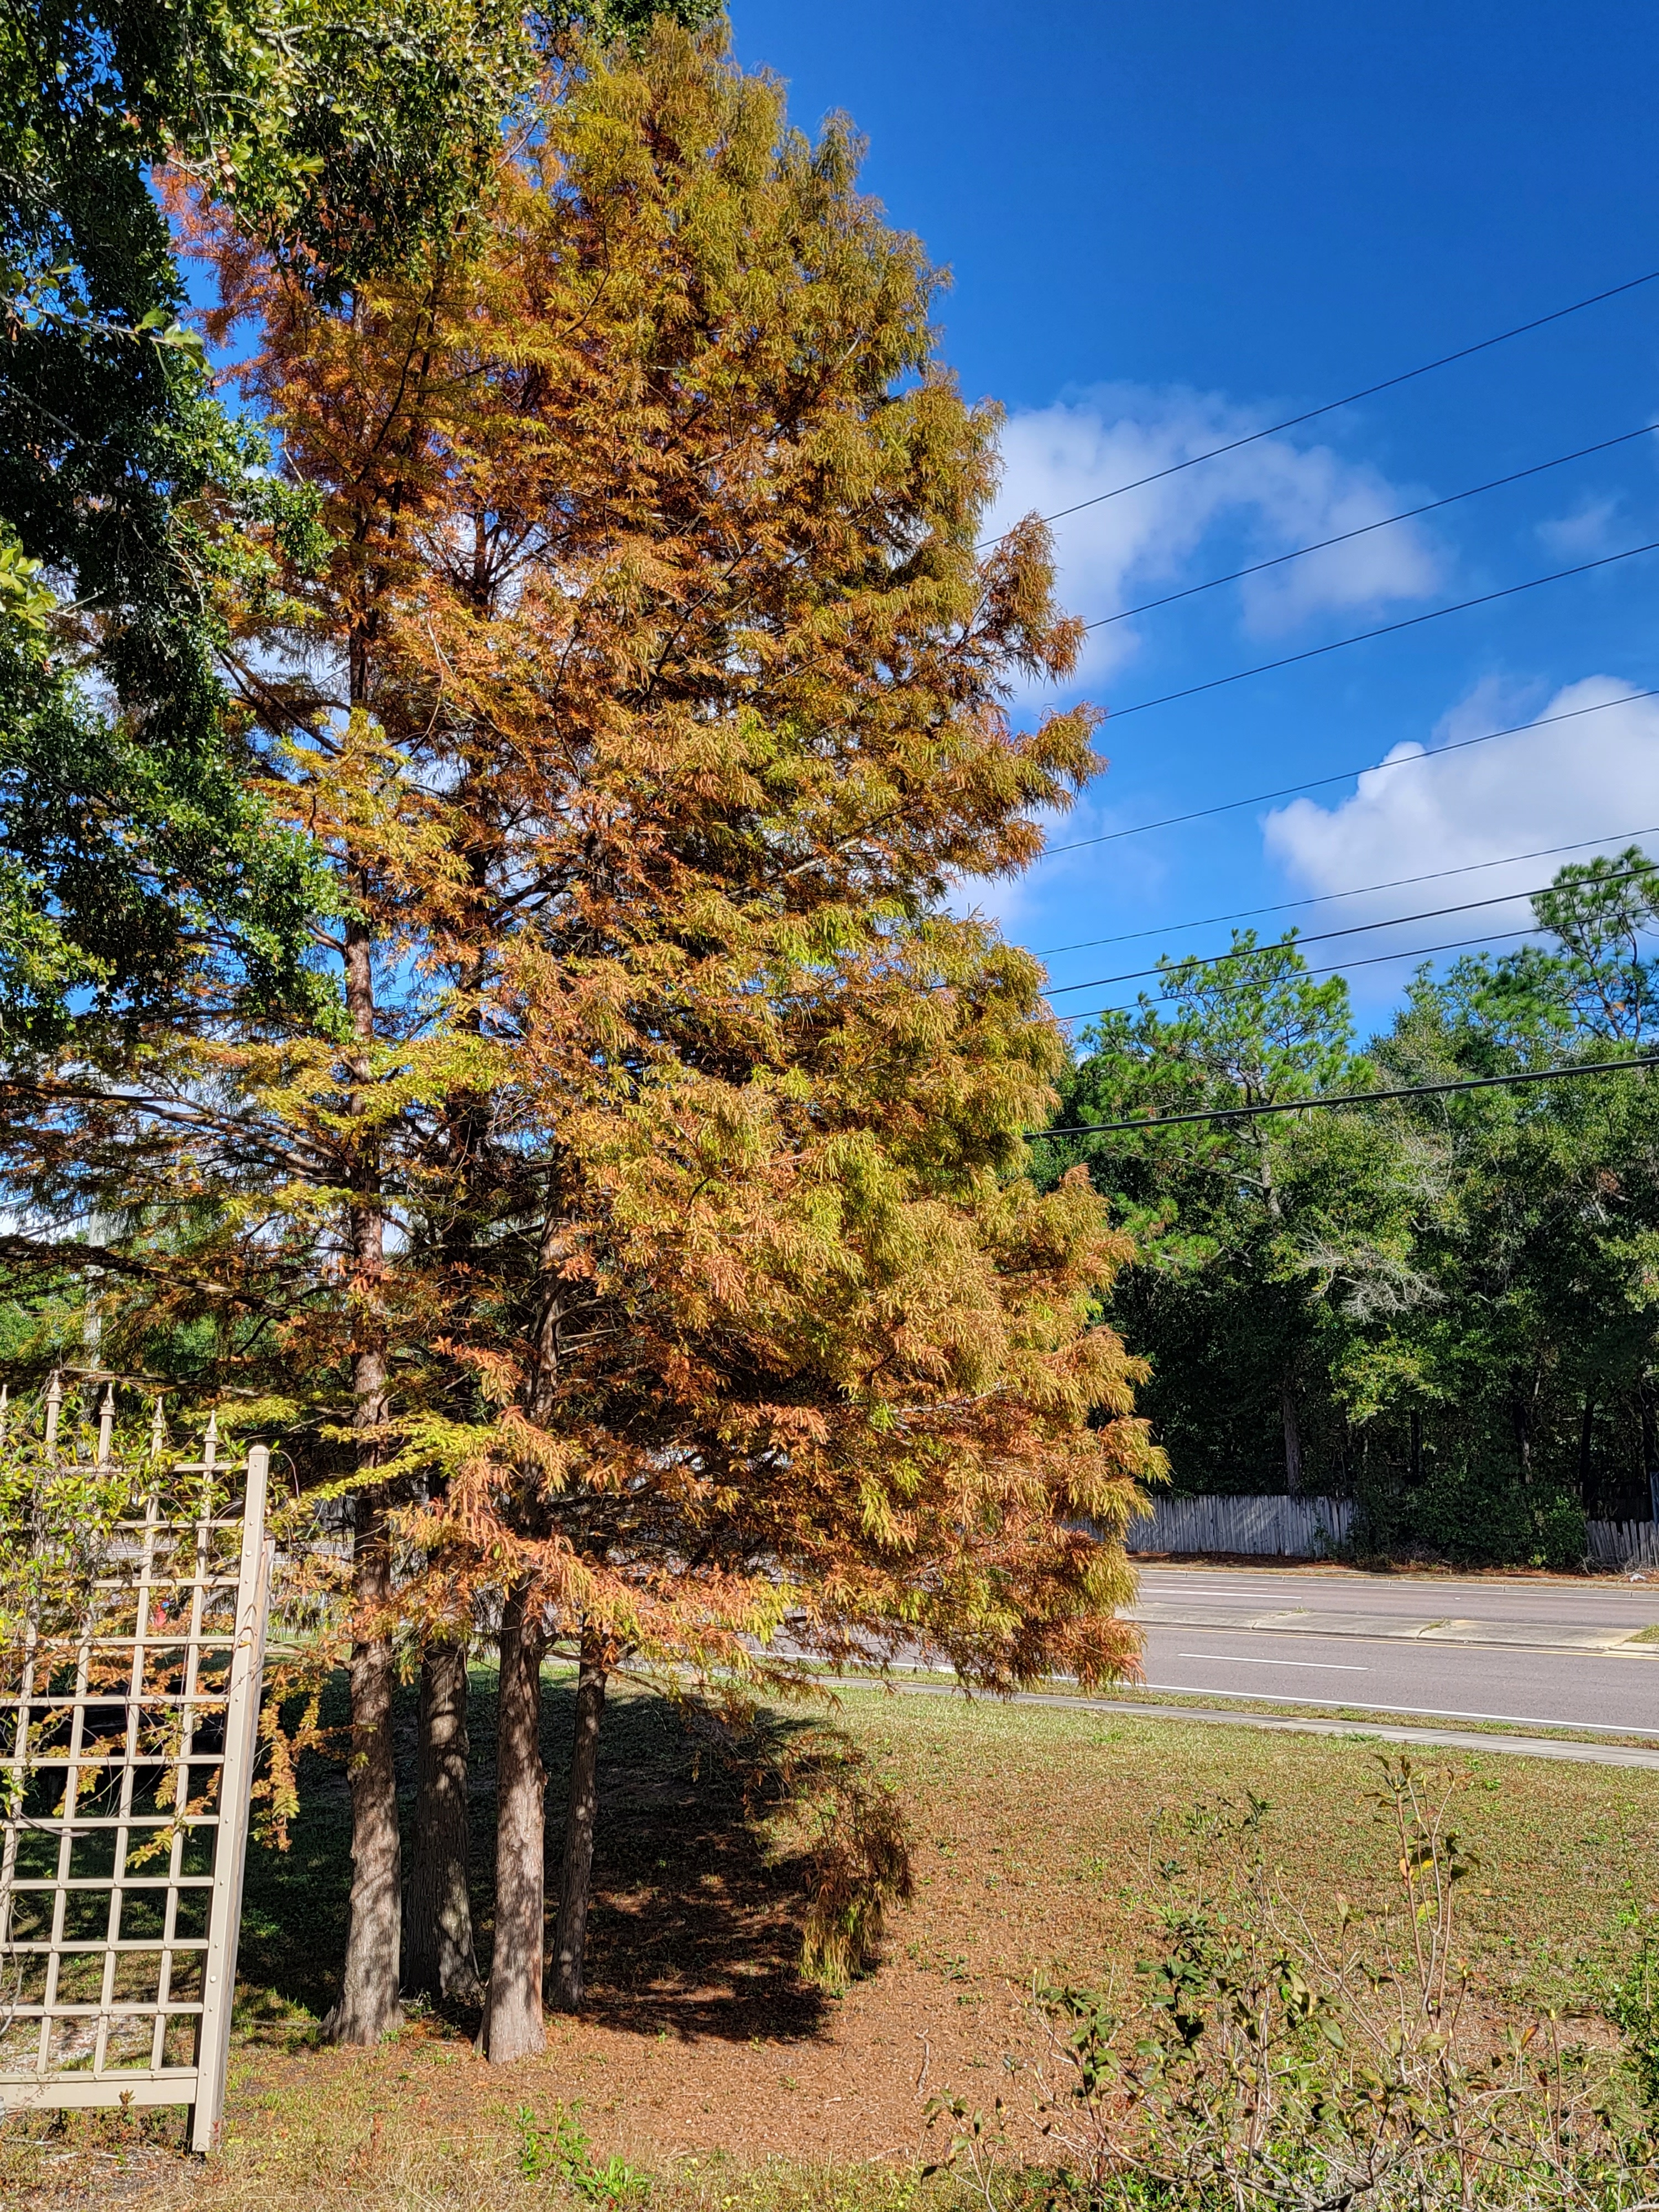
Established deciduous landscape plants begin their annual cycle by sloughing off their leaves, but this doesn’t mean they have no value. After months of standing boldly in your yard, many begin to lose their chlorophyll and turn eye-catching hues of orange and purple. Trees such as bald cypress (Taxodium distichum) create a fantastic fall display as they march into winter slumber. Maples (Acer spp.) will similarly provide a beautiful show once the cold weather hits. Plant these trees in your landscape while observing the “right plant, right place” philosophy and you will provide a low-maintenance pallet of annual colors for decades.
Bald Cypress beginning to display fall color. UF/IFAS photo: J. Criss
Perpetual Perennials
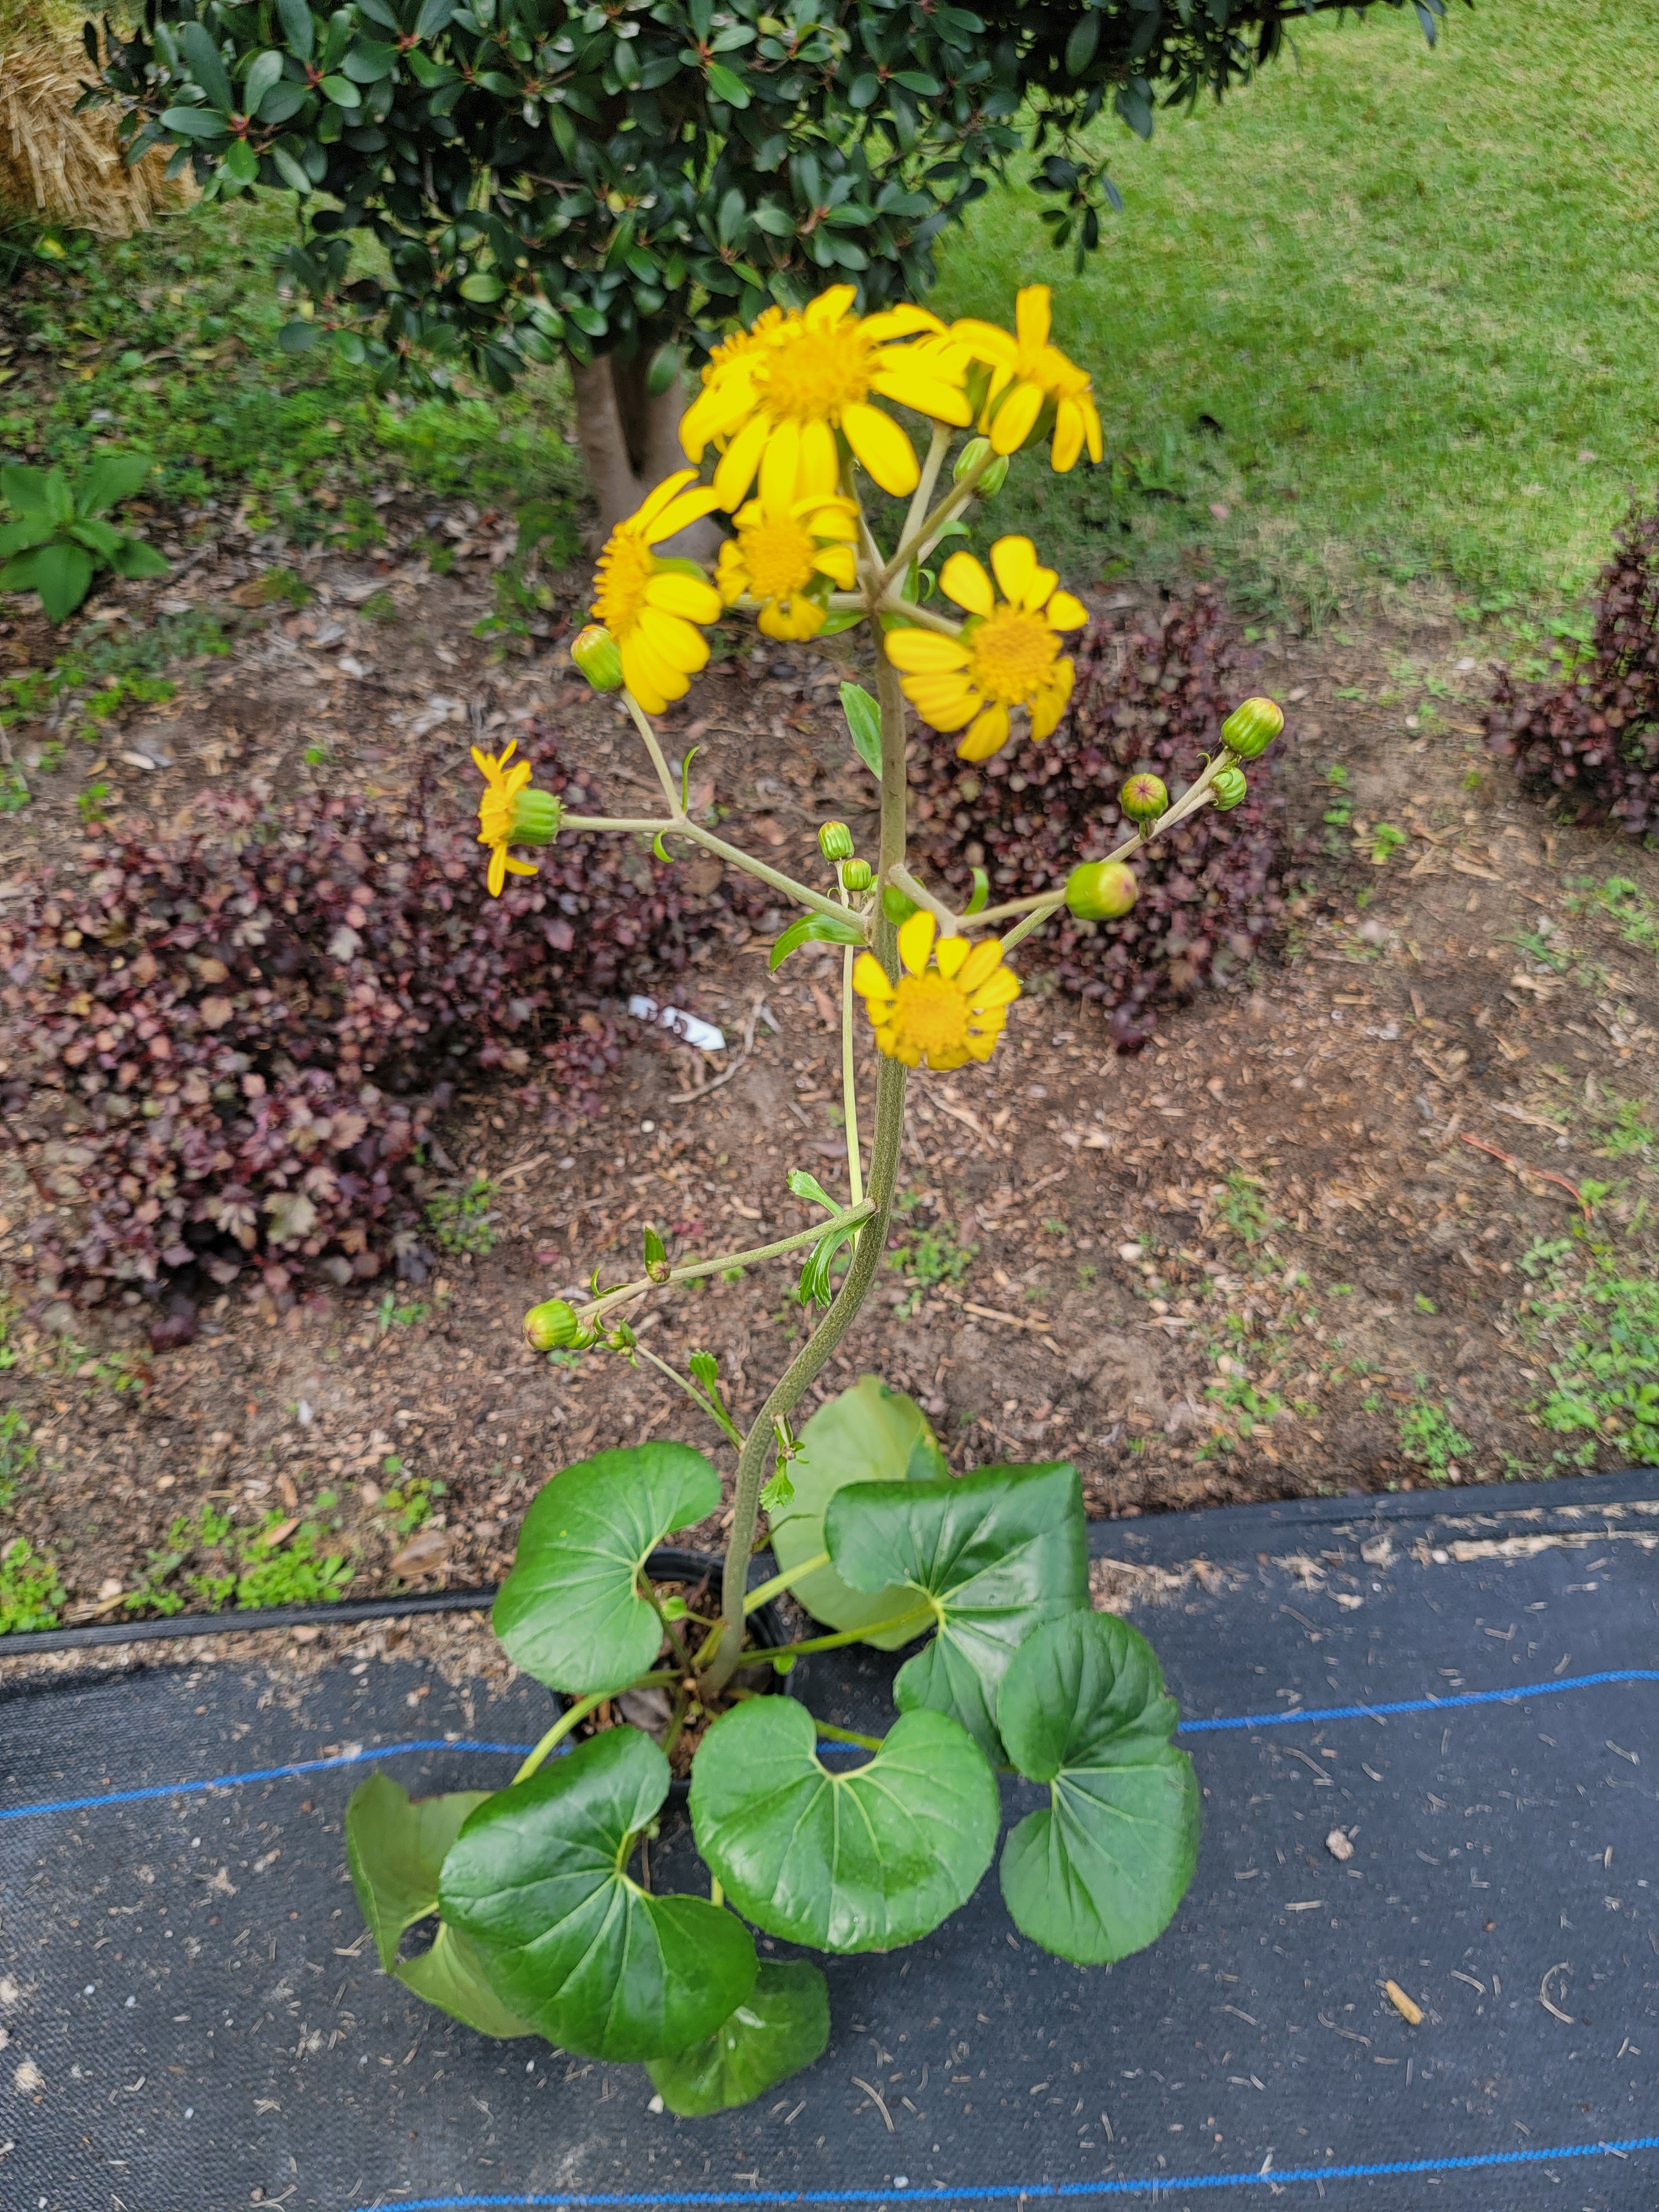
Next, perennial plants are the lynchpin in many landscapes, filling in the space between your trees and inground annuals. Choosing those with bright, warm colors will make your yard stand out against your neighbors. Remember, when planting, some plants will not survive the first frost. One plant prone to this style of dieback is fire spike (Odontonema strictum). Here, you will find bright red blooms underpinned by large, striking green leaves. Don’t be dissuaded by the frost-tender nature of this plant, it is an excellent specimen and supports pollinators later into the season. Salvia (Salvia spp.) is another superb specimen for some color later in the season. This again will die off upon the first frost but, until then, will provide bright flowers with grey-green foliage that is striking in any garden. For those seeking an evergreen autumn bloomer, look no further than the leopard plant (Farfugium japonicum). This sometimes overlooked and shade-loving member of the aster family provides yellow flowers through the fall and unique round leaves throughout the rest of the year.
Fire Spike in bloom. UF/IFAS photo: J. CrissLeopard plant in bloom. UF/IFAS photo: J. Criss
Annuals for Brilliant Color
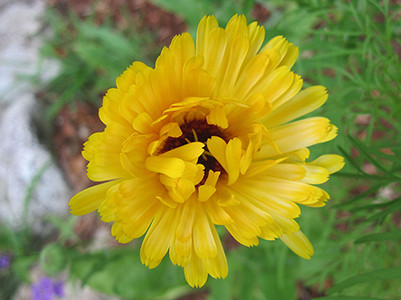
Finally, let us peruse flowering annuals. The advantage here is the vibrant colors they bring, but they are short lived and will need to be rotated out in a few months. Sweet alyssum (Lobularia maritima) is a prime example of a versatile plant fitting this bill. They have a spreading habit, making them excellent as a cold weather ground cover or a beautiful trailing potted plant hung on your porch. If sprawling isn’t your cup of tea, investigate calendula (Calendula officinalis) for a splash of yellow in an upright ray-style flower. Remember that these cold weather annuals will not tolerate heat or humidity, so plant them in the fall when things cool off. They will do well in the ground directly or with a pot-in-pot system. The latter will allow easy switches should the plants begin to falter. If planted directly in-ground, prepare your site accordingly. Soil testing will dictate fertilization needs and adding organic matter will ensure adequate water retention.
Yellow Calendula bloom
Photo by Rob Duval. (CC-BY-SA 4.0)
Gardening in Florida is always a tough row to hoe. We are fortunate in that we can provide color in our landscapes throughout the year, but to do so one must understand our dynamic environment. Florida will throw you some curveballs, but with a little planning and some understanding you’ll be well on your way to thriving gardens. For more information, see this Ask IFAS document for trees, this ASK IFAS for perennials, or this ASK IFAS for annuals. As always, please contact your local extension agent for additional information on this and any topic regarding your gardens and more.
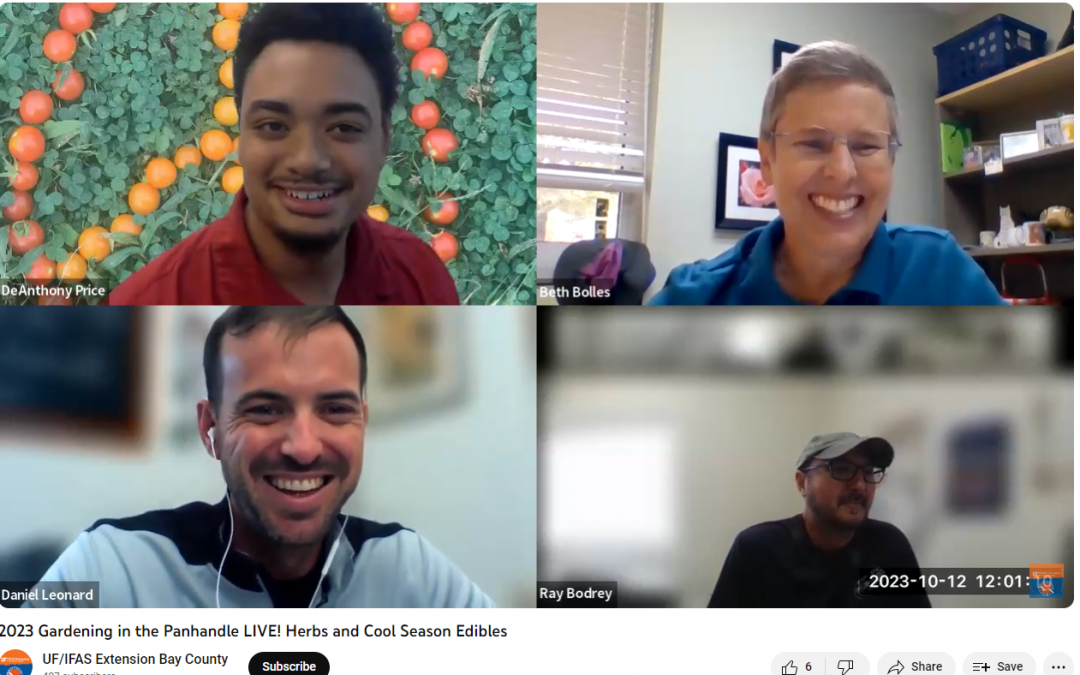
In case you missed it, you can watch our last session of Gardening in the Panhandle LIVE! that aired on October 12th by visiting our YouTube Playlist with all the past episodes of our gardening webinars.
We had a great conversation about herbs and cool season edible plants last month and this article compiles the links shared by the expert panel in the episode. Thanks for watching!
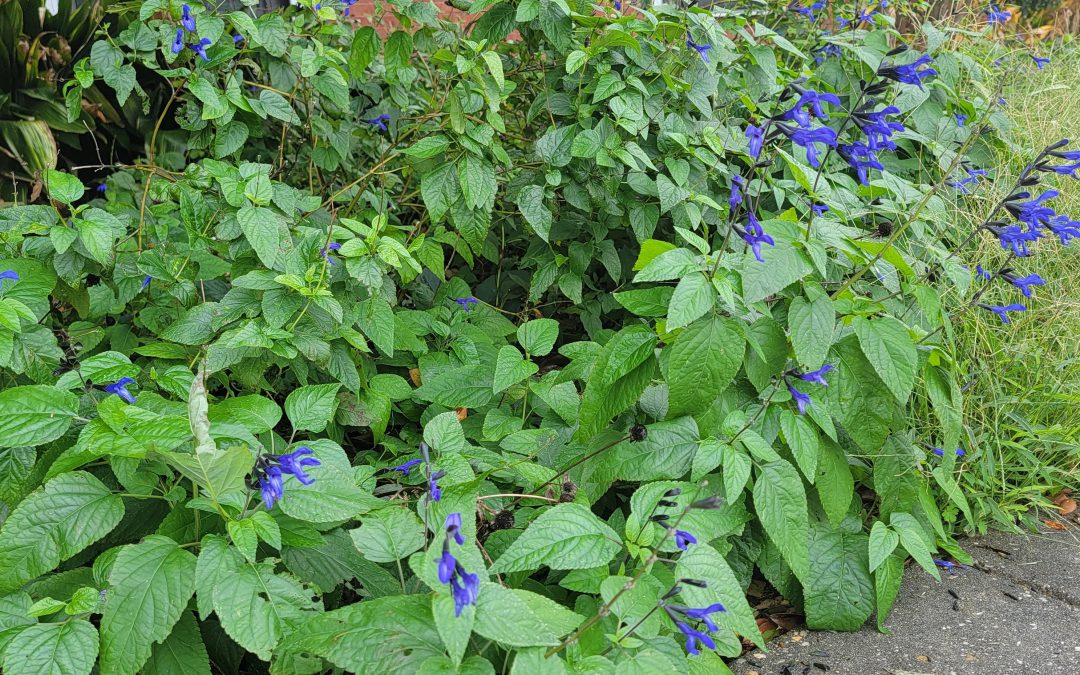
It’s no secret that fall, October specifically, is the best month for wildflower watching in the Panhandle. From the abundant vibrant yellow-gold display of various Sunflowers, Asters, and Goldenrods to the cosmopolitan bright pinks and purples of Mistflower, Blazing Star, and False Foxglove, local native landscapes light up each year around this time. However, if you’re lucky and know where to look, you can also spot two species, Azure Blue Sage (Salvia azurea) and Forked Bluecurls (Trichostema dichotomum) that sport that rarest of wildflower hues – vivid blue.
Forked Bluecurls begins its flower show in late summer, picking up steam in fall, and reaching its peak now as nights get cool and the days grow short. The species’ flowers are easily among the most unique around. Each flower has two distinct “lips” – the lower lip is white and dotted with blue specks, while the top is distinctly pure blue – with characteristically curled blue stamens rising to preside over the rest of the flower below. Though individual flowers are very small and only bloom in the morning, they appear by the hundreds and are very striking taken together. Various pollinators, especially bees, also find Forked Bluecurls flowers to their liking and frequent them on cool fall mornings. Though the flowers are obviously the highlight, the rest of the plant is attractive as well, growing to 3’ in height and possessing small, light-green fuzzy leaves. Forked Bluecurls, while not exceedingly common, can be found in sunny, sandy natural areas throughout the Panhandle, including well-drained flatwoods, sandhills, and open, disturbed areas.
Forked Bluecurls blooming in an open natural area in Calhoun County, FL. Photo courtesy of Daniel Leonard.
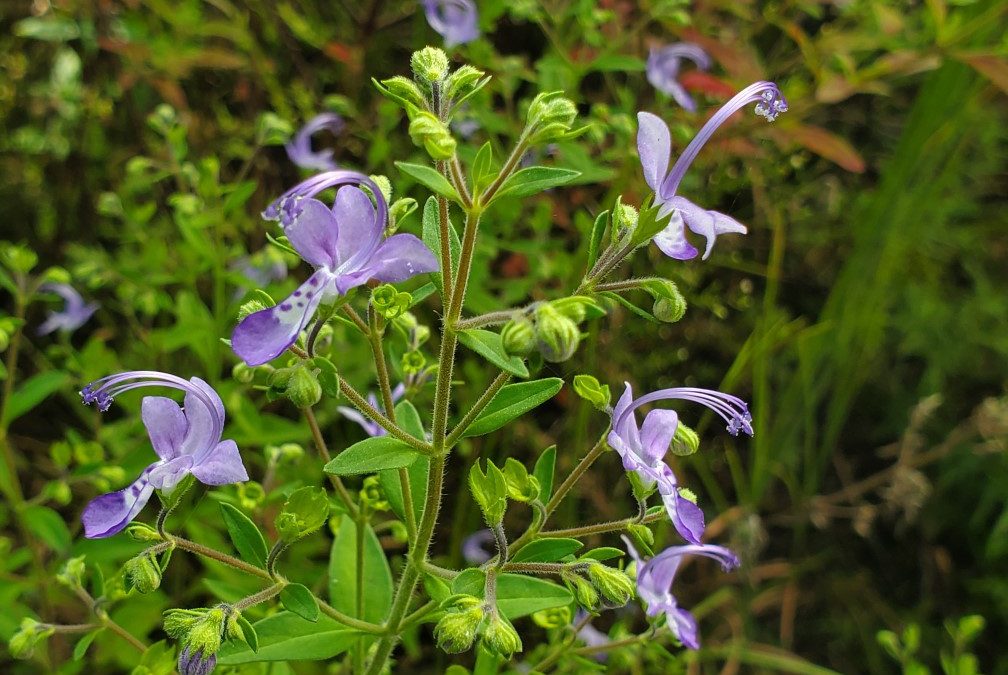
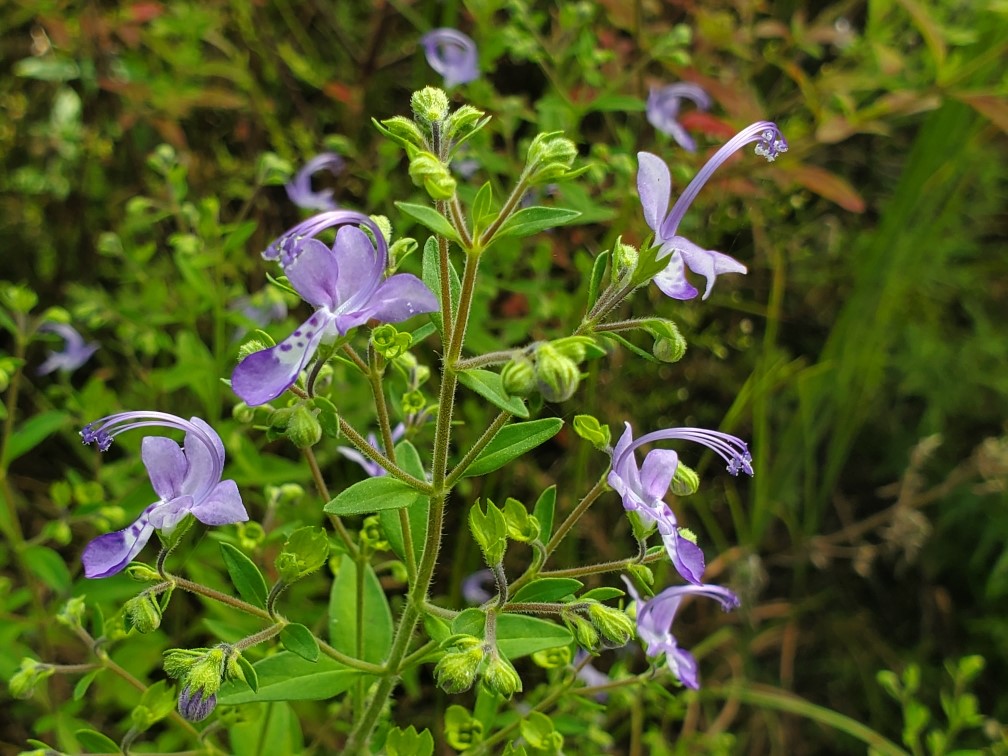
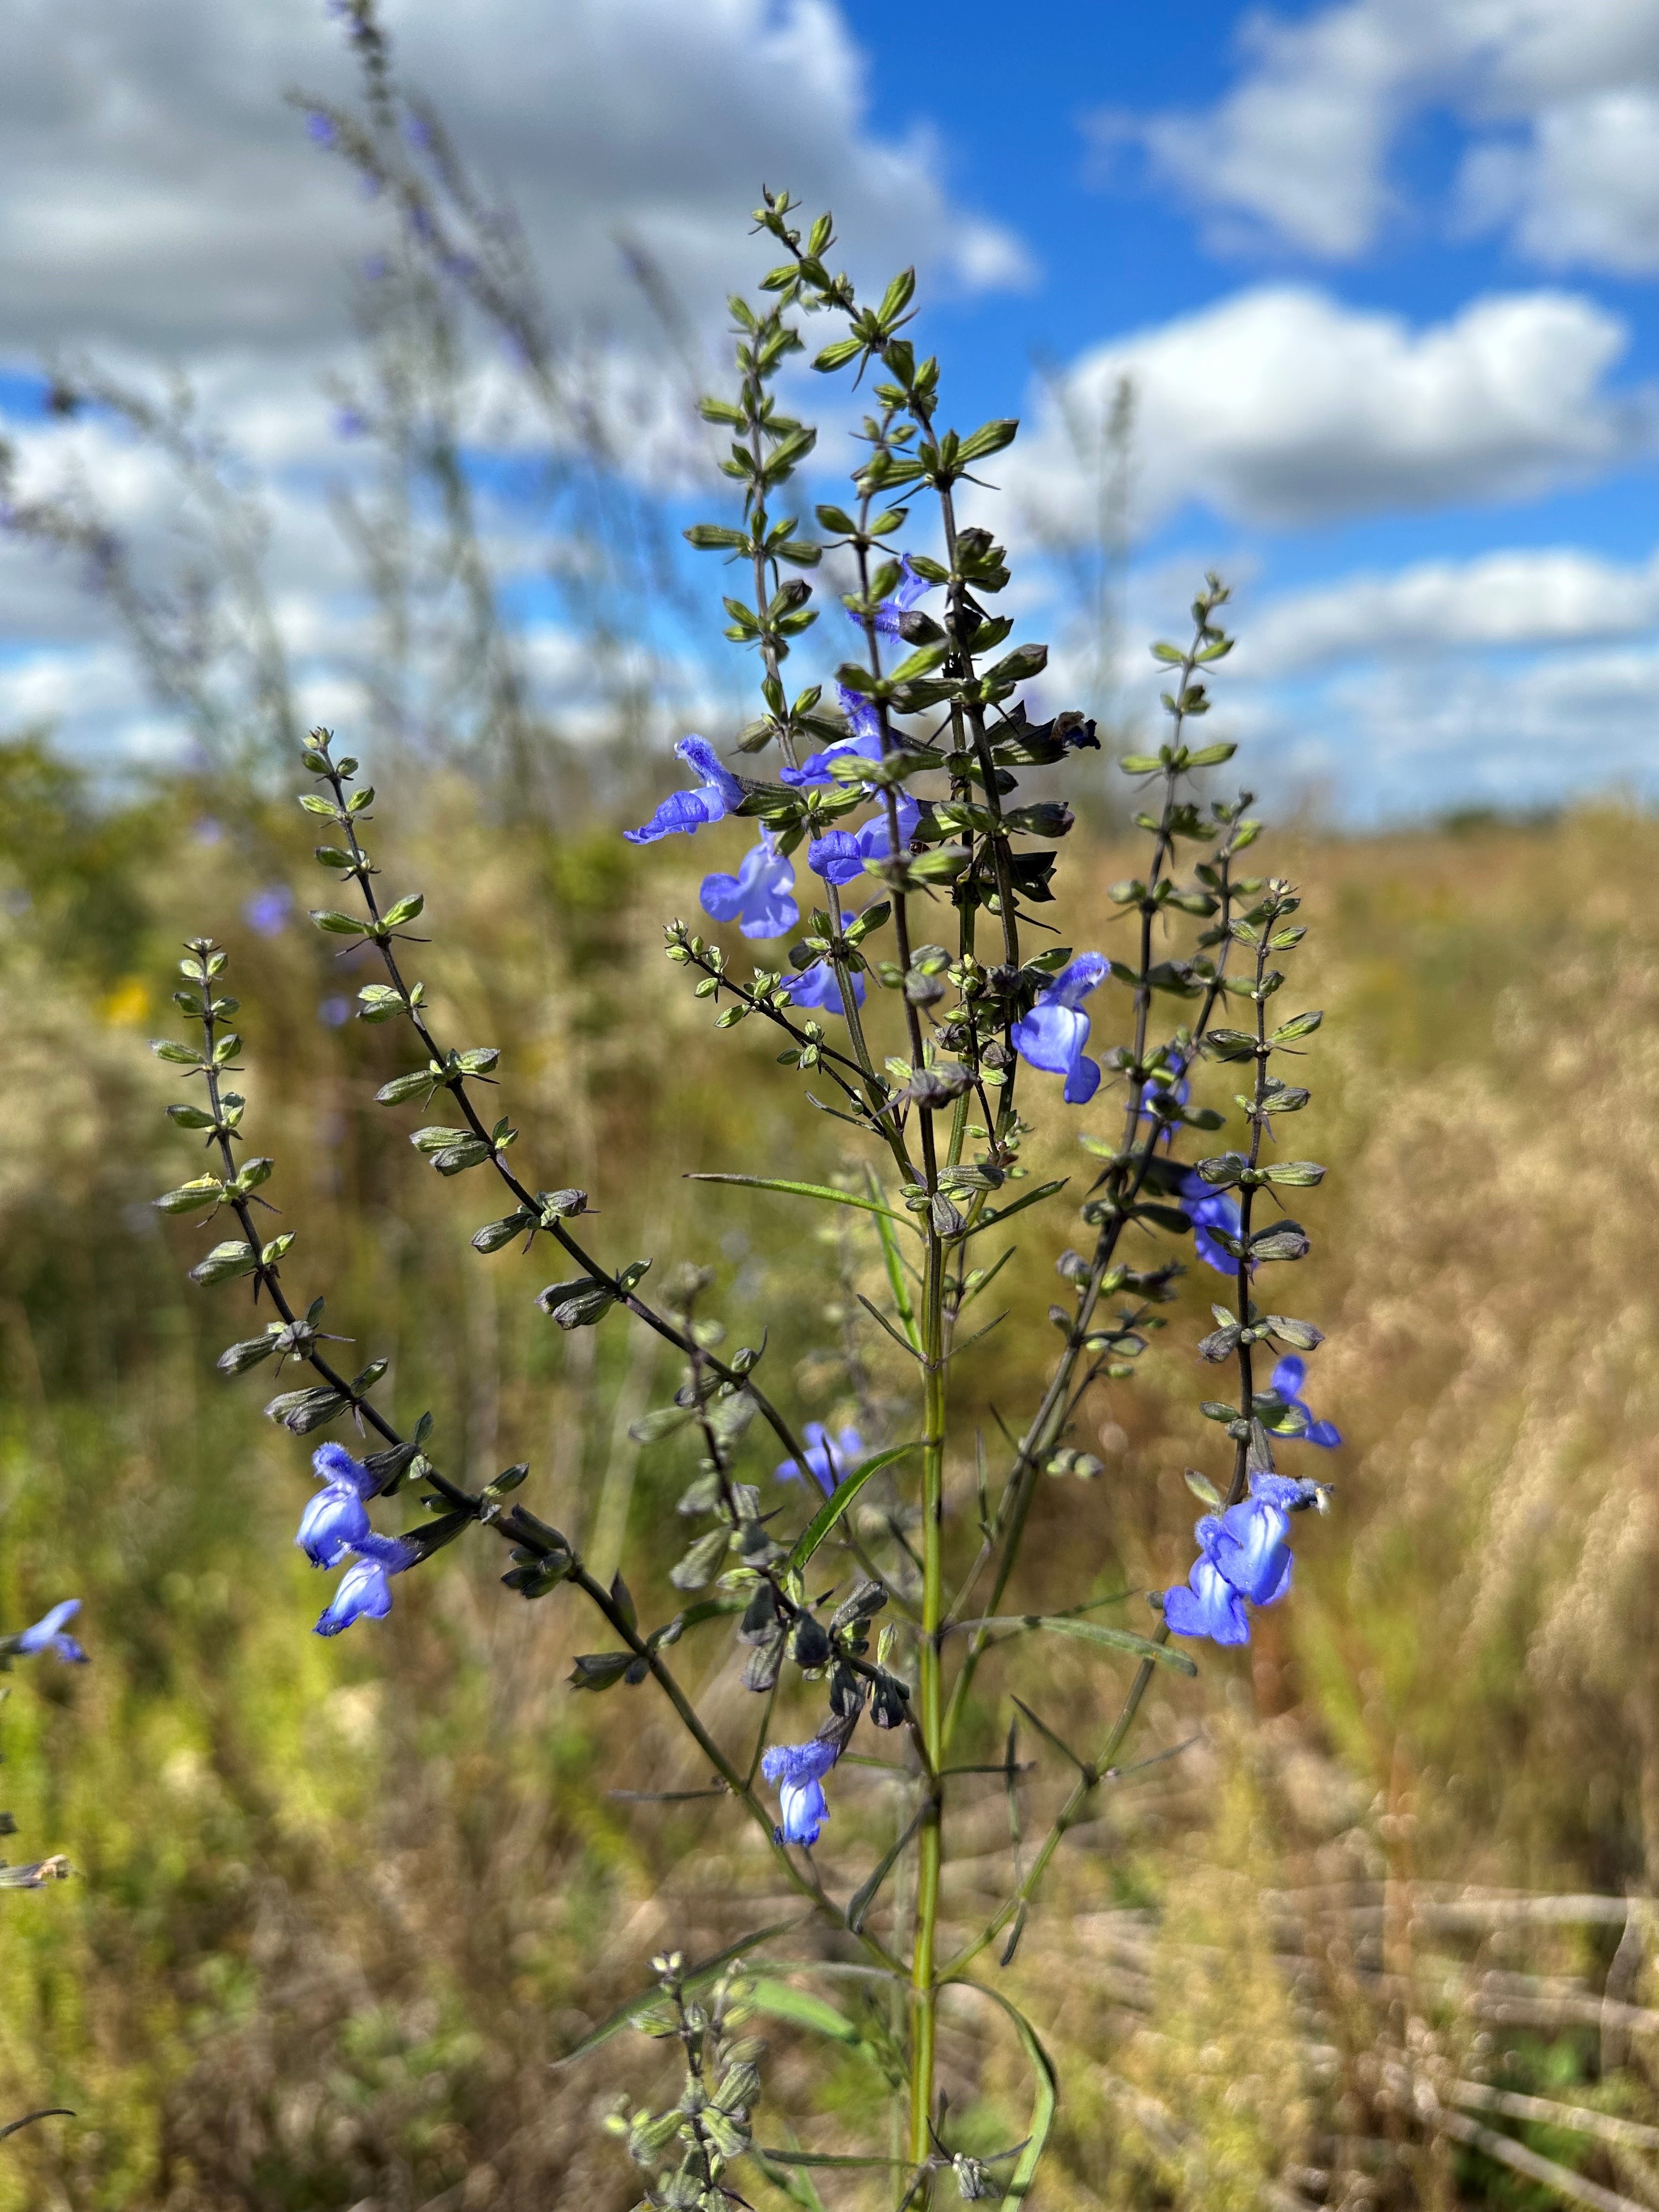
The second blue bloomer, Azure Blue Sage, is possibly even more striking in flower than Forked Bluecurls. Aptly named and blooming around the same time as Forked Blue Curls, Azure Blue Sage is a much larger plant (often 4-6’ in height) and holds its abundant sky-blue flowers high above the surrounding landscape. Because of their height and their propensity to occur in bunches, Azure Blue Sage’s brilliant tubular flowers are immediately noticeable to passersby and the myriad bee and butterfly pollinators that visit. Beyond its flowers, Azure Blue Sage is a very unusual looking perennial plant, tall and spindly with dark green, narrow leaves held tightly to square stems, a giveaway of its lineage in the Mint family. The species can be found in similar areas to Forked Bluecurls – natural areas in the Panhandle that possess abundant sunshine and sandy, well-drained soil.
Azure Blue Sage blooming in a recently replanted pine forest in Calhoun County, FL. Photo courtesy of Daniel Leonard.
Both species would make excellent additions to mixed perennial landscapes where the soil and sun conditions were right, as they are exceedingly low-maintenance and have the propensity to reseed themselves from year to year. Unfortunately, they are rarer in the nursery trade than they are in the wild and can only be found occasionally at nurseries specializing in Florida native plants. (Visit PlantRealFlorida.org to find native nurseries in your area!) However, even if you are unable to source a plant for your home, both these somewhat rare, blue-blooming fall beauties, Forked Bluecurls and Azure Blue Sage, are worth searching out in the many State Parks and public natural areas across the Panhandle! For more information about Forked Bluecurls and Azure Blue sage or any other natural resource, horticultural, or agricultural topic, contact your local UF/IFAS County Extension Office. Happy fall wildflower watching!