by Mary Salinas | Aug 19, 2015
When you know that your lawn needs an application of fertilizer, herbicide, insecticide or fungicide, the question becomes how much to buy and put down. For these products, success stems from applying the right amount, not too much or too little. The label on those products always tells the consumer how many square feet of lawn can be treated, but how do you figure that out?
You could always do it the old-fashioned way with measuring tape and a calculator, estimating the angles and the areas of those curvy, irregular flower beds. This method takes a bit of time and you will still wonder about the accuracy of your final numbers.
Here’s an easier, and more accurate way to do it!
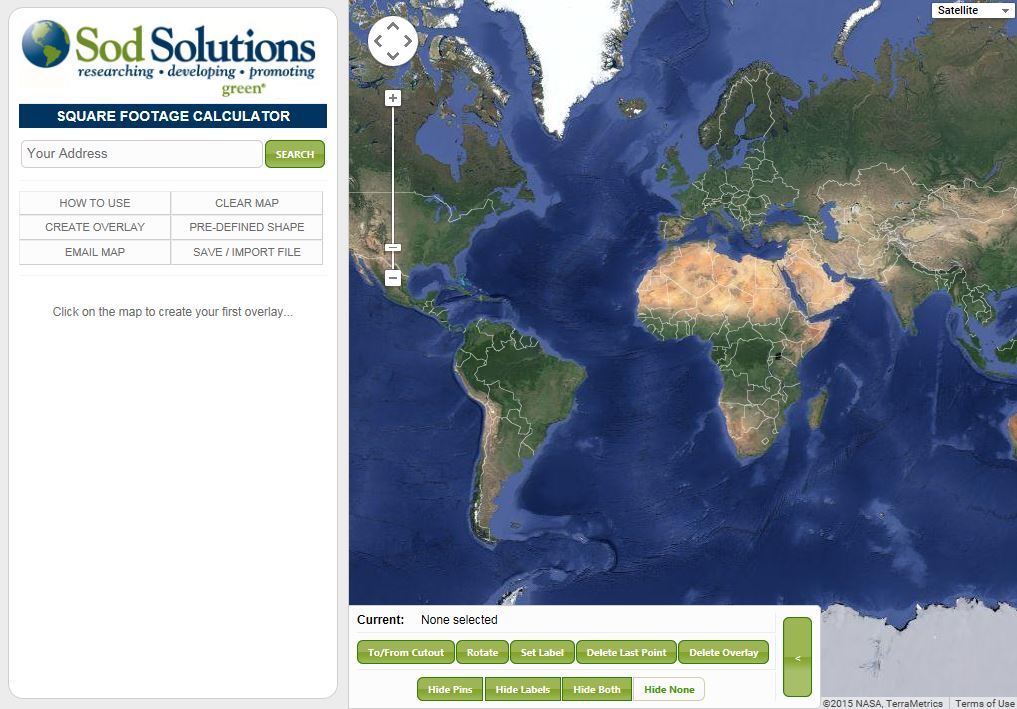
Sod Solutions, Inc. offers an online tool that is easy to use and very accurate. Enter your address and GPS locates the aerial view of your property. Create an overlay by plotting points and the square footage is automatically calculated. The instructions under ‘How to Use the Calculator’ are very clear and makes this tool so easy and convenient to use.
For more information on lawn care topics:
Gardening Solutions: Lawns
by Taylor Vandiver | Aug 3, 2015
As our world and our lives become more centered on technology it seems that all the information we need is just a touch screen away. After all, you are most likely reading this article from a laptop, smart phone, or tablet. While convenient and portable, there are some places you might not wish to take your electronics and one of those places is in the garden. You may say, “Well Taylor, that’s what they make waterproof, shatterproof, dirt proof, etc. cases for!” and I would say that you’re right. However, technology has many limiting factors such as battery life and screen glare. Now believe me, I am by no means disparaging technology! I come from a generation that considers Wi-Fi as necessary as water and an outlet comparable to oxygen. But there is something to be said for having a book in hand when out in the garden. For one thing your neighbors won’t worry about you as they see you march around the garden with your phone in the air doing the “No Signal Dance”. Also, a book is great to have in order for you to jot down any notes or reflections. I would like to list for you a few books that I often reference when I receive calls from homeowners. These books will cover various topics and all of them can be found on the UF/IFAS Bookstore website, the links for each can be found below. If you have any questions contact your local Extension Office and, as always, feel free to contact me and I can give you a rundown on my collection of favorite reference books!
- New to the UF/IFAS bookstore: “Trees: North & Central Florida” a field guide to 140 common tree species. This sturdy, pocket-sized field guide–the only one of its kind for north and central Florida–is designed for landscape professionals, arborists, naturalists, gardeners, and anyone seeking to know the trees around them. Full color photographs of leaves, bark, flowers and full trees, together with clear descriptions and other information make identifying trees easier than ever. This book also features a handy diagnostic key, an introduction to plant parts, a glossary and a ruler to guide you, whether you’re a trained botanist or a complete beginner.
- “Poisonous Plants of the Southern United States” John W. Everest, Thomas A. Powe, Jr., and John D. Freeman (of Auburn University). Identification of common poisonous plants found along fence lines and in pastures in the Southern United States.
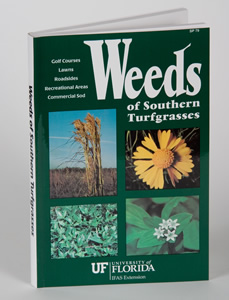
- “Weeds of Southern Turfgrasses” This practical weed identification guide contains 427 color photographs of 193 weed species, their geographical range, and life cycle descriptions. Includes a glossary of taxonomic terms and index of common and scientific names.
- “Disorders and Diseases of Ornamental Palms” Recently revised and updated, this ID deck is a diagnostic tool for landscape professionals and backyard hobbyists. The color photographs and explanatory text helps users identify and distinguish between the nutritional deficiencies, physiological disorders and common diseases of ornamental palms. All palms in the U.S. suffer from disorders and diseases, and identifying the differences can be tricky. These cards feature photographs and descriptions and are cross-referenced for easy comparison between different symptoms and the potential problems causing them. Includes a table of contents and 55 laminated, ring-bound cards.
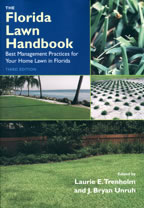
- “Florida Lawn Handbook: Best Management Practices for Your Home Lawn in Florida” Written in practical language by turfgrass experts, this highly-anticipated new edition offers the most current lawn management information. Color plates identify various grass types, weeds, diseases, and insects—including those that are good for your lawn! Chapters cover selection, establishment, and maintenance for each type of lawn; soil analysis and fertilization; yearly calendars for lawn care and culture; mowing, watering, and calibrating sprinkler systems and fertilizer spreaders; overseeding for winter color; preparing a lawn for drought and low temperatures; safe pesticide application and use; the latest integrated pest management strategies; organic lawn care; and complete, illustrated diagnostic information for weeds, diseases, insect problems, nematodes, and other pests.
- “Sustainable Gardening for Florida” Gardeners today face a unique challenge: how do you create a beautiful, thriving landscape without over-use of fertilizers, pesticides, and water? Sustainable Gardening for Florida might be the first place to look for answers. This book provides interesting, money-saving ideas to reduce your ecological footprint. It includes chapters on composting and mulching, integrated pest management, water-wise irrigation and rainwater harvesting, preparing your garden for disasters, and all aspects of managing meadows, lawns, trees and shrubs, edible gardens, rain gardens and waterfront gardening.
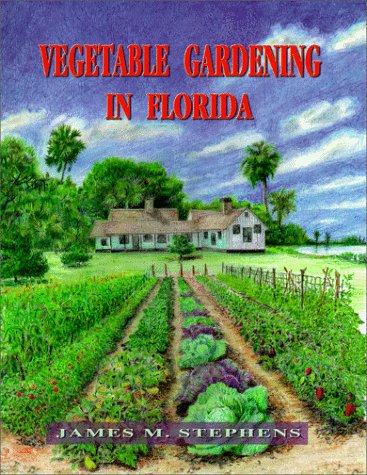
- “Vegetable Gardening in Florida” From James Stephens, the founder of the Florida Master Gardener Program, this is the one resource you need to successfully grow vegetables in Florida. Whether you’re growing beans, tomatoes, herbs, or any other Florida crop, this guide will take you from site selection and insect management through the harvest and storage of your produce. Useful planting guides, gardening measurement conversions, and organic gardening information are accented with full-color throughout.
by Julie McConnell | Jun 30, 2015
If you’ve been gardening for more than a few years, you may be confused by UF/IFAS recommendations that conflict with practices you’ve used for years. You aren’t imagining things, we do change recommendations based on the most current research available to help you with your agricultural endeavors.
I want to share a few common mistakes that gardeners make based on old recommendations but that research has shown are not the best choices. Check out the list below to see if you can break an old habit or two!
| Old Habit |
Current Recommendation |
| Throw a little “starter fertilizer” in the hole (or under new sod, seed, etc.) |
It is not beneficial to add fertilizer to plantinghole or under newly installed sod.Quick release (soluble) fertilizer may burn roots if added to planting hole.If applied properly, a slow release fertilizer may be applied to trees and shrubs but should be applied to the top of root ball or mulch following label instructions.Turfgrass grown from seed, sprig, or sod does not use fertilizer efficiently at planting. Wait 30 days to apply fertilizer – after roots have been established. |
| Dig the hole twice as deep and wide as the root ball for trees and shrubs |
1.5 times the width of the root ball is good, but planting too deep can be a death sentence.Planting depth should be 10% shallower than the distance from the topmost root to the base of the root ball. |
| Mulch 3-5 inches deep |
2-3 inches with a very thin layer directly over the rootball (less than 1 inch) and none touching trunk. This is the ideal amount to conserve water and suppress weeds. |
| Native and drought tolerant plants don’t need water |
All plants need water until established – depending on the type and size of the plant, weather, and soil conditions this may take months.Always plan to give a little TLC to newly installed plants no matter how tough they are supposed to be. |
by Taylor Vandiver | Jan 22, 2015
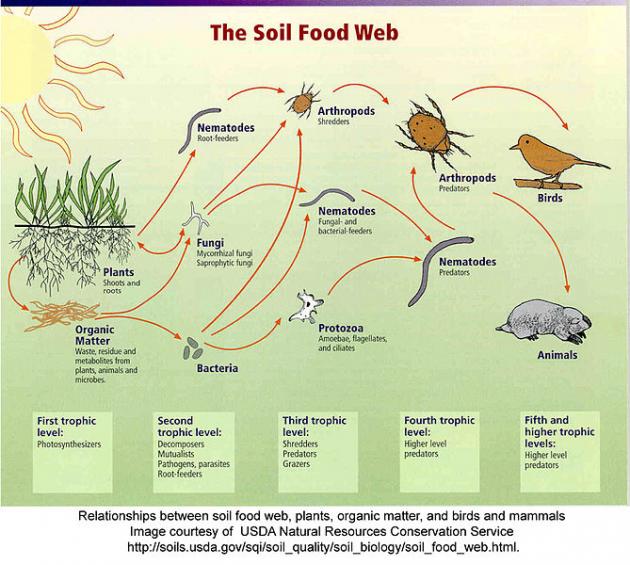
You’re digging up a ridiculously stubborn patch of Florida betony when an earthworm crawls across your path. As you break apart the soil in your hands a world of active organisms is being sifted through your fingers. Fertile soil is teeming with beneficial microbes. It is estimated that there can be billions of microbes in a single gram of soil.
Bacteria, fungi, and protozoa are major players in soil microbial processes. They perform a variety of functions beneficial to soil and the plants growing in that soil. Other soil organisms of importance are nematodes, arthropods, and earthworms.
Soil Food Web. Photo courtesy USDA-NRCS.
Rather than being an inert material, soil houses a dynamic living ecosystem. Most soil organisms are too small to be seen, however they are still performing a great service to gardeners in many ways. These organisms are vitally important to improving the health of our soils. They also play a key role in making nutrients available to plants.
Soil organisms are naturally active during certain times of the year. Most are active during late spring and early summer when the soil is warm and moist. If the soil dries out during the summer months, soil organism activity will decline. During fall months, if there is rain or snow that moistens the soil while it is still warm, soil organisms may resume partial activity. As the soil cools in the fall, many organisms go dormant. It is important for gardeners to note that soil organisms help breakdown certain fertilizers and during the cool, dry months these fertilizers, if applied, will be less available for plants to take up.
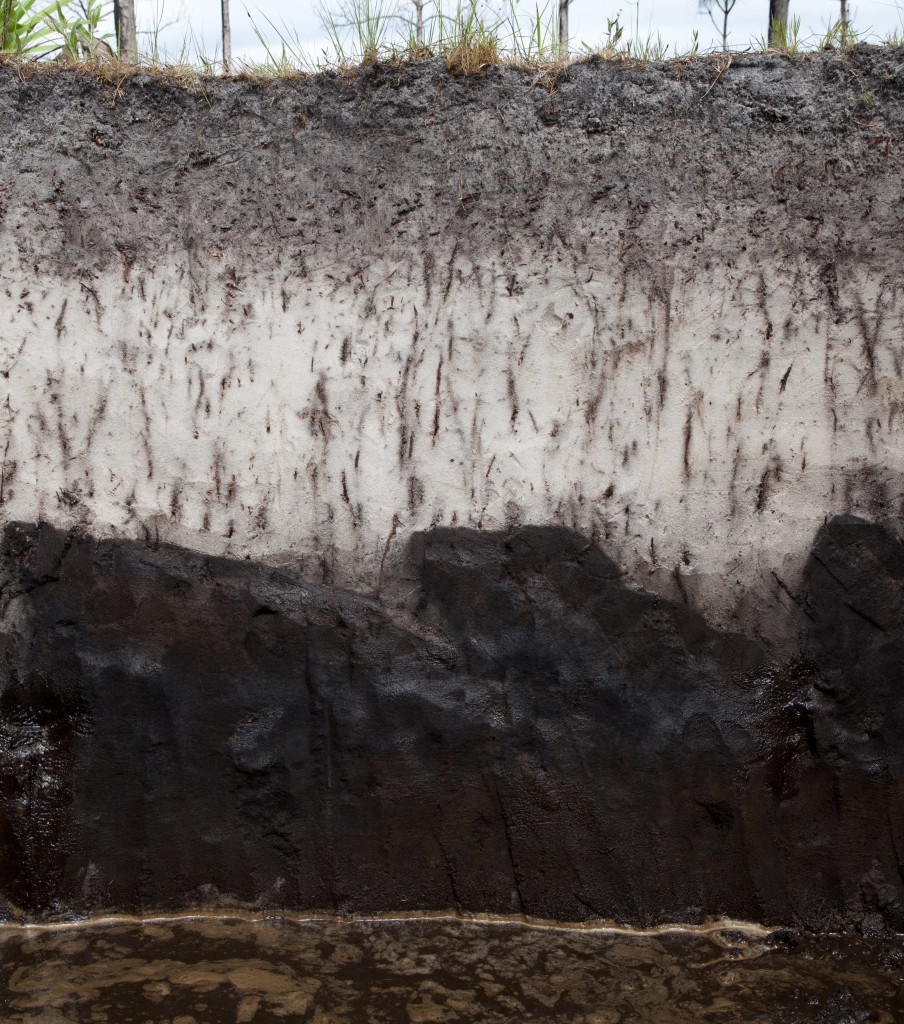
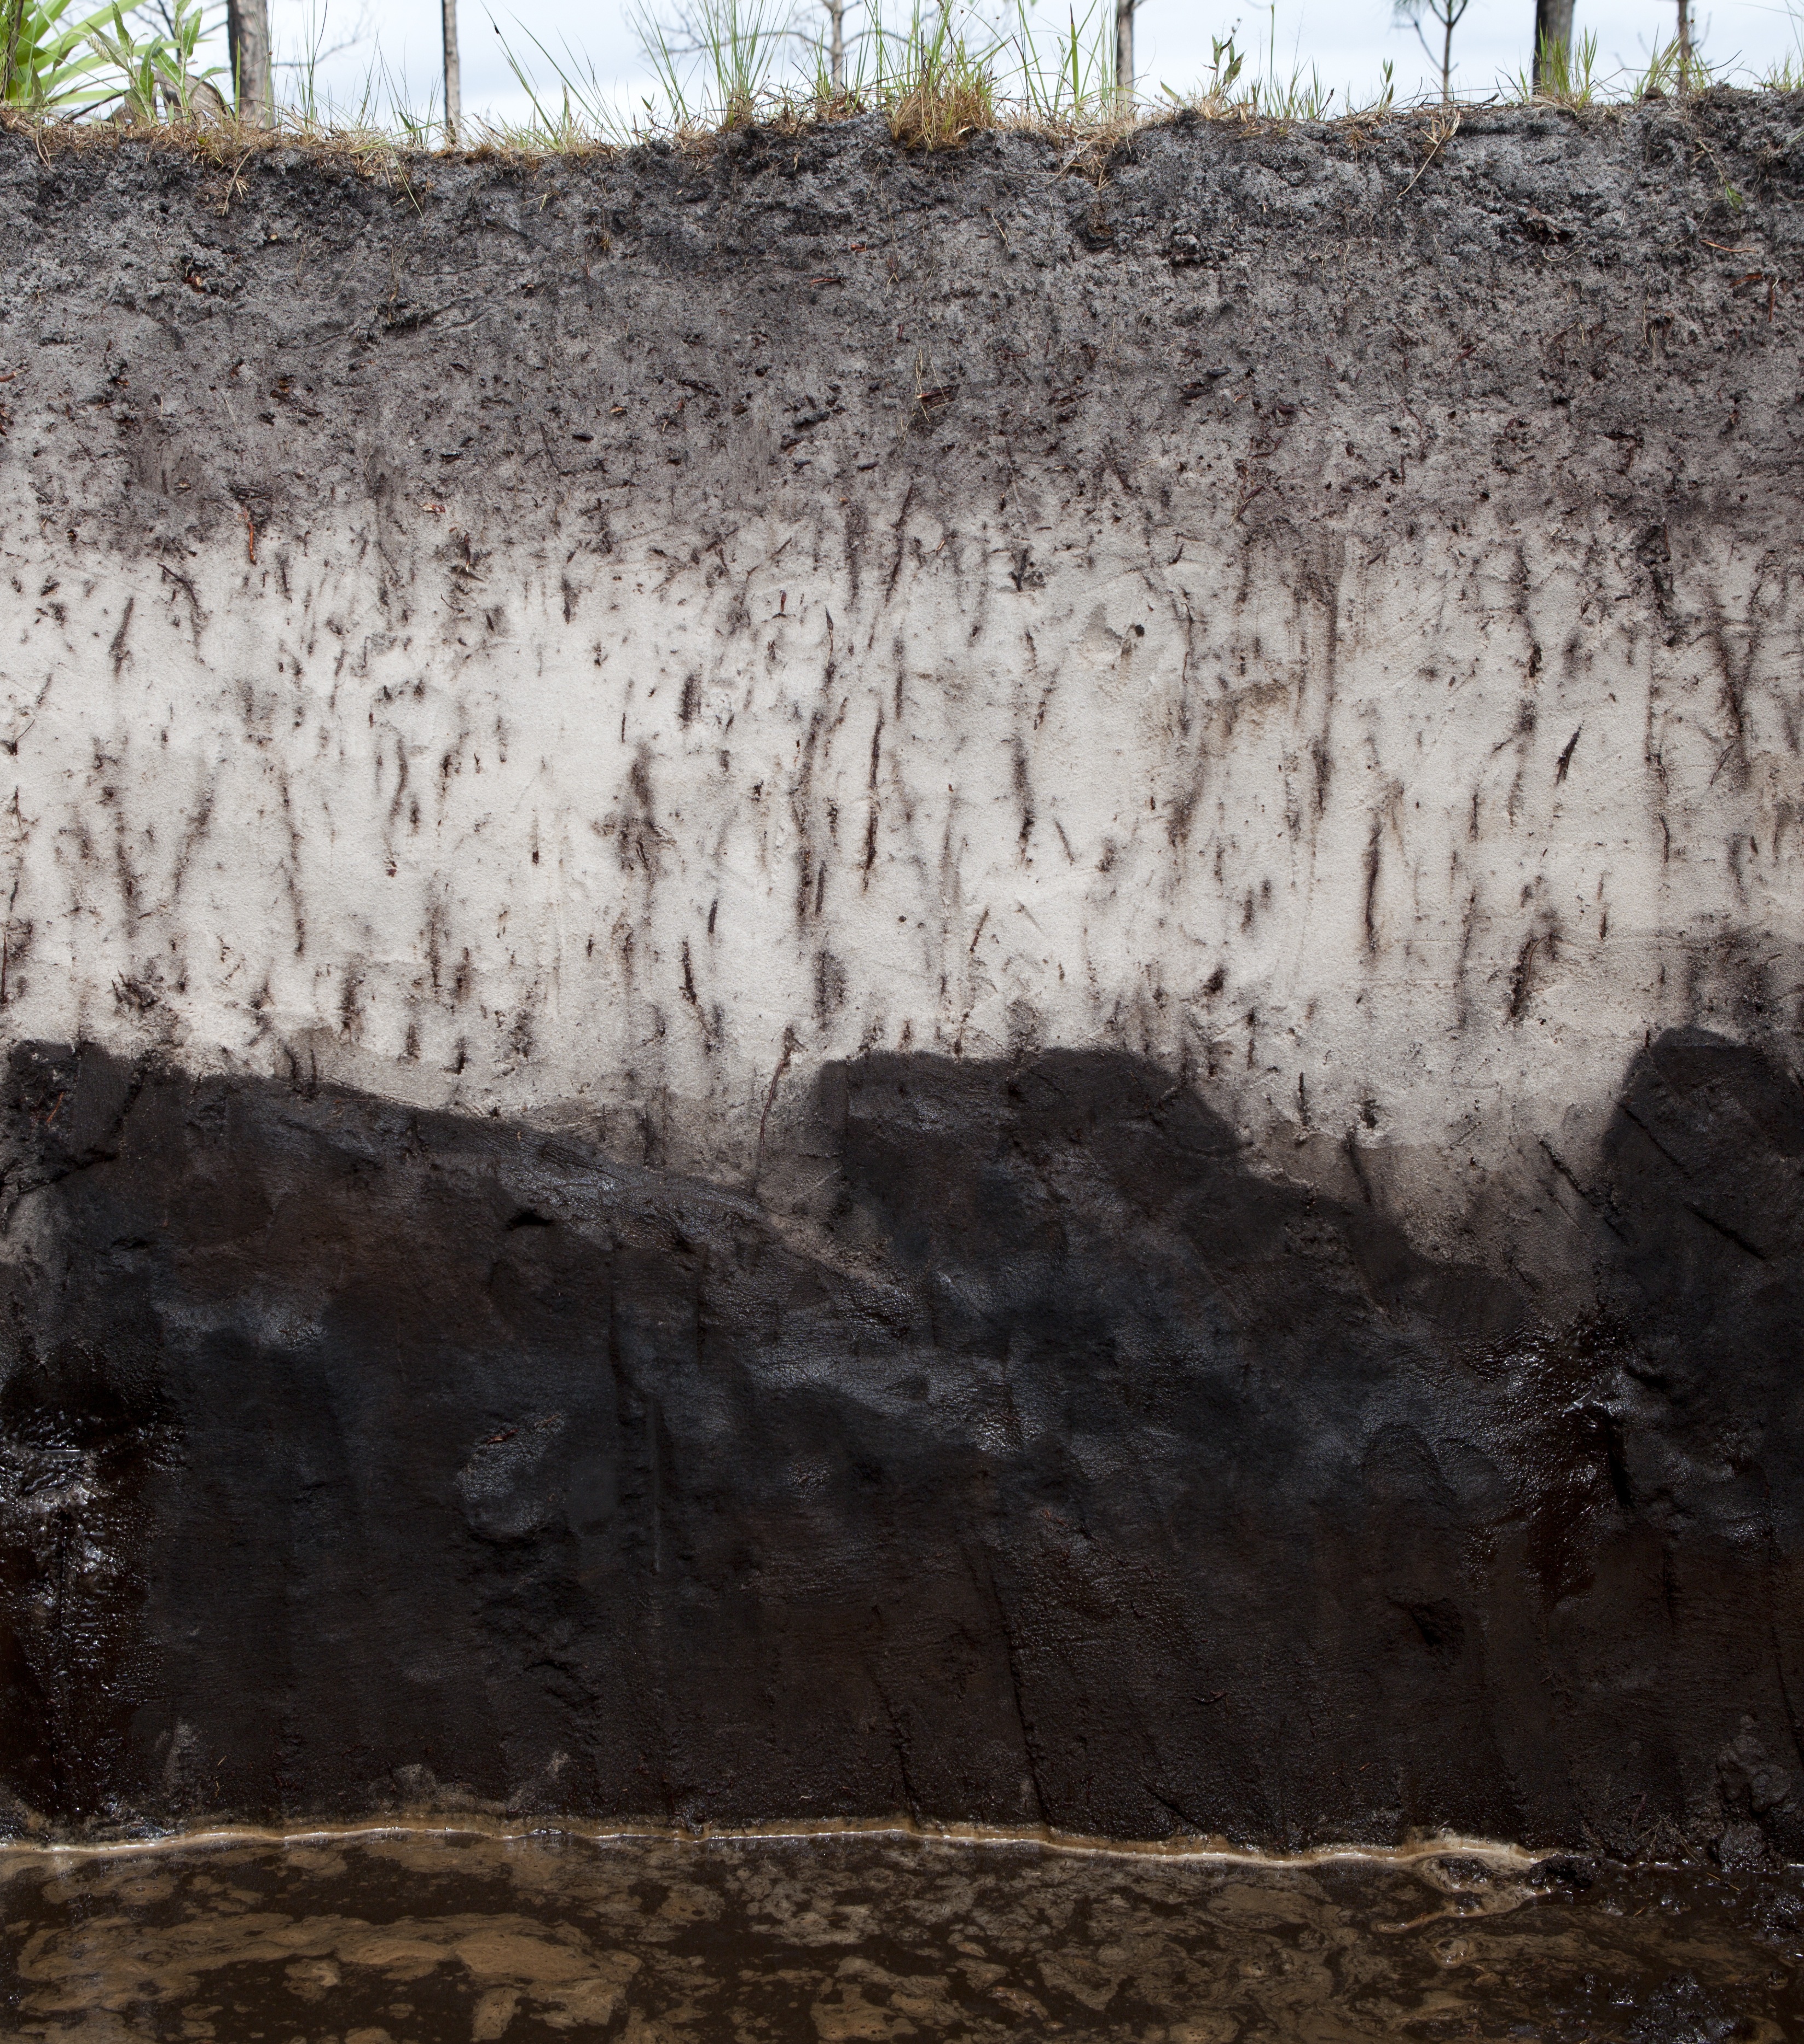
Soil profile. Photo courtesy UF/IFAS.
Soil organisms are generally placed within three categories: organisms that are beneficial to plants, organisms that play a neutral role in plant growth, and organisms that are harmful to plants. Creating a favorable environment for beneficial soil organisms can improve plant growth and reduce garden maintenance. Encouraging their efforts is key to building a healthy fertile soil. Here are some ways you can encourage beneficial organisms in your soil:
- Add organic matter to the soil. Soil organisms require a food source from soil amendments (compost, crop residues) and/or mulch.
- Water effectively. Soil organisms are happiest in an environment that is damp, but not soggy. (Avoid over-irrigation because waterlogged soils will be harmful to beneficial soil organisms)
- Avoid unnecessary tilling, as it can destroy the mycorrhizae and soil structure. Instead of tilling, mulch for weed control.
- Avoid pesticide applications that aren’t necessary. Some fungicides, insecticides and herbicides are harmful to various types of soil organisms.
by Mary Salinas | Dec 16, 2014
This is the time of year when leaves are turning shades of yellow and red and falling from the trees. And this spurs homeowners to get out there with their rakes and rid them from their lawns. This is a good practice as too many leaves will shade out the grass and decrease the quality of the lawn come next spring. So, go ahead and rake them up. However, think about using as many as you can as mulch in other parts of your yard.

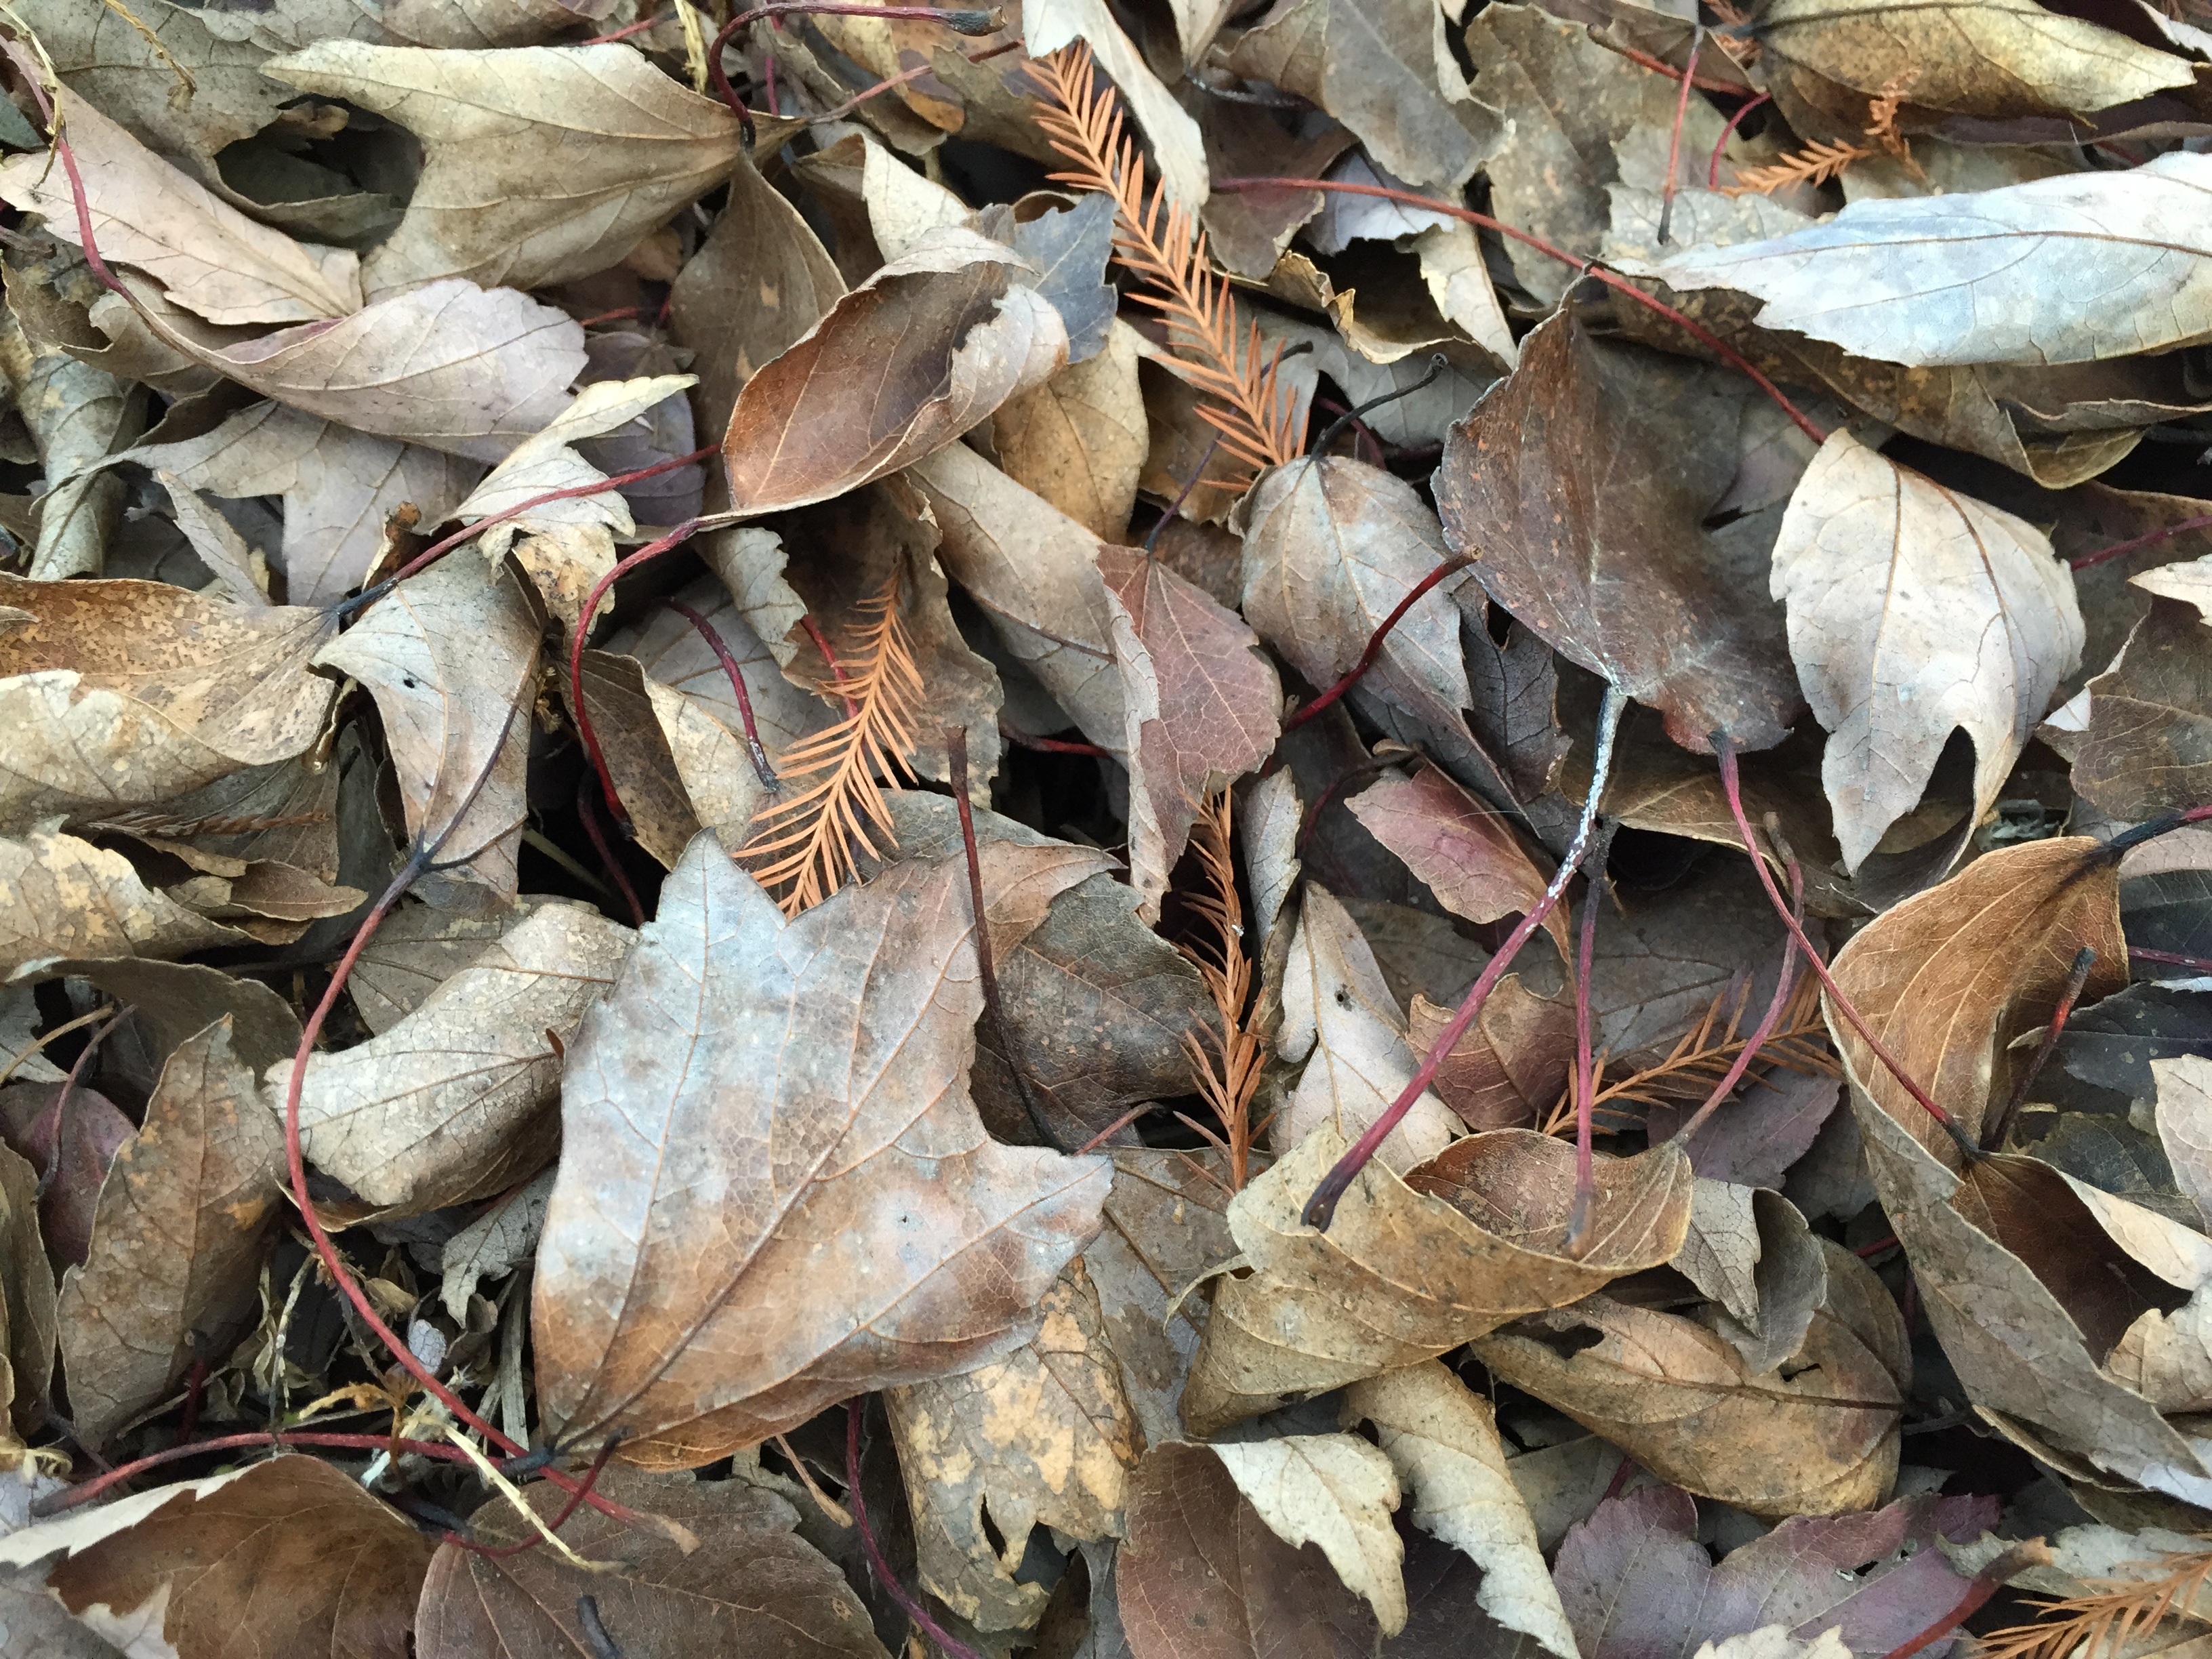
Leaves as mulch. Photo credit: Mary Derrick UF/IFAS Extension.
Leaves can be placed as mulch in landscape beds “as is” or chopped up with your mower or shredder into finer pieces and then spread around perennials, shrubs and trees. When chopped up or shredded, they tend to stay in place much better and don’t blow around when it gets windy. As the leaves break down over time, their nutrients are released and become available; that’s free fertilizer for your landscape plants. Leaves as mulch do have a natural look in the landscape, so if you prefer a more formal or polished look, you can spread a thin one-inch layer of a commercial mulch over the leaves.
Organic mulches (those made from plants) offer many benefits. They add organic matter and improve soil fertility as they decompose, thus reducing the need for added fertilizers. Mulch helps to maintain soil moisture so less frequent irrigation may be needed. Soil-borne disease can also be prevented as the soil does not splash up on the bottom leaves of plants during periods of rain. One of the favored reasons to use mulch is to prevent weeds in your landscape beds. And, of course, mulch is much prettier to look at than bare ground!
So how deep should you apply mulch? University of Florida experts advise a 3 to 4 inch layer of mulch around shrubs and trees. However, keep mulch from setting against the stems and trunks as that can cause moisture and pests to adversely affect them. Place just a thin one-inch layer of mulch over the rootballs of your plants.
Using leaves as mulch recycles a natural resource and saves you money, enriches your soil, fertilizes your plants and keeps them out of the local landfill.
For more information:
Landscape Mulches: What Are The Choices in Florida?
Mulch Recommendations

by Roy Carter | Sep 16, 2014
Image Credit Dan Culbert, UF / IFAS Extension
You can’t judge fertilizer by appearance. Fortunately, state law requires each fertilizer label to include specific content facts. However, these can be confusing.To obtain the proper types of fertilizers for various applications, you must understand the label. At the top you’ll find the identification of the manufacturer or distributor. Of course, this doesn’t tell how well the fertilizer will help your lawn, ornamentals, or vegetables.
Next, if the term “organic” is used, these will be a statement identifying the type of material, as well as how much is natural, and how much is synthetic. This is an important indication of how the fertilizer will react in your soil. For example, natural, natural organic nitrogen is released slowly. A fertilizer containing a high percentage of this material would be good for lawns, helping them stay green, without causing spurts of extra fast growth.
The key information is found in the guaranteed analysis section of the label. A series of numbers, such as 8-8-8 or 10-10-10, tell you which, and how much, of the primary plant nutrients the fertilizer contains. That is, the numbers show the guaranteed amount of nitrogen, phosphorus, and potassium. For example, a fertilizer labeled 10-10-10 contains ten percent nitrogen, ten percent phosphorous, and ten percent potassium. Thus, a hundred pounds of this product contains 30 pounds of plant food. The other 70 pounds is conditioner and filler, required for even spreading. These may include some incidental trace elements. If the fertilizer contains significant amounts of secondary plant foods, such as calcium, magnesium, copper and others, they will be listed near the bottom of the tag.
The most difficult part of the label to understand is the information listed right after the total nitrogen figure, in the guaranteed analysis section. In addition to the total amount, the label gives percentages of each of several types of nitrogen in the mix. This tells you a lot about how the fertilizer works.
You’ll see the terms nitrate nitrogen, ammoniacal nitrogen, water soluble organic nitrogen, urea nitrogen, and water insoluble nitrogen. Plants use nitrate, water soluble organic, and urea nitrogen fairly quickly. They might work well in a vegetable garden. But, they won’t last very long, because they’re rapidly leached out of the soil by rain and irrigation water. On the other hand, ammoniacal and water insoluble nitrogen will last longer in sandy Florida soils.
Following the basic analysis, is a statement of the maximum amount of chlorine the fertilizer contains. Excess chlorine may be injurious to certain plants, both vegetables and ornamentals species. Small amounts can be beneficial under some condition.
Unfortunately, I can’t fully explain anything this complicated in one short article. I hope I’ve clarified a few of the basic points. To obtain the proper fertilizer for your specific vegetable and ornamental gardening needs, you must understand the information on fertilizer labels when in doubt; we suggest you check with your County Extension Agent.
For More Information:
The Florida Fertilizer Label