Weeds identification and management is still one of the most common questions we receive at the local UF IFAS Extension office. Learn about the chamberbitter weed that can grow in turf and ornamental beds and the multi faceted approach that is necessary for management In the Garden with Beth Bolles, UF IFAS Extension Escambia County.
“There are these weeds spreading all over my yard. They have little round leaves that are real close to the ground and creep in every direction. I keep trying to get rid of them by mowing my grass shorter, but they are killing my grass. What are they and how do I get rid of them?” Here at the Extension office, this is a conversation I have had nearly daily for the past month. We are here to help with identification and control of many landscape problems, including weeds.
However, my first word of advice is to change the mowing practice. Short, spreading weeds cannot be mowed out. You need to do just the opposite. Mowing as high as possible (3-4”) will help to reduce weeds by shading them out, therefore, reducing their spread.
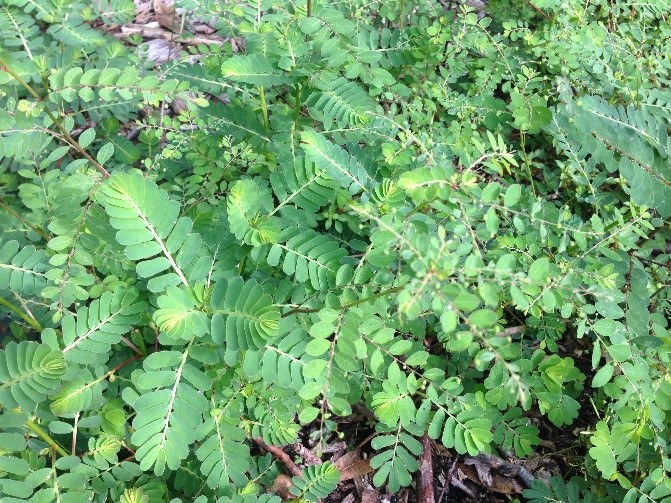
In every instance, the weeds have been common lespedeza (Kummerowia striata (Thunb.) Schind syn. Lespedeza striata) and/or prostrate spurge (Euphorbia maculata syn. Chamaesyce maculata). Both grow close to the ground with a spreading habit. Both have small, rounded leaves and produce small, light-colored flowers. But, if you look close, there are significant differences that will help with identification.
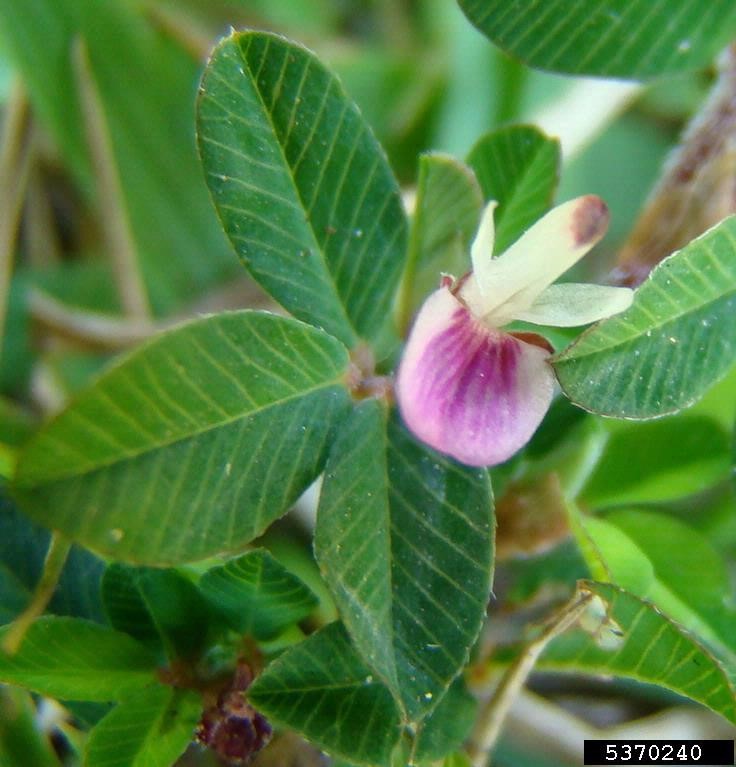
Common lespedeza, also known as Japanese clover, is prostrate summer annual that forms 15-18 inch patches. The stems are wiry. It has dark green trifoliate (arranged in threes) leaves with three oblong, smooth leaflets. Leaflets have parallel veins nearly at right angles to a prominent mid-vein. Its leaves have smooth edges and a short spur at the tip of each leaflet. Flowers appear in late summer with small pink to purple, single flowers found in leaf axils on most of the nodes of the main stems. As common lespedeza matures, the stems harden and become woody.
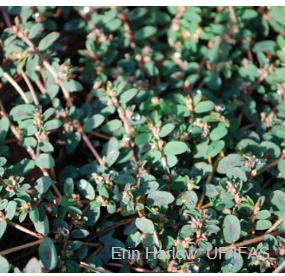
Prostrate spurge is a summer annual broadleaf weed that spreads by seed. The leaves are oval in shape, small, and opposite along the stem. As it matures, a red spot may form in the center of the leaf, earning it the common name spotted spurge. Another distinct characteristic is the stem contains a milky sap that oozes when the stem is broken. Light pink to white-colored flowers appear from early-summer through the fall.
Both are annual,broadleaf weeds, so there are several post-emergent herbicides available to kill the ones present. Don’t forget the pre-emergent herbicide application in late winter though. These weeds can drop plenty of seed. The importance of knowing which weed you have is more about the message they are trying to send you. These weeds can indicate other issues that may be part of the reason the grass is thinning and allowing the weeds to take over in the first place.
Common lespedeza is a legume. It thrives when water is plentiful and soil nutrients are low. If this is the weed “taking over” your yard, you need to get a soil test and evaluate your watering habits. Improving fertility and reducing soil moisture will naturally weaken common lespedeza.
If your thin patches of declining grass are being replaced with spurge, it may be time to submit a sample for a nematode assay. Research has shown that spurge is a weed that can thrive with high populations of nematodes. Turfgrass species are easily harmed by nematodes (microscopic roundworms that imbed into and on grass roots). If the assay indicates harmful population levels, unfortunately there are few options for reduction of the nematodes. However, several ornamental plants are tolerant. So, you may need to consider creating a landscape bed area rather than continuing to battle poor-looking grass.
Weeds can serve as indicators to soil conditions that may need to be addressed. Learning to identify weeds may teach you more than just their names.
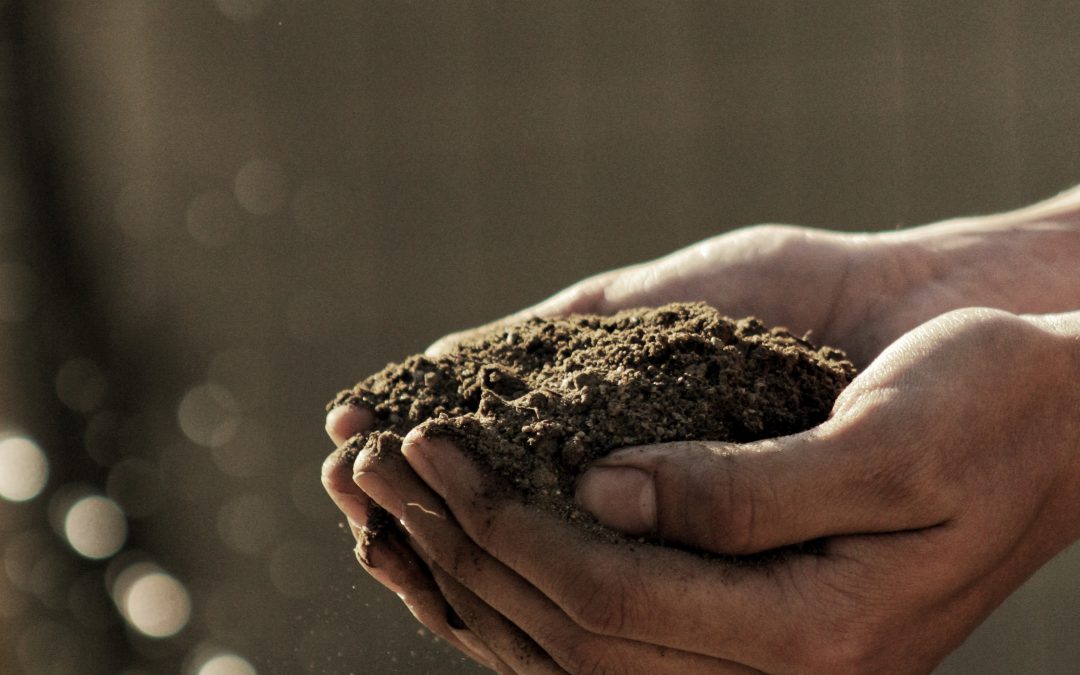
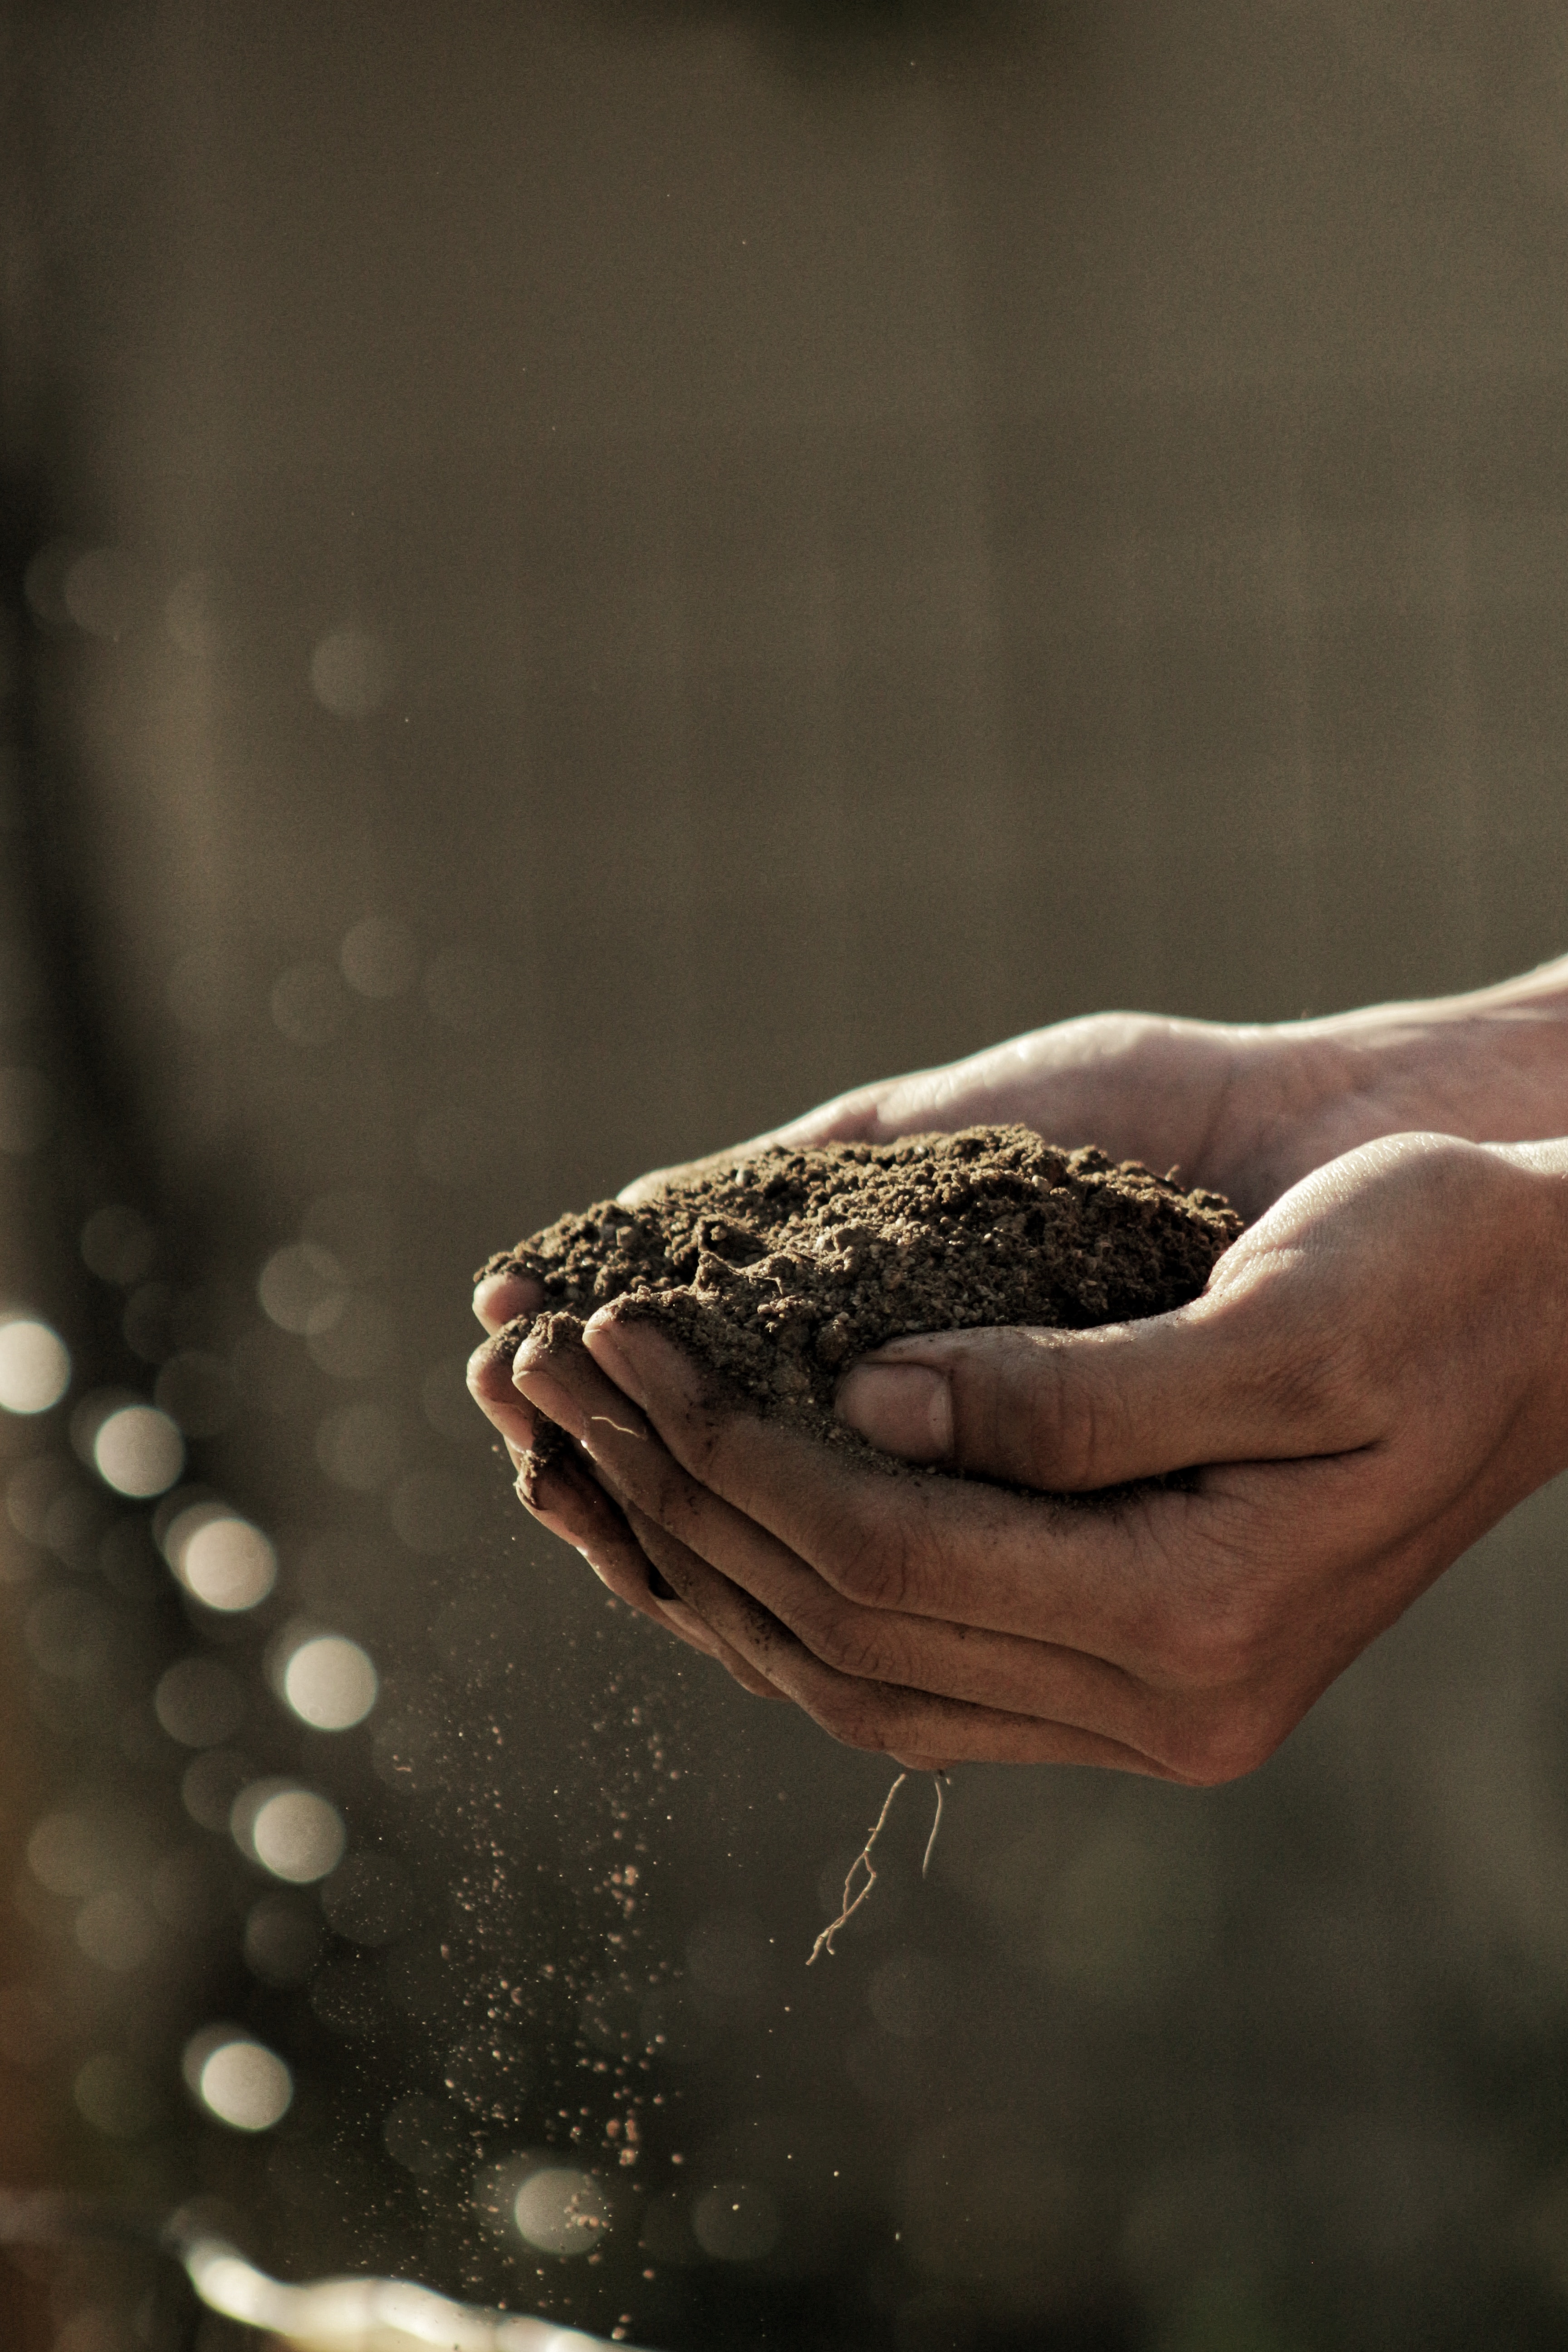
Photo courtesy of Gabriel Jimenez at Unsplash.com.
Gardeners have always known, down to their bones, that getting down and dirty in the soil is good for you. My grandmother was a staunch believer in the beneficial, calming effect of pulling weeds and digging in the garden when she was angry or frustrated with life.
Pulling weeds, digging up plants, planting new plants and seeds, mixing in good compost to a new landscape bed – these are joys that bring gardeners into intimate contact with soil and all the abundant life within. Gardeners love that smell of good fertile soil. As do nature lovers of all sorts. Hikers love the earthy smell as they tromp through the woods – especially after a nice rain when the fragrance is especially fresh and sweet.
What causes the aroma that we are experiencing? Much of it is bacteria. Good bacteria. Healthy soil is a complex ecosystem containing a great biodiversity of species of plants, fungi, animals and bacteria. And much research is being done to identify and learn about the thousands of species living under our feet.
Scientists are now suggesting that a fatty acid found in the soil-based bacterium Mycobacterium vaccae may alleviate stress and stress related disorders in humans. Gardeners have always known there was something about the soil that was good and healthy for us. Now, we have the science to back it up!
More and more homeowners are incorporating edible plants into their home landscape in order to enjoy the fresh taste of fruits and vegetables. Another trend to consider this coming cool season is to start a few common flowers that can serve as flavor enhancements for many of your dishes.
There are numerous plants that we commonly grow that have edible flowers but before striking out on your first taste test, be sure to research first. Always remember the common saying that every flower is edible once. Find a reputable reference guide from a friendly neighborhood Extension office for a list of common edible flowers, then be ready to start from seeds. It is best not to purchase transplants from an ornamental nursery unless you are sure of all the treatments for that plants. Nurseries are often selling these for beauty alone, not with intention that they will be eaten.
Here are a few edible flowers to try:
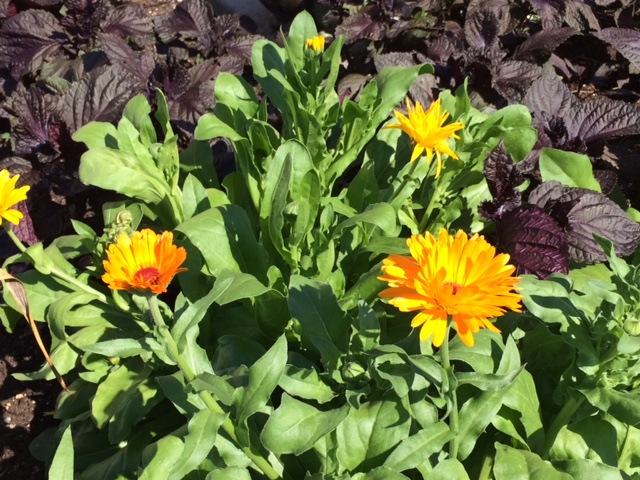
Pot marigold or Calendula is a wonderful cool season flower on its own. Brightly colored orange or yellow flowers improve the drab colors of our cool season and plants are sturdy annuals for borders, mass plantings, or in containers. Petals have a peppery flavor and add spice to salads and sandwiches. You may also add flowers to soups, fishes and butters for added coloring. Calendula petals can be a saffron substitute.
Calenduala is easily started from seeds and will reseed in your garden once established. Photo by Beth Bolles, UF IFAS Extension Escambia County.
The well known dianthus is a great transition plant as our days cool and warm up again the spring. Use as front of the border plantings or in containers as a filler. When harvesting petals of dianthus, you will want to remove the white petal base which is a little bitter. The flavor is a little more delicate than cloves so you can add petals to punches, desserts, and fruit salads.
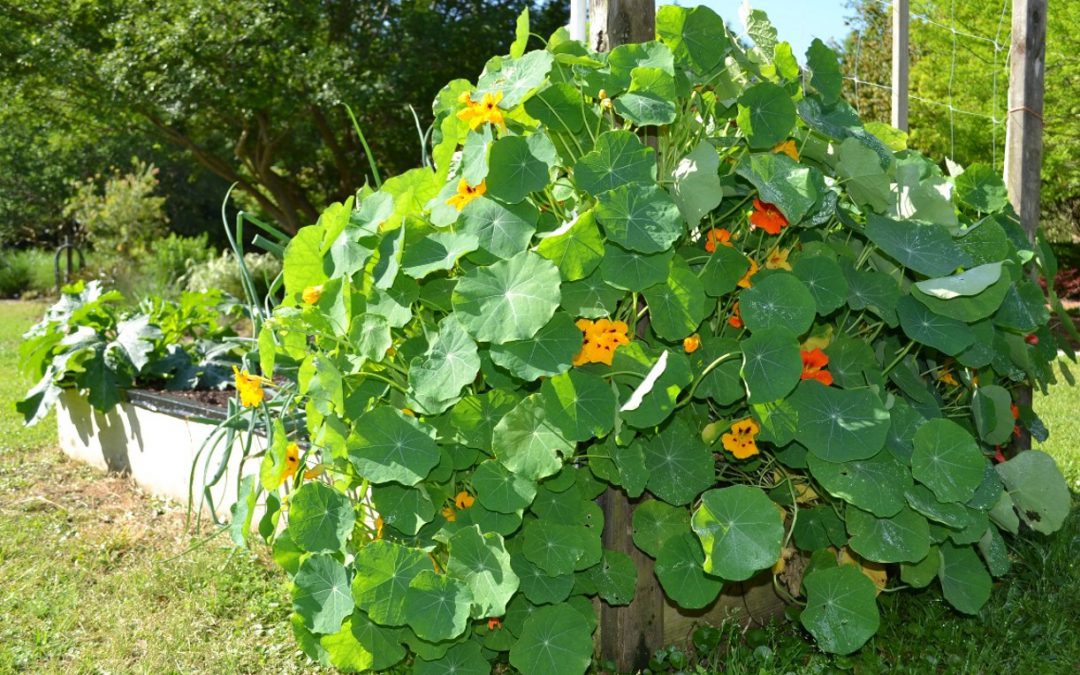
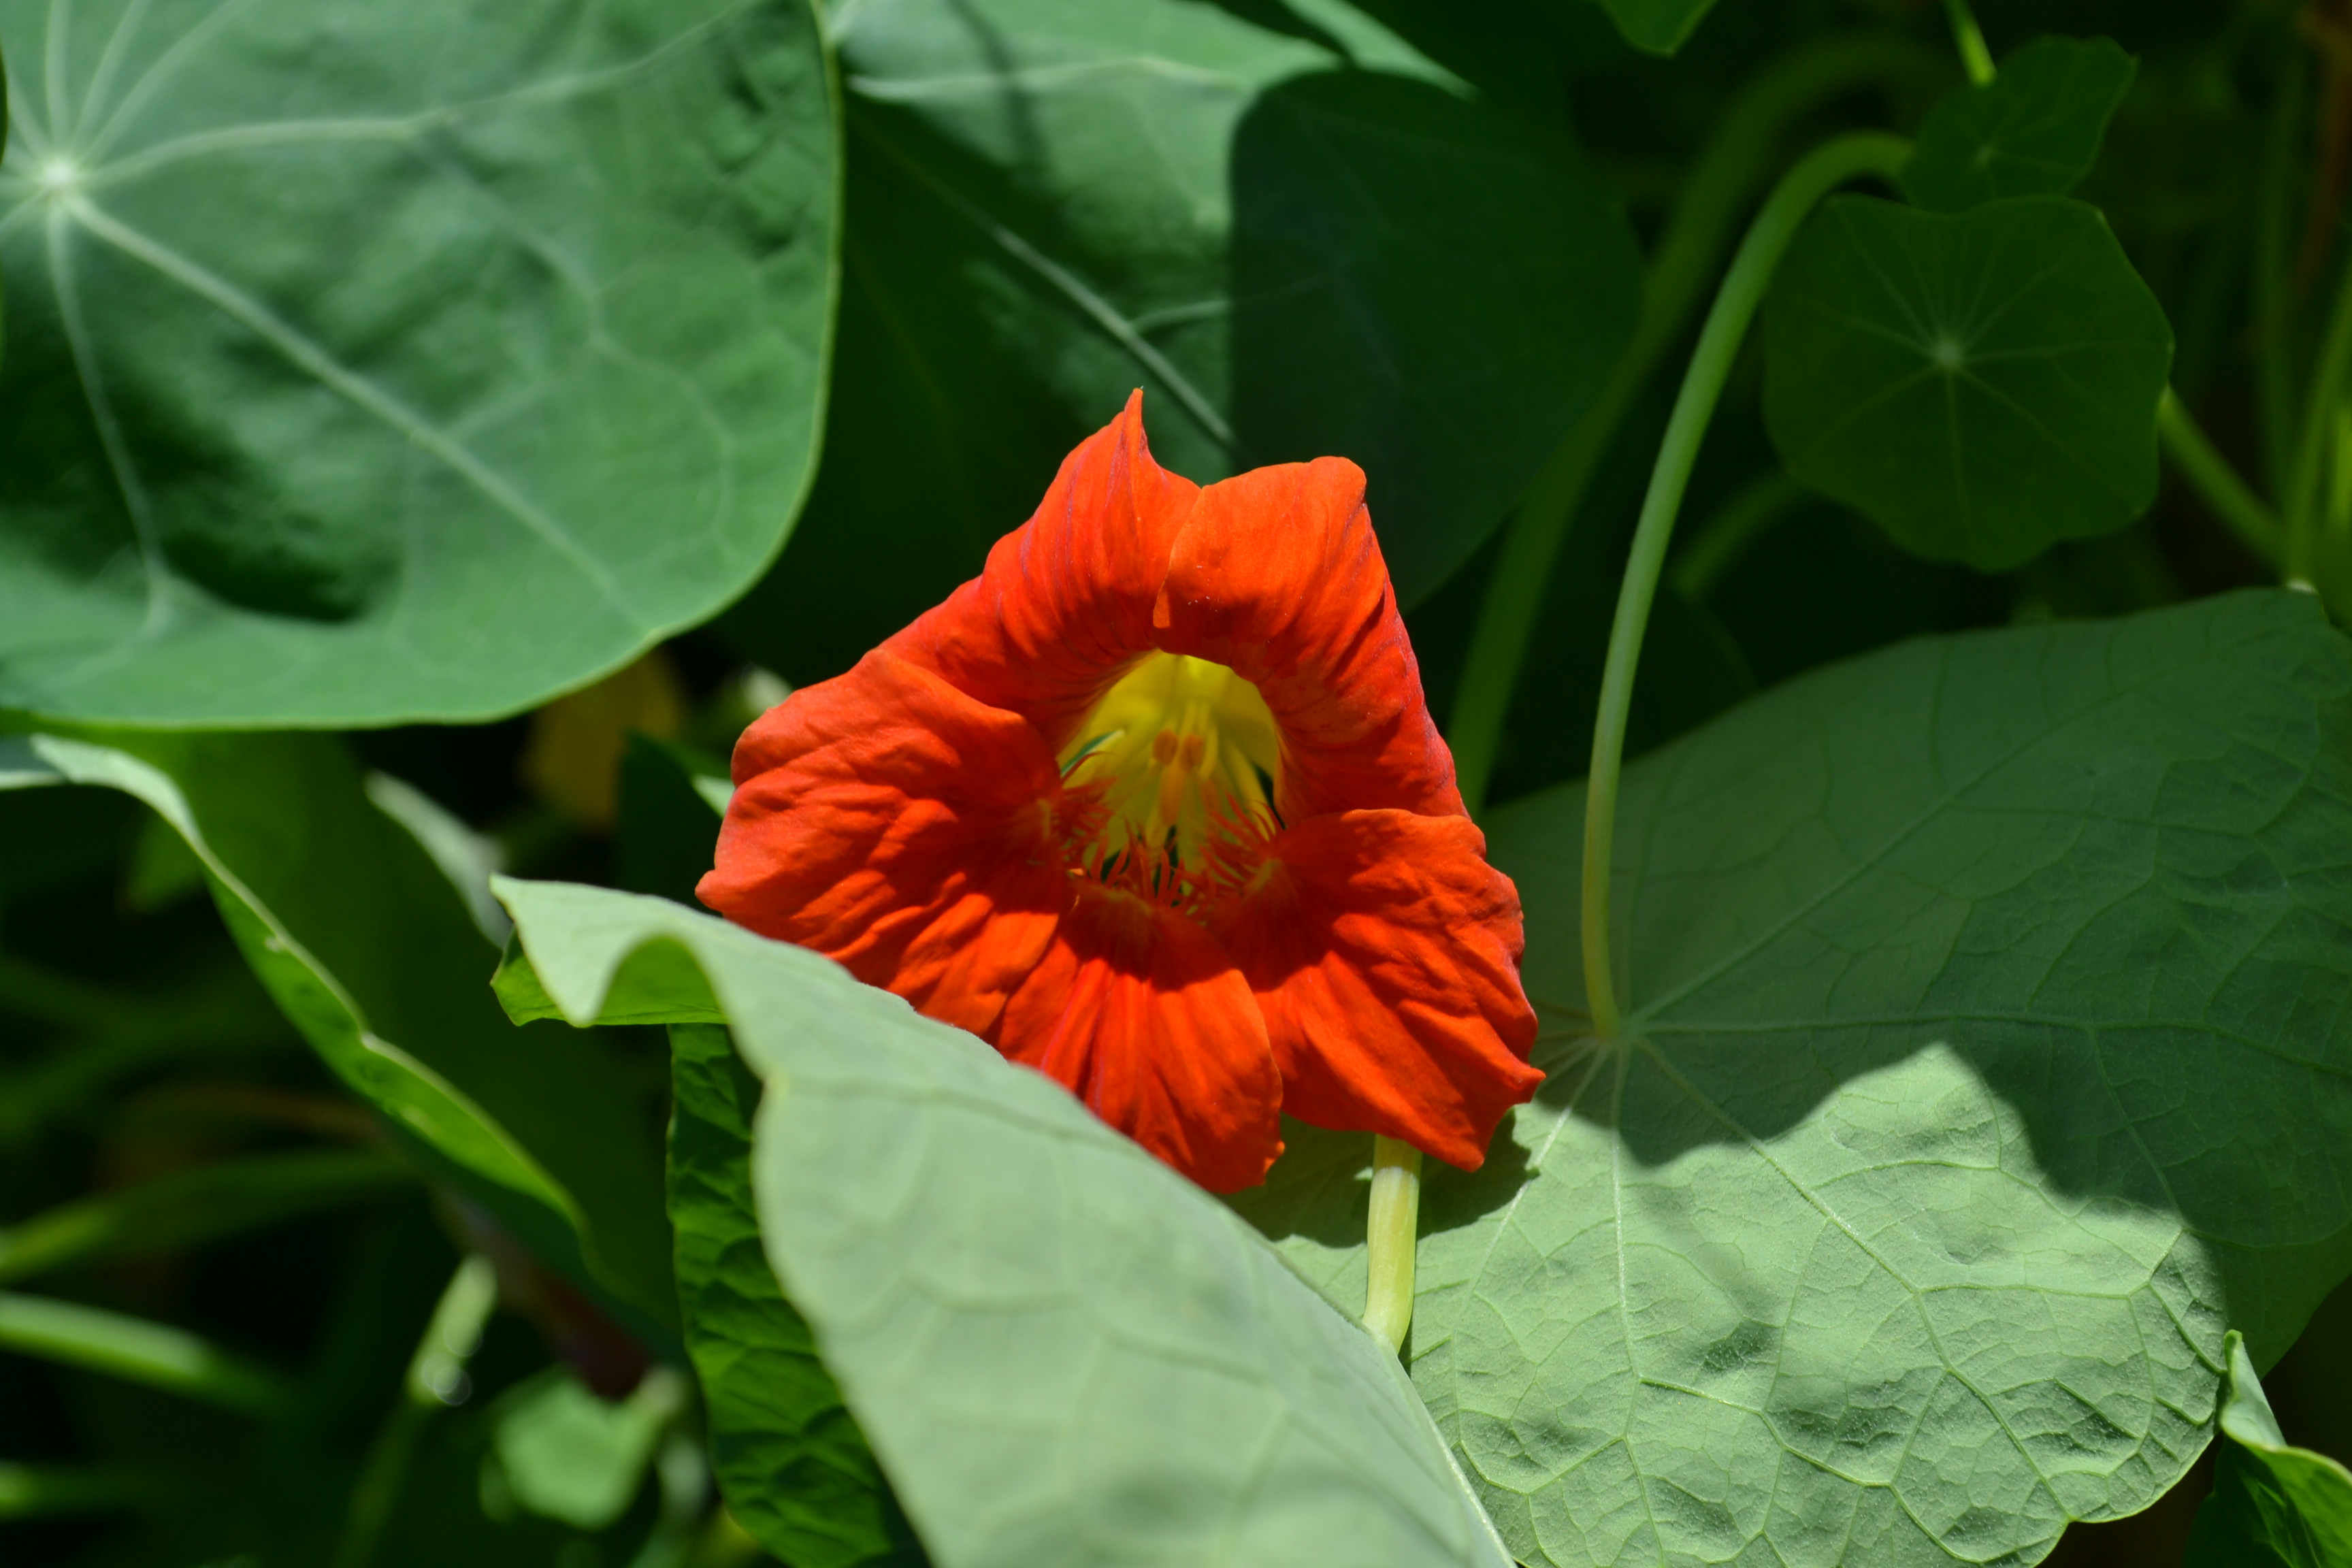
If you like a little more spice, try nasturtiums. We often plant these after the last frost and they grow until we get too hot. Since our fall weather is so unpredictable, you may be able to start some seeds for a fall planting and have flowers before our first cold spell. Either way, nasturtium flowers are often sliced for salads and sandwiches as a mustard or pepper substitute. You can also mince flowers to add to a butter. If you let some flowers go to seed, collect the unripe seeds to make a caper substitute vinegar.
Grow nasturiums during our transition times of spring and fall. Photo by Beth Bolles, UF IFAS Extension Escambia County.
If you are going to use edible flowers from your garden remember to keep all non food labeled pesticides away from plants. Harvest flowers at their peak after the dew dries. Separate petals from other flower parts and if you have allergies be sure to remove any pollen. Place flowers in a moist towel in the refrigerator if you will not use them immediately. Rinse carefully so not to damage tender petals.
There are many other ornamental plants that offer edible flowers you may want to consider growing in the future. These flowers not only enhance the look of the dish but can offer unique flavoring from a locally grown source – your own backyard.
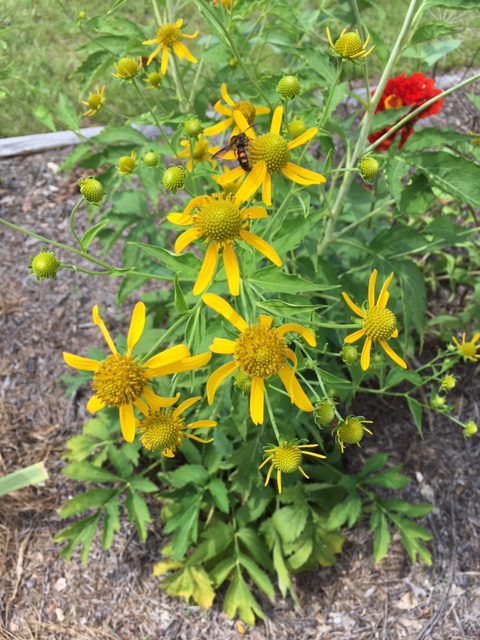
Until plans were underway for our UF/IFAS Demonstration Butterfly Garden, I had never heard of Cutleaf Coneflower, Rudbeckia lacineata. Master Gardener Volunteer Jody Wood-Putnam included this gem in her garden design and introduced me and many of our visitors to a new garden favorite.
Although in the same genus as your common Black-eyed Susan’s (Rudbeckia fulgida or R. hirta) this perennial has very distinct differences. Rather than the low growing, hairy, oblong leaves of Black-eyed Susan, Cutleaf Coneflower has smooth pinnately lobed leaves with serrated edges. The leaves are still clump forming but form an almost bush-like shape. By mid to late summer, tall flower spikes emerge and are covered in bright yellow flowers bringing the overall height of the plant over 5 feet tall!
Cutleaf Coneflower is native to North America with several variations adapted to different regions including the Southeast and Florida. This perennial performs well in full sun to part shade and needs a lot of space. Mature plants can reach 3’ wide by 10’ tall and may require staking. The plant can spread through underground runners, so be sure to give it lots of space. In North Florida leaves may be evergreen if winter is mild. Cutleaf Coneflower is a good wildlife attractant providing nectar and pollen for many insects and if you leave the flowers on to mature the seed the is eaten by songbirds, including goldfinch.
To see this plant in person, stop by the UF/IFAS Demonstration Garden at 2728 E. 14th Street, Panama City, FL. If during normal business hours, check in for available seeds from our Pollinator Garden. 850-784-6105
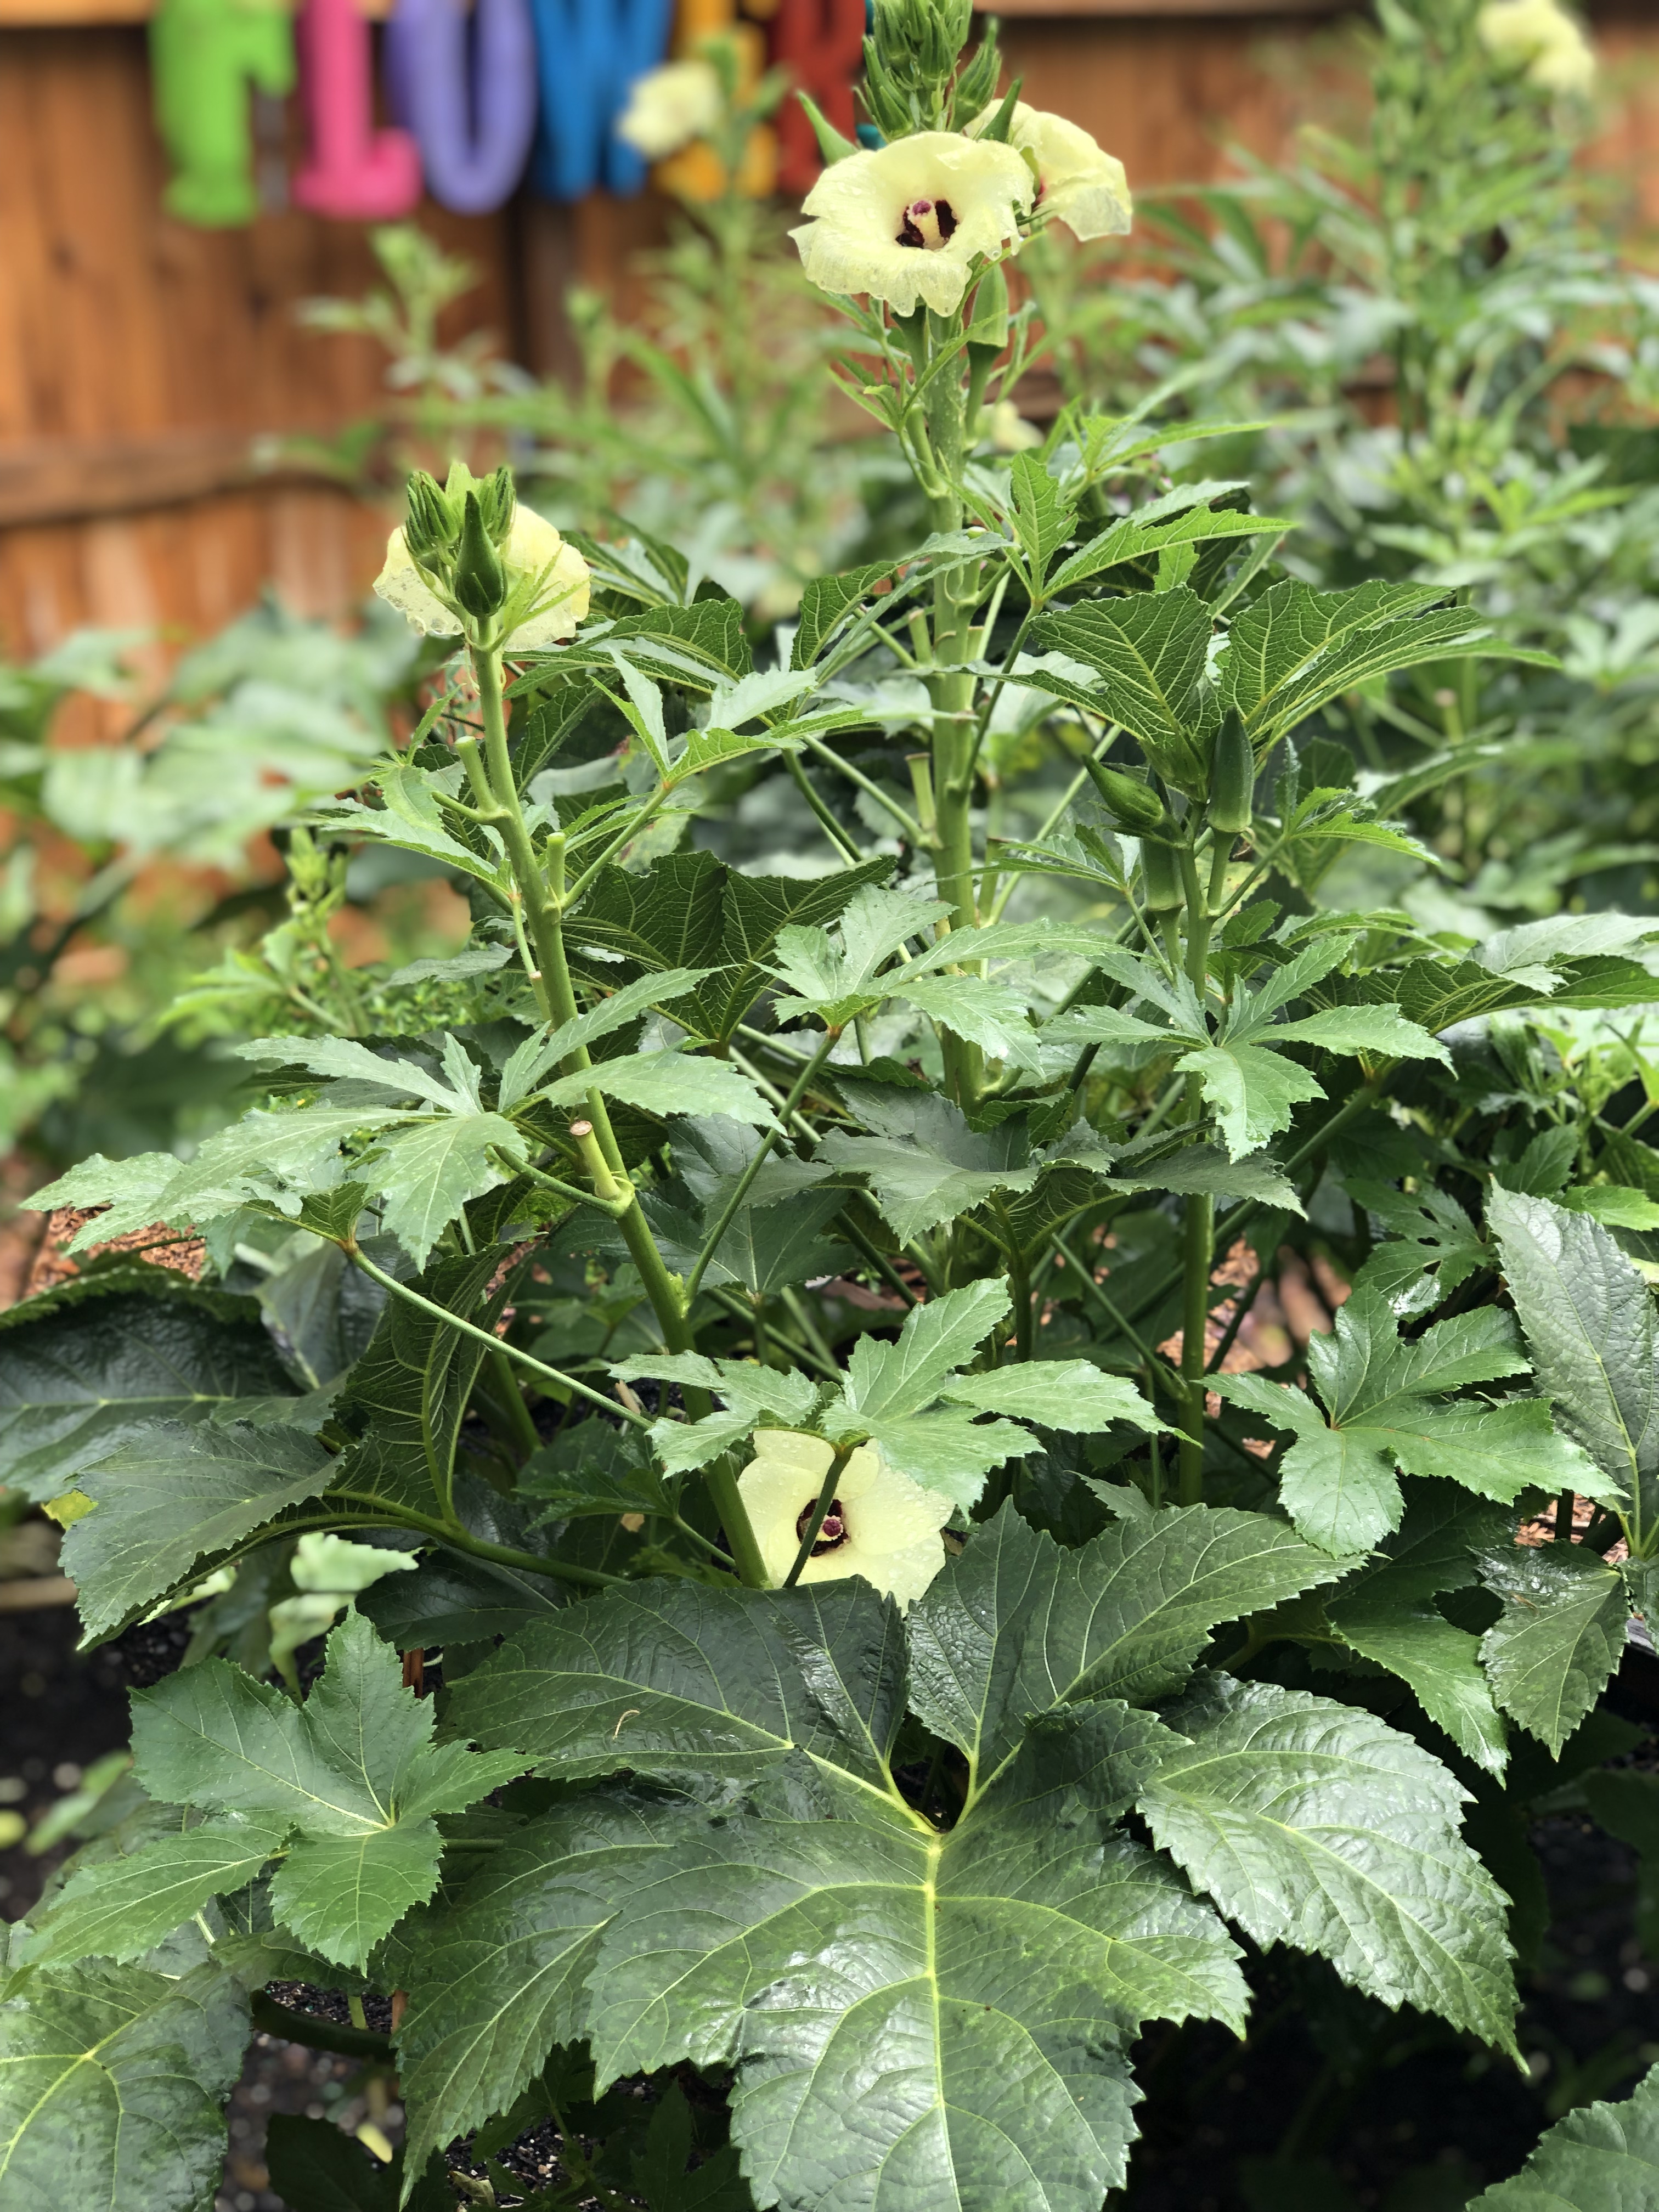
Though Okra (Abelmoschus esculentus) fruit isn’t much more than a thick green hull, slime and seeds and the plant itself is impossibly irritating to the skin, few plants are as integral to Southern heritage. In my mind, okra is among the best vegetables Panhandle gardeners can grow. Not only is it a gorgeous plant – Okra belongs to the Mallow family which also includes beauties like Hibiscus and Cotton – but it’s exceedingly versatile in the kitchen, excellent fried, grilled, roasted, boiled (though you have to acquire a taste for slimy textures to enjoy this method) and most famously, as a thickening agent in Cajun gumbo. Because of this exalted status in Southern culture, whether you enjoy eating okra or not, it’s almost mandatory here to include the plant in one’s garden. Most gardeners stick with the old standard varieties such as ‘Clemson Spineless’ or ‘Cowhorn’ and there is nothing wrong with them, however, these plants are almost too prolific for most gardens (growing upwards of 6-7’), especially for those of us growing in the close confines of raised beds. In the search for a less rambunctious but still ultra-productive cultivar, this summer I trialed ‘Jambalaya’, an F1 hybrid developed by Sakata Seed in 2012, with impressive results!
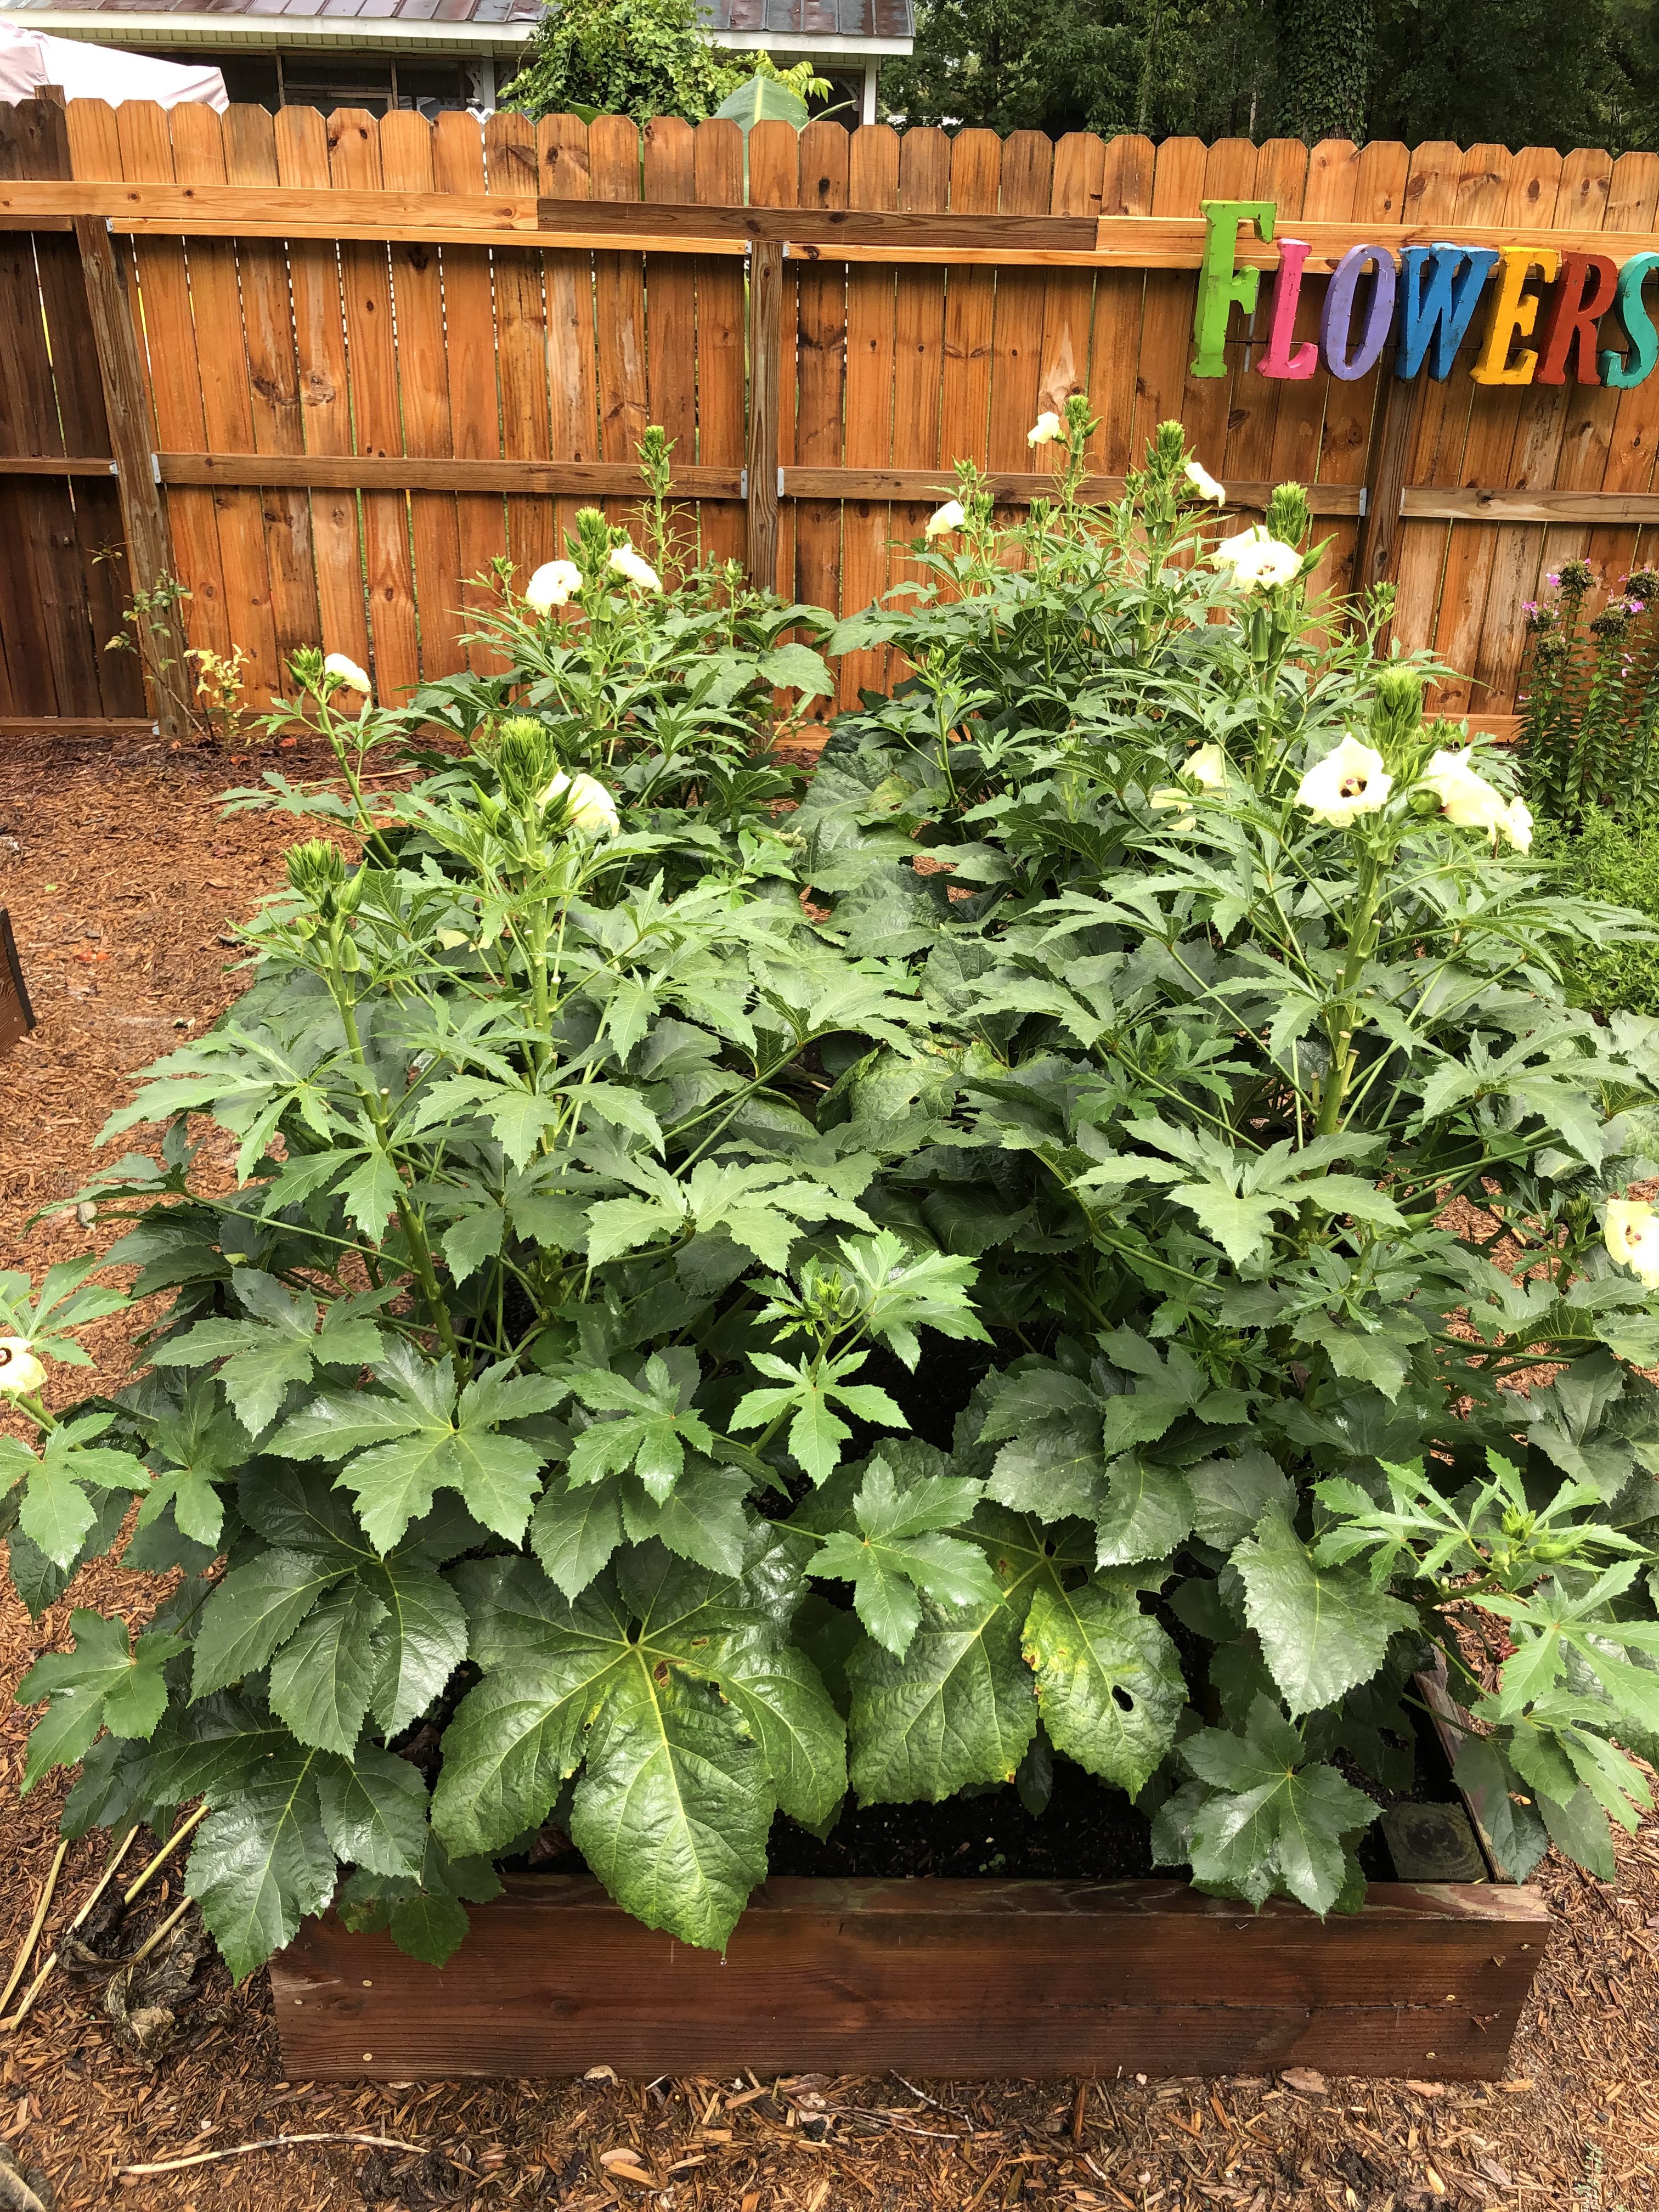
‘Jambalaya’ Okra in the author’s garden.
From my experience growing the cultivar this summer, ‘Jambalaya’ merits consideration in the garden, and is a must for raised bed gardeners, for two primary reasons. First, it was bred to be compact and is considered a dwarf cultivar. This is an awesome attribute, as I typically end the growing season picking okra from a small ladder! Most seed purveyors tout the plant as reaching a maximum height of 3-4’ and while this estimate might be a little conservative, I can attest that ‘Jambalaya’ is greatly reduced in height compared to the standard cultivars. The second advantage of growing this variety is that it begins producing very early relative to its peers and bears heavily. ‘Jambalaya’ fruit begin to ripen in about 50 days, about ten days to two weeks earlier than ‘Clemson Spineless’, a definite advantage if rotating behind a late maturing spring crop like potatoes as I typically do. Though ‘Jambalaya’ is a dwarf plant, in no way are yields reduced. My specimens have produced continuously since late-July and will continue to do so as long as adequate fertility and consistent harvesting are provided.
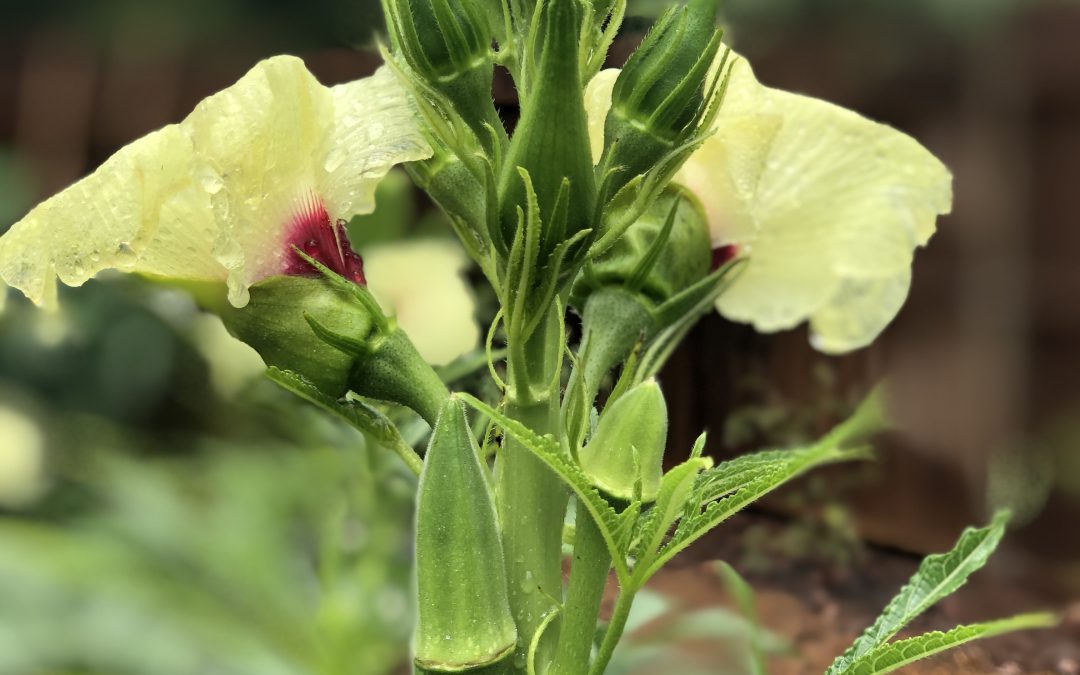
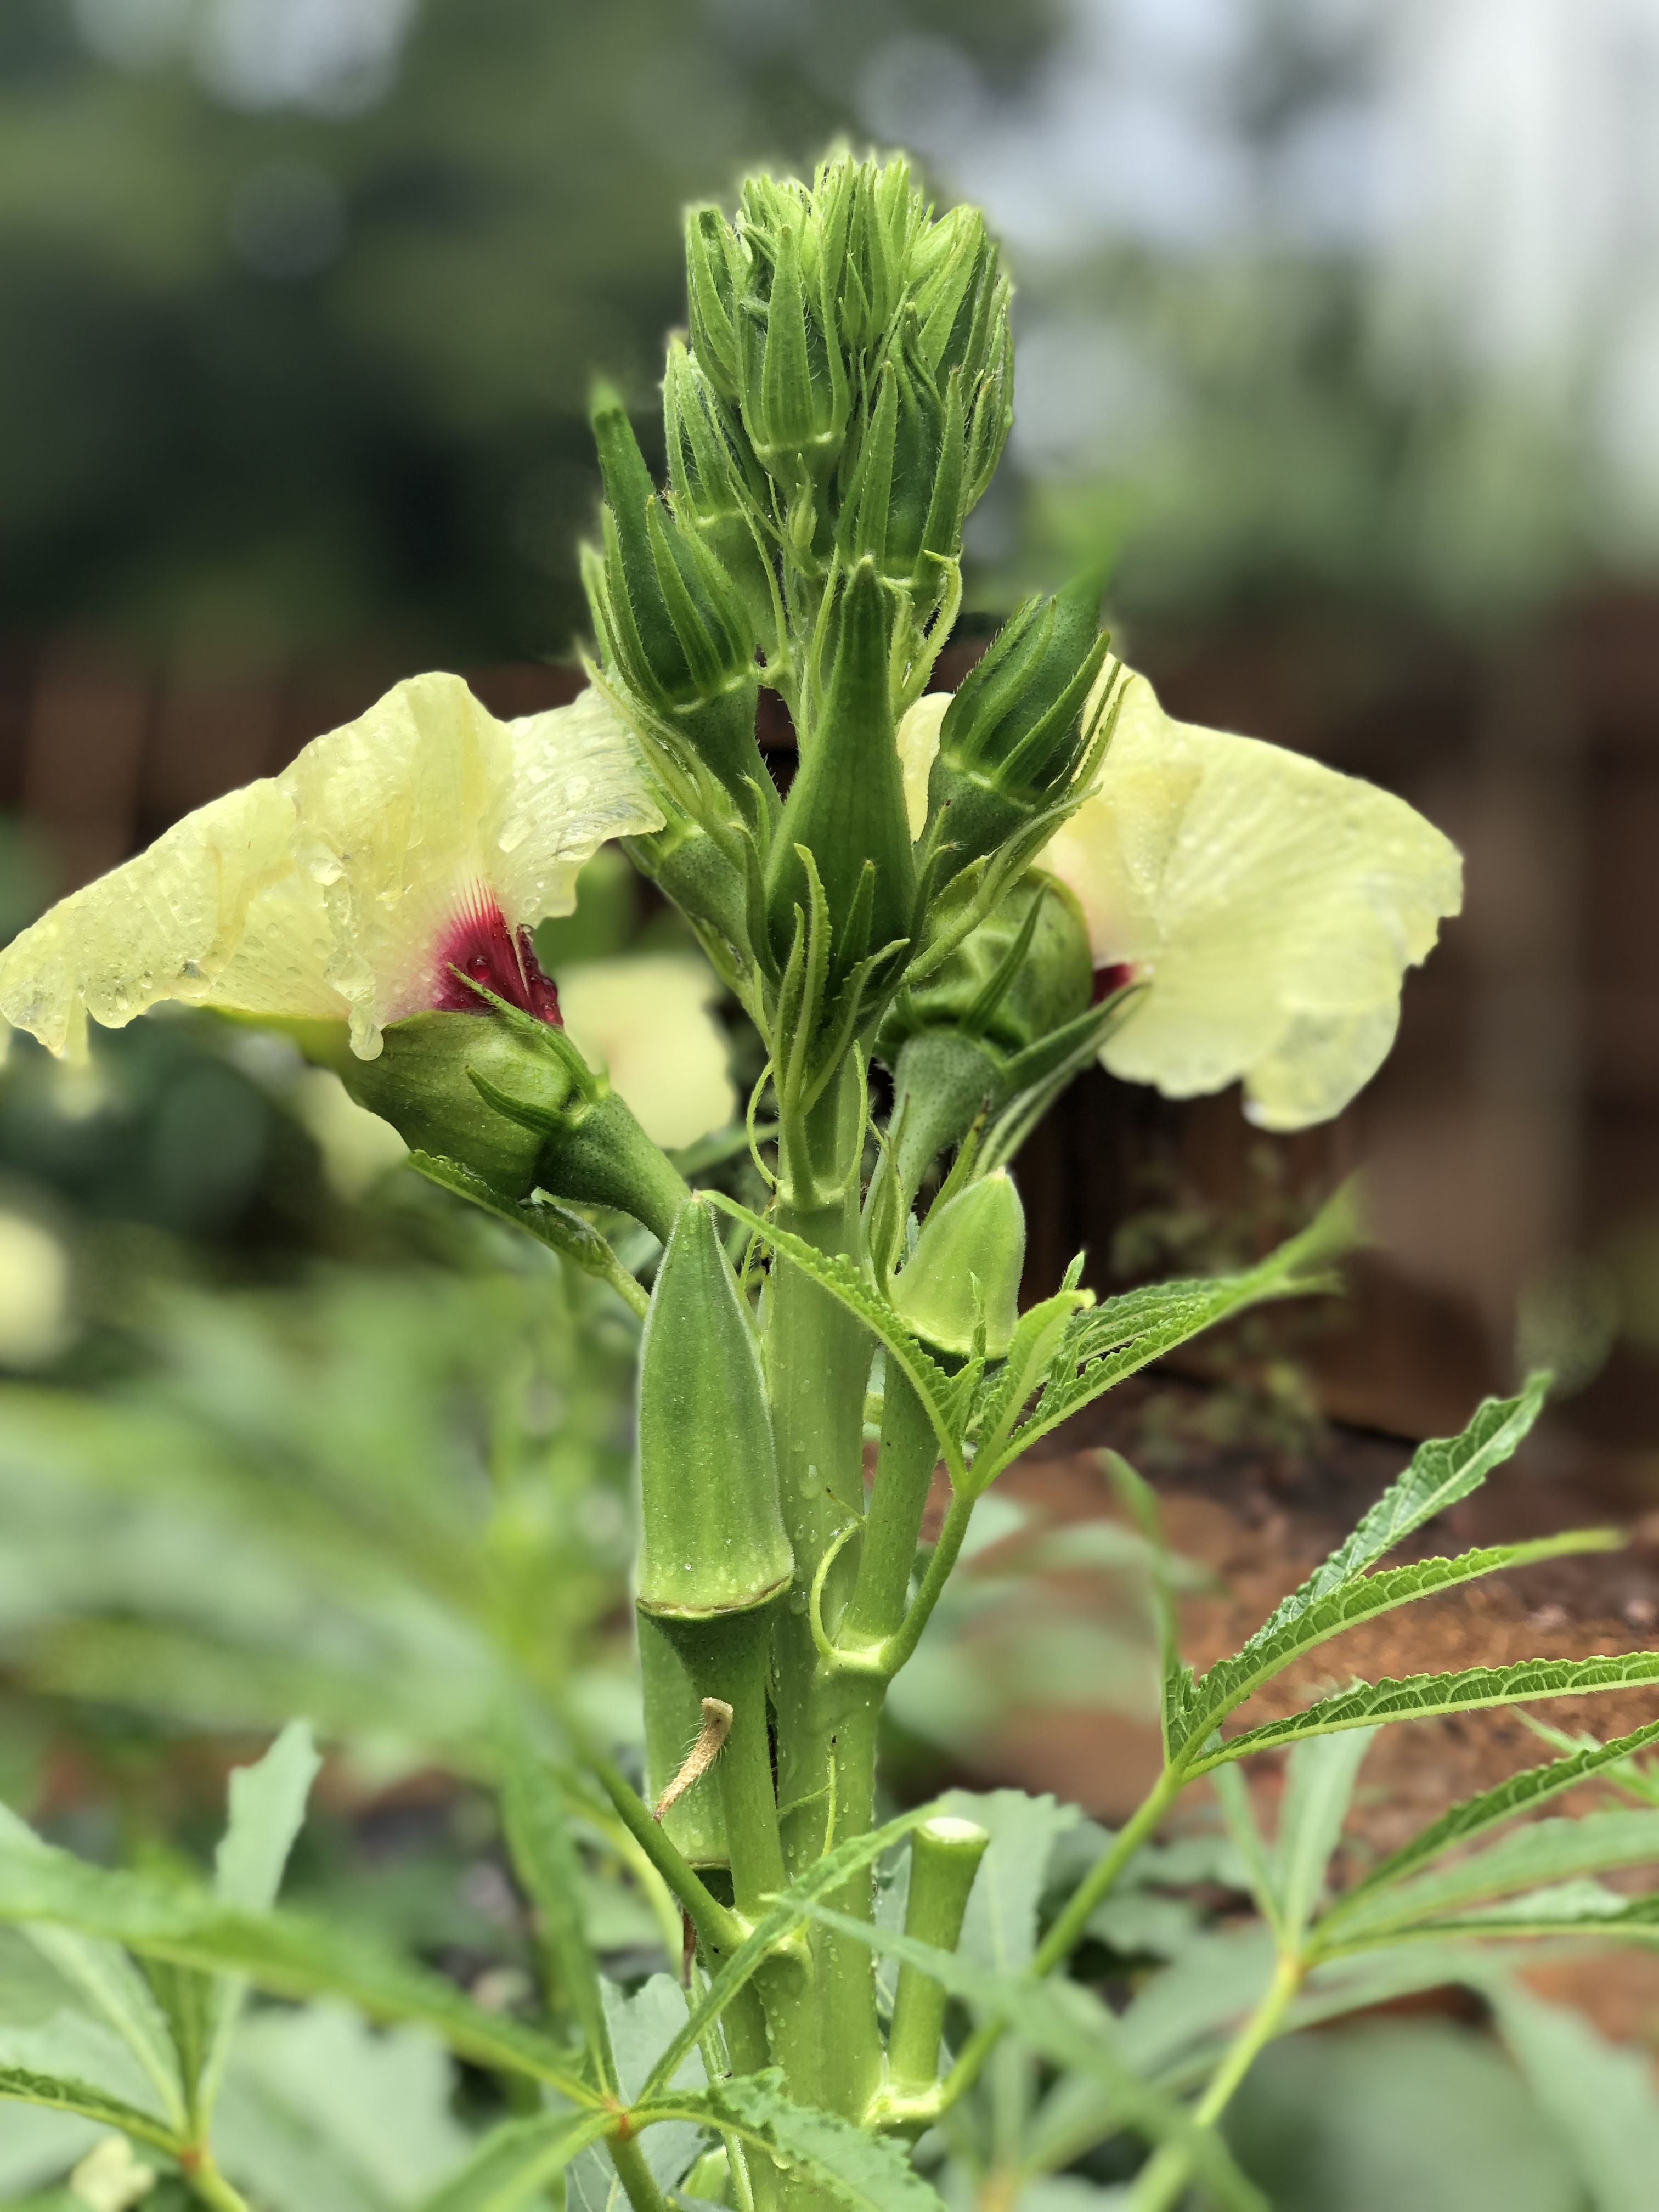
‘Jambalaya’ flower & fruit production.
Like any other okra cultivar, ‘Jambalaya’ has a couple of basic requirements that must be met for plants to thrive. In general, all okra cultivars love Southern summers and patience sowing seed is recommended, allow the soil to warm to at least 70 degrees before planting. Okra also prefers full sun, at least 6 hours per day, any less and yields will be reduced and plants will stretch towards the light. Belonging to the Mallow family, okra requires consistent moisture, particularly when in the flowering and fruiting phase. Finally, it is critical to keep up with your okra harvest as the plants produce! Okra pods grow quickly and should be harvested when they are no more than 3-4” long and still tender, larger pods are tough to the point of being inedible!
‘Jambalaya’ in the author’s garden.
Whether you’re new to the okra growing game or you’re a seasoned gumbo gardener, I highly encourage you to give ‘Jambalaya’ Okra a look next summer. While ‘Jambalaya’ is available through many seed sources, Johnny’s Selected Seeds sells a conveniently small package perfect for backyard gardeners, though they’ll be happy to provide larger quantities as well. In ‘Jambalaya’ you’ll find a nice compact plant that won’t outgrow your space, provide you a summer long harvest of tender green pods, and will rival the ornamentals in your landscape for the title of prettiest plant on your property! Happy gardening and as always, if you have questions about vegetable gardening or any other horticultural or agronomic topic, please contact your local UF/IFAS County Extension office!