by Les Harrison | Nov 3, 2016
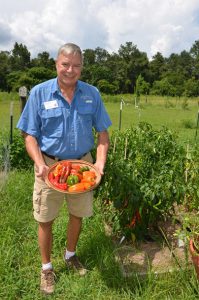
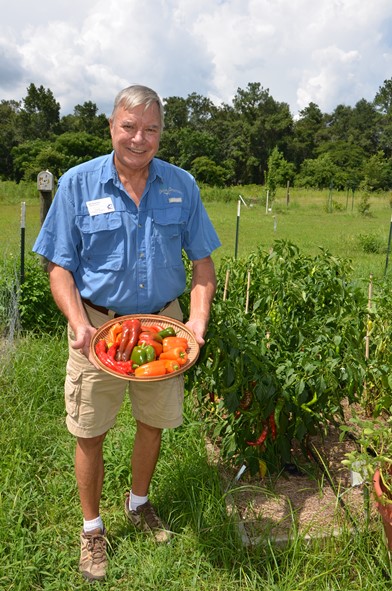
Wakulla Master Gardener Bill Osborne shows off some of the peppers he grew.
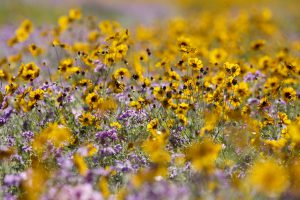
Vegetable gardening has many highly desirable benefits. These positive features range from being a good source of exercise, an opportunity to produce fresh produce which may be hard to find in retail establishment, and being able to assure it is produced in a specific way.
In many cases it is difficult, and sometimes tedious, to place an accurate assessment of the economic value on producing vegetables for home consumption. Household budgets in 21st century are problematic enough without literally bean (or some other vegetable) counting to measure profit or loss in the home garden.
As part of an effort involving UF/IFAS Wakulla County Extension Master Gardeners, some popular vegetable categories have had their production assessed. All were grown in the demonstration garden at the UF/IFAS Wakulla County Extension Office on Cedar Avenue in Crawfordville and Master Gardener Bill Osborne coordinated the project.
Several pepper cultivars and an heirloom squash cultivar was chosen to assess. They were selected based on their potential for producing over a long period of time during the summer months.
For the home gardener this means the potential for of eating fresh produce as it matures all season long. It minimized or eliminates the need for preservation expenses, which add to the cost of home production.
Each plant was grown under identical conditions in mushroom compost. The production would qualify as organically produced, but this was not part of the original assessment objective even though it would raise the end value of the useable vegetables.
The cost of the raised growing beds calculated out to approximately $15 per plant, but the expense could be spread over several years. This would reduce the annual expense to about $5.00 per plant for necessary growing inputs to establish the garden.
Values are always a tricky component to establish and necessitate certain assumptions. The prices used in this study were a composite of Big Bend area grocery store and super market prices. Each was rounded to the nearest quarter-dollar to keep calculations simple.
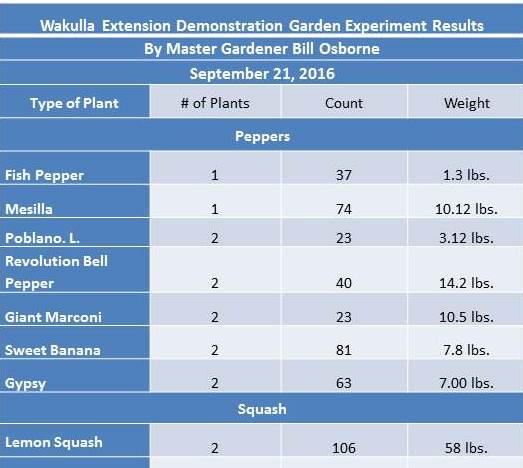
The results are reported on the chart included with this story. The big winner economically was the lemon squash with a retail squash prices averaged $2.25 per pound.
If consumed fresh, each lemon squash plant produced a $65.25 value with $5 of expense. The home gardener netted $60.25 saved in their food budget
Conventionally-grown specialty peppers averaged $4.50 per pound, with organic receiving a much higher price. The big economic winner was the Giant Marconi cultivar producing 10.5 pounds. When expenses were removed, the plant produced $42.25 of retail value.
Close behind was the Mesilla cultivar with 10.12 pounds of production. Its retail production value netted to $40.50 per plant.
While eating fresh vegetables is a healthy practice, successfully growing them can be a helpful practice for the family budget.
by Blake Thaxton | Nov 3, 2016
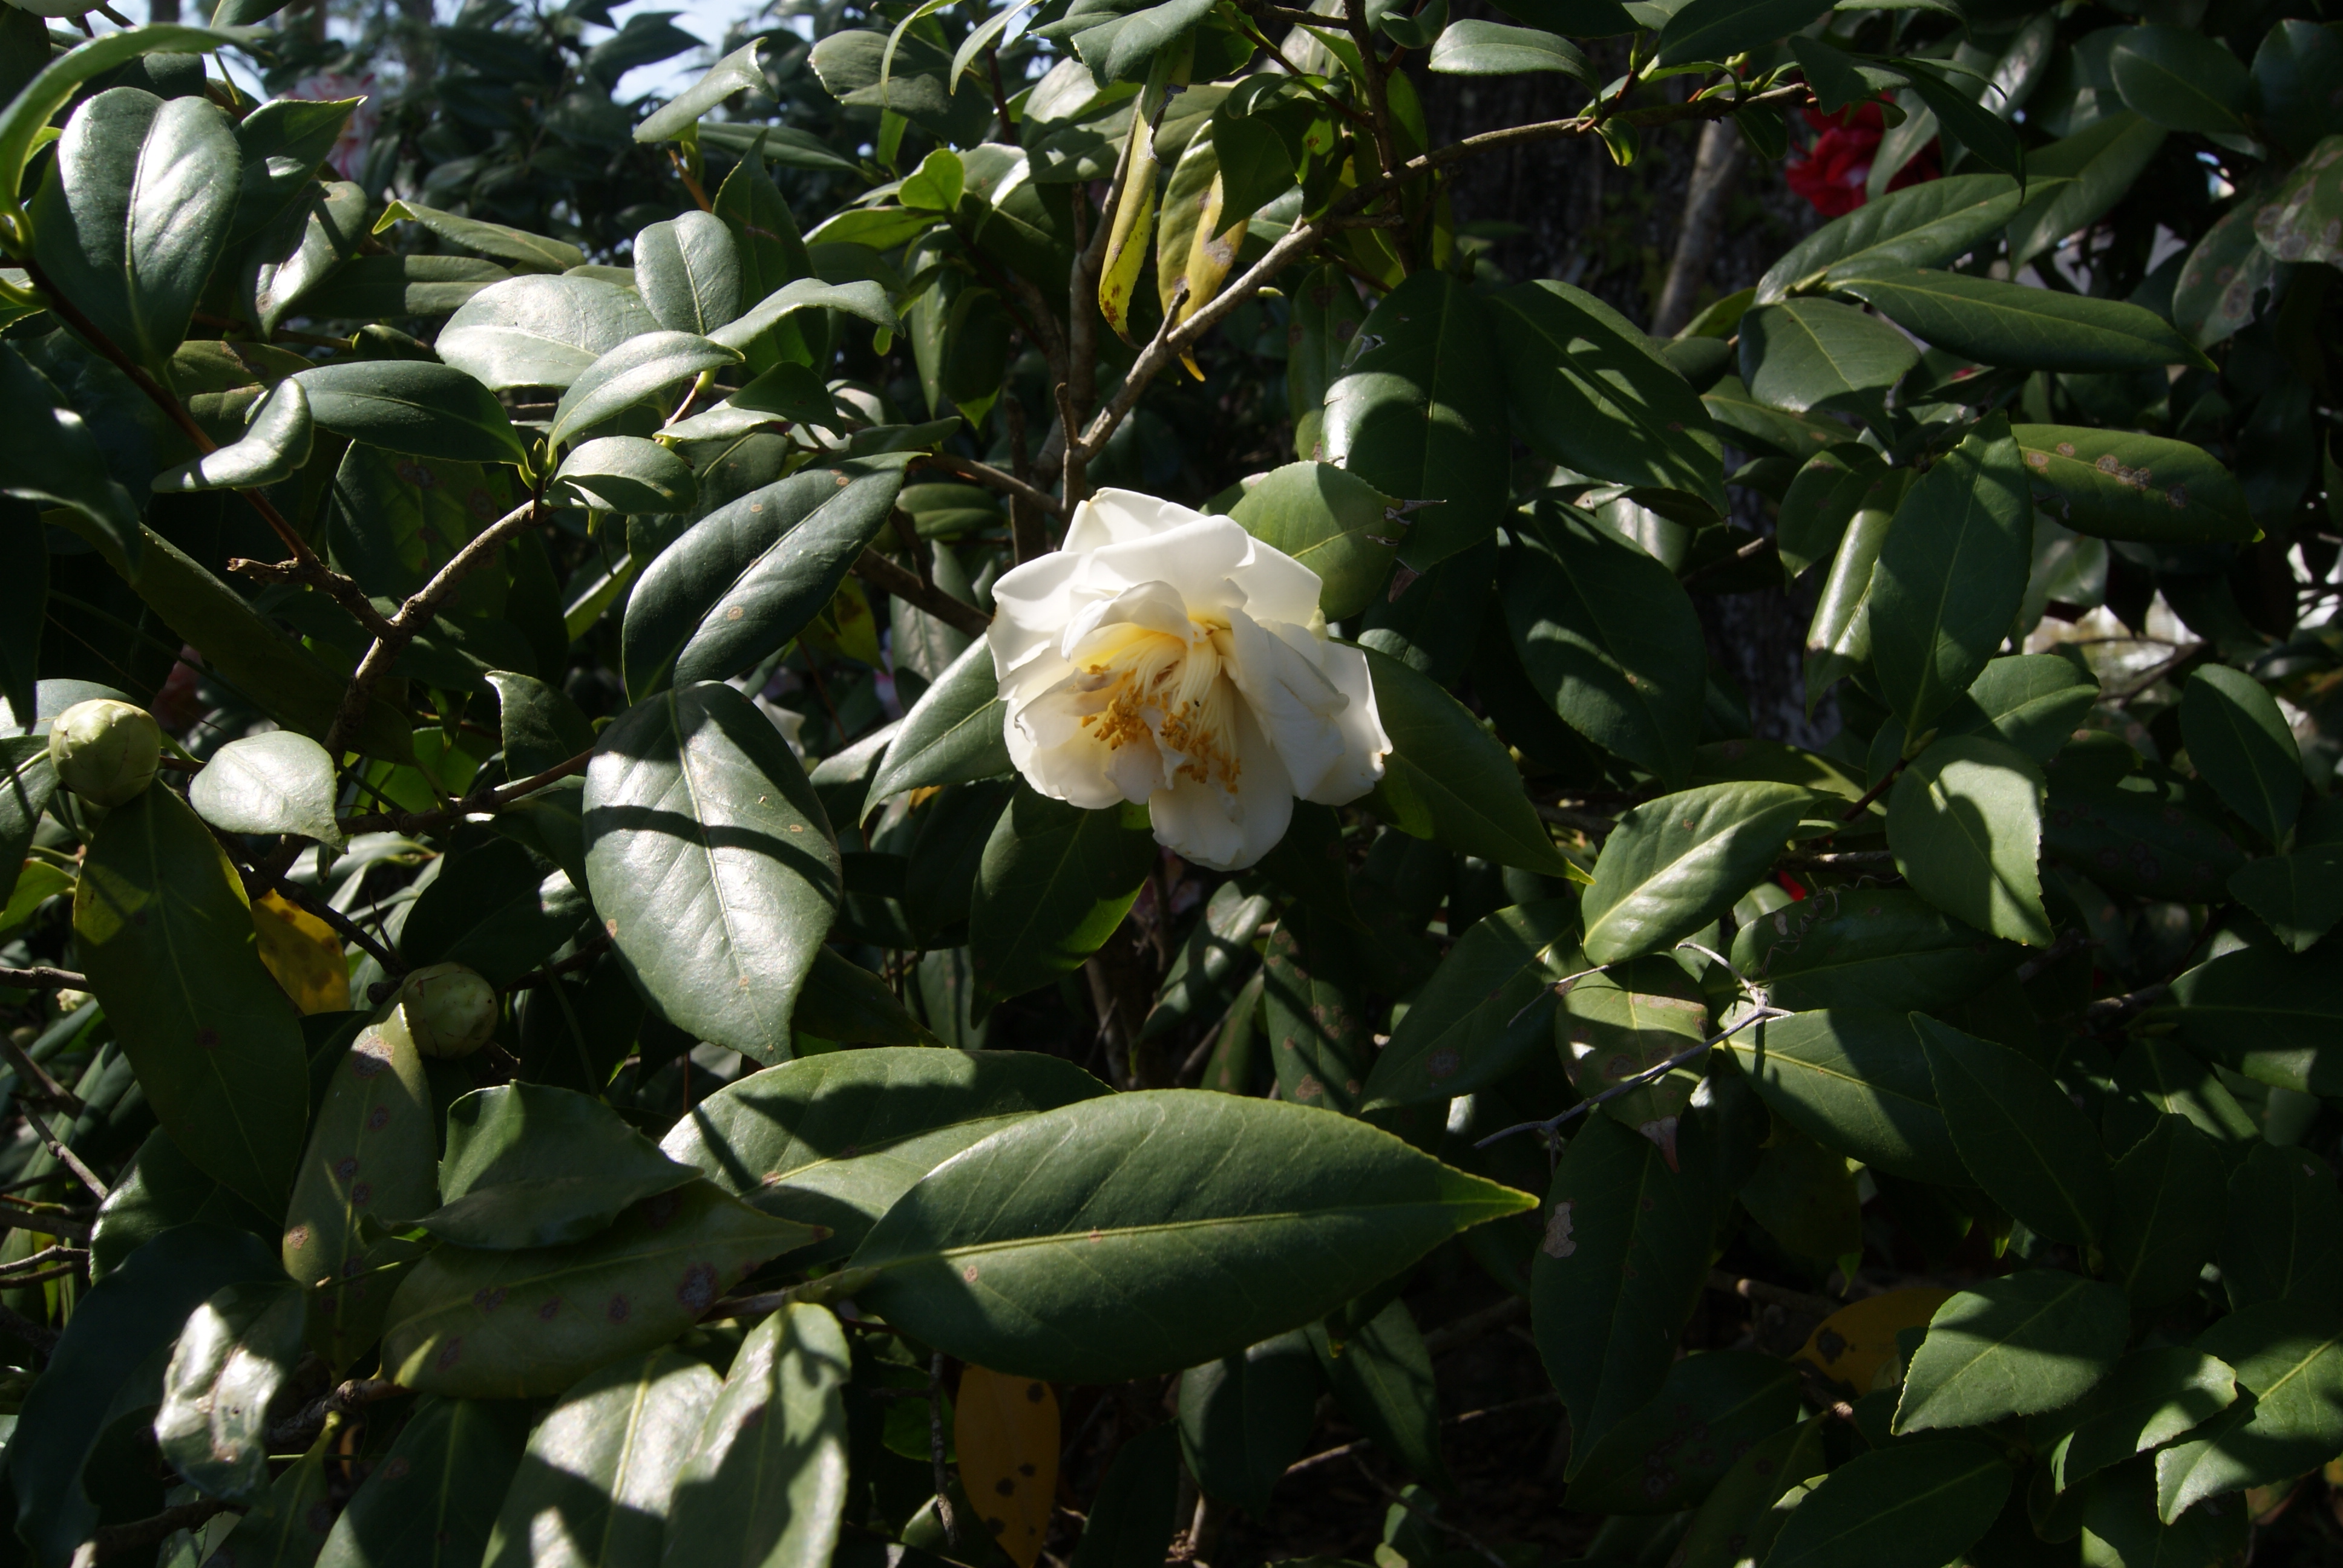
It was a hot summer that has continued into Fall. We hope cooler temperatures are on their way to the panhandle of Florida. Fall can be a great time to spruce up your landscape with some new shrubs.
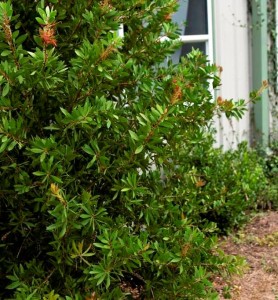
Image Credit UF / IFAS
It may be time for your landscape to receive a mini-makeover and to get a new look. Perhaps some strategically placed shrubs will be what makes an outdoor living space pop. Proper selection and installation is key to future health of new shrubs.
Selection
There are several factors that need to be considered before installing new shrubs to the landscape. Selecting plants carefully, based on the following points, will help with long-term success of the plant:
- Climate – Be sure that the species are climate appropriate.
- Environment – Study the light level, acidity, and drainage of the planting site.
- Space – Account for the mature size of the plant before planting. This will eliminate the possible need for plant removal if space is not adequate.
- Inspect the plant – Check for mechanical injury (scars and open wounds), cold injury, condition and shape of the canopy, and examine the root system.
Installation
Now that essential considerations have been made, it is time to give the shrub the best chance for survival with proper installation techniques. Fall and winter is an ideal time for planting shrubs. The roots can develop before the tops begin to grow in spring. The following are keys to proper establishment of container shrubs.
- Root ball preparation – Remove the container from the root ball and inspect for circling roots. If there are circling roots than make three or four cuts vertically to cut the roots. Pull some of the roots away so they will take on a new growth direction (massage the roots). Also find the top most roots, as sometimes they are covered by extra potting media. Remove the extra potting media so the top most roots are exposed and become the top of the root ball.
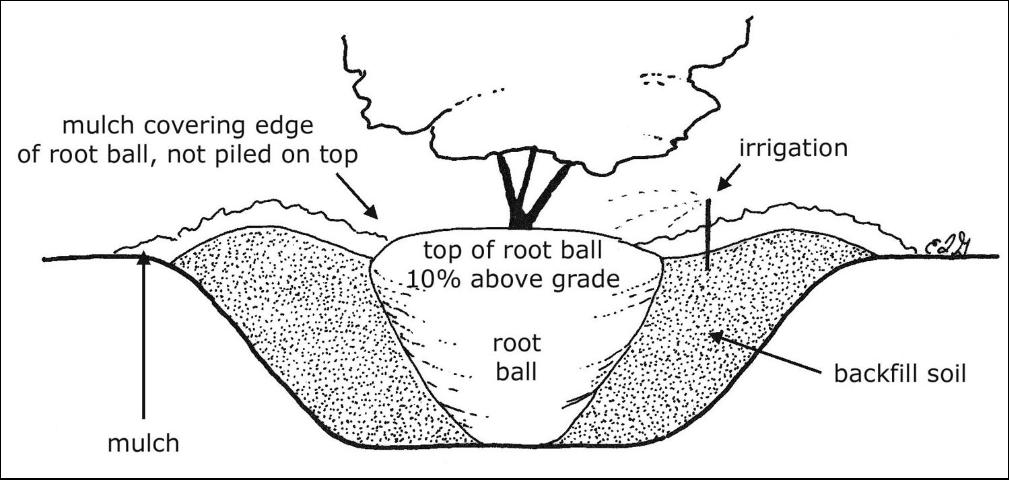
Image Credits: UF/IFAS, Edward F. Gilman
- Wider is better – Dig the hole two or three times the diameter of the root ball.
- Proper depth – Make sure to dig the hole 10% less than the height of the root ball. In poorly drained soils dig the hole 25% less than the height of the root ball. The top most roots should be slightly above the native soils.
- Backfill – Fill the hole with existing soil half way and tamp the soil to settle. Again fill the rest of the hole with the existing soil and tamp again to settle the soil. Do not place any backfill soil or mulch over the root ball as it is crucial that water and air are able to be in contact with the roots.
- Aftercare – Irrigate daily for the first two weeks, followed by every other day for the next two months, and weekly until the shrub is established (For <2 inch caliper shrubs).
If these key points are followed regarding selection and installation, the shrubs will be well on their way to becoming established in the landscape. If you would like read more in detail about installation please read the following:
Specifications for Planting Trees and Shrubs in the Southeastern U.S.
Literature:
Gilman, E.F., (2011, August) Specifications for Planting Trees and Shrubs in the Southeastern U.S.. Retrieved from: http://edis.ifas.ufl.edu/ep112
Black, R.J. and Ruppert, K.C., (1998) Your Florida Landscape, A complete guide to planting & maintenance. Gainesville, FL: University Press of Florida.
by Mark Tancig | Oct 26, 2016
Growing wildflowers is great for pollinators and for you! Credit: UF/IFAS
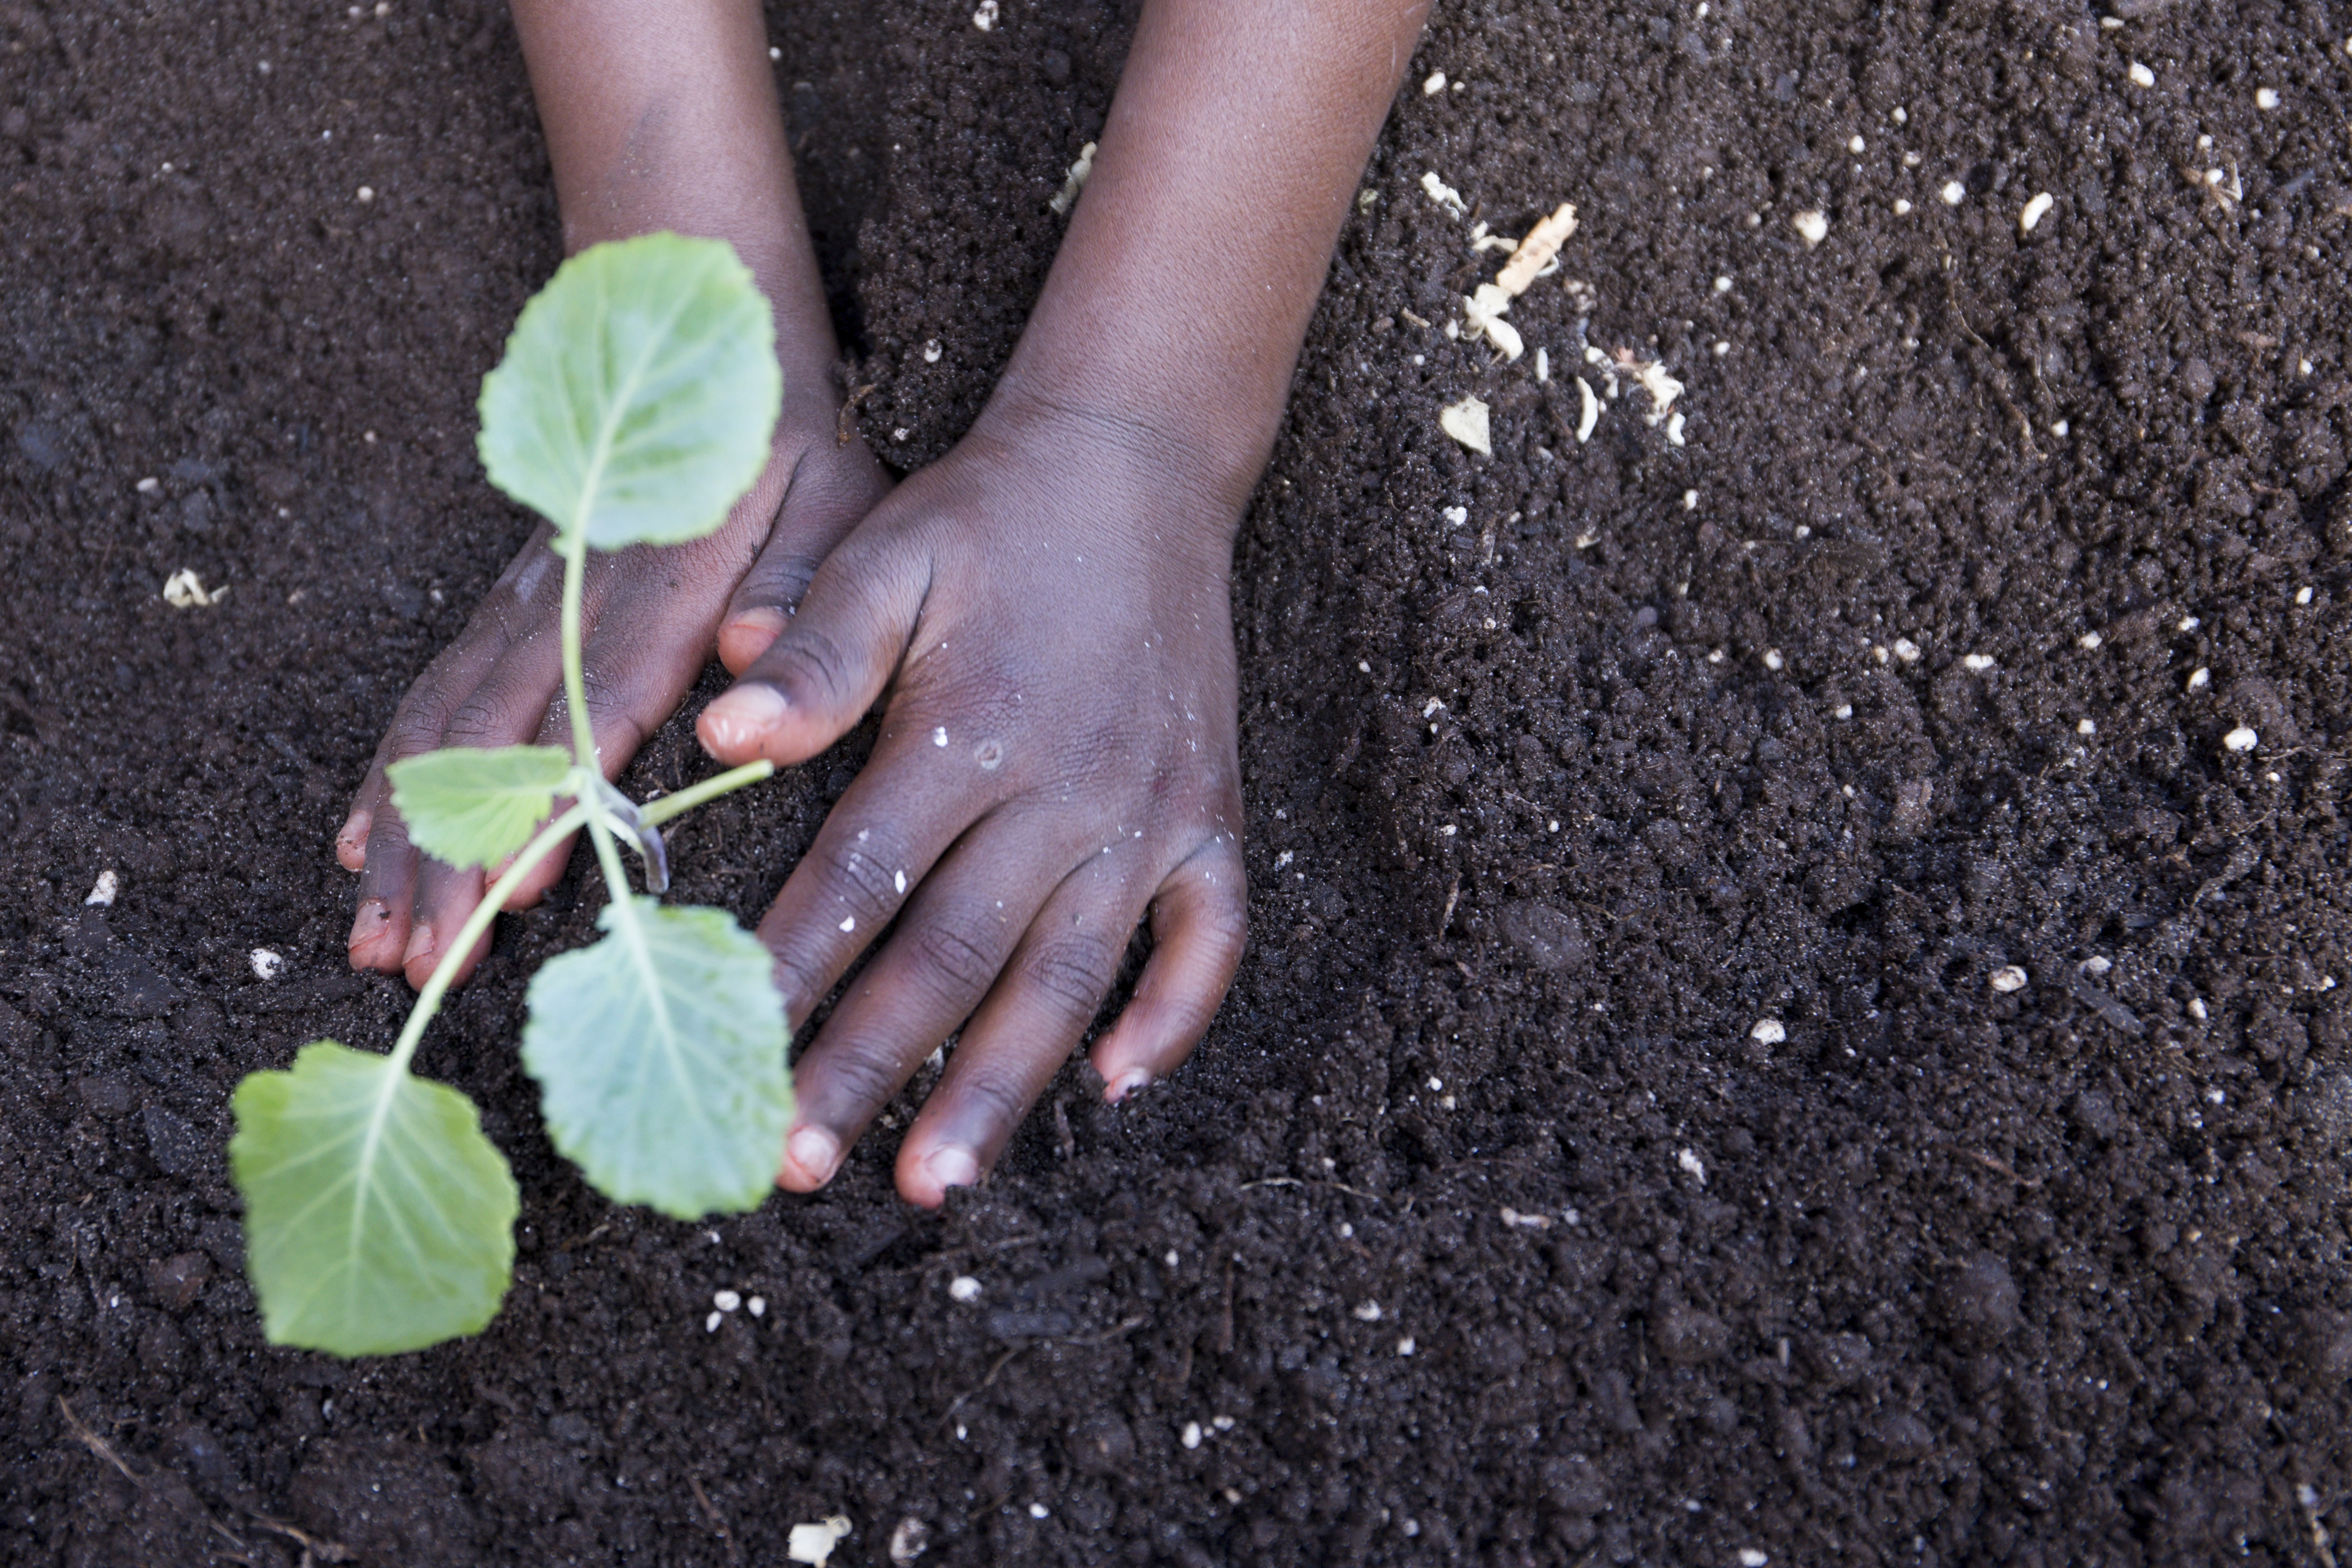
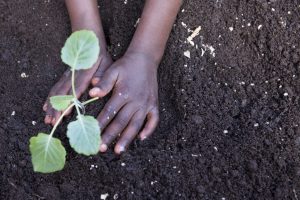
With fall weather finally giving us a break from the heat of summer, this is the perfect time for North Florida residents to get outside and try their hands at gardening. Not only is gardening rewarding for the beautiful flowers or tasty vegetables produced, but just getting outside and spending time with nature is good for the soul.
The idea that being outside and gardening is good for you isn’t just anecdotal or common sense information. Scientific research shows that people who spend time outdoors are more healthful. Some of the documented case studies go way back. Dr. Benjamin Rush, a signer of the Declaration of Independence, showed that gardening improved the well-being of mentally ill patients. One of the most famous and more recent studies was done by Roger Ulrich in the 1980’s. This study demonstrated that patients with views of trees spent less time in the hospital and requested less pain medication. Otherwise, they had the same ailment, nurses, and room setup.
Physical, social, psychological, and cognitive health factors can all be improved through gardening. Improving psychological health is one of the major benefits of gardening and can be especially useful as we near the end of the election cycle or watch too many TV news programs. Gardening has been shown to reduce stress, anxiety, and tension, which can contribute to high blood pressure, heart disease, obesity, diabetes, and generally feeling miserable. More information regarding the health benefits of gardening can be found in the EDIS Publication Horticultural Therapy (www.edis.ifas.ufl.edu).
Growing vegetables can fill your belly and reduce your stress!
If you would like to de-stress through gardening but are not sure of how to get started, are new to the area, or need a little extra explanation about something you would like to try, the folks at your local UF/IFAS Extension Office are here for you. They offer a variety of educational programs for the beginner, on up to the advanced green thumbs. You can contact them in person or visit the local County Extension webpages and Facebook pages to find out more information about upcoming programs.
In addition to helping you relax through gardening, the topics discussed at UF/IFAS Extension programs can help you save money, eat healthier, and help conserve our natural resources. So not only will you feel better but you could also make the Earth feel better. That helps us all out!
by Larry Williams | Sep 23, 2016

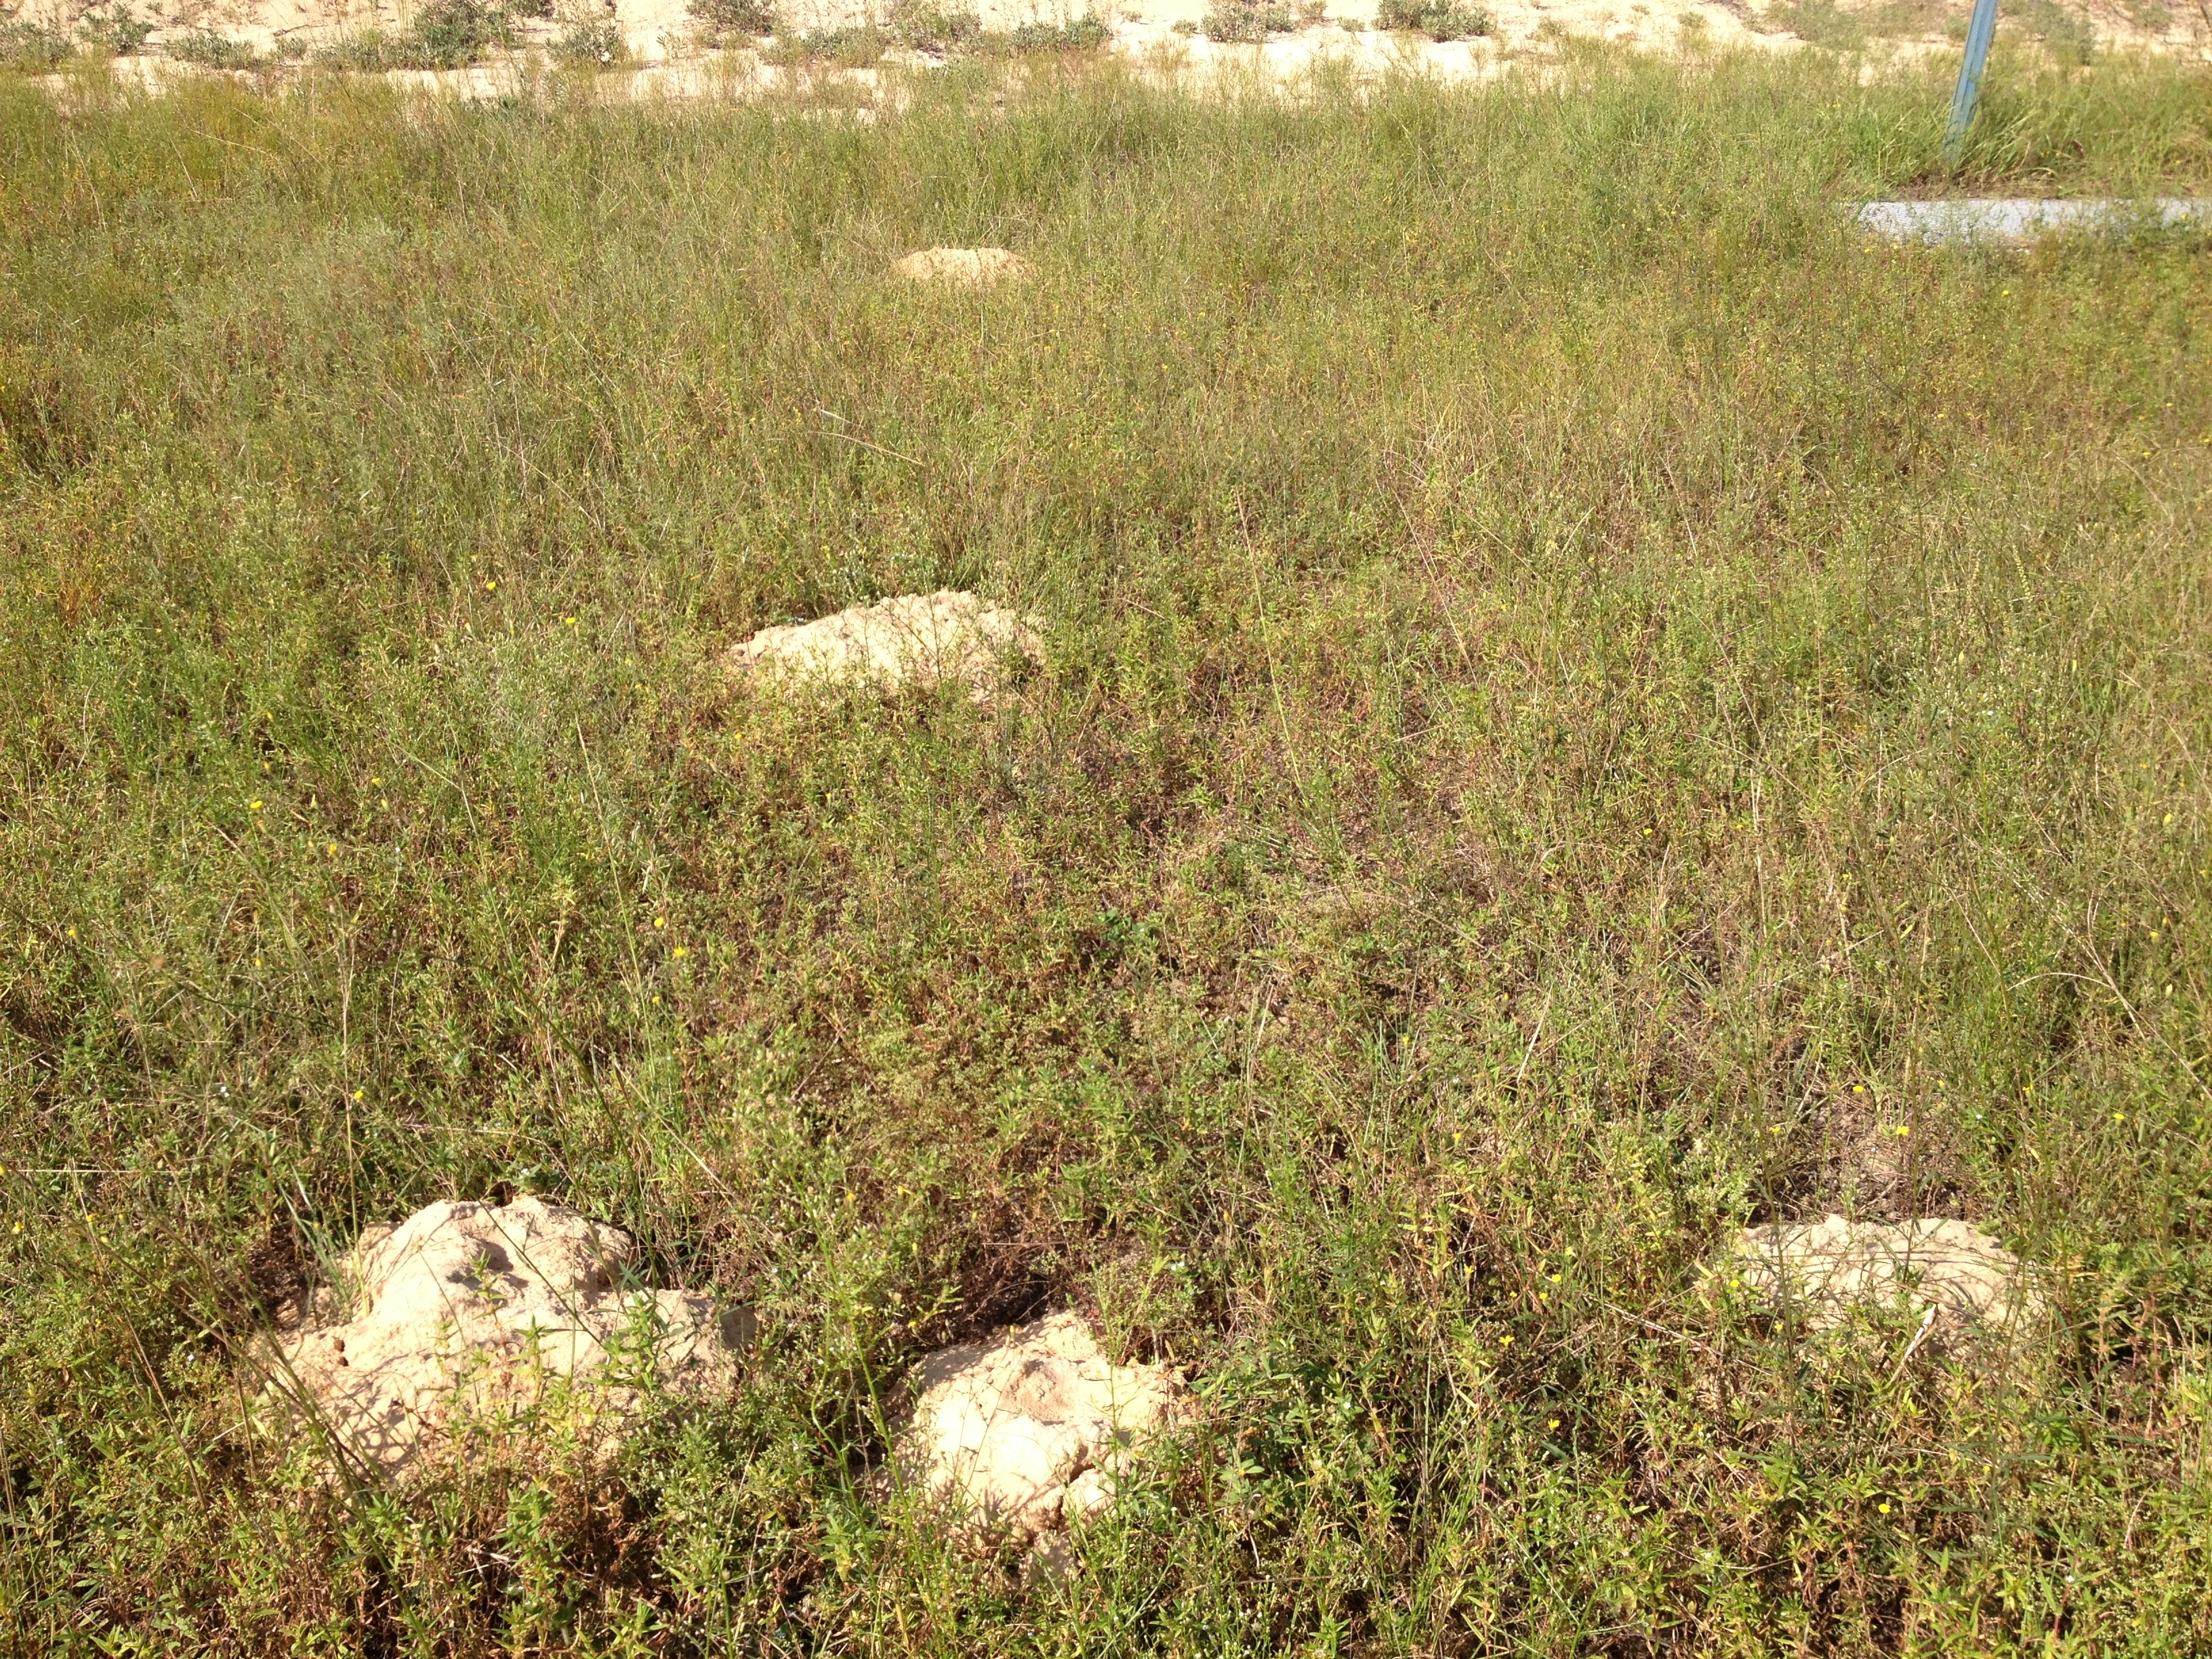
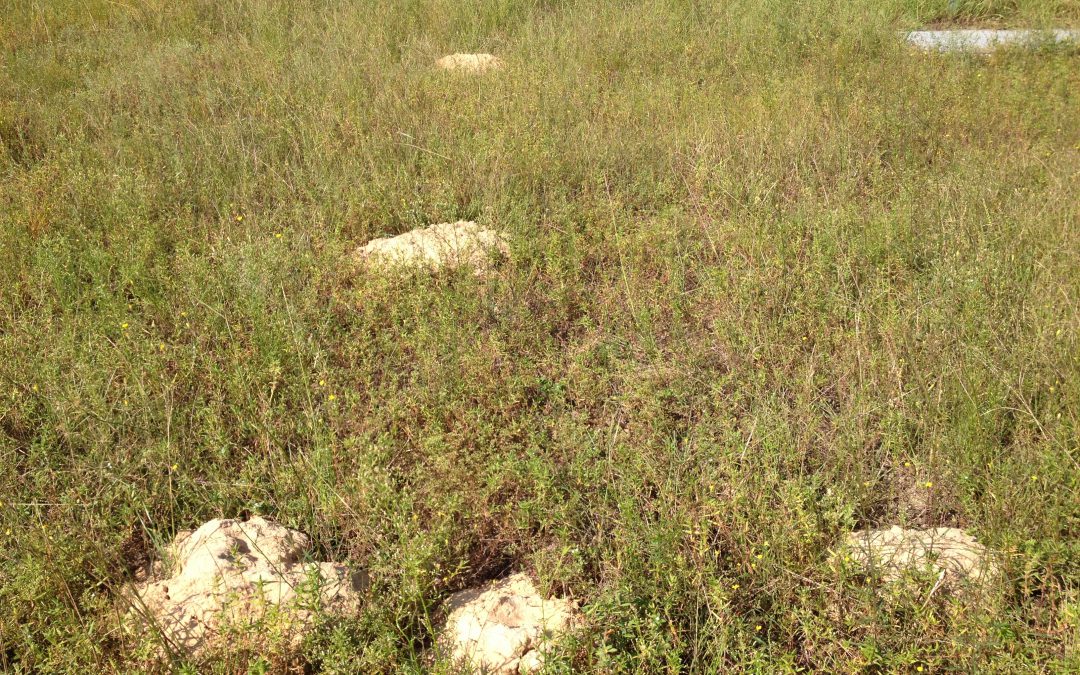
Mounds of sand made my pocket gopher along roadside. Photo Credit: Larry Williams
Pocket gopher is a furry animal known by many locals as “sandy mounder.” It was given this name because of the sandy mounds of excavated earth that the gopher pushes out of its underground burrows. The name sandy mounder, with time, became “salamander.” This animal is not a salamander at all. Salamanders are slimy amphibians shaped like lizards. Salamanders are often known as “spring lizards” in Florida.
To make this nomenclature problem more confusing, in some areas of Florida gopher means a certain burrowing tortoise – the gopher tortoise.
To simplify things keep in mind that in Florida “spring lizard” can mean “salamander” and “salamander” can mean “gopher” and “gopher” can mean “turtle.”
“Gopher” is a confusing word all over the country. Jeff Jackson, retired wildlife biologist with University of Georgia Extension says, “The Richardson’s ground squirrel of the west is called gopher. So is the thirteen lined ground squirrel of the Great Plains and Midwest. Moles are called gophers in many areas. And voles (certain short-tailed mice) are called gophers in some states.”
Jackson says there are six species of “sure enough, genuine pocket gophers in the United States.” Our pocket gopher is the Southeastern Pocket Gopher, found in north Florida, south Alabama and south Georgia.
The pocket gopher spends its time underground making tunnels and nests, eating roots and bearing and raising young. It may venture into residential areas where it can damage plants by feeding on tree and shrub roots or bulbs and tubers of various plants.
A pocket gopher can make fifty or more sandy mounds in a relatively short period of time. These mounds, which are normally four to six inches high and possibly a foot across, are what get homeowners’ attention. The mounds can “popup” overnight in lines or rows. They resemble fire ant mounds; however, they contain no ants.
The pocket gopher is a rodent that grows to about a foot long, has a short tail and weighs about half a pound. Its name comes from the large fur-lined pouches on the outside of its cheeks.
Even though they do contribute to the formation of soil and provide a food source for some predators, sometimes their damage may justify control measures.
Trapping is the most effective option. No chemical repellents are known to be effective. It’s illegal to use any poison to kill gophers. Vibrating devices have not been proven to repel gophers. A long held belief that Wrigley’s Juicy Fruit gum kills gophers by blocking their digestive system has been proven to be false.
A detailed fact sheet is available online at http://edis.ifas.ufl.edu/uw285.
by Mary Salinas | Sep 22, 2016
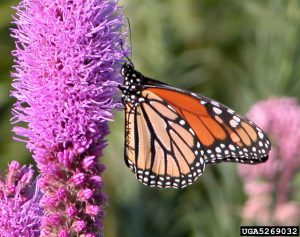
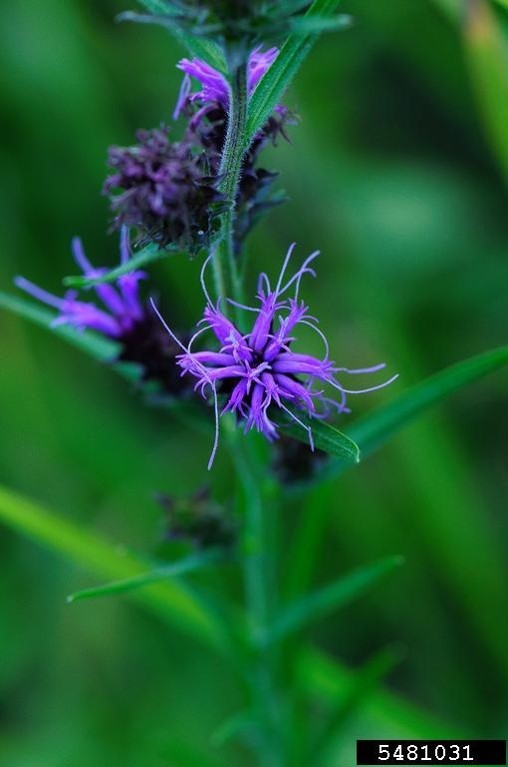
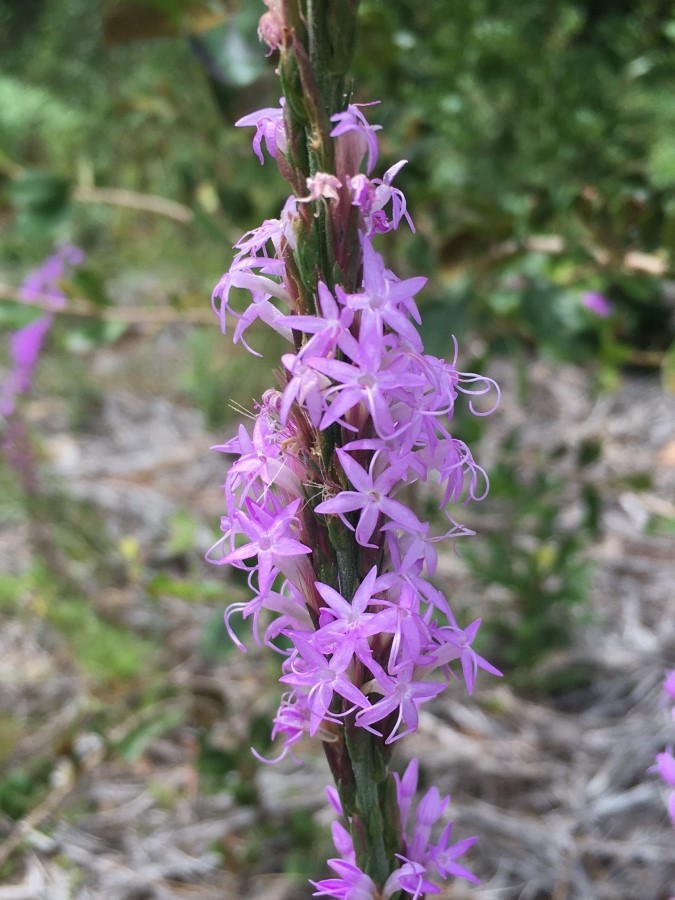
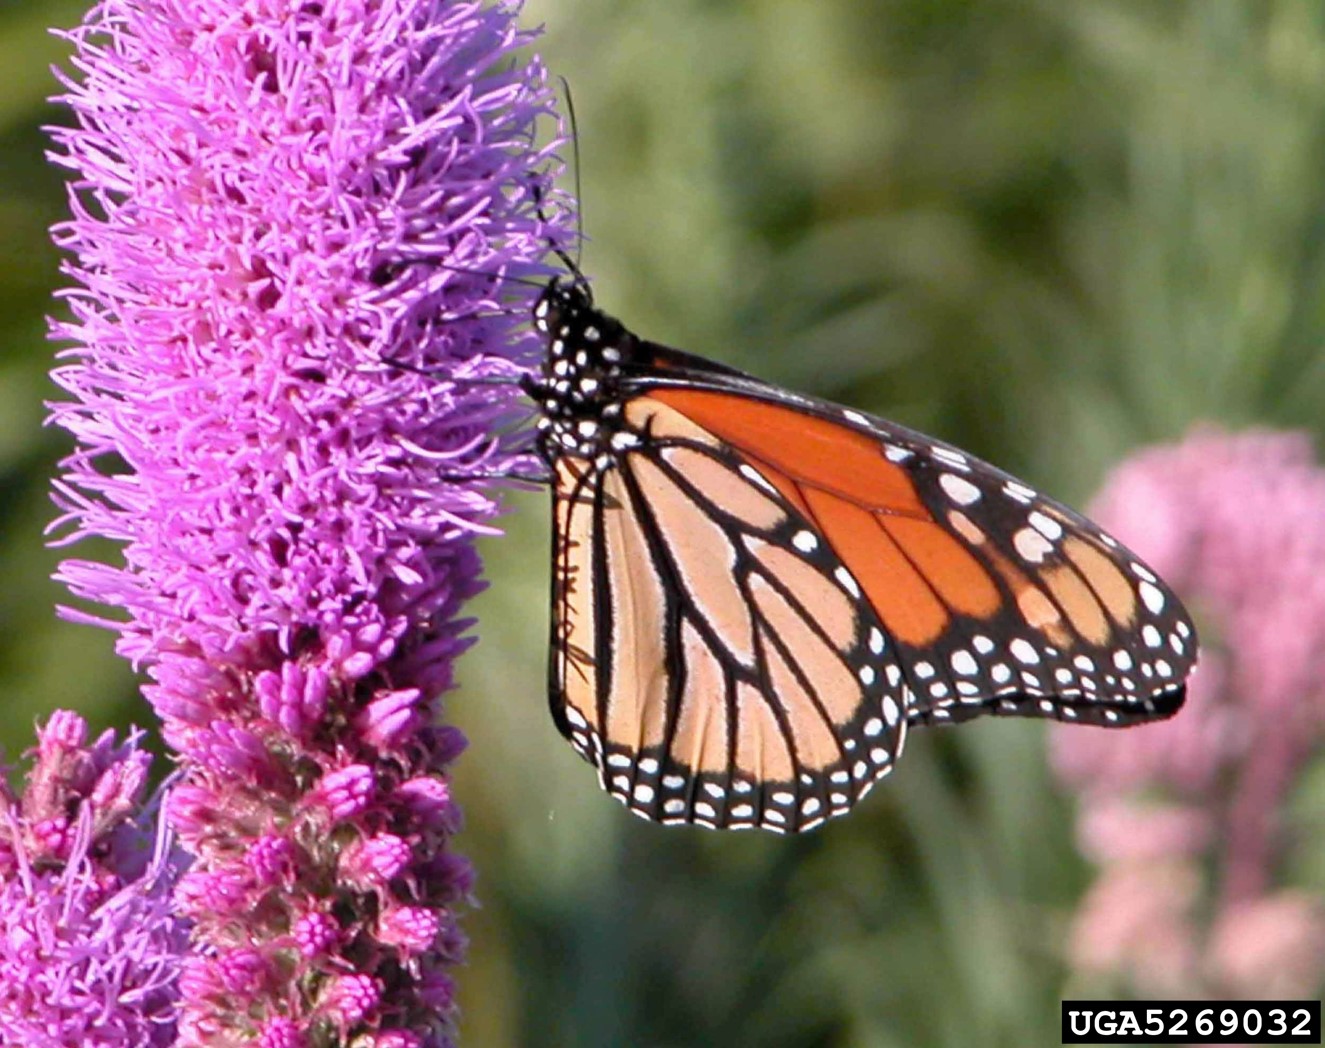
Monarch butterfly on dense blazing star (Liatris spicata).
Beverly Turner, Jackson Minnesota, Bugwood.org
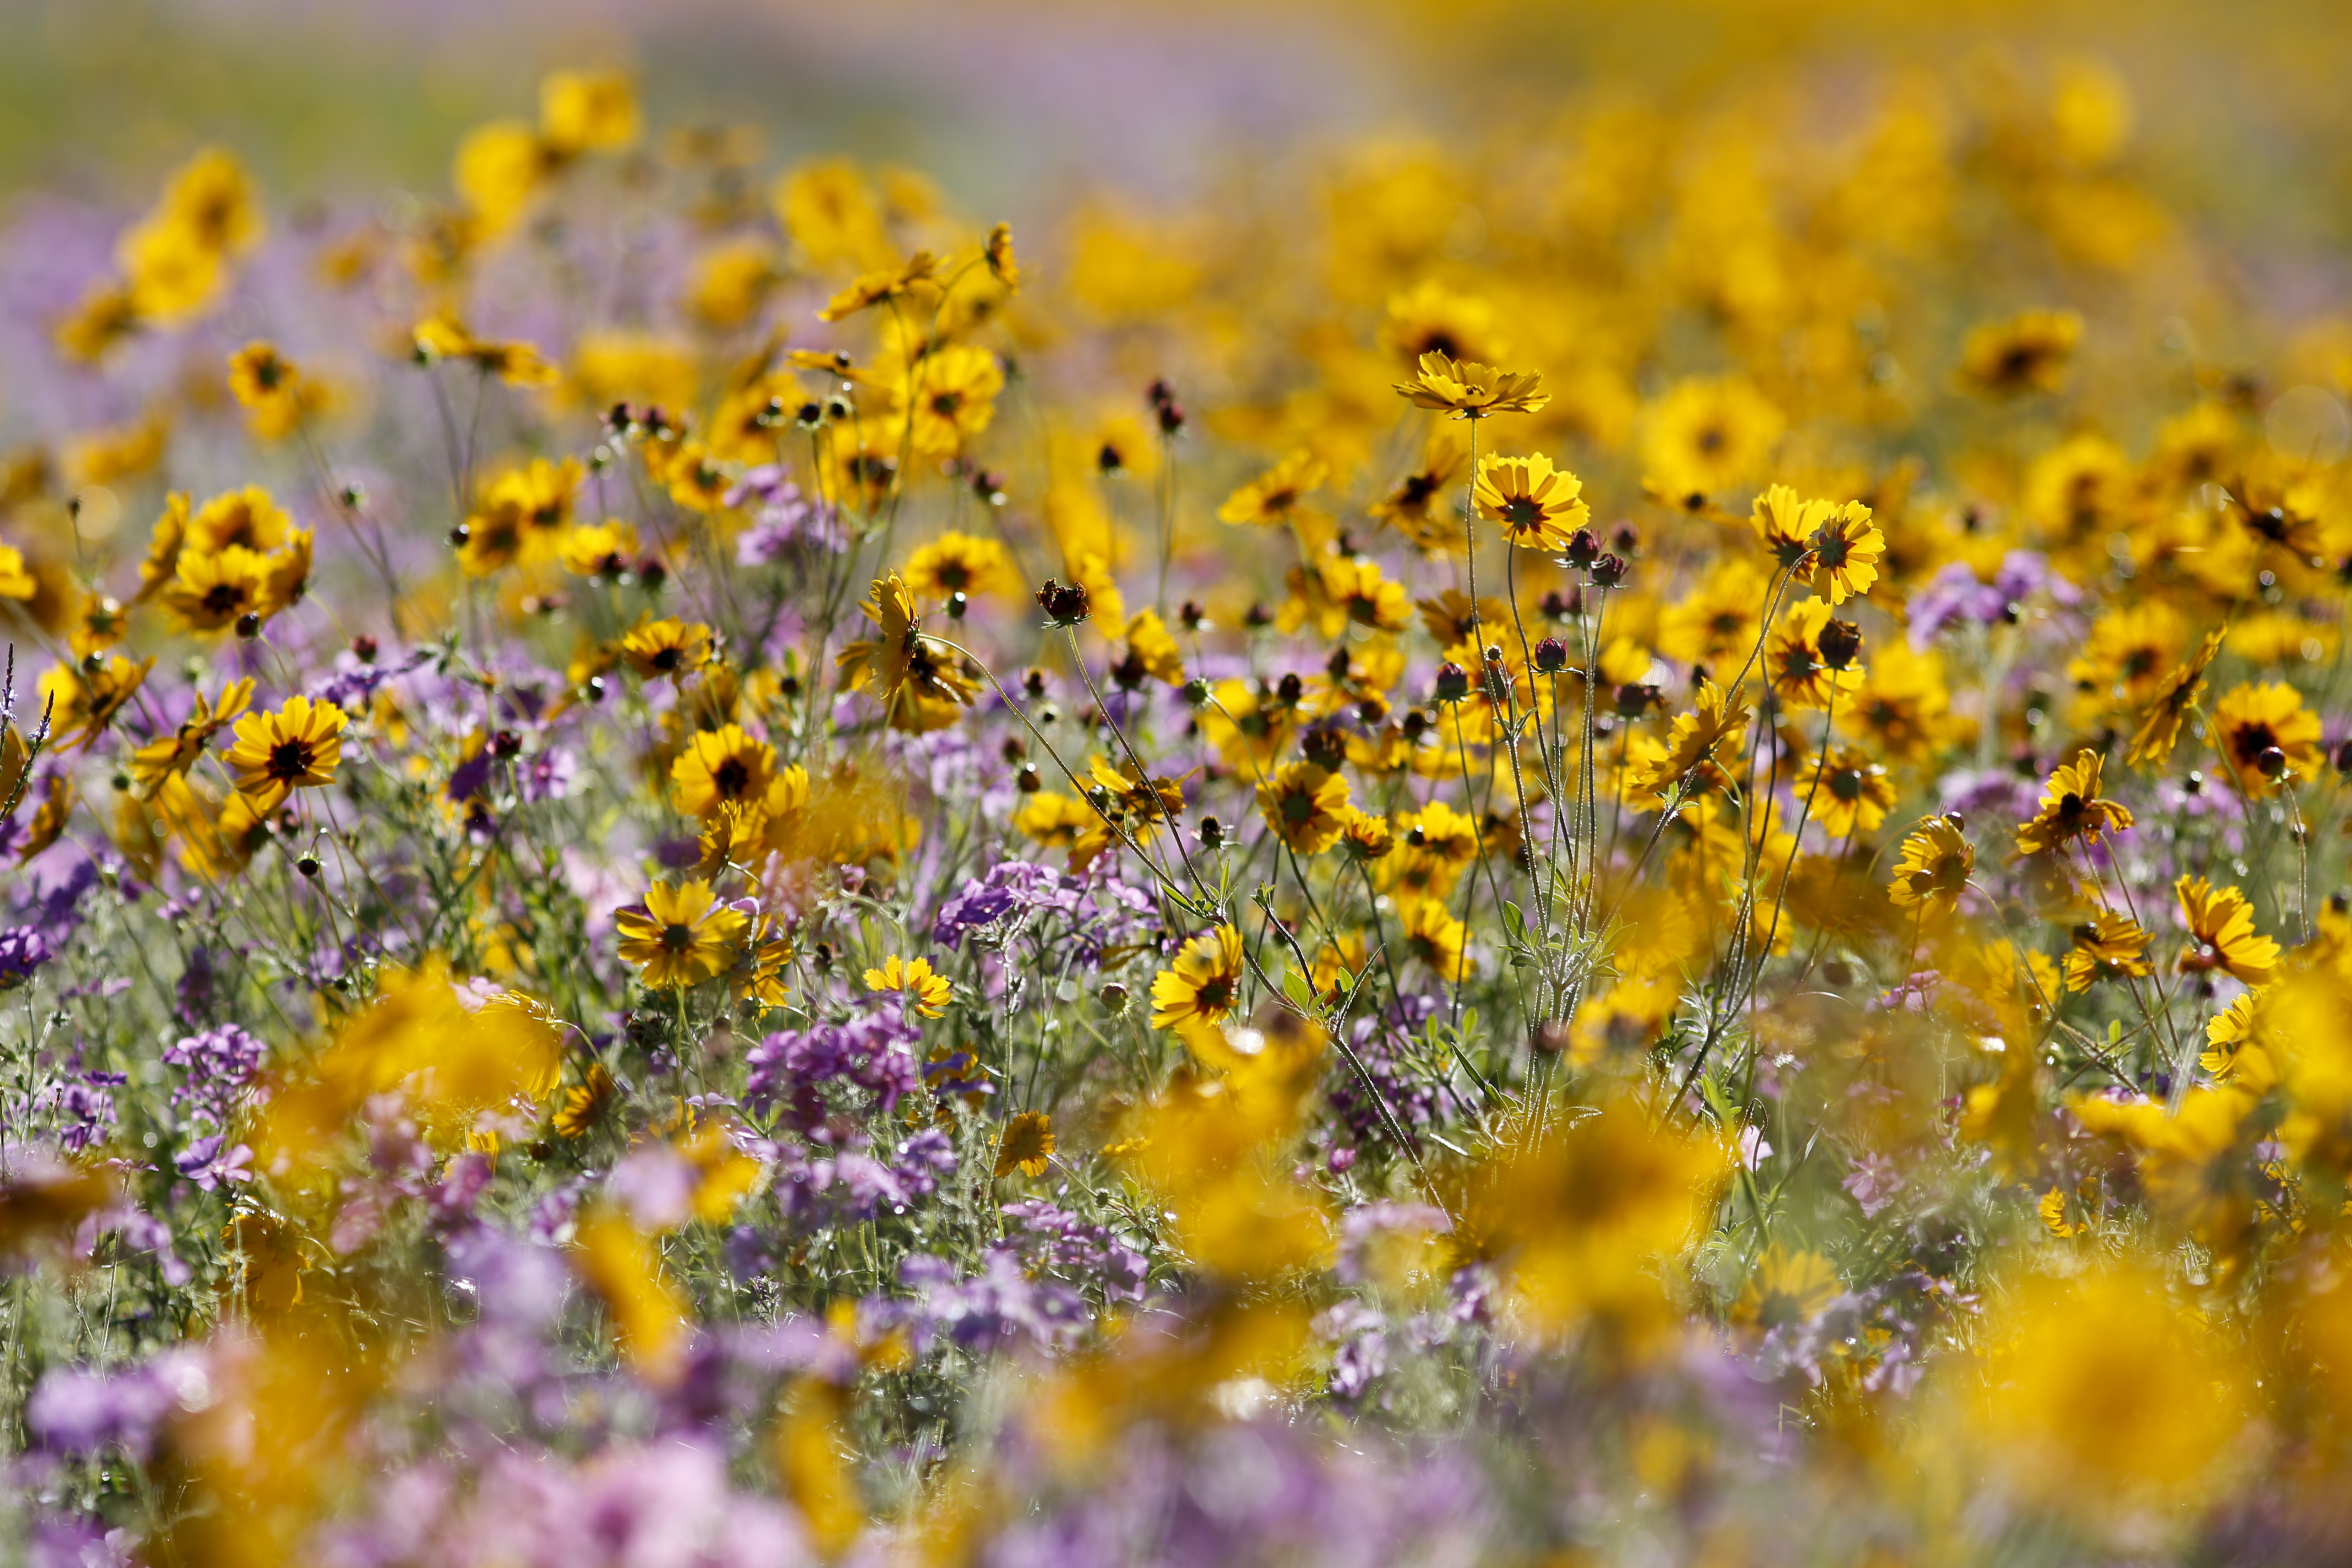
The Florida panhandle has a treasure of native wildflowers to enjoy in every season of the year. In the late summer and fall, blazing star, also commonly known as gayfeather, can be found blooming in natural areas and along roadsides. You can also add it to your landscape to provide beautiful fall color and interest year after year.
Blazing star is a perennial that is native to scrubs, sandhills, flatwoods and upland pines; this makes it a tough plant that can endure drought conditions once it is established. It is ideal for a low-maintenance landscape and is a perfect addition to a butterfly or pollinator garden. The butterflies and bees love it!

Scaly blazing star (Liatris squarrosa). Photo credit: Vern Wilkins, Indiana University, Bugwood.com.
This beauty grows tall and slender so it is best when planted in masses for an impressive display. This lankiness can result in lodging, or falling over, when the blooms get too heavy but this can be alleviated when grown in masses or with other wildflowers that can support them. The spent flowers will provide your garden with more seed for future years and form a larger colony.

Chapman’s Blazing Star (Liatris chapmanii). Photo credit: Mary Derrick, UF/IFAS.
The home gardener can add blazing star as potted plants or by seeding directly into the soil in October in north Florida. Seeds are available from numerous online sources. Before you purchase, however, make sure that the species you select is a Florida native!
For more information and seed sources:
Florida Wildflower Foundation
Common Native Wildflowers of North Florida
by Daniel J. Leonard | Sep 22, 2016
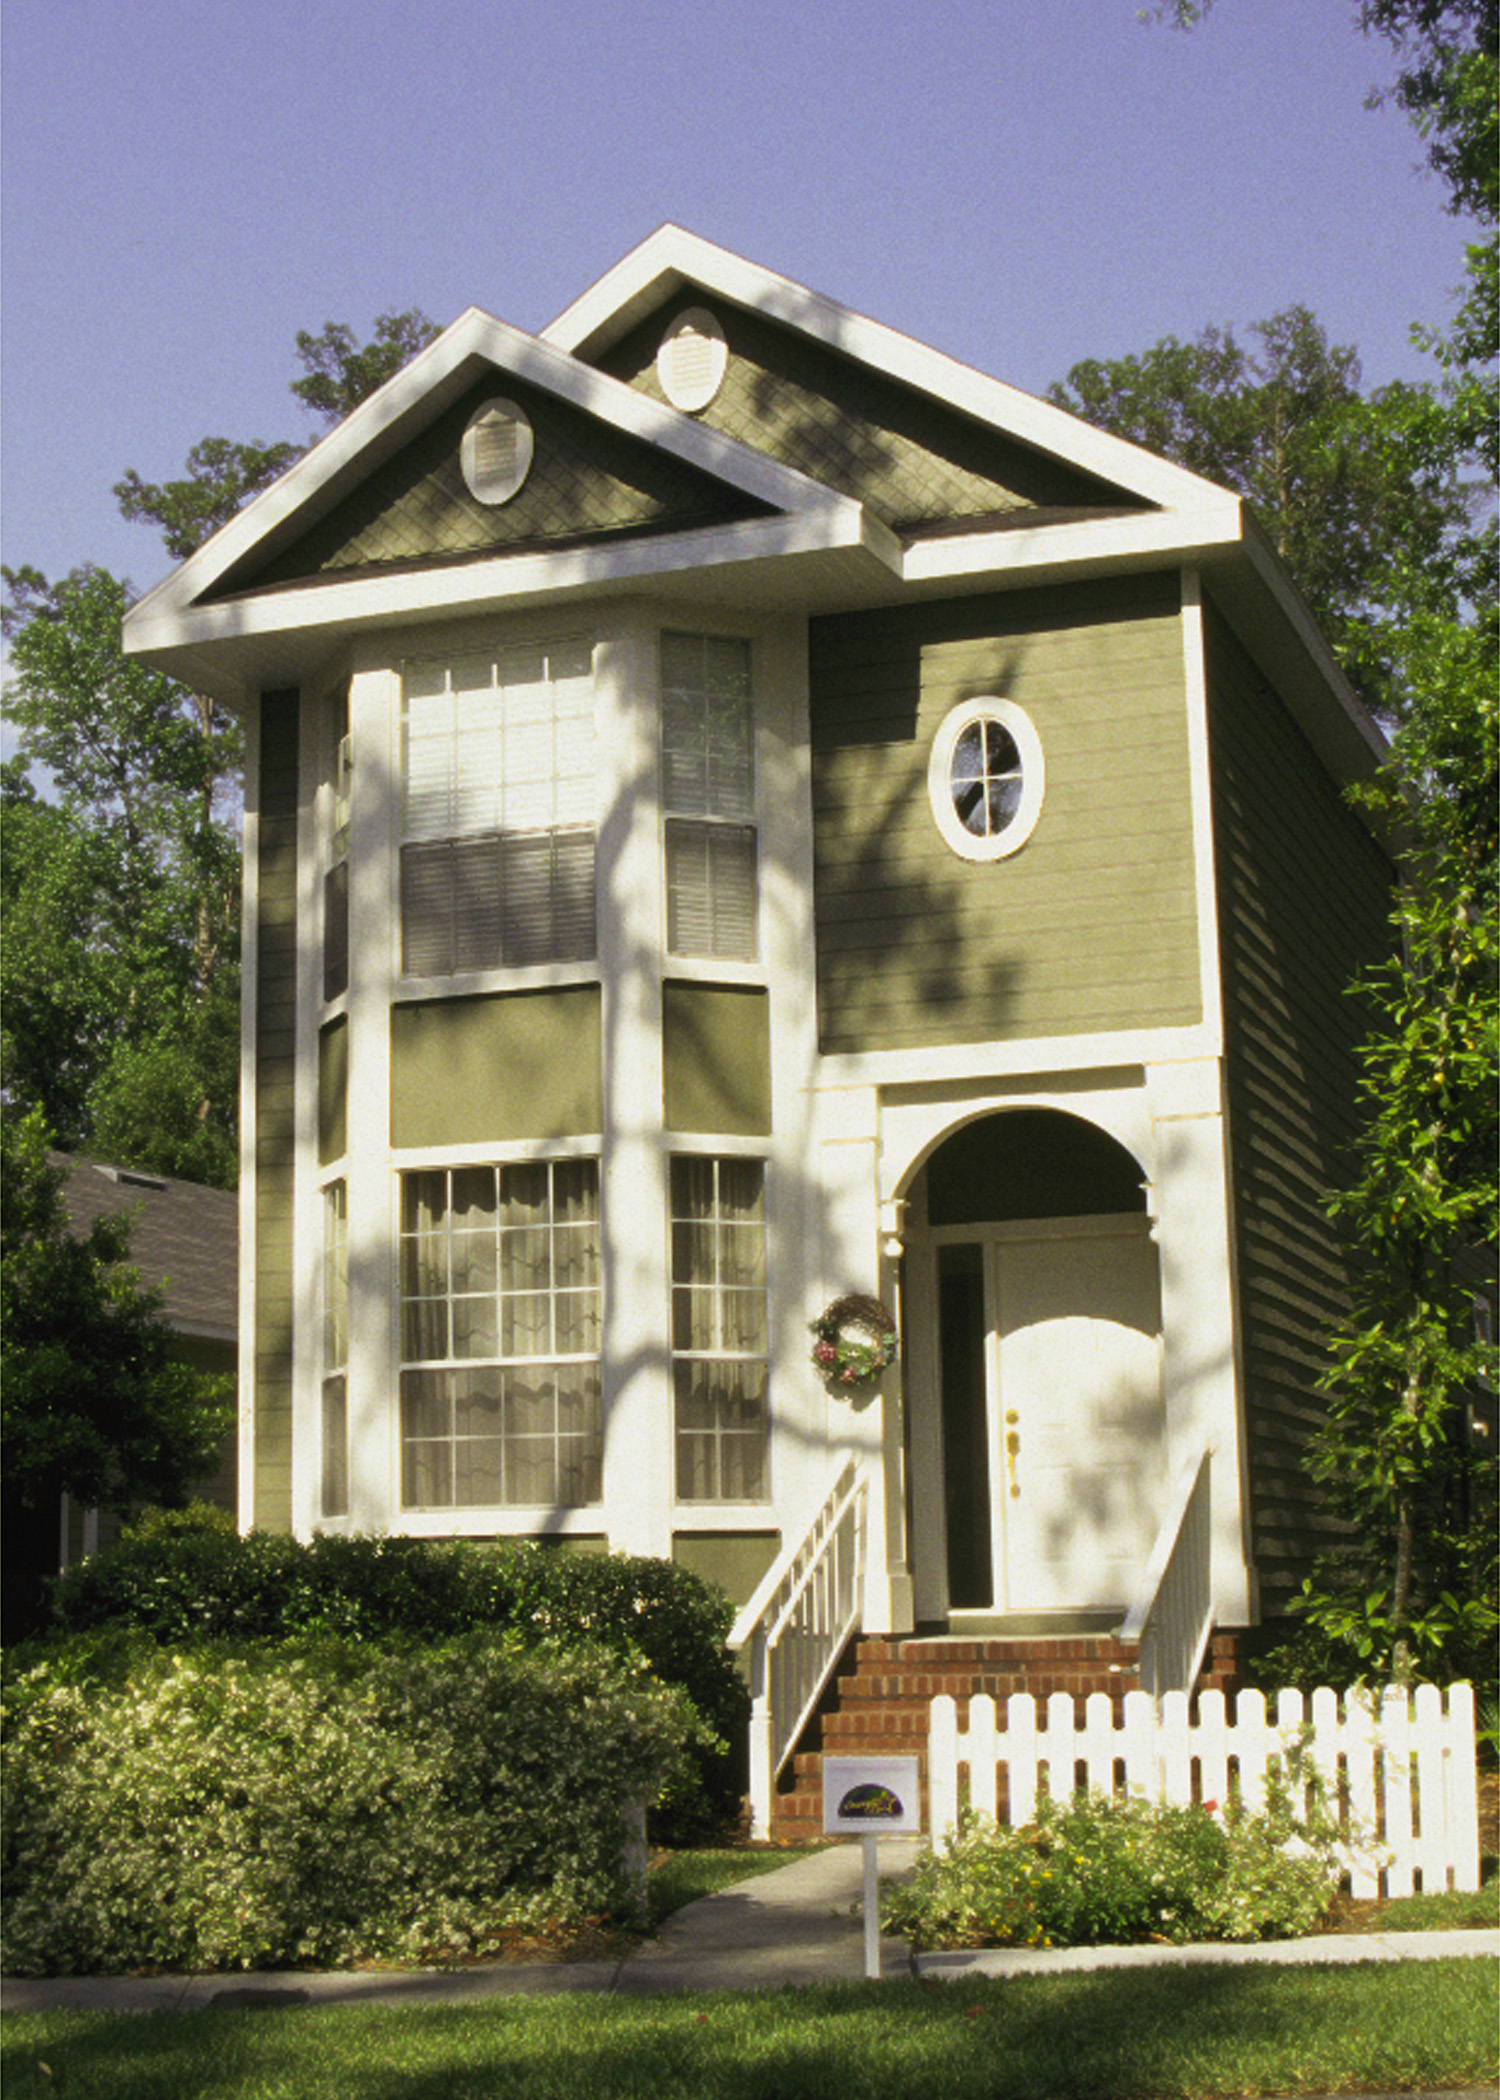
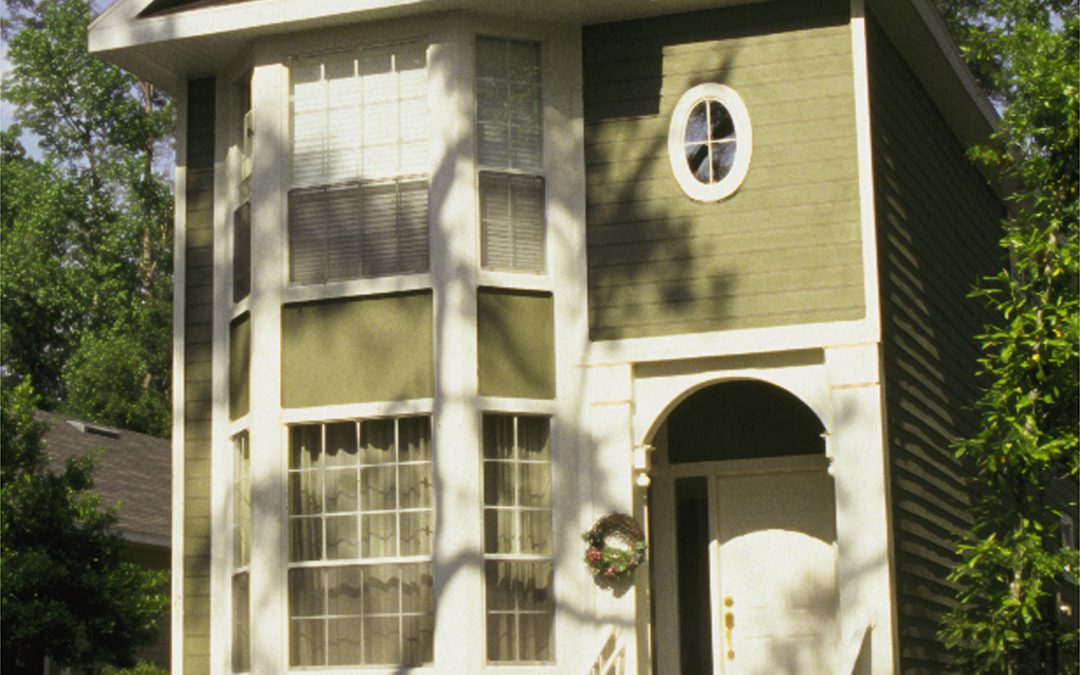
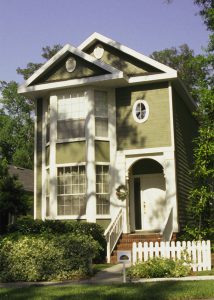
One of the most overlooked aspects of landscape design, particularly on DIY projects, is the idea of enhancing the architecture of your home by using plants that echo the shapes and features of the structure. The use of proper plant material not only shows off a home’s exterior beauty and increases curb appeal but often will translate into a significant boost in resale value! On site visits, I all too often encounter beautiful homes whose curb appeal potential is squashed due to poor plant selection. For example, how many times have you seen the ranch-style home with too-large Indica Azaleas across the foundation that are reaching for the eaves?
UF/IFAS File Photo.
Using plants to echo architecture is a pertinent topic for me as I just purchased a beautiful historic home in Walton County. This is a situation that could easily be ruined through improper plant selection. However, I’m going to try my best to use plants that enhance, not detract from, the architecture of the home. Here are a few very common architectural elements that happen to be present in my house and some easy planting tips to bring out the best in them:
- A steeply pitched roof and tall, narrow profile. A situation like this calls for the installation of a tight, upright shrub or tree to frame and echo the corner of the home. I am obeying this rule by planting a ‘Sioux’ crapemyrtle, a narrow, upright cultivar growing to 20’ and sporting flaming pink flowers. Some other plant options to consider installing: Ilex x attenuata ‘Savannah’ and other cultivars, ‘Apalachee’ crapemyrtle (lavender Flowers with cinnamon bark), ‘Brodie’ or ‘Spartan’ juniper (upright cultivars), ‘Little Gem’ magnolia. There are even a few selections of live oak such as ‘Highrise’, ‘Skyclimber’, etc. that fit the bill!
- Large, open front porch. We southerners love our front porch sitting, so don’t cover it up by planting large growing shrubs in front of it! Instead, plant a low growing, maintenance free ornamental grass or shrub! I decided to go with an airy, native look and fill the bed under my porch with pink muhly grass (Muhlenbergia capillaris). Here are a few other great options for a low growing plant to show off your porch: ‘Purple Pixie’ loropetalum (a new introduction from the Southern Living Plant Collection), dwarf Fakahatchee grass (an underused native), Indian hawthorne (overplanted but still effective), ‘Firepower’ nandina or one of its newer cousins (bulletproof with good fall color), ‘Soft Caress’ mahonia (elegant selection for a shady bed), holly fern (low growing evergreen fern for a shady area).
- Long, bare walls. Let’s face it, a blank wall is not visually pleasing and bare walls can actually act as a heat sink during our long summer afternoons! To break up the monotony of a bare wall and provide some shading for cooling purposes, mix plants of different heights and textures, even add a small tree or two! Here are a few reminders when landscaping to bring interest to a bare wall: Plant the taller plants (larger shrubs and small trees) in between windows to get height interest but not block views; use plants with flexible limbs and soft foliage for easy pruning and to make maintenance easier; choose plants with colors that will be compatible with the wall; finally, allow at least a foot or two between the wall and the mature size of your plants for ease of access! The plant choices for this application are endless. Get creative!
Whatever your house’s style may be, remember the above suggestions when planting and watch as your landscape grows to enhance the look and value of your home rather than detract from it! Happy planting!