by Mary Salinas | Sep 9, 2015
After a few years, many perennial plants have grown so large that they need to be divided in order to be revived. Overcrowding causes them to bear fewer flowers and, sometimes, to die in the center. Fall is a good time to divide perennials that bloom in spring and summer and are now done blooming for the year. This is a great way also to expand your perennial beds or share some of your perennial favorites with friends and neighbors.

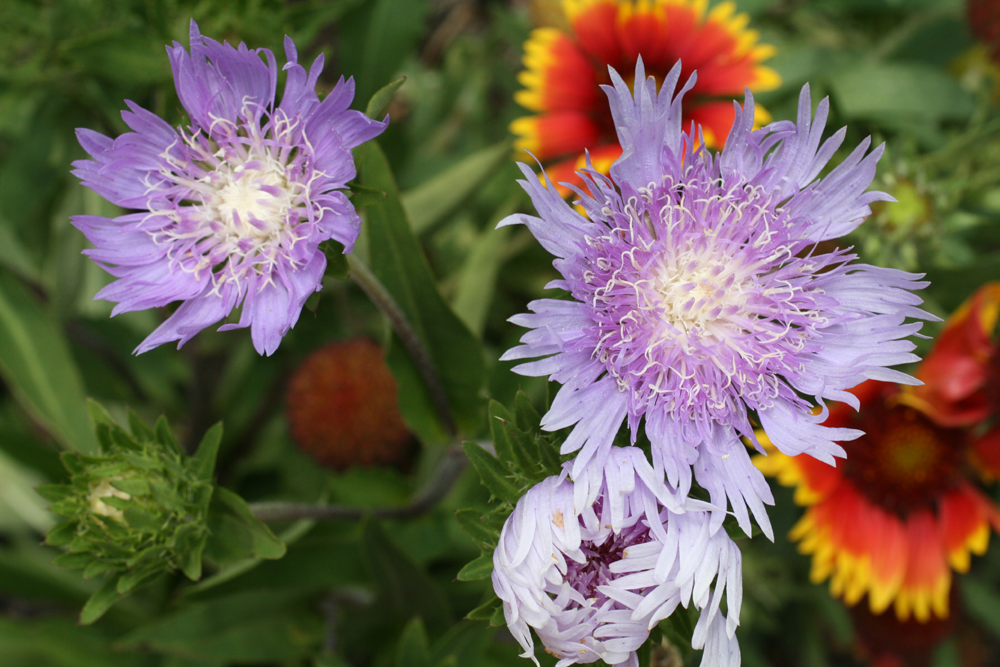
Vibrant blue Stokes’ aster. Photo credit: UF/IFAS.
Some examples of perennials to divide in the fall are:
- Stokes’ aster, Stokesia laevis
- Daylily, Hemerocallis spp.
- Black-eyed Susan, Rudbeckia hirta
- Yarrow, Achillea millefolium
- Crocosmia, Crocosmia spp.
- Flax lily, Dianella tasmanica ‘Variegata’
- Liriope, Liriope muscari
- Cast iron plant, Aspidistra elatior
The first step is to dig out the entire clump. If there is enough clearance in the garden bed, start digging about six inches out from the plant and dig straight down beyond the root zone. It’s best to get as much of the roots as possible to lessen the shock of transplanting. If the clump is too heavy to remove, make your divisions right there with a sharp blade, trowel or shovel. Often, you can just pull them apart with your hands.
Before replanting the divisions, consider adding some nutritious compost to those areas of your garden bed to ensure healthy plants. Be sure to replant as soon as feasible to protect the roots from drying out. After replanting, water the transplanted divisions well and mulch appropriately.
To explore further please see:
Gardening with Perennials in Florida
Propagation of Landscape Plants

by Julie McConnell | Sep 3, 2015
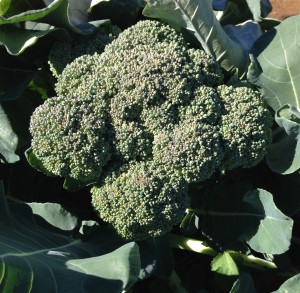
Broccoli, a popular winter vegetable. Photo by Mary Derrick, UF IFAS
As the days get shorter and temperatures decrease, it is time install your cool season vegetable garden. Many vegetables can be grown in Florida, but it is important to understand what the climatic requirements are for each crop to have the most success.
To get the most of your garden space know the recommended months for planting and the turnaround time for harvest so that you can stagger plantings or change out crops as needed.
September is the ideal time to plant cabbage, beets, kale, lettuce, mustard greens, onions, and radishes. After the New Year some options include eggplant, potatoes, English peas, and turnips.
Many gardeners start their tomatoes and peppers as early as February, but they are frost sensitive and early planting carries some risk of cold damage.
If you are interested in learning more about fall vegetable gardening, join the UF/IFAS Bay County Master Gardeners on Friday, September 18th for a free vegetable gardening workshop. This class will be held at the Bay County Extension Office at 2728 E. 14th Street in Panama City. To register please call 850-784-6105 or email bay@ifas.ufl.edu. Fall-VegMG2015
For more information and a full chart of what to plant when see Florida Vegetable Gardening Guide.

by Larry Williams | Sep 3, 2015
Tropical storm season officially ends November 30. I’m not predicting a storm but even with our average winds during a typical thunderstorm, you’d be wise to prepare.
Falling trees and flying landscape debris during a storm can cause damage. Evaluate your landscape for potential tree hazards. Pruning or removing trees once a hurricane watch has been announced is risky and tree trimming debris left along the street is hazardous.
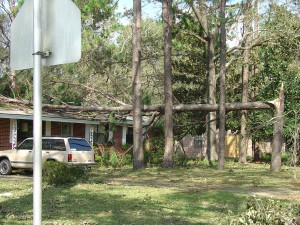
Photo credit: Larry Williams, UF/IFAS.
Now is a good time to remove dead or dying trees and to prune decayed or dead branches Also inspect trees for signs of disease or insect infestation that may further weaken them.
Professional help sometimes is your best option when dealing with larger jobs. Property damage could be reduced by having a professional arborist evaluate unhealthy, injured or questionable trees to assess risk and treat problems. Hiring a certified arborist can be a worthwhile investment. To find a certified arborist in your area contact the International Society of Arboriculture (ISA) at 217-355-9411 or at www.isa-arbor.com. You also may contact the Florida Chapter of ISA at 941-342-0153 or at www.floridaisa.org.
Consider removing trees that have low wind resistance, are at the end of their life span or that have potential to endanger lives or property. For example, laurel oaks are relatively short-lived, usually showing considerable dieback as they reach 50 years. They tend to lose their strength and stability faster than most other oaks and have low wind resistance. Consider removing a big, old laurel oak within falling distance of your home before the next storm.
Tree species with the lowest wind resistance include pecan, tulip poplar, cherry laurel, Bradford pear, southern red oak, laurel oak, water oak, Chinese tallow, Chinese elm, southern red cedar, Leyland cypress, sand pine and spruce pine.
Pine species vary in their wind resistance, usually with longleaf and slash pines showing better survival rates than loblolly and sand pine. However, when pines become large, they may cause damage if located close to homes or other valuable structures.

by Mary Salinas | Aug 19, 2015
When you know that your lawn needs an application of fertilizer, herbicide, insecticide or fungicide, the question becomes how much to buy and put down. For these products, success stems from applying the right amount, not too much or too little. The label on those products always tells the consumer how many square feet of lawn can be treated, but how do you figure that out?
You could always do it the old-fashioned way with measuring tape and a calculator, estimating the angles and the areas of those curvy, irregular flower beds. This method takes a bit of time and you will still wonder about the accuracy of your final numbers.
Here’s an easier, and more accurate way to do it!
Sod Solutions, Inc. offers an online tool that is easy to use and very accurate. Enter your address and GPS locates the aerial view of your property. Create an overlay by plotting points and the square footage is automatically calculated. The instructions under ‘How to Use the Calculator’ are very clear and makes this tool so easy and convenient to use.
For more information on lawn care topics:
Gardening Solutions: Lawns

by Les Harrison | Aug 11, 2015
Weeds are growing everywhere, especially in manicured lawns and landscapes despite the best efforts of owners who have spared no expense to remove the offending flora. Herbicides to control the weeds seem to be less effective as August progresses.
The reality, at least about the herbicides, is different from perceived appearances. Herbicides can be a wonderful tool for the homeowner, if applied properly.
[important]The first point to remember about herbicides is to always, Always, ALWAYS apply them as instructed by the label directions. The oft quoted mantra of “the label is the law” is accurate.[/important]
Herbicides and their labeling are periodically reviewed and assessed to confirm effectiveness against target weeds without damaging the environment. Not following the label directions can have many negative implications for both the environment and the applicator.
Herbicides are either selective or non-selective when killing plants. Non-selective herbicides kill or damage every plant, but selective herbicides target a narrower range of plants.
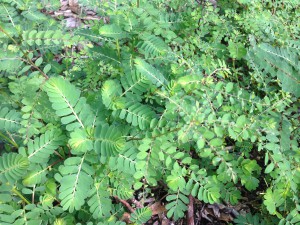
Chamberbitter, a common annual weed. Photo credit: Mary Derrick, UF/IFAS Extension.
Never apply herbicides when there is a breeze or wind. Herbicide drift can injure or destroy plants that are not the intended target.
High temperatures can contribute to the drift problem by volatizing some of the herbicide spray. Even the lightest air movement will cause drift off the target weeds when this condition exists. Herbicide drift can also be deposited in ponds and streams, harming the aquatic creatures that live there. Some herbicides are toxic to fish, insects and other animals that can be killed by tiny amounts of the active chemical. Additionally, the off target herbicides can kill aquatic plants. When the dead plants decay, they deplete the water of oxygen, again threatening or ending the life of the water’s residents.
Rain or dew resulting from high humidity can negate a herbicide’s application. If a leaf is wet, most or all the herbicide will run off on to the soil where it can leach into the water table.
Unless stated on the label, herbicides work only when the plant is actively growing. A hot, dry week or two can put a plant in drought mode, suspending growth and the herbicide’s effectiveness.
Many weeds have already produced seeds for next spring. Herbicides applied now will not affect the germination of that seed months from now.
The most effective strategy is to mow weeds before they set seed or to collect and destroy those which have already produced seed. Even with 100 percent success at eliminating this year’s weed seed crop, there will be weeds next year.
Some weed seed remain in the soil, sometimes for decades, only to germinate when conditions are perfect for their sprouting. Sickle pod and crotalaria are local examples of long term seed vigor.
Other seed can blow in or be dropped by wild or domestic animals passing through the property. A pre-emergent herbicide which stops germination can help control these latent invaders.
For more information:
Weed Management Guide for Florida Lawns
Gardening Solutions: Weeds
by Roy Carter | Aug 10, 2015
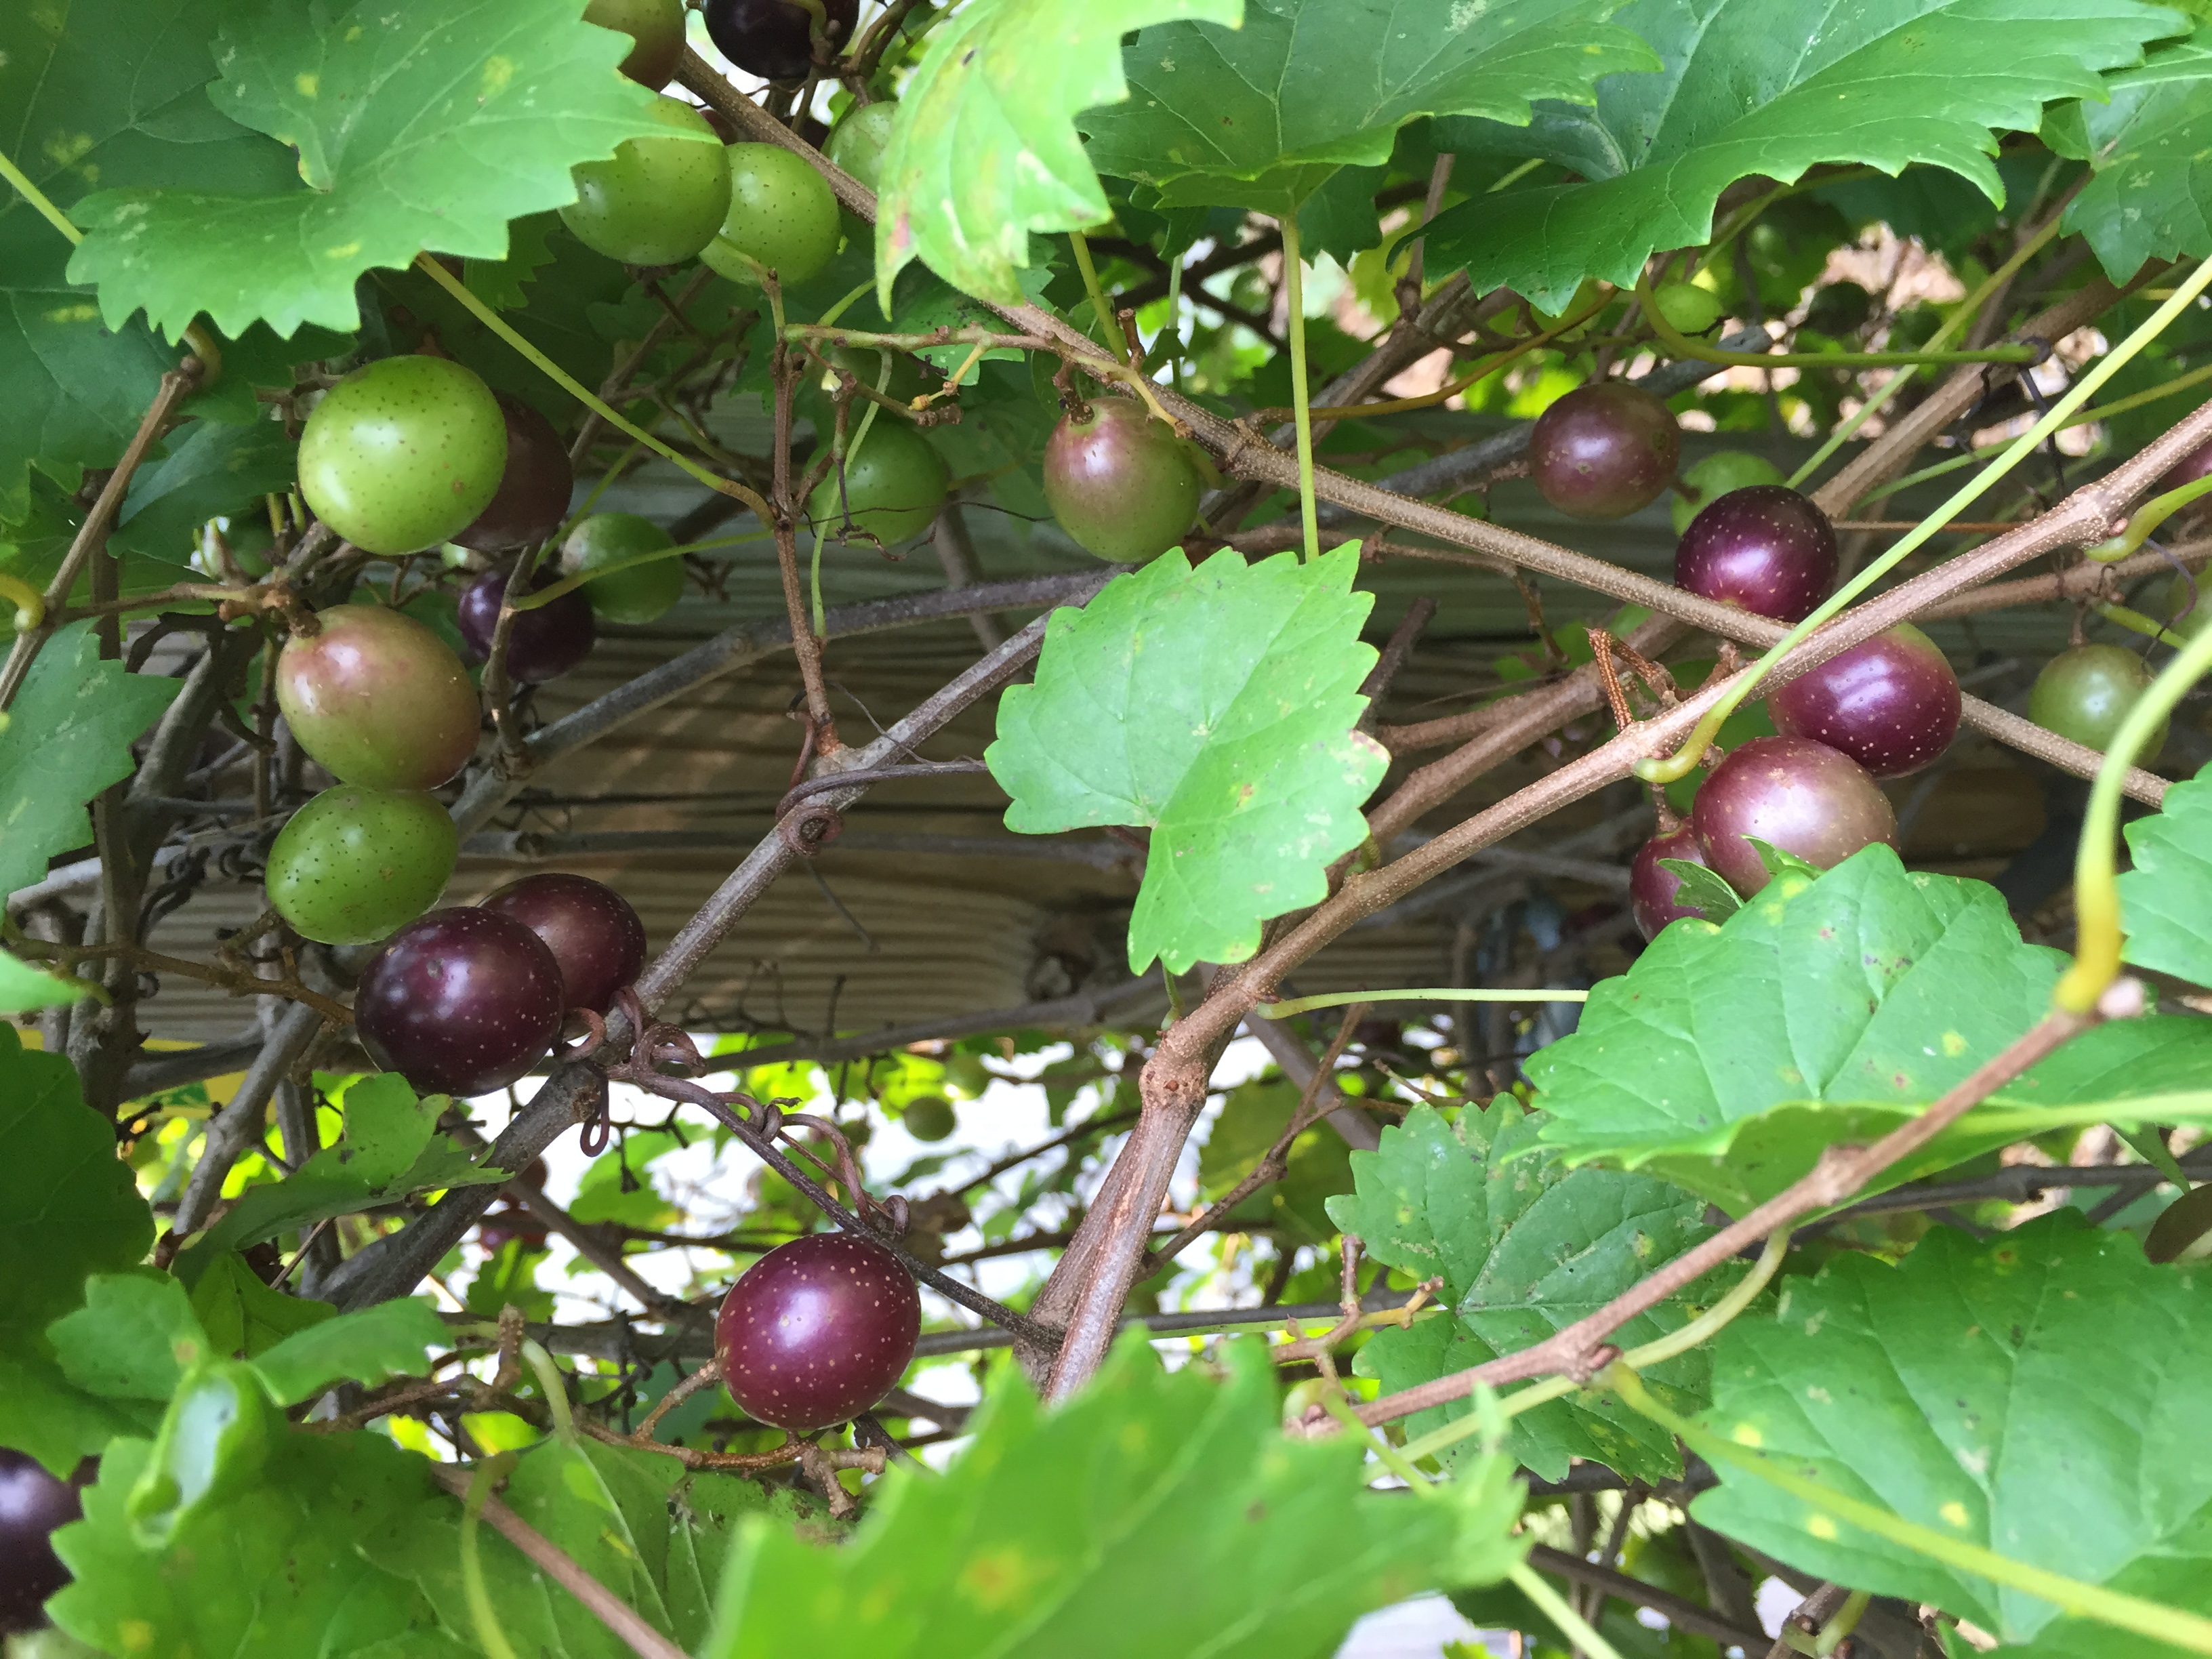
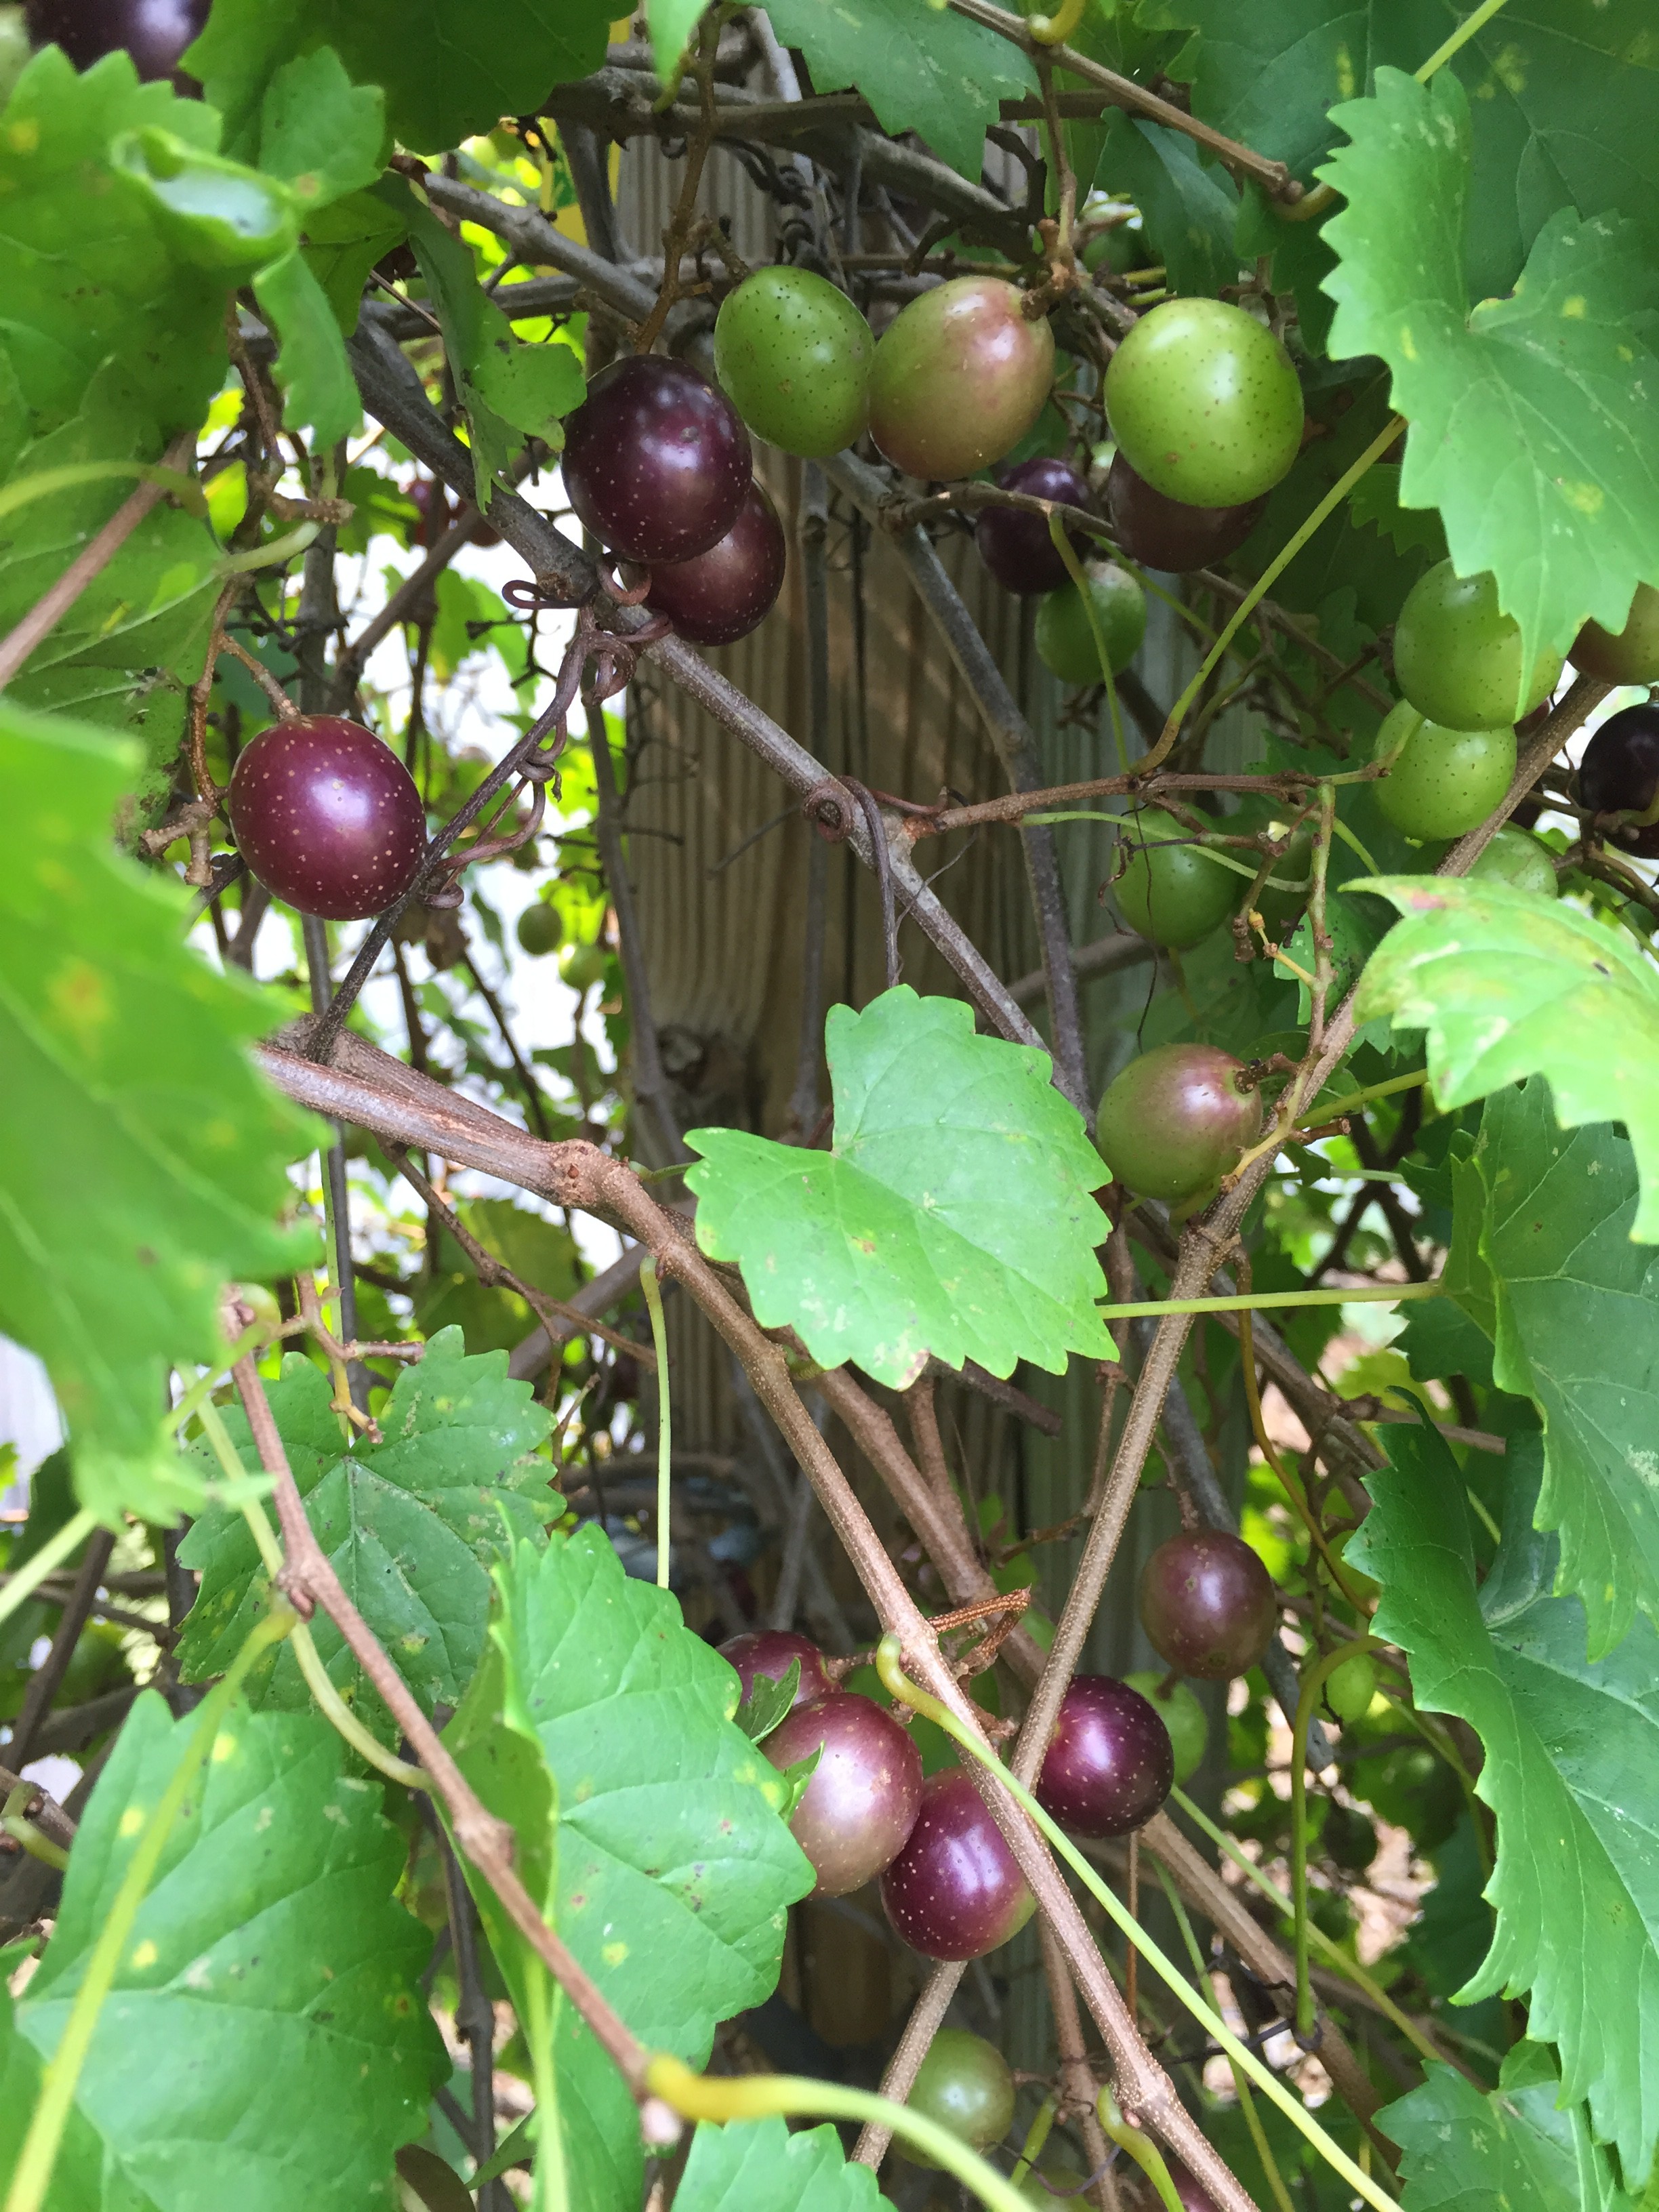
The muscadine grape is a popular fruit that grows very well here in North Florida. It has smaller leaves than bunch grapes and fruit are harvested singly, rather than in bunches. Theses grapes can be enjoyed fresh and also be used for home wine-making. One of the nice things about growing muscadine grapes in Florida is that they’re rarely bothered by insects or diseases. They can easily be grown in your backyard garden.

Muscadine grapes are ripening now! Photo credit: Mary Derrick, UF/IFAS Extension.
Grapes will grow well in a variety of soils here in North Florida. Upland soils with clay underlying at about three feet are ideal. You should avoid poorly drained soils. If the grapes are grown on soil with very good drainage, they should be set in the ground deeper than they were grown in the nursery on land with a high water table. Grapes should be planted on raised beds at the same depth they were at in the nursery.
During the first year, grapes should be fertilized with a quarter pound of 8-8-8 or 10-10-10 fertilizer, applied in bands about a foot away from the plant, soon after growth begins. Repeat applications in April, July and September. Fertilizer rates increase each year, but they should never exceed six pounds per vine per year.
Weeds can sometimes be a problem with muscadine grapes. To get rid of weeds, you can use a good herbicide, or you can cultivate around the plants. The muscadine grape has a very shallow root system, however, so be careful when you’re weeding around the plants. Mulches can be helpful in controlling weeds, but be sure to leave a circle of at least six inches around each vine uncovered.
Grapes need a generous supply of water to survive here in North Florida. In fact, more first-year grapes die from a lack of water than from any other cause. Make sure the plant receives about an inch of water weekly. Muscadine grapes are rarely bothered by insects or diseases. However, a spray program is advised to protect plants from possible damage by black rot or bitter rot. Spraying should begin when the vines are in bloom, and continue a regular two week intervals until about a week before the harvest. For specific information on the proper spray to use, you should contact your local County Agent.
Muscadine grapes mature in August and early September. If you don’t plan to use them immediately, they should be picked from the vine when ripe and stored at 40 degrees Fahrenheit.
For more information, please see:
The Muscadine Grape
Muscadines Benefit from Timely and Artful Pruning