In case you missed it, you can watch our last session of Gardening in the Panhandle LIVE! that aired on October 12th by visiting our YouTube Playlist with all the past episodes of our gardening webinars.
We had a great conversation about herbs and cool season edible plants last month and this article compiles the links shared by the expert panel in the episode. Thanks for watching!
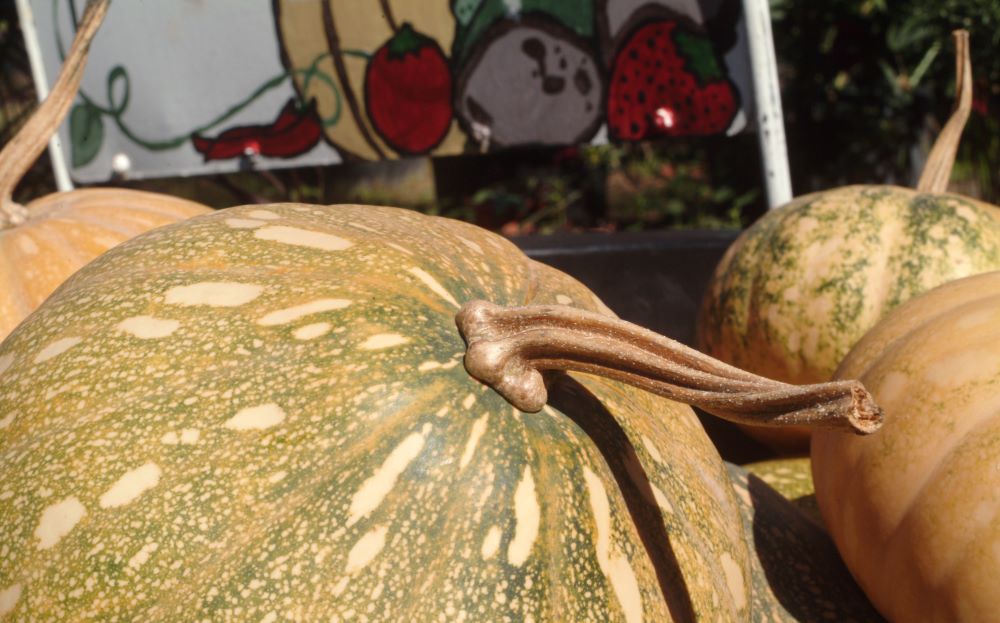
You’re in the right hands if you want to grow pumpkins in Florida. While growing pumpkins can be tricky in Florida’s hot and humid climate, you can successfully grow Sunshine State pumpkins with the proper planning and care. Pumpkin is a popular vegetable in the cucurbit family. It shares this family with members of summer and winter squash. The pumpkin varieties differ from those called squashes by having coarser, more intensely flavored flesh and rinds that are softer at maturity than the winter squashes but harder than the summer squashes. Pumpkins refers to certain varieties of C. pepo L., C. moschata Duch. ex Poir., C. mixta Pang., and C. maxima Duch. Local tradition and common usage may dictate that a particular variety is called a squash in one area of the country and a pumpkin in another.
Pumpkin Varieties Choosing the right pumpkin variety is a major decision when growing pumpkins in Florida. Not all pumpkin varieties are suited to Florida’s warm and humid climate. Seminole Pumpkin is a native pumpkin variety well-suited to the state’s warm and humid environment. Traditionally grown by the Calusa, Creek, and Miccosukee peoples, Seminole pumpkins remain one of the tastiest and most reliable for Florida gardens. Seminole pumpkins are known for their hardiness and resistance to disease and pests. The Big Max variety is known for producing giant pumpkins that can weigh up to 100 pounds or more. Big Max pumpkins do well in Florida’s warm climate but may require extra care to prevent pests and diseases. The Jack-o-Lantern variety is the classic Halloween pumpkin for carving and decorating. Look for types suited to warm climates, such as “Funny Face” and “Big Moon.” The Pie Pumpkin variety is best used for cooking. If you plan to use your pumpkins for cooking, look for pie pumpkin varieties such as “Small Sugar” and “Early July.” These pumpkins are smaller and sweeter than carving pumpkins and are ideal for making pies, bread, and other baked goods.
Planting
Most pumpkin varieties need around four months to reach maturity. Pumpkins should be seeded by early July to be ready for Halloween. Spring pumpkins planted in March or April can be stored for use in October and November (though long storage is difficult in Florida). Early August seeding provides a fall crop for late November. Choose a sunny spot with well-drained soil for your pumpkin patch. Pumpkins can be grown in small gardens or containers if you need more space. Plant your pumpkin seeds about 1 inch deep and should be placed 6 feet in either direction, except for the bush types. Plant 3-4 seeds per hill, then thin when the plants are 2-4 inches tall.
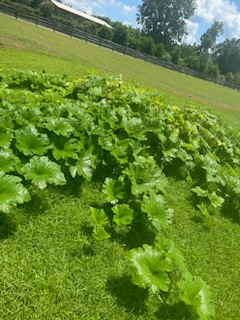
Seminole pumpkins planted in raised beds at UF/IFAS Extension Jefferson County Office
Photo: De’Anthony Price
Maintenance
Once your pumpkin seeds have sprouted, it’s time to start caring for your plants. Pumpkins need consistent moisture to grow, so be sure to water them regularly. Aim to give your plants about 1-2 inches of water per week. Water thoroughly after planting to help the seeds settle in. Climbing varieties like Seminole can be trellised for more space while using slings to support larger fruits. Use a balanced fertilizer to help your pumpkins grow strong and healthy. Apply the fertilizer according to the package instructions. Pumpkins do well with large amounts of compost. Place compost under each hill before seeding. Side dress with a handful every three weeks or as needed. Keep an eye out for pests such as squash bugs and cucumber beetles, which can damage your plants. If you notice any signs of pests or disease, treat your plants with a pesticide or fungicide as needed.
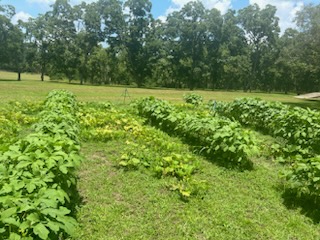
Intercropping of okra and pumpkin (Jack-o-Lantern) planted at UF/IFAS Extension Jefferson County Office
Photo: De’Anthony Price
Fruiting
Like other cucurbits, pumpkins need bees for pollination to produce fruit. Bees are the primary pollinators for pumpkins, so make sure to plant flowers and other plants that attract bees to your garden. Each plant holds male and female flowers, and knowing the difference between them is essential. Male flowers have a long, thin stem and no fruit behind the flower. Female flowers have a swollen, bulbous base that will eventually become pumpkins. It’s essential to have a good balance of male and female flowers to ensure a proper fruit set. If large-size fruits are desired, keep only two fruits on the vine. Once two fruits are the size of baseballs, remove all others as they form.
Harvest and Storage
Pumpkins are ready to harvest when the skin is hard, and the stem is dry and brown. Cut the stem about 2 inches above the pumpkin. After harvesting, allow your pumpkins to cure in a cool, dry place for 10-14 days. Curing helps the skin to harden and protect the pumpkin from pests and diseases. Once your pumpkins are cured, store them in a cool, dry place with good air circulation. Avoid storing them on concrete or damp surfaces, which can cause them to rot. Pumpkins keep for a few weeks, but long-term storage of 1–4 months is challenging in Florida. Store them in a dry (70% RH) and cool (50–60°F) place where possible.
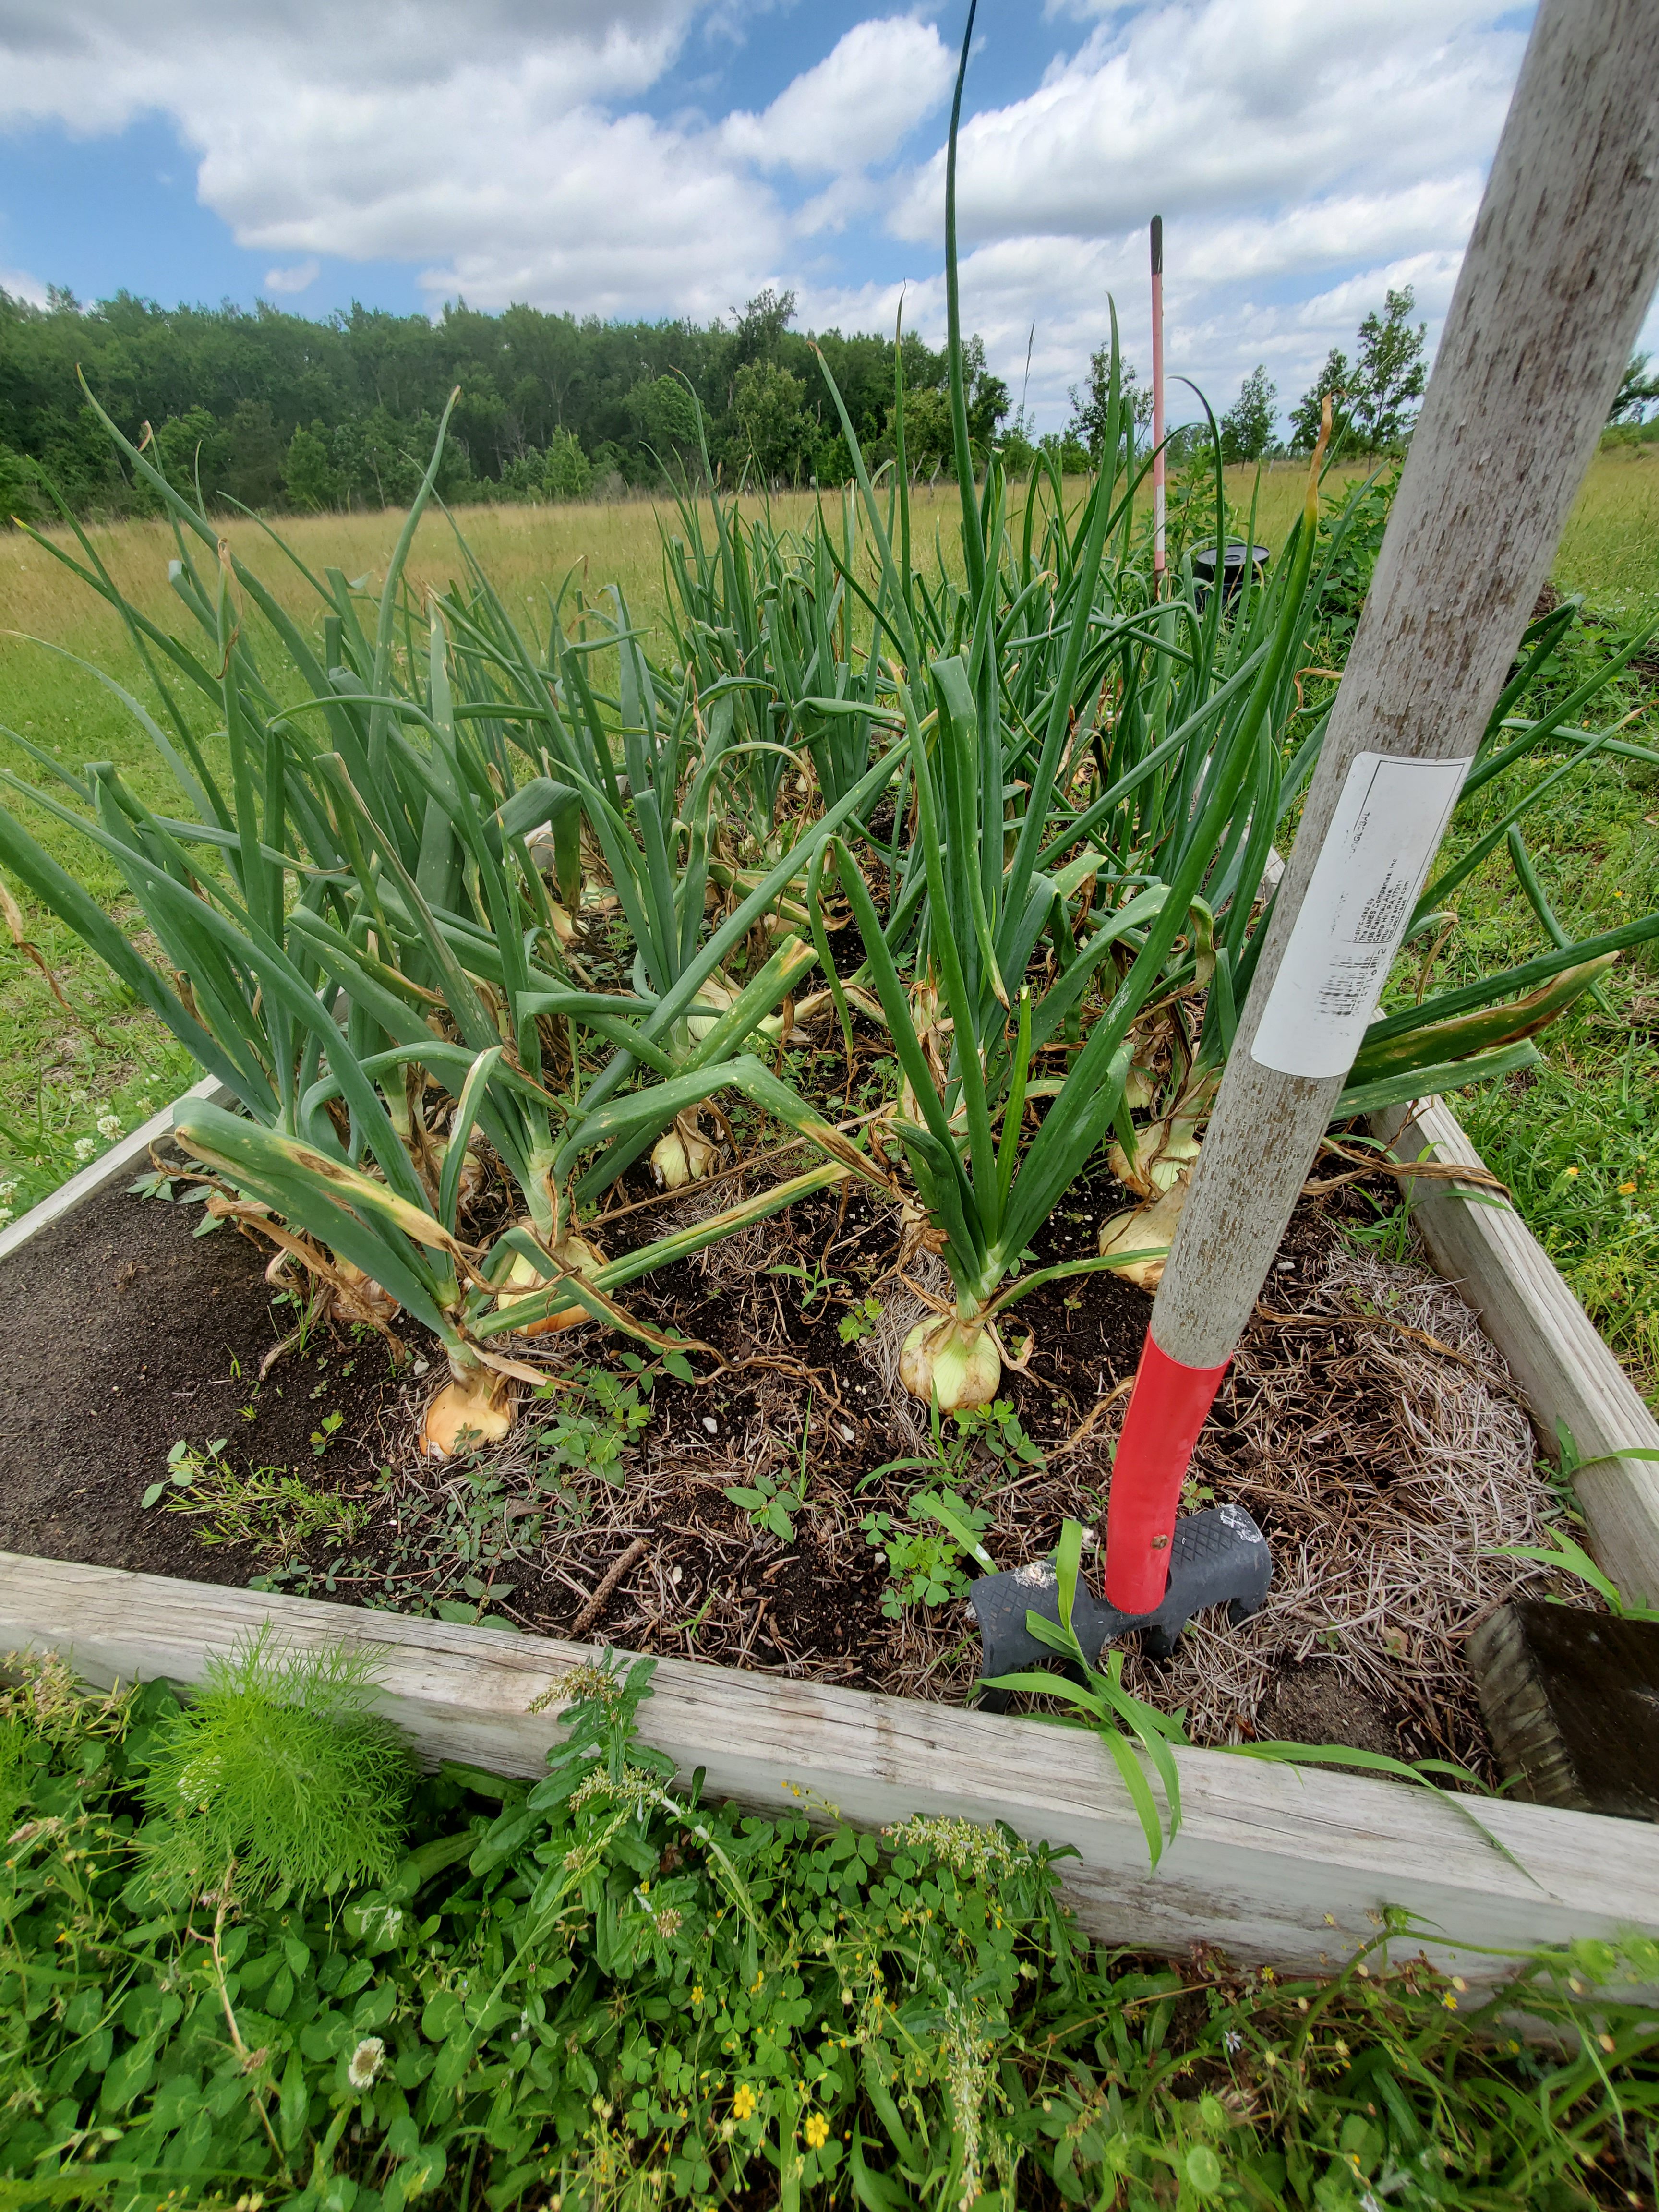
For many people in the Panhandle, gardening season begins when the weather warms in spring and nurseries start setting out tomato transplants. While I understand the allure of the yummy summer veggies and spring/early summer are the most traditional times to garden, cultivating a winter garden in the Panhandle unlocks many tasty options. Among these cool-season garden veggies is a classic southern staple that is among the easiest and most rewarding of all vegetables to grow, sweet onions!
‘Texas Super Sweet’ Onions almost ready for harvest in a Calhoun County garden. Photo courtesy of Joe Leonard.
Sweet onions are very popular in the culinary world for their mild flavor and soft texture and are among the most widely grown group of onions across the world, but the most famous of them, Vidalia’s, hail from Georgia! Despite its fame, the “Vidalia” onion is actually nothing more than a trademarked name for a specific variety of sweet onion that was bred in Texas (‘Yellow Granex’ and its derivatives), grown in a 20-county region in South Georgia with excellent onion-growing soil, and made famous by excellent marketing from the Vidalia Onion Committee. While they can’t be called Vidalias legally, you can absolutely grow your very own Vidalia type sweet onions at home here in the Florida Panhandle!
Sweet Onions are most easily grown at home if purchased in the fall as “sets”. Sets are small bulbs that have been started, harvested, dried to prevent rotting during storage, and shipped to garden centers ready to be “set” out in home gardens. Sweet onions may also be grown from seed but take much longer and have a lower success rate. When browsing onion set varieties for purchase at garden centers or in seed catalogues, make sure to purchase a short-day “Granex” type like “Texas Super Sweet” or similar. It is critical to remember that sweet onions are classified by how many hours of daylength they require to produce bulbs. The three classifications are Short, Mid, and Long-Day. Since sweet onions require cool weather to develop properly, Floridians must grow short-day varieties to compensate for decreased daylight hours in the winter. In the less hot Northern states, long-day sweet onions are grown in the summer, where they’ll be able to soak up 15-16 hours of daylight. Therefore, for best results in the Panhandle, select ONLY short-day onion varieties.
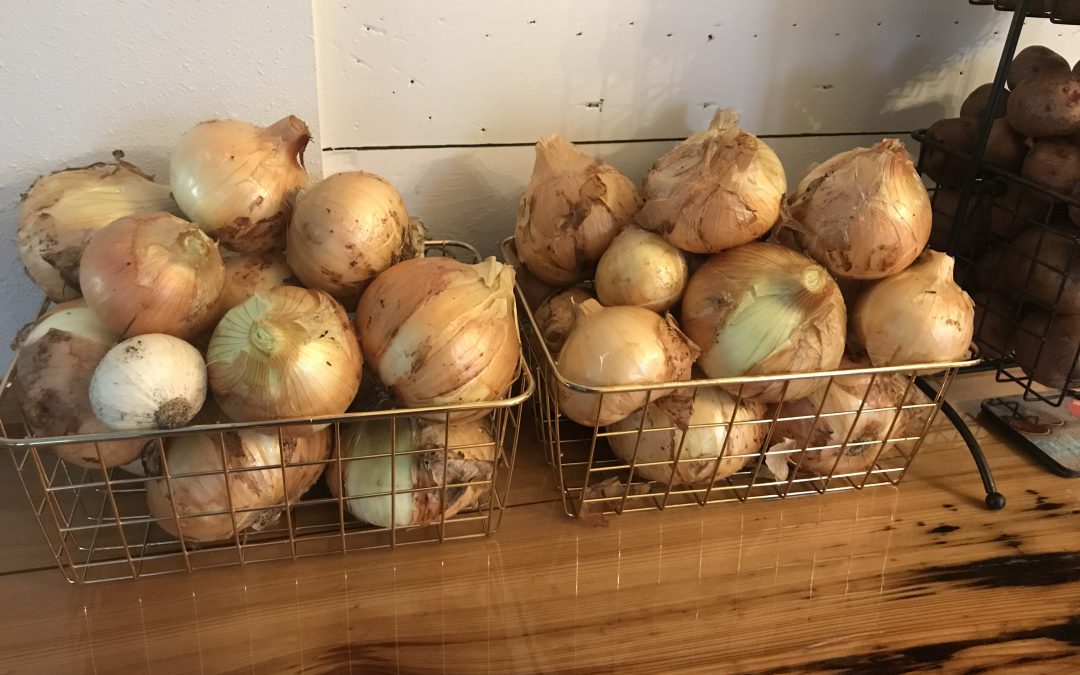
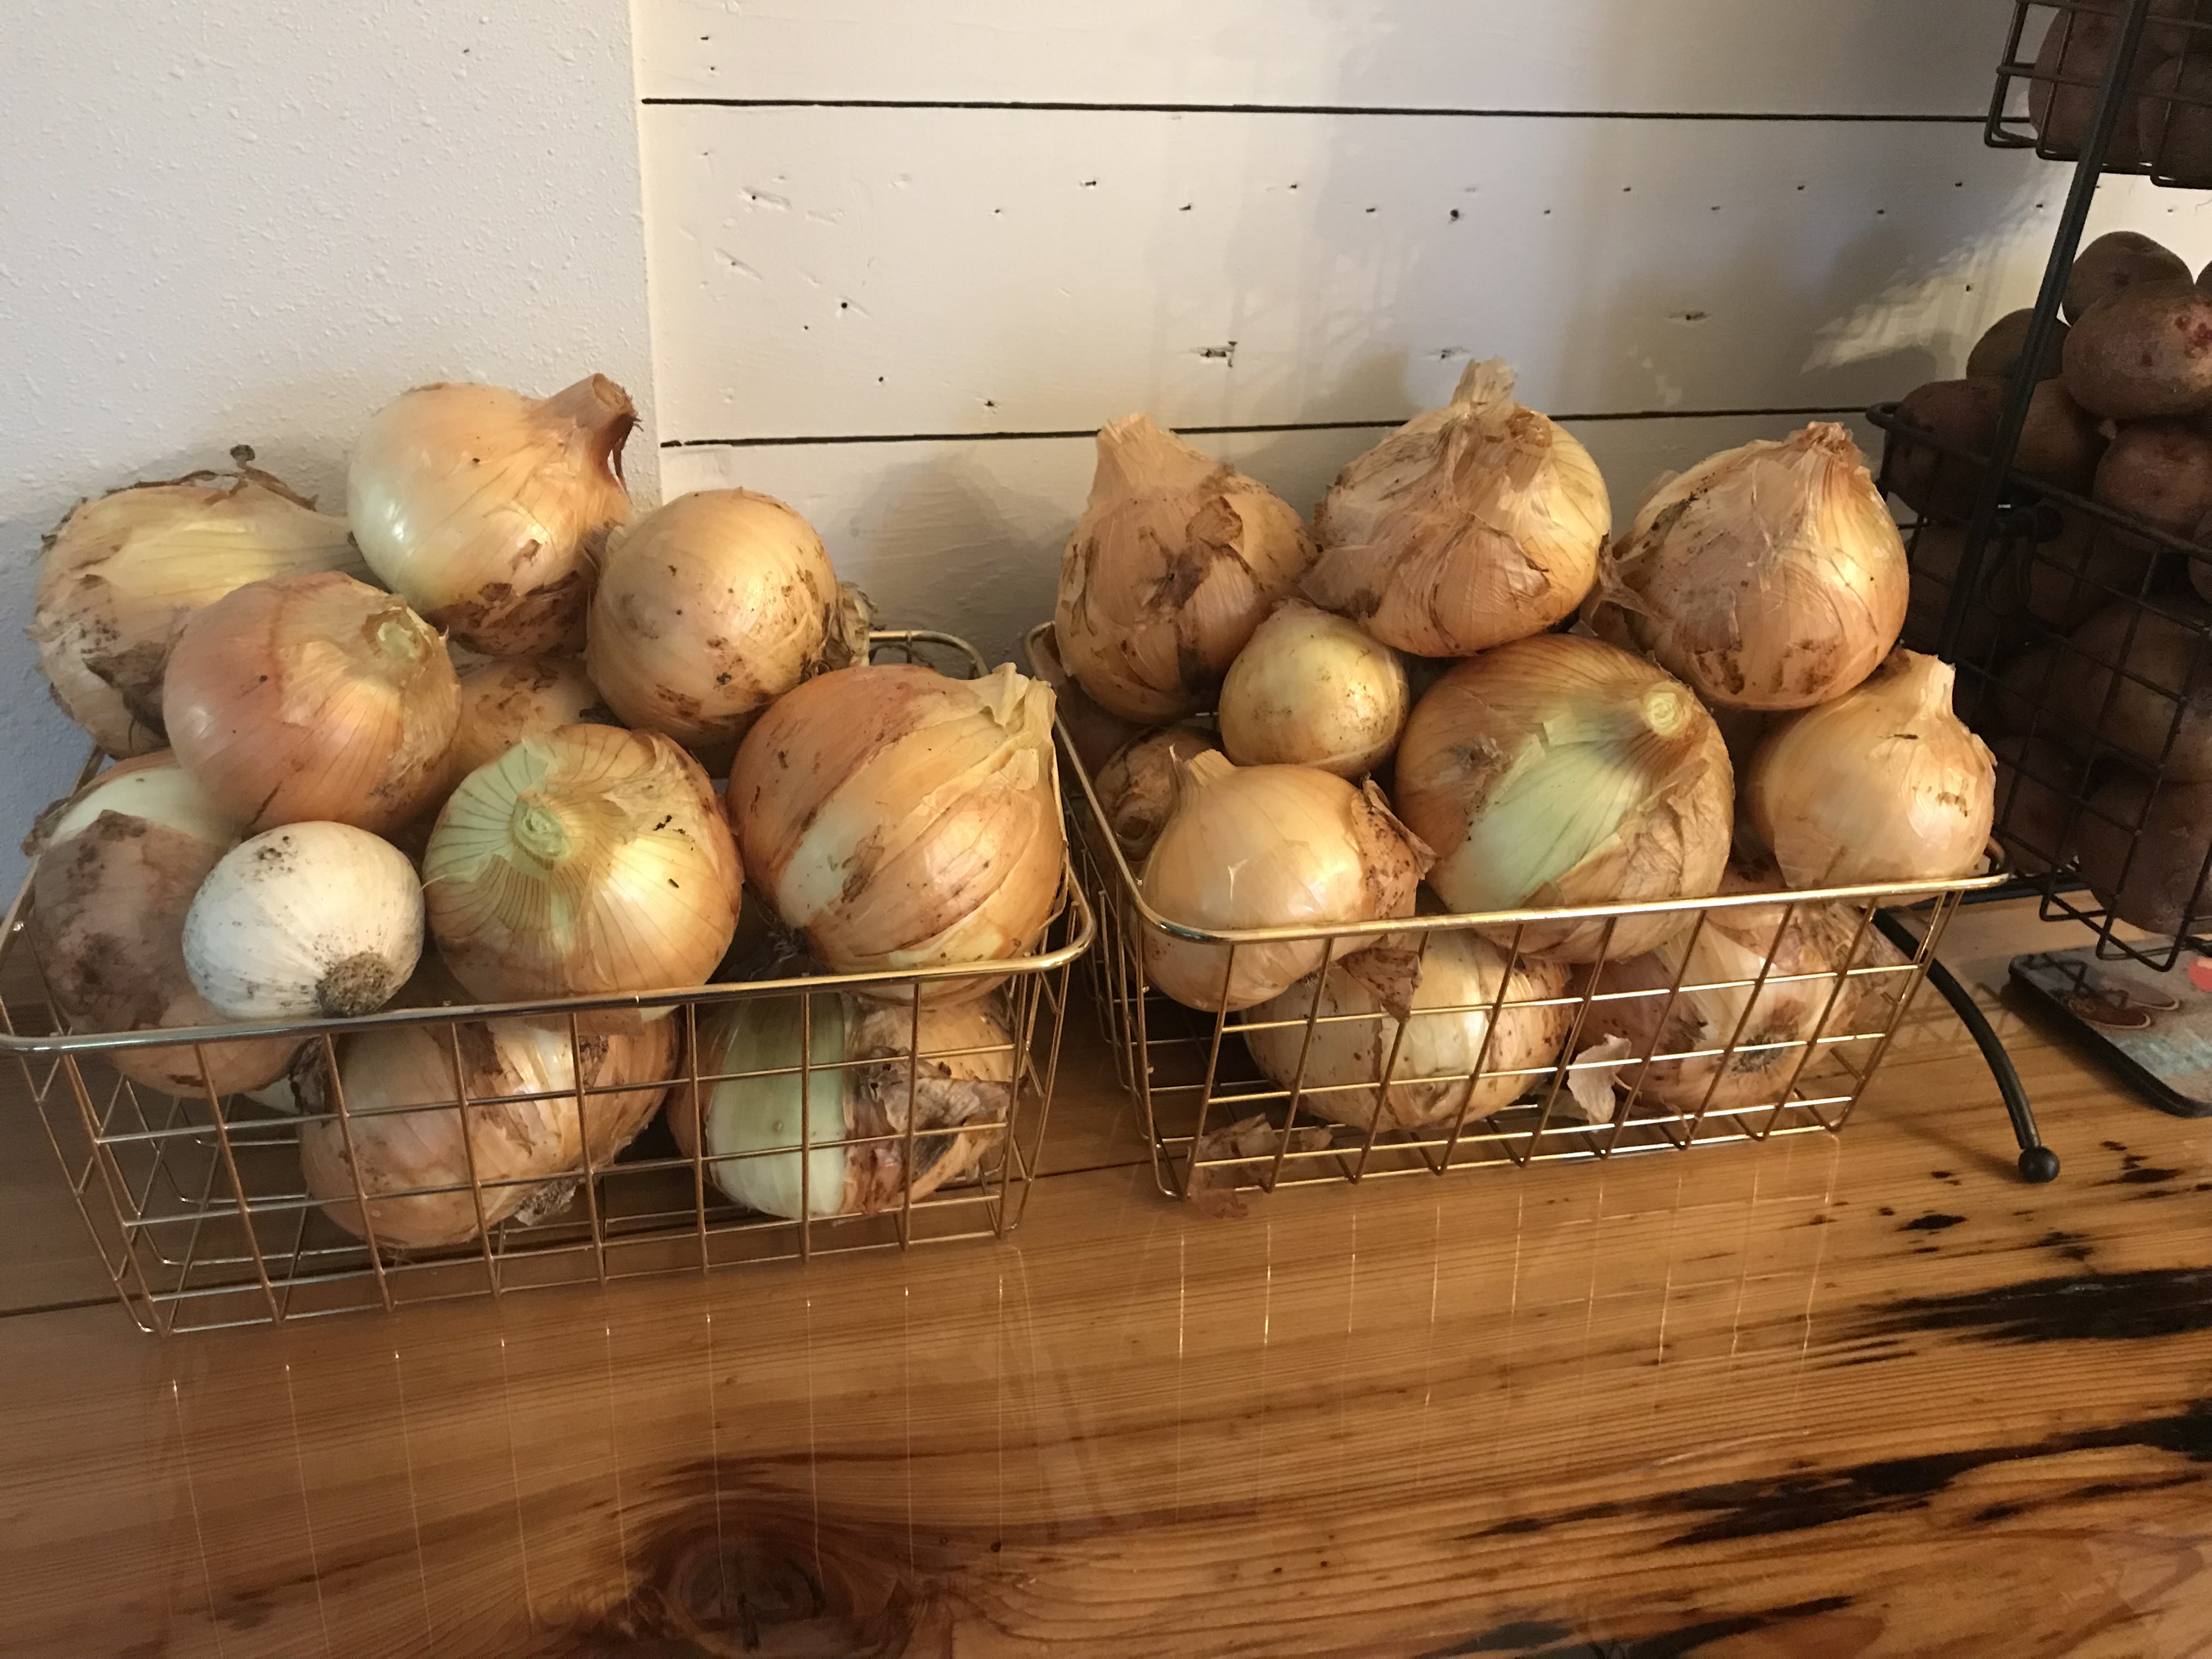
‘Texas Super Sweet’ Onions that have been harvested and are ready for use! Photo courtesy of Daniel Leonard.
Once you’ve selected your onion sets in the fall, they can be planted in the garden anytime from early October to mid-December. Individual bulbs should be planted about an inch deep in well-drained garden soil with high organic matter content (mushroom compost, composted manure, or other rich organic matter works) and spaced 4-6” between plants and about a foot between rows. Onions in general, and sweet onions in particular, are heavy feeders and require ample nutrition to meet their potential! To meet these fertility needs, I apply a slow-release fertilizer like Osmocote or a Harrell’s product at planting and supplement that with either a quick release granular or liquid fertilizer monthly during the bulb enlargement phase. Sweet onions also have a shallow root system and require frequent watering to develop properly and avoid splits, doubles, and small bulbs. Don’t let your onion bed dry out!
Finally, sweet onions planted in late fall/early winter are normally ready to harvest in April and May. However, rather than relying on a calendar, begin harvesting your onions when the tops start to turn yellow and fall over, this indicates maturity. After harvesting, allow your onions to “cure” with tops and roots still attached for a couple of weeks outside in a shaded, protected area. Once they’ve had an opportunity to “cure”, remove tops and roots and store the cured bulbs in a cool, dry place (a dark pantry in an air-conditioned room or the refrigerator crisper drawer work fine) and use at your convenience!
While they can’t be called Vidalias, sweet onions grown at home are oh so rewarding and very tasty! Provided they are planted in quality soil, receive plenty of water and fertilizer, and are harvested/stored correctly, sweet onions will provide a delicious, home-grown culinary treat throughout the year! For more information about growing onions in the home garden or any other horticultural/agricultural topic, contact us at the UF/IFAS Calhoun County Extension Office. Happy Gardening!
Multi-cropping at a Gainesville, FL organic garden.
As we go into the winter here in the Panhandle the following herbs will do well: cilantro, parsley, fennel, thyme, chives, oregano, sage and dill. Basil is a popular herb but will need to be inside by a kitchen window this time of year. It will drop leaves below 40 degrees F.
Cilantro: Needs full to partial sun, excellent soil drainage, and can be sued at 6 inches in height. The dry seeds are used to make the spice Coriander.
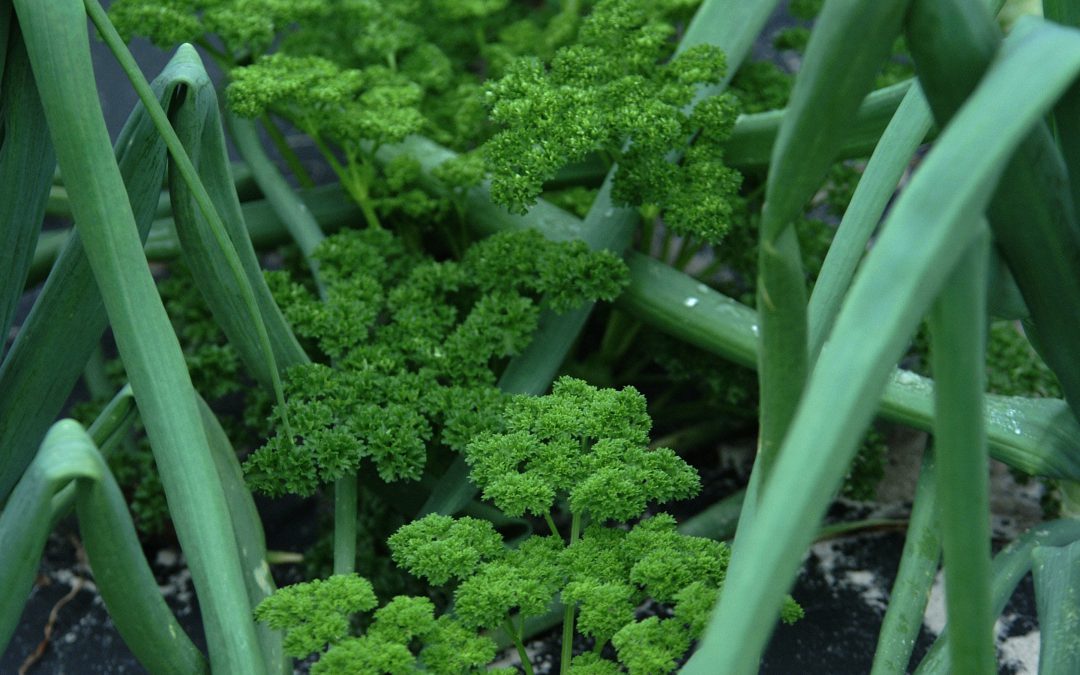
Parsley: Loves the cool weather and will bloom in the spring. Parsley likes afternoon shade. The seeds do take longer to germinate so do not give up on this plant. The root has a strong flavor and is used in holiday dishes. Parsley is beneficial to your health and contain vitamins A, C, K and is also high in calcium and iron.
Fennel: Needs full sun and moist soil. Fennel should not be planted near dill or cilantro because it will cross pollinate and reduce seed production. Fennel is good for digestive health and the shoots, leaves, and seeds are all useful in cooking. This plant also is host to the black swallowtail caterpillar.
Thyme: Needs full sun, well-drained soil and is extremely drought tolerant. Thyme does very well in a windowsill. This plant is highly attractive to bees and creates a delicious honey.
Chives: Prefers sunlight and well drained soil. This can be used for an onion or garlic flavor to your dish. It will need to be divided every couple of years since it grows so well here. Also, very good mixed into butter or cream cheese as a spread.
Oregano: This is the most widely used culinary and medicinal herb. It has tiny purple flowers that bloom all summer. It needs full sun and well-drained soil. Its best flavor is when you harvest the leaves as the flower buds form. The stems can be cut and dried and used in the cooking as well.
Sage: This herb needs full sun and very well drained soil. It is a small silvery leaf plant that is a very popular seasoning during Thanksgiving for turkey. It is also good on other poultry.
Sage. UF/IFAS Photo: Josh Wickham.
Dill: This herb likes full sun as well and serves as a host plant to the Black Swallowtail Butterfly. It is a very aromatic herb used both for its leaves and the seeds.
When harvesting herbs look for leaves that are young and tender with good color. Wash your herbs and pick them as you need them for best flavor, unless you plan to store them. When storing fresh herbs, it is important to know that they lose their flavor over time. They will store in the refrigerator from 1-3 weeks, freezer, and if dried can last up to 3 years.
Escambia County Master Gardener Volunteer Carol Perryman shares information for you to consider growing your own Bay laurel tree.
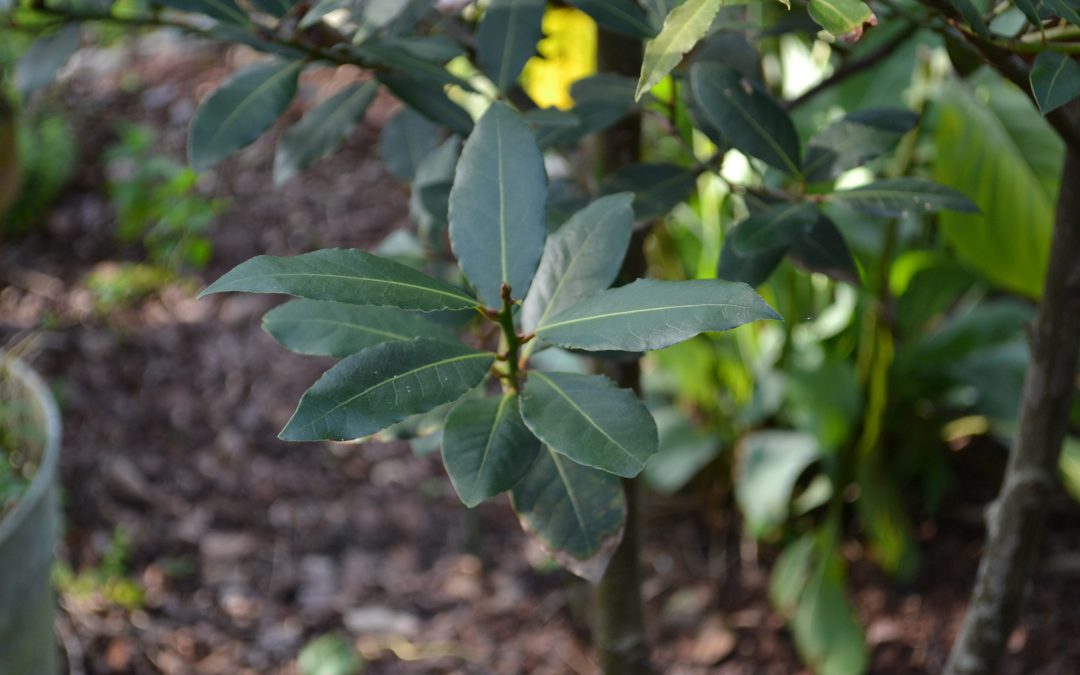
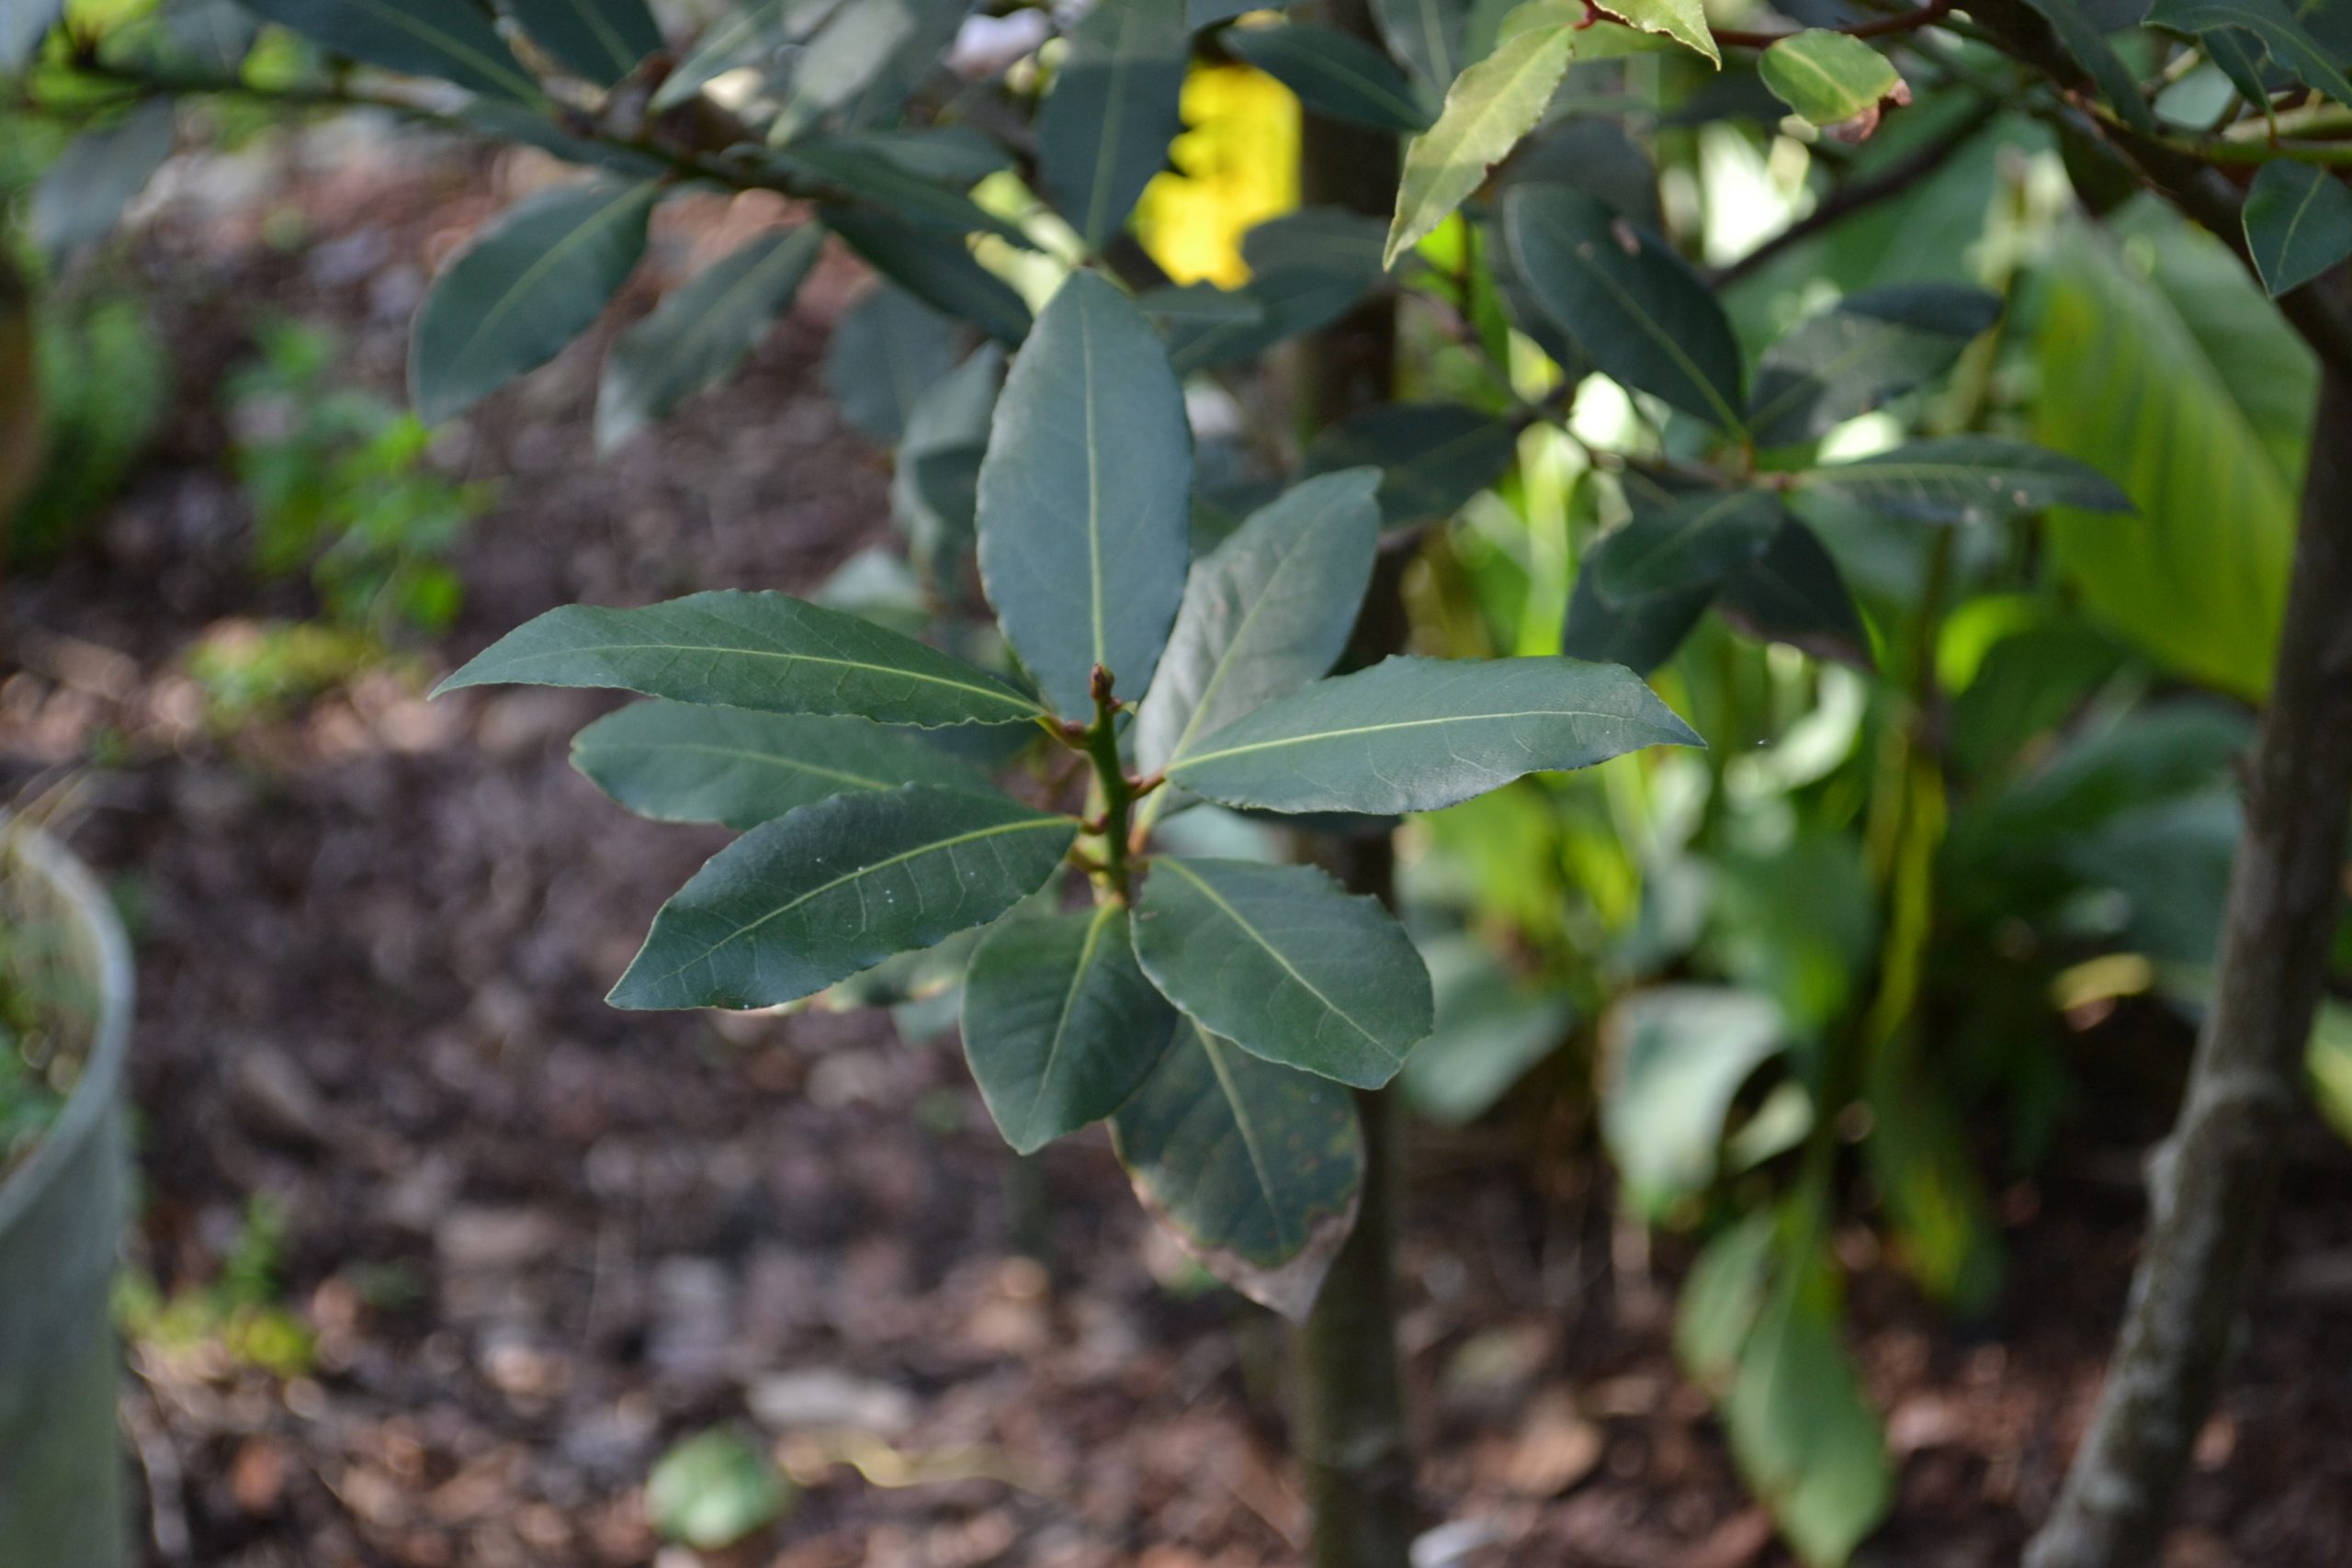
Laurus nobilis, commonly known as bay laurel, is an aromatic tree native to the western Mediterranean and it yields the bay leaves used in cooking. Mature leaves are leathery and dark green. Most are 3 to 4 inches in length with minute margin serrations. Small, inconspicuous yellowish-white blooms may appear in summer followed by a tiny fruit which turns black as it dries. Bay laurel is salt tolerant and can be grown on barrier islands.
Dark green bay leaves. Photo by Beth Bolles, UF IFAS Extension Escambia County.
The bay laurel tree is called daphne in Greece. Greek mythology says that Apollo, the sun god, fell in love with the nymph Daphne. Her father took action and turned her into a laurel tree. To remember Daphne, Apollo wore a laurel wreath and the tree came to represent honor and glory. Greek and Roman heroes and scholars were crowned with laurel wreaths. The earliest Olympic champions in 776 BC wore garlands of fragrant bay leaves. The tree was considered good luck, but the death of a bay tree was considered an omen of things to come.
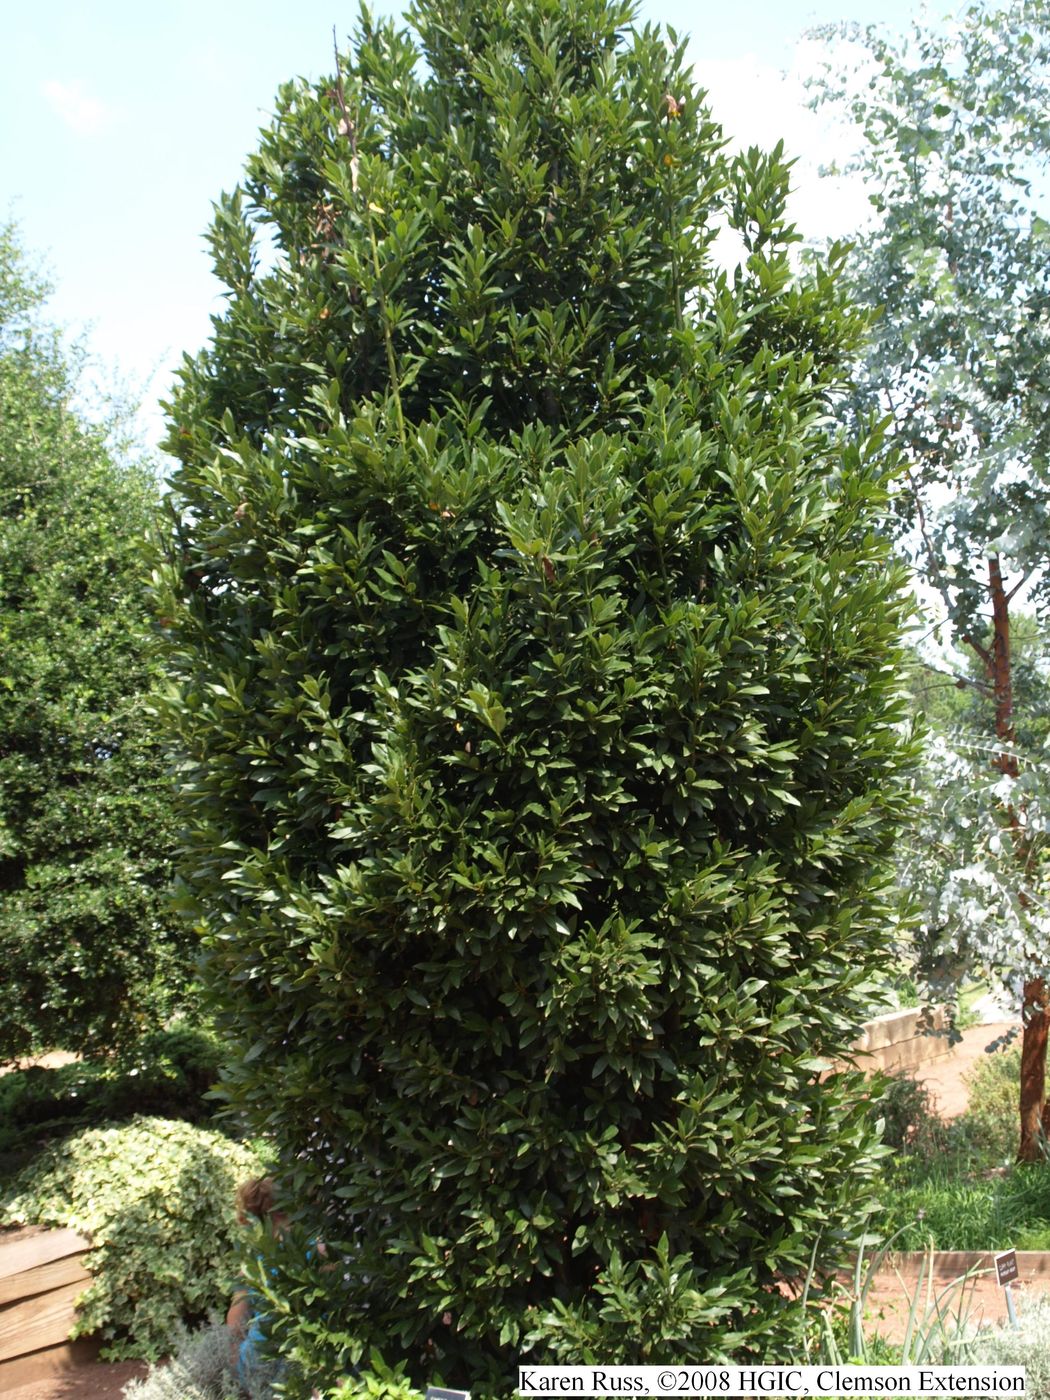
Bay laurels are slow-growing and show variation in growth habits. Most have a dense and shrubby appearance with multiple shoots from the base while some have a single trunk. Under ideal conditions, planted in the ground, the bay tree can reach 25 feet or higher, but most commonly grow to about 6 feet. In our zone, 8B, bay laurels can grow in the ground if planted in a sunny southern or eastern exposure location near a wall or building for cold protection.
Bay laurel plants like well-drained, rich soil. If the bed is properly prepared, additional fertilizer is rarely needed. Bay laurels will survive light frosts and the infrequent hard freeze if it is not for a prolonged period. More mature trees can also freeze to the ground and come back from the rootstock. Young trees should be protected from cold stress for several years until they are at least a foot tall before planting in the ground.
A bay laurel trained as a tree. Photo Credit: Karen Russ, Clemson University Extension
Bay laurels can also be grown indoors in containers in areas with strong natural lighting. Clay or wooden containers with many drainage holes are preferred. Plants should be fertilized regularly with complete fertilizer. In the summer, time-release fertilizer works best due to frequent watering. However, fertilizers too high in nitrogen will produce lush foliage with little flavor.
Bay laurel is a favored container-grown street plant in Europe. It has historically been found in gardens as a tree, a hedge, a topiary, or a focal point in an herb garden. Bay trees are only now gaining popularity in the United States. It was awarded the herb of the year in 2009.
Bay laurel has a reputation of being frustrating and difficult to propagate which results in very high prices for starter plants. To propagate use semi-hard wood cuttings and snap from branches rather than clipping. Strip the lower leaves and dip cutting in a rooting hormone. Stick in small pots filled with a fine-textured medium. If a knob forms at the end in a few weeks, then roots may form within a few weeks to several months. In recent years, plants have been more readily available in nurseries and even at large box stores.
Bay laurel is one of the primary culinary herbs in the garden. The culinary history has been documented for thousands of years. The leaves are treasured and used in many cuisines. Fresh leaves are tough but dried leaves are hard and brittle. Leaves are added at the beginning of cooking. Both fresh or dried are usually removed after cooking before food is served to prevent the risk of choking. Much is said about fresh versus dried bay leaves. I usually use fresh leaves because I have them available. I think they have a wonderful flavor. I use equal amounts of fresh or dried. Soft fresh leaves (petioles and midribs removed) are great chopped in salad dressings. Chopped leaves are also good in butters and cheeses with other herbs. Cajun cuisines use bay leaves to flavor rice and seafood. Bay is a primary element of bouquet garni, a bouquet of herbs, used in French cuisine. Bay goes in meats, soups, stews, vegetables, pasta, potatoes, and sometimes in custards and dessert sauces. Like parsley and marjoram, bay laurel is called a “liaison” herb which helps contrasting herb flavors blend rather than fight each other.
There are many plants that look like and smell like the bay laurel. Red bay, Persea borbonia, is native throughout our region and a substitute for bay laurel. Red bay is best used fresh. Its fragrance and flavor dissipate quickly if dried. This is one of the only substitutes. Others are poisonous or have little to no flavor. Madalene Hill and Gwen Barclay, authors of Southern Herb Growing, wrote, “A word to the wise: Be wary of collecting and using any wild plant as flavoring or food unless you’re absolutely sure of its safety. Just because a plant is called some type of bay or laurel does not mean it is edible.” Some are highly poisonous.
If you enjoy good food, you have enjoyed bay laurel, Laurus nobilis, whether you knew it or not. It’s time to grow your own beautiful and fragrant bay laurel tree. This will be a wonderful addition to your garden and to your kitchen.
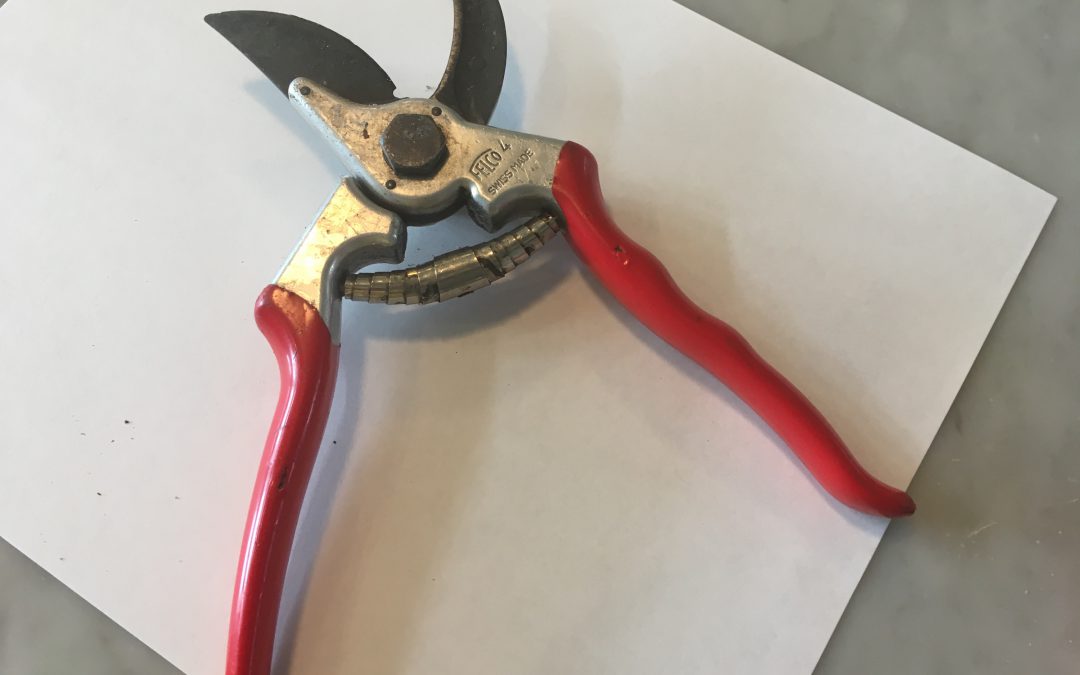
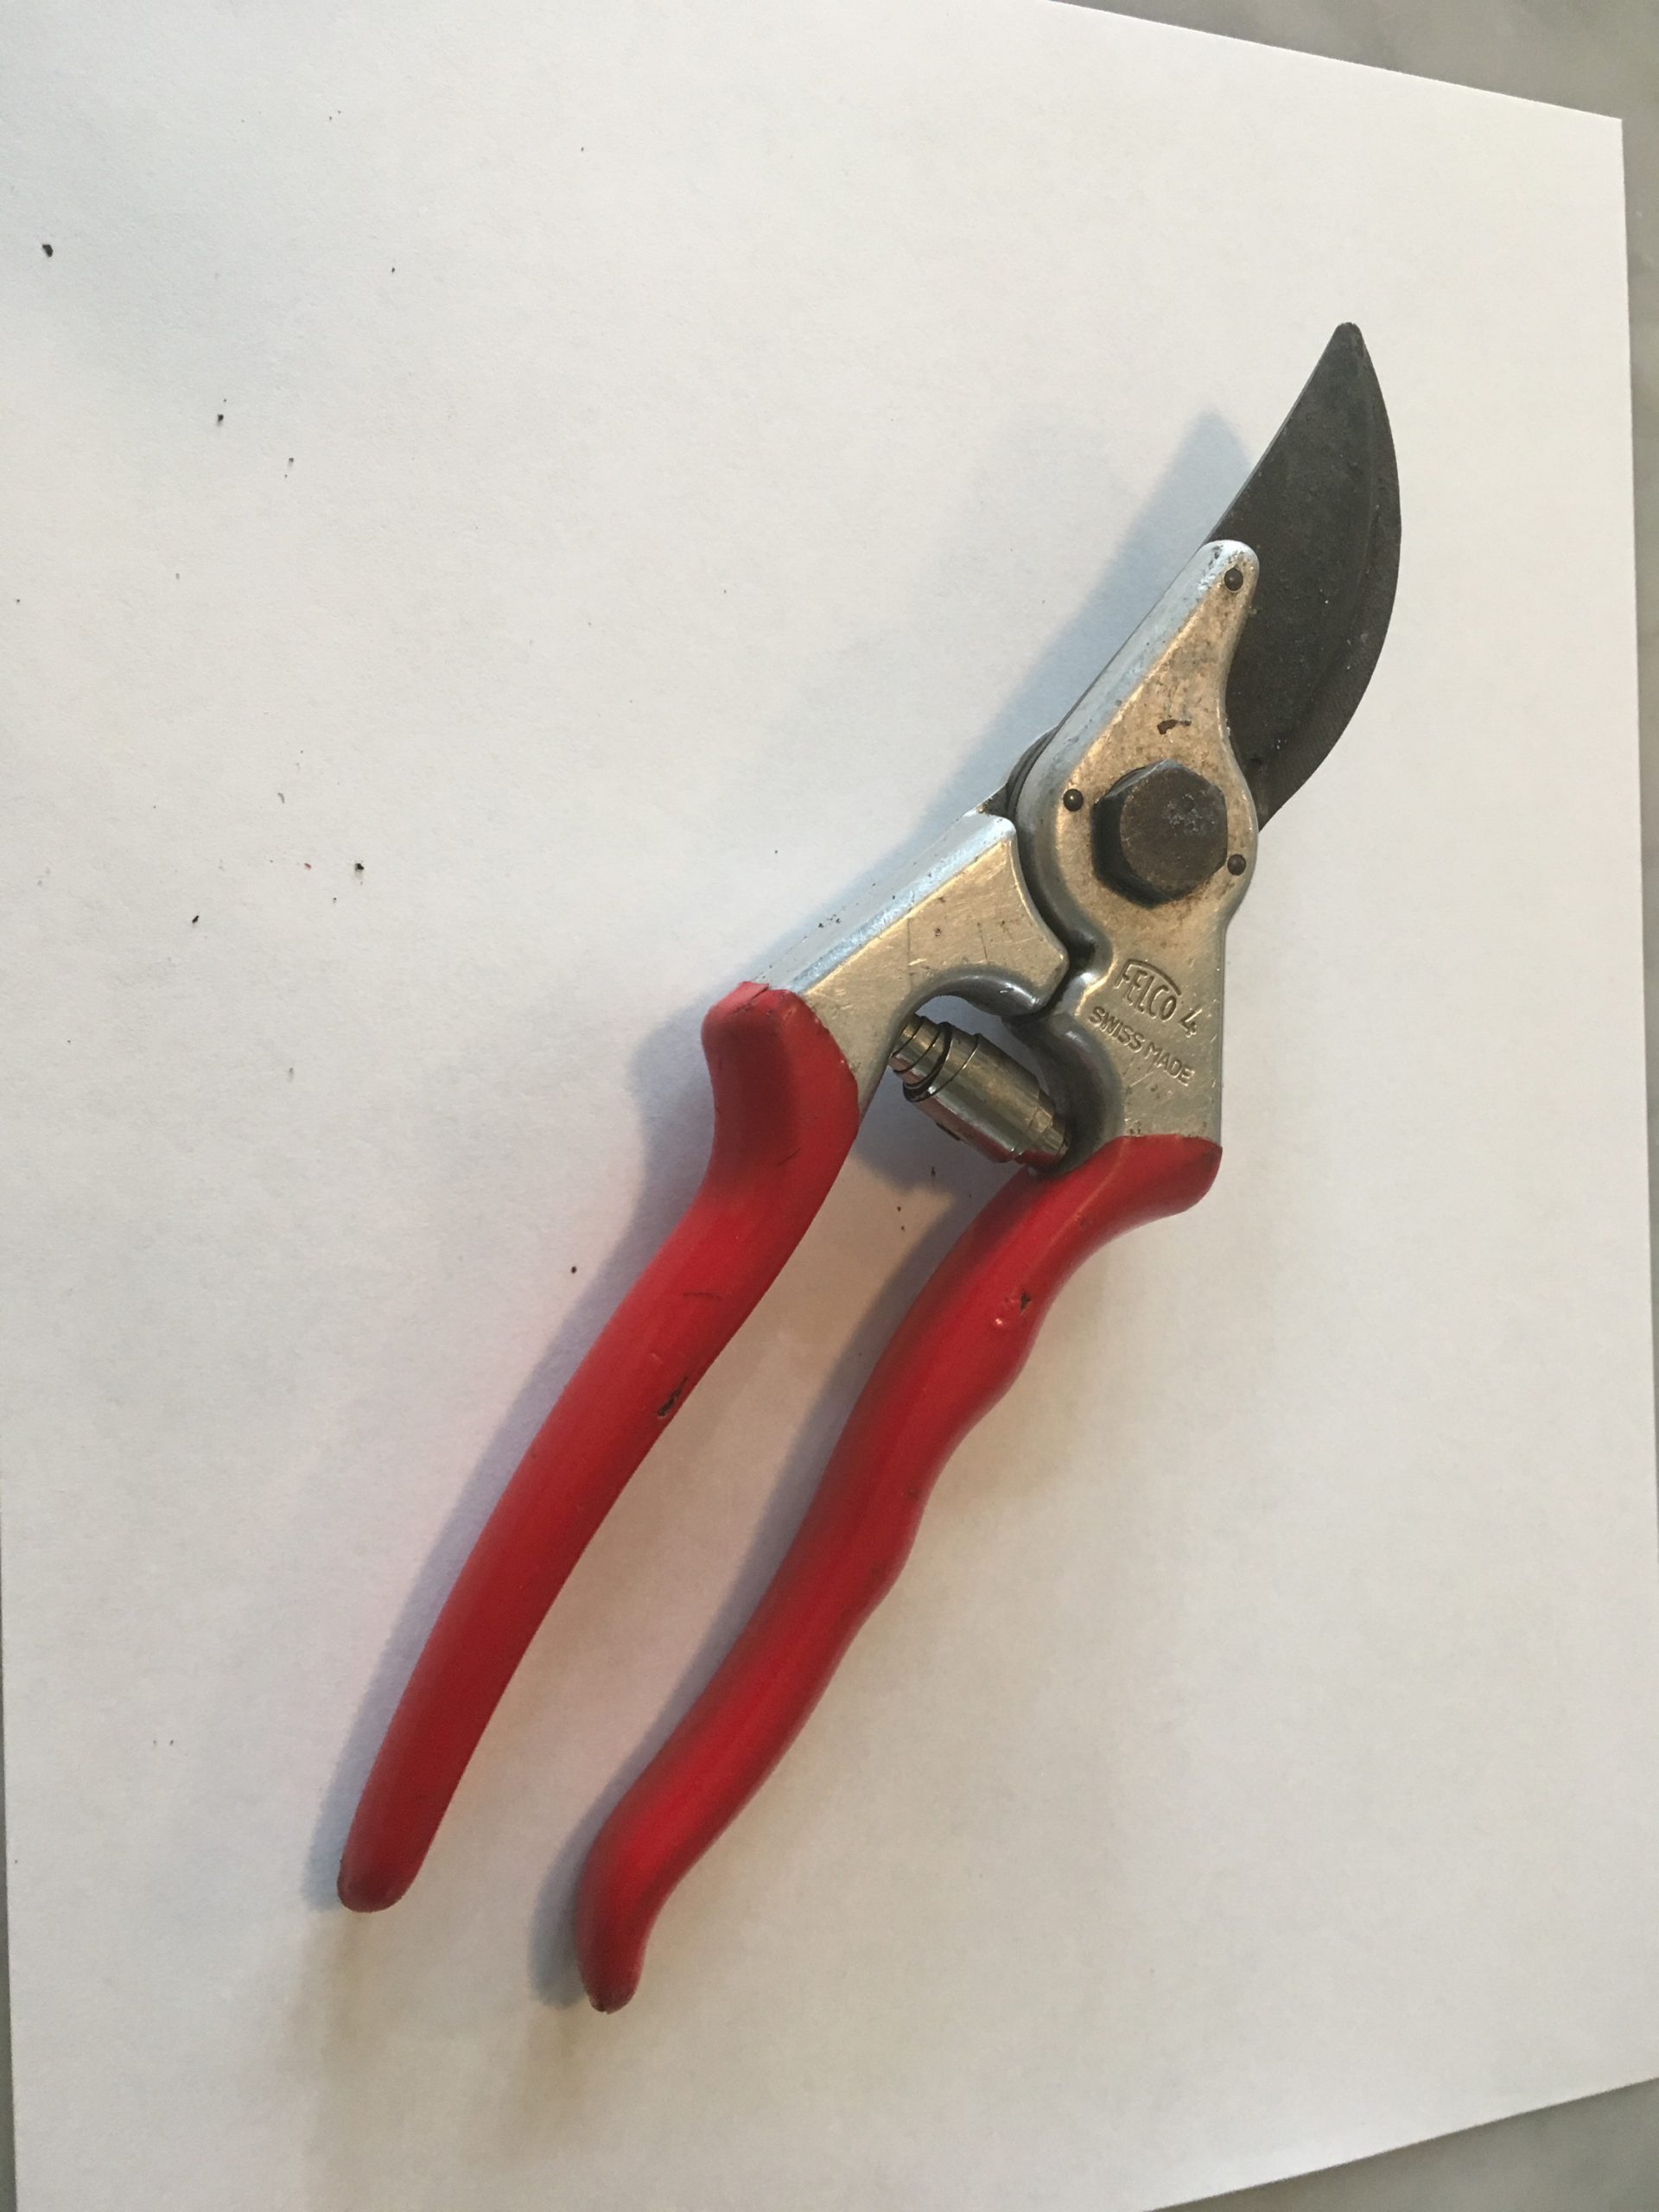
There is an old saying that rings true in pretty much any situation – “You get what you pay for.” Gardening tools, especially pruners, are no exception. We’ve all been there, fumbling around with a pair of rusty, dull, cheap garden pruners that just barely get the job done. Unfortunately, they can also do considerable harm to the plants you’re trying to improve, as anything short of a nice, sharp, clean cut introduces the potential for insect/disease infestation and will produce a wound that takes much longer to heal, if it ever heals properly at all. You wouldn’t want your doctor to start hacking away at you with a dirty, second-rate scalpel. Don’t subject your plants to the same treatment! While I’m not advocating blowing hundreds or thousands of dollars outfitting your garden tool shed with top of the line everything, investing in a pair of quality bypass hand pruners will pay dividends many years into the future and make your gardening experience much more enjoyable!
The classic Felco #4 bypass hand pruners. Photo courtesy of Walton County Master Gardener Andrea Schnapp.
Found in three designs, from old-fashioned anvil pruners that smush and smash their way to a cut, to ratcheting pruners that make short work of larger branches but tend to be cumbersome and complicated, to bypass pruners that produce clean cuts in a scissor-like manner, hand pruners accomplish many tasks in the landscape. From cutting small limbs, to harvesting vegetables, to deadheading annual flowers and everything in between, there isn’t a more frequently used, versatile tool. Therefore, it makes sense to buy a quality pair that will perform excellently, still be snipping long after your pruning days are over (if you take care of them), and that are comfortable enough you will enjoy using them. When shopping for your pair of “forever” pruners, there are a few things to look for.
Only use bypass style pruners. Your plants will appreciate it.
Look for heavy duty pruners with frames made from quality aluminum or stainless steel; they won’t rust and won’t easily bend or break.
Buy pruners with replaceable parts. This is especially key because springs eventually rust and gum up and blades break and will eventually lose their ability to hold an edge over time (though you can and should resharpen them).
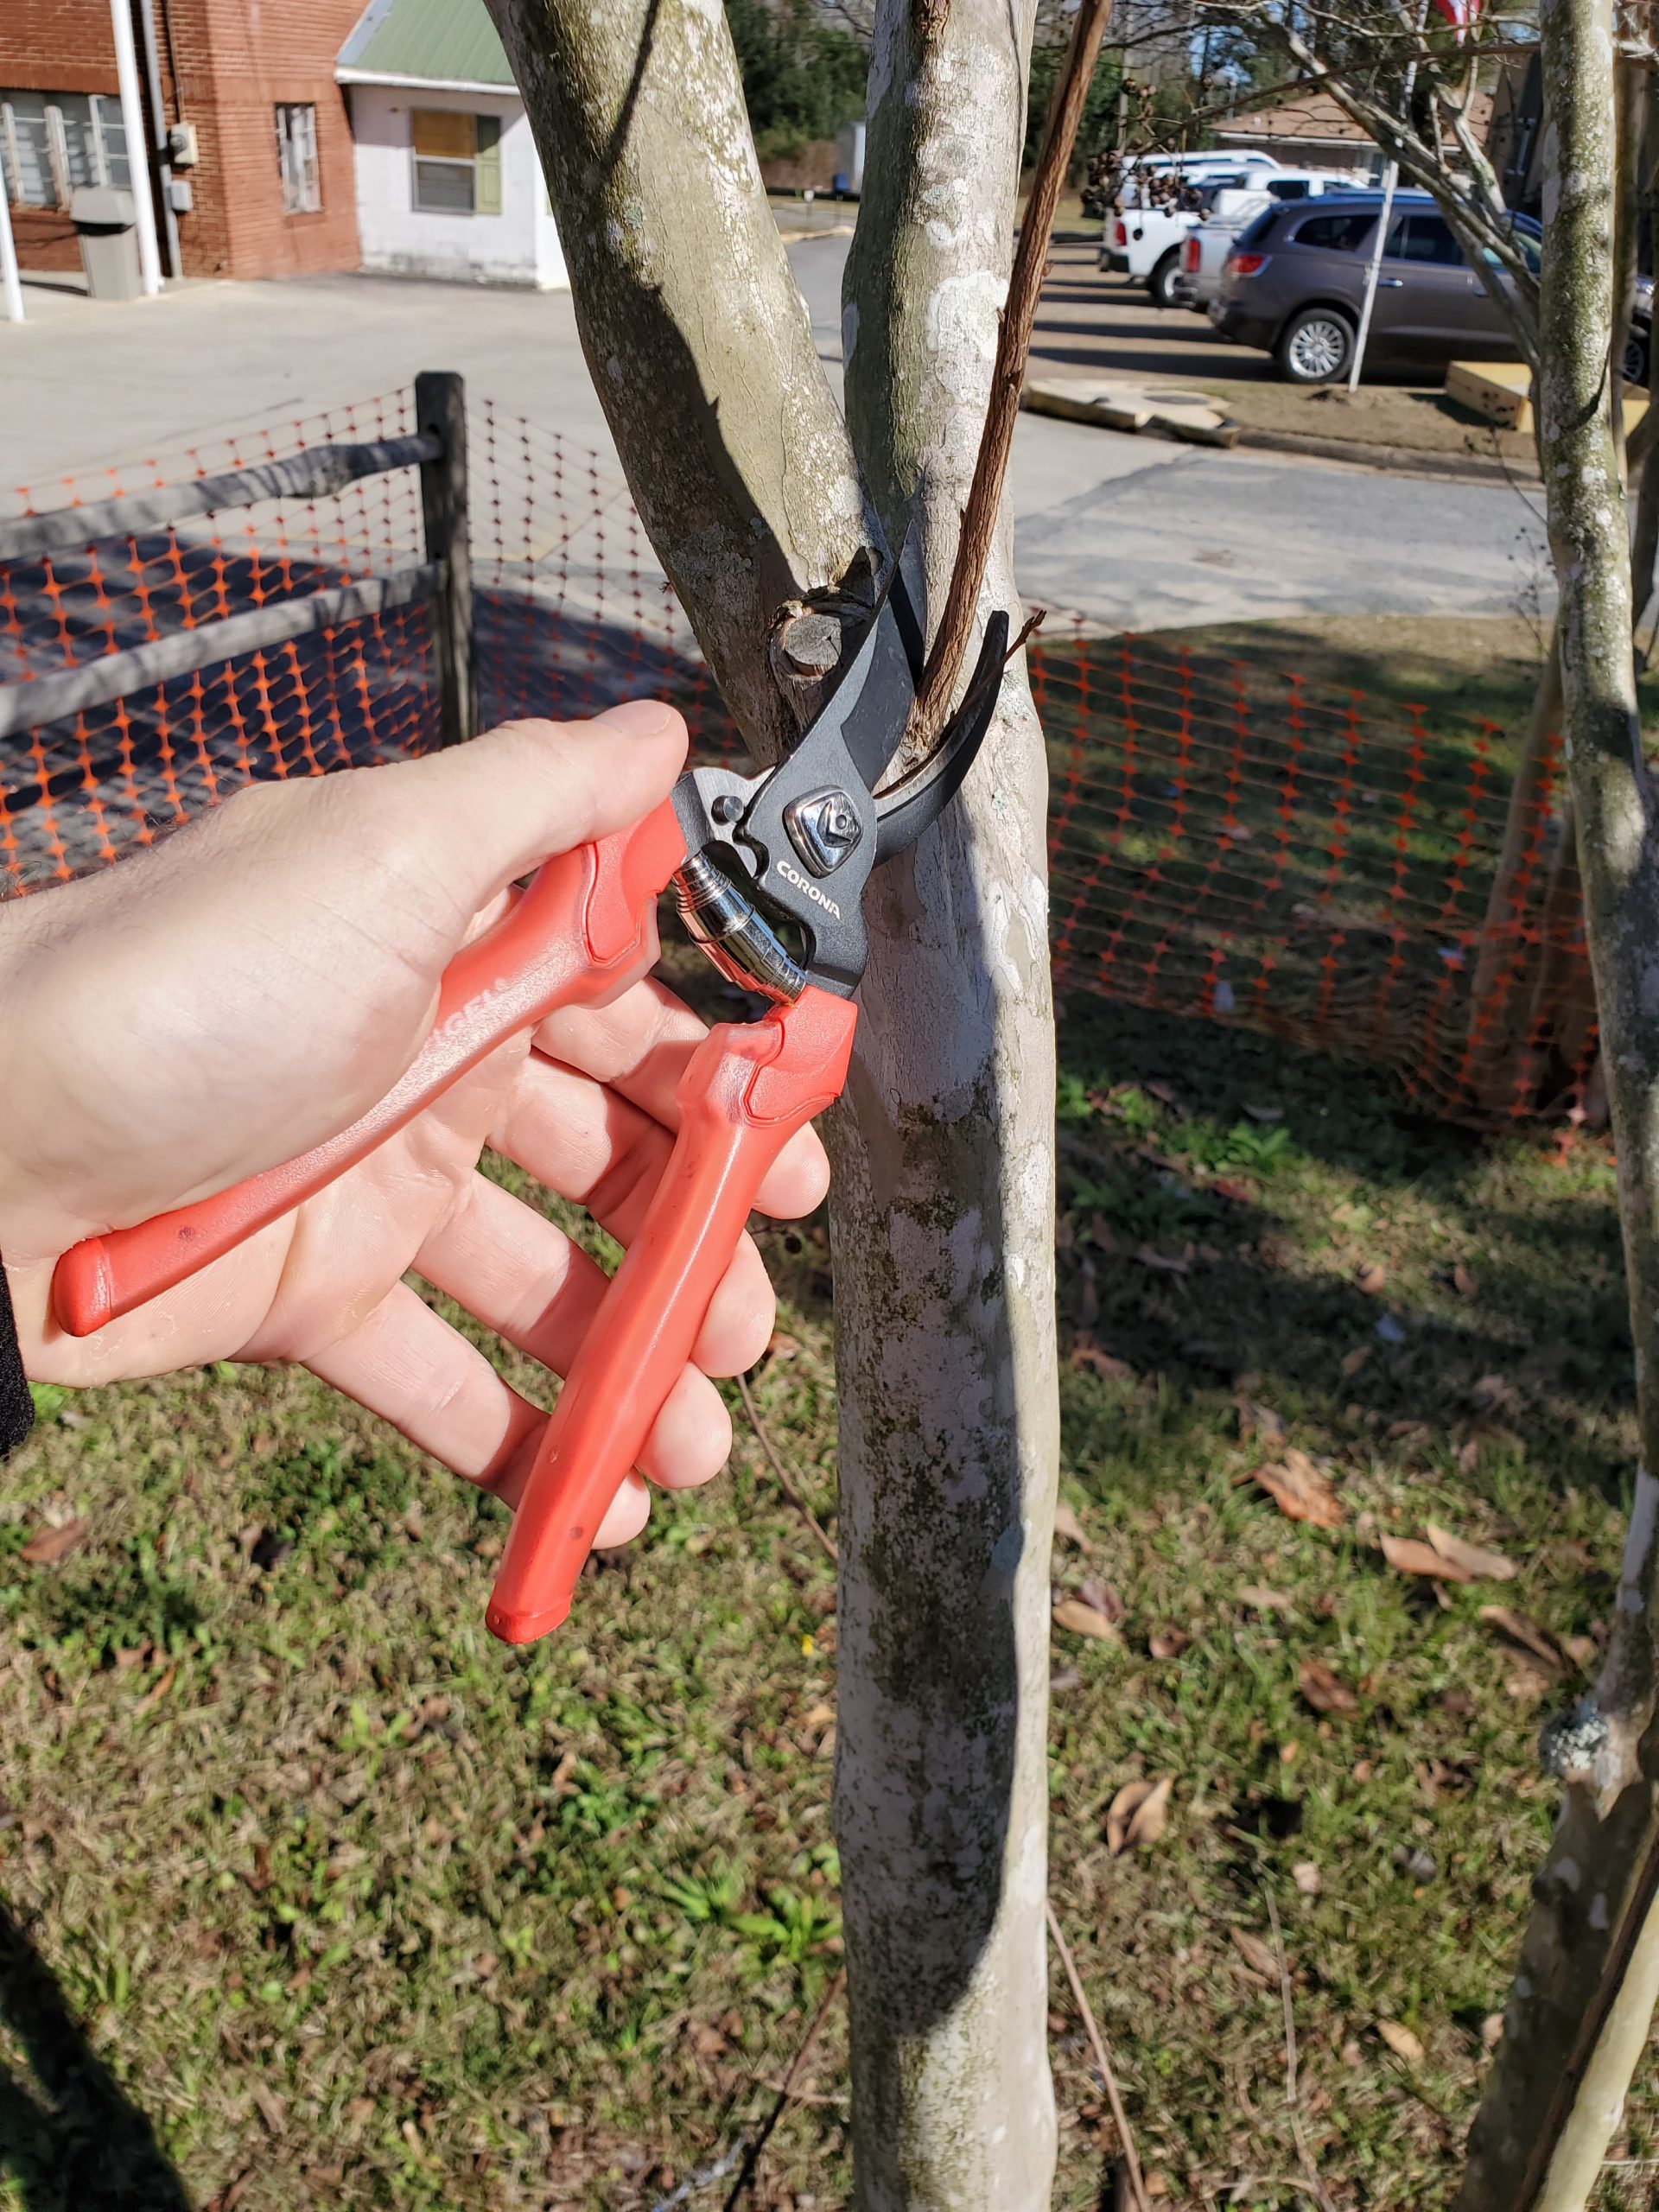
There are two commonly found brands that fit all three above criteria, albeit at different price points. For a high quality “budget” blade, various models from Corona do an excellent job for the money ($20-30) and won’t hurt your feelings too badly if you happen to lose a pair. Should you decide to splurge a little, Felco makes sharp, indestructible pruners, in multiple models around $50 to fit all size hands. Felco has become the horticulture industry standard and you’d be hard pressed to find a nursery owner or landscaper that didn’t own a pair (or two).
Corona ComfortGel bypass hand pruner. Photo courtesy of Daniel Leonard.
Regardless of which brand you buy (and there are many more than the two above listed) a pair of well-made pruners, if taken care of, should last a lifetime and make your gardening experience much more enjoyable for you and your plants! If you have any questions about gardening tools or equipment or any other horticulture or agronomic topic, feel free to contact your local UF/IFAS Extension Office. Happy Gardening!