by KR Woodburn | Jan 31, 2020


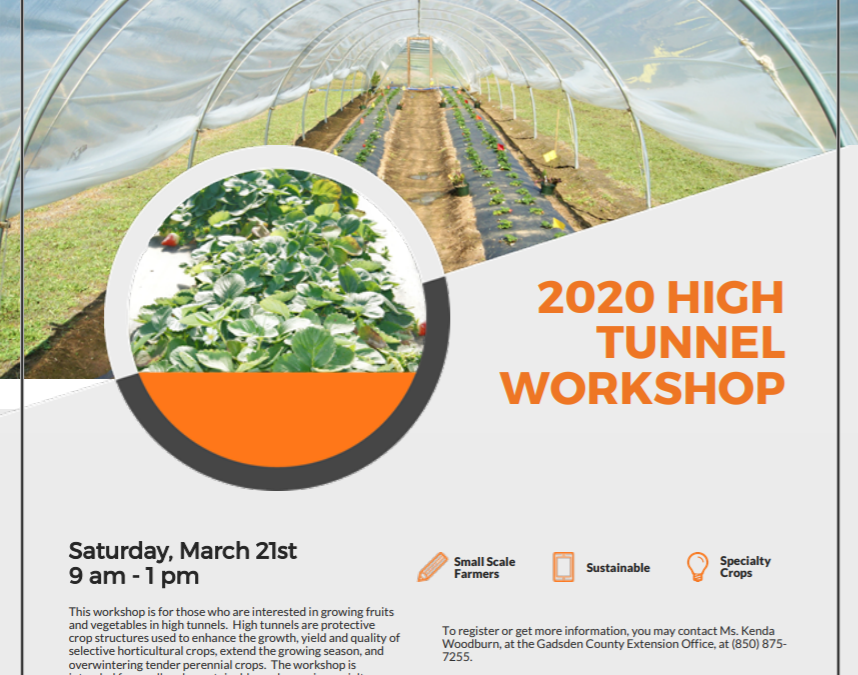
2020 High Tunnel Workshop
March 21, 2020
Agenda
- 9 A.M. Welcome
Mrs. Vonda Richardson, FAMU Extension, Director
- 9:10 High Tunnels: Site and Crop Selection Considerations for High Tunnels
Dr. Alex Bolques, FAMU Extension/REC – Utilizing Floating Row Covers to Exclude Insect Pests and Increase
Winter Protection in High Tunnels – Ms. Kenda Woodburn, FAMU Extension Agent, Gadsden County
- 9:30 Integrated Management Practices for High Tunnel Organic Vegetable
Production -Dr. Xin Zhao, UF Horticultural Sciences
Hot Pepper, Strawberry, and Leafy Green Production in Protective
Structures -Dr. Gilbert Queeley and Alex Bolques, FAMU Extension
- 10:20 Break
- 10:30 Monitoring and Management of Pest and Beneficial Insects in the High Tunnel Production Systems – Dr. Muhammad Haseeb, FAMU Center for Biological Control
- Cultural Management of Insect Pests: Plant-mediated Push-Pull Technology – Dr. Susie Legaspi, ARS Research Entomologist
- 11:20 Field Demonstration: Protected Ag
- Short walk to high tunnel areas
– Leafy greens production using organic methods
– Sustainable strawberry production using organic methods
– Low cost high tunnel structural improvements
– Strawberry season extension
– Selective vegetable hydroponic production systems
- 12:30 Lunch and Learn:
High Tunnel Cost Sharing Opportunities
Mrs. Karyn Ruiz-Toro, NRCS District Conservationist
Resources & Supplies for High Tunnel Growers
Ms. Kenda Woodburn, FAMU Extension
1 P.M. Adjourn
by Matthew Orwat | Jul 15, 2019
So far, the summer of 2019 has been very hot and humid. Plant heat stress was compounded due to this year’s extremely dry spring. Fortunately, there are several herbs that can tolerate drought and heat, and some even thrive on it. Here are a few herbs to think about trying this summer.
Lavender
Lavender thrives in low organic matter soils that are also well drained. Sometimes small rocks are added to the soil to improve drainage if the soil drains poorly. If the garden is mulched, make sure the mulch is several inches away from the main stem, since fungal stem rots are common in humid climates. Ed Gillman notes, in his EDIS publication FPS-337 on lavender that lavender is very sensitive to pH, and that it should be kept above 6. This is particularly noteworthy since many soils in the Florida panhandle are very acidic, at pH 5.5 or below. Lavender grows between two to three feet tall generally, but smaller cultivars exist as well. It does not respond well to excess irrigation, so make sure it is not sited next to water thirsty plants like basil. While lavender is drought and heat tolerant, a little afternoon shade during the hottest parts of summer is welcome.

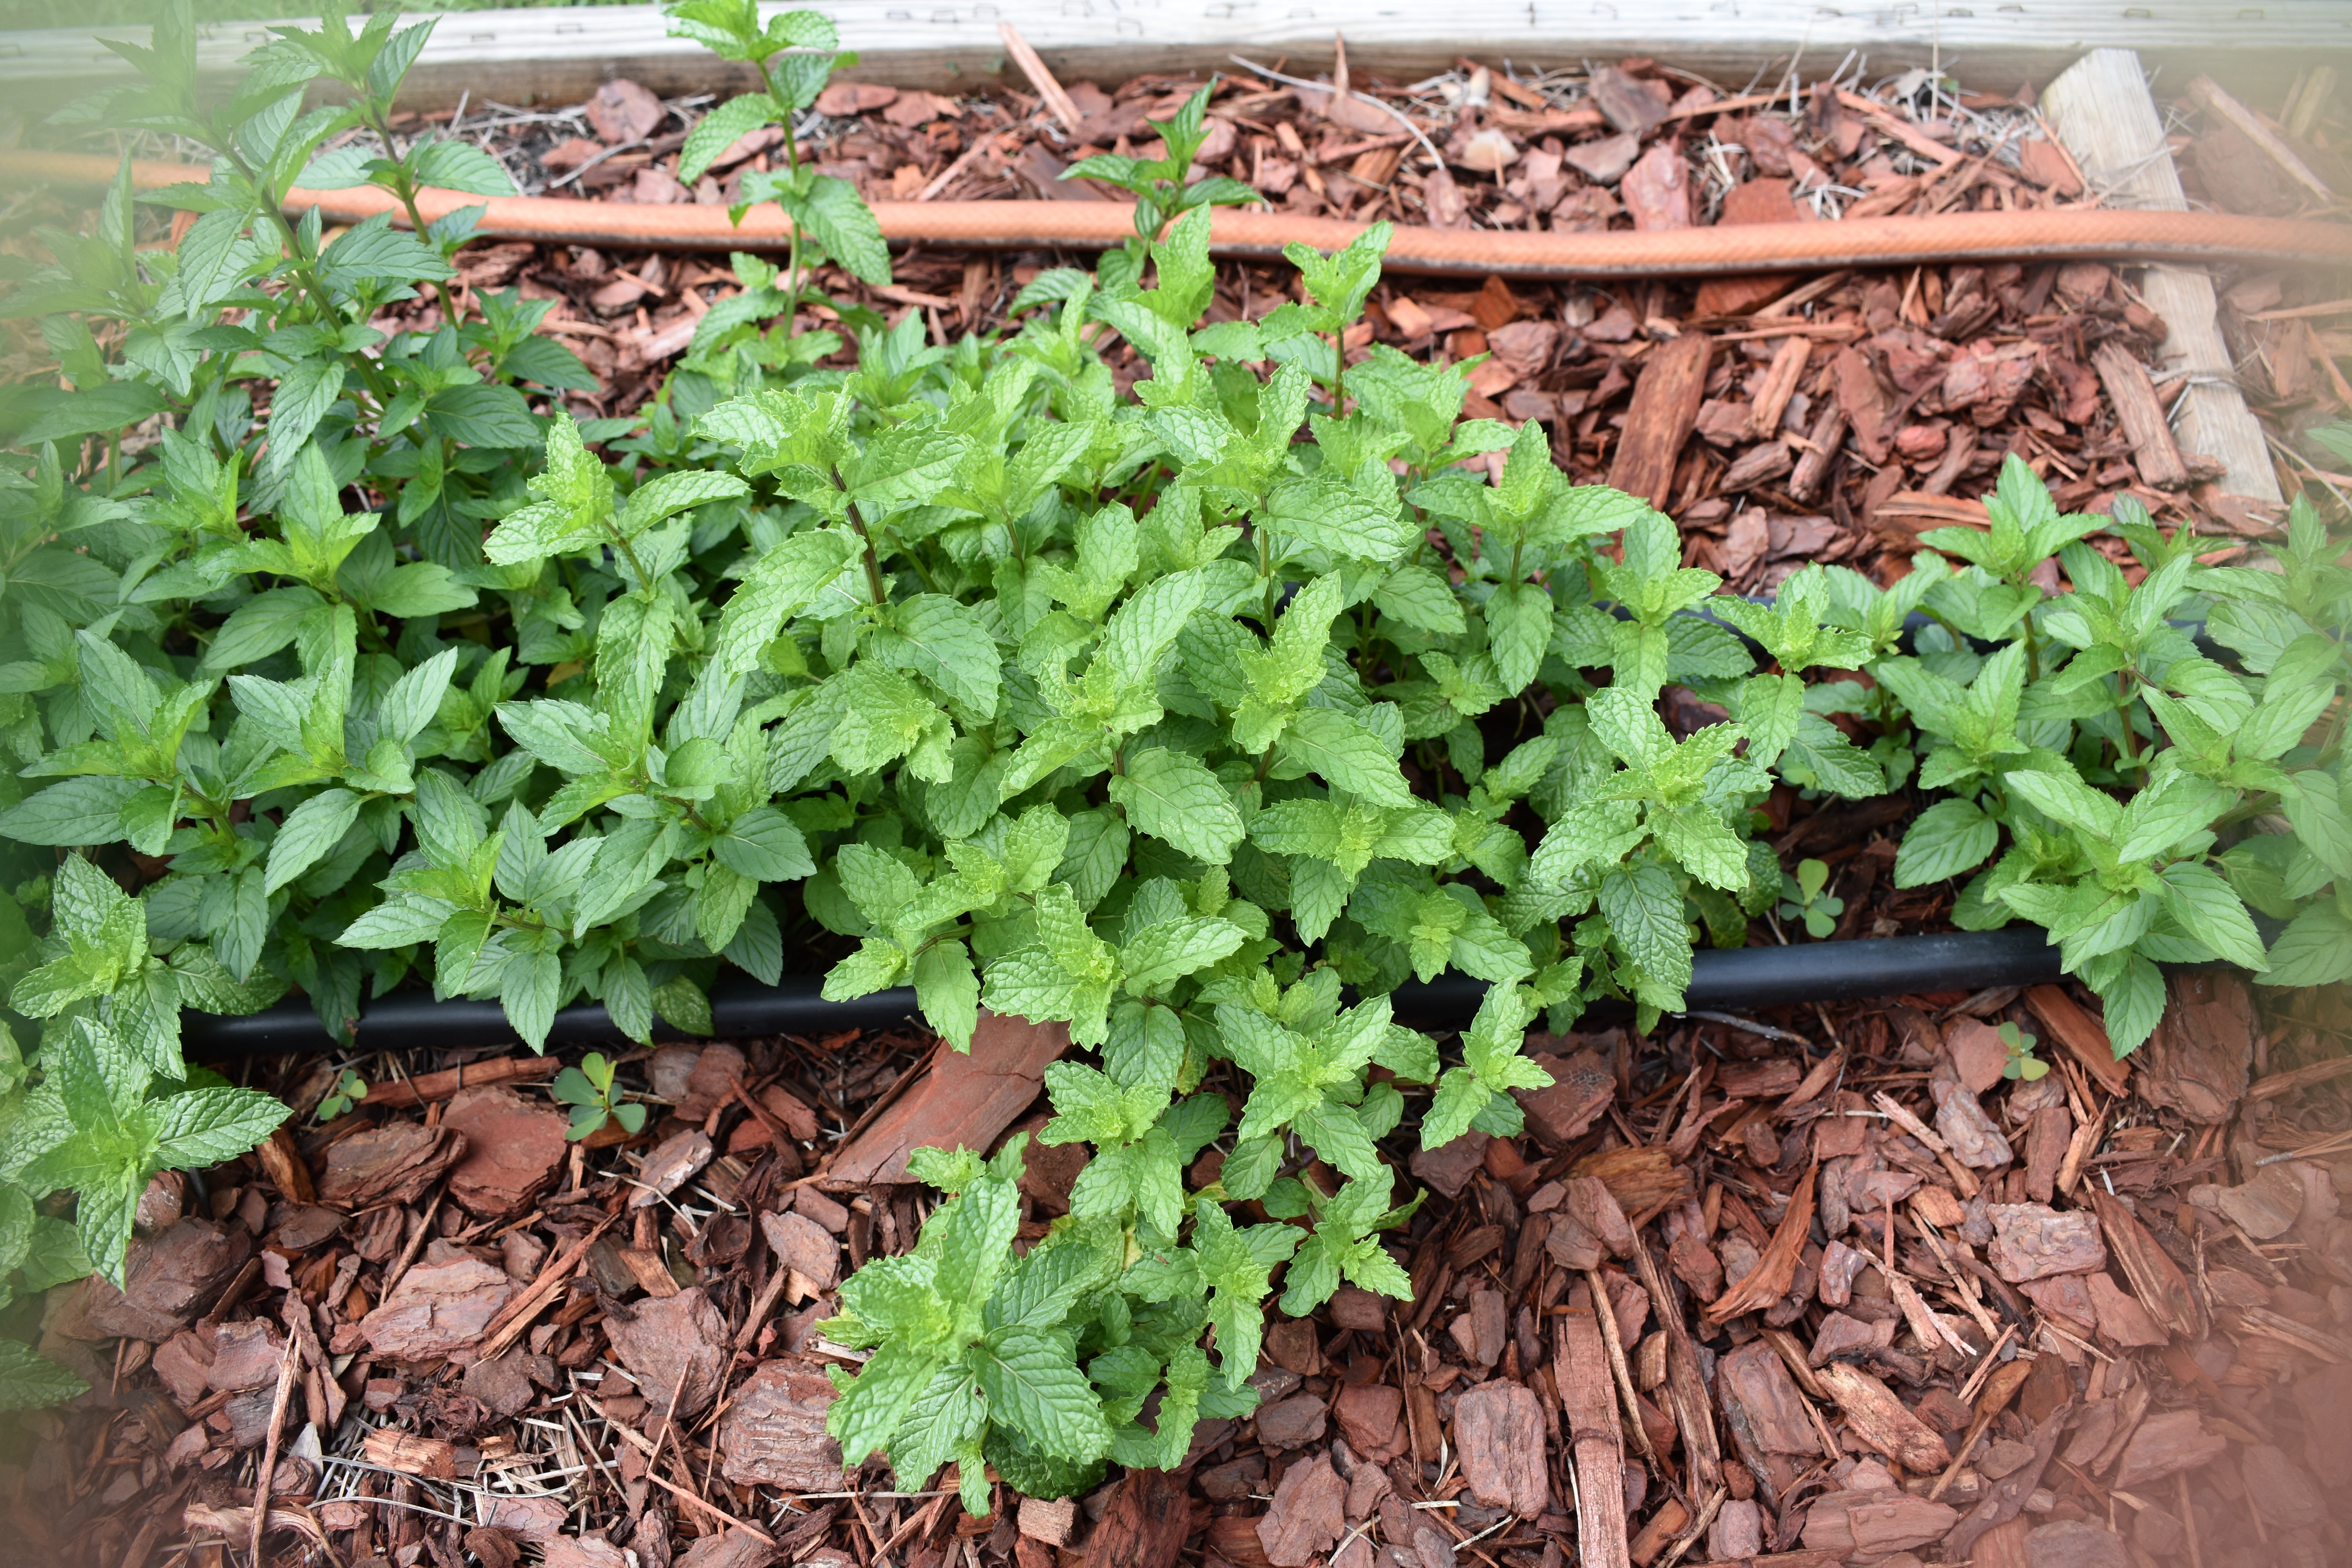
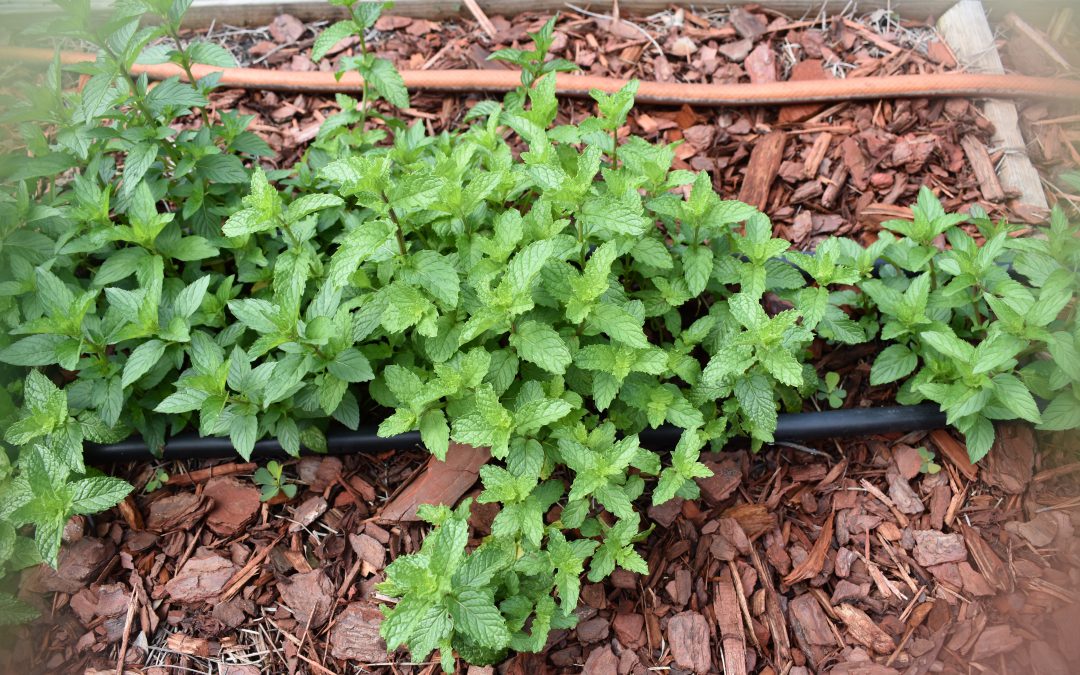
Mixed mint in raised bed, Photo by Matthew Orwat
Mint
There are many different kinds of mint available to the herb gardener, but the most common types are spearmint and peppermint. Mint thrives in the heat when well-watered and will also recover from drought conditions quickly. When planting mint, consider segregating it from other herbs, since it tends to take over any area it’s given. Raised beds are ideal for mint since the borders of a raised bed will keep it in bounds.

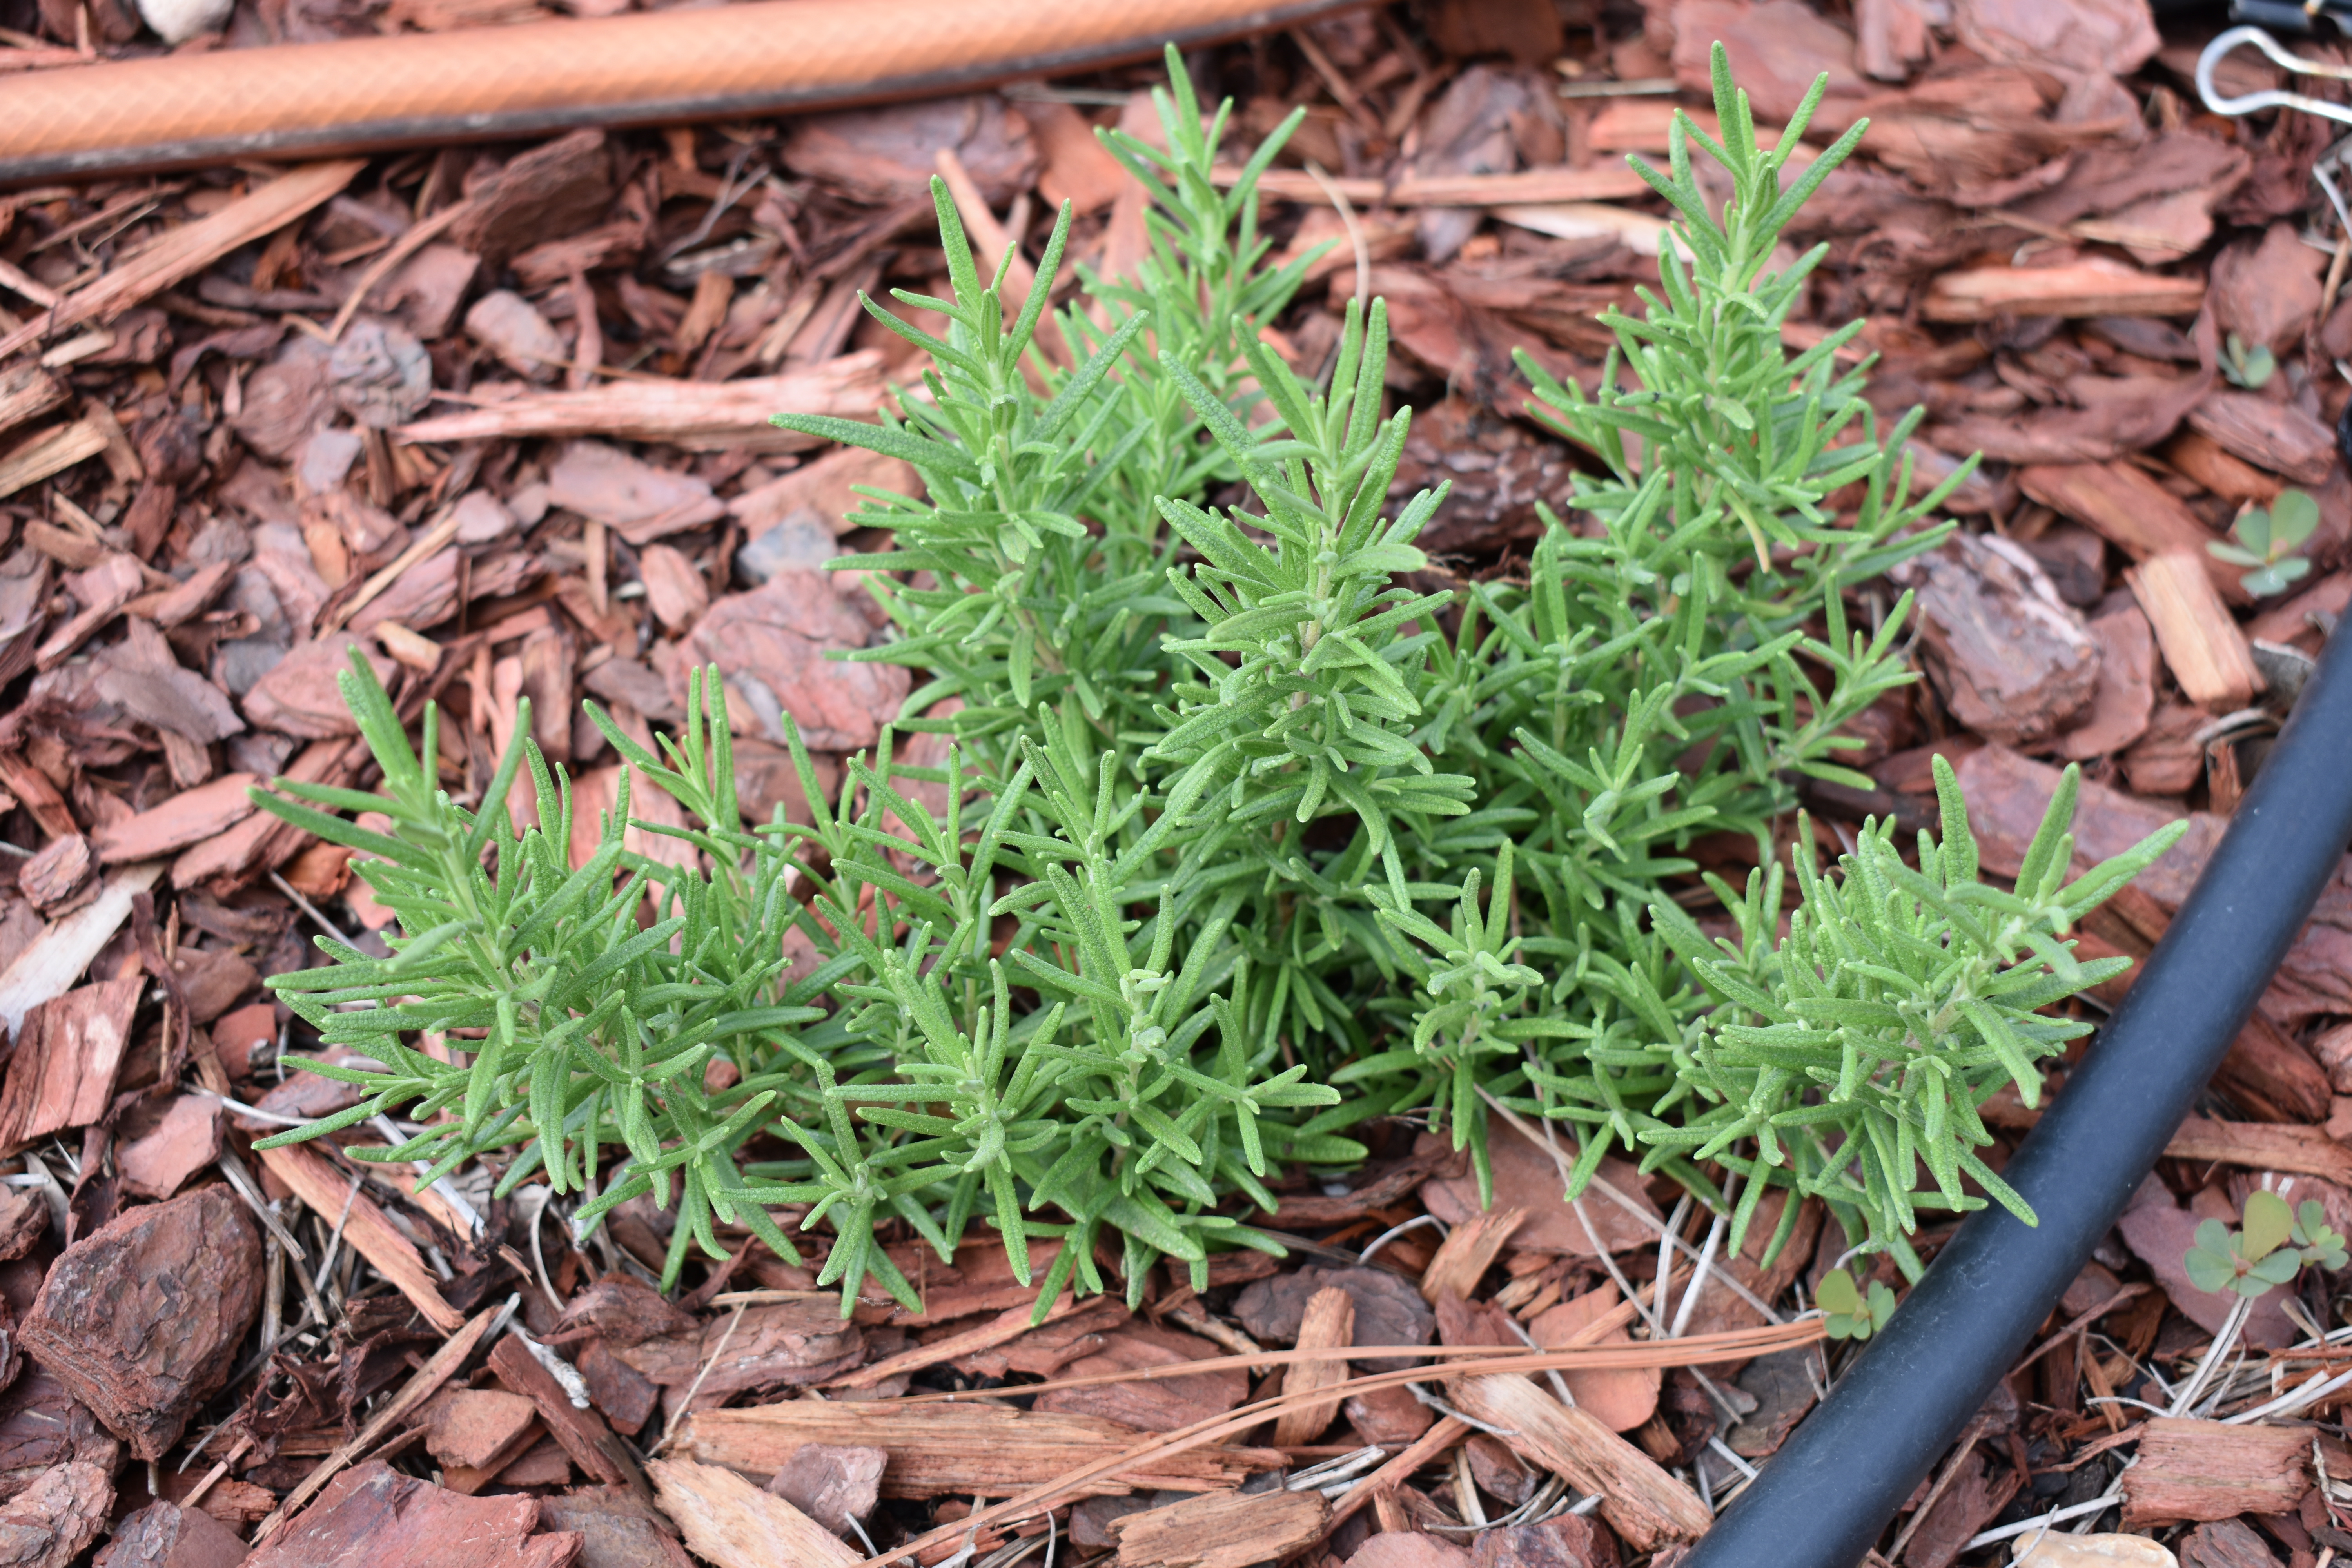
Rosemary in raised bed, Photo by Matthew Orwat
Rosemary
Like lavender, rosemary is a somewhat woody herb and can persist for several years as a “shrub” in zone 8 or higher. It is as drought tolerant as lavender and also shares its disdain for overwatering. Several cultivars exist, such as the trailing ‘Prostratus’ cultivar. Growers can expect blue to purple flowers in the winter on evergreen plants. For more information about rosemary, see this IFAS Gardening solutions entry.

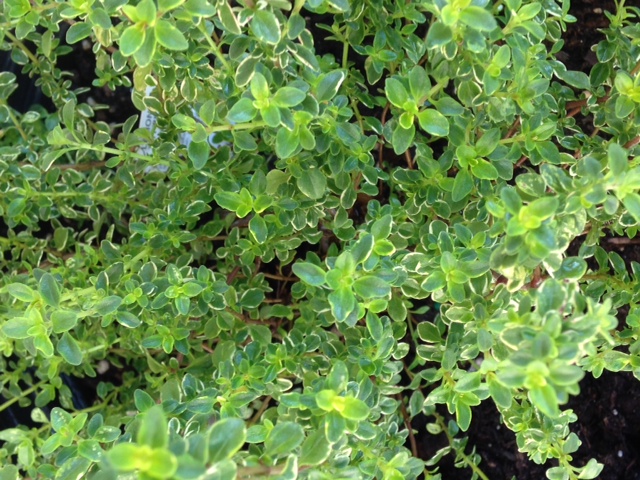
Variegated lemon thyme leaves, Photograph by Julie McConnell, UF / IFAS
Thyme
The smallest evergreen herb that does well in Northwest Florida is thyme. Thyme doesn’t like to completely dry out, but is fairly drought tolerant and excels in rock gardens, where it can cascade down over stone. It needs well drained soil to thrive and should be sited away from competition from other plants. See this Gardening Solutions page for more information
by Matt Lollar | Feb 5, 2019
Winter is in full swing and home grown produce is probably not the first thing that comes to mind. But it should be! It’s time again to start thinking about spring vegetable gardening. While a number of crops can be started by direct seeding in the soil, success rates are higher when plants are started indoors or in a covered structure. In order to be successful, it’s important that you follow some simple steps.
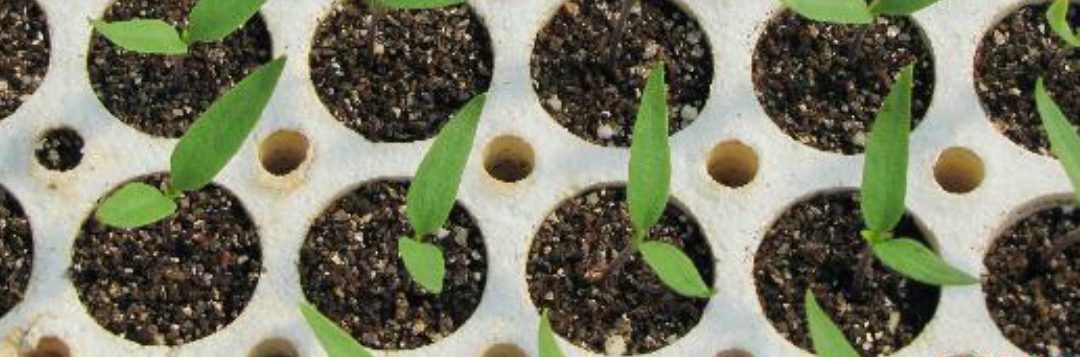
Seedless watermelons planted in a 128-cell flat. Photo Credit: Gene McAvoy, University of Florida/IFAS Extension – Hendry County
- Transplant Trays/Flats – Trays are made from different materials such as plastic, polystyrene, and compostable materials. Different cell sizes are also available. Generally, smaller cells are used for smaller seeds and larger cells are used for larger seeds. It’s important to think of the life cycle of the crop. For example, lettuce and other leafy greens have much shorter life cycles compared to tomatoes. Because of this, they have smaller root systems at transplant time and may not develop a good rootball in a large cell. Therefore, lettuce would perform better in a smaller cell.
- Media – It’s important that you choose a germination mix instead of a potting mix. Definitely don’t use garden soil! Germination mixes are typically a combination of finely ground peat, perlite, and other soiless substrates.
- Seed – Purchase seed from a reputable source with a germination guarantee. If you save seeds for future gardening, then store them in a cool, dry place. Seed can be stored in the refrigerator. However, do expect the germination rate of stored seeds to diminish over time. Coated seed is recommended for smaller seeds to make seeding easier and more efficient. Seeds should be planted in media at a depth of approximately 3 times the diameter of the seed. Check the seed package for additional planting recommendations. For more germination and storage information please see this publication from the University of Nebraska.
- Fertilizer – Too much fertilizer can result in leggy and possibly burned plants. A 20-10-10 (or similar ratio N-P-K) water-soluble product is generally used in commercial production. Rates are dependent on crop, sunlight, and temperature. The media should be kept moist, but not continually wet.

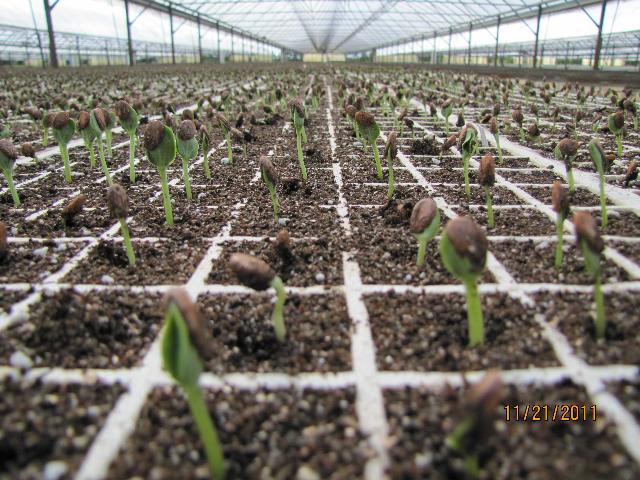
Well-grown kale transplants ready for field planting. Photo Credit: Gene McAvoy, University of Florida/IFAS Extension – Hendry County
Seeds can take up to 14 days to germinate depending on species and conditions. Most transplants are ready for the garden by 6 to 8 weeks. To improve success rate and accelerate production time, most farmers harden off their transplants before planting. Hardening off is the process of stressing the transplants for about a week. Generally, transplant trays are taken out of the greenhouse (or other transplant area such as a window sill) and set outside. Watering frequency is reduced and fertilization is halted. It’s important that the plants aren’t completely neglected, but just stressed enough to prepare them for the elements. A good place to put the trays is under a tree in partial shade. After this hardening off period, the transplants are ready for your garden. Hopefully these tips will make you a more successful gardener!
by Matt Lollar | Jan 25, 2018
We’re having a cold winter this year and I’m sure the last thing on your mind is your spring garden, but it’s time to start ordering seeds! The spring gardening seed catalogs are now out on garden center magazine racks and it’s tempting to buy everything that looks good in pictures. However, there are a few things to think about when picking out what you want to grow.
Know Your Season
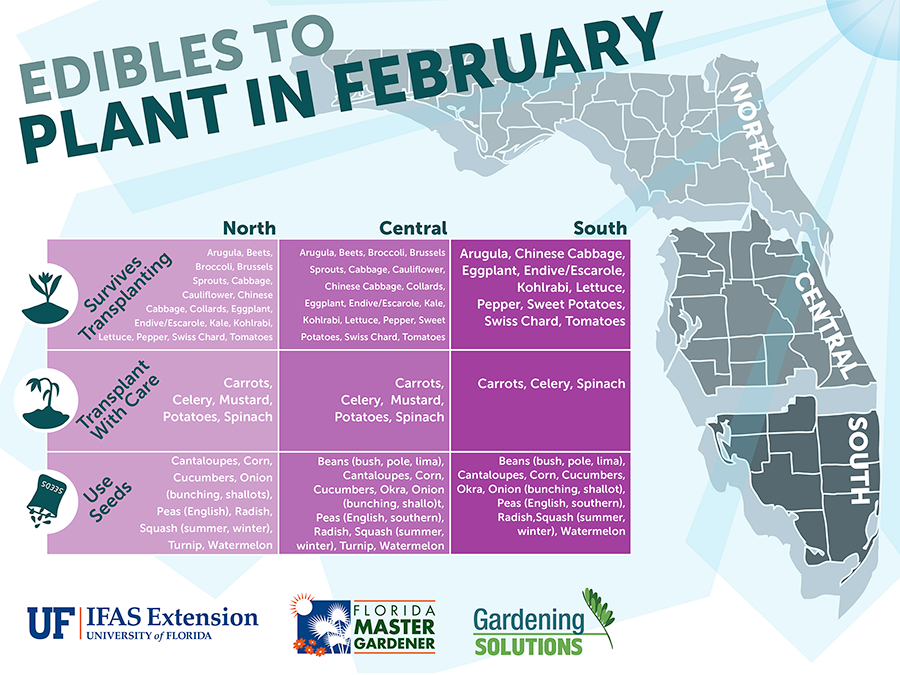
Vegetable crops are usually grown by season. We are lucky in Florida because we have both a warm season and a cool season. We are unlucky too because we have very hot summers! Usually our spring crops suffer from too much heat and humidity in July and August. Cool season crops are typically planted from September to March, while warm season crops are typically planted in February and March or August and September. Eggplant and okra are outliers because they can usually make it through the summer. It’s important that you follow tried and true planting dates for the crops you intend to grow. You can find a very helpful table embedded in the Florida Vegetable Gardening Guide that lists what to plant when.
Know Your State
As you may have noticed, North Florida has a very humid climate year-round. We not only have to give our crops extra care due to rain and humidity, but we also need to grow varieties adapted for our climate. Some recommended varieties are listed in Table 2 of the Florida Vegetable Gardening Guide. You can also find some recommended varieties in Seed Sources for Florida Homegrown Vegetables. (Please note that some of the seed sources listed in this publication are geared more toward commercial growers, so they may be unavailable unless you intend to plant quite a few acres in one crop.)
Know How Green Your Thumb Is
Probably the most important thing about gardening is your level of commitment and experience. Take a few minutes to assess your skills as a gardener and the amount of time you are willing to commit to your garden. Then use the following list to help you determine what to plant.
- Easy to Grow in Florida – Radish, Collard, Turnip, Kale, English Pea, Green Bean, Sweet Potatoes
- Somewhat Easy to Grow in Florida – Okra, Yellow Squash, Zucchini, Eggplant, Watermelon, Sweet Corn
- Hard to Grow in Florida – Tomato, Cantaloupe, Muskmelon, Pumpkin
This is only a short list, but I hope it gives you a starting point to help you determine your skill set.
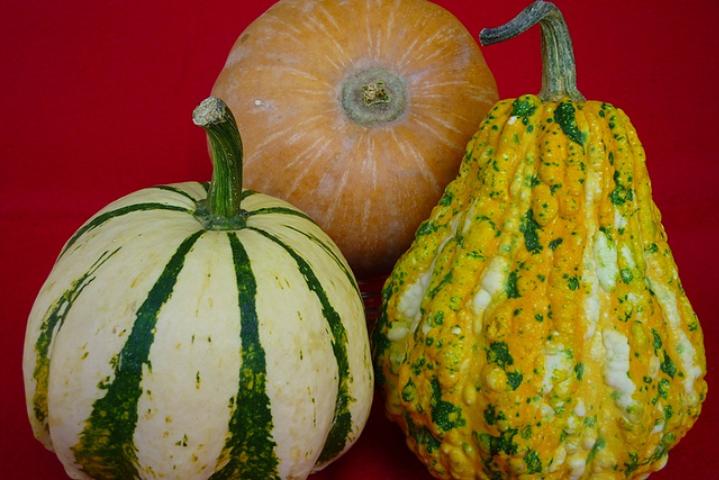
A variety of calabaza squash. Photo Credit: University of Florida/IFAS
Know the Difference Between Open Pollinated, Heirloom, and Hybrid Varieties
- Open-pollination of crops occurs when insects, birds, wind, or other natural mechanisms carry pollen from flower to flower. Seed can be saved from open-pollinated varieties which will produce crops with similar characteristics to their parents.
- Heirloom varieties have a history of being passed down within a family or community. As the name suggests, seed can be saved from heirloom varieties which will produce crops with similar characteristics to their parents.
- Hybridization is a controlled method of pollination in which the pollen of two different varieties or species is crossed by human or natural mechanisms. Seed saved from hybrids will most likely not produce as vigorously as their parents and may produce crops that are significantly different from their parents.
I would never want to discourage you from growing new crops, but I hope you now have a little better plan as to what to plant this year. If you want to try something new with minimal risk then I would recommend you try growing yard-long beans, calabaza squash, and malabar spinach. These vegetables serve as excellent substitutes for some of the more commonly grown varieties. You can read more about these crops and other minor vegetables by visiting the University of Florida/IFAS Minor Vegetable Webpage.

by Mary Salinas | Nov 13, 2017
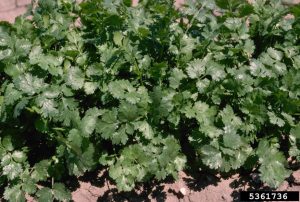
Cilantro ready for harvest. Photo credit: Howard F. Schwartz, Colorado State University, Bugwood.org
Cilantro (Coriandrum sativum) is a short-lived annual herb with bright green, feathery, flat leaves that look very similar to flat-leaved parsley. Leaves can be harvested at will after they grow to a mature size and then continuously as needed. The flavor of cilantro compliments many Latin American, Indian and Asian dishes and is a great addition to salads. The ripe seeds are known as coriander and used as a spice.
Maybe some of you have grown cilantro, harvested a time or two and then watched in horror as it quickly flowered, went to seed and died. Me, too. This scenario most likely happened in the warm summer months. Hot weather and long days stimulate this annual herb to quickly complete its life cycle. When temperatures increase, it causes plants to bolt which is a sudden switch to producing flowers and seeds, often on tall stalks. After cilantro bolts, the leaves become smaller and less palatable.

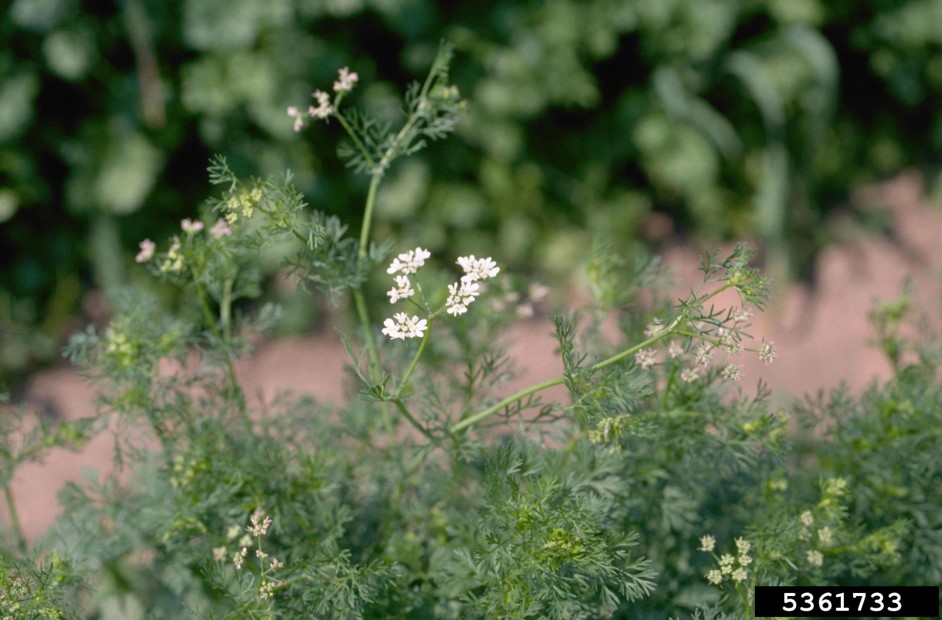
Cilantro bolting and blooming. Photo credit: Howard F. Schwartz, Colorado State University, Bugwood.org
The solution is to grow cilantro in the fall and winter. The cooler weather encourages more leafy growth, so you can harvest the leaves for a longer period of time. The warmer weather in the spring will bring flowers, and then seeds to start next autumn’s planting. Collect the seeds and store for planting the following season.
Start cilantro in your garden from seed or transplants. A benefit of growing from seed is that a few seeds can be sown every two weeks to extend your harvest season. Like most herbs, cilantro likes rich, well-drained soils, regular moisture and full or part sun. If the weather is getting warmer, full sun in the morning with some afternoon shade will help keep the herb cooler and less likely to bolt.
For more information:
Herbs in the Florida Garden
Seeding the Garden
by Julie McConnell | May 26, 2017

Blue Morpho Butterfly feeding on banana. Photo: J_McConnell, UF/IFAS
Have you been thinking about creating a butterfly garden but don’t know where to start?
Afraid it’s too much upkeep or has to look wild and untamed?
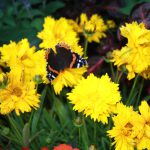
Red Admiral Butterfly. Photo: J_McConnell, UF/IFAS
Spend a Saturday morning with the UF/IFAS Master Gardeners of Bay County to see how to design, install, and maintain a colorful low maintenance butterfly garden.
Next Saturday, June 3rd, is the free Butterfly Gardening Workshop in Panama City at the UF/IFAS Extension Office at 2728 E. 14th Street. Come learn about butterfly gardening and see our vibrant garden.
Please register ahead of time so that we can supply enough materials for all attendees by calling 850-784-6105 or sign up online.