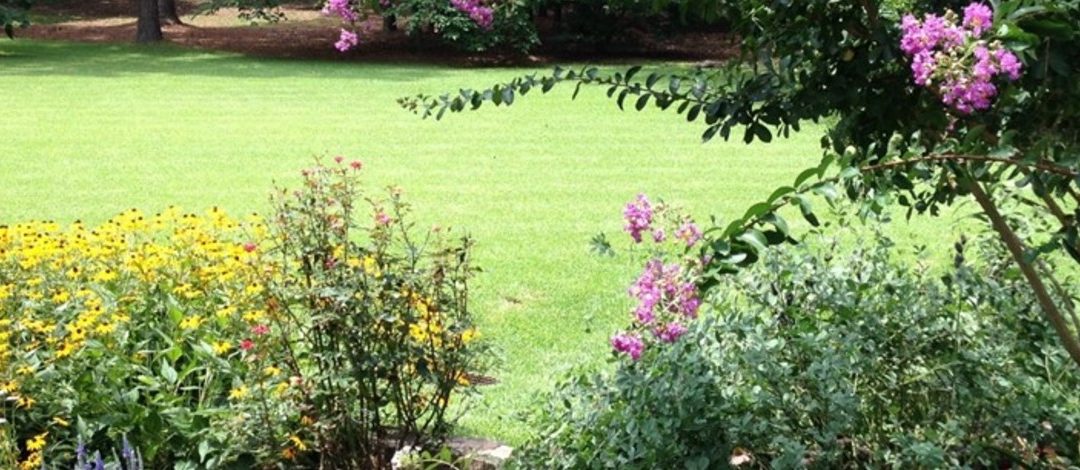
Pine straw being used as mulch in plant bed. Credit: Larry Williams
There is a difference between mulching and amending the soil. Mulching involves placing material such as pine straw, leaves or pine bark on top of the soil. Amending the soil is the incorporation of the material into the soil (in the root area).
Soil amendments and mulch can be organic or inorganic. Most soil amendments are organic (coming from a living organism) such as pine straw or peat moss. A few inorganic (non-living) soil amendments include sand, perlite and vermiculite.
Many common organic soil amendments don’t last long in our soils and climate. Materials such as peat moss decompose rapidly in our sandy soils, under our warm, moist conditions. Microorganisms break the “stuff” down rapidly, once it is in the soil. As a result, the benefits from the additional organic matter are quickly lost unless additional organic matter is repeatedly incorporated within the soil.
Slower decomposing materials such as sawdust or other wood products will last longer. But microorganisms that help decompose wood within the soil use or tie up some of the available plant nutrients such as nitrogen during the decomposition process. So additional nitrogen may need to be added to meet the nitrogen requirements for plants that are growing in the amended soil when wood is used as a soil amendment. Additional nitrogen may be needed until the wood is thoroughly decomposed. This may take months to years based on how well rotted the wood was when incorporated. It’s best to use well-rotted sawdust as a soil amendment. Nitrogen deficiency results in a general light green to yellow color in plant leaves.
Mushroom compost contains a high degree of lime. As a result, it will raise the soil pH, making the soil more alkaline or less acidic. It has its place as a soil amendment but should not be used where “acid loving” plants are to be grown. This would include plants such as centipedegrass, blueberries, azaleas, camellias and gardenias. It’s best to know the soil pH before using mushroom compost to avoid ending up with soil that’s too alkaline for the plants you intend to grow.
There needs to be a reason to amend the soil. Is the soil too heavy and poorly drained such as is the case with clay or muck type soils? Then, you may need to add something such as perlite or sand to “open” the soil to improve drainage. Is the soil sandy with a low pH? Then, you may want to use mushroom compost.
Amending soil for no good reason can be a time consuming and costly mistake.
My previous article outlined the benefits of planting trees during the winter dormant season. Once planted, it’s then time to implement one of the best practices that helps ensure successful establishment of recently installed trees and shrubs – mulching.
Mulching, by definition, is simply the process of adding a layer of material over the top of the soil. Like planting at the right time, mulching does many great things for your landscape. Mulching helps moderate temperatures; the soil stays warmer in the winter and cooler in the summer. Mulching increases water retention; when the sun isn’t blasting directly onto the soil, it dries out much more slowly. Mulching reduces weed pressure; most weed seeds require sunlight to germinate. Etc. Etc. The benefits of mulch abound. But what material you use and how you apply mulch figure heavily into whether your mulch helps or harms the plants whose roots it lies over.
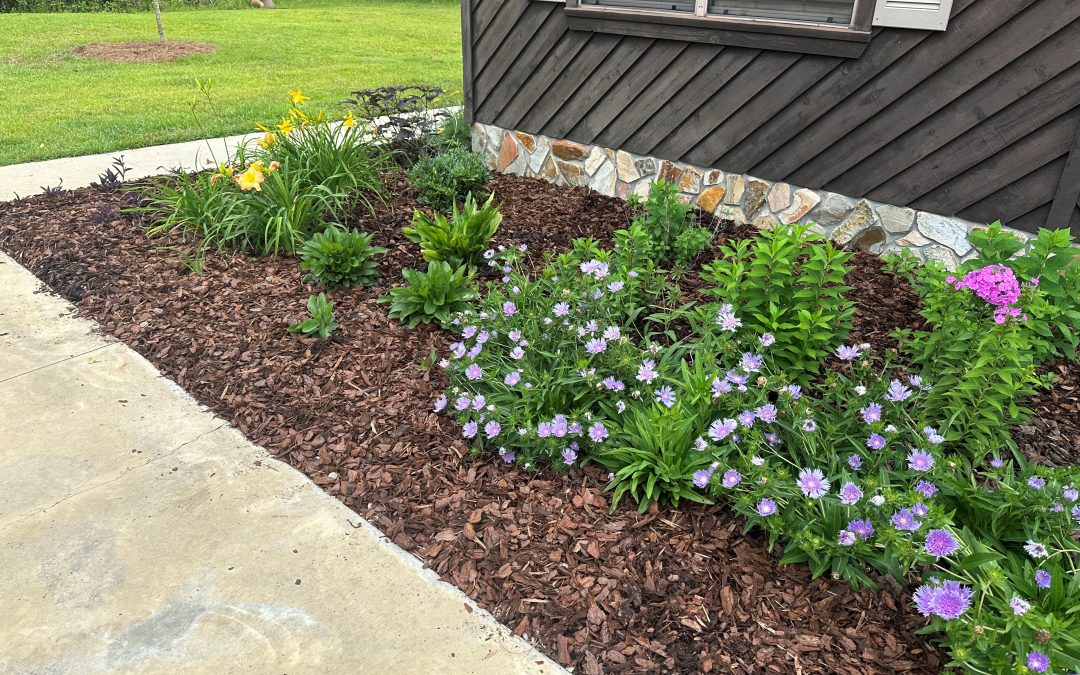
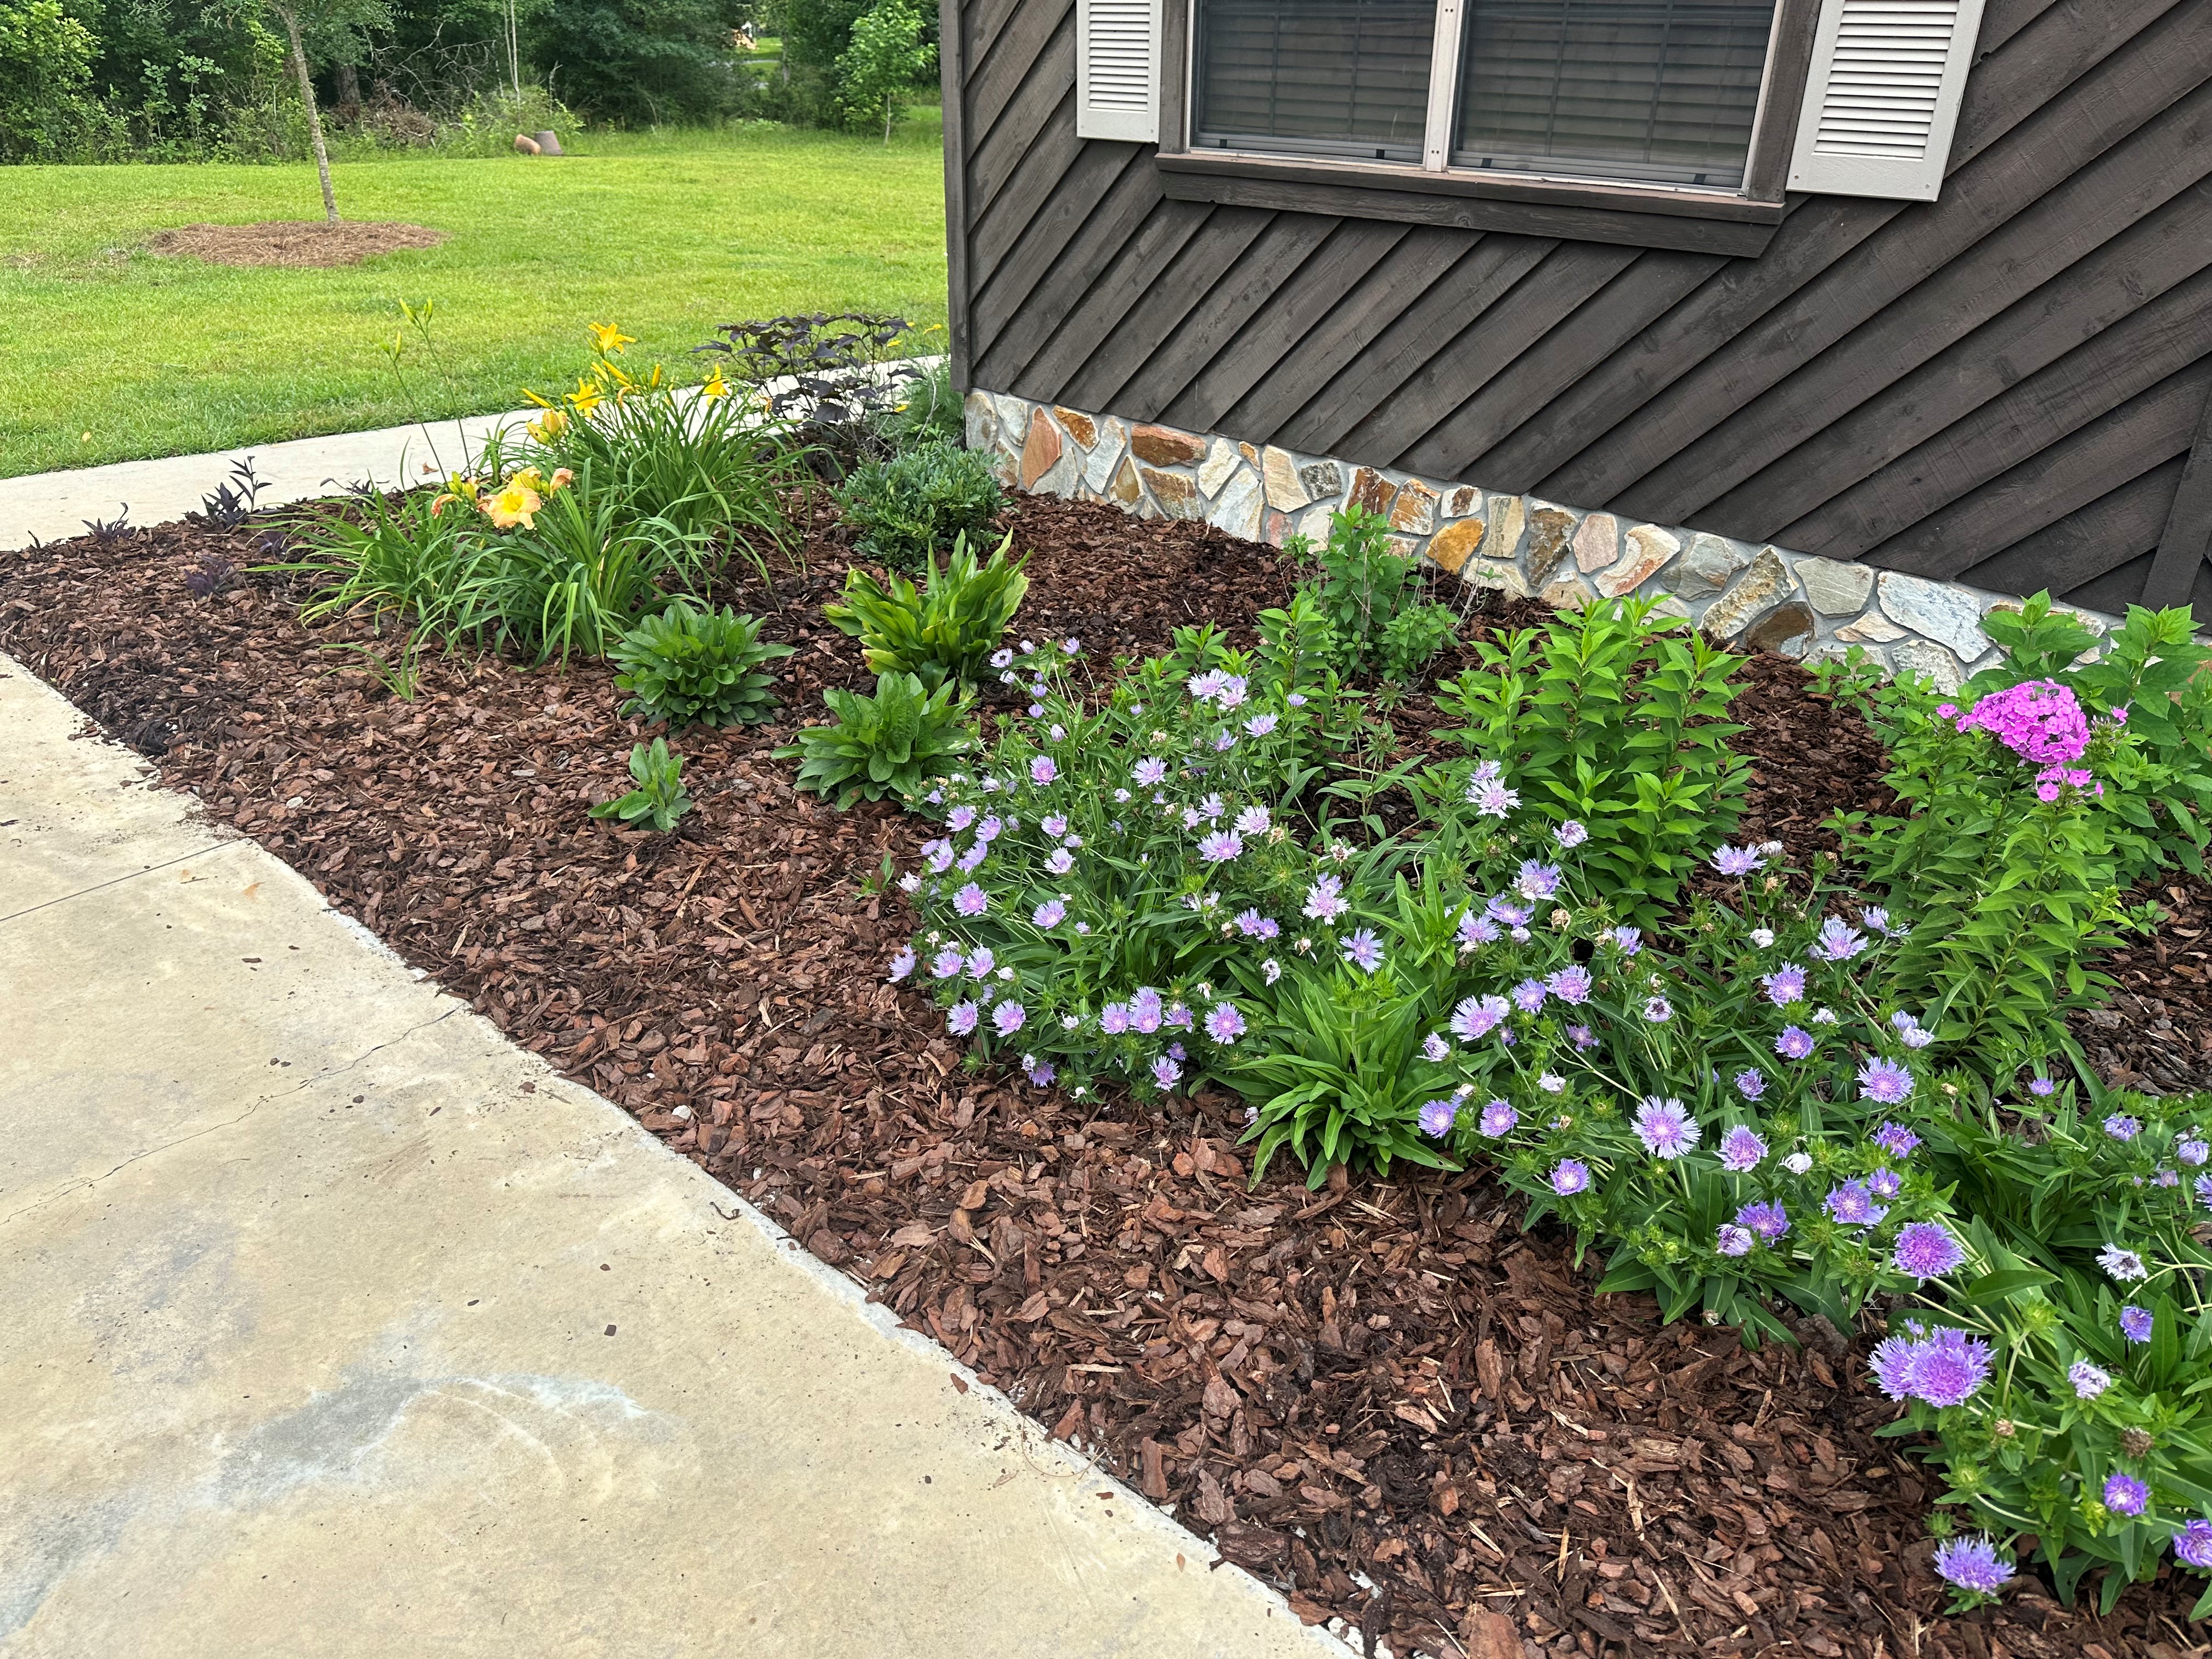
Pine bark mulch applied correctly in a landscape. Photo courtesy of Daniel Leonard.
There are two basic options when considering mulch: organic or inorganic sources. In general, you should always select an organic mulch that is derived from local sources. Organic mulches are mulches derived from natural materials like pine straw, leaves, tree bark, or shredded wood chips. These mulches break down over time and benefit soil health through bettering water holding capacity, increasing soil porosity and organic matter content, and drastically expanding the soil biome (beneficial worms, fungus, and bacteria that live in the soil). Organic mulches also allow landscapes to blend in with the natural areas surrounding homesites as they typically use materials found in local ecosystems. For example, in the coastal south, pine forests dominate, pine straw is plentiful, and purchasing usually supports local businesses that grow, harvest, and market the straw. So, unless you happen to live in a desert environment where rocks are natural, steer clear of rocks or other inorganic mulches.
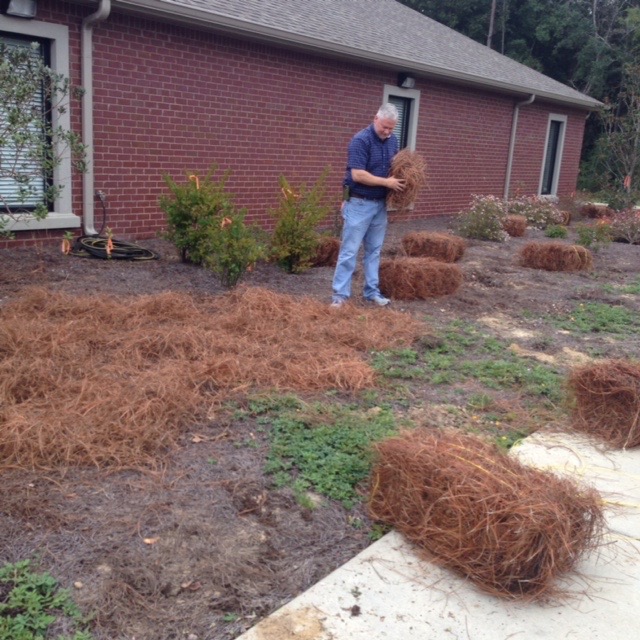
Pinestraw mulch applied around a newly planted tree. Photo courtesy of Daniel Leonard.
As with most things, there is a Goldilocks zone for mulch. Too little isn’t enough to keep weeds from easily poking through and soil from quickly drying. Too much and you risk depriving plant roots from oxygen exchange with air above, trapping too much moisture and causing rot issues, or even creating a hydrophobic layer of dried mulch that repels rainfall and irrigation. Instead, just the right amount of mulch should be applied, enough to create a 2-3” layer of helpful mulch. With some mulches like straw, this may mean applying a 6-8” layer that will settle down to the magic 2-3” number with a good rain, interlocking the individual pieces of straw. With others like wood chips or bark nuggets, there will be little settling, and the applied amount should be 2-3” deep. A final tip is to always pull mulch back a little from the crowns of plants and the trunks of woody trees and shrubs to prevent potential disease issues.
So, after you install your new landscape plants this winter, remember to mulch well. Be sure to select an organic mulch that supports local industries, enhances the soil in your landscapes, protects your plants’ roots, prevents weeds, and looks natural! For more information about mulch or any other horticultural topic, contact your local UF/IFAS County Extension Office. Happy Gardening!
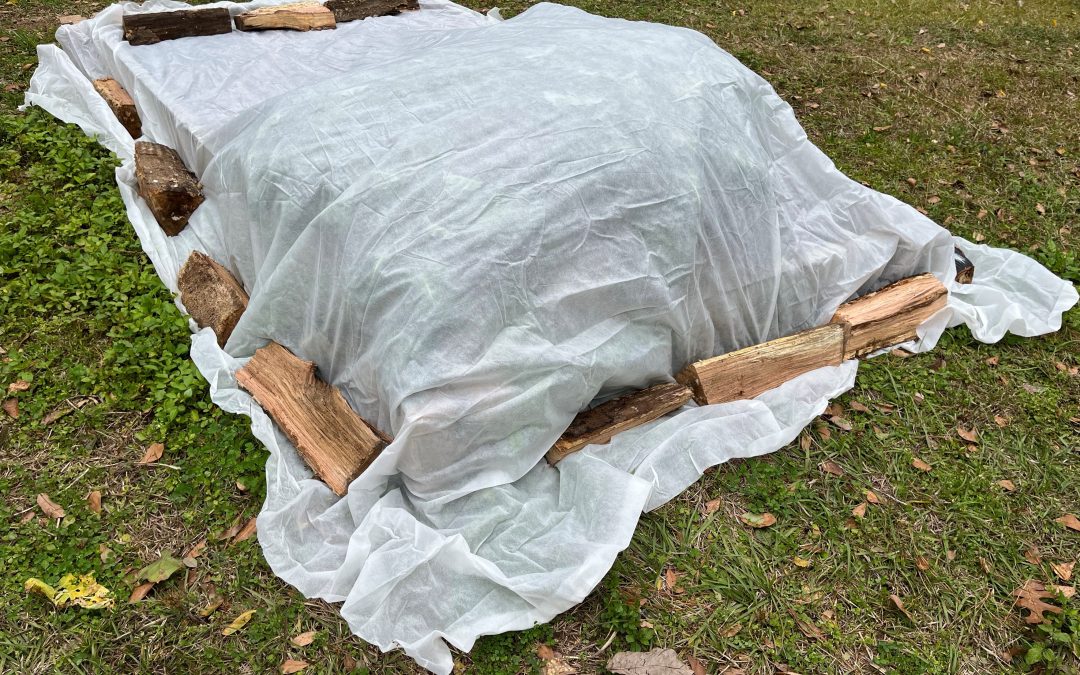
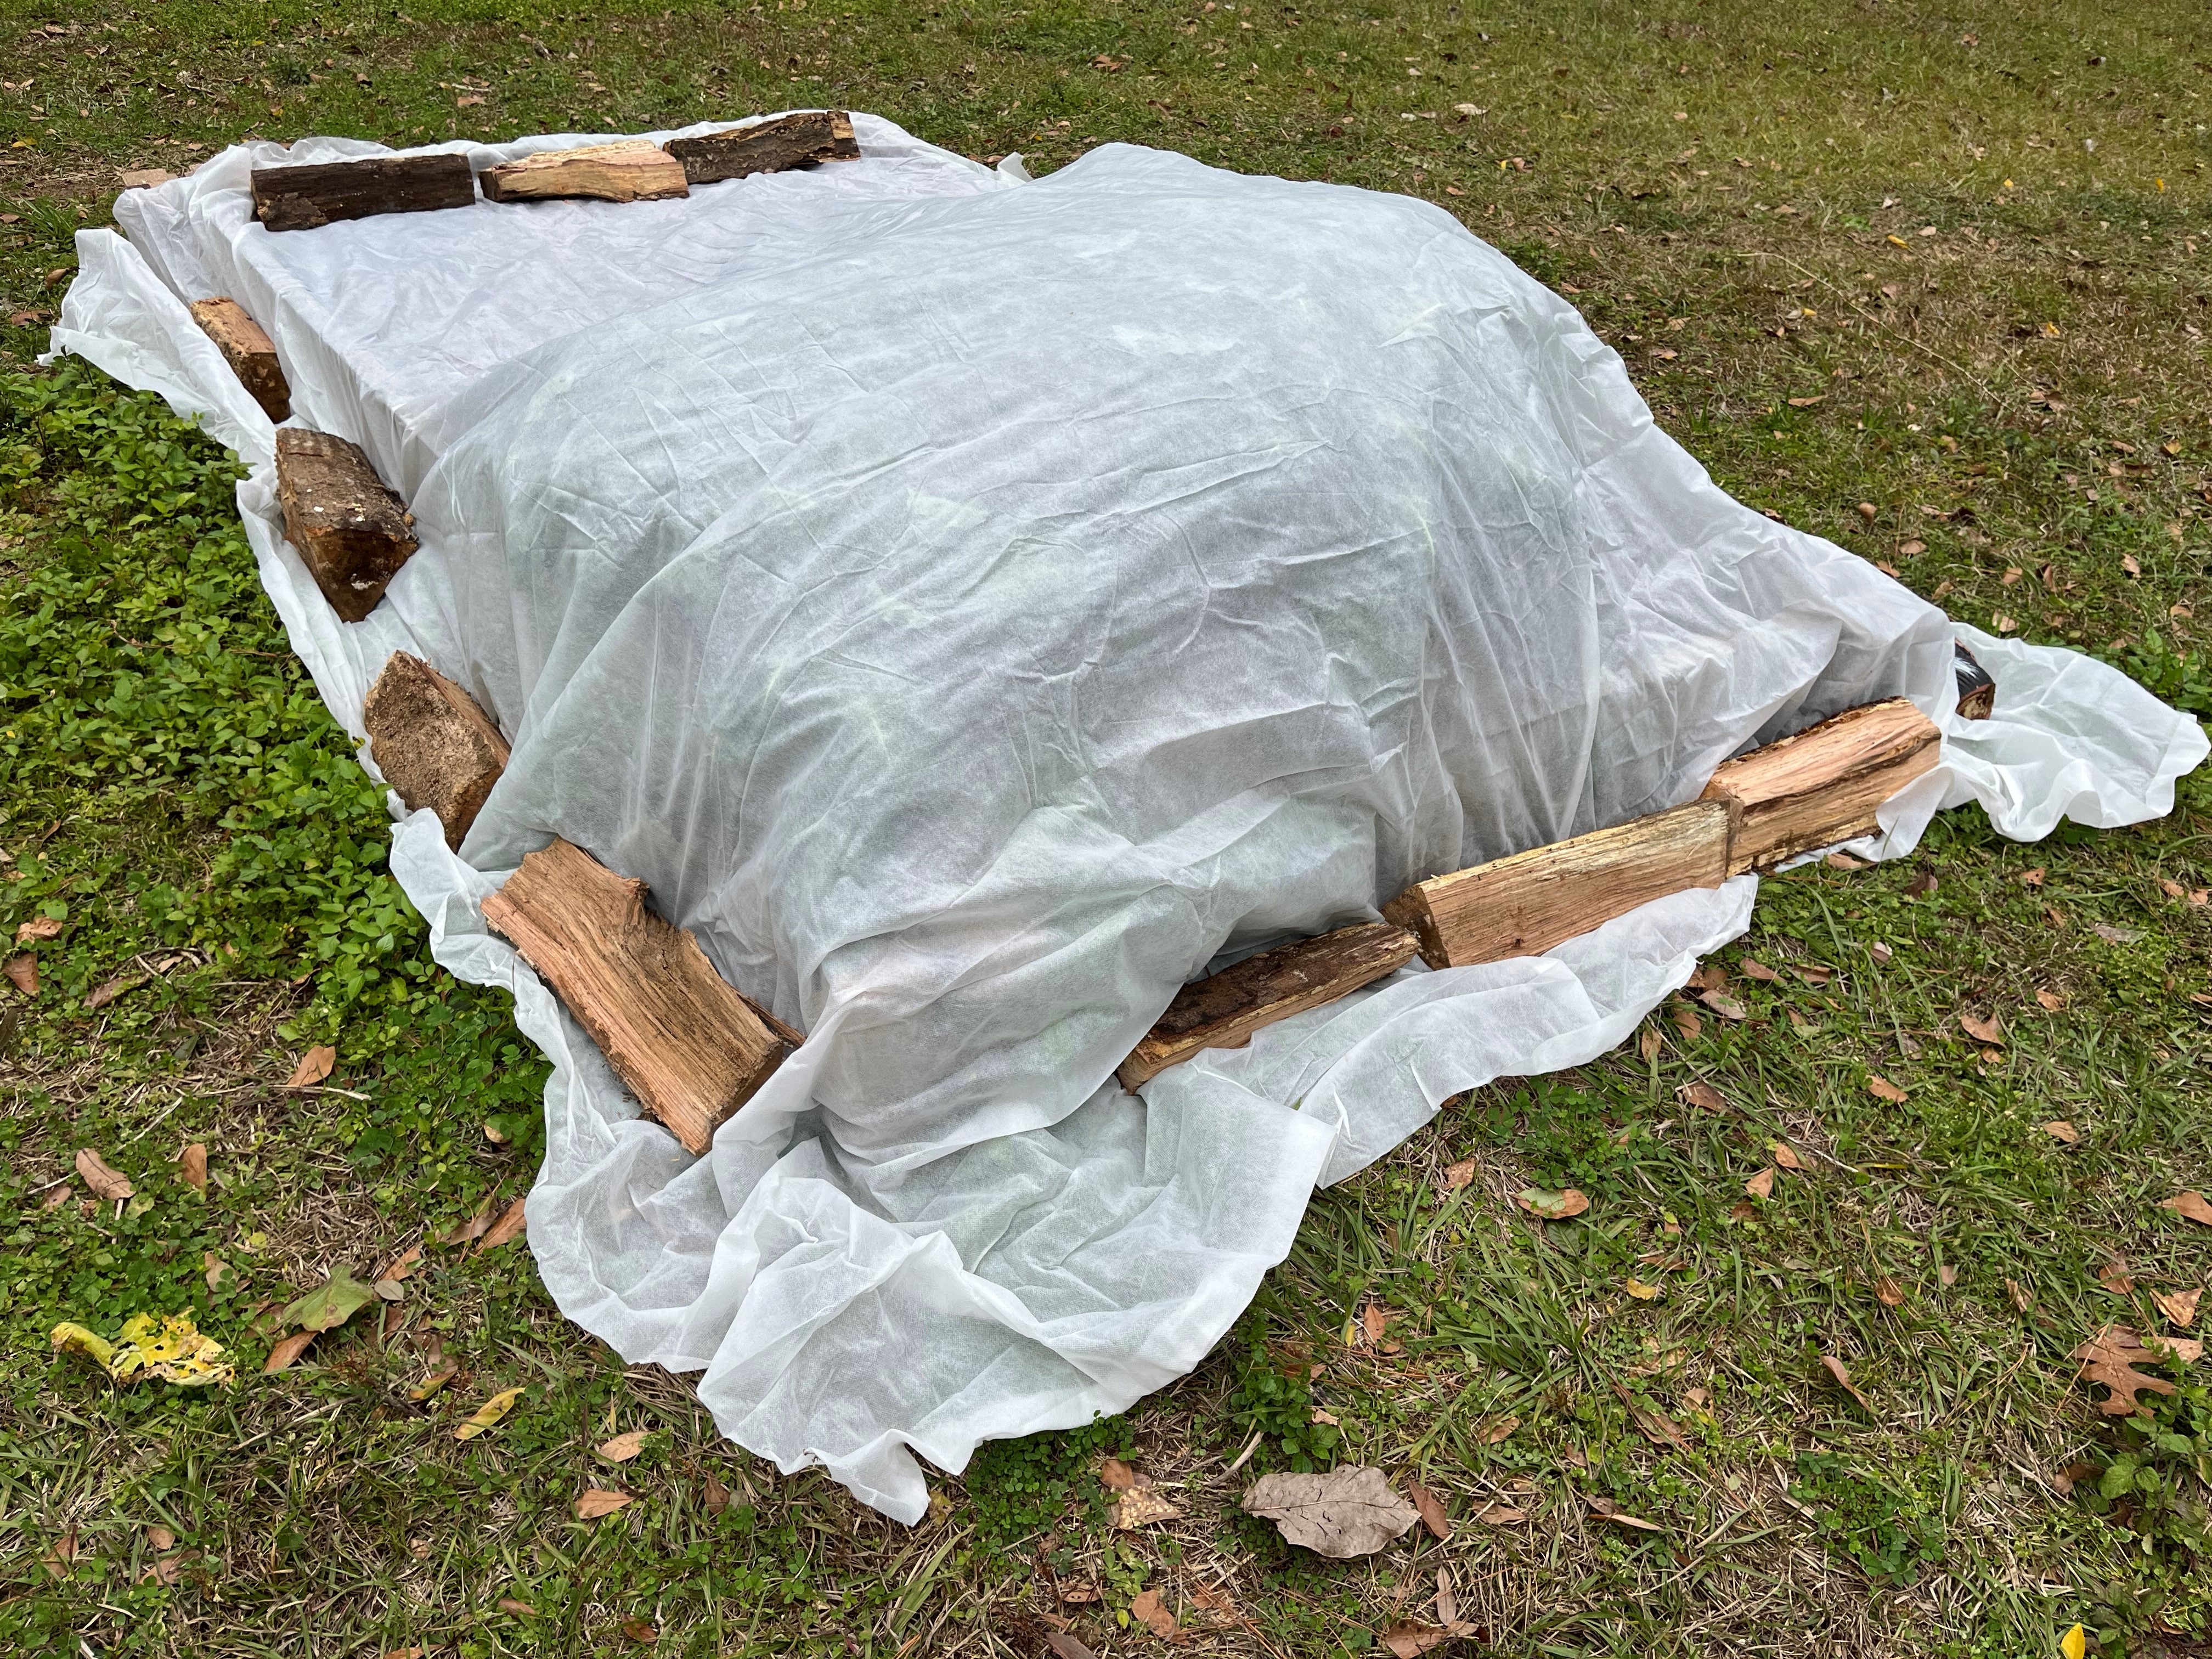
Anchor frost cloth securely to keep it tightly in place, as removing air gaps helps trap ground heat and shield plants from cold air. Photo by Molly Jameson.
Here in North Florida, mild winters are the norm, but our occasional cold snaps can be enough to wreak havoc on our gardens. As you might remember, in December of 2022 the entire Panhandle experienced temperatures dipping into the teens and low 20s for several nights in a row, with some areas reaching as low as 18°F. This kind of unexpected freeze can catch even the most experienced gardeners off guard.
While plant covers are the go-to solution for many of us, pairing them with additional techniques can offer even better protection when temperatures dip. From common cold weather protection myths to practical DIY tips that enhance your plant cover’s effectiveness, knowing your options can make all the difference during an impending cold snap.
Cold Protection Myths and Misconceptions
When a frost or freeze warning hits, there’s plenty of advice flying around. Some of it’s helpful, and some, not so much. Here are a few misconceptions to clear up:
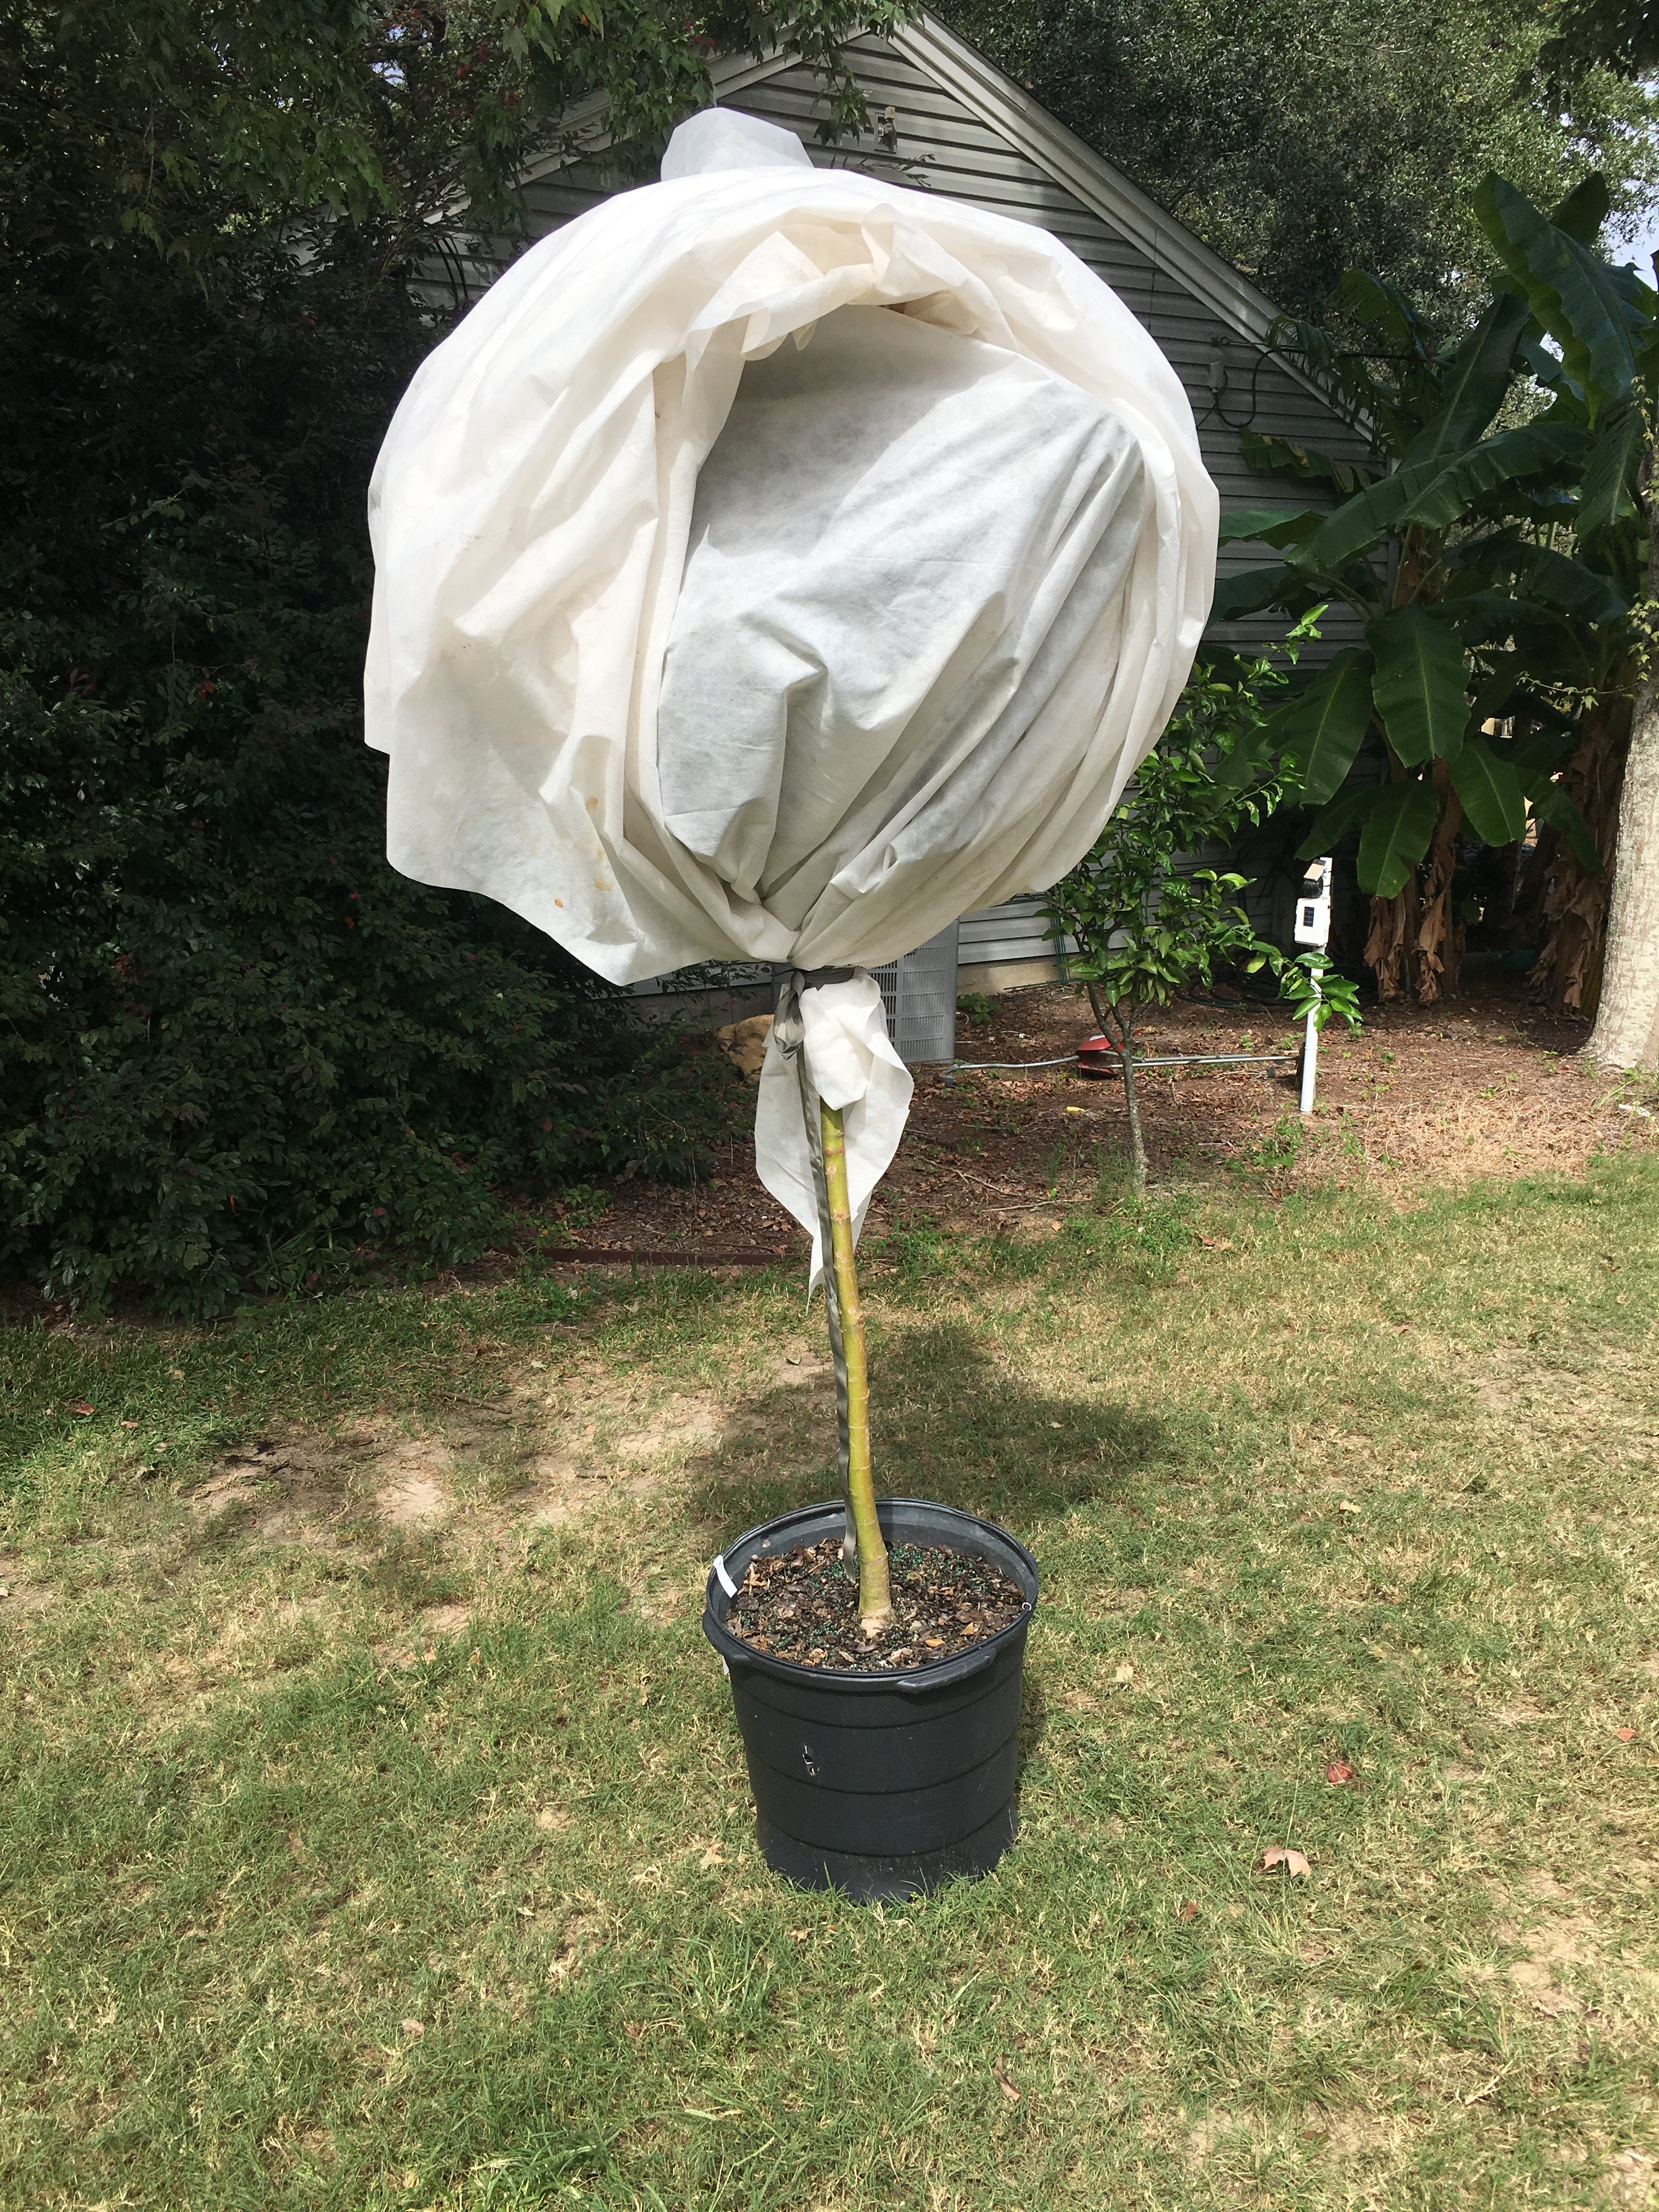
“Lollipop” trees will allow the heat from the ground to escape, giving the tree no cold protection. Photo by Jonathan Burns.
“It’s All About Covering the Leaves”
Many gardeners believe that simply covering the leaves of their plants will provide adequate protection. However, this can lead to what’s commonly referred to as “lollipop” trees, where only the foliage is covered, leaving the trunk exposed. This is problematic because cold air can still penetrate, and the heat rising from the ground isn’t captured effectively. To ensure proper protection, the plant cover should touch the ground all around the plant to trap heat radiating from the soil, providing insulation from below. For best results, choose a medium-weight frost cloth (about 1 to 1.5 oz/yd²) made from breathable polypropylene or polyester fabric. These materials offer excellent insulation, providing about 4 to 8 degrees of temperature protection, depending on factors like cloth weight, ground heat trapped, and wind conditions. Frost cloth also allows moisture and air exchange, which helps prevent overheating on sunny days.
“A Plastic Sheet Works Just as Well as Frost Cloth”
Throwing a plastic sheet over your plants might seem like an easy fix, but it often leads to more harm than good. Plastic is non-breathable, which can trap condensation and freeze on the plant’s surface. It also doesn’t insulate well, transferring cold temperatures directly to the leaves and stems. If you must use plastic in a pinch, make sure it doesn’t touch the plants directly and that it’s securely anchored to the ground to effectively trap warmth. Be sure to remove it in the morning once temperatures start to rise to avoid overheating.
“Covering Your Plants Alone is Enough”
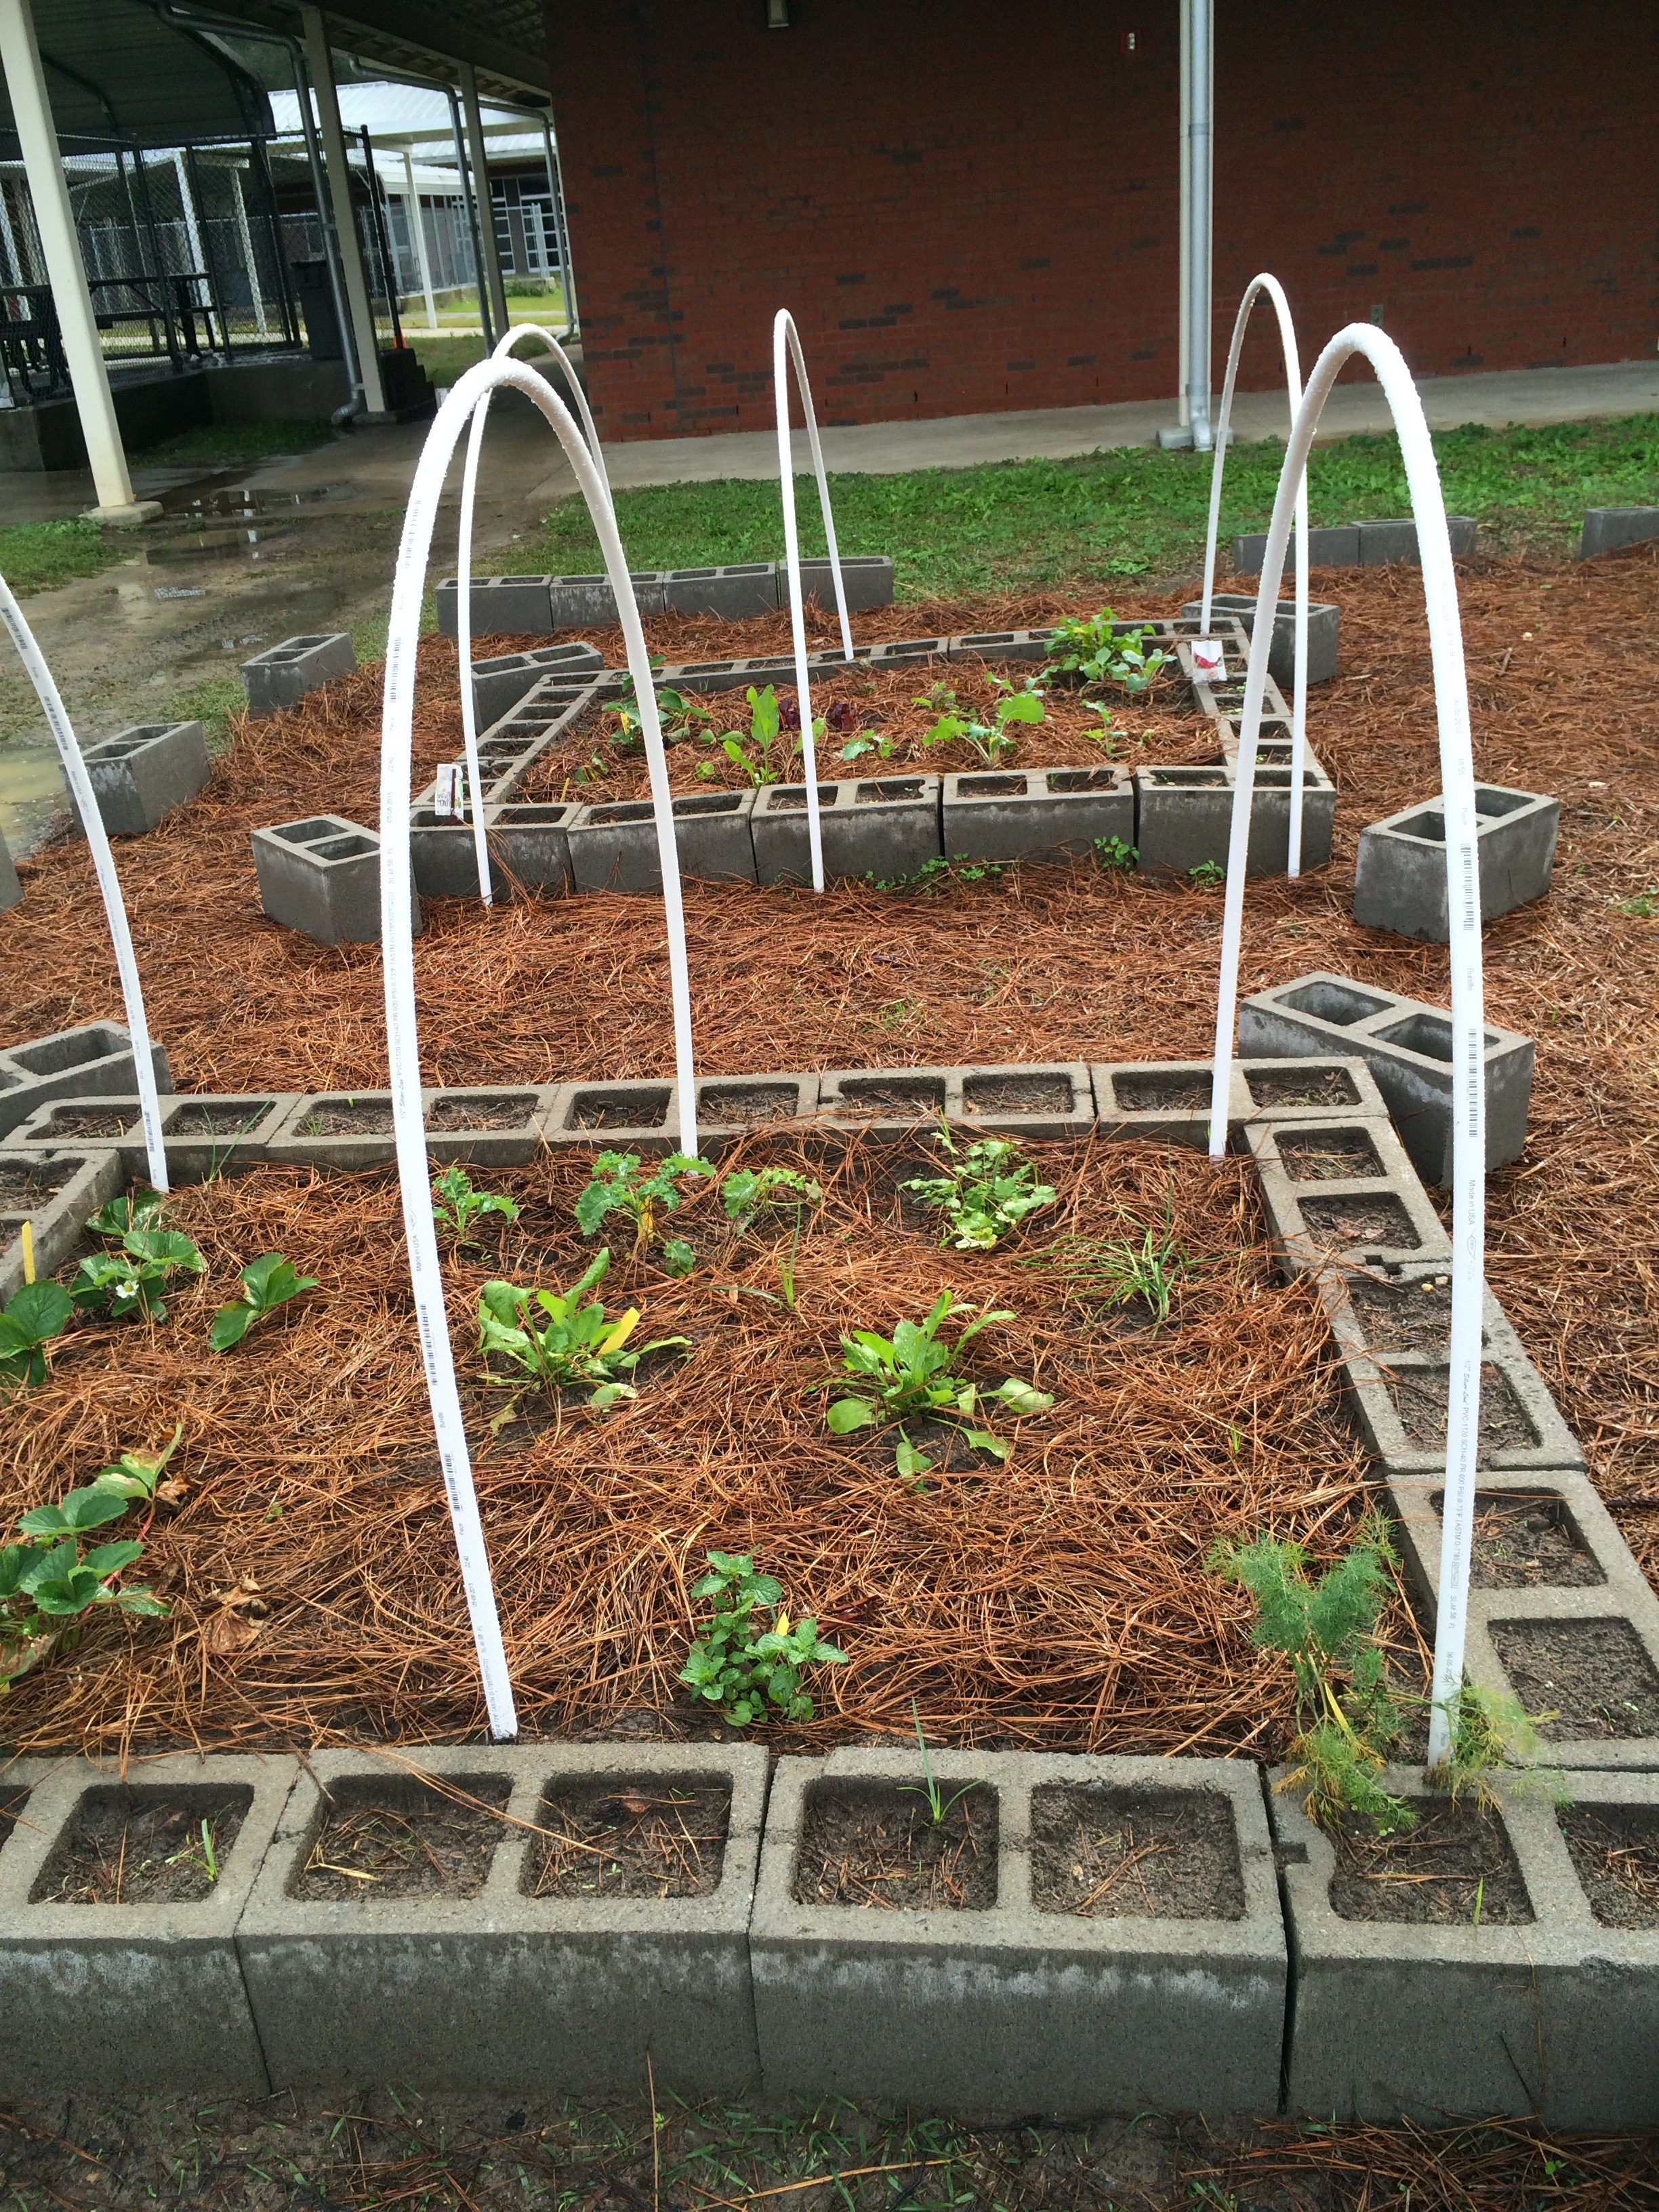
With PVC hoops ready to hold frost cloth and a thick layer of pine straw mulch, these raised beds are prepped for whatever winter throws their way. Photo by Molly Jameson.
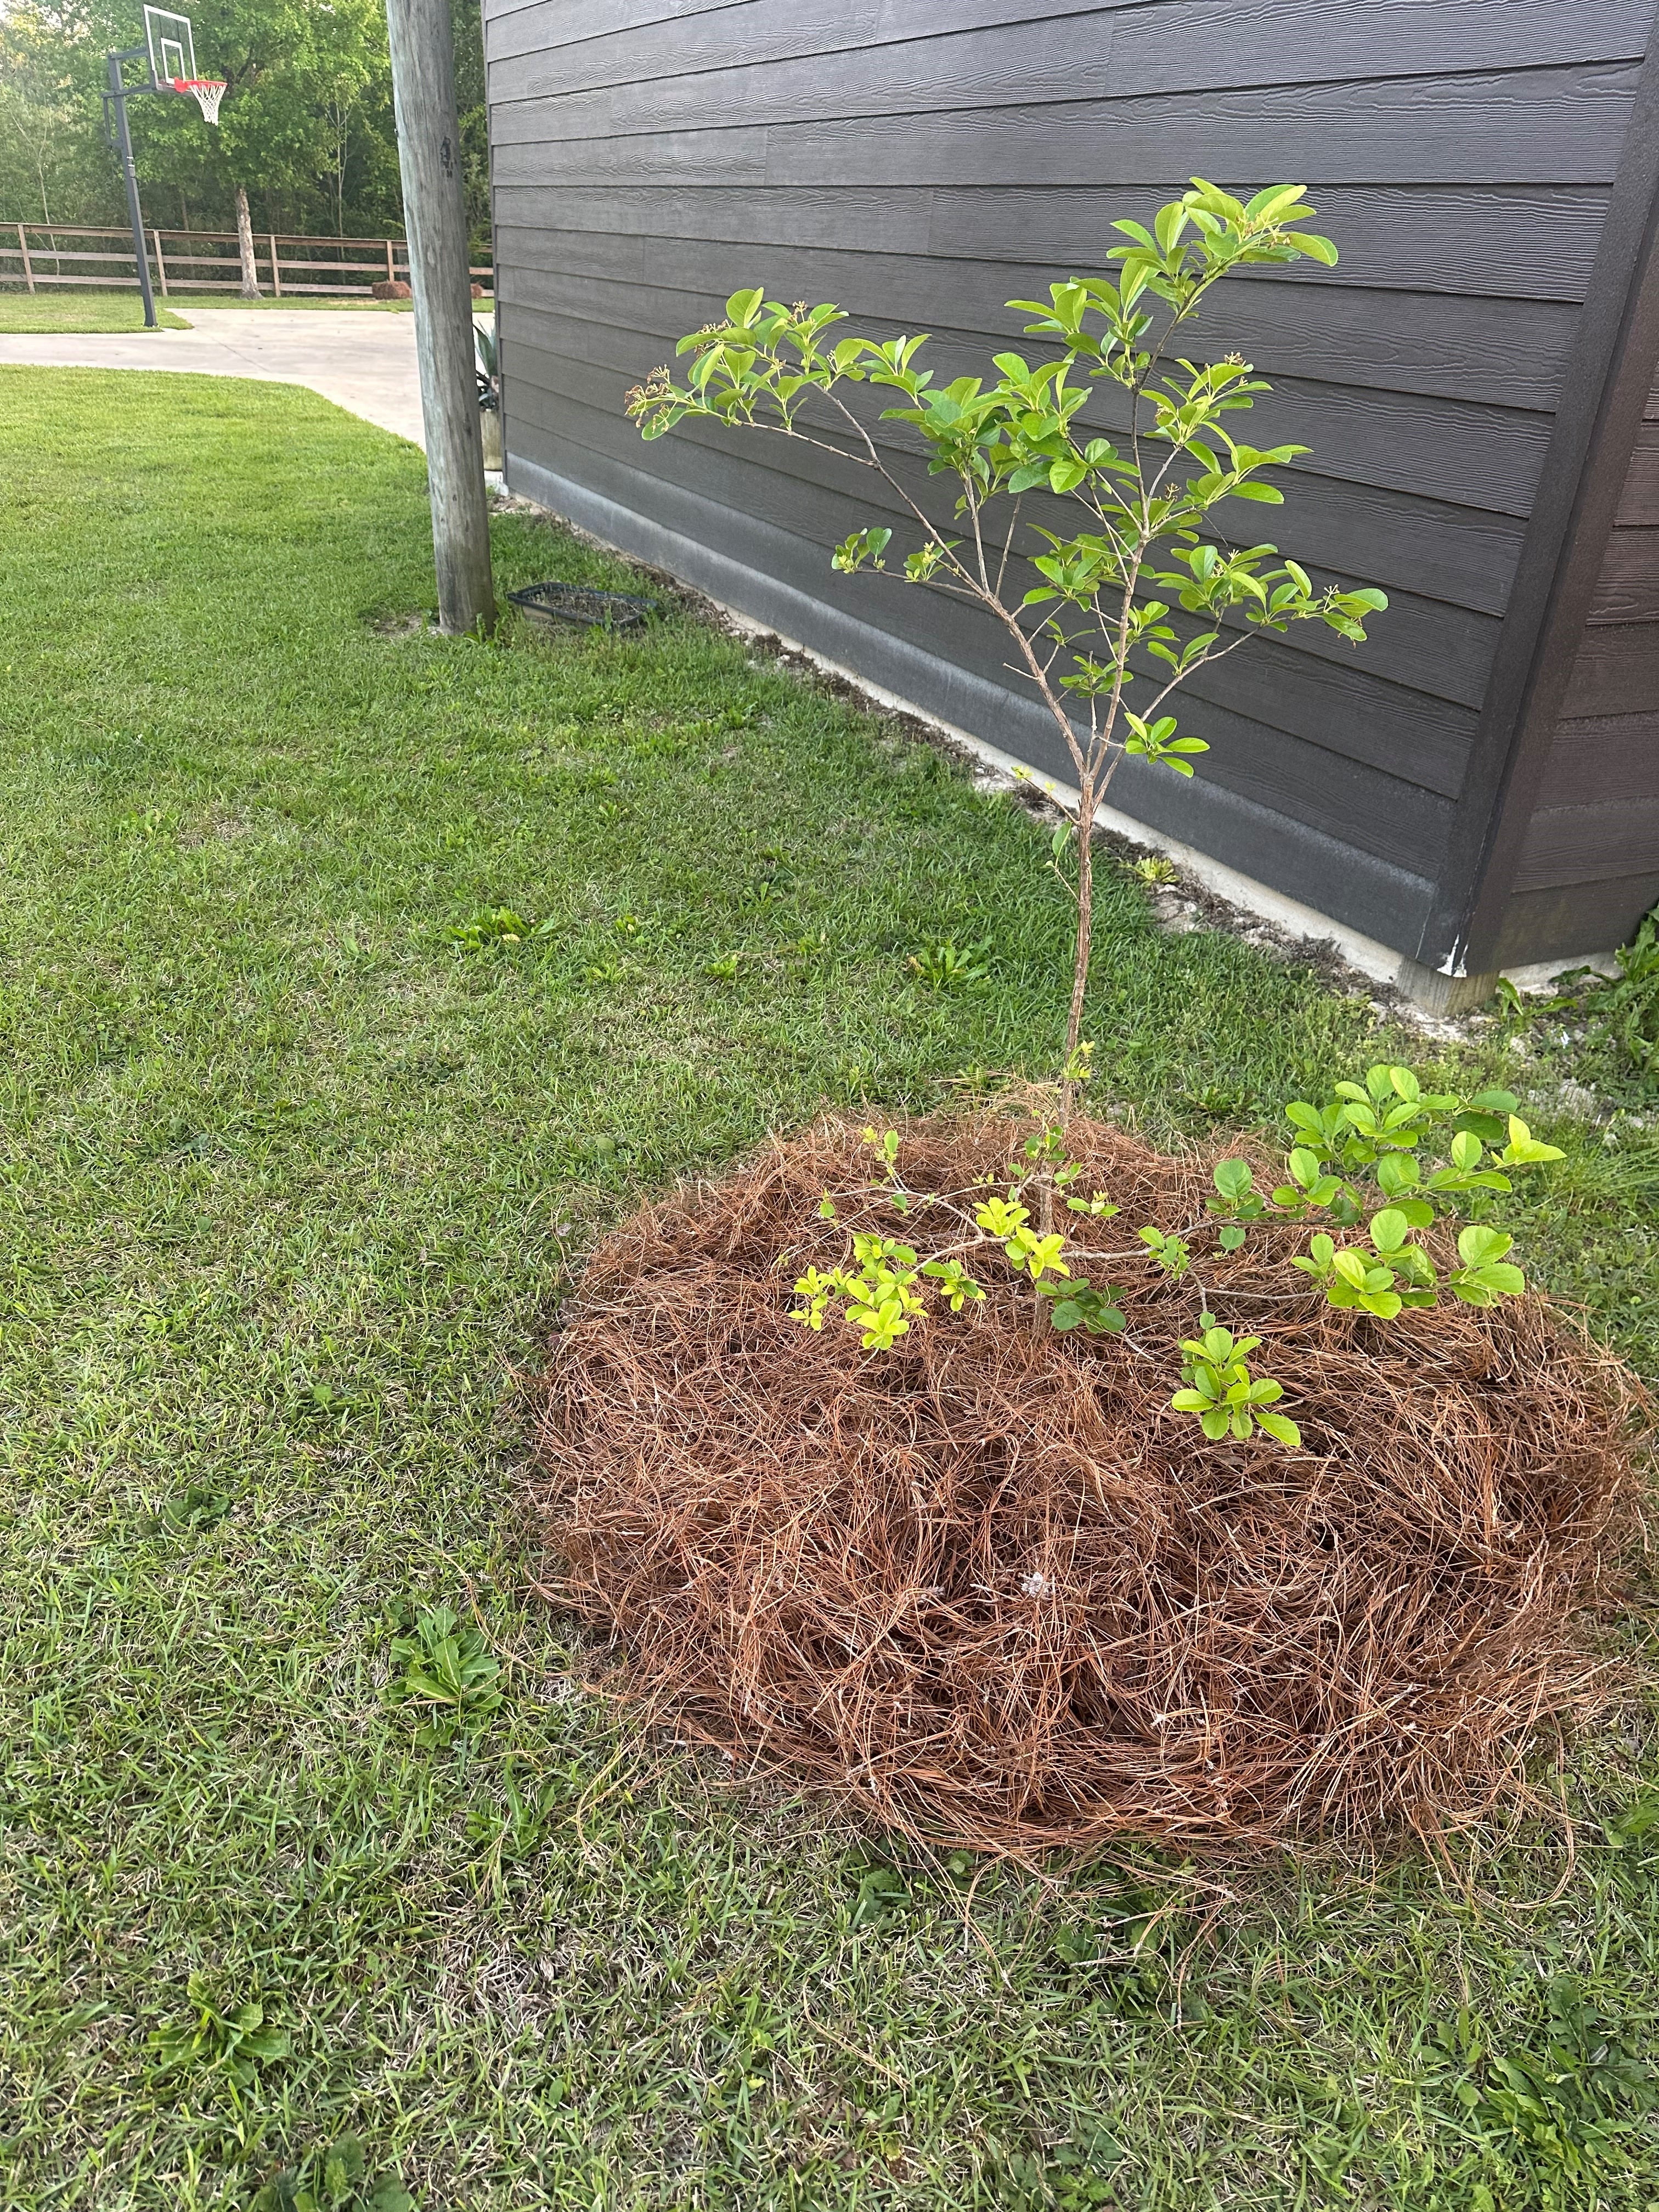
While covering plants is crucial, sometimes additional steps can make a big difference. Mulching around the base of plants with a thick layer of pine straw or leaves helps insulate the soil and trap ground heat. It’s a small step that offers big protection to the roots and lower stems.
“Watering Plants Before a Freeze Doesn’t Help”
Watering the soil around your plants before a freeze is a good practice because moist soil retains heat better than dry soil. This can help keep the root zone warmer overnight. However, it’s important to focus on watering the soil rather than the leaves. Water on foliage can freeze and cause damage, so it’s best to keep leaves dry as the temperatures drop. A deep watering a day or two before the cold hits is ideal for giving your plants a fighting chance.
DIY Cold Protection Solutions
If expensive greenhouses and plant covers are out of your budget or you want to get creative, there are plenty of do-it-yourself solutions for protecting your plants:
Recycled Materials as Frost Protection
Old bedsheets, towels, or even buckets and cardboard boxes can be used in a pinch to cover smaller plants. Just be sure to anchor them down well, so they don’t blow away.
DIY Hoop Houses
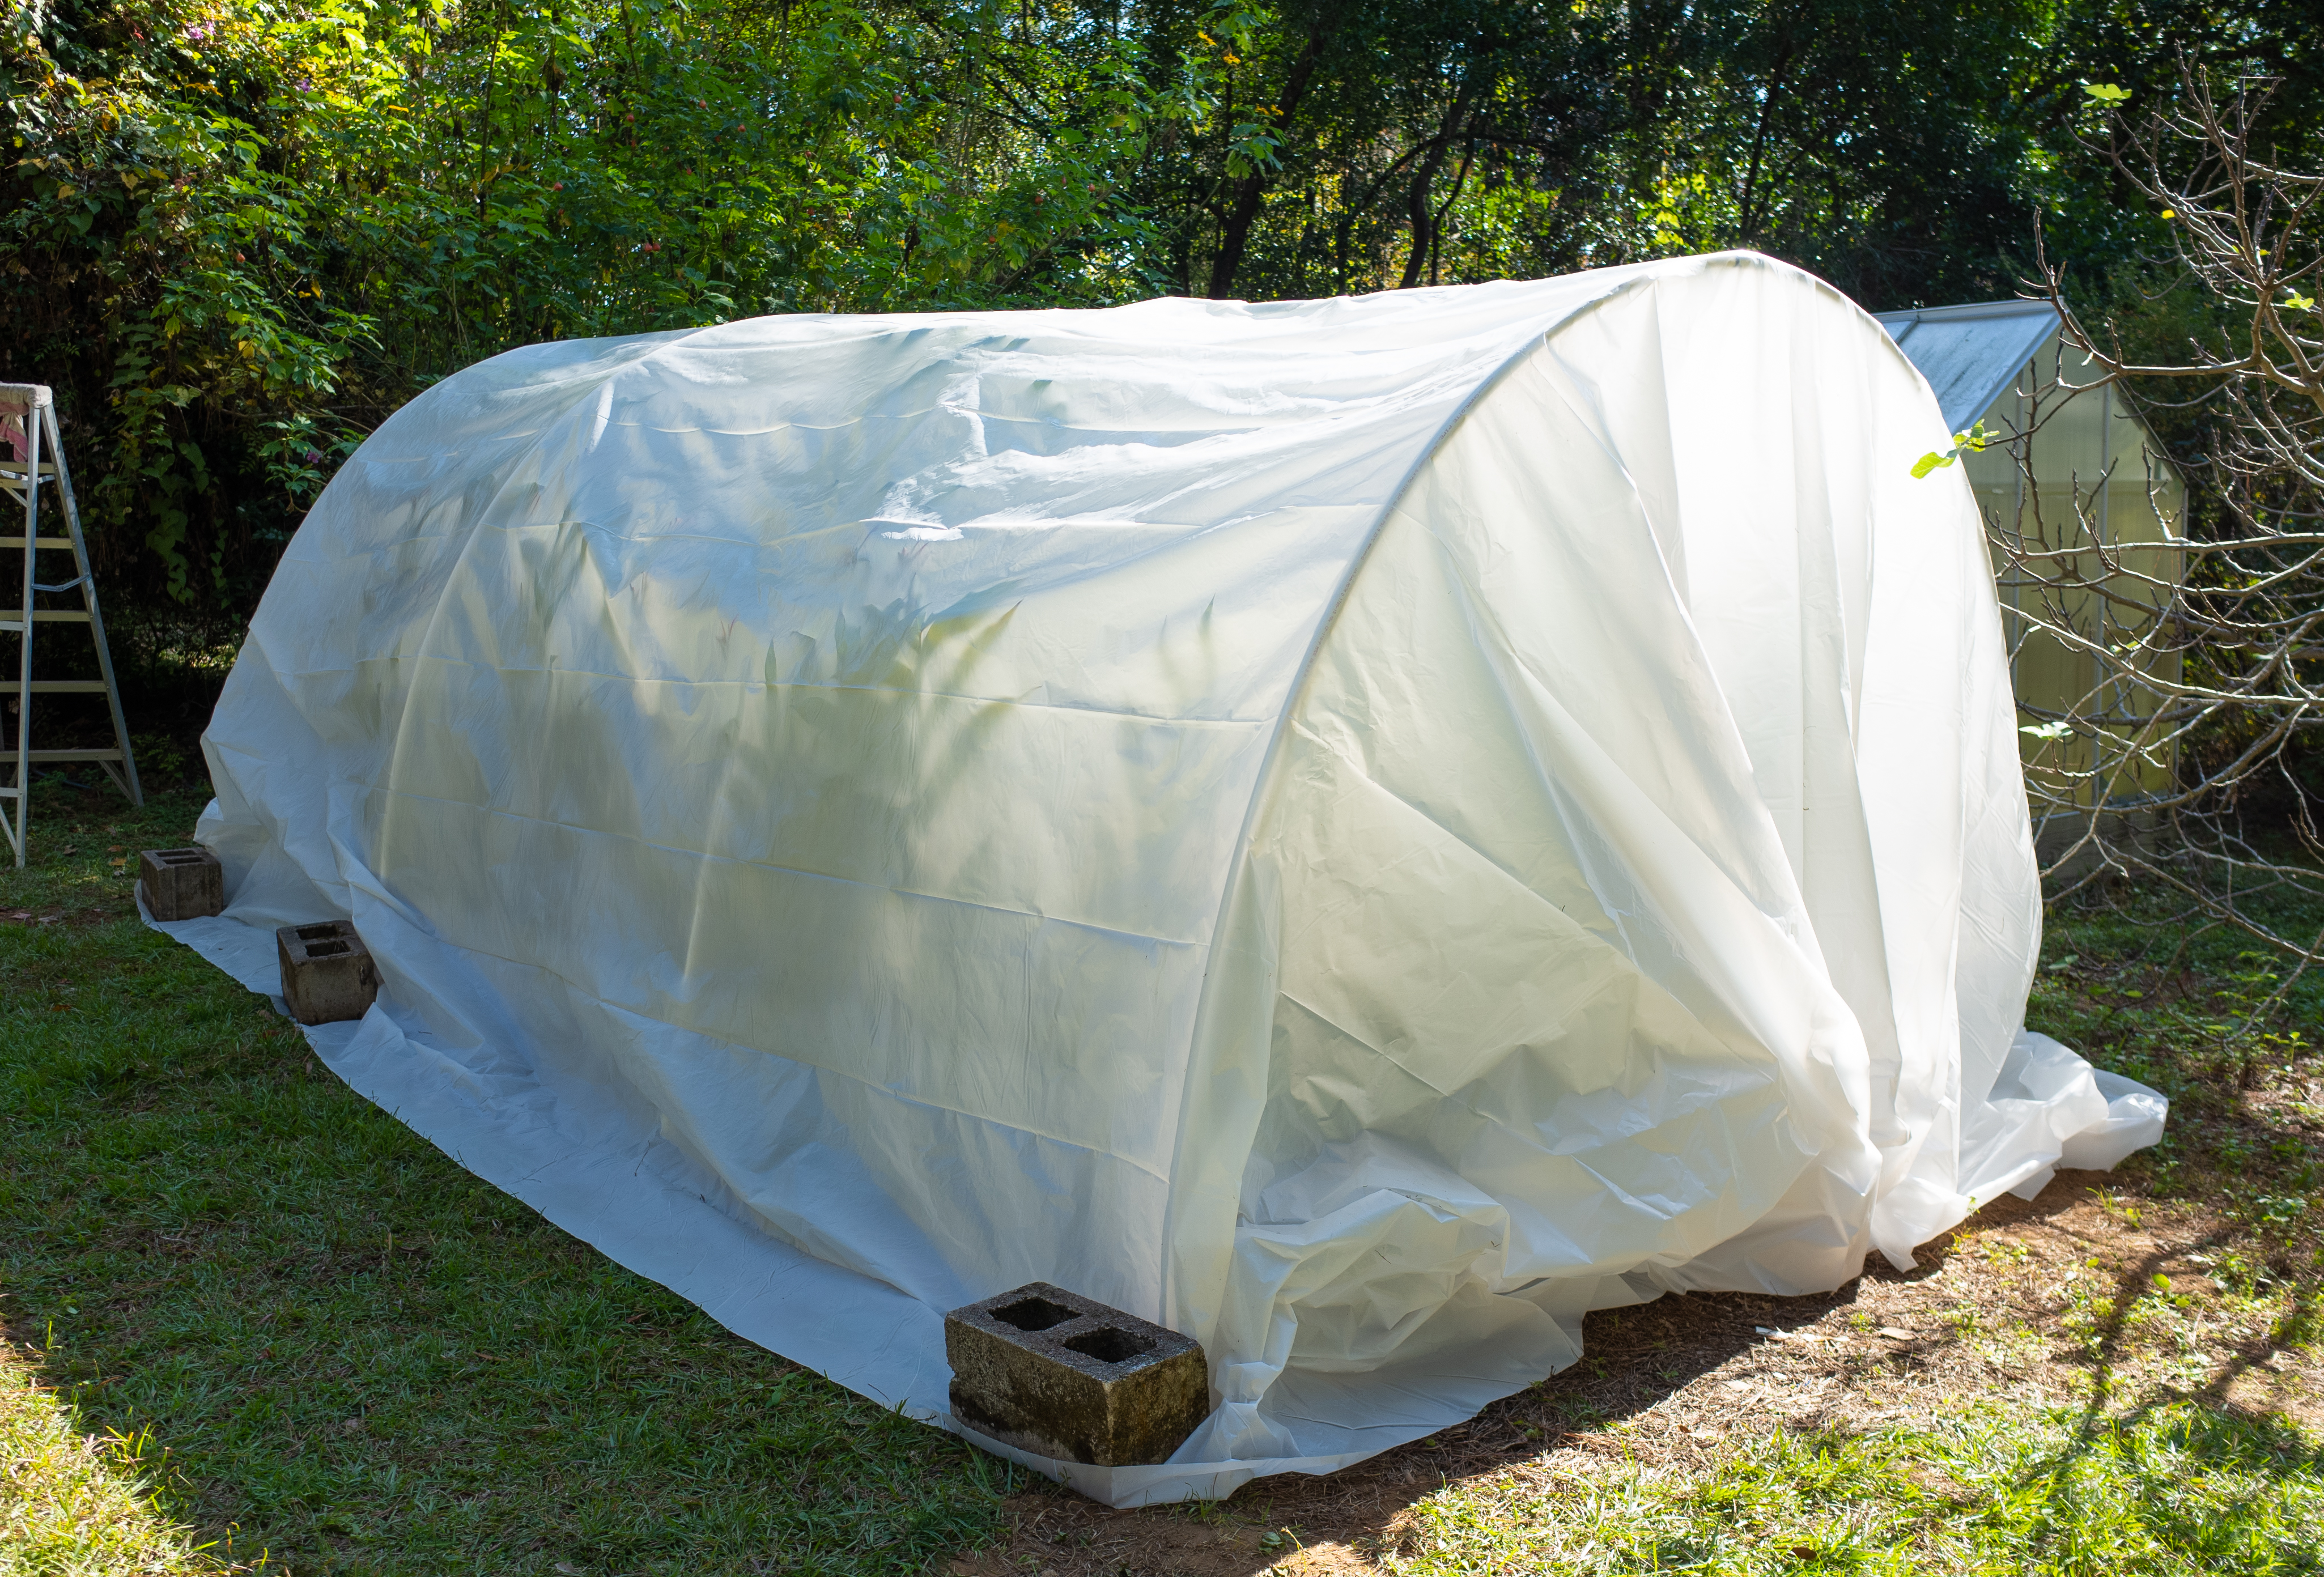
A temporary hoop house can be constructed using PVC pipes as the frame and polyethylene film as the covering to protect cold-sensitive plants during freezes. Photo by David W. Marshall.
For taller or sprawling plants, construct simple hoop houses using PVC piping with breathable frost cloth or lightweight plastic sheeting. Unlike placing plastic directly on plants, hoop houses create an air gap between the plastic and the plants, which helps trap heat from the soil while preventing direct contact damage. If using plastic, seal it tightly at night to trap warmth, and open it partially during the day to prevent overheating or excessive moisture buildup as temperatures rise. These low tunnels are perfect for garden beds or fruiting plants that need a little more room under cover.
String Lights for Added Warmth
For extra protection, consider using outdoor-rated incandescent string lights (not LEDs, which don’t produce heat). Drape the lights around or near the plant under the covering to create a gentle source of warmth, which can raise temperatures by a few degrees on especially cold nights. For fire safety, keep lights from direct contact with dry materials and use only moisture-safe, outdoor lights.
Windbreaks to Stop the Chill
In areas with open landscapes, cold winds can make frost damage even worse. Planting a hedge or using temporary barriers like hay bales or pallets can shield your garden from icy gusts and protect your more delicate plants.
One of the best ways to prepare for cold snaps is to plant cold-tolerant varieties suited to North Florida’s climate. Vegetables like collards, kale, and carrots, or perennials like rosemary and garlic chives, can withstand mild freezes with little effort. If you’re growing fruit trees, look for varieties with proven cold tolerance or dwarf varieties that are easier to cover.
With a little planning and a few simple techniques, you can protect your garden from unexpected cold spells and keep it thriving through our chilliest nights.
So far, our fall has been unusually dry with warmer temperatures. Even though our average annual rainfall is around sixty-two inches per year, we don’t always receive rain exactly when we need it. There are times when we need to apply additional water. During dry weather, employ the following water management practices to improve the water efficiency of your lawn and landscape.
Mulching helps conserve water. On bare ground, about sixty percent of the water can be lost through evaporation. A two to three-inch layer of mulch will help hold onto the water so the plants can use it. Try to mulch the entire root zone when possible or at least apply mulch all the way around the plants out to the end of the branches.
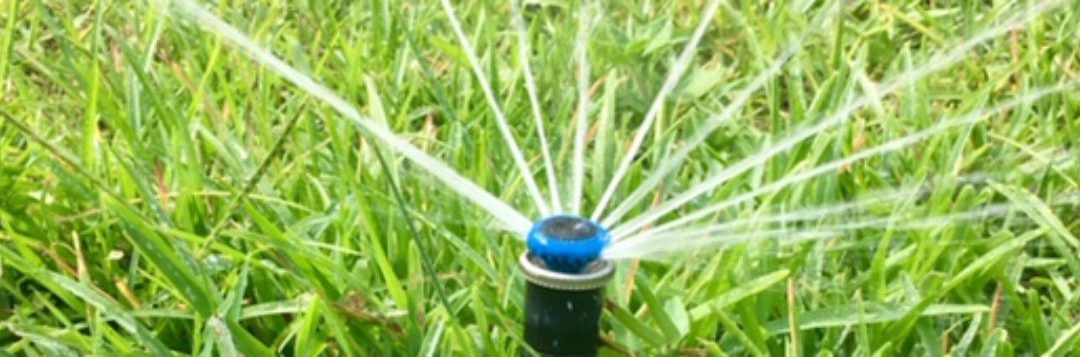
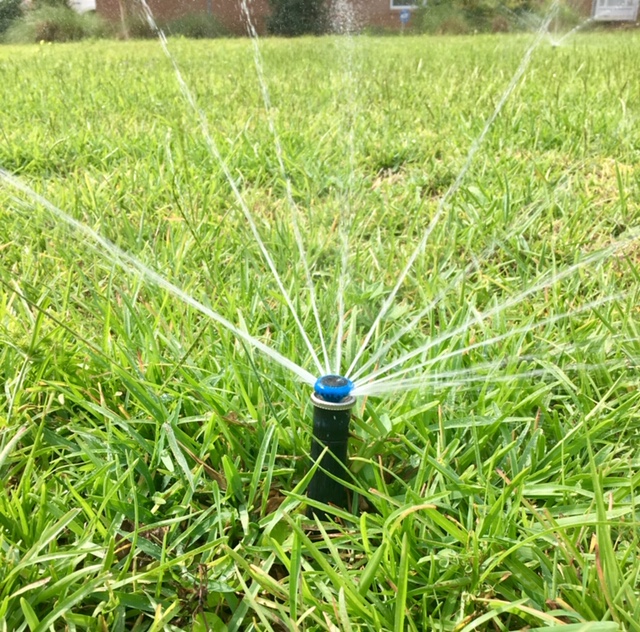
Irrigate on as needed basis during dry periods. Credit: Larry Williams
When watering, a thorough soaking to wet the soil to a depth of six to eight inches is much better for plants than light, frequent watering. Three to five gallons of water applied to one spot under the canopy of trees or shrubs should thoroughly saturate the root zone in that location. During dry periods, as a general rule), twenty-five percent of the root system, when watered thoroughly, can absorb all the water a plant requires at any given time.
When watering lawns, apply one inch of water per week when we are not getting rain. Although many sprinklers have irrigation rates of ¼ inch per hour, some may apply up to one inch per hour. Measure your irrigation rate and uniformity by placing several open-top containers of the same size under the sprinkler and see how long it takes to apply a known amount of water such as ½ inch.
An efficient irrigation program on turf should not begin until the lawn grass shows signs of moisture stress. Symptoms include a dull and bluish-green color and leaf blades folding. The most efficient time to irrigate is between sunset and sunrise because of less evaporation, less wind and lower temperatures. Early morning is the next most effective time to irrigate while midday is the least efficient.
Avoid fertilizing drought-stressed plants. Fertilizers are chemical salts and will dehydrate roots when water is in short supply. If you need to apply a pesticide, make certain the plant is not wilted at the time and spray during early morning or late afternoon. You should also avoid unnecessary pruning of plants during drought. Pruning encourages new growth, which has a high demand for water.
In case you missed it, you can watch our last session of Gardening in the Panhandle LIVE! that aired on October 12th by visiting our YouTube Playlist with all the past episodes of our gardening webinars.
We had a great conversation about herbs and cool season edible plants last month and this article compiles the links shared by the expert panel in the episode. Thanks for watching!
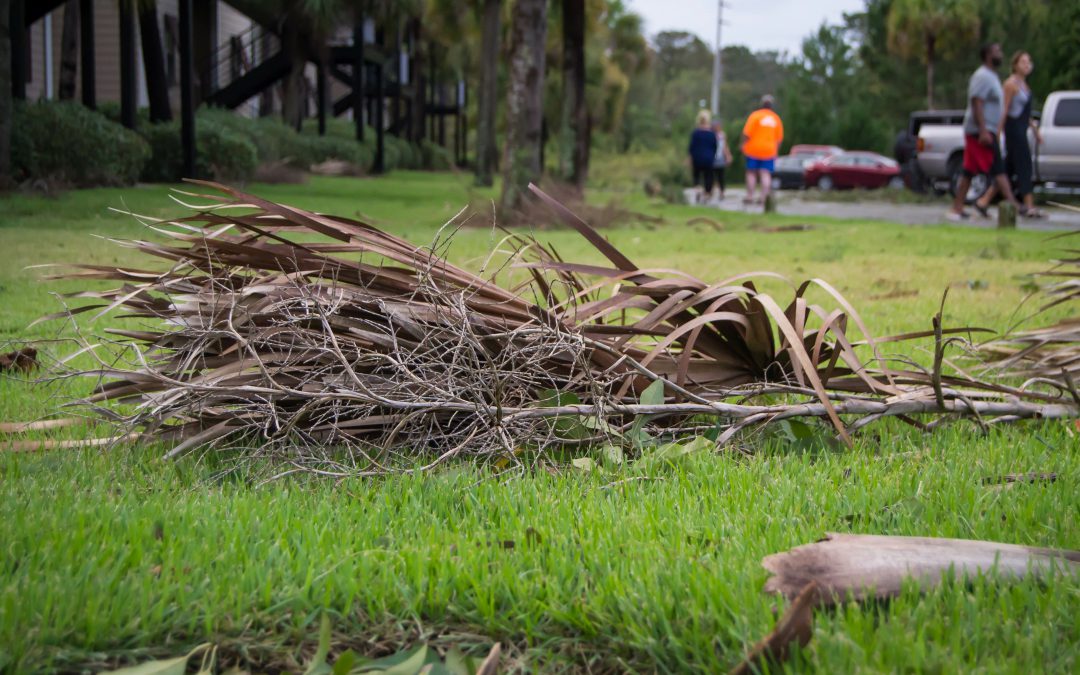
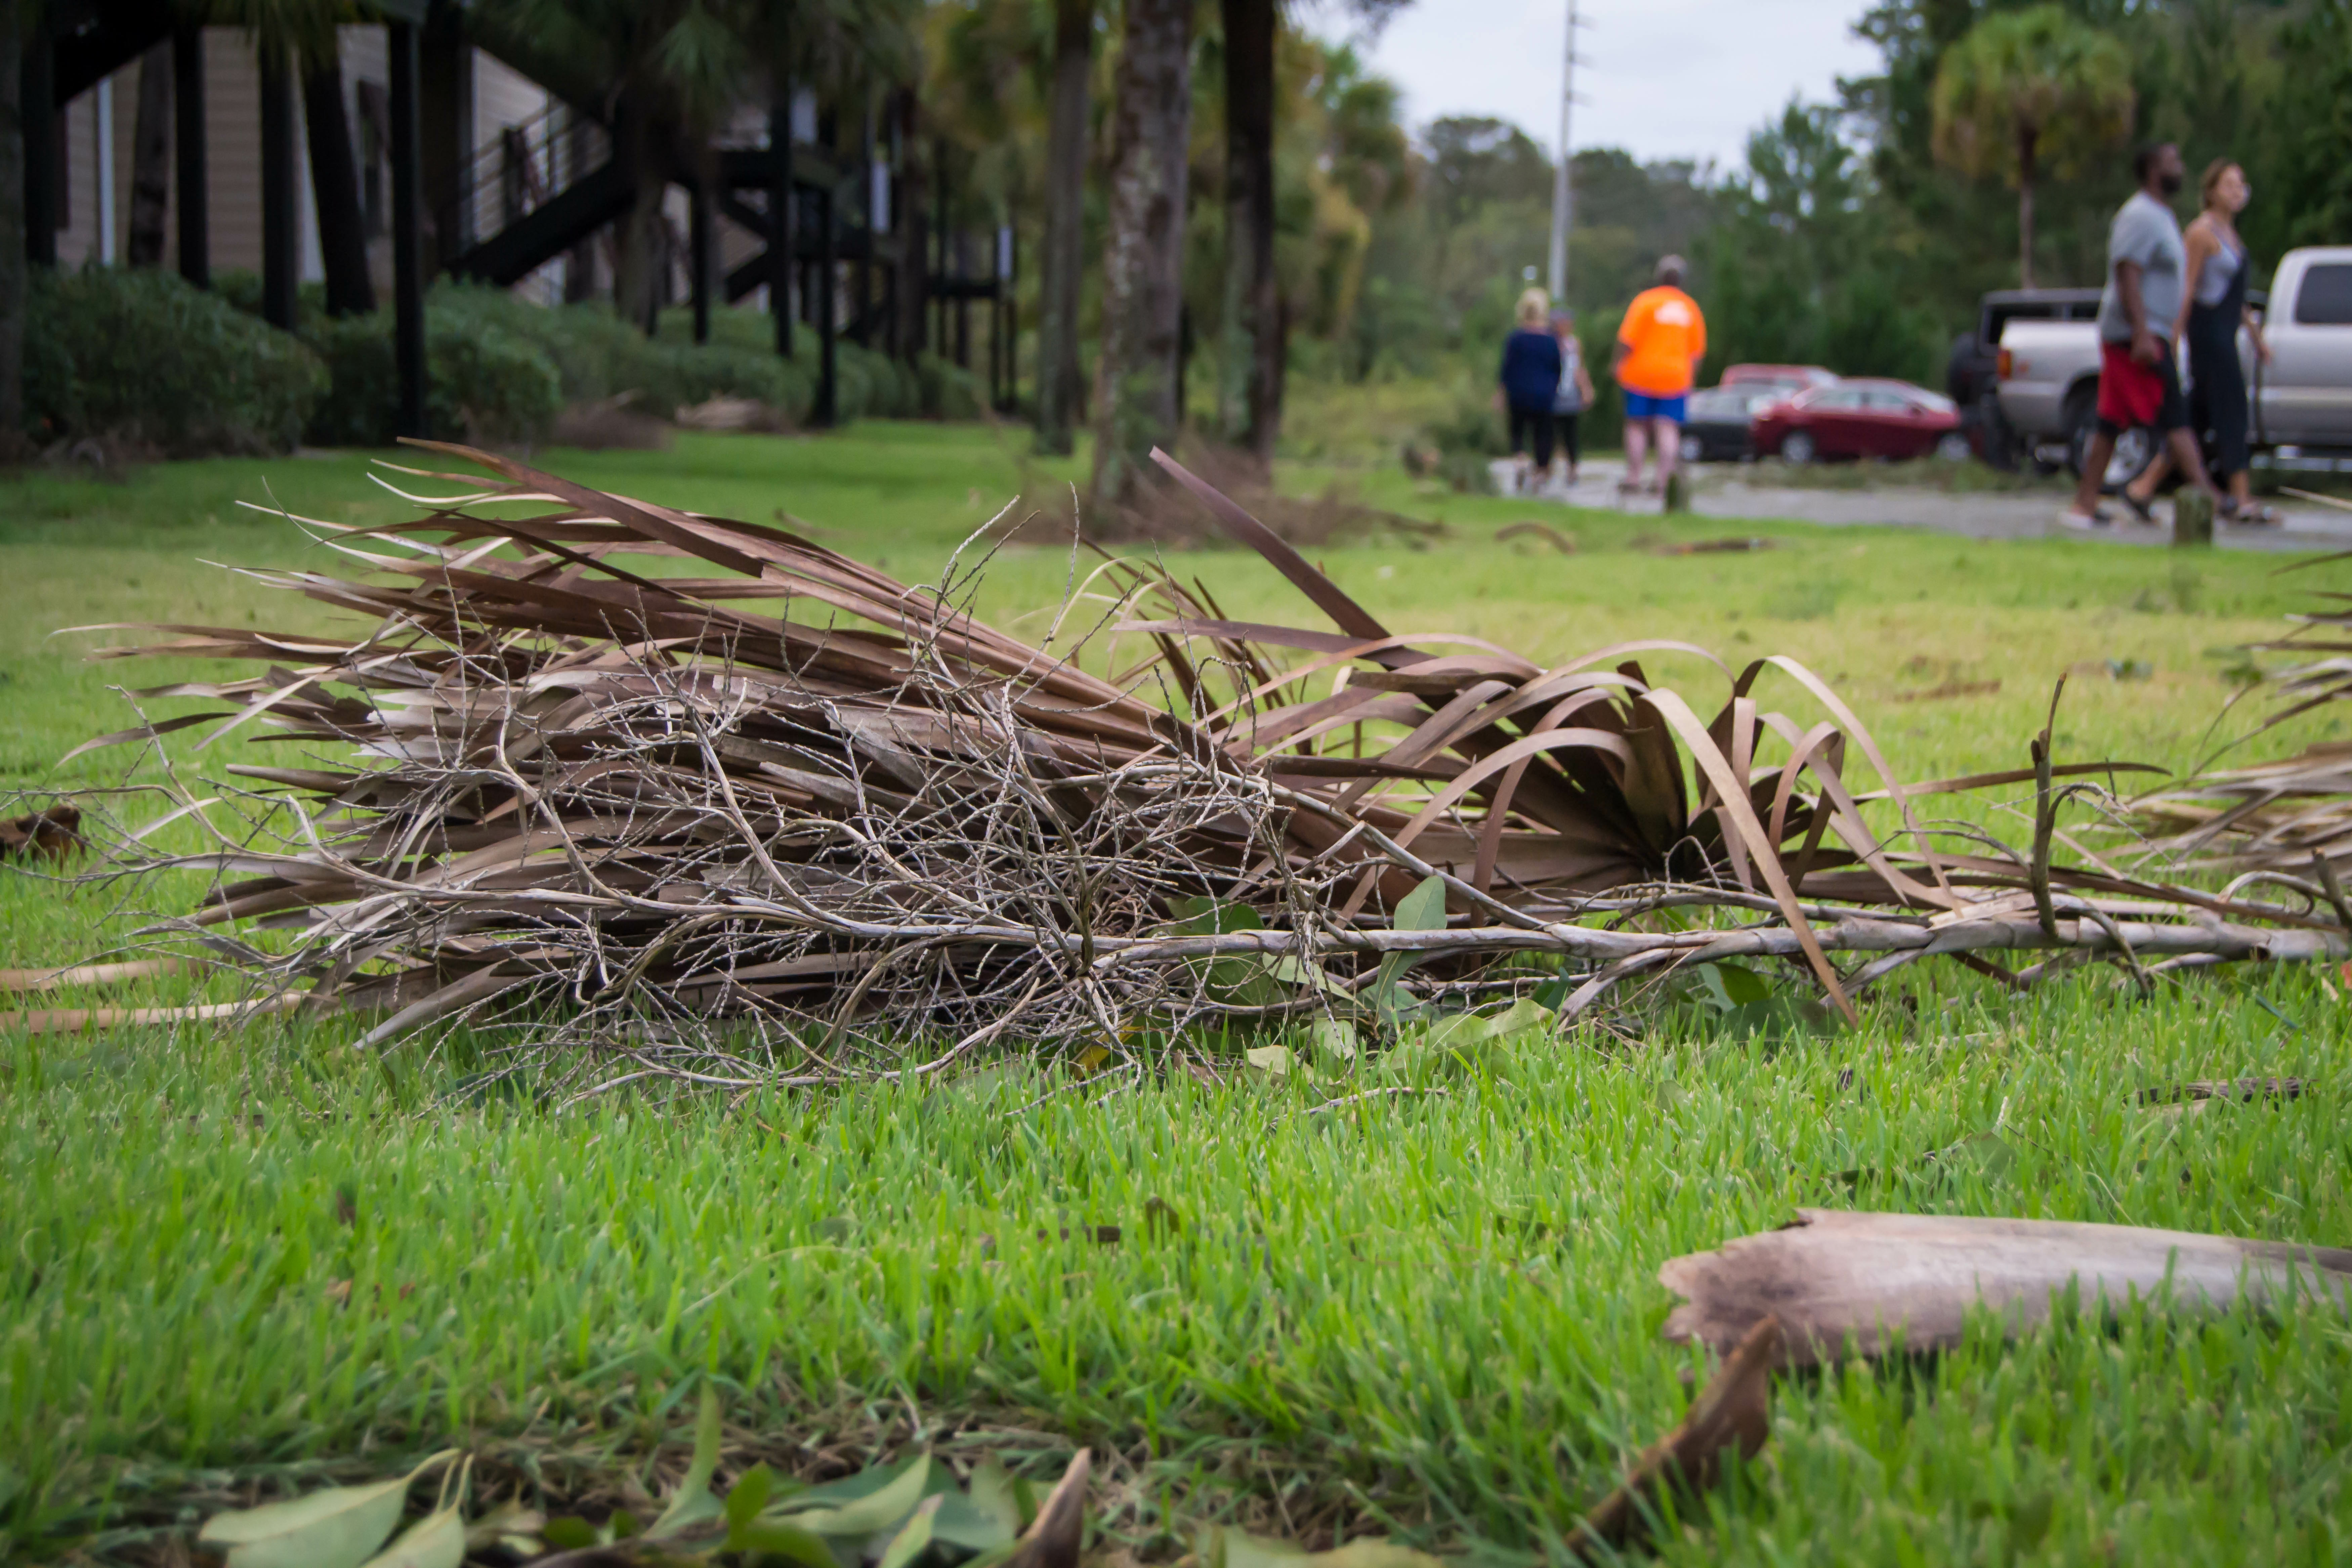
Small debris recently littered area lawns, but these materials are no “trash”. Credit: Adobe Stock
Hurricane Idalia recently tore through the Big Bend area, battering the coast and taking down trees, leaving thousands out of power. While much of the panhandle was safe from the strong winds and storm surge, we still got some gusty weather, and likely had some amount of cleanup to do following the storm. Fortunately for us, this time, it’s mostly a lot of small branches and leaves versus entire trees that our fellow gardeners are cleaning up to the east of us. In addition to being thankful that larger branches didn’t fall here, consider turning those small bits and pieces over to wildlife while collecting your wheelbarrow loads of debris. This is a great opportunity to practice sustainable landscape practices and a few Florida-Friendly Landscaping Principles.
The UF/IFAS Florida-Friendly Landscaping Program has nine principles that it encourages Florida homeowners to practice in their landscape to conserves Florida’s natural resources. Three of the nine principles can be practiced by choosing how you manage the debris that has fallen – #4 Mulch, #5 Attract Wildlife, and #7 Recycle Yard Waste.
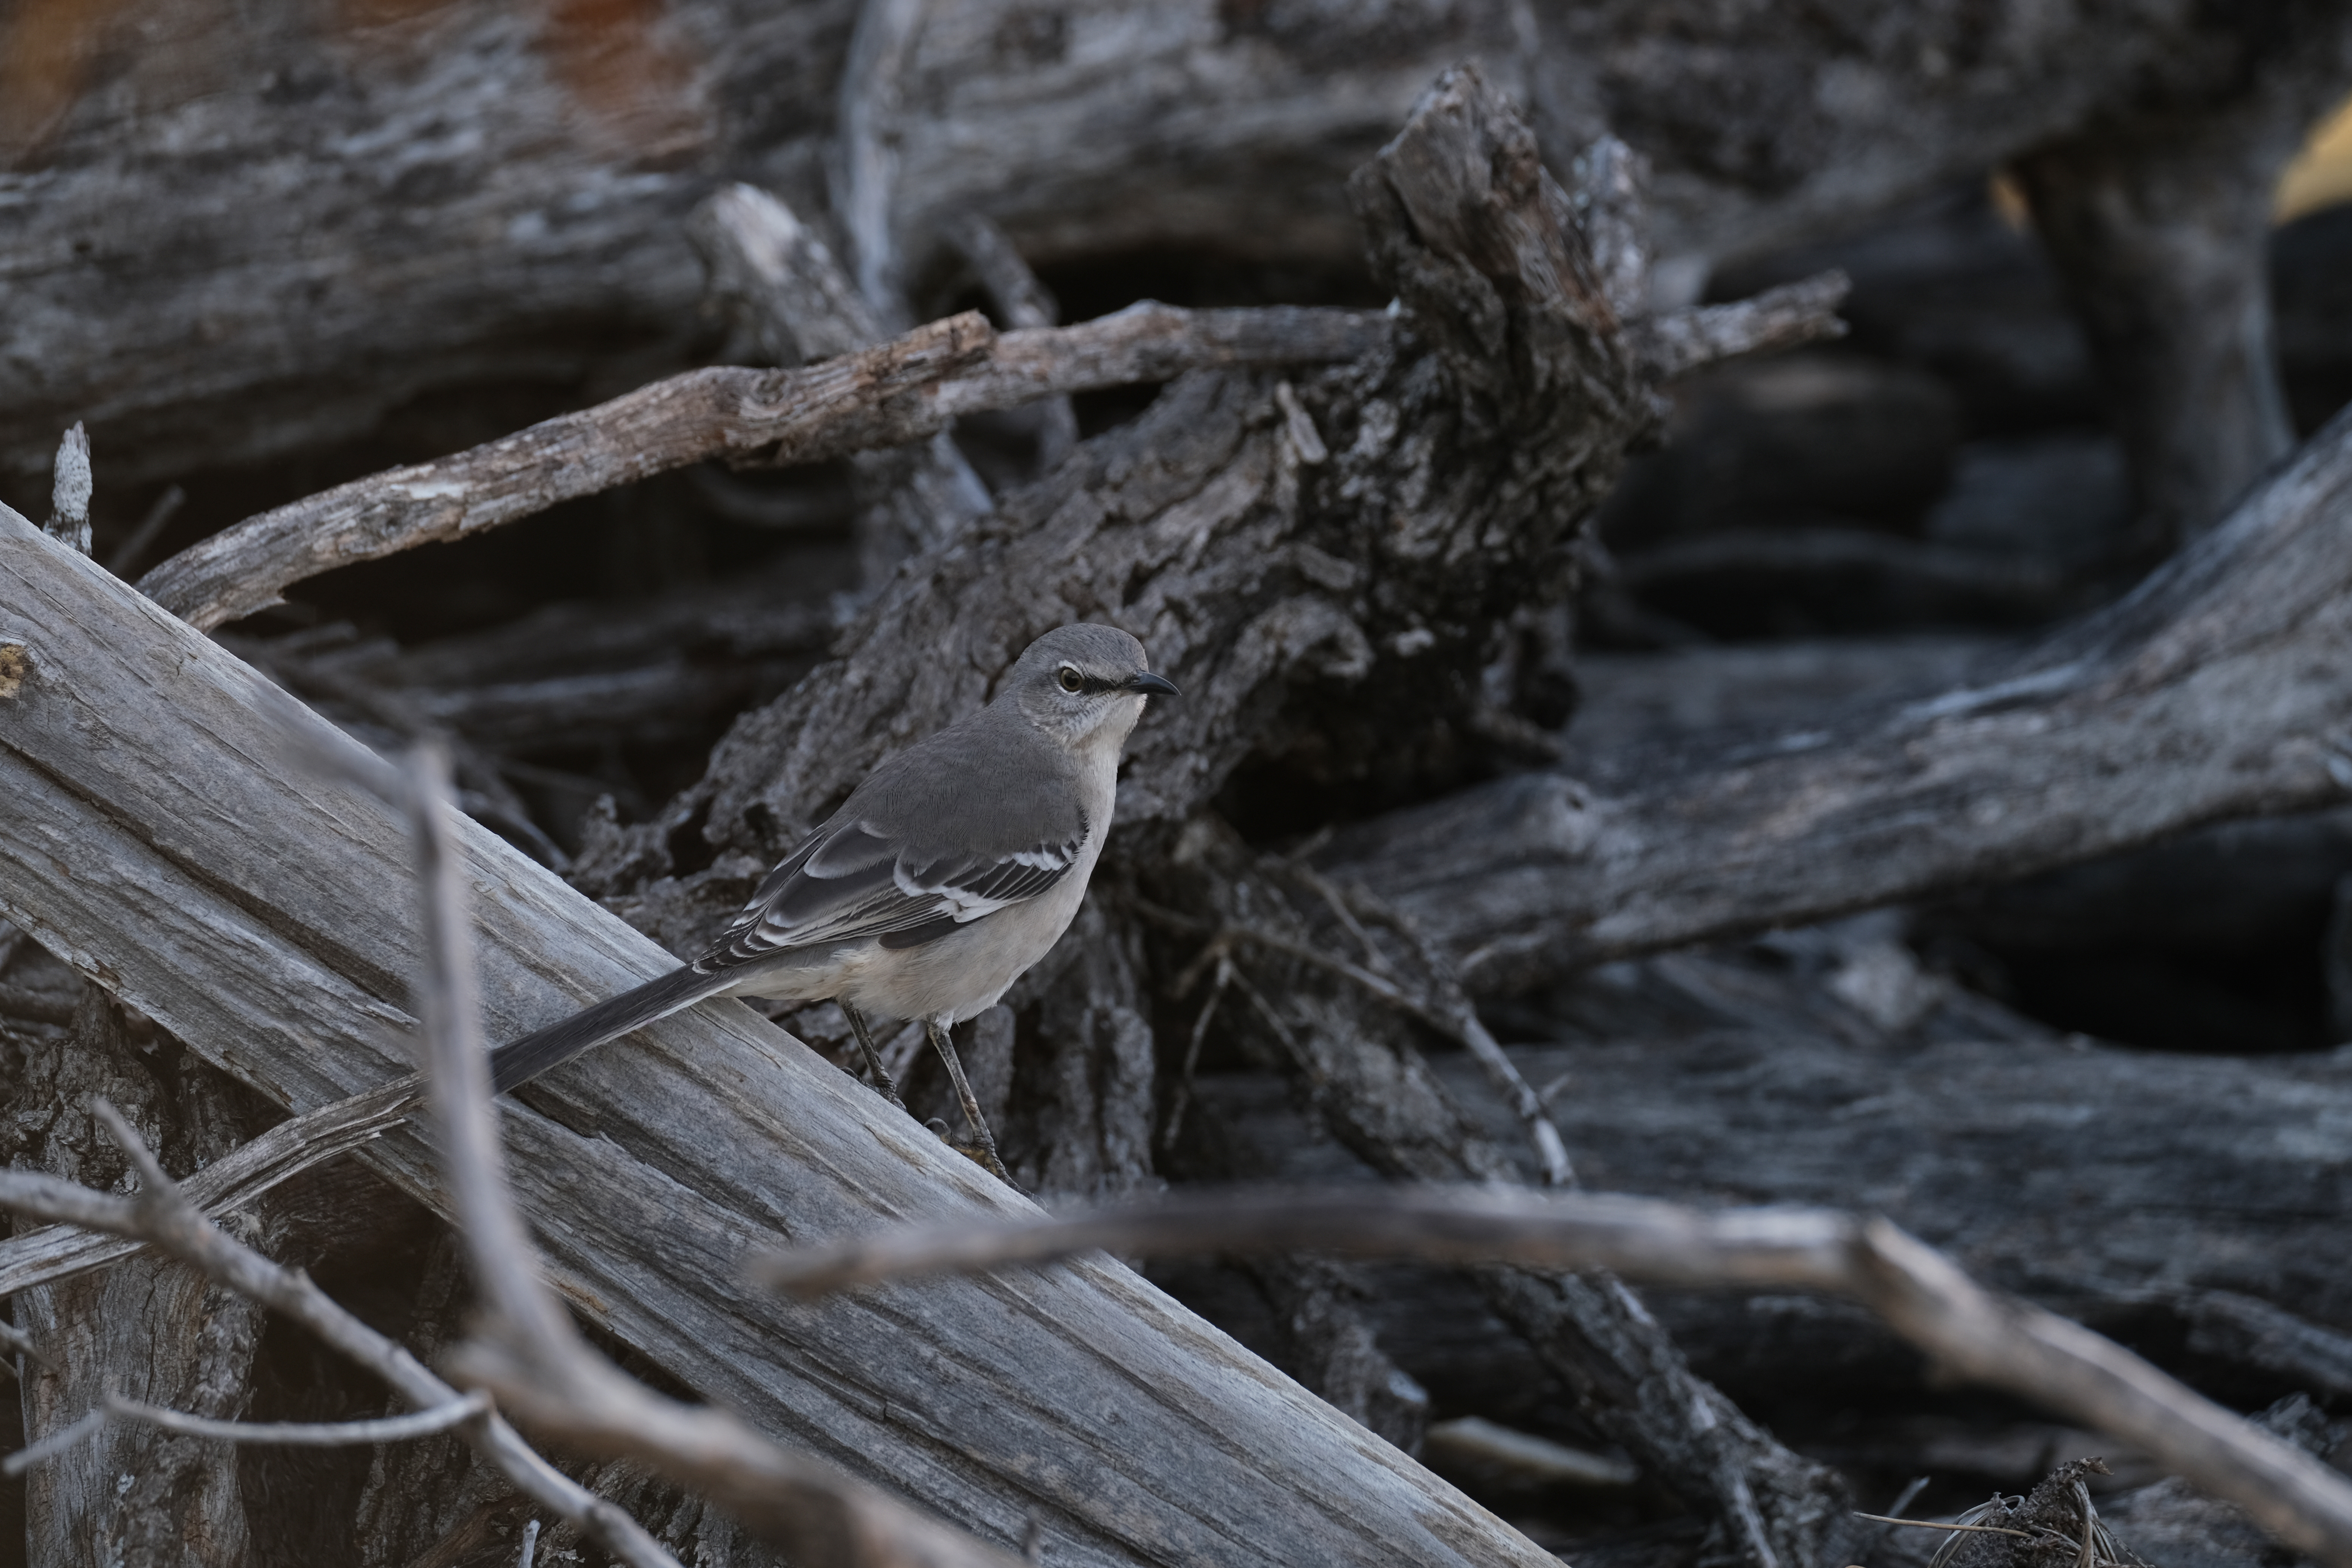
A mockingbird enjoys perching at the brushpile. Credit: Adobe Stock.
The first reaction when looking out at your landscape after a storm is typically “Ugh, there’s a lot of stuff to clean up.” We often want to “clean it up” and get it back to a sea of perfect cut grass, or at least sort of nice grass. However, the small branches and leaves that fall can be a great resource for wildlife, can provide mulch around a tree, and letting them rest reduces the need for you to haul all that stuff up to the road and all that goes into picking up, transporting, and processing the material.
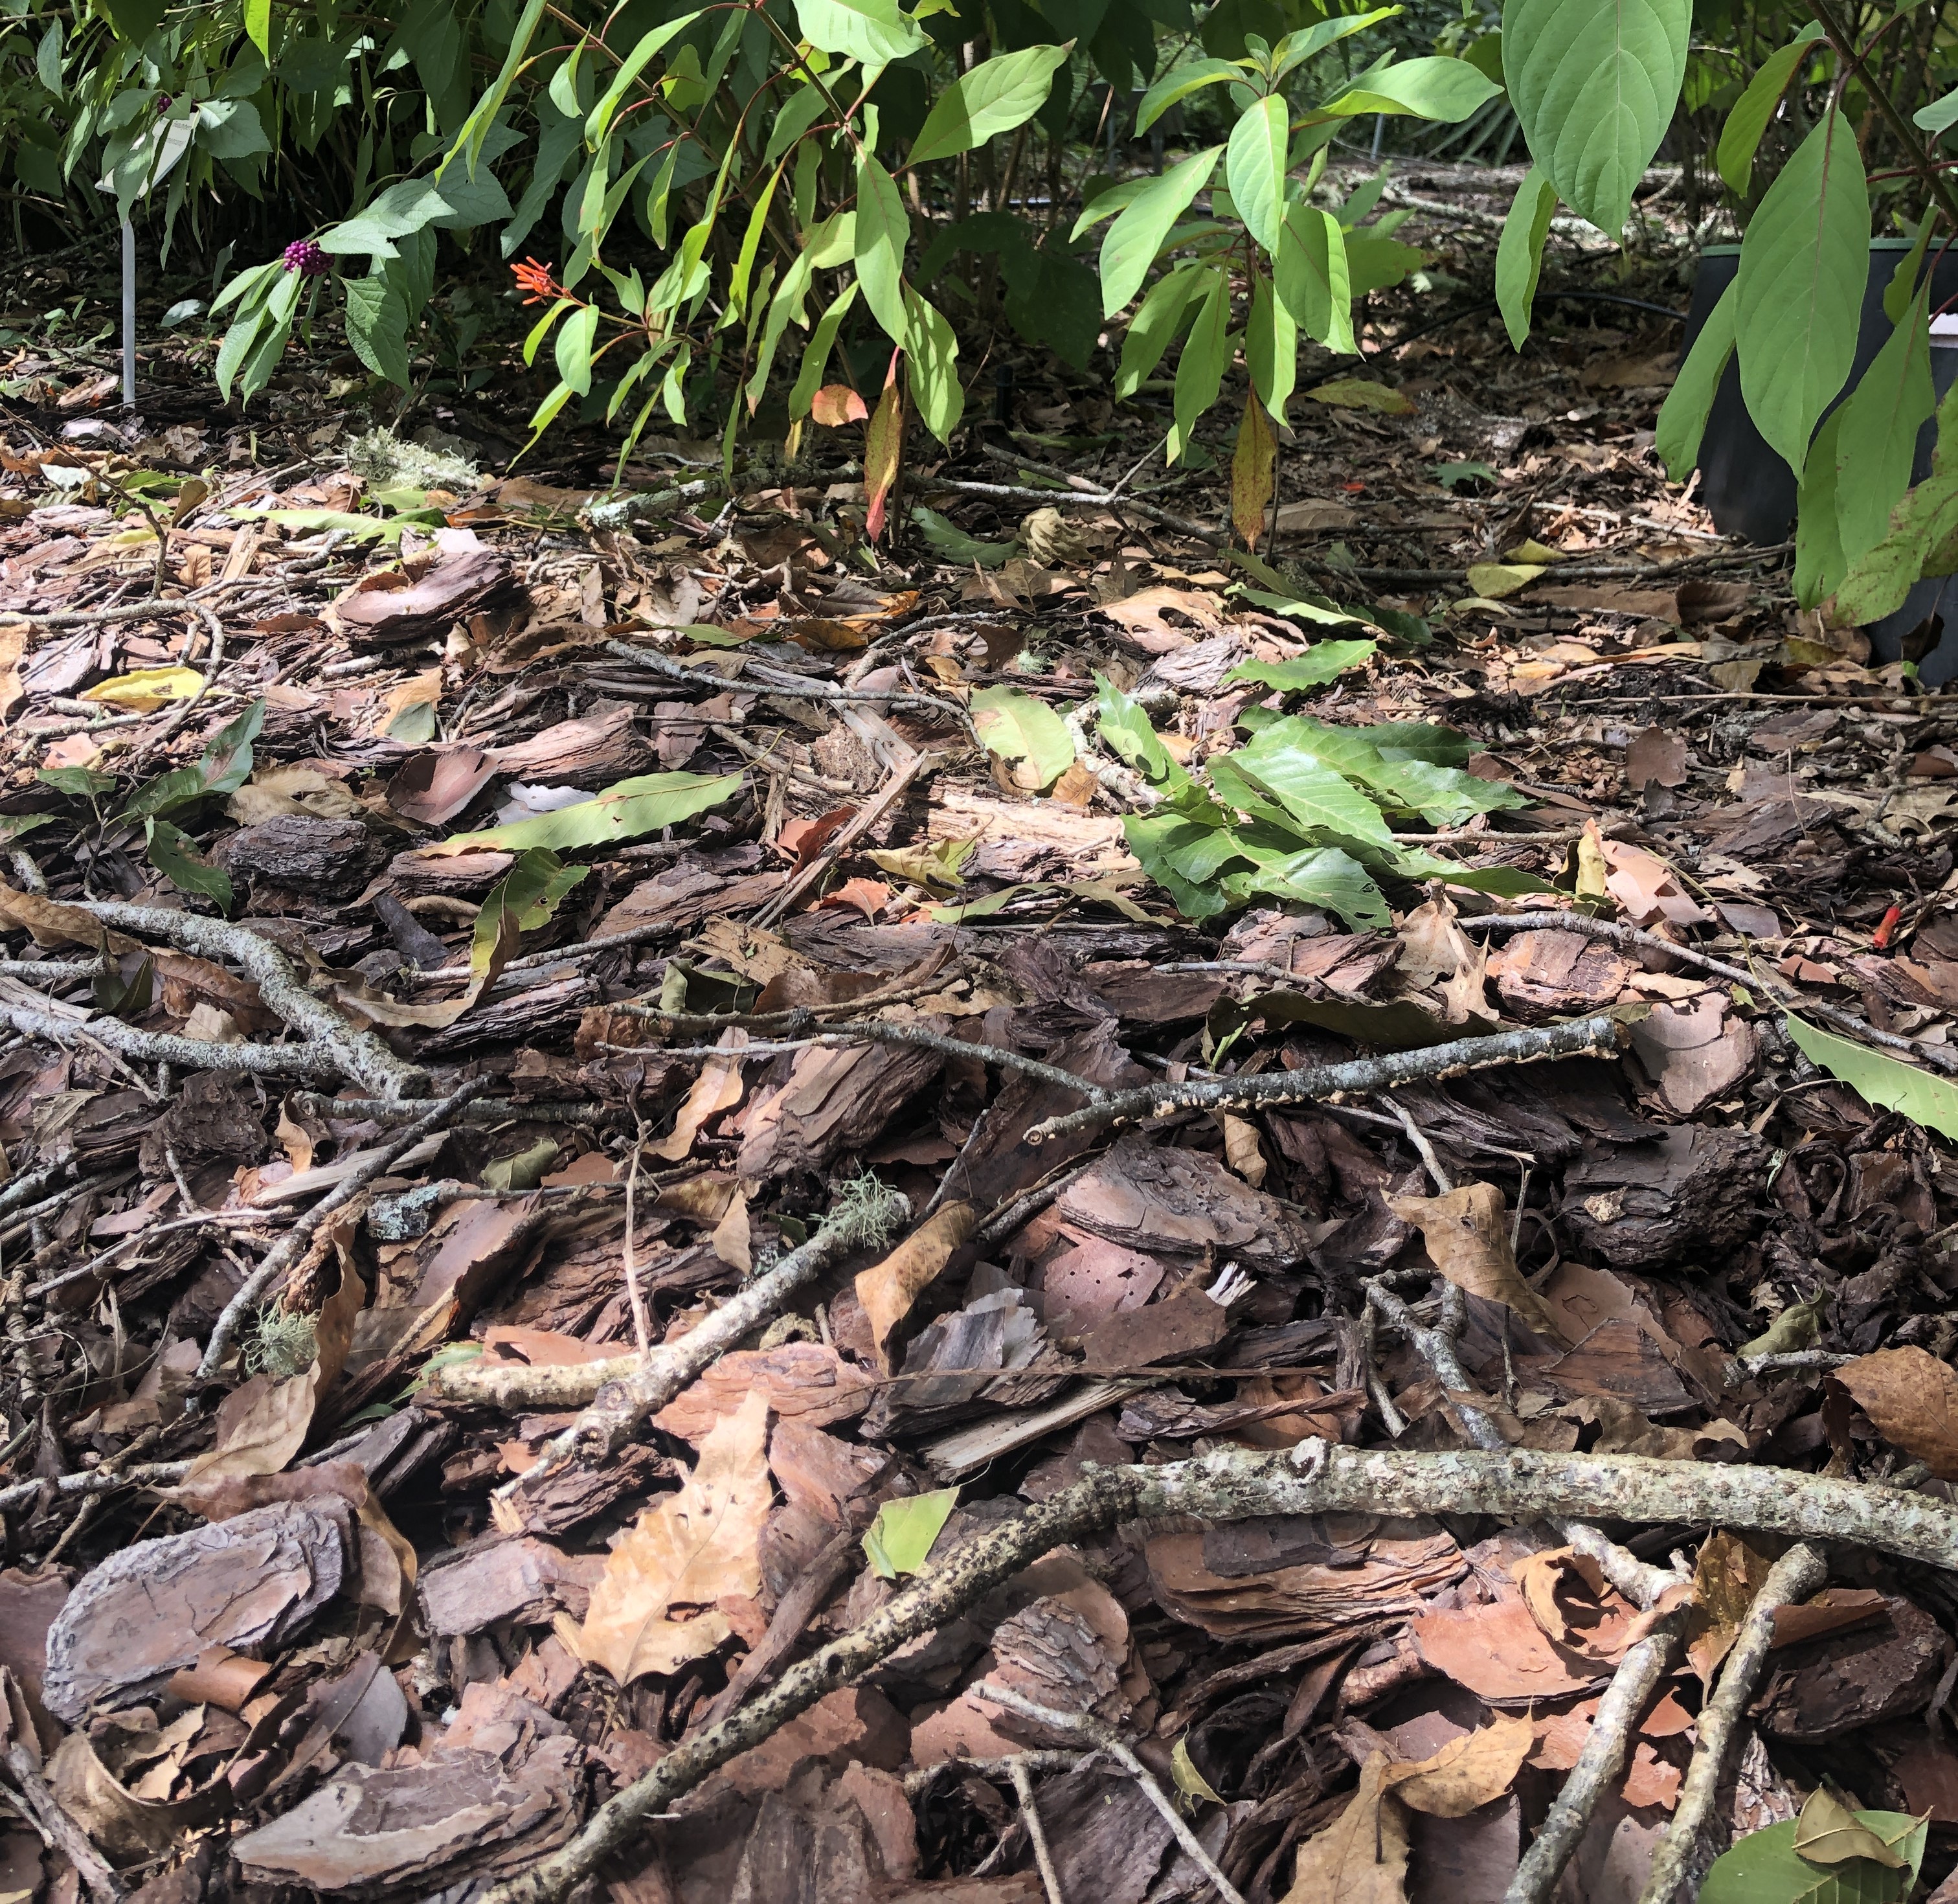
The larger branches (four to six inches in diameter and larger) can be used for firewood or a naturalistic bed edging. Otherwise, they can go into a large brushpile. Smaller sticks and branches are perfect for one large brushpile, or, if a large pile doesn’t meet your aesthetic desires, a series of small piles scattered or hidden behind some shrubs is a good compromise. The leaves and really small stuff (branches no larger than a pencil) can be raked up for mulch, added to the brushpile(s), or just left in place to naturally rot away and/or get shredded up by the mower.
Many small, pencil size twigs, along with leaves, can be left in place as a mulch. Credit: Mark Tancig, UF/IFAS.
No matter how you leave the debris, consider how important this material is for all sorts of wildlife. Dead wood supports microbes, fungi, and animals up and down the food chain and even adds to your soil organic matter. While it may not look “clean” to us, those bits of “trash” are gold to many critters, especially small insects that bring birds to the yard. So, during cleanup, consider leaving little treats here and there for wildlife and spend less time hauling it to the road! For more information about the Florida-Friendly Landscaping Principles, visit the UF/IFAS Florida Friendly Landscaping Program website.