One of the most overlooked aspects of landscape design, particularly on DIY projects, is the idea of enhancing the architecture of your home by using plants that echo the shapes and features of the structure. The use of proper plant material not only shows off a home’s exterior beauty and increases curb appeal but often will translate into a significant boost in resale value! On site visits, I all too often encounter beautiful homes whose curb appeal potential is squashed due to poor plant selection. For example, how many times have you seen the ranch-style home with too-large Indica Azaleas across the foundation that are reaching for the eaves?
UF/IFAS File Photo.
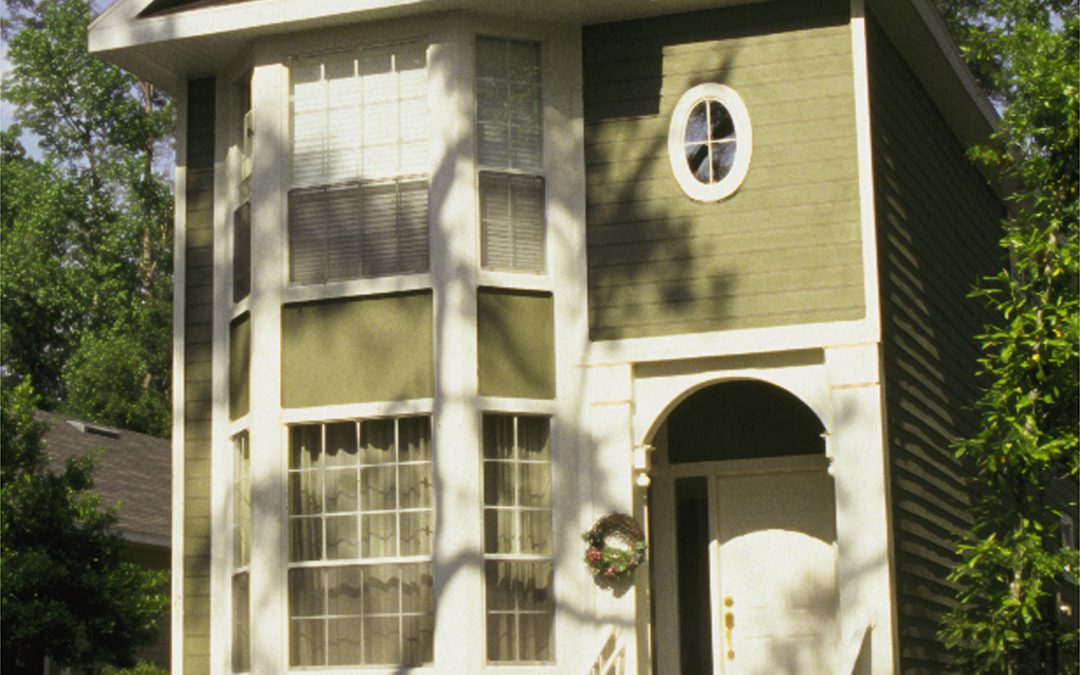
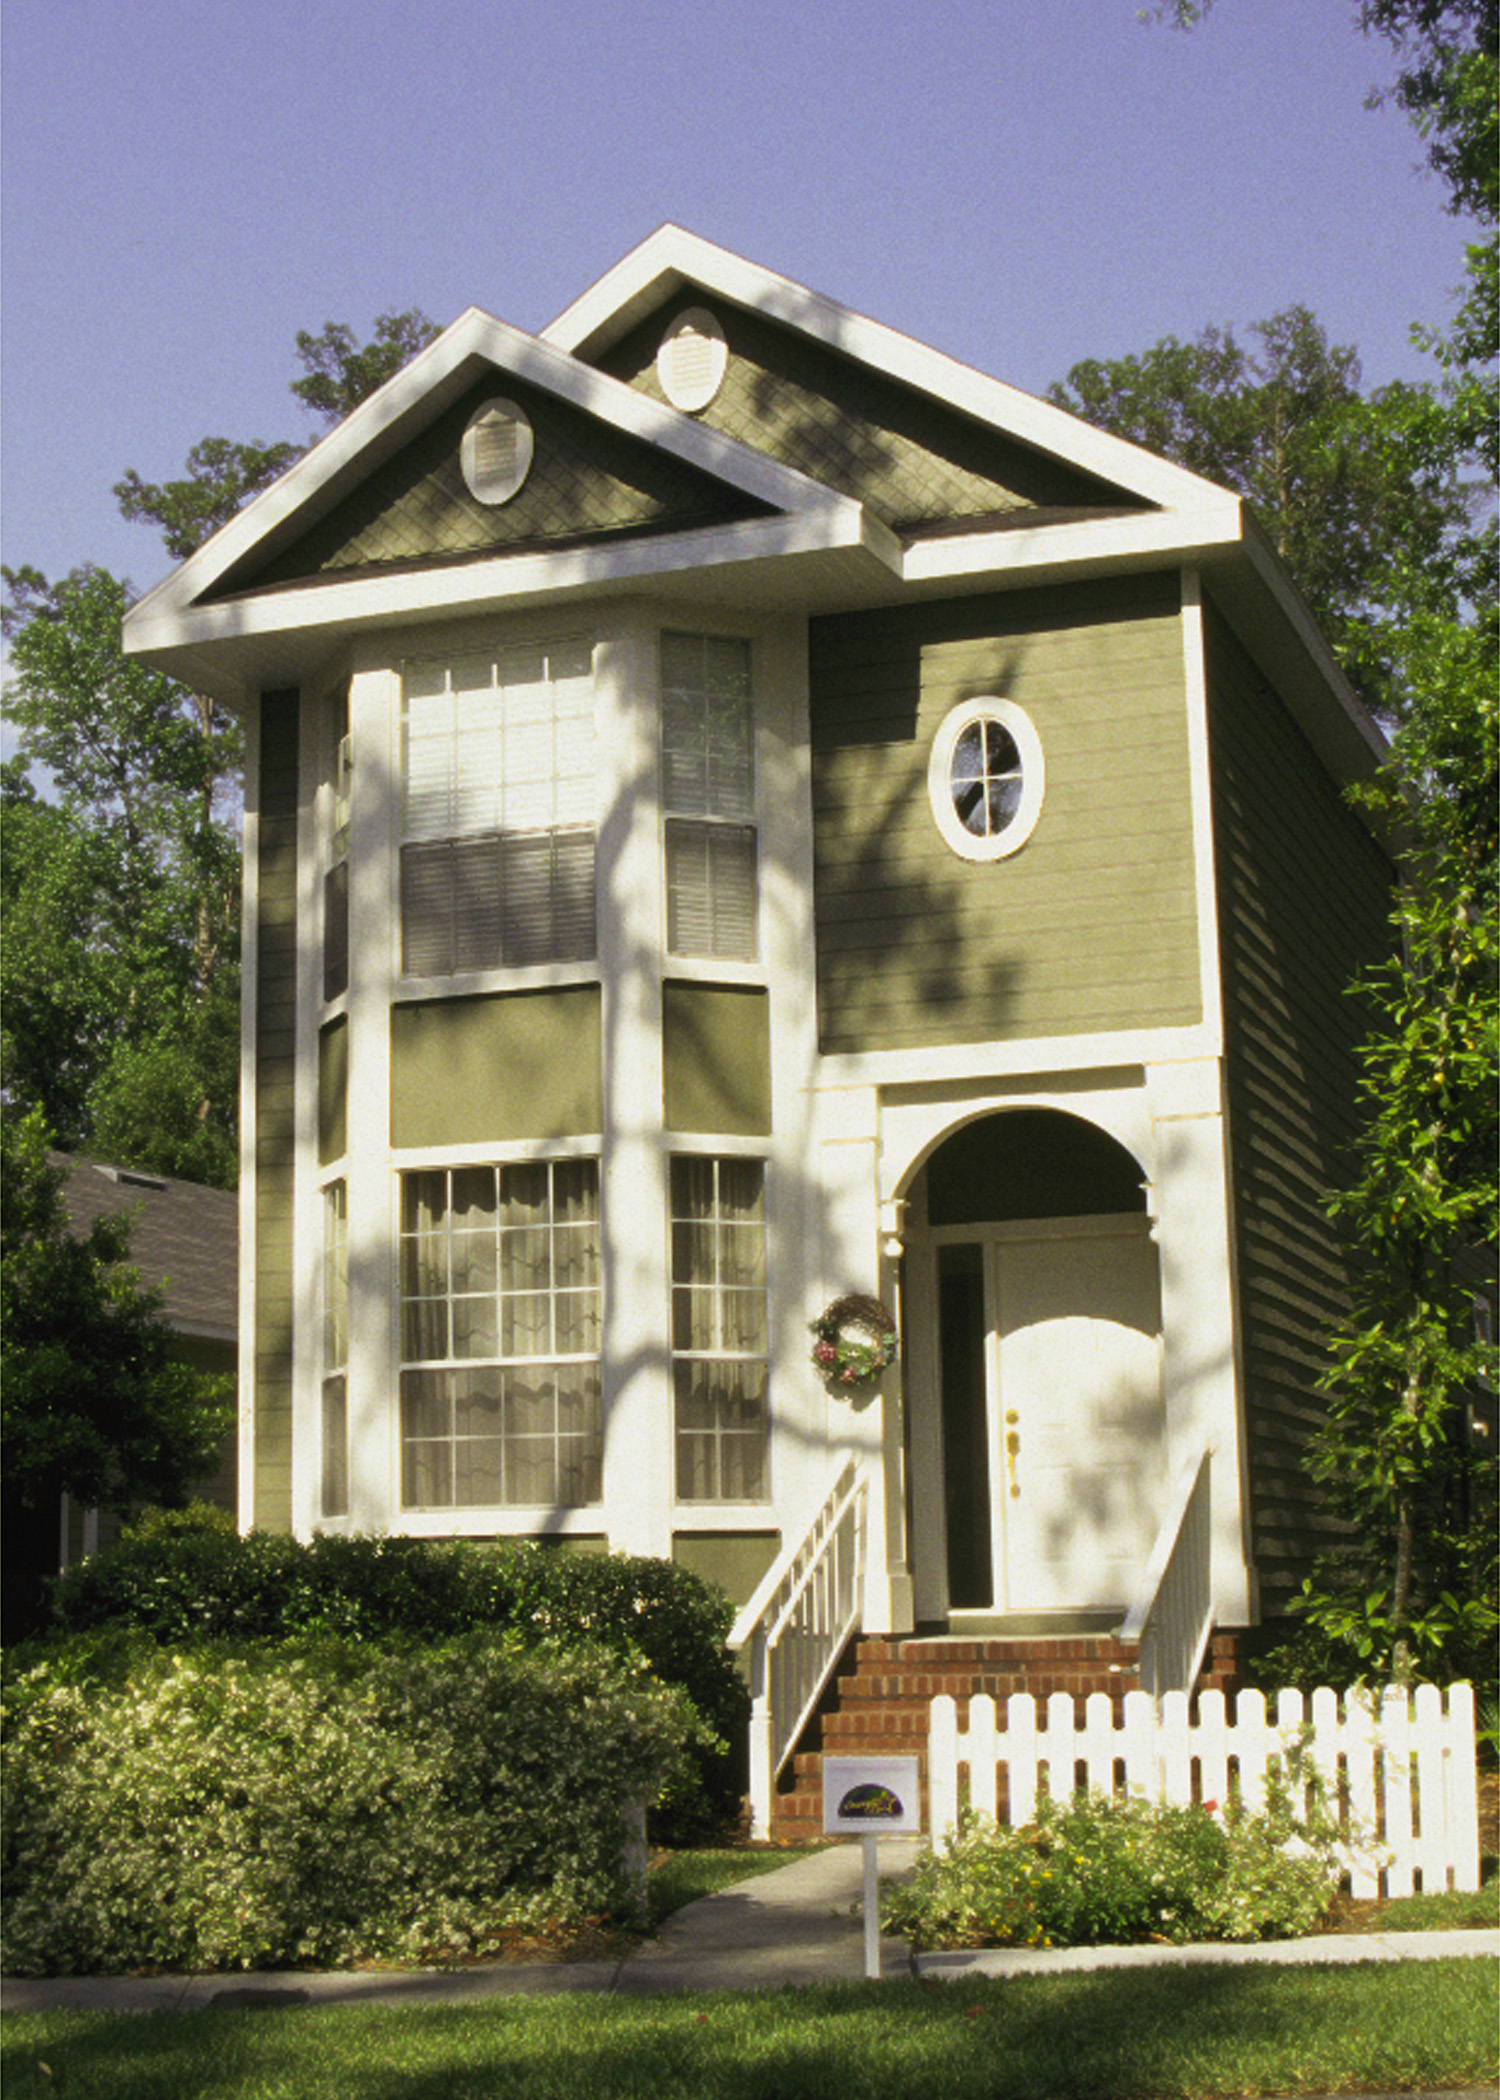
Using plants to echo architecture is a pertinent topic for me as I just purchased a beautiful historic home in Walton County. This is a situation that could easily be ruined through improper plant selection. However, I’m going to try my best to use plants that enhance, not detract from, the architecture of the home. Here are a few very common architectural elements that happen to be present in my house and some easy planting tips to bring out the best in them:
A steeply pitched roof and tall, narrow profile. A situation like this calls for the installation of a tight, upright shrub or tree to frame and echo the corner of the home. I am obeying this rule by planting a ‘Sioux’ crapemyrtle, a narrow, upright cultivar growing to 20’ and sporting flaming pink flowers. Some other plant options to consider installing: Ilex x attenuata ‘Savannah’ and other cultivars, ‘Apalachee’ crapemyrtle (lavender Flowers with cinnamon bark), ‘Brodie’ or ‘Spartan’ juniper (upright cultivars), ‘Little Gem’ magnolia. There are even a few selections of live oak such as ‘Highrise’, ‘Skyclimber’, etc. that fit the bill!
Large, open front porch. We southerners love our front porch sitting, so don’t cover it up by planting large growing shrubs in front of it! Instead, plant a low growing, maintenance free ornamental grass or shrub! I decided to go with an airy, native look and fill the bed under my porch with pink muhly grass (Muhlenbergia capillaris). Here are a few other great options for a low growing plant to show off your porch: ‘Purple Pixie’ loropetalum (a new introduction from the Southern Living Plant Collection), dwarf Fakahatchee grass (an underused native), Indian hawthorne (overplanted but still effective), ‘Firepower’ nandina or one of its newer cousins (bulletproof with good fall color), ‘Soft Caress’ mahonia (elegant selection for a shady bed), holly fern (low growing evergreen fern for a shady area).
Long, bare walls. Let’s face it, a blank wall is not visually pleasing and bare walls can actually act as a heat sink during our long summer afternoons! To break up the monotony of a bare wall and provide some shading for cooling purposes, mix plants of different heights and textures, even add a small tree or two! Here are a few reminders when landscaping to bring interest to a bare wall: Plant the taller plants (larger shrubs and small trees) in between windows to get height interest but not block views; use plants with flexible limbs and soft foliage for easy pruning and to make maintenance easier; choose plants with colors that will be compatible with the wall; finally, allow at least a foot or two between the wall and the mature size of your plants for ease of access! The plant choices for this application are endless. Get creative!
Whatever your house’s style may be, remember the above suggestions when planting and watch as your landscape grows to enhance the look and value of your home rather than detract from it! Happy planting!
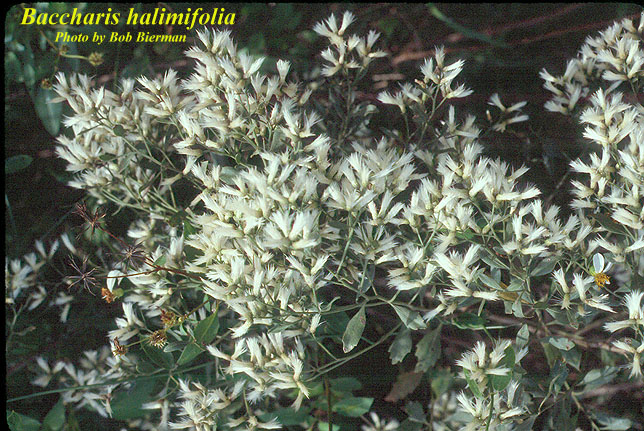
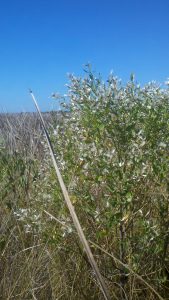
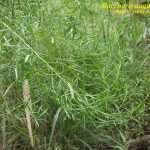
Saltbush seed in “bloom” stands out in a salt marsh dominated by black needlerush. Photo credit: Zach Schang, FDEP
In the spring and summer, no one notices the little green shrub hidden among wax myrtle and marsh elder at the edge of the salt marsh. However, if I’m leading a group of students or a Master Naturalist class through the same area in the fall, it’s the first plant people ask about. The saltbush or groundsel tree (Baccharis halmifolia) blooms dramatically in late September and October, with feathery, dandelion-like white “flowers” on female plants. These seeds are dispersed far and wide by the wind. Male plants typically grow side-by-side with females, and produce yellowish, tubular blooms at the same time. Characterized as both a large shrub and a small tree, the saltbush typically branches from multiple trunks and ranges in height from 2-10 feet. The leaves are rough to the touch and slightly succulent, enabling the plant to hold onto moisture in the sandy, hot environments on the uphill edges of wetlands in which it thrives.
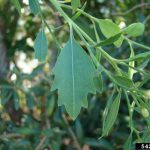
The leaf of Baccharis angustifolia is narrower than B. halmifolia. Both are succulent, enabling the plants to hold on to moisture in a salty environment. Photo courtesy Shirley Denton, Florida Plant Atlas.
The leaf of Baccharis halmifolia is lobed and wider than B. angustifolia is narrower. Both are succulent, enabling the plants to hold on to moisture in a salty environment. Photo courtesy Forestry Images.
The plant is often confused with its near relative, false willow (Baccharis angustifolia), which is typically co-located with saltbush in coastal wetlands. It also blooms white in the fall, but can be differentiated by its slender, almost needle-like (but also succulent) leaves.
Saltbush is not typically used in the home landscape, as some people are allergic and the seeds are poisonous if ingested. Properly planted, however, it is a perfect addition to a butterfly garden because the male plants’ fall flowers provide nectar to numerous butterfly species, including the monarch. Another ideal location for saltbush would be a rain garden or the edges of a stormwater pond. Coastal property owners on the bay or Gulf would find it an excellent addition due to its tolerance of the year-round salt spray. The species is very hardy–tolerant of both wet and dry soils–along with a variety of soil pH levels. Plant saltbush in full sun with at least 3-5 feet between young plants.
For additional information on the characteristics of saltbush, please see the UF publication, Baccharis halmifolia Saltbush, Groundsel Bush and check out this entertaining video from our Lee County colleague, Stephen Brown, as he immerses himself in a stand of saltbush.
Plants can become distorted for a wide variety of reasons. Sometimes nutrient deficiencies or toxicities can cause plants to become distorted. Sometimes excessive amounts of water or sunlight can cause plants to become distorted. And sometimes insect feeding damage can be the culprit.
Insects can cause plant mutations by feeding alone or by vectoring disease from one plant to another. The most recent and most detrimental example of insects vectoring disease is the Asian Citrus Psyllid, which has distributed Huanglongbing, also known as citrus greening, to most of the citrus acreage in Florida and across the United States. Fortunately, the panhandle is currently free from this detrimental disorder. However, we still have a plethora of insects that distort plants by one way or another. One group of plant altering insects are commonly known as planthoppers.
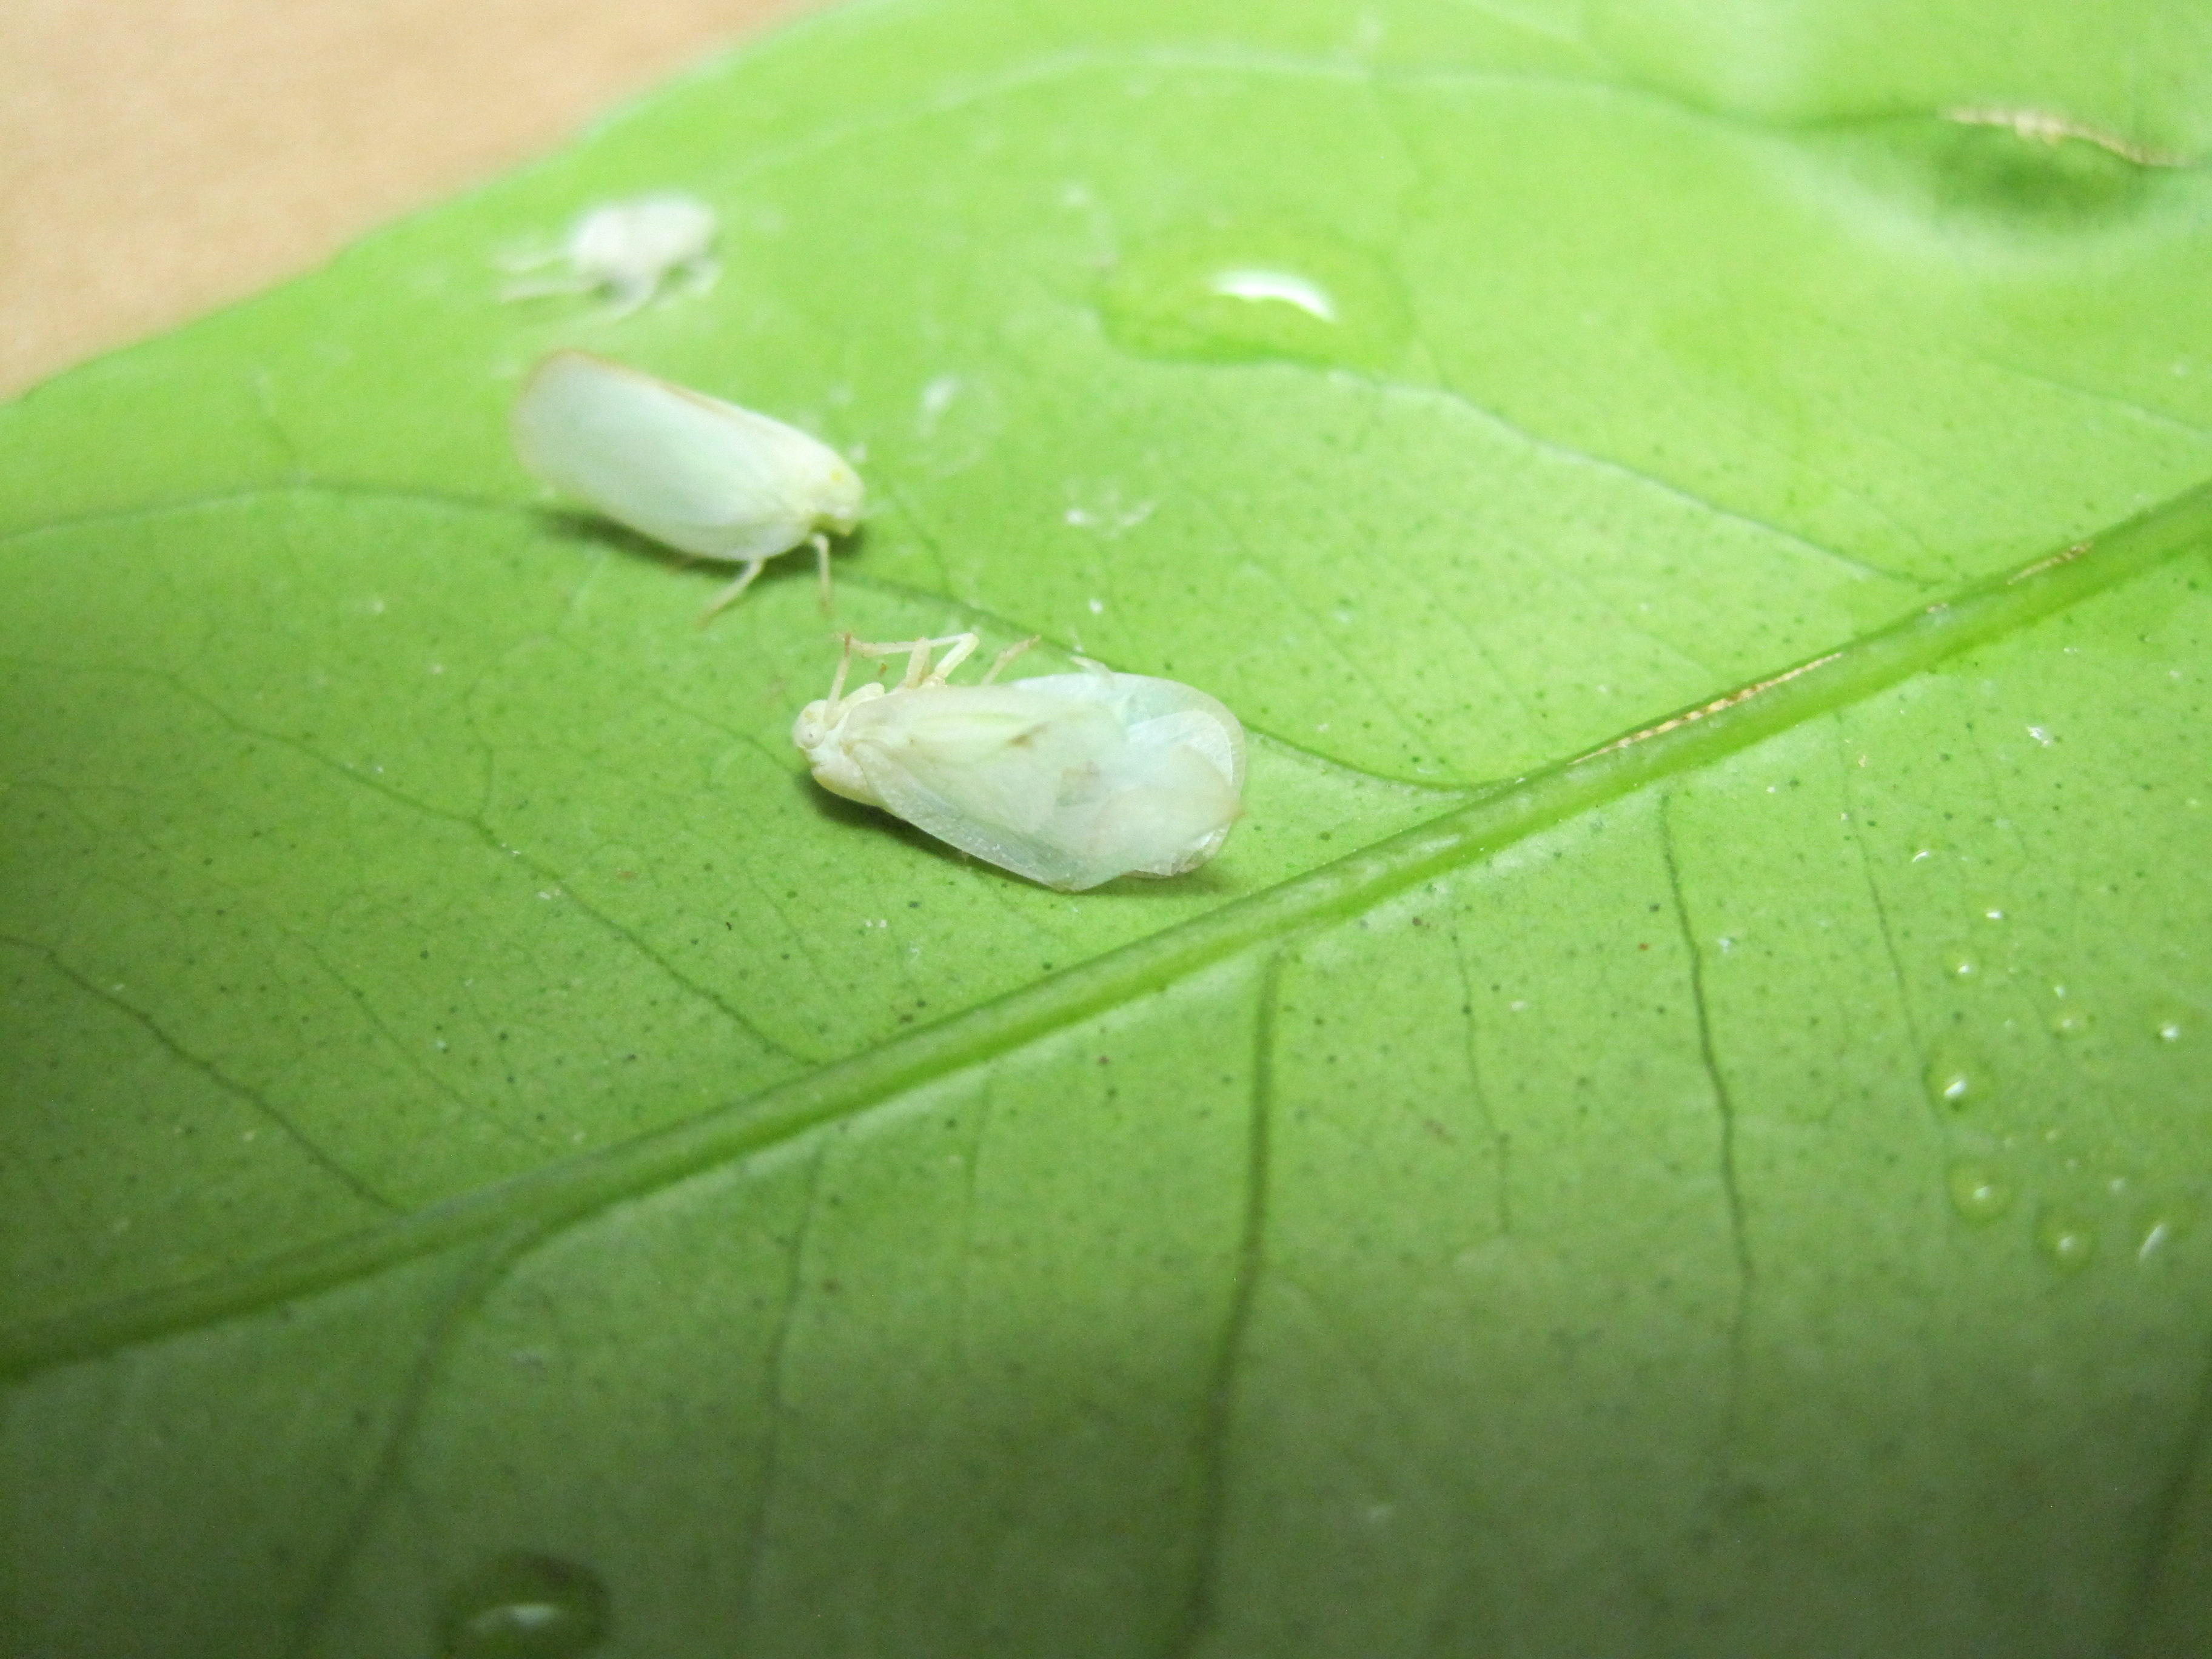
Planthopper adults range in size between 1/8 to 1/4 inches long. They are slender and frequently have an angular, pointed head. Coloration depends on species, but generally planthoppers are of green, brown, or white. Immatures look similar to the adults except they are smaller and don’t have wings. Immatures typically feed on the underside of leaves, where the humidity is higher and they are more protected from predators.
Three growth stages of planthoppers. Photo Credit: UF/IFAS Extension
Planthoppers feed on plant leaves and shoots by sucking out the contents. The damage that ensues from feeding depends on the host plant and the hopper species. A few species of hoppers transmit pathogens that can alter plant growth. Usually, adult hoppers are pests only when found in high numbers.
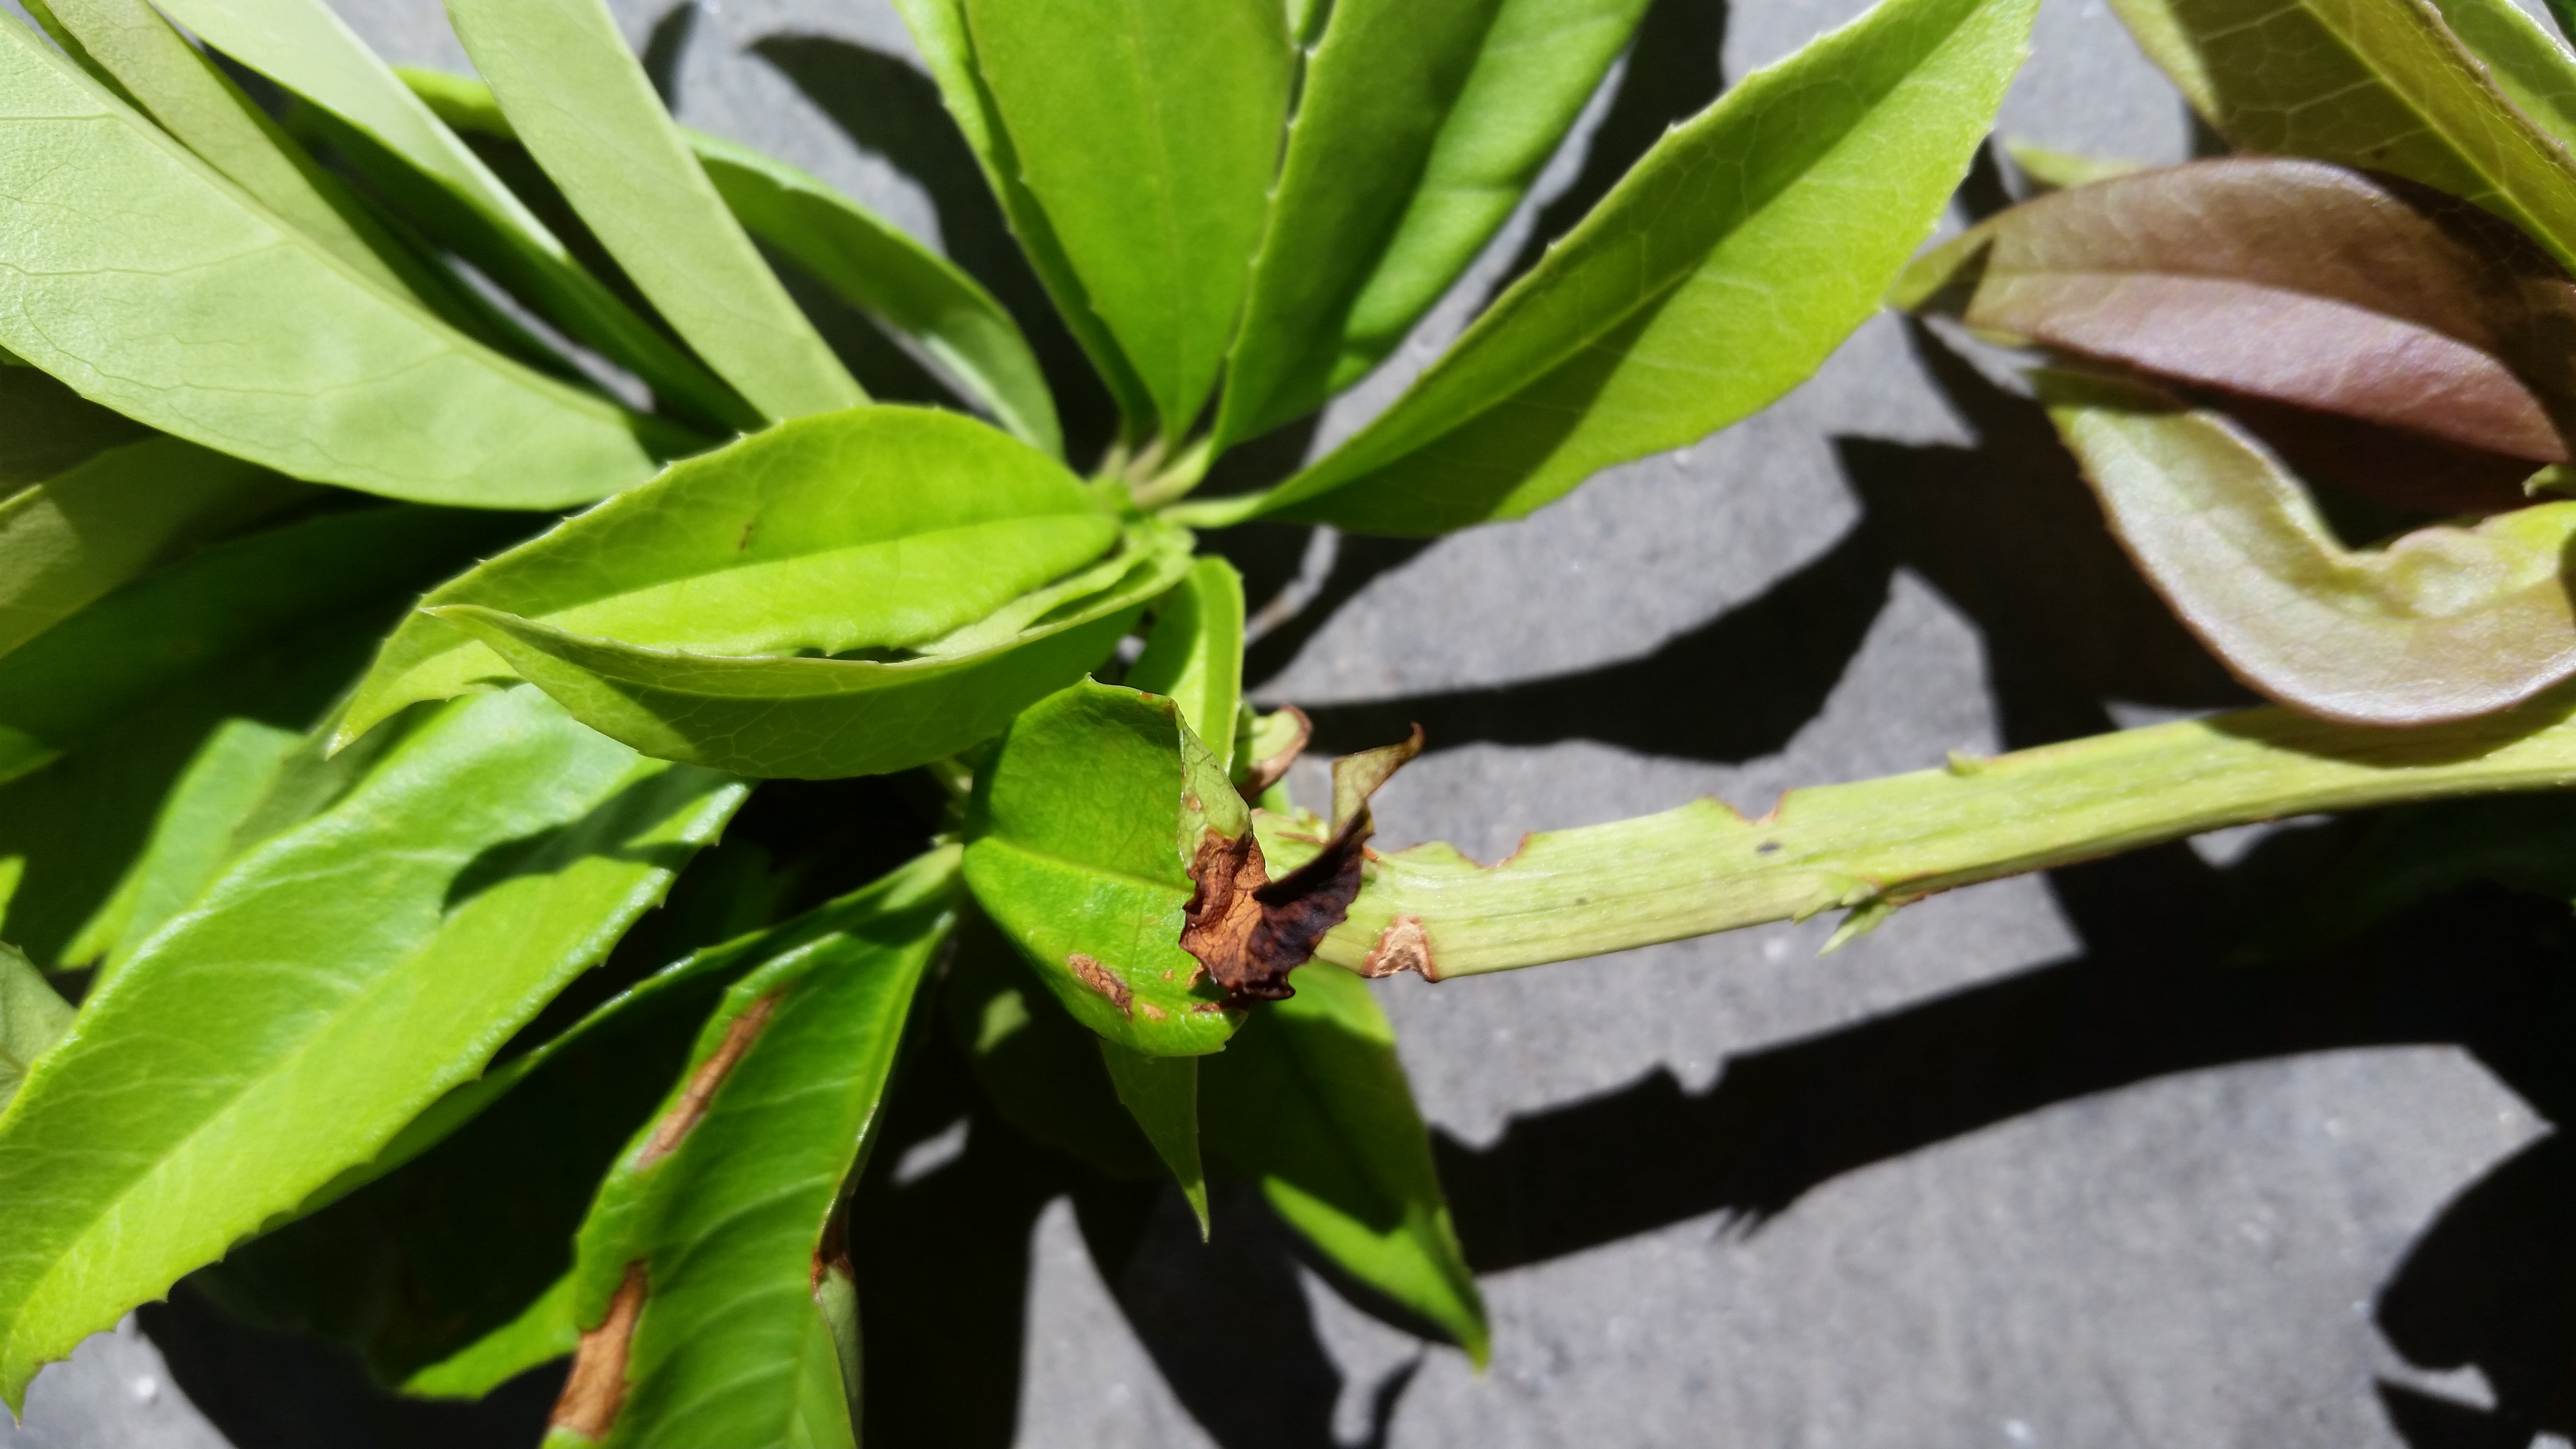
Feeding damage from some species causes small white spots (stippling) to appear on the upper leaf surface, usually beginning near the leaf midrib. Stippled areas eventually merge together into larger whitish blotches. In some plants, feeding damage causes a drying and yellowing (or browning) of leaf tips and some planthopper species cause curling or stunting of newly formed leaves. Oftentimes, white, papery skin castings will remain from the molting process on the undersides of leaves.
Planthopper feeding damage on sweet olive. Photo Credit: UF/IFAS Extension
Planthoppers are rarely present in large enough numbers to cause significant plant damage. Fortunately, planthoppers have many natural enemies including lady beetles, lacewings, damsel bugs, and spiders. Sticky traps are recommended to help monitor planthopper populations. Planthoppers are usually attracted to yellow sticky traps that can be placed among the plant leaves. Small populations can be managed using these traps. If greater populations are present, then insecticidal soap can control young planthoppers. Make sure to spray both the top and underside of the leaves.
Planthoppers are minor pests in the landscape, but they can cause alarming mutations in plant material. Contact your local Extension Office for help with diagnosis and treatment options.
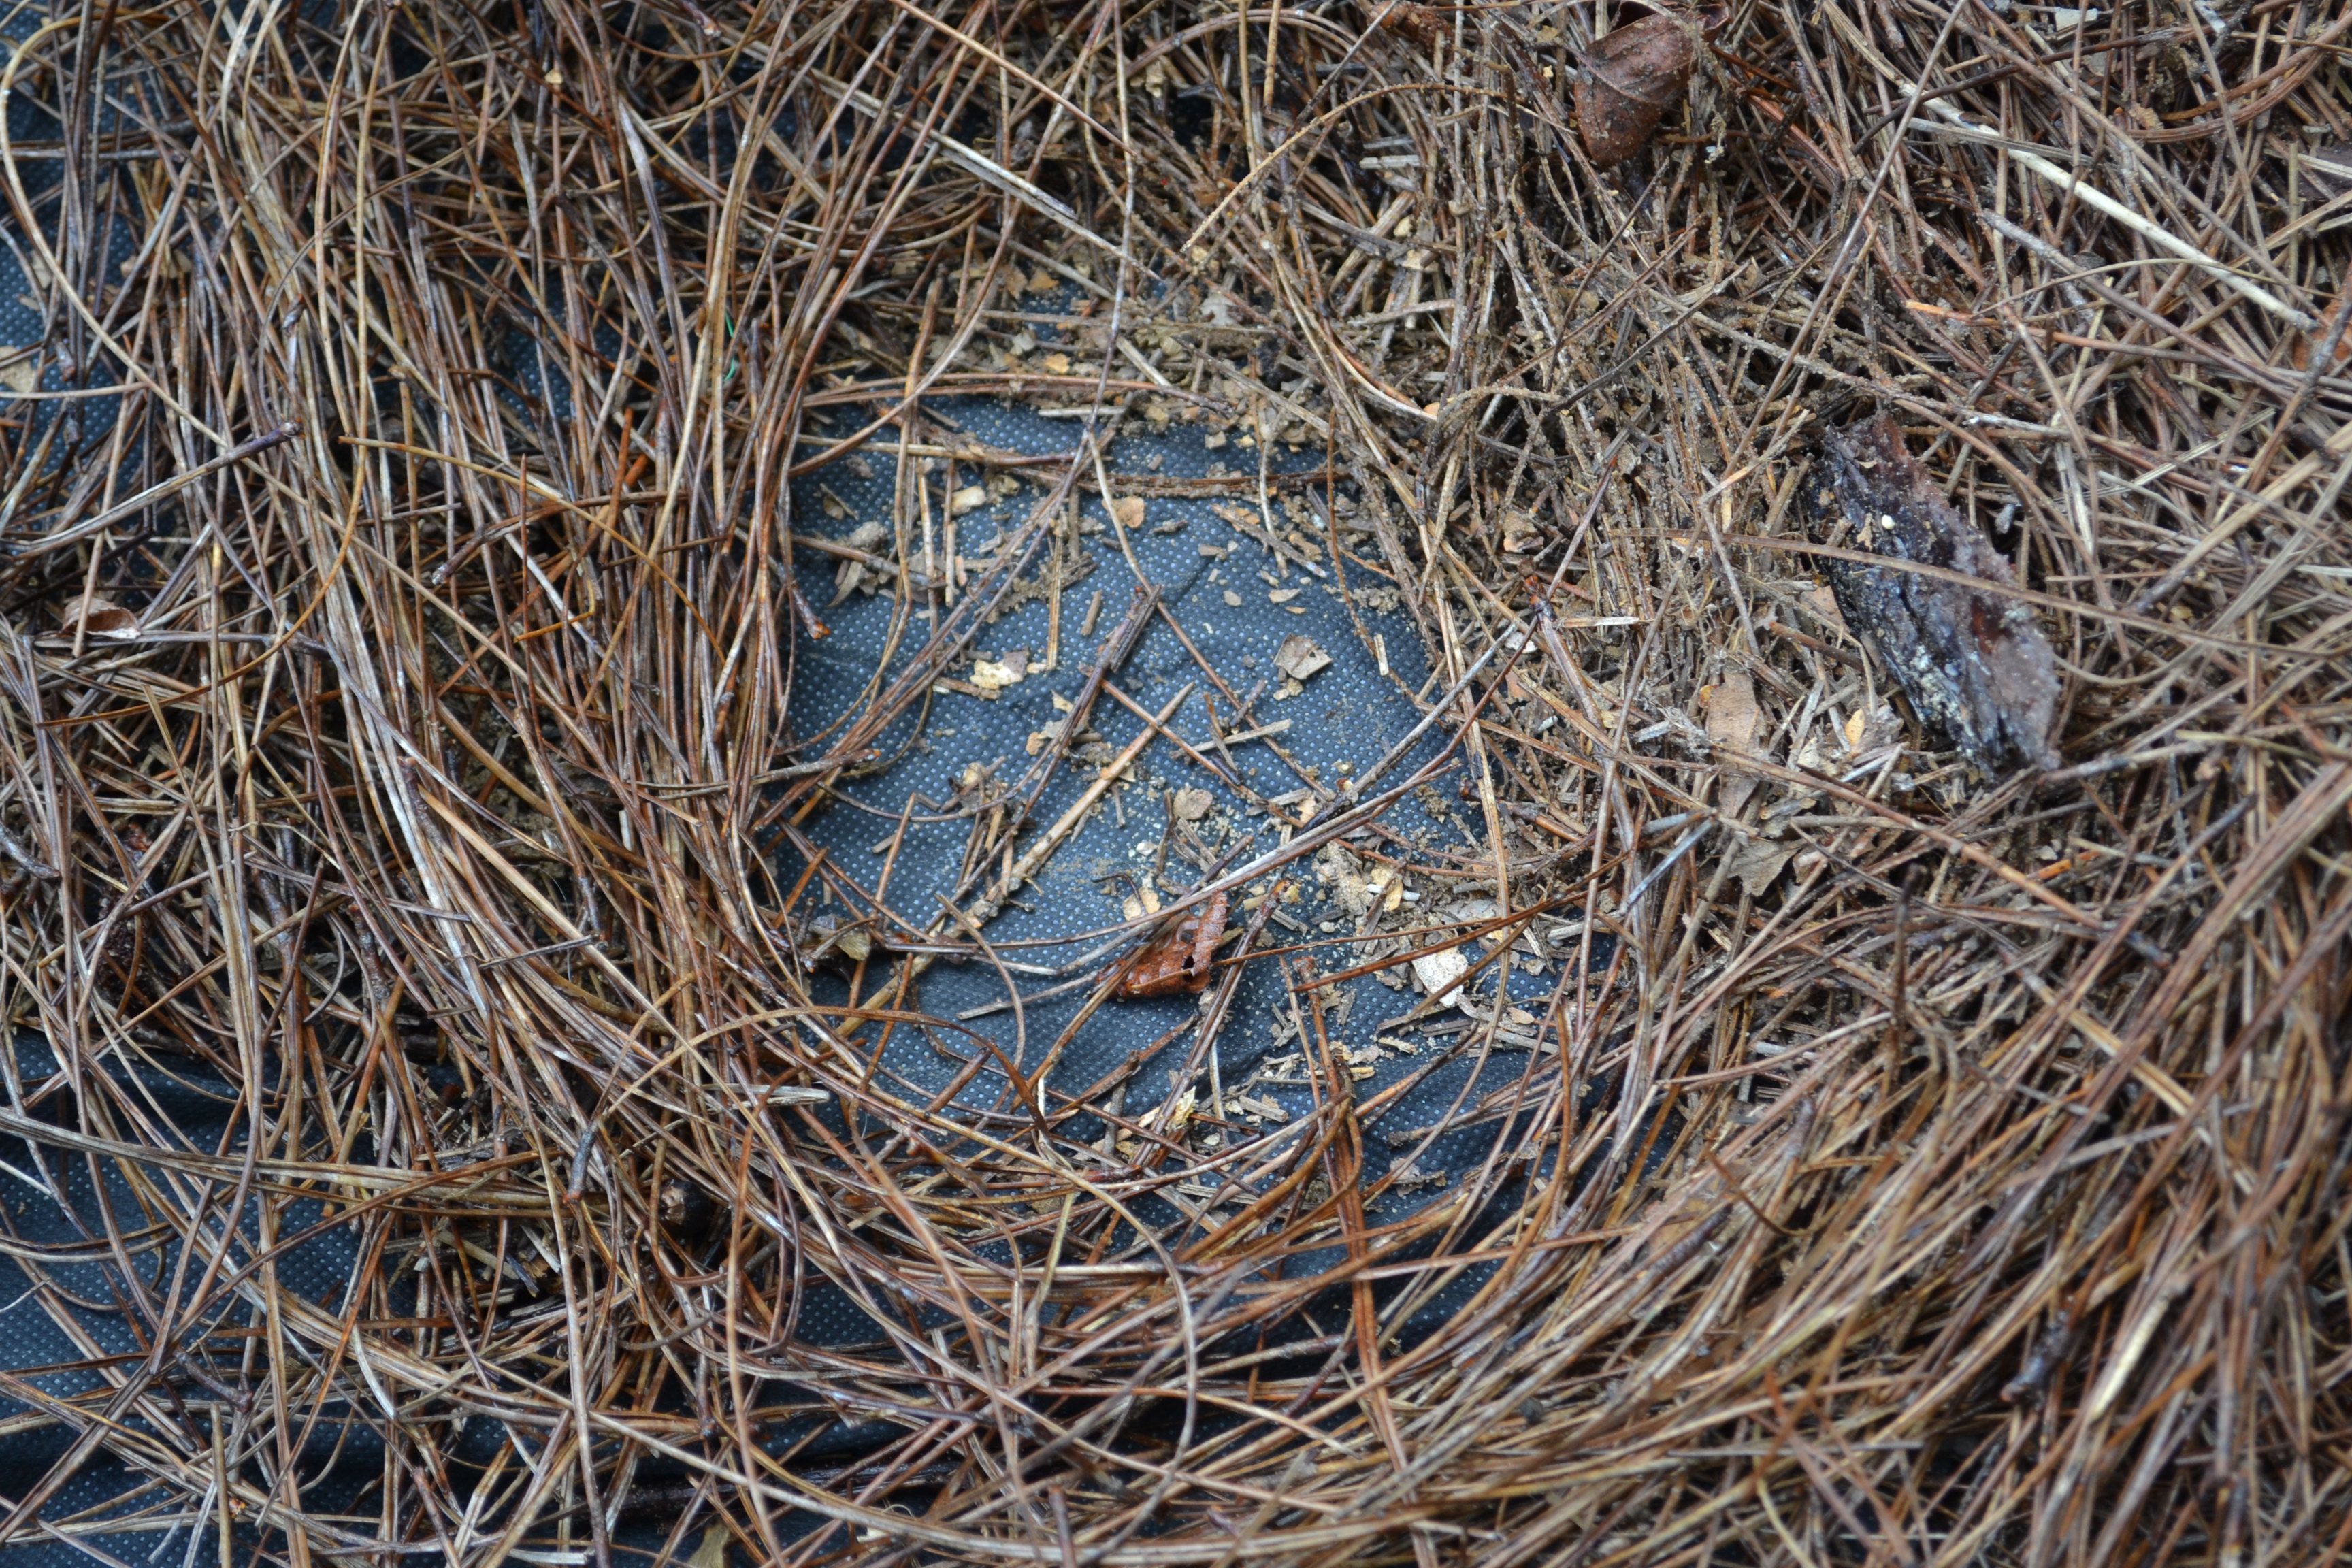
Homeowners and horticulture professionals spend time to develop an attractive ornamental bed only to have weeds take over months or a few years later. One common method in the attempt to prevent weeds is to apply a landscape fabric around plants in beds and place a layer of mulch on top to dress it up. The thought is that this barrier on top of the soil will prevent a large number of weeds from emerging. The fabric physically prevents the growth of weeds form the soil below and blocks sunlight from reaching weed seeds. Available fabrics are labeled as porous to allow air and water to move through them and reach ornamental plant roots.
On paper, landscape fabric sounds like a good idea and it may work for a little while. Over time, soil particles and decomposing mulch fill up the porous spaces in the fabric which prevent air and water from reaching plant roots. Even with irrigation or routine rainfall, plant roots often do not receive the needed water and air for healthy growth. Plants may respond by trying to send roots through fabric seams which breaks down the intended weed barrier. Other plants slowly decline or may die quickly due to water stress or lack of sufficient air movement into the soil.
Fabric may initially prevent some weeds but it can also prevent air and water movement. Photo by Beth Bolles, UF Extension Escambia County
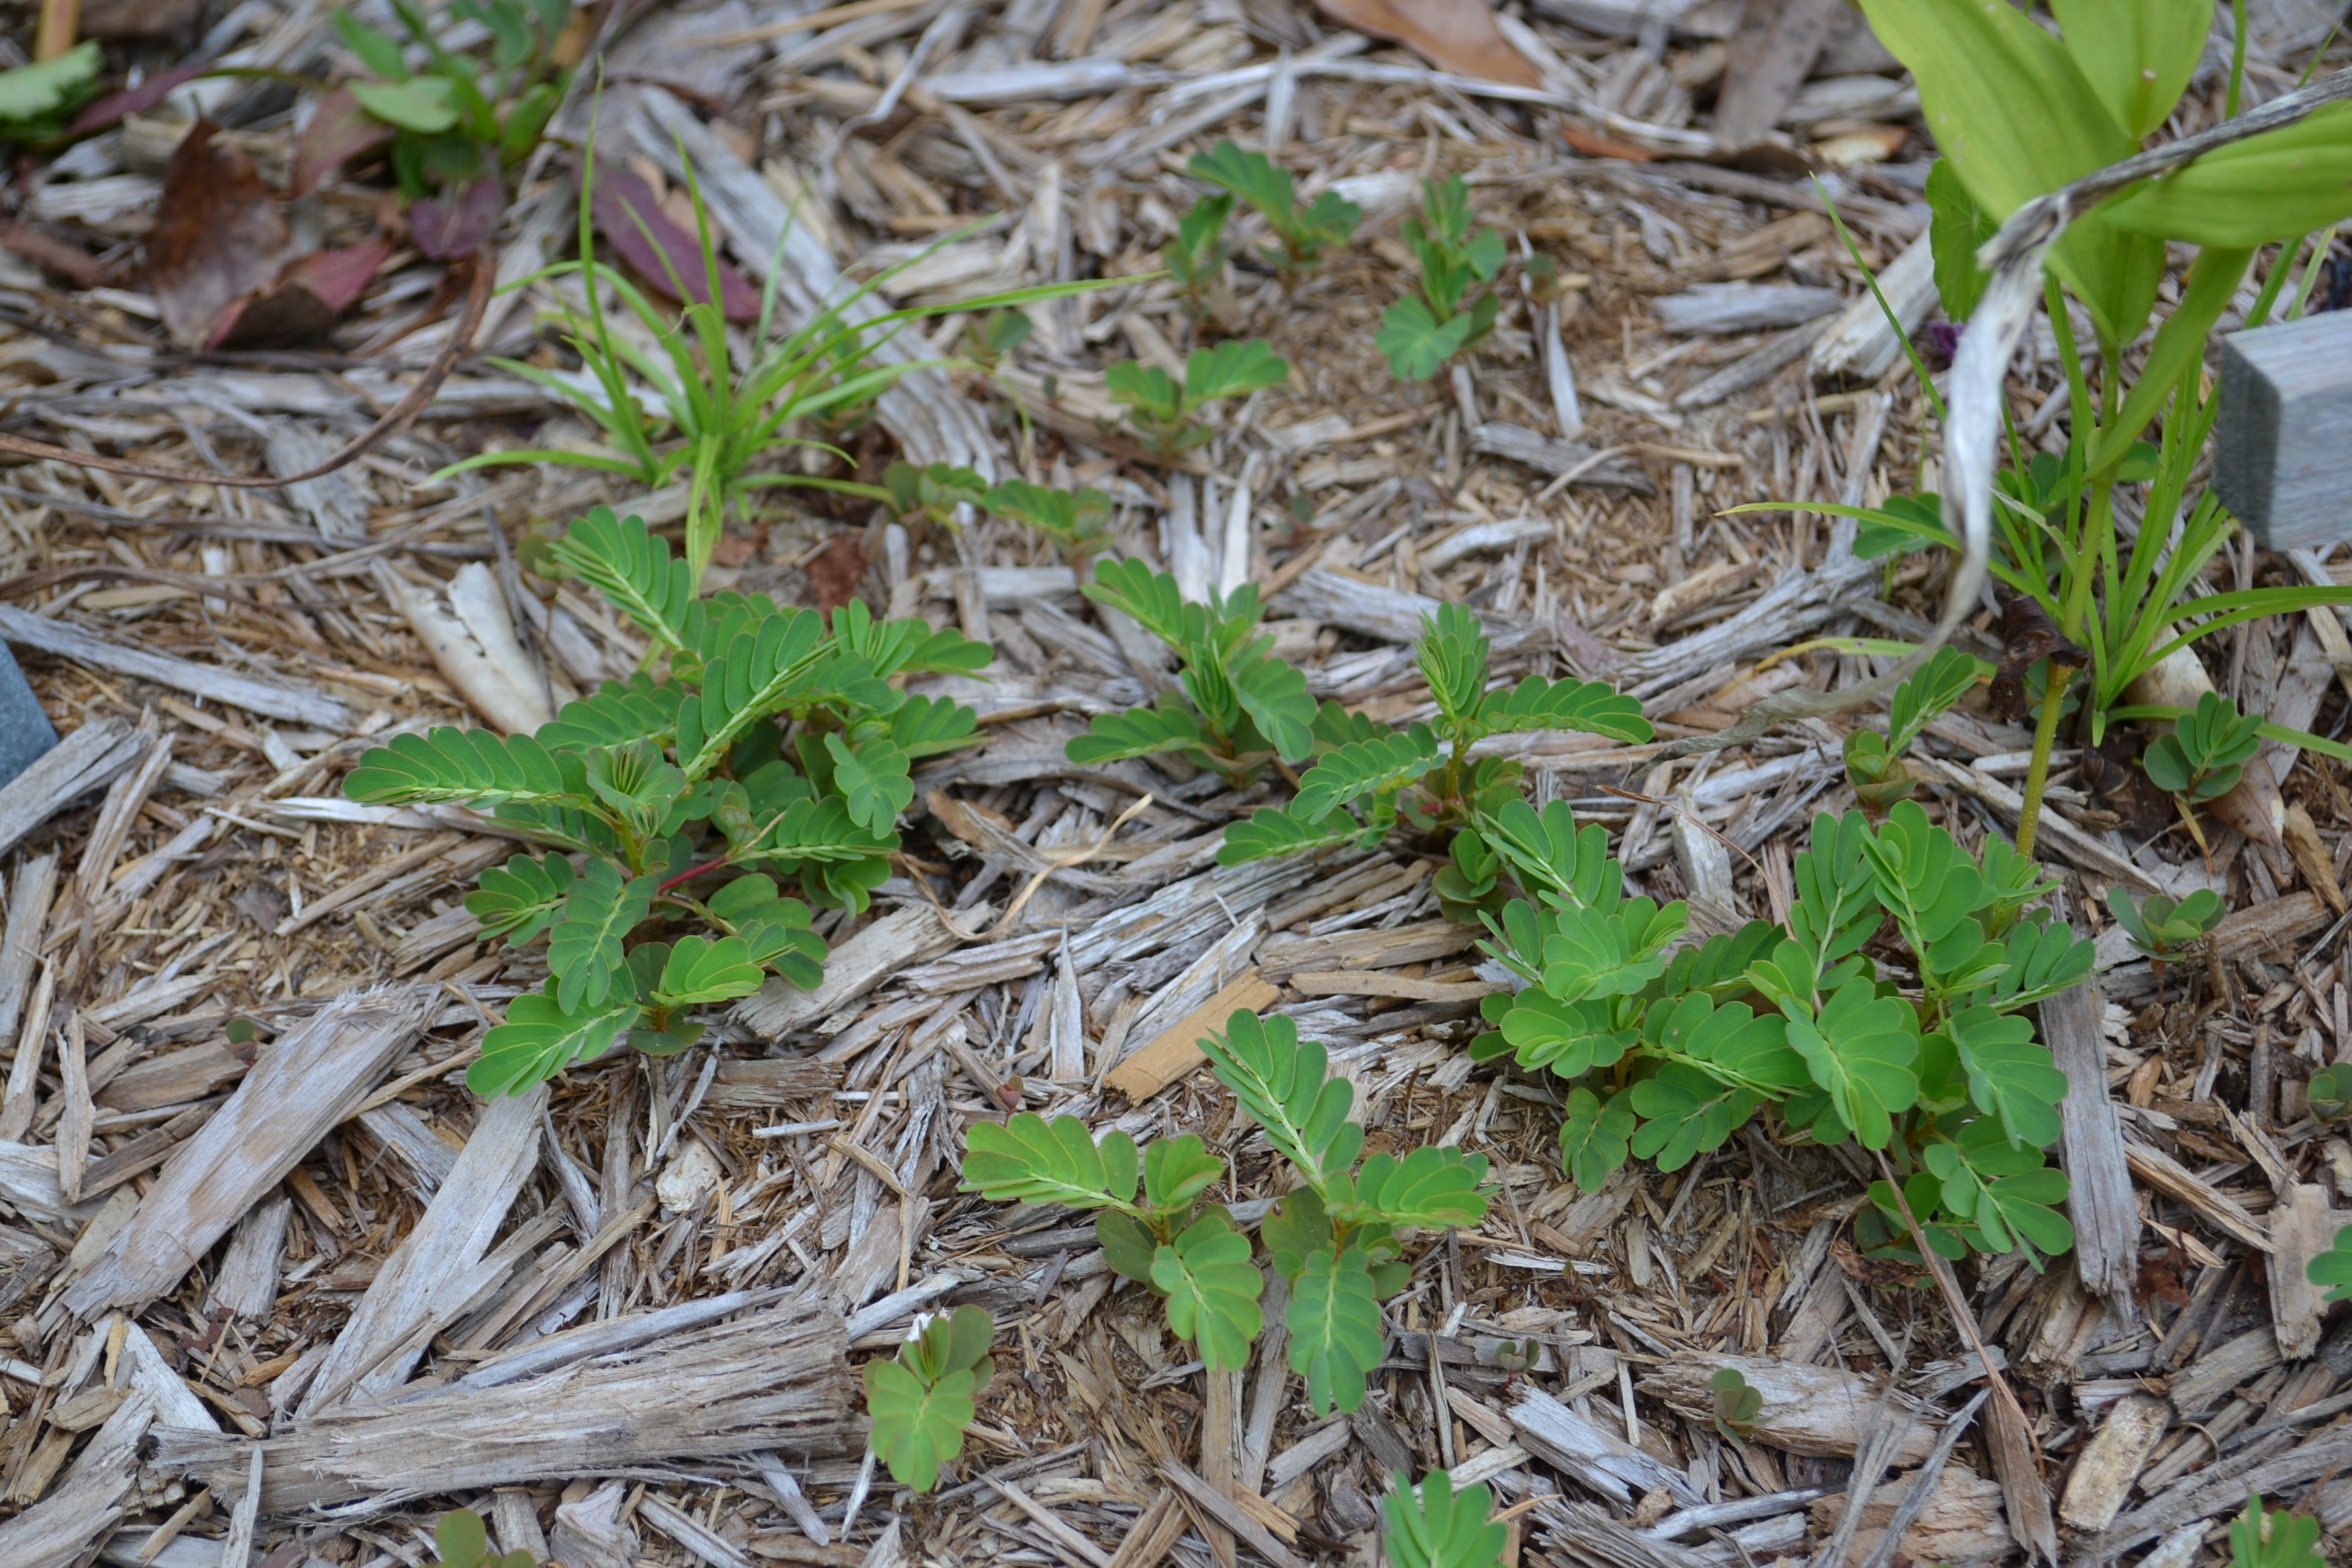
Weed seeds also find their way into the mulch that is on top of the fabric from nearby lawns and landscapes. The next thing you know, you have an entire weed crop growing in the mulch on top of your landscape fabric. Perennial weeds such as torpedograss and purple nutsedge eventually grow through fabrics.
Seeds from annuals like Chamberbitter easily get into mulch from surrounding areas and grow on top of fabrics. Photo by Beth Bolles, UF Extension Escambia County
The best place to consider fabric if you want to install it in the landscape is under mulched paths or other areas without ornamental plantings where a synthetic groundcover is needed. In order to have a healthy root environment for your ornamental bed plants, it is best to keep landscape fabric out of these areas.
When you don’t know what’s ailing your plant, ask an expert.
Many gardeners get stumped when a favorite plant of theirs comes down with a strange “something”. Many of these gardeners know about UF/IFAS Extension and call their local horticulture and agriculture agents for assistance in figuring out what’s going on. However, even these experts are often stumped by what they see. Fortunately, the agents have another layer of experts to fall back on. In addition to the resources in Gainesville, we have the Plant Disease Diagnostic Clinic, located at the North Florida Research Center in Quincy. Plant pathologists here can help determine what fungus, bacteria, virus, or viroid may be the problem.
Plant pathologists are basically plant doctors. They use all sorts of sophisticated techniques to determine what is the cause of a particular plant problem, from growing out fungal spores to examining DNA. Not only do these plant doctors tell us what the ailment is, they also provide recommended cures, or control options. They are also doing research to prevent different diseases from taking hold in our area and reduce the impact on our local growers.
Plant pathologist at work!
At a recent workshop in Quincy, we learned that plant pathology researchers are working on a fungus that affects watermelons, virus and bacteria that can wipe out a farmer’s tomato crop, and a virus that could impact our local roses. Working as a team of scientists, they study these pathogens in the lab and conduct controlled field experiments to figure out which techniques are most effective. Some of this research is leading to different methods and/or products that can help growers and gardeners alike keep their fields and landscapes healthy.
So, if your plants have problems, please contact your local Extension Office. If they don’t know the answer, then the network of scientists, including plant pathologists, in the UF/IFAS Extension family can be called on for backup to provide you with the best possible answer.
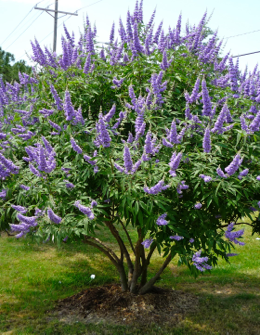
The showy chaste tree makes an attractive specimen as the centerpiece of your landscape bed or in a large container on the deck. Easy-to-grow, drought resistant, and attractive to butterflies and bees, Vitex agnus-castus is a multi-stemmed small tree with fragrant, upwardly-pointing lavender blooms and gray-green foliage. The chaste tree’s palmately divided leaves resemble those of the marijuana (Cannabis sativa) plant; its flowers can be mistaken for butterfly bush (Buddleia sp.); and the dry, darkened drupes can be used for seasoning, similar to black pepper, making it a conversation piece for those unfamiliar with the tree.
Vitex, with its sage-scented leaves that were once believed to have a sedative effect, has the common name “Chastetree” since Athenian women used the leaves in their beds to keep themselves chaste during the feasts of Ceres, a Roman festival held on April 12. In modern times, the tree is more often planted where beekeepers visit in order to promote excellent honey production or simply included in the landscape for the enjoyment of its showy, summer display of violet panicles.
Chaste tree is native to woodlands and dry areas of southern Europe and western Asia. It will thrive in almost any soil that has good drainage, prefers full sun or light shade, and can even tolerate moderate salt air. Vitex is a sprawling plant that grows 10-20 feet high and wide, that looks best unpruned. If pruning is desired to control the size, it should be done in the winter, since it is a deciduous tree and the blooms form on new wood. The chaste tree can take care of itself, but can be pushed to faster growth with light applications of fertilizer in spring and early summer and by mulching around the plant. There are no pests of major concern associated with this species, but, root rot can cause decline in soils that are kept too moist.