Wax myrtle is an evergreen shrub found commonly along the edges of wetlands. Photo credit: Carrie Stevenson, UF IFAS Extension
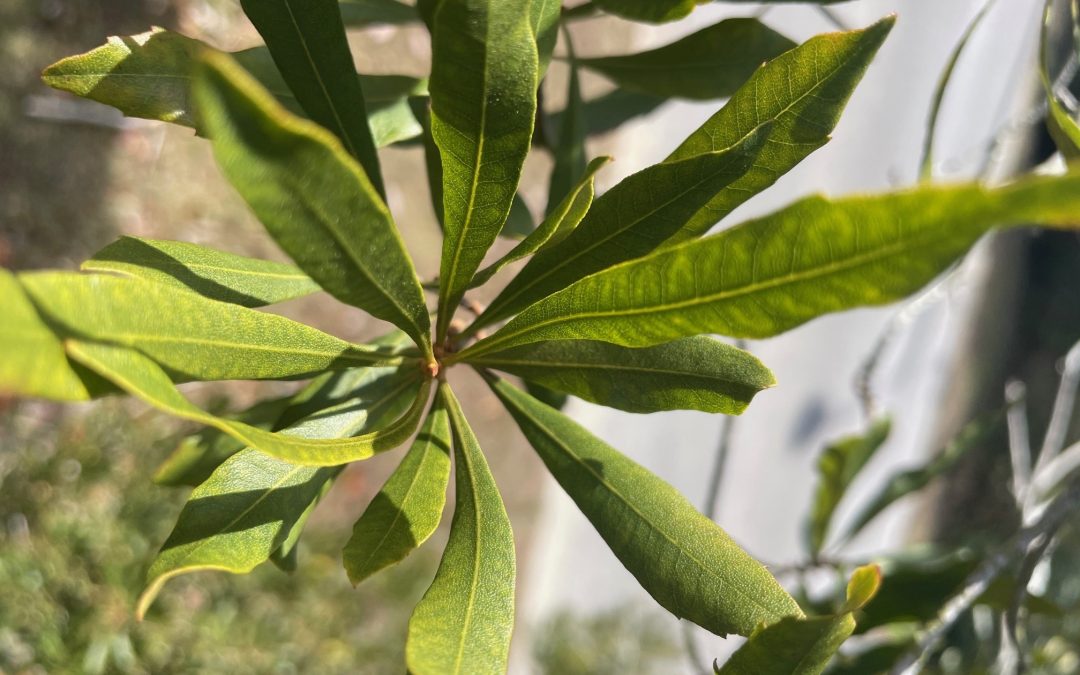
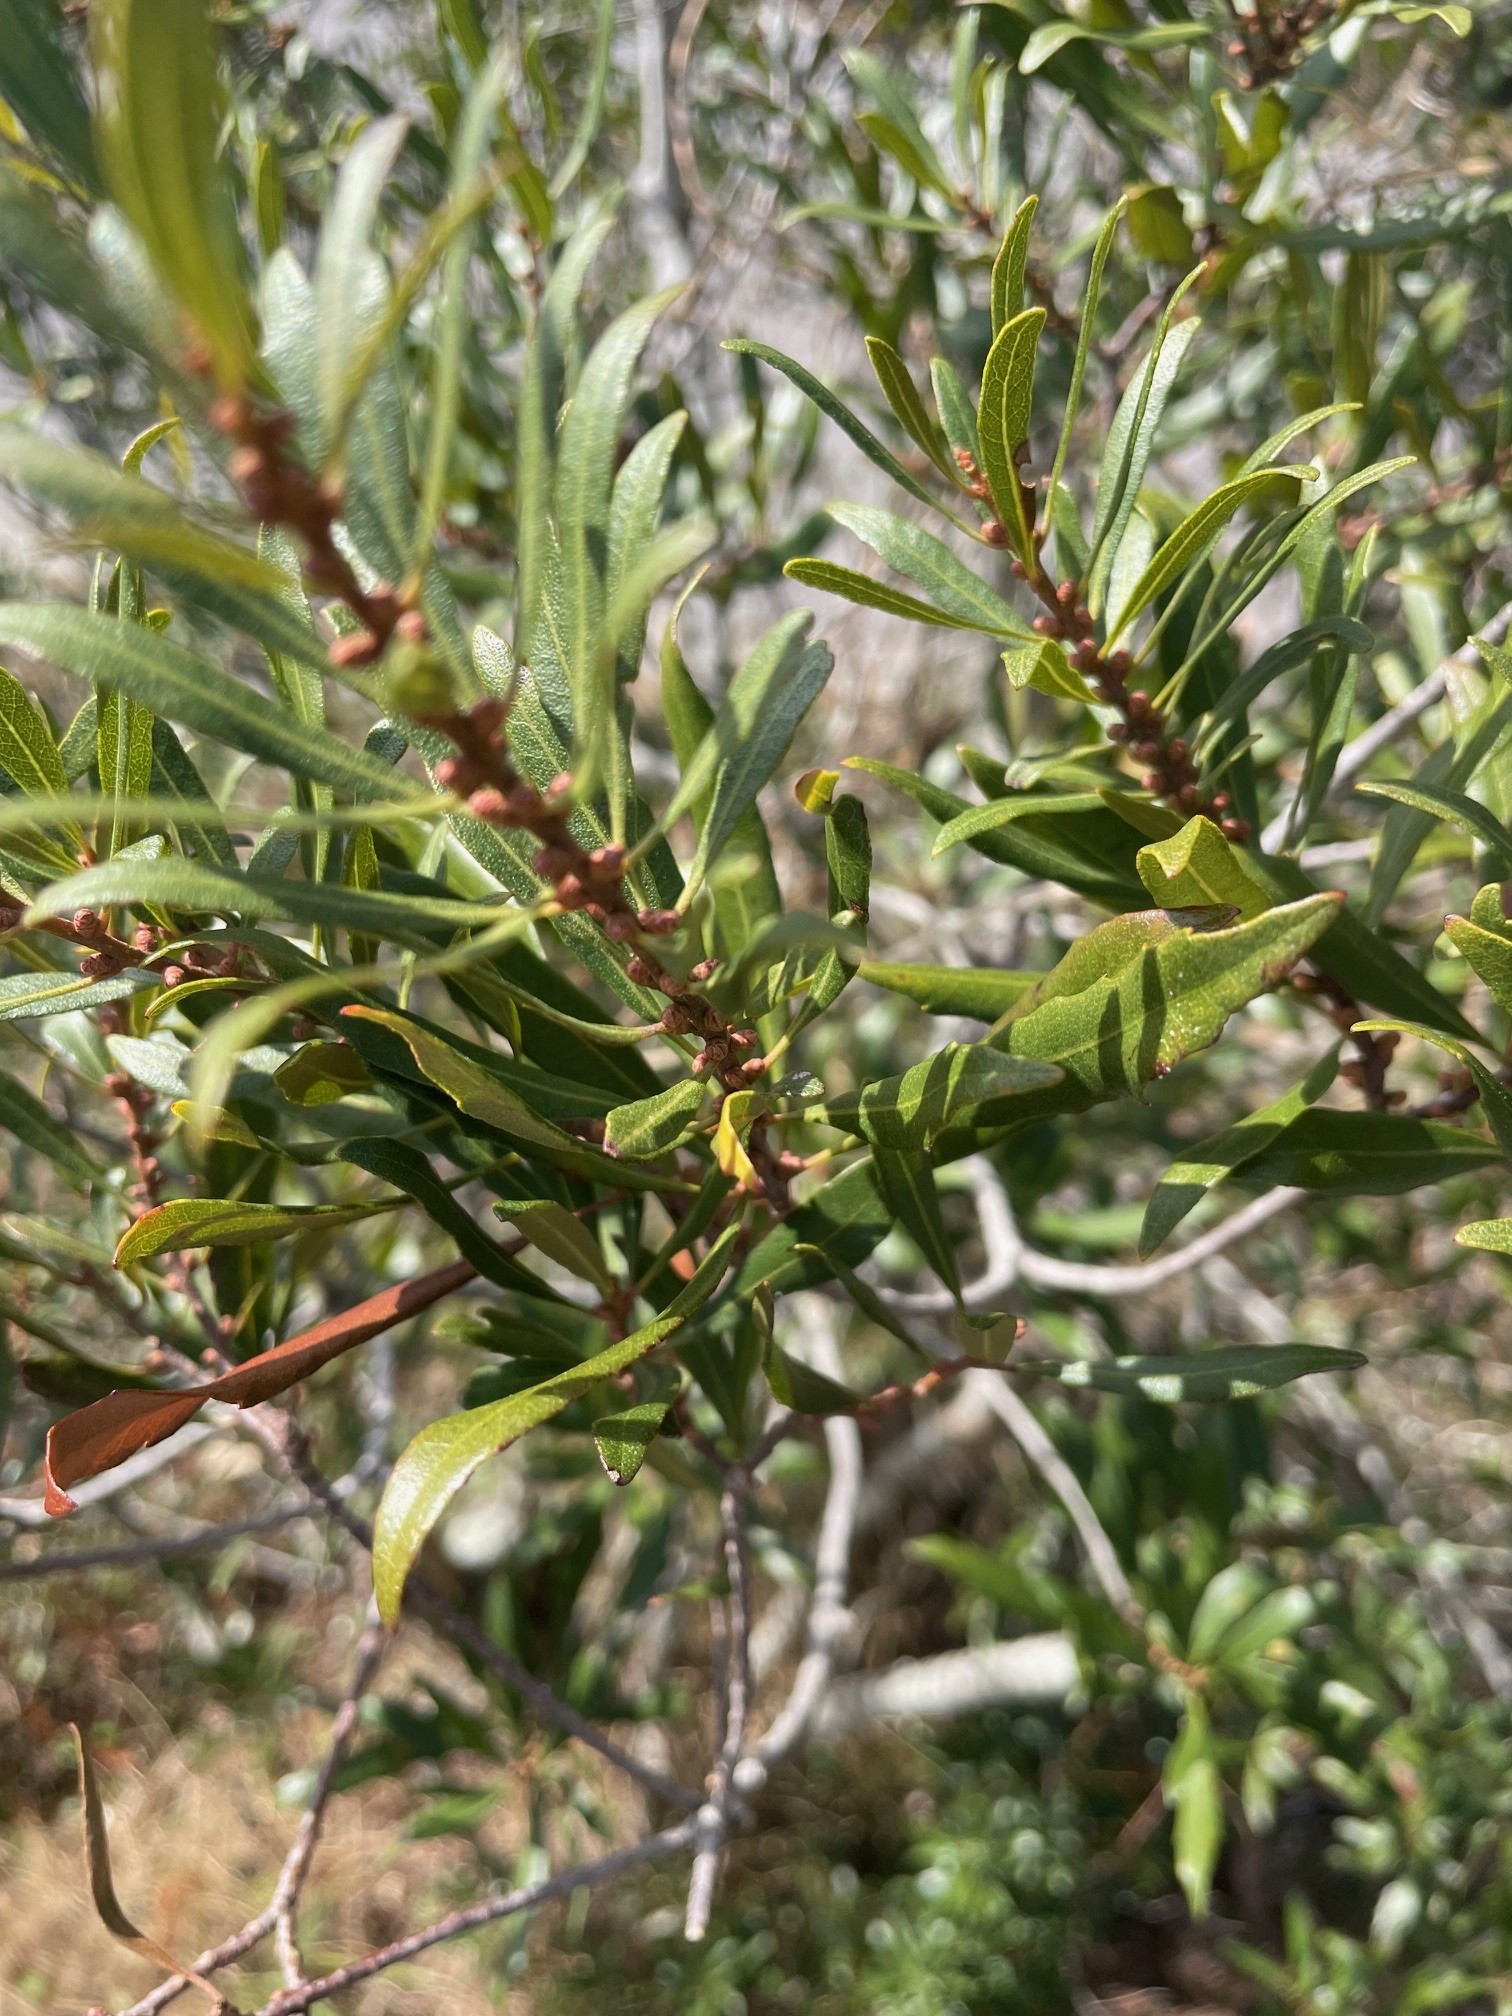
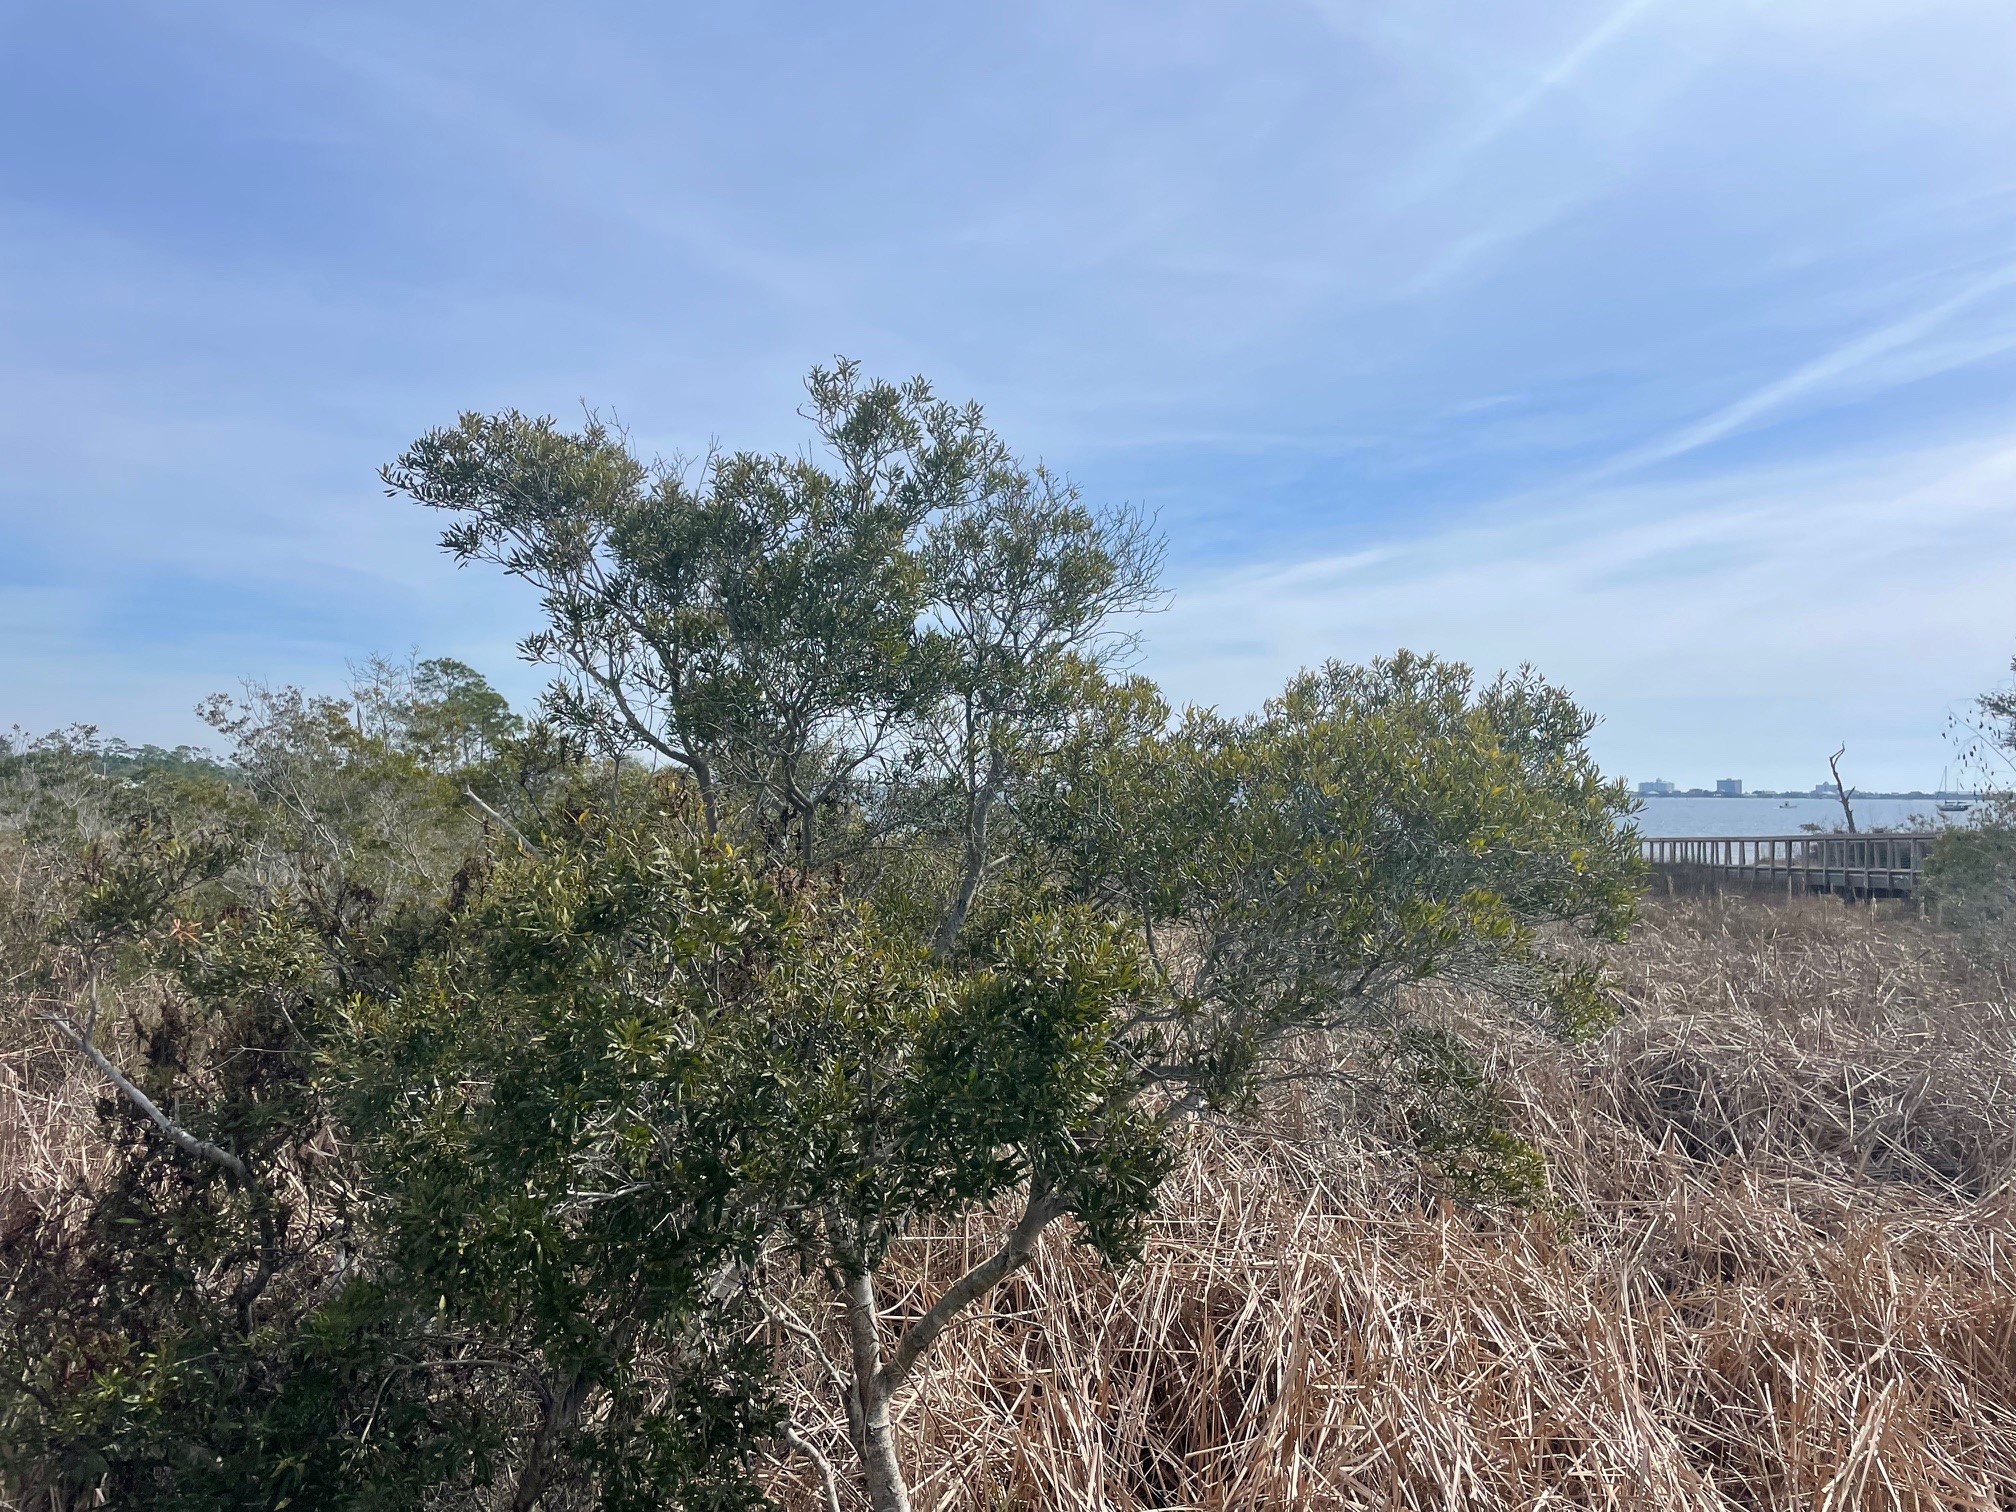
Wax myrtle (Myrica/Morella cerifera) is one of those evergreen shrubs that mostly lives out its life in the background. Neither tall and imposing (on average, up to 12’; rarely as tall as 20’), nor full of showy flowers, it is nonetheless an important native species. Behind that low-key persona is a small tree that has played numerous roles in American history. Also known as bayberry, wax myrtle grows in low-lying areas along the edges of wetlands. It is a fast grower and will fill in open spaces if there is enough available light. Wax myrtle is a hardy plant, highly tolerant of salt, and works well in pollinator gardens and urban locations. Both male and female plants are necessary to produce numerous berries, which grow directly on the plant stem. A wide variety of birds use the plants as nesting areas and feed on the berries, including warblers, swallows, wrens, and turkeys.
Wax myrtle shrubs play an important role in feeding and roosting for birds. Photo credit: Carrie Stevenson, UF IFAS Extension
People have long planted wax myrtle shrubs as natural privacy screens, or used an extract from the leaves as a mosquito repellent. The leaves are tough, similar in texture to live oaks, helping hold in water for drought tolerance and keep out salt, enabling them to thrive in coastal areas.
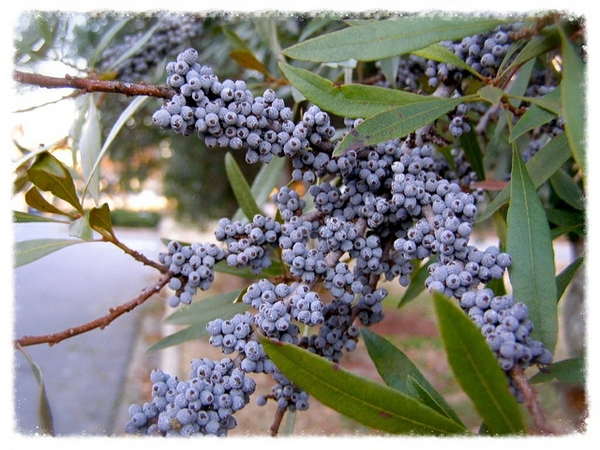
The leaves and berries serve several useful purposes for humans. Native American tribes, particularly the Seminoles in Florida, would use fermented leaves as a medication for headaches and fevers. The berries are a greenish gray/blue color and are the size of BB’s. Each shrub can grow hundreds of small berries along each branch, and berries have a waxy coating that will separate from the berry flesh when boiled.
A wax myrtle plant loaded in its small, waxy berries. Photo from Creative Commons.
Early American settlers would collect this wax and reform it into bayberry candles. They would serve a dual purpose in providing both light and mosquito protection. In those early days, mosquito-borne diseases like yellow fever and malaria were both common and deadly, so it was a matter of survival. The plants have also been used to deter fleas and cockroaches.
According to several native plant enthusiasts who posted bayberry-candle-making videos on YouTube, the rule of thumb is that you’ll need to collect a gallon of wax myrtle berries to create a cup of wax. Besides candles, early settlers also used the wax for soap, sealing wax, and shaving cream. Be mindful that wax myrtle plants are flammable, so it is recommended that if planted in a home landscape, they are in an area safely away from the building walls.
My previous article outlined the benefits of planting trees during the winter dormant season. Once planted, it’s then time to implement one of the best practices that helps ensure successful establishment of recently installed trees and shrubs – mulching.
Mulching, by definition, is simply the process of adding a layer of material over the top of the soil. Like planting at the right time, mulching does many great things for your landscape. Mulching helps moderate temperatures; the soil stays warmer in the winter and cooler in the summer. Mulching increases water retention; when the sun isn’t blasting directly onto the soil, it dries out much more slowly. Mulching reduces weed pressure; most weed seeds require sunlight to germinate. Etc. Etc. The benefits of mulch abound. But what material you use and how you apply mulch figure heavily into whether your mulch helps or harms the plants whose roots it lies over.
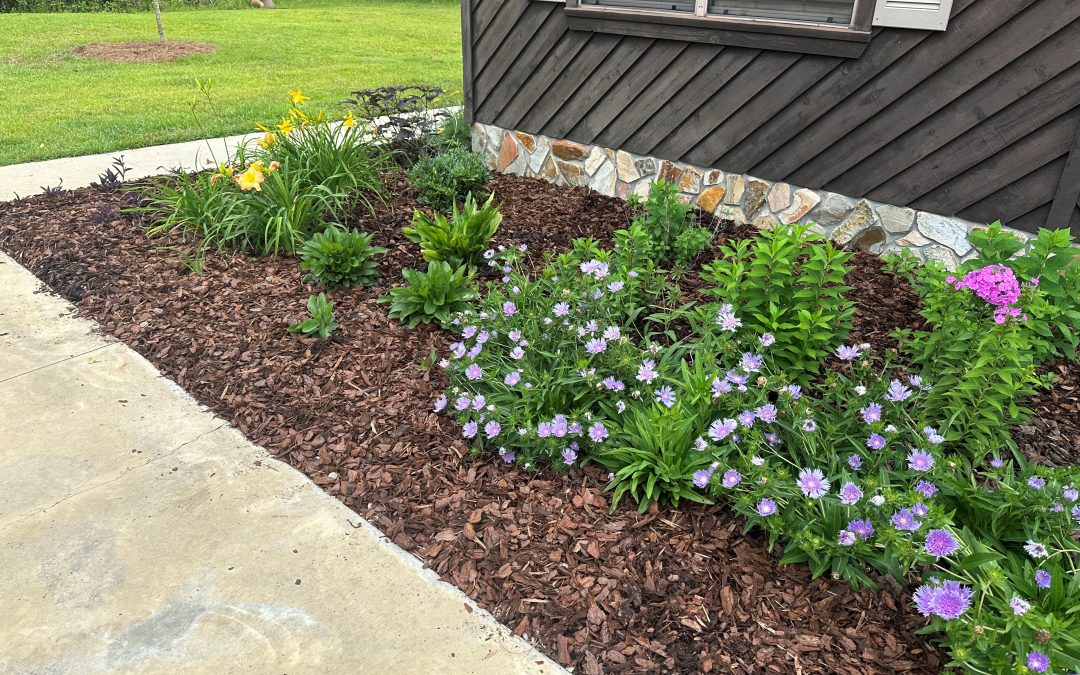
Pine bark mulch applied correctly in a landscape. Photo courtesy of Daniel Leonard.
There are two basic options when considering mulch: organic or inorganic sources. In general, you should always select an organic mulch that is derived from local sources. Organic mulches are mulches derived from natural materials like pine straw, leaves, tree bark, or shredded wood chips. These mulches break down over time and benefit soil health through bettering water holding capacity, increasing soil porosity and organic matter content, and drastically expanding the soil biome (beneficial worms, fungus, and bacteria that live in the soil). Organic mulches also allow landscapes to blend in with the natural areas surrounding homesites as they typically use materials found in local ecosystems. For example, in the coastal south, pine forests dominate, pine straw is plentiful, and purchasing usually supports local businesses that grow, harvest, and market the straw. So, unless you happen to live in a desert environment where rocks are natural, steer clear of rocks or other inorganic mulches.
Pinestraw mulch applied around a newly planted tree. Photo courtesy of Daniel Leonard.
As with most things, there is a Goldilocks zone for mulch. Too little isn’t enough to keep weeds from easily poking through and soil from quickly drying. Too much and you risk depriving plant roots from oxygen exchange with air above, trapping too much moisture and causing rot issues, or even creating a hydrophobic layer of dried mulch that repels rainfall and irrigation. Instead, just the right amount of mulch should be applied, enough to create a 2-3” layer of helpful mulch. With some mulches like straw, this may mean applying a 6-8” layer that will settle down to the magic 2-3” number with a good rain, interlocking the individual pieces of straw. With others like wood chips or bark nuggets, there will be little settling, and the applied amount should be 2-3” deep. A final tip is to always pull mulch back a little from the crowns of plants and the trunks of woody trees and shrubs to prevent potential disease issues.
So, after you install your new landscape plants this winter, remember to mulch well. Be sure to select an organic mulch that supports local industries, enhances the soil in your landscapes, protects your plants’ roots, prevents weeds, and looks natural! For more information about mulch or any other horticultural topic, contact your local UF/IFAS County Extension Office. Happy Gardening!
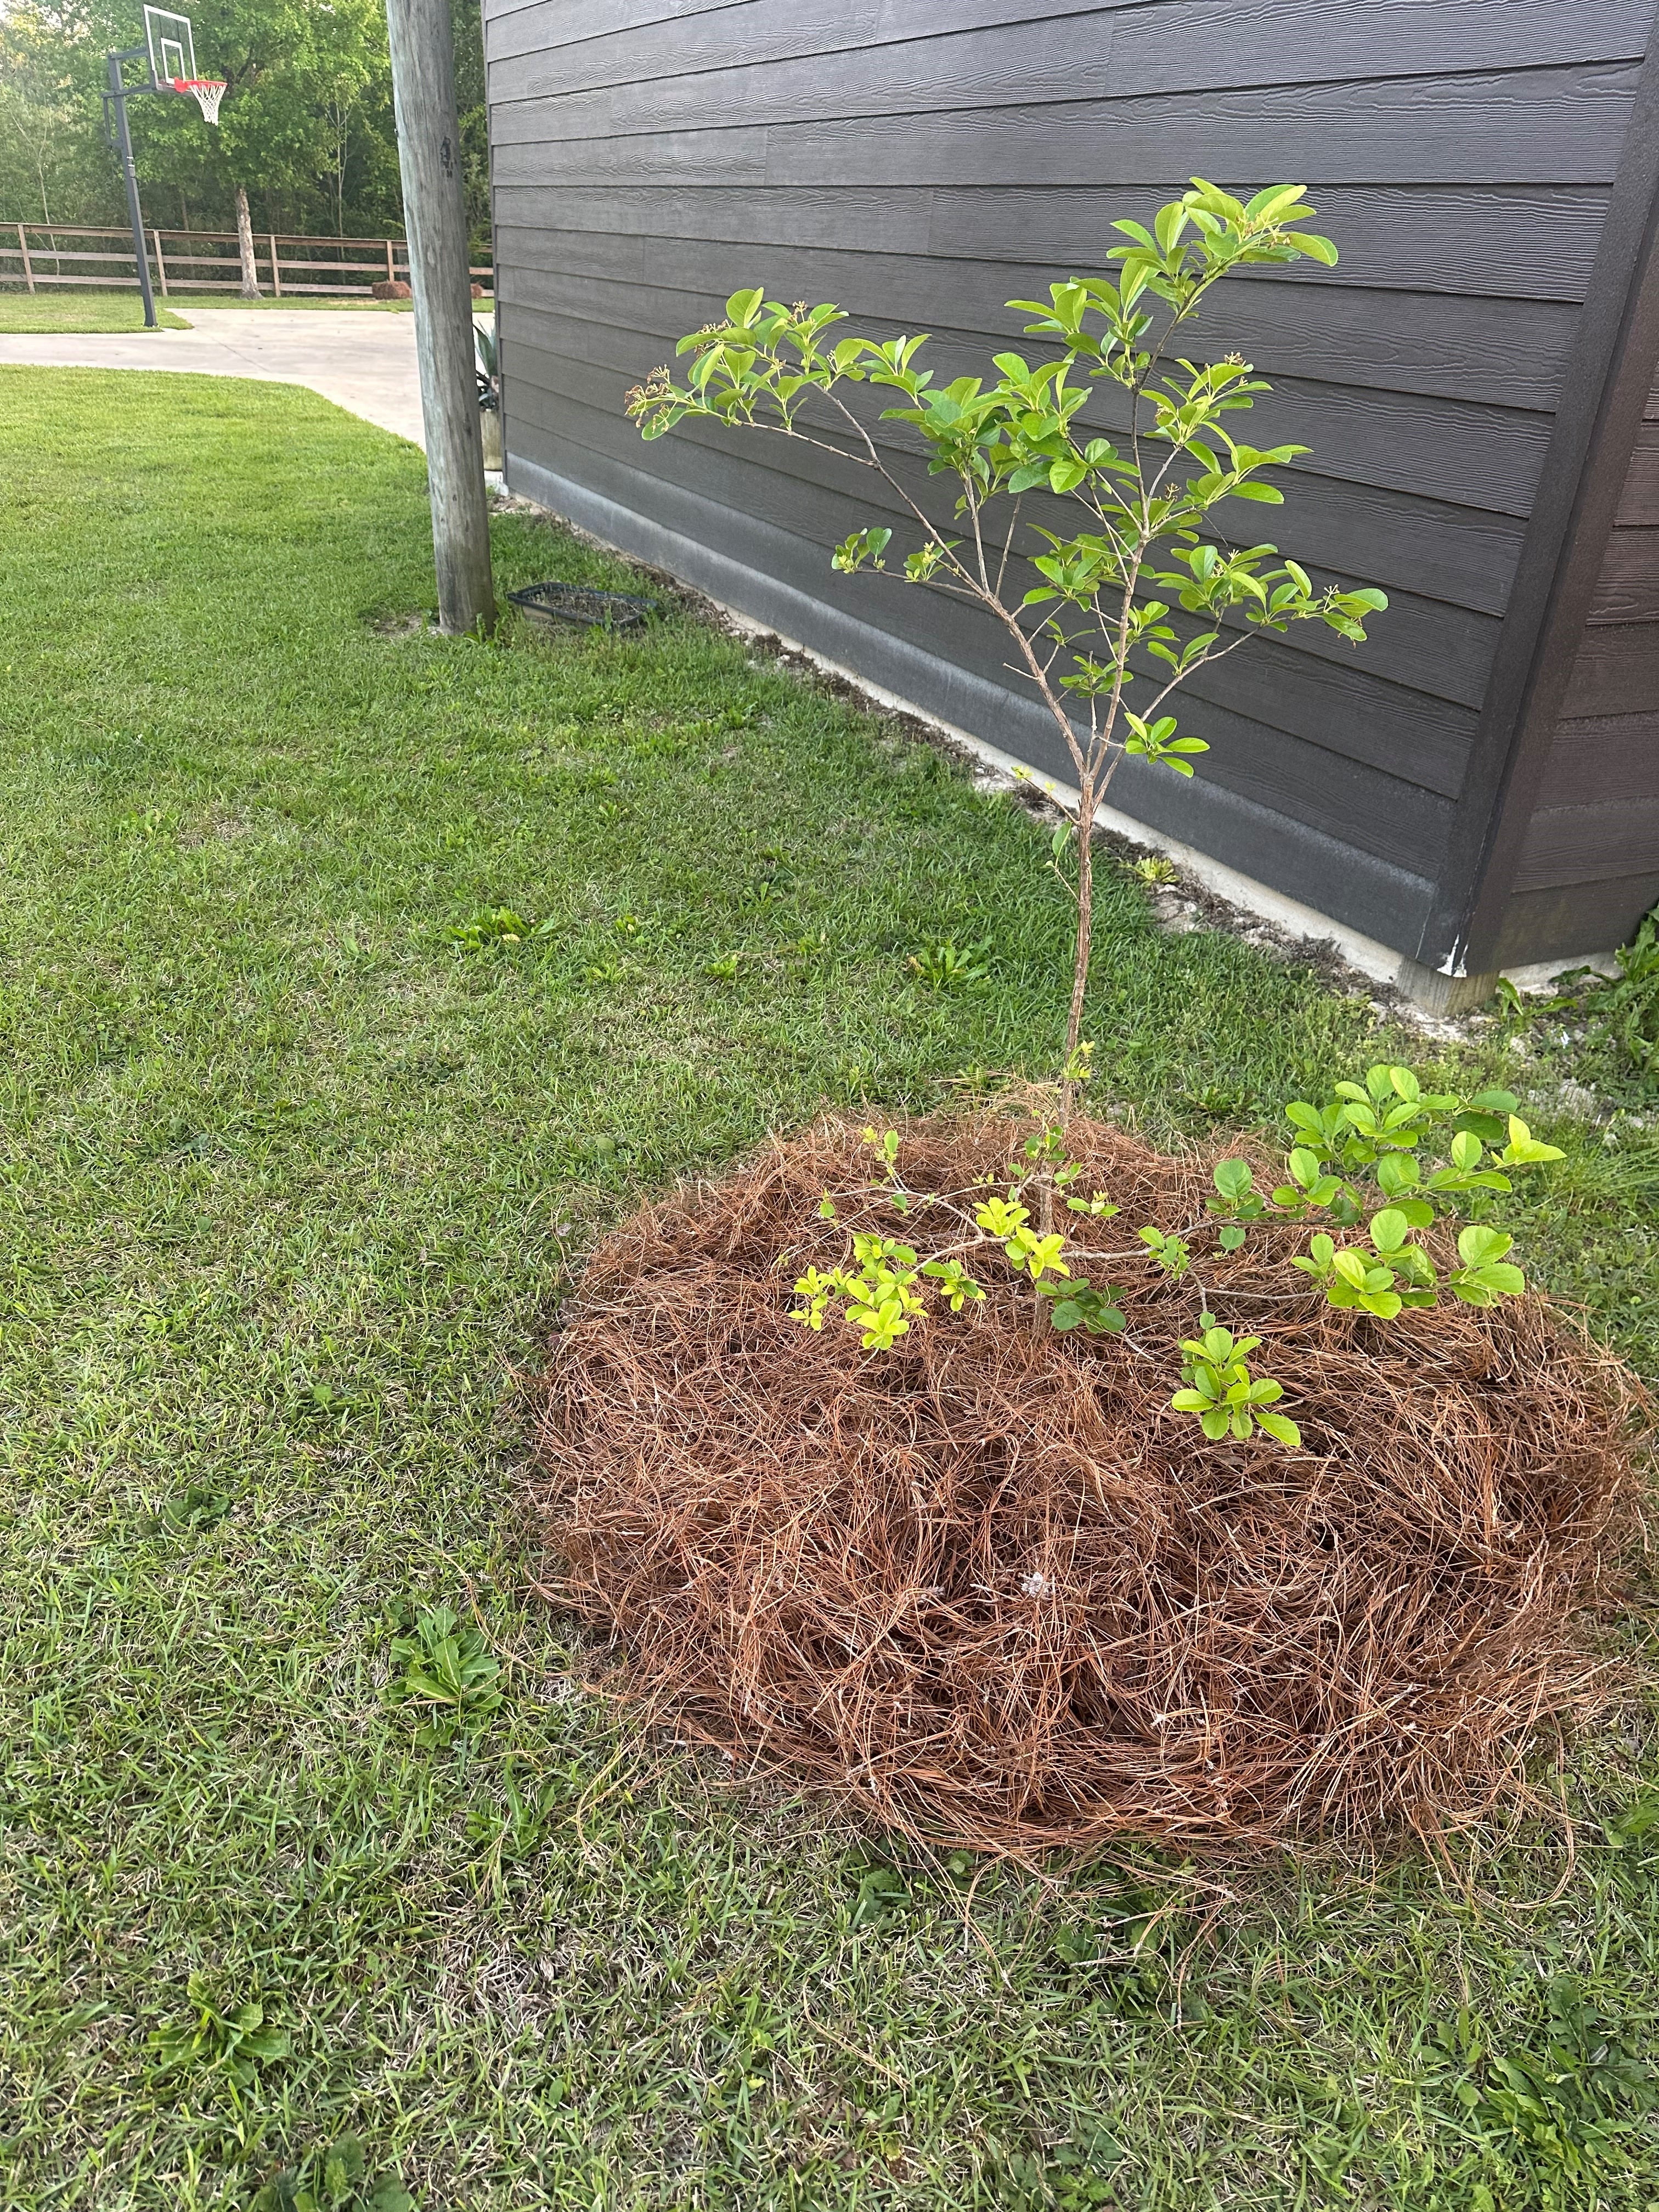
With cold temperatures having arrived in the Panhandle last week, we’re finally getting close to prime landscape planting season. But why is winter the best time to install landscape trees and shrubs? Shouldn’t we plant when things are leafed out and growing? While it’s counterintuitive to think bitter cold, dreary days are significantly better to plant landscape plants in than the warm, sunny days of summer, it’s usually true! Let’s explore why winter is the time to plant woody trees and shrubs and then look at some of the best woody plants no Panhandle landscape should be without.
Most people from elsewhere think that Florida is always lush, green, and tropical. Those people have clearly never been to the Panhandle – heck it snowed last year! Our region of Florida has more in common, climate wise, with the rest of the south – subtropical with long hot, humid summers and wet, mild winters (though rain has been hard to come by recently), occasionally wracked by intense cold fronts. Because of those cold fronts, tropical plants cannot survive, and woody plants enter a dormant stage where above ground growth ceases. This cold-forced dormant season is the perfect time to plant woody plants because the planting process is stressful (the root system is purposefully damaged to remove circling and J-shaped roots and encourage outward growth) and regular rainfall and cool temps means conditions are right for plants to get a solid root system re-established before growth and transpiration begins in the heat of spring/summer.
Now that you know why we plant woody landscape plants when we do, let’s select a few quintessential, versatile Florida-Friendly trees and shrubs (2 each, one native and one non-native) to install in our landscapes this planting season.
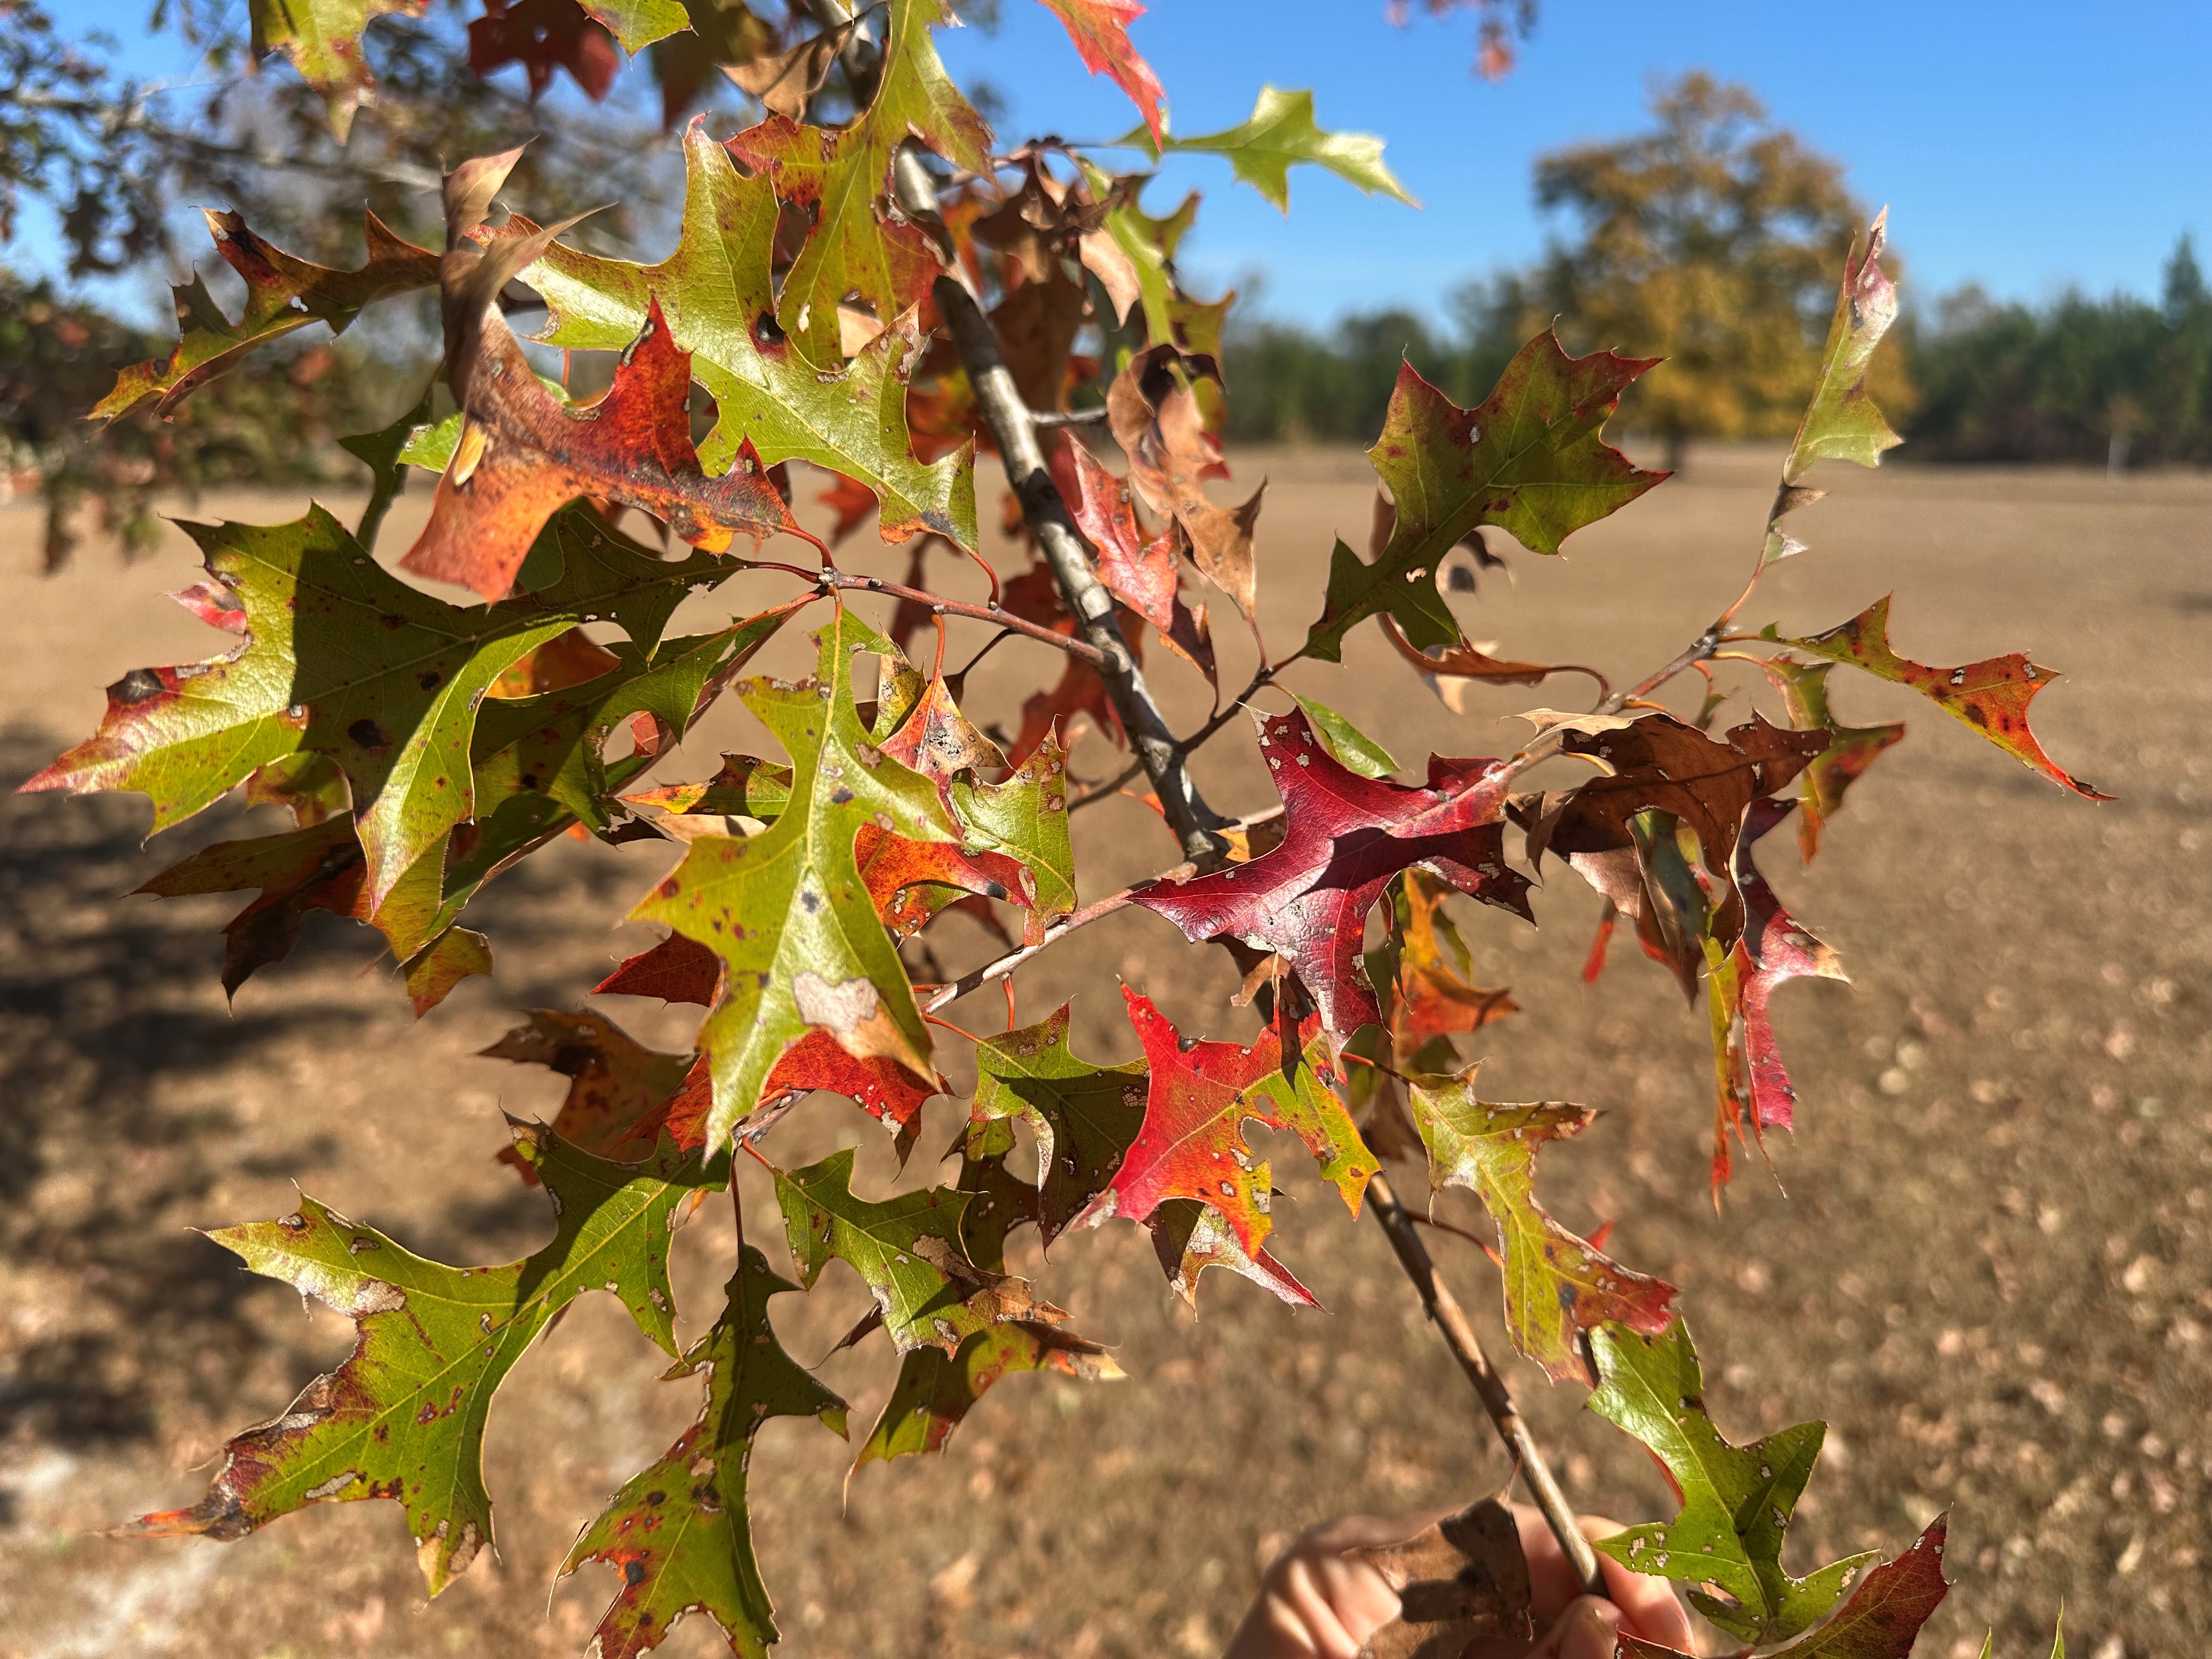
Nuttall Oak (Quercus texana) is one of the most adaptable landscape trees around. The species is tolerant of many soil types, native to moist bottomland areas but tolerating drier spots well once established. While it’s a large tree – up to 70-80’ tall, I find its rounded upright habit to often be more in scale with landscapes than the wide spreading Live Oak (Quercus virginiana). Nuttall Oak certainly has many positive attributes (tough, wind-resistant, pollinator friendly, etc), but its fall color is probably my favorite. For the Panhandle it is quite good, delivering autumnal hues of red and orange.
It’s not North Carolina Sugar Maple color but Nuttall Oak possesses attractive foliage. Photo courtesy of Daniel Leonard.
Crape Myrtle (Lagerstroemia indica) is the most widely grown landscape tree in the South for good reason! They’re tough, widely adapted, offer excellent summertime flower displays, and possess interesting architecture and unique bark. The primary consideration with Crape Myrtle is simply picking the right one. Do you need an upright, compact tree? Choose ‘Sioux’ or ‘Apalachee’. Do you want a big crape that can double as a small shade tree? Choose ‘Natchez’ or ‘Muskogee’. Do you want a new dwarf variety or one with black foliage? There’s now plenty of those to choose from as well. There’s truly a Crape Myrtle for every yard.
Oakleaf Hydrangea (Hydrangea quercifolia) is a wonderful native flowering deciduous shrub that’s at home in all Panhandle landscapes. It prefers moist soil with a little afternoon shade but can tolerate most conditions thrown at it. Growing 5-7’ in height, sporting footlong white flower panicles each summer, and beautiful foliage each fall, Oakleaf Hydrangea is a must. You can find unnamed seedlings of the species or look for named varieties such as ‘Snow Queen’, ‘Semmes Beauty’, and ‘Alice’. In my experience, you can’t go wrong with any of them.
Camellia Sasanqua is without a doubt my favorite fall flowering shrub. Impossibly durable (it’s common to find specimens over 100 years old), incredibly beautiful in flower and form, and coming in all shapes, sizes, and flower color, a Sasanqua of some kind belongs in ever yard. A few of my favorites are ‘Leslie Ann’ (upright form, white/pink bicolored flowers), ‘Shi Shi Gashira’ (dwarf that makes an excellent informal hedge), and ‘Yuletide’ (compact plant with red flowers & showy gold stamens).
So, as the weather continues to be mild with those cold front swings occasionally and rain begins to be more regular, think about getting some woody trees and shrubs planted into your landscape this winter. Keep in mind the excellent above selections and be sure to check out the Florida-Friendly Landscaping Plant Guide for more possibilities! Happy Gardening!
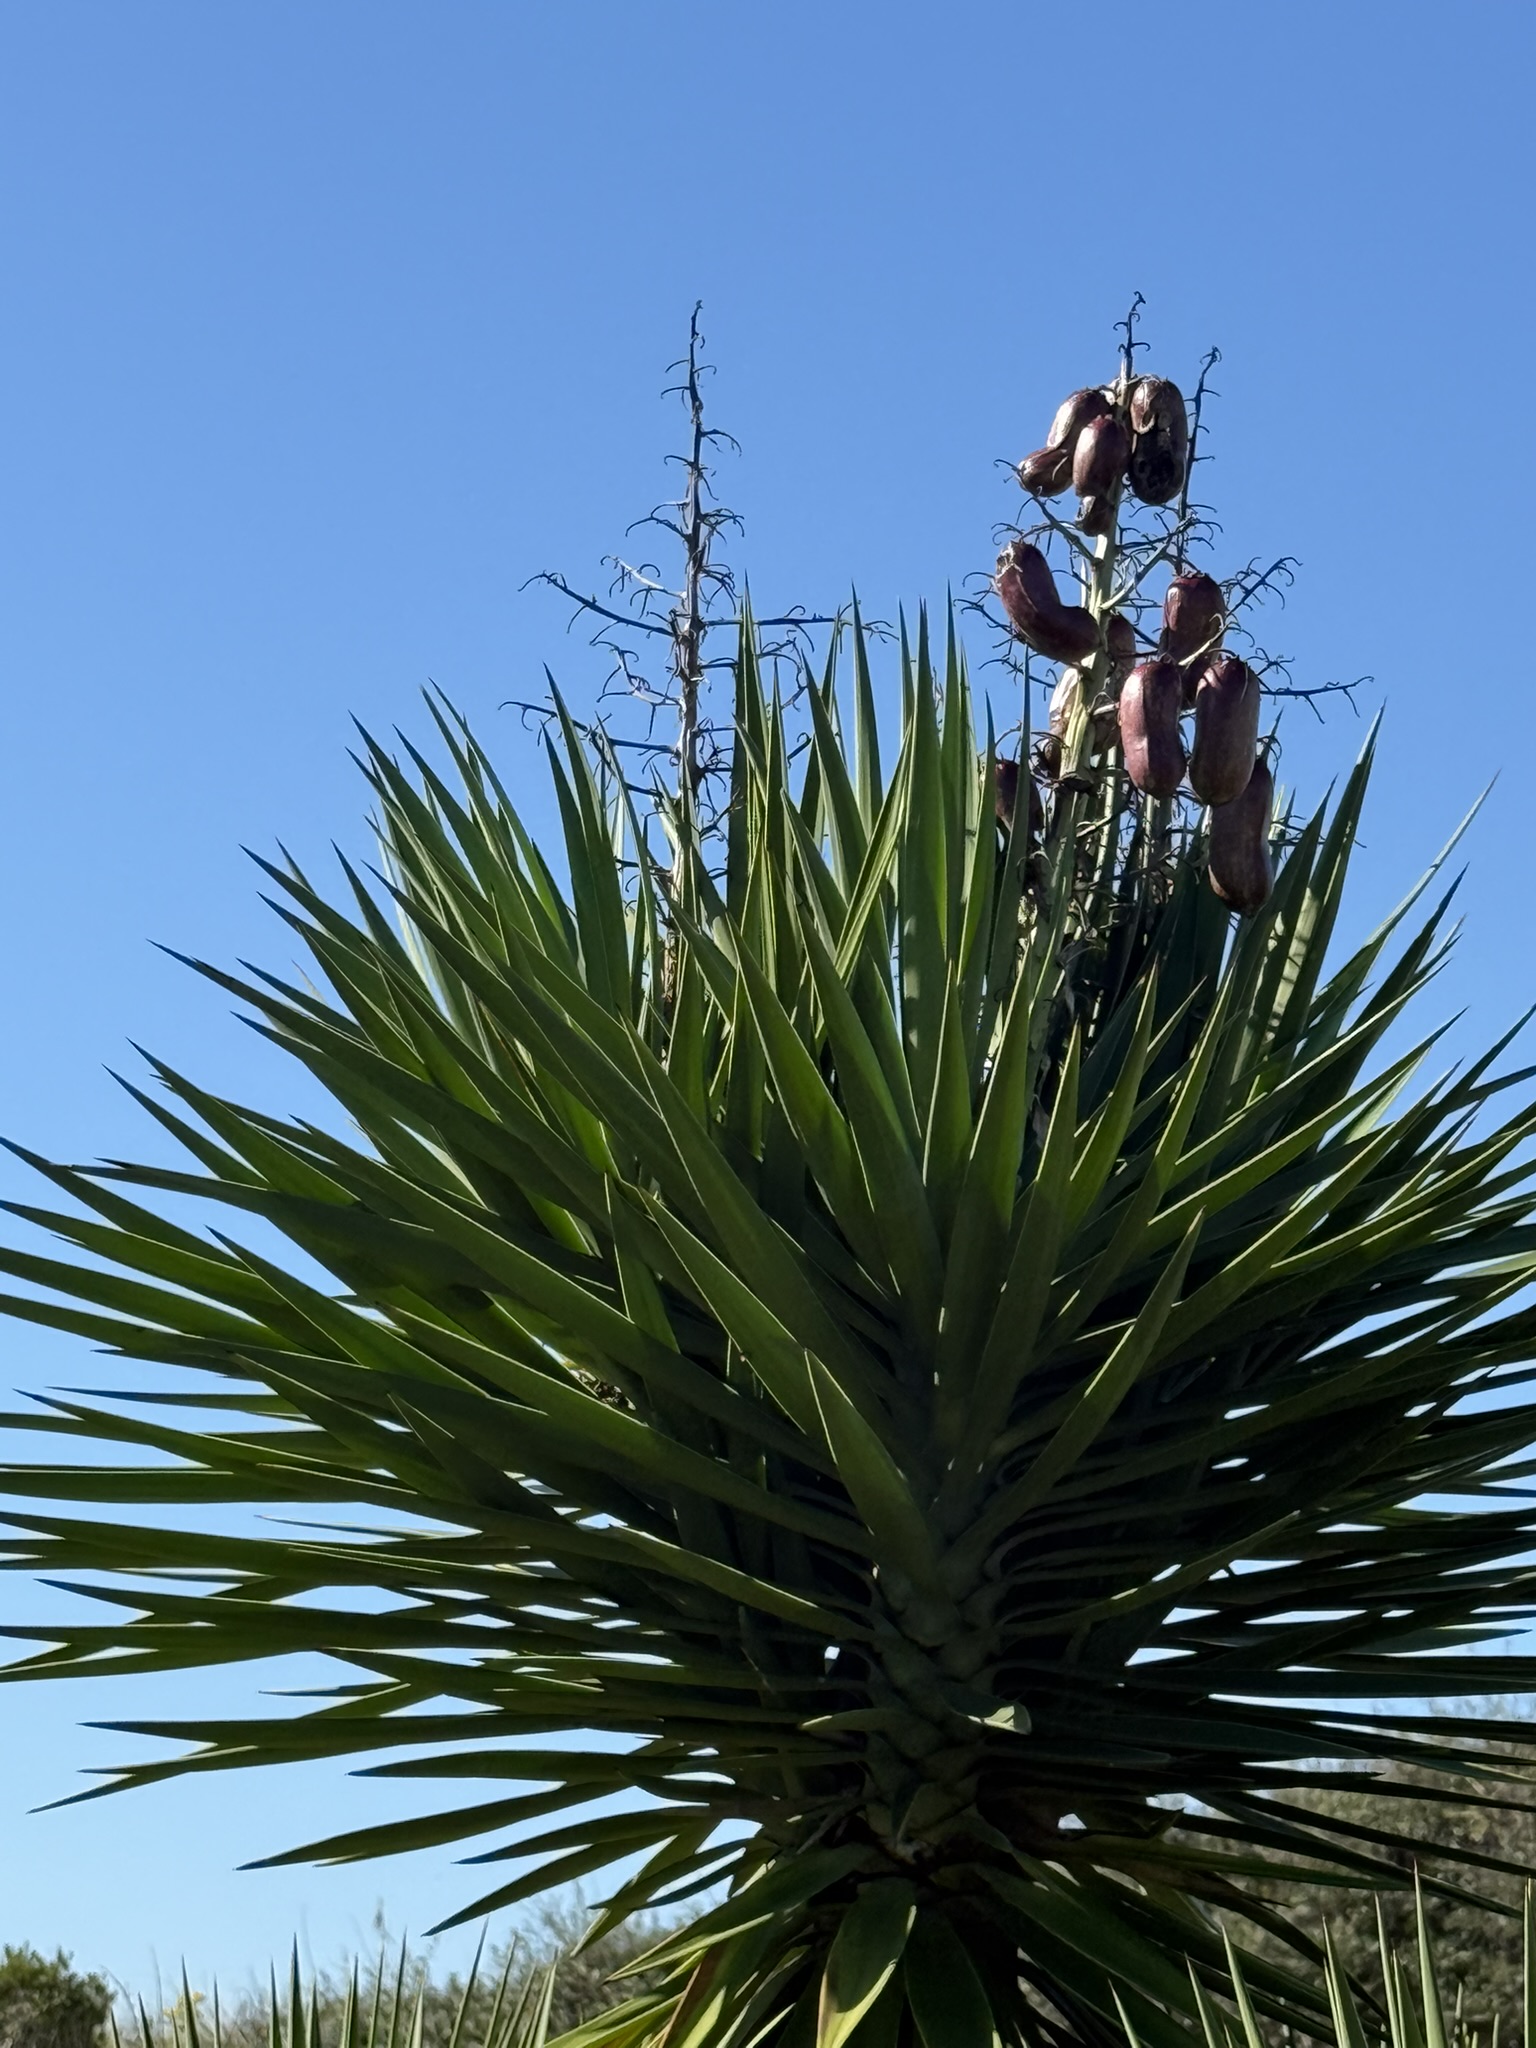
Spanish bayonet plants growing on the back side of a dune at Grayton Beach State Park. Photo credit: Carrie Stevenson, UF IFAS Extension
When you think of self-defense in the natural world, it’s normal to lean towards the animal kingdom. Between their intimidating teeth, claws, horns, and venom, animals can hold their own in a physical battle for dominance or survival.
But plants are no slouch in this department, either. In the book, “Wicked Plants: The Weed that Killed Lincoln’s Mother & Other Botanical Atrocities,” the author discusses no fewer than 200 plants with deadly poisonous properties. Many plants have also evolved spines and thorns, rash-inducing toxins, and thick bark or waxy coatings that keep disease, water, and anything attempting to feed on them out.
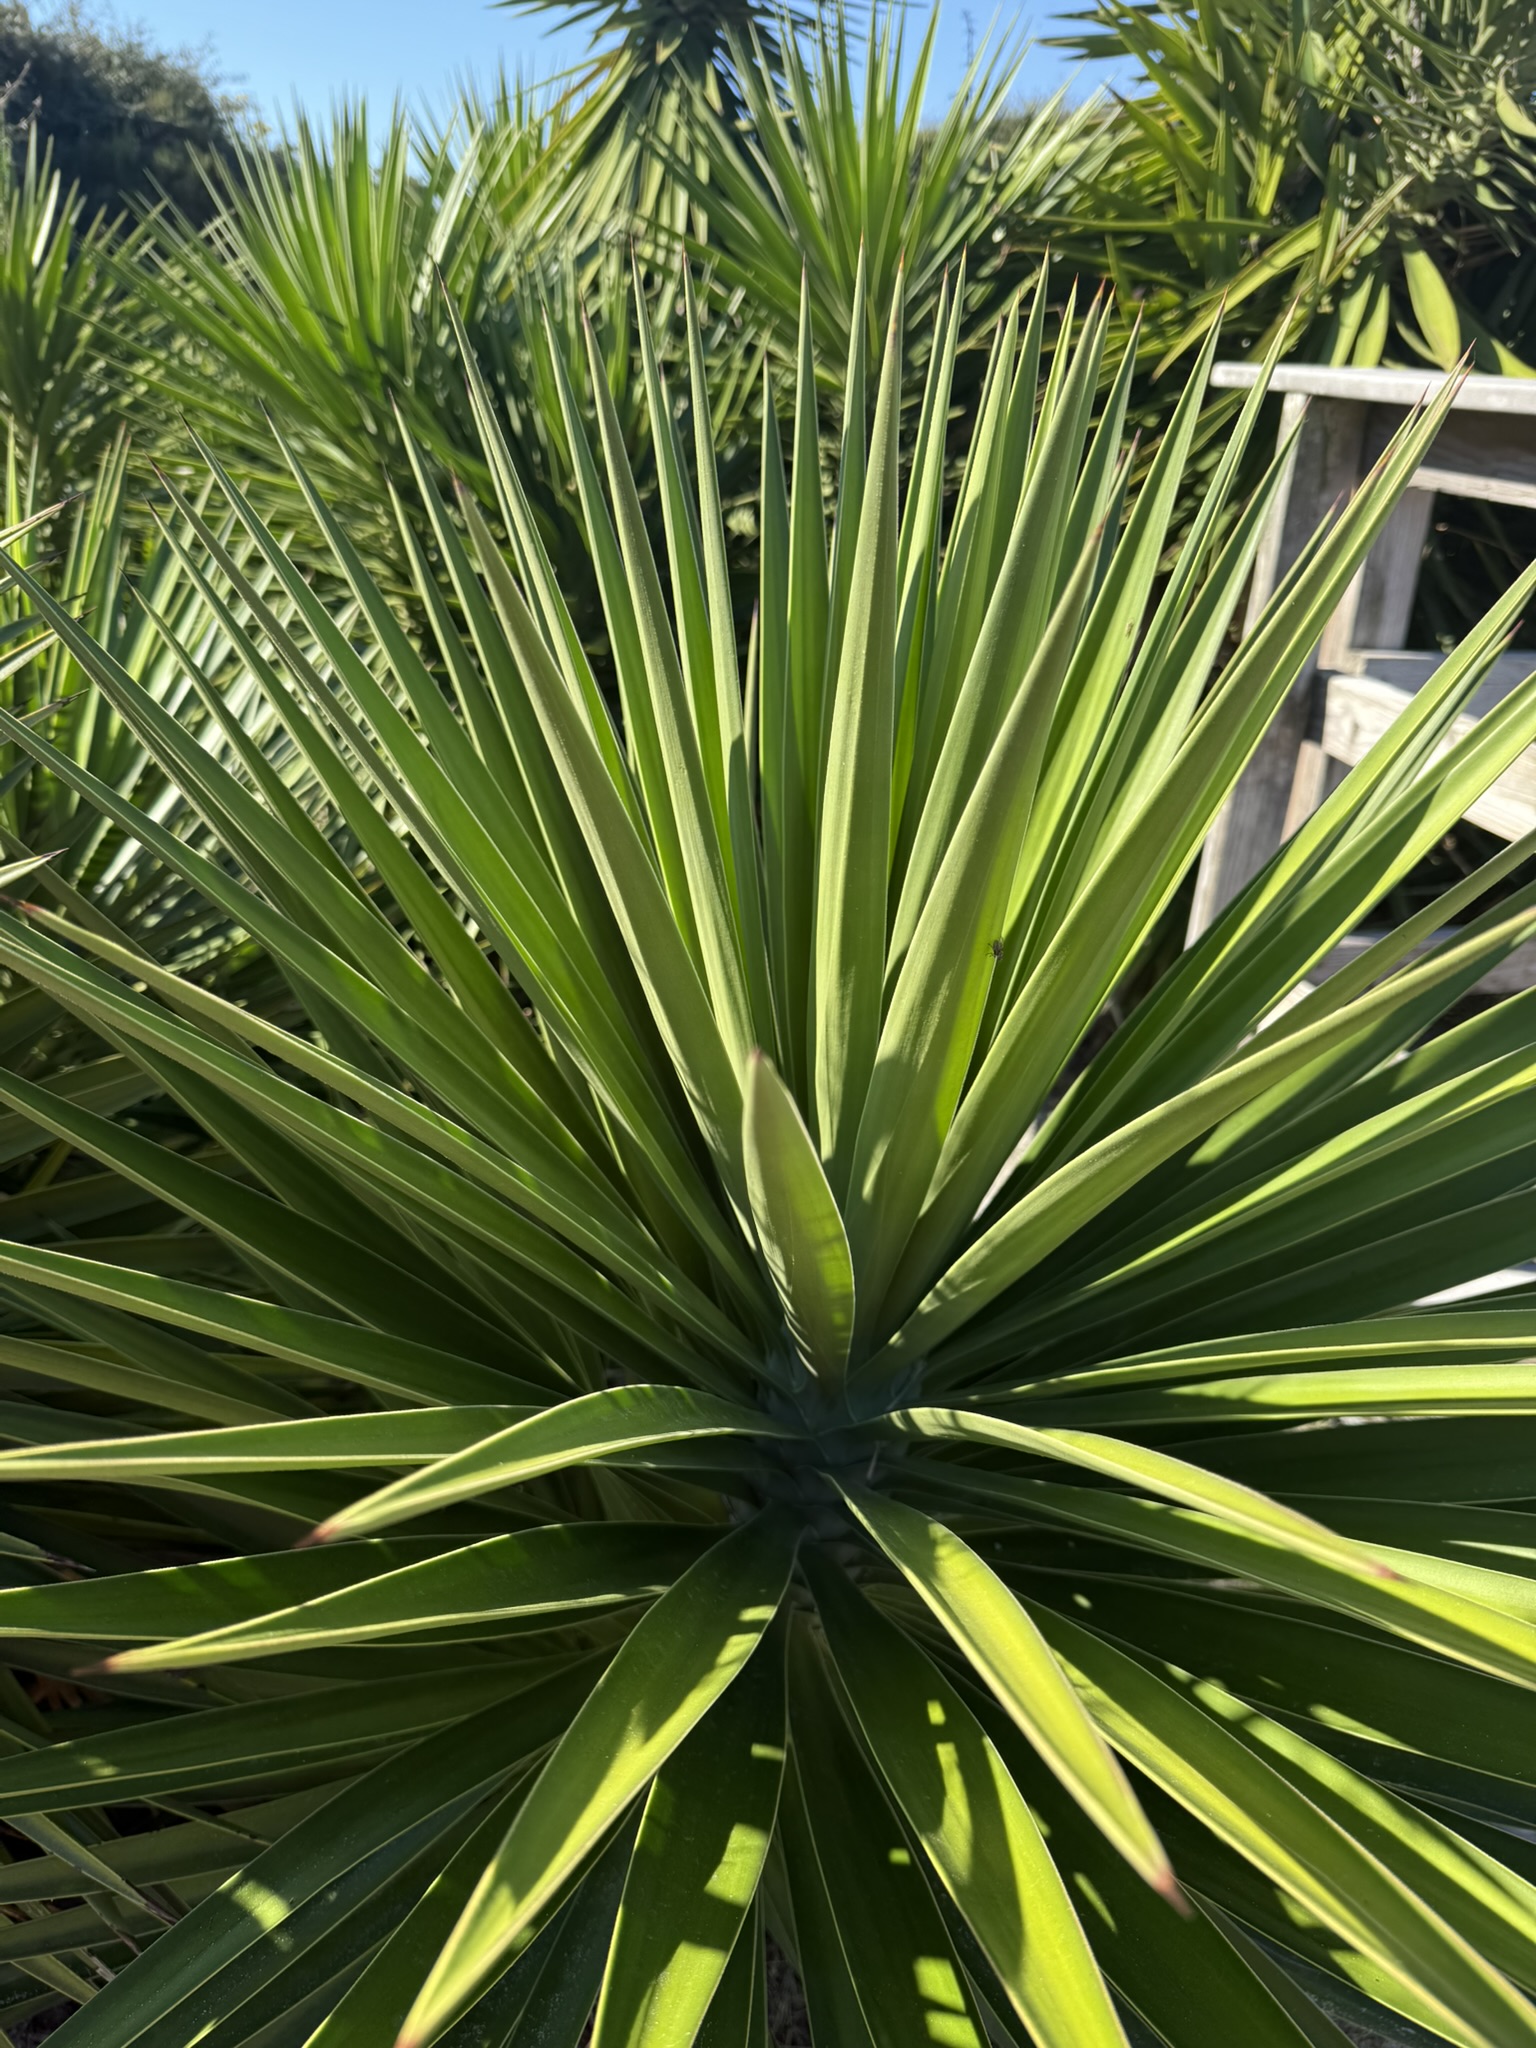
The sharp spines of yucca plants serve as self-defense, but can also be used for making tools. Photo credit: Carrie Stevenson, UF IFAS Extension
Yucca plants display several examples of vegetative self-defense. Even the common names of several Florida species; Adam’s needle, Spanish dagger, and Spanish bayonet, signal their obvious danger. They are native to deserts and desert-like conditions, including the dry, sandy dunes of Florida beaches. Dry habitats lend themselves to tough plants, as they adapt thick leaves to keep water in and needles or thorns to collect and condense water and ward off herbivores that might seek their stored water resources. Yucca are of course highly salt and drought tolerant, so they make great landscape plants for coastal properties.
Brown seed pods visible on a yucca plant in the fall. Photo credit: Carrie Stevenson, UF IFAS Extension
Spanish bayonet, one of several species common to Florida, is so intimidating that I regularly see homeowners plant it under windows as a burglary deterrent. Its leaves taper into a stiff and potentially painful point. If you look around online, there are numerous instructional videos and articles from survivalist or “bushcraft” enthusiasts explaining how to strip the leaves, leaving only the point and several fibers for a DIY needle and thread. This technique has been passed down for generations and is useful for building and repairing shelters or clothing. The tough filamentous fibers were used for weaving blankets and baskets.
The bell-shaped flowers are highly attractive to butterflies, and also edible for humans (although be careful, some people report itchy reactions). After spring blooming, brown seed pods will remain on the upright stalks through the fall.
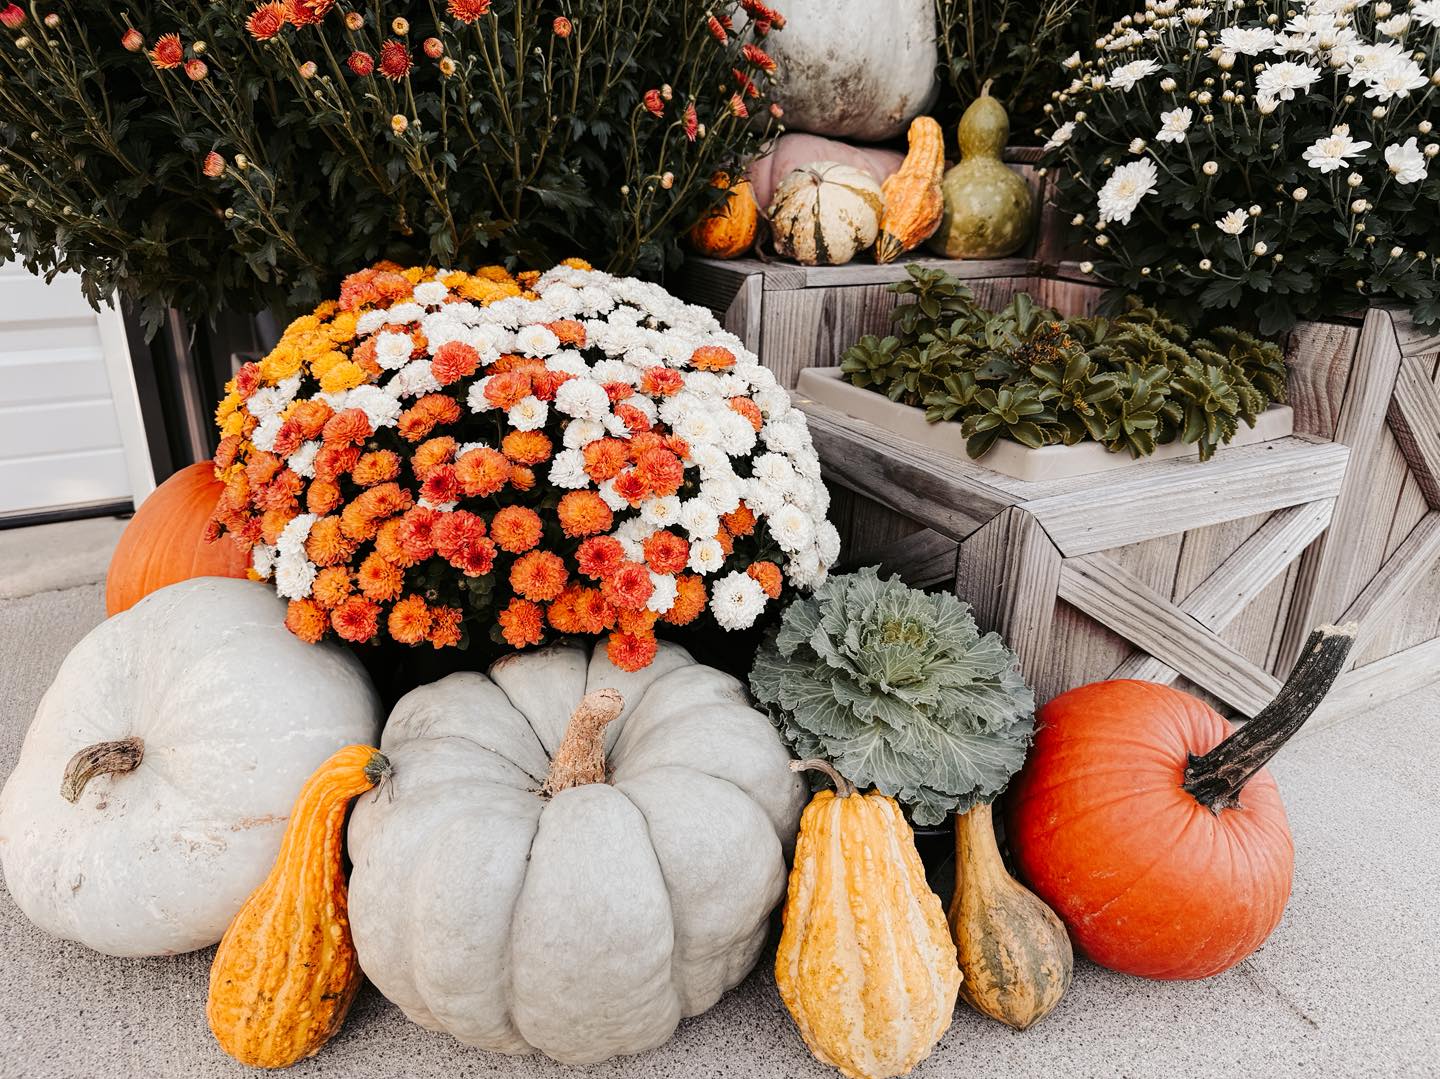
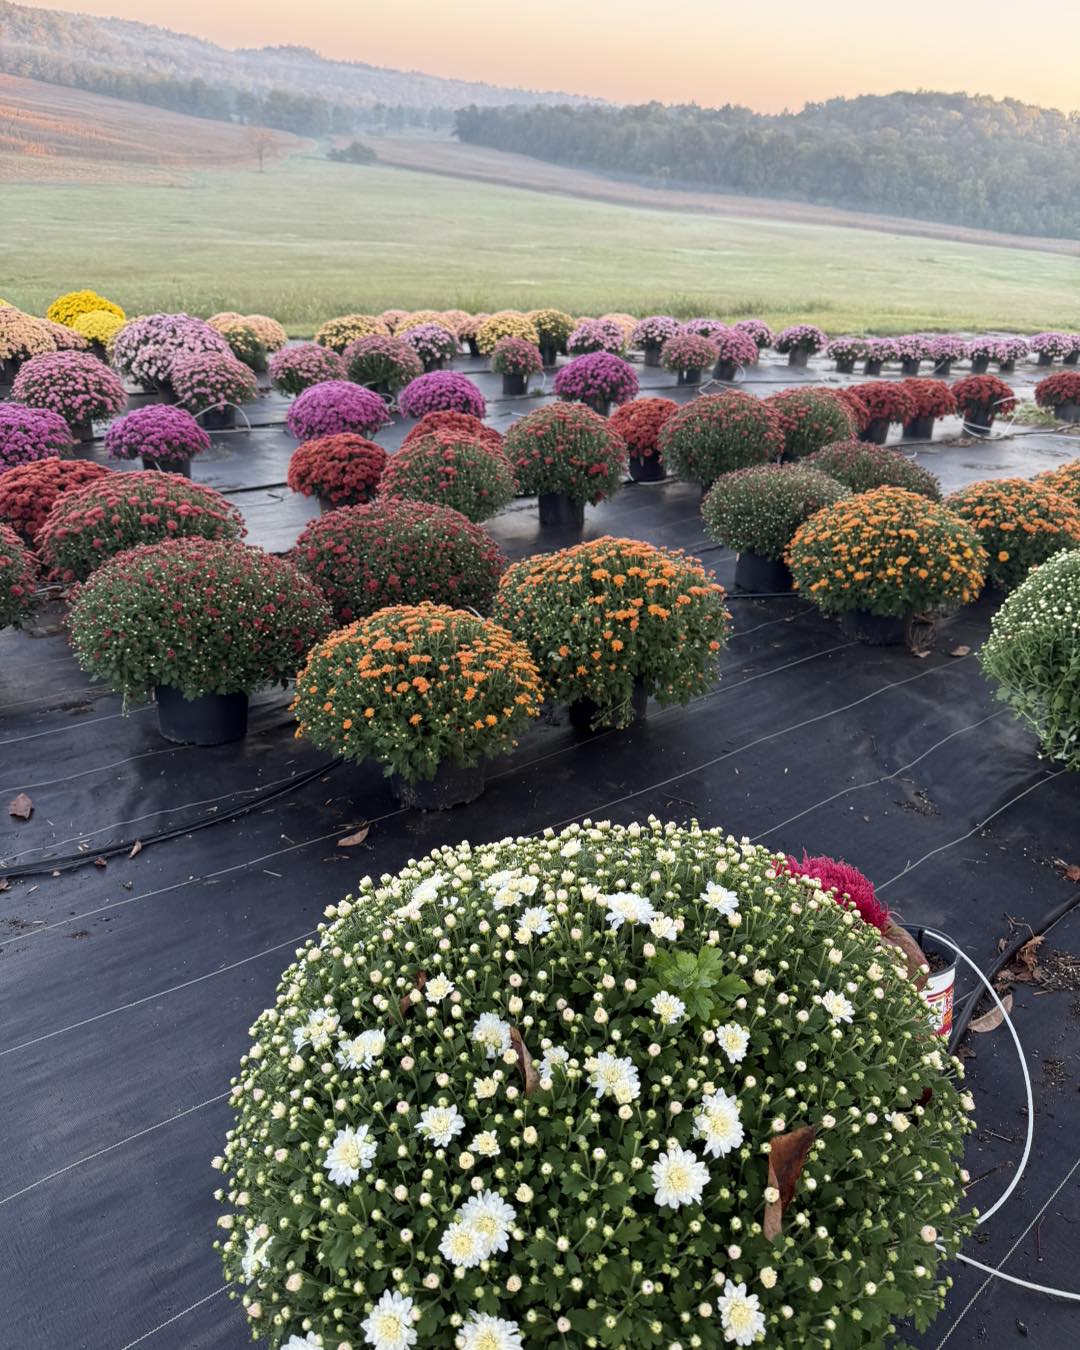
If you have walked through any retail garden centers lately, you probably have seen some bright colored fall flowers. These pretty plants are what we call mums, or chrysanthemums. Mum flowers are a fall staple in the south to see on a front porch or any fall decorated scape. They pair great with an heirloom pumpkin or some ornamental kale. Growing up in Kentucky, mums are everywhere you turn this time of year. But how can you make the most of your mums this fall? Follow along for great tips to keep your mums fresh for the next several weeks.
Mum Fall Design. Photo Credit: Danielle Allen, Glory Goods- Irvington, KY
When shopping for the perfect mum for your porch, it is best to try and select a pot that has not fully bloomed yet. Chrysanthemums come in a variety of colors and some varieties even bloom more than one color (I love Candy Corn Mums!), but it is crucial to choose a plant that is not showing any color at all yet. The more blooms, the less life span you will get. Many wholesale mum growers will “de-head” the blooms or remove the buds appearing closest to opening when they are closer to market time to keep the inventory prettier for the consumer. It’s also important to select plants that look healthier. Mums bloom in a mounding fashion, so having uneven bloom patterns or discoloration is not a good sign. It’s also good practice to remove blooms as they begin to die off to make room for new ones.
In the last several weeks in Jackson County there has been little to no rain fall. It’s important during dry spells like these to keep your mums saturated but not sopping wet. Mum flowers love to be watered from the bottom. To do this, set the pot in a bucket of water no longer than 15 minutes at a time to allow the soil to hydrate thoroughly. Watering your mum from the top can increase chances of bacteria and fungus growing on your blooms and can cause uneven blooming patterns. Mums need full sun to grow, so monitoring their dryness is important so your plants don’t dry out completely.
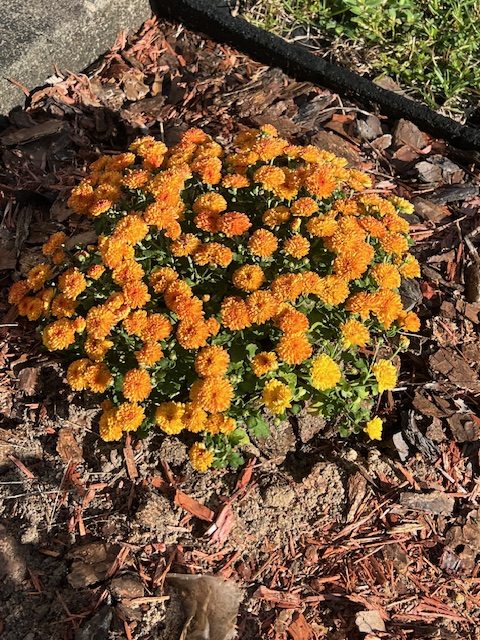
Okay, so Halloween is over, you hear the turkey gobbling, and Santa’s sleigh is on the horizon; this doesn’t mean throw out your mums! You can easily keep your mums in containers until December, but there is a risk of frost. When the temps drop below 40 degrees Fahrenheit at night, covering mums with old towels or sheets and removing them in the morning is best practice to keep your blooms frost-safe. You can also plant your mums in the ground. If you chose to do this, it is best to amend with compost as most mums are not acclimated to sandy soil.
Mum in the Ground. Photo Credit: Abbey Smith, UF/IFAS Extension
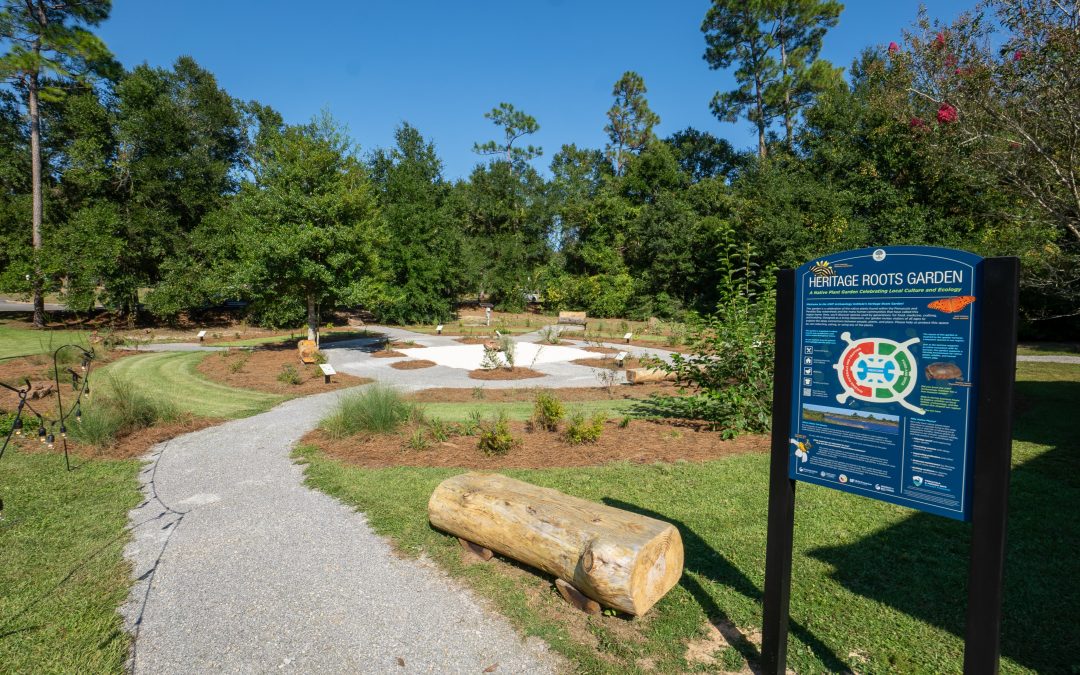
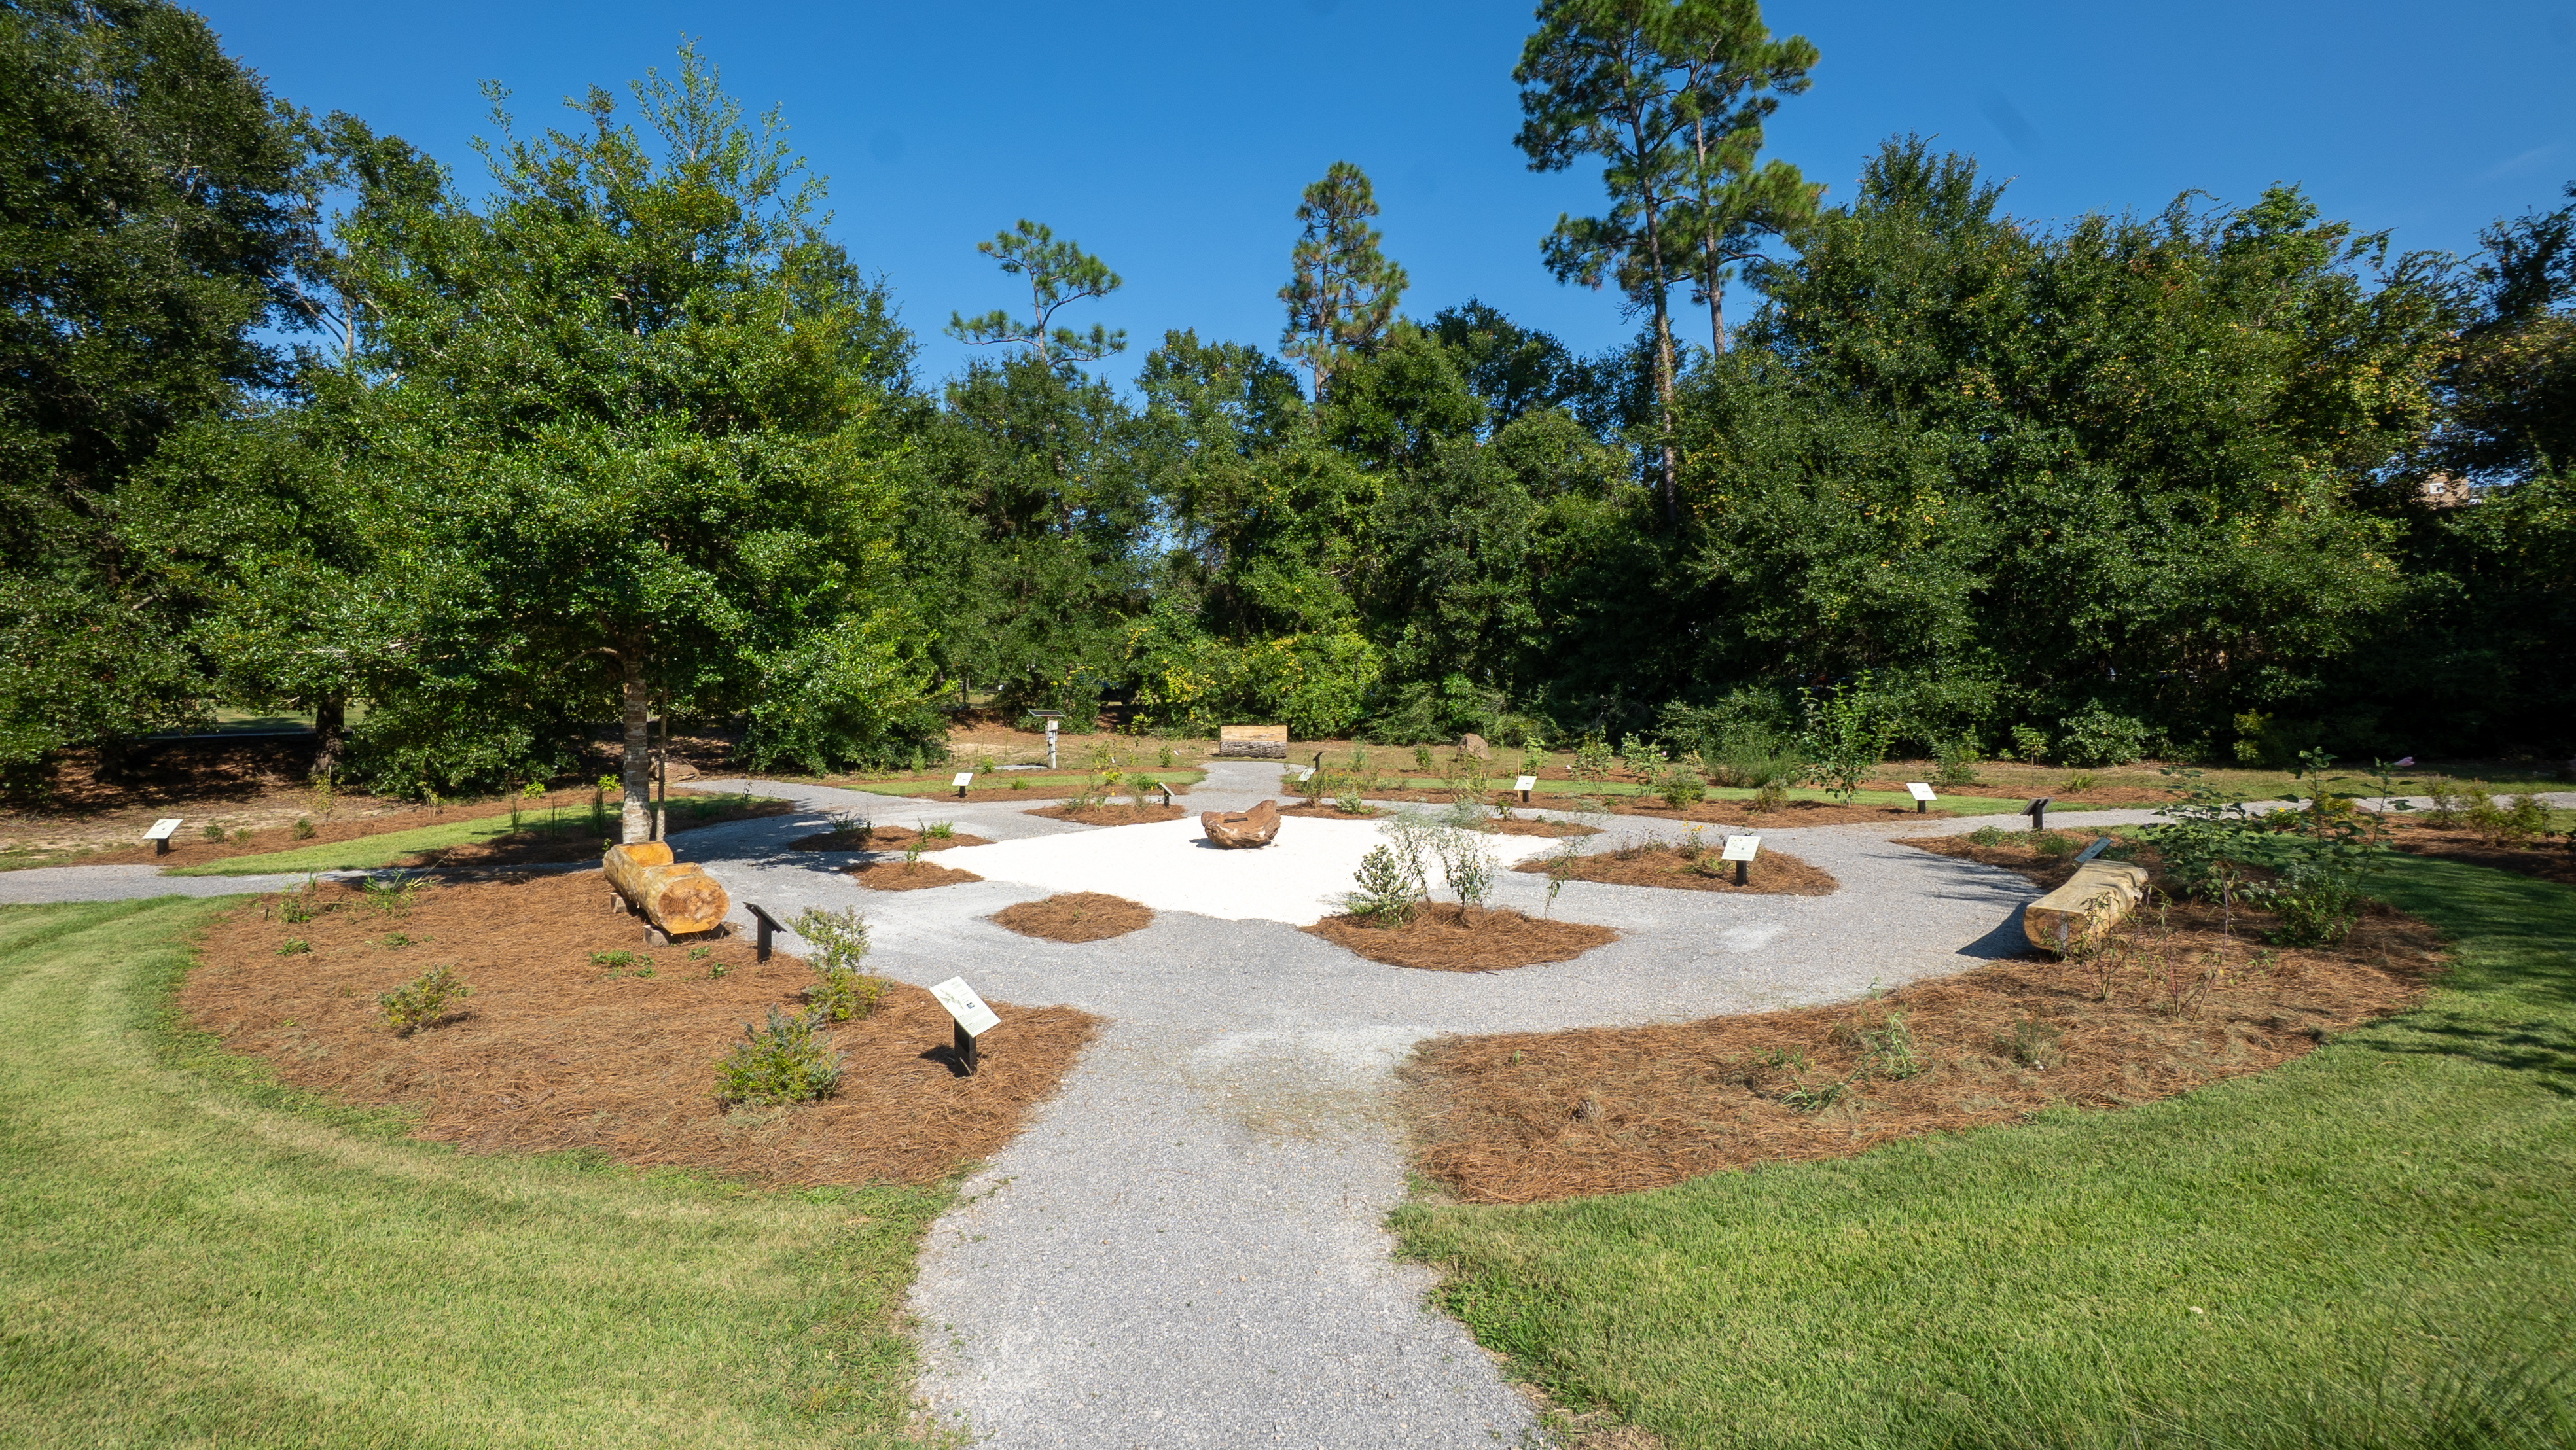
A view of the recently completed UWF Heritage Roots Garden. Photo credit: Mike Thomin, Florida Public Archaeology Network
Just about a year ago, a dream team of history and plant nerds assembled around a common goal. The idea was to transform an open, weedy space adjacent to the University of West Florida (UWF) Archaeology Institute into a lush garden. The garden would be unique, however, in its purpose; to showcase native plants important to the wide swath of humanity that has made northwest Florida home for centuries. The plants featured here were to be planted deliberately, demonstrating how human relationships with vegetation over time have made the area habitable.
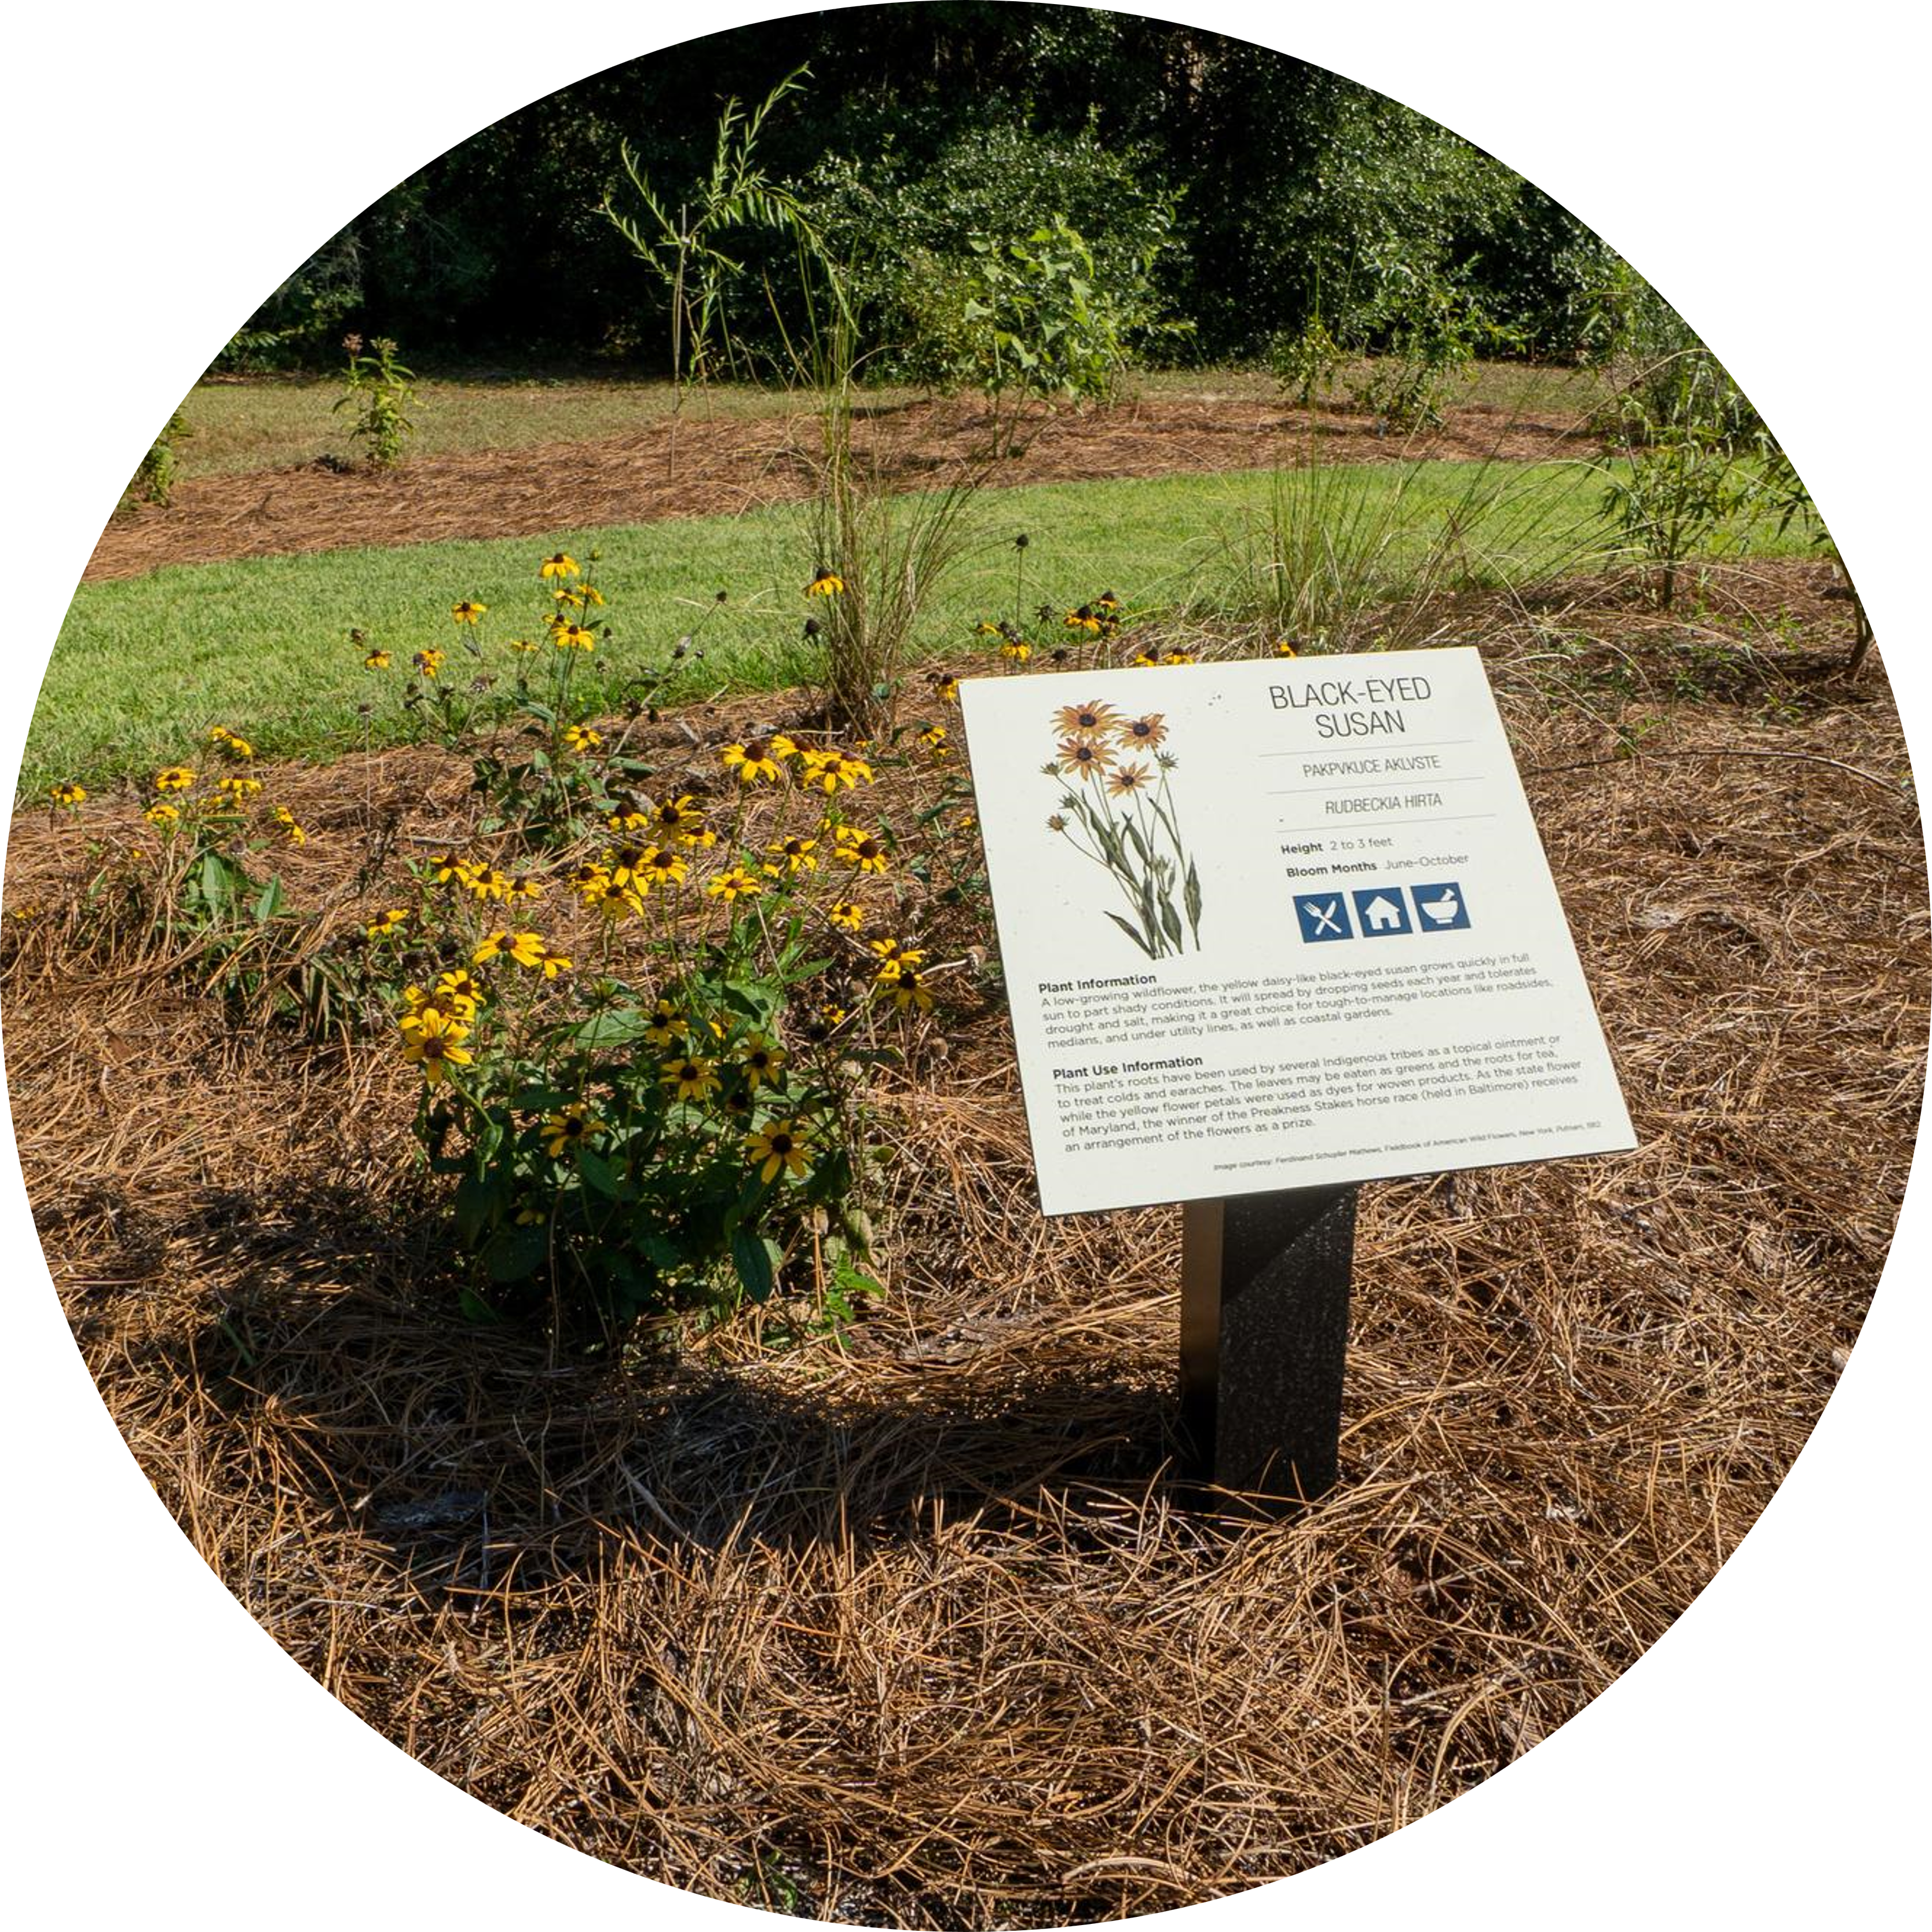
This sign describing the edible, medicinal, and building uses of Black-eyed Susan plants is typical of the educational information at the garden. Photo credit: Mike Thomin, Florida Public Archeology Network.
If you walk on the site today, that idea and initial sketches have been made reality. Concentric circles of gravel, mulch, and grass form the shape of a gopher tortoise shell. The tortoise has spiritual significance to members of the local Muscogee tribe and ecological importance as a keystone species. Within the planted space are native groundcovers, shrubs, and trees that have long provided food, traditional medicine, building materials, and dyes and textiles for clothing. This flora makes human life tolerable in a hot, rainy, often difficult environment.
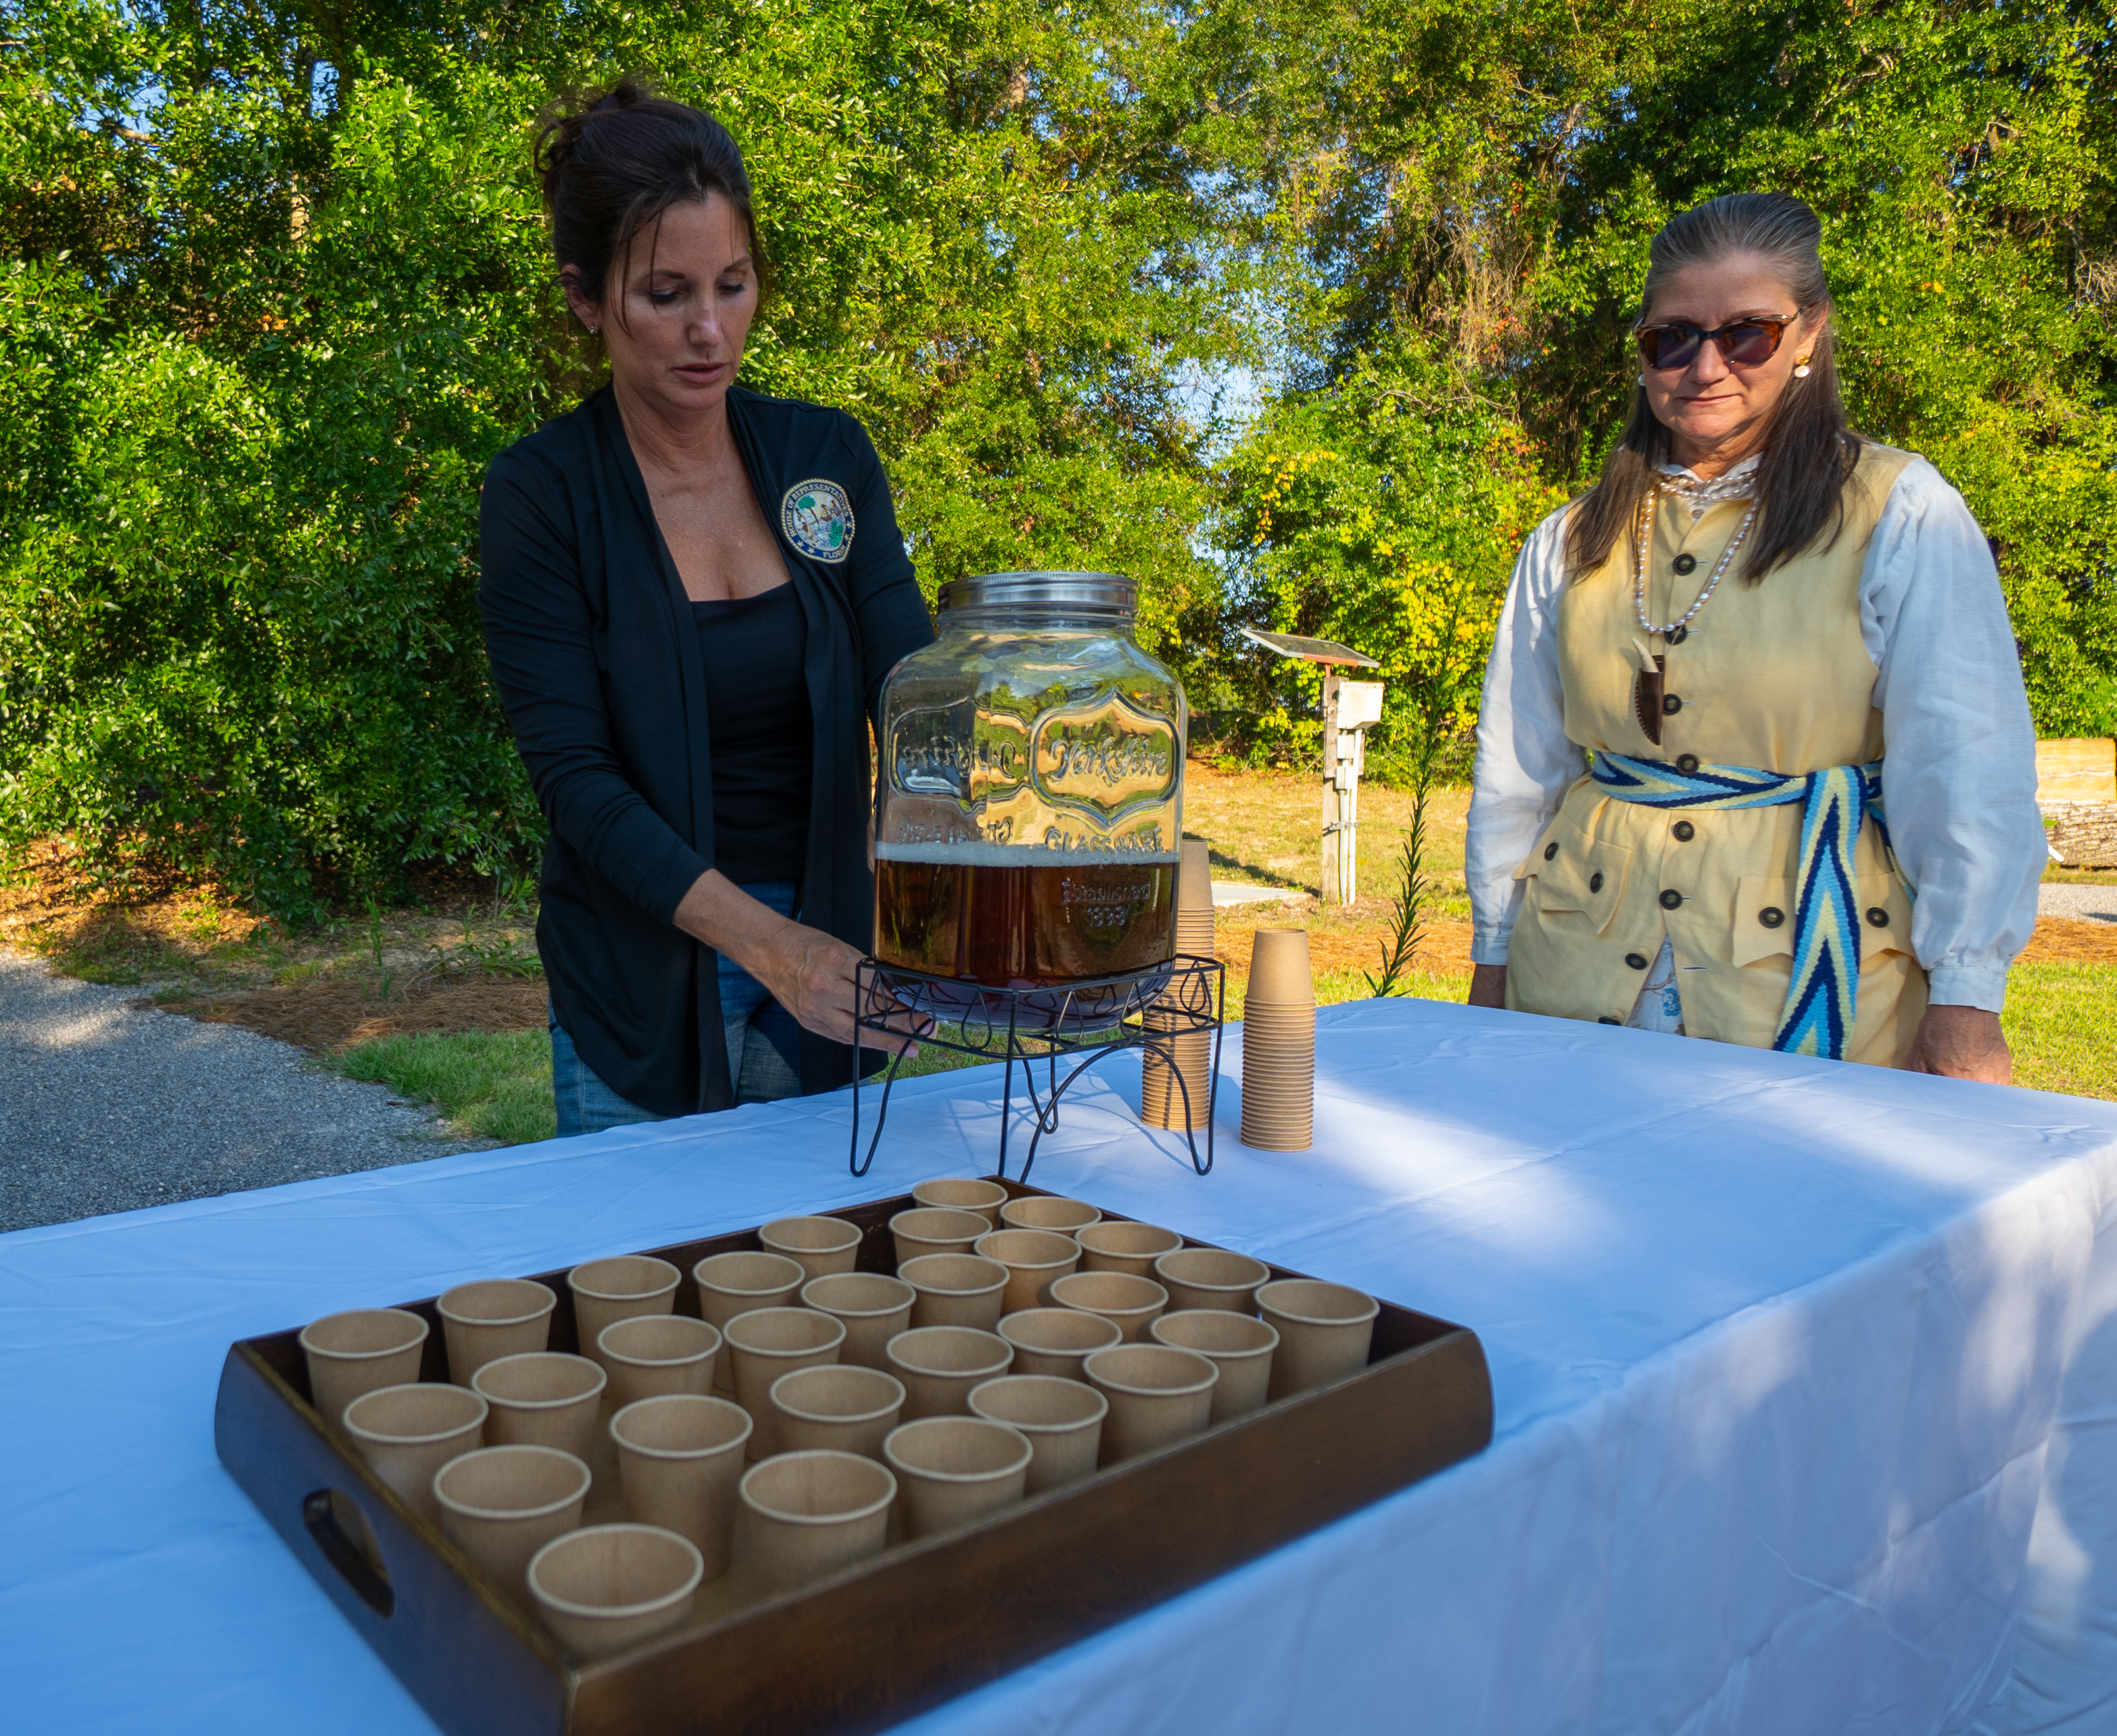
Locally brewed yaupon tea was served as part of the opening ceremony for the garden. Photo credit: Mike Thomin, Florida Public Archaeology Network.
Illustrated signage designed for the site explains ethnobotanical principles, highlighting the relationship that people have had with fifteen plants as they provided healing, nourishment, or protection over the years. The plants are identified on signage in Latin binomial, English common names, and Muscogee language. At the center of the garden is a gravel rectangular space, highlighted by a large piece of local iron rock that represents the tribal Sacred Fire.
One featured plant includes the yaupon holly (Ilex vomitoria), whose leaves are brewed as a highly caffeinated tea. The tea is used ceremonially by many southeastern American Indian tribes, and was popular with early American settlers when tea was difficult to import. Yaupon tea is experiencing a bit of a popular resurgence, with commercial products readily available now. Known as the “black drink,” we all drank a cup of the tasty beverage as part of the open house and ceremonial blessing of the garden a few weeks ago.
Chief Dan Helms of the Santa Rosa Band of the Lower Muscogee tribe blesses the UWF Heritage Garden. Photo credit: Mike Thomin, Florida Public Archaeology Network.
The design team developed a scavenger hunt for youth visitors and is working on a self-guided tour to educate the public about native plants, their cultural heritage, and their role in supporting a healthy watershed. The garden is open to the public during daytime hours, and located near the entrance to UWF at the eastern corner of University Parkway and Campus Drive.
Habitat, whether for wildlife or people, relies on the provision of food, water, shelter, and space. All these needs are met within the UWF Heritage Roots Garden. We hope that visitors will develop a deeper appreciation of the region’s historical and ecological legacy, strengthening modern cultural connections with the past. We hope to tie in the Heritage Garden to other UWF campus garden spaces, including the Edward Ball Nature Trail and the UWF Community Garden.