by Sheila Dunning | Apr 21, 2016

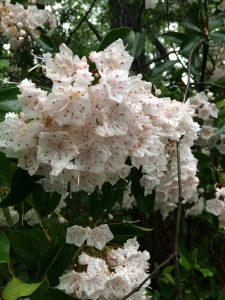
Mountain laurel. Photo credit: Sheila Dunning, UF/IFAS Extension.
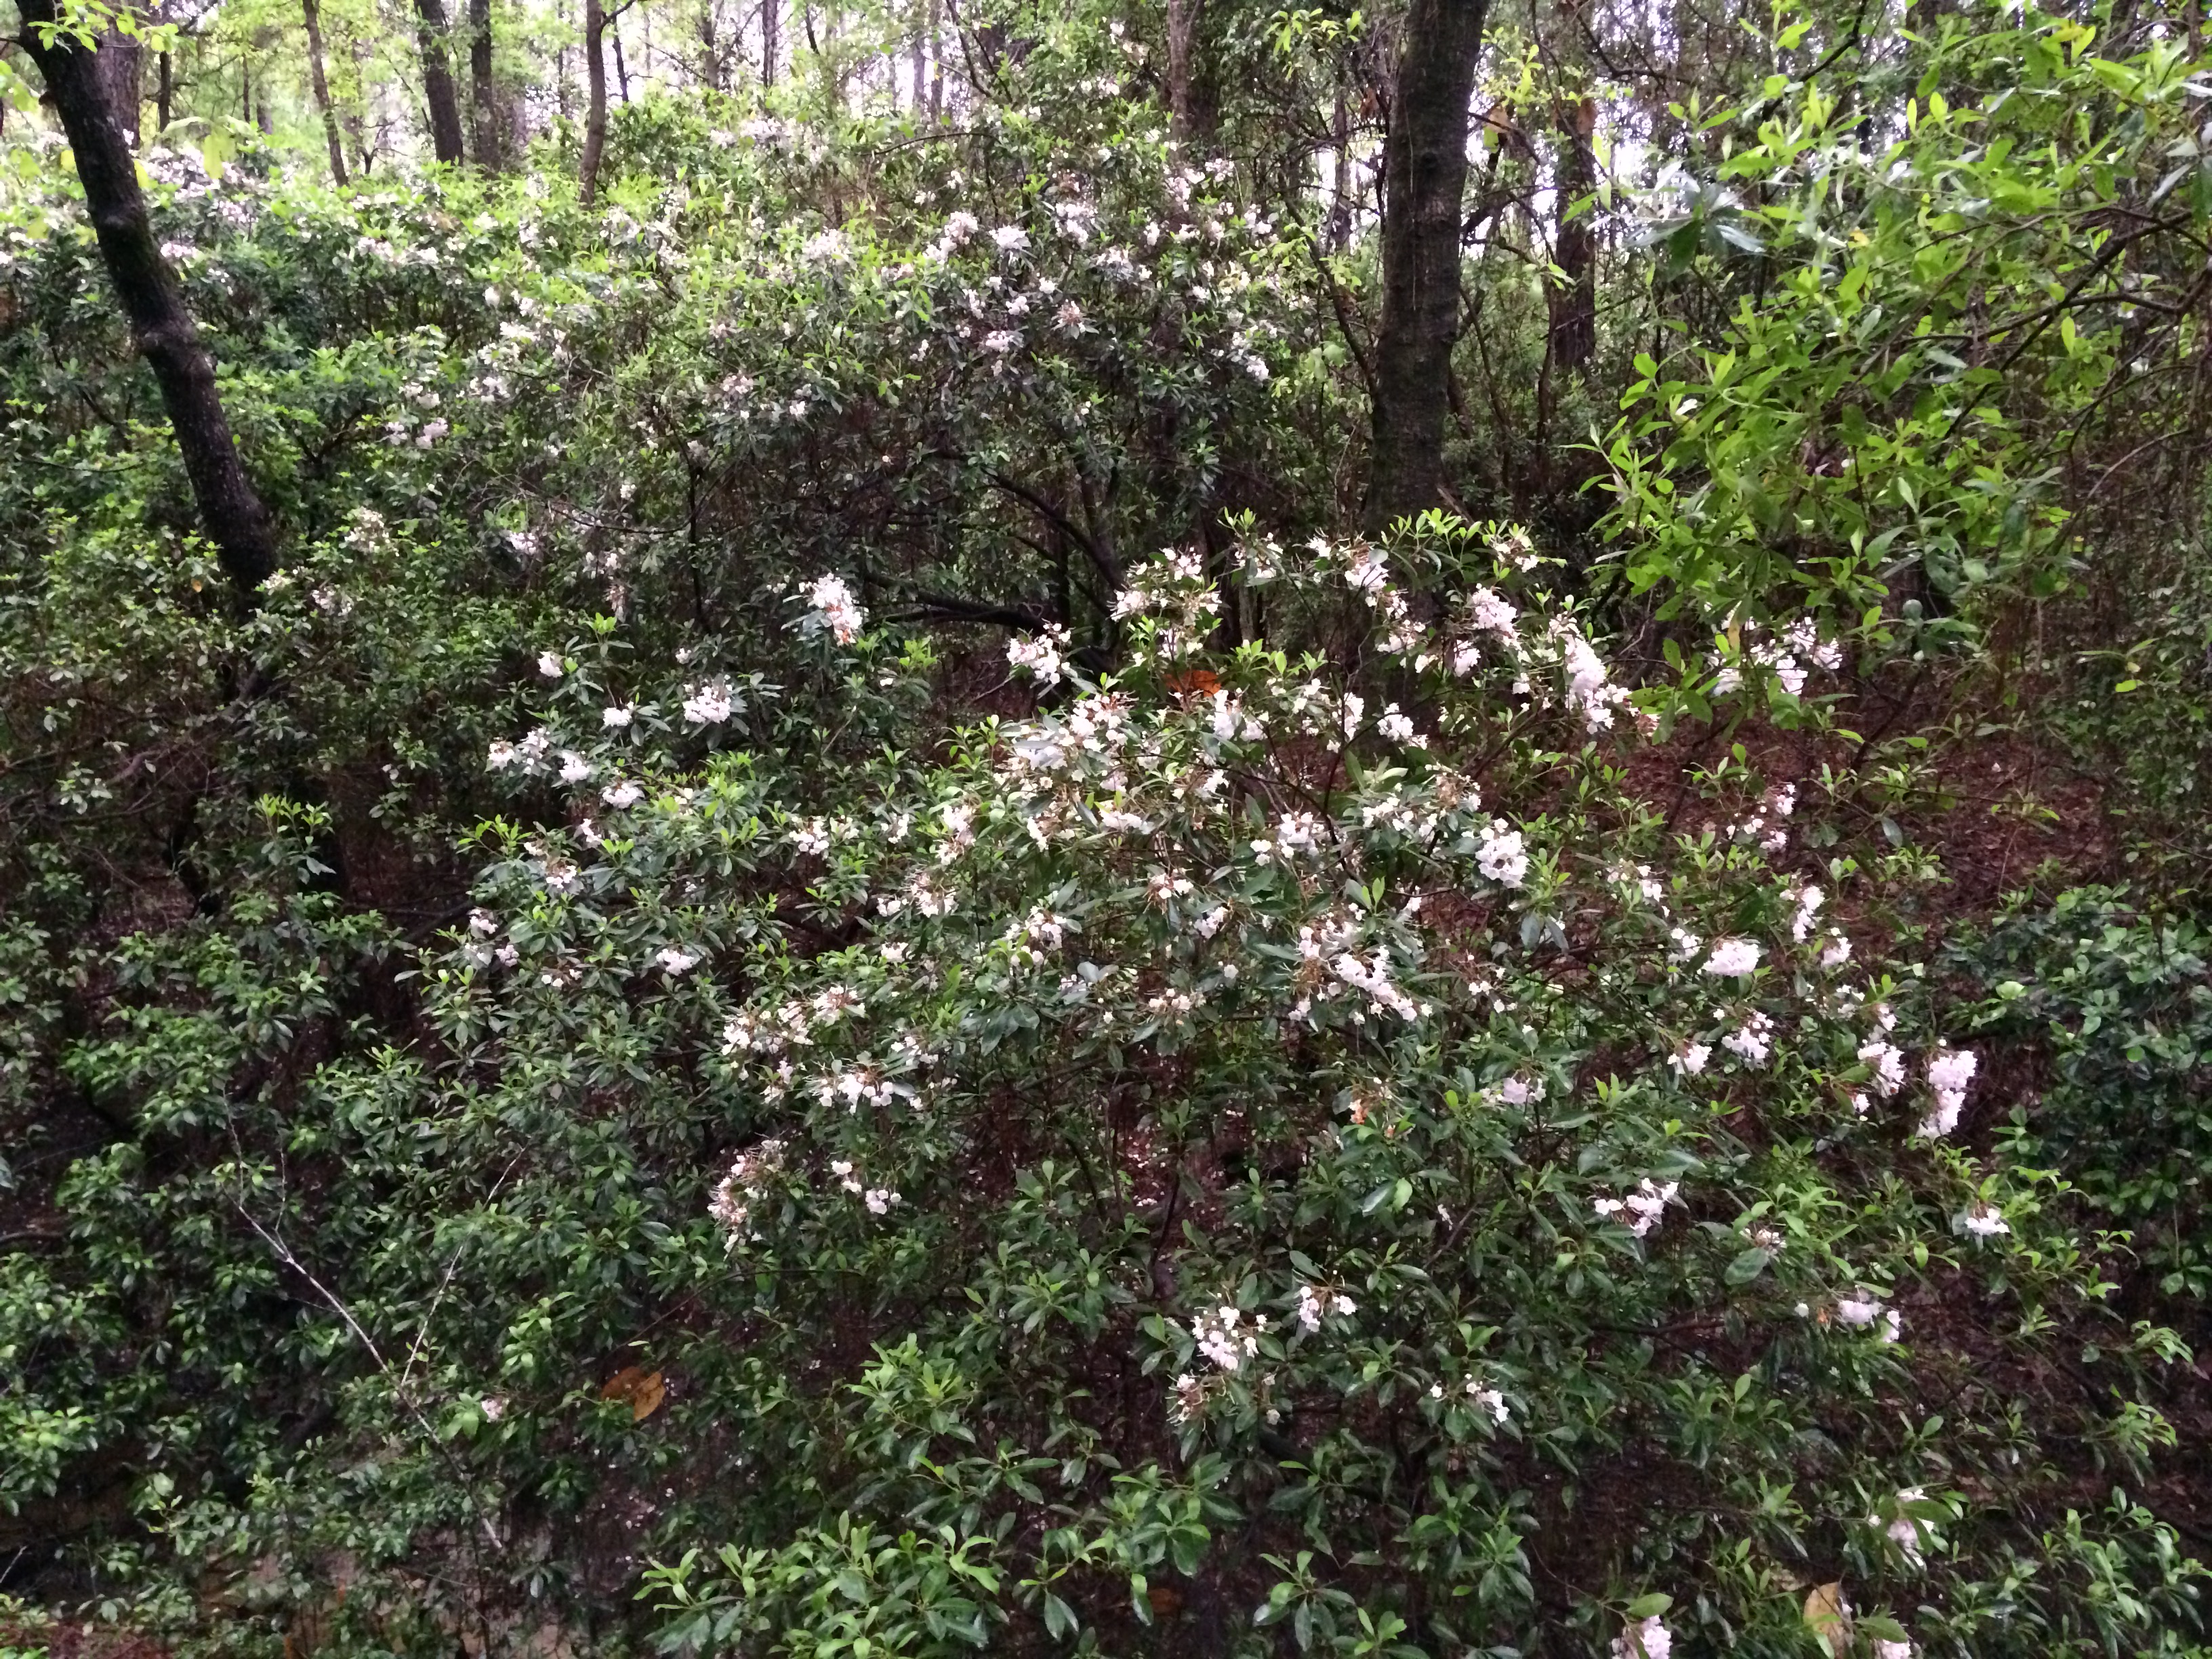
If you are lucky enough to live on the southern Alabama edge of northwest Florida, you may want to see if you can find mountain laurel blooming now near the wooded creeks. Its native range stretches from southern Maine south to northern Florida, just dipping into our area. The plant is naturally found on rocky slopes and mountainous forest areas. Both are nearly impossible to find in Florida. However, it thrives in acidic soil, preferring a soil pH of 4.5 to 5.5 and oak-healthy forests. That is something we do have. The challenge is to find a cool slope near spring-fed water.
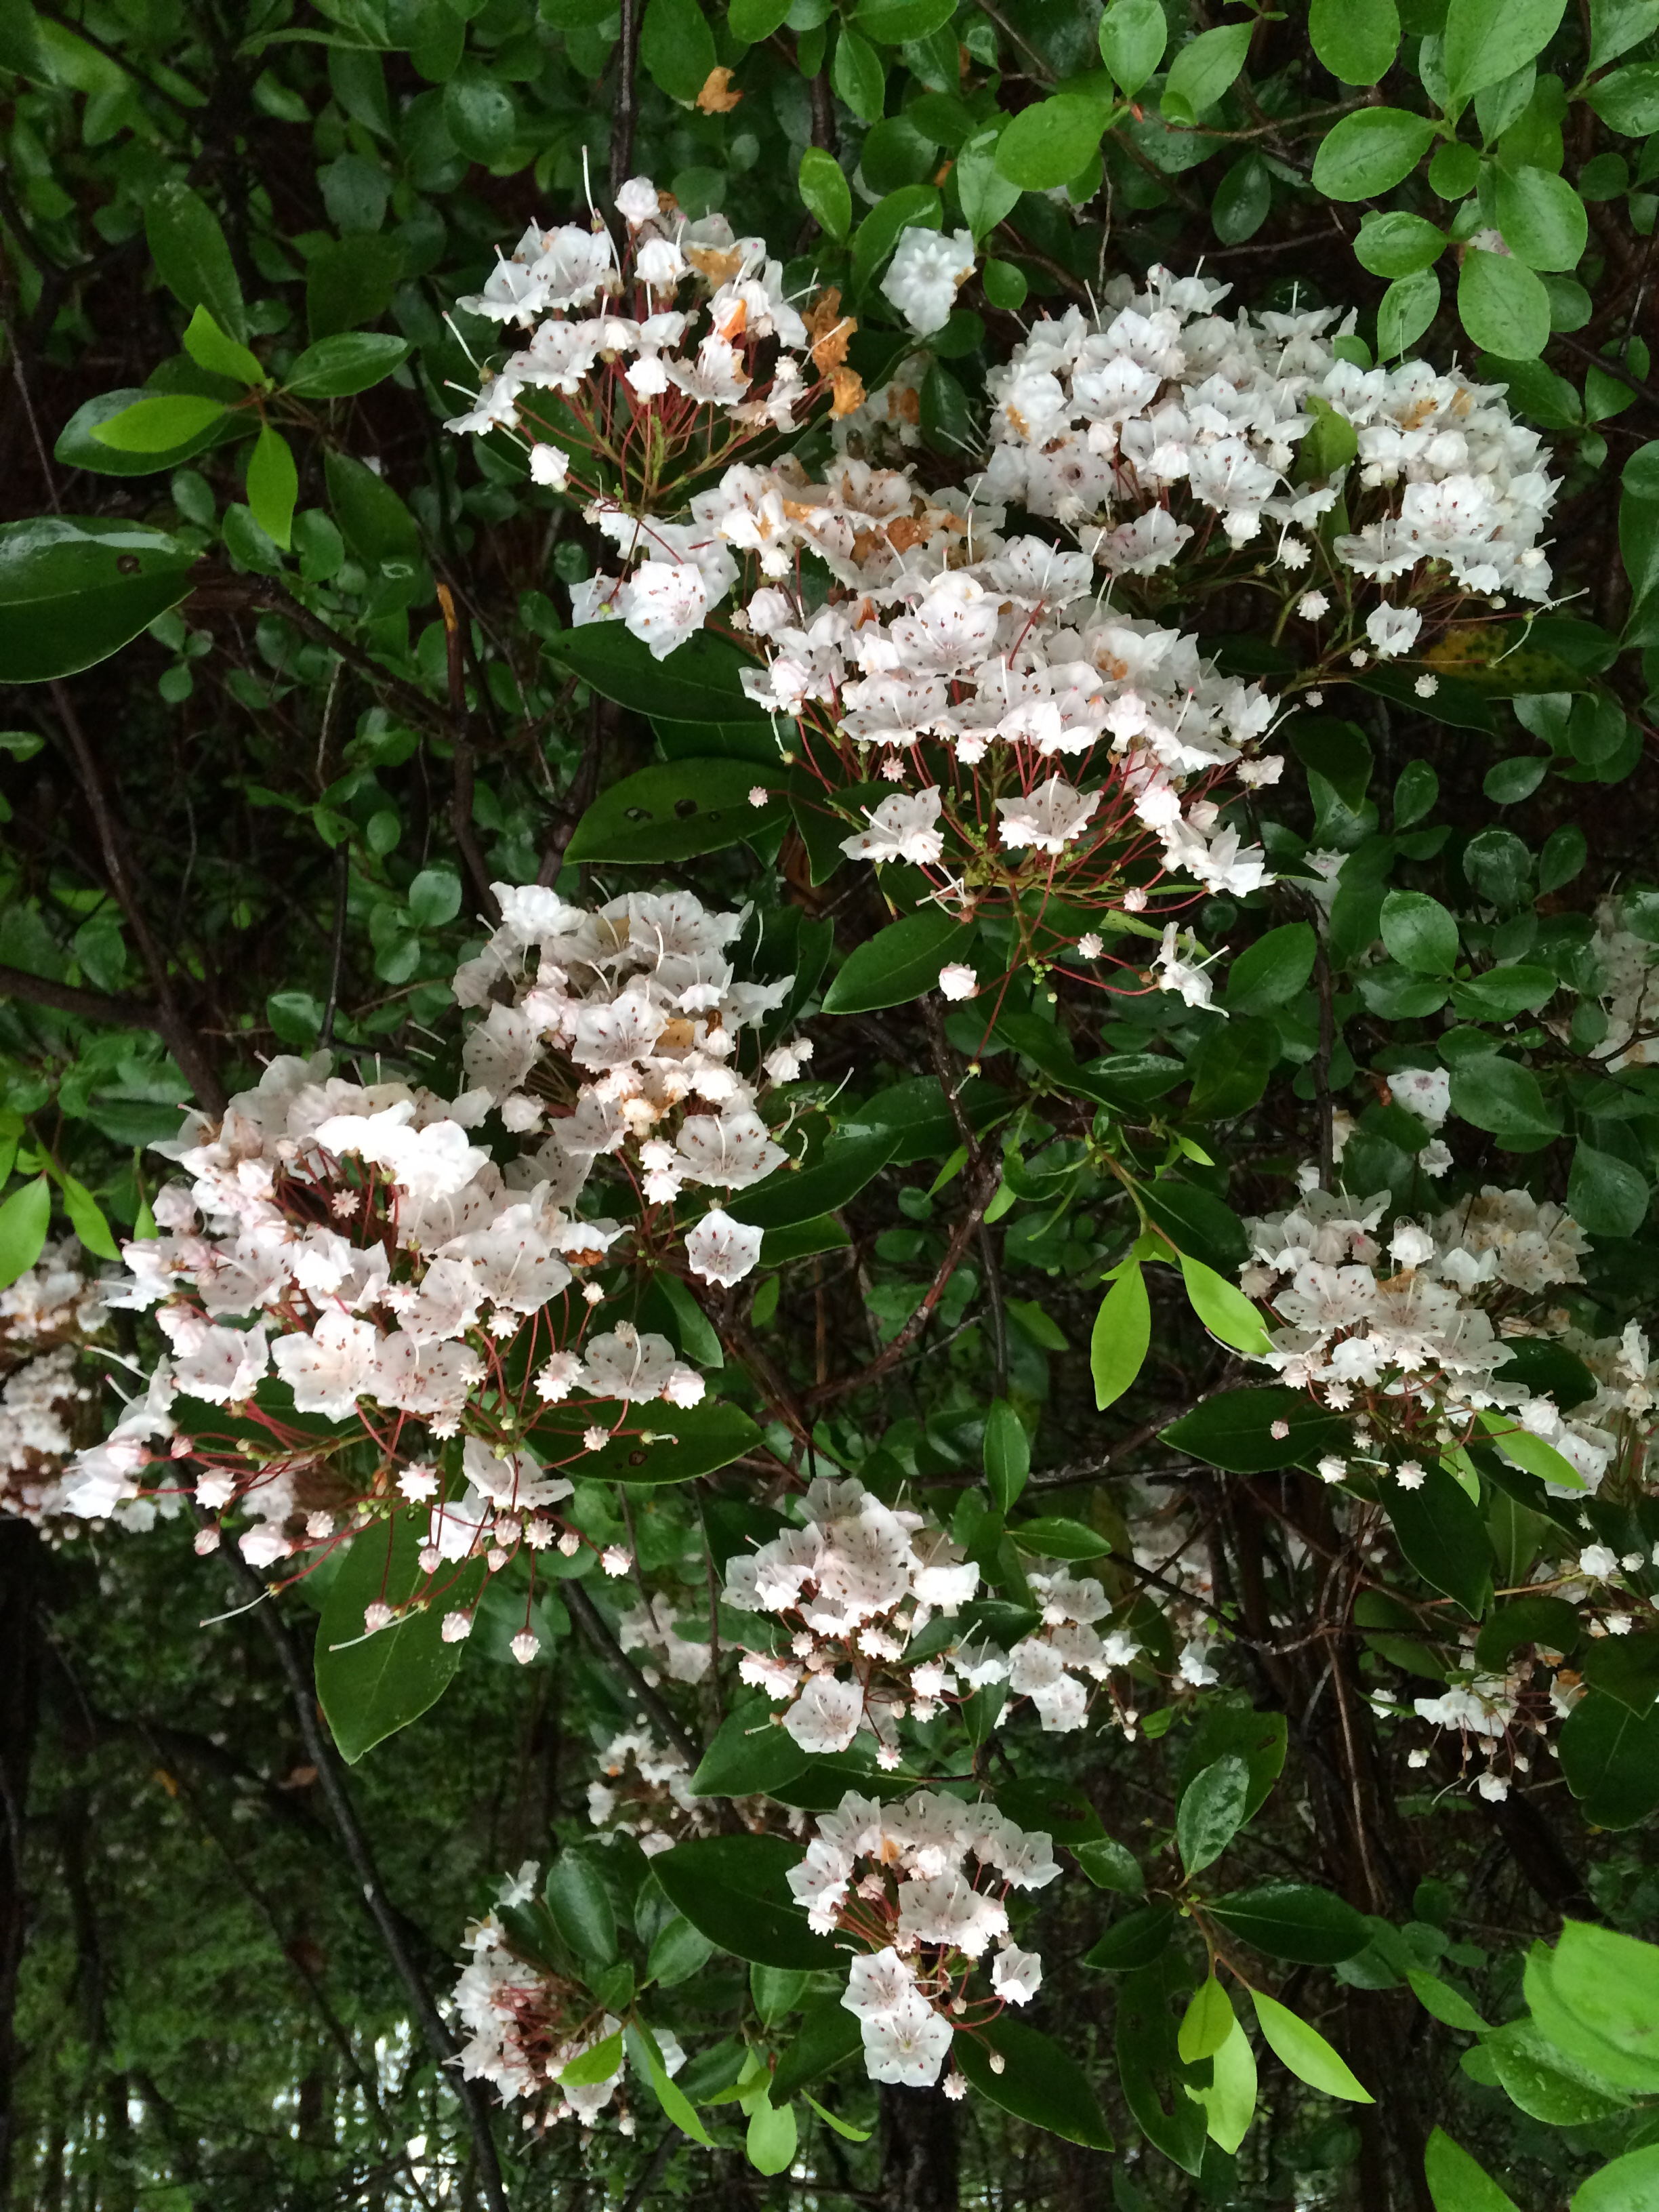
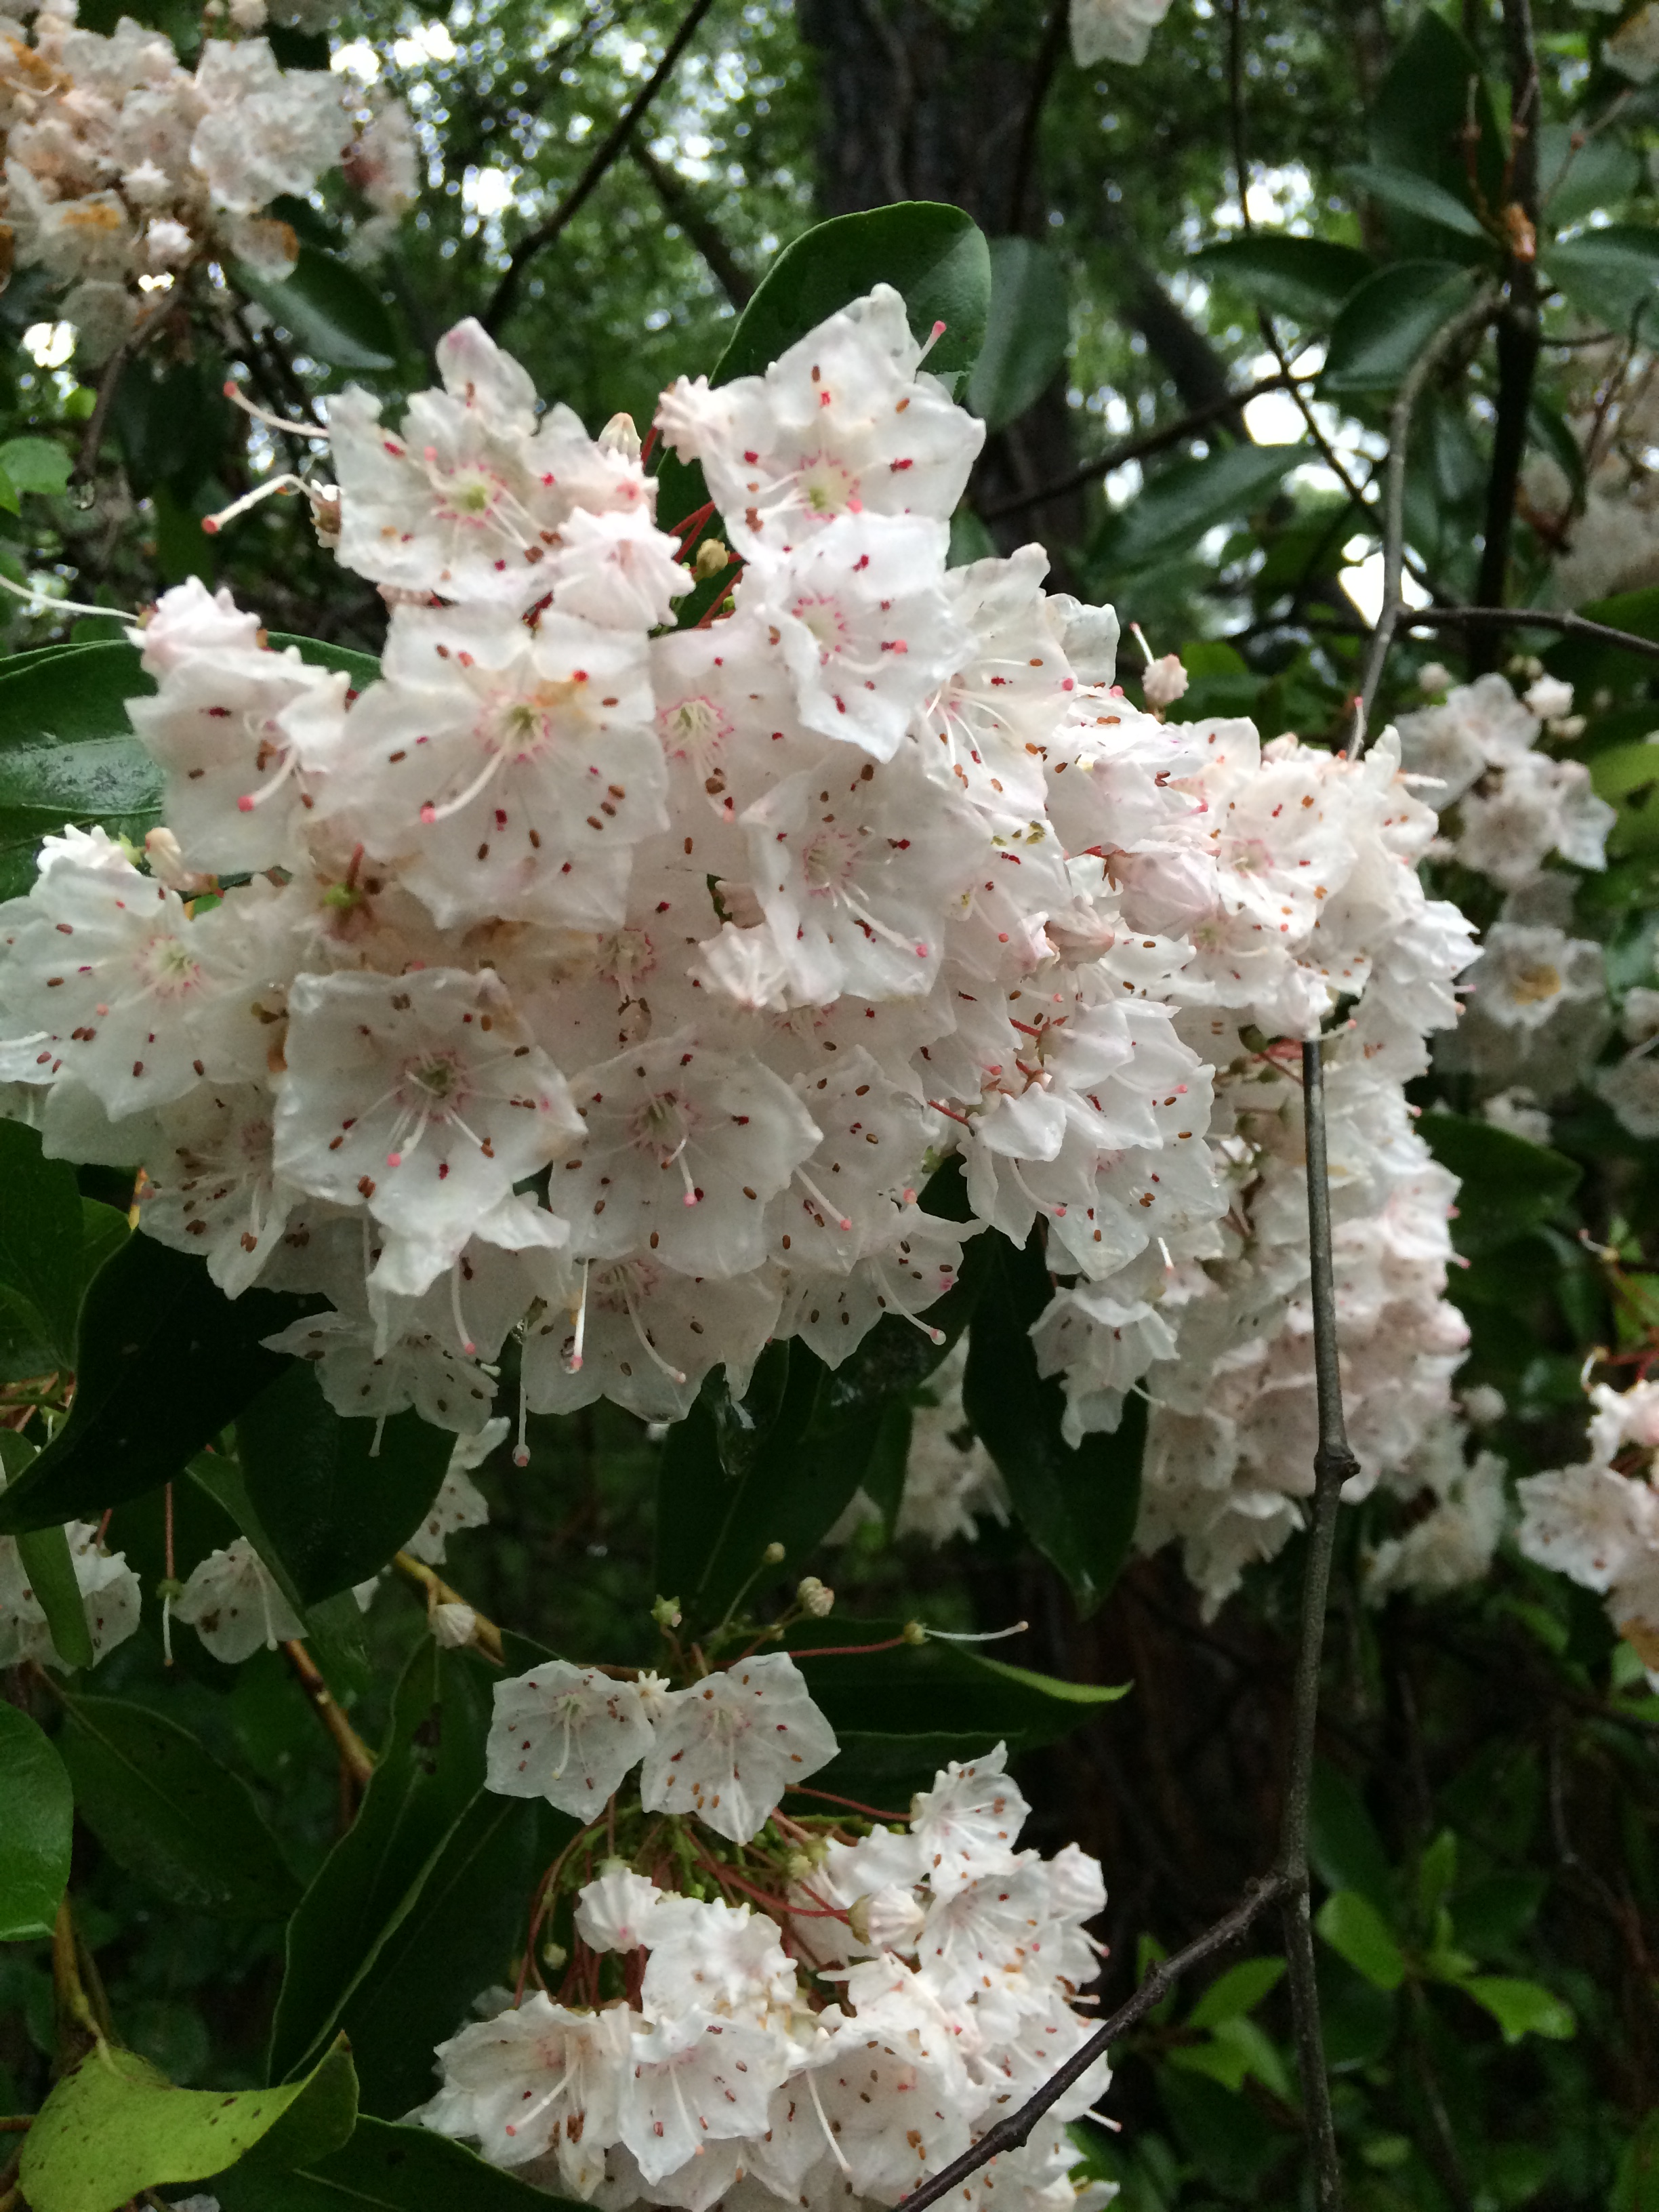
Mountain laurel blooms. Photo credit: Sheila Dunning, UF/IFAS Extension.
Mountain laurel (Kalmia latifolia) was first recorded in America in 1624, but it was named after Pehr Kalm, who had collected and submitted samples to Linnaeus in the 18th century. The wood of mountain laurel was popular for small household items. It is heavy and strong with a close, straight grain. However, as it grow larger it becomes brittle. Native Americans used the leaves as an analgesic. But, all parts of the plant are toxic to horses, goats, cattle, deer, monkeys and humans. In fact, food products made from it, including honey, can produce neurotoxic and gastrointestinal symptoms in people consuming more than a modest amount. Luckily, the honey is usually so bitter that most will avoid eating it.

Mountain laurel in its native habitat. Photo credit: Sheila Dunning, UF/IFAS Extension.
One of the most unusual characteristics of mountain laurel is its unique method of dispersing pollen. As the flower grows, the filaments of its stamens are bent, creating tension. When an insect lands on the flower, the tension is released, catapulting the pollen forcefully onto the insect. Scientific experiments on the flower have demonstrated it ability to fling the pollen over 1/2 inch. I guess if you don’t taste that good, you have to find a way to force the bees to take pollen with them.
The mountain laurel in these pictures is from Poverty Creek, a small creek near our office in Crestview. This is their best bloom in 10 years. Maybe you can find some too.
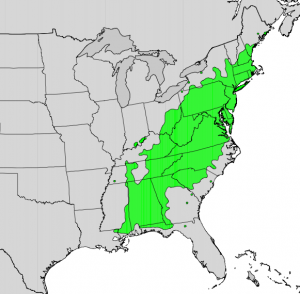
Native range of mountain laurel.
by Julie McConnell | Mar 28, 2016
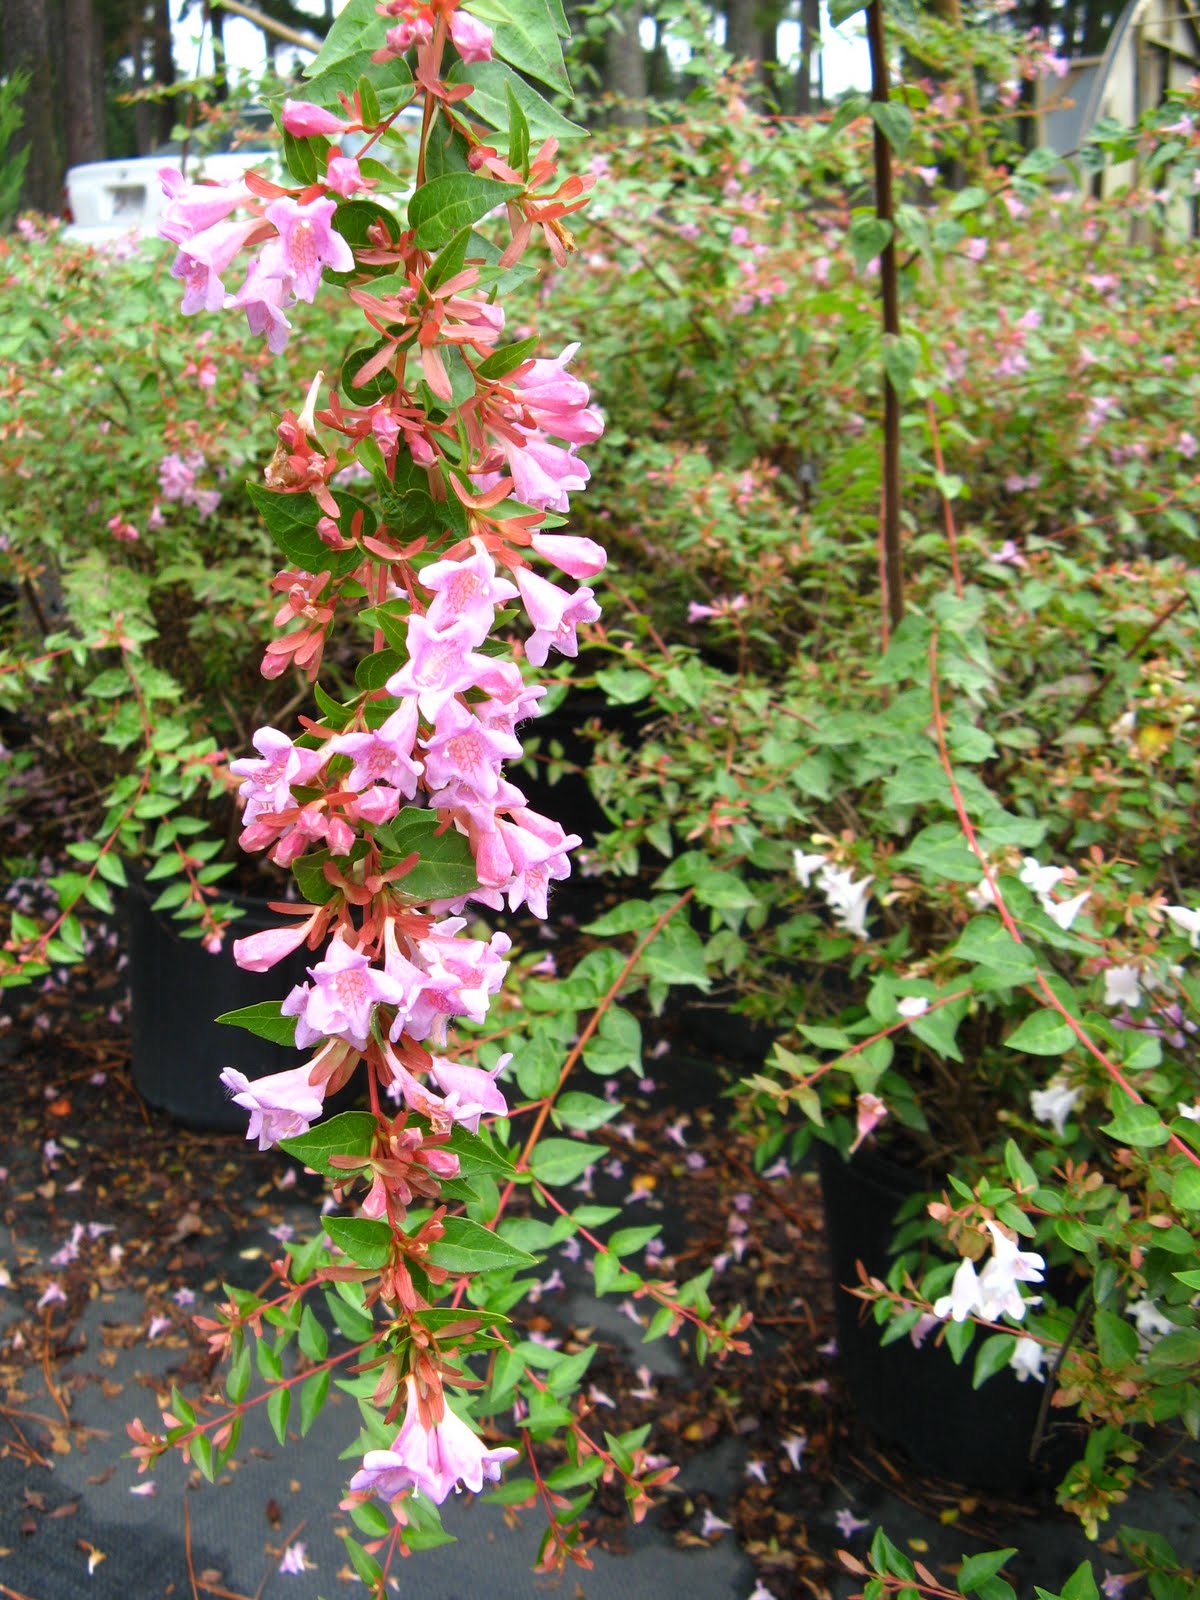
Clusters of tiny white flowers on abelia. Photo: Julie McConnell, UF/IFAS
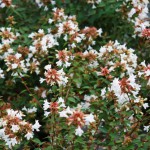
Abelias have been a landscape staple in the Southeastern United States for over a century. Numerous types have been used over the years, but two of the oldest forms still used in landscapes are Glossy Abelia Abelia x grandiflora and Abelia ‘Edward Goucher’, dating back to the early 1900s.
Glossy Abelia is a large informal shaped shrub with ½ – 1 inch glossy green leaves and large clusters of tiny white flowers. It can grow to 8 feet wide and tall and tolerates tough landscape sites such as full sun, low moisture (once established), acidic or slightly alkaline soils. It blooms prolifically and is attractive to butterflies and pollinators. New stems are reddish colored which contrasts nicely with dark green foliage which may be evergreen if winters are mild. After blooms are spent the pink sepals remain on the plants carrying more color through the season.
‘Edward Goucher’ Abelia does not grow quite as large and is a good performer with pink flowers. It is smaller than Glossy Abelia, but can still reach 5’x5’ when mature. It is also tolerant of hot, dry spots in the landscape.
Over the past few decades there have been many new introductions of abelia cultivars to the market. A major goal of breeders was to offer abelias that would fit into smaller landscapes and there has also been a trend towards variegated foliage color. There are dozens of abelias in production, but a few listed below are usually easy to find in local garden centers and have proven reliable in Florida landscapes.
- Abelia x ‘Rose Creek’ Rose Creek Abelia, low mounding growth habit reaching 2-3’ tall and 3-4’ wide, green foliage, new reddish stems, large clusters of white flowers
- Abelia x grandiflora ‘Hopley’s Lemon Zest™’ Lemon Zest Abelia or Miss Lemon™ Abelia grows 3-4’ tall and wide, has yellow and green variegated foliage, light pink flowers
- Abelia x grandiflora ‘Confetti’ Confetti® Abelia, matures at 3’ tall and wide, new foliage has pink, white, and green variegation and mature foliage is green and white variegated, pink and white flowers
- Abelia x grandiflora ‘Kaleidoscope’ P.P.#16,988 Kaleidoscope Abelia, compact growth 2-3’ tall by 3-3.5’ wide, gold and pink new foliage that matures into gold and green variegation, white flowers
All abelias perform best in full sun to part shade and have low water requirements once established. They are not salt tolerant, so avoid planting in coastal landscapes or in areas where salts are an issue. Abelias have few pest problems, but aphids have been known to feed on new growth – avoid over fertilization.
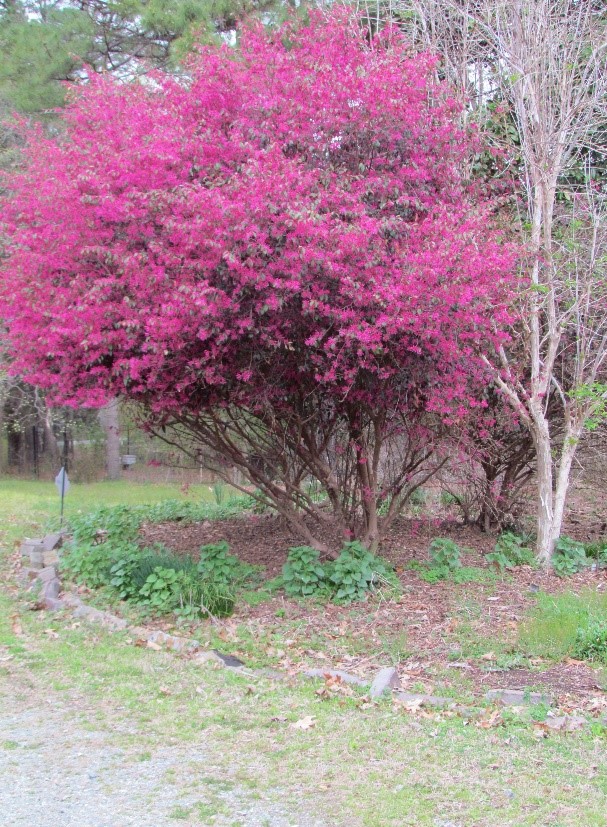
by Daniel J. Leonard | Mar 23, 2016
One of the major issues homeowners face in their landscapes is selecting a tree that in maturity will be in scale with the rest of their garden and home. While we have several actual trees that fit the bill, I would like to focus today on thinking outside the box by selecting a larger growing shrub that we can “limb up” into a small tree!

Loropetalum in its tree form
Today’s plant is Loropetalum chinense, also known as Chinese Fringe Flower, a beautiful import related to our native Witchazels (Hammemelis spp.). Some species of Loropetalum can have green foliage and white flowers, but it is generally found in its coveted maroon-foliaged form, which is the subject of this piece. Most cultivars of Loropetalum (with the exception of a few newer ‘dwarf’ cultivars) are large (to 20’ tall and about half as wide) evergreen shrubs that prefer partial shade to full sun. In the early spring, it bursts with wavy, fringe-like red, pink, or white flowers!
In order to “tree-form” the plant, one should gradually begin removing lower lateral branches, crossing or rubbing branches, and any potentially diseased branches, leaving 5-7 main trunks. Eventually, most common cultivars of Loropetalum can easily be pruned to have 4’-5’ of exposed trunk!
Unfortunately, Loropetalum has been both overused and misused as a tightly sheared foundation plant in every landscape imaginable, from gas stations to Aunt Gertie’s rental house. As such, it has gotten a bad reputation as a monster that has to be constantly sheared to keep it in line. This reputation is completely unwarranted if using the shrub as it was meant to be used, as a large specimen shrub or a graceful small-tree! Yet another example of how using the right plant in the right place can change the public’s entire perception of it! Try tree-forming a Loropetalum today and enjoy it for years to come! Happy Gardening!
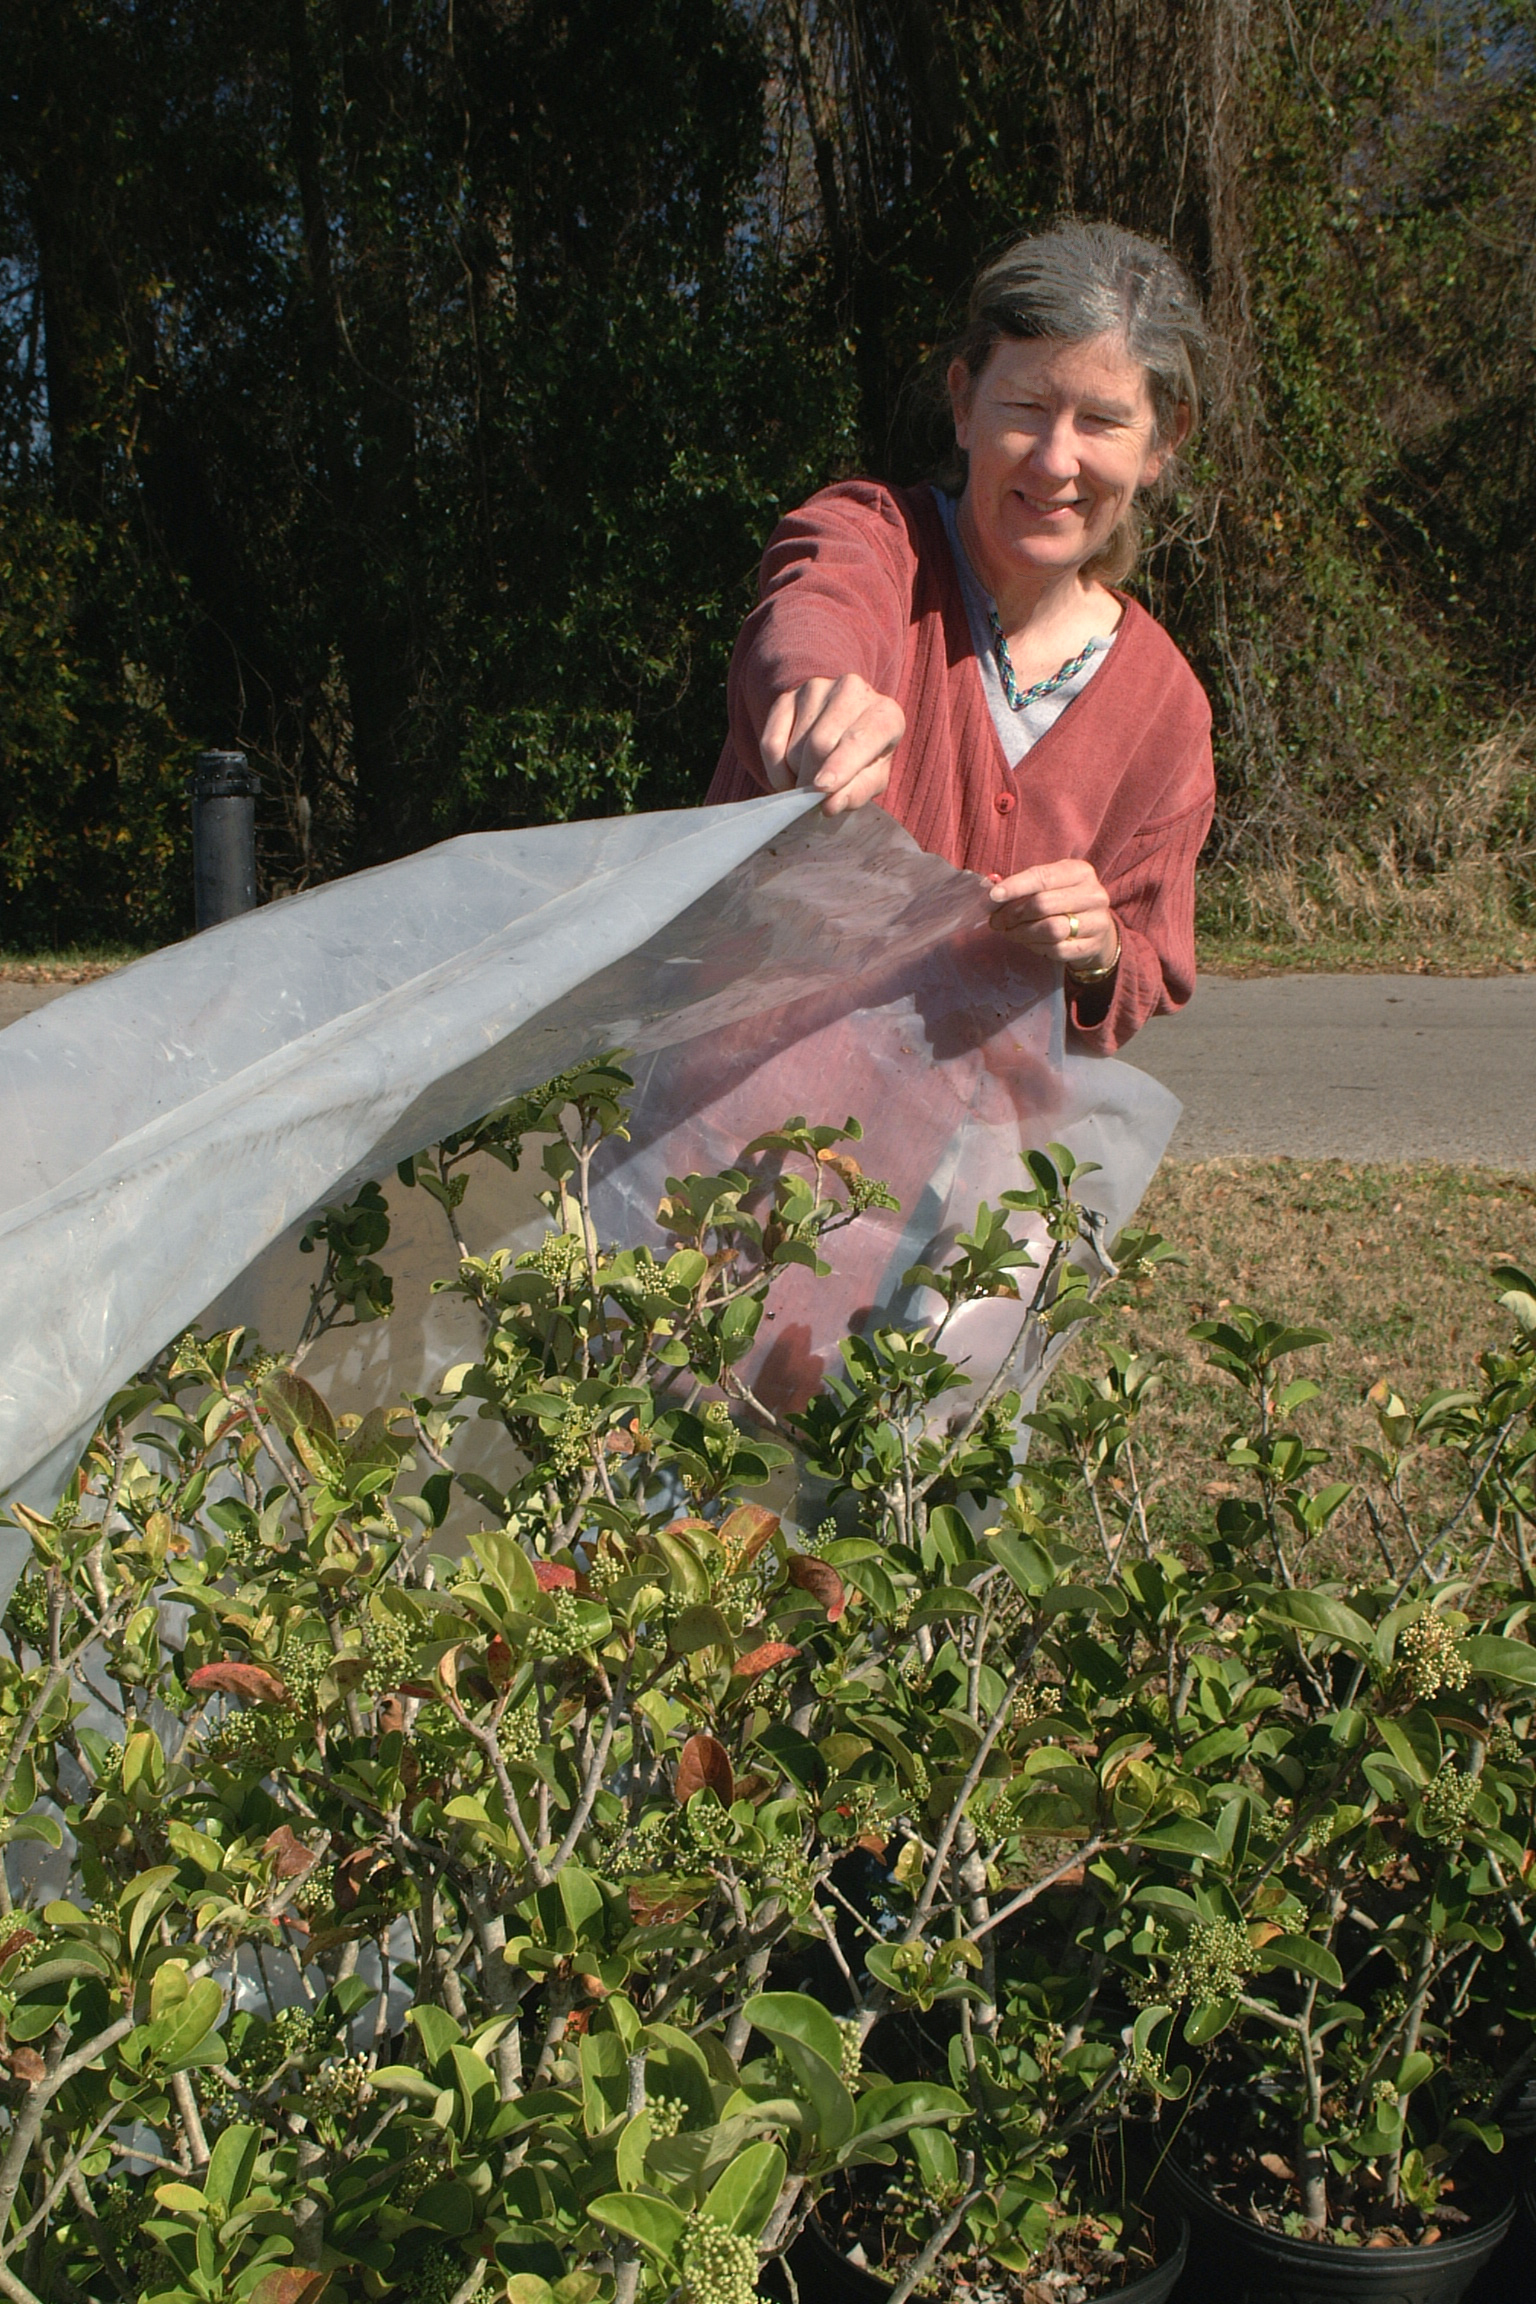
by Les Harrison | Jan 20, 2016
North Florida’s gardeners are facing a new set of challenges dealing with the effects of cold weather. However, a little planning and creativity can make plant protection in the landscape a relatively simple process.
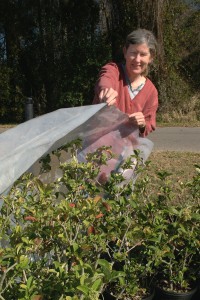
Covering plants to protect from frost. UF/IFAS Photo: Sally Lanigan.
Many homeowners and landscape managers want to know when plants will need protection. The point of freezing is a good rule of thumb for most temperate zone plants.
It is worth noting there is a difference in the terms used for cold weather conditions. Frost, freeze and hard freeze all describe different circumstances.
- Frost is when water vapour freezes on surfaces. It usually happens on clear nights with still air and can happen when reported air temperatures are above freezing.
- Freezing is when cold air moves in and causes temperatures to drop below 32 degrees Fahrenheit. This condition commonly involves low humidity and wind, making drying out a big problem for plants.
- A hard freeze is when temperatures dip below 28 degrees Fahrenheit. Some tropical plants will survive a few degrees below freezing for very short periods, but extended periods of freezing or heavy frost may require lights or other heat used safely in combination with covering the plant.
Some plants can be moved indoors for the holidays and incorporated into the interior décor, rather than cramming them last-minute into a chaotic bundle when a freeze looms.
Get prepared by identifying old sheets, blankets and drop cloths which can be used as covers for tender or tropical zone plants which must remain outside. Test potential covers beforehand to assure all plants will be thoroughly covered.
It is best if the covers enclose the plant entirely without crushing it. Heavy blankets are great insulation, but only a good idea on the sturdiest of plants.
A tomato cage or other support structure can be used to keep the weight off the plant. Covers also need to be secured at the ground with pins or weights to assure cold air does not enter from below and collect under the cover.
Finally, keep storage bins handy and remove the covers in the daytime if temperatures are above 55 degrees Fahrenheit.
Monitor weather reports and react accordingly so tender and tropical plants see spring 2016.
by Beth Bolles | Dec 4, 2015
A visit to a nursery and homeowners will see so many new selections of plants for the landscape. Some of these plants are new plant developments and may include plants we could not previously grow in Florida’s heat and humidity. One new plant series is the Southgate® Rhododendrons.
Anyone from more northern areas of the South is very familiar with the rhododendrons that offer showy spring blooms. Those particular rhododendrons just don’t make it in our Florida climate.
The Southgate® series from Louisiana were developed to be more tolerant of our weather conditions. Homeowners must still consider plant placement very carefully since these plants have some specific requirements even in Florida. Plants will do best in shade or filtered shade, especially in the afternoon. They do like an acid soil amended with compost and areas that are well drained. Homeowners will need to supply water during the growing season to maintain a uniform soil moisture.

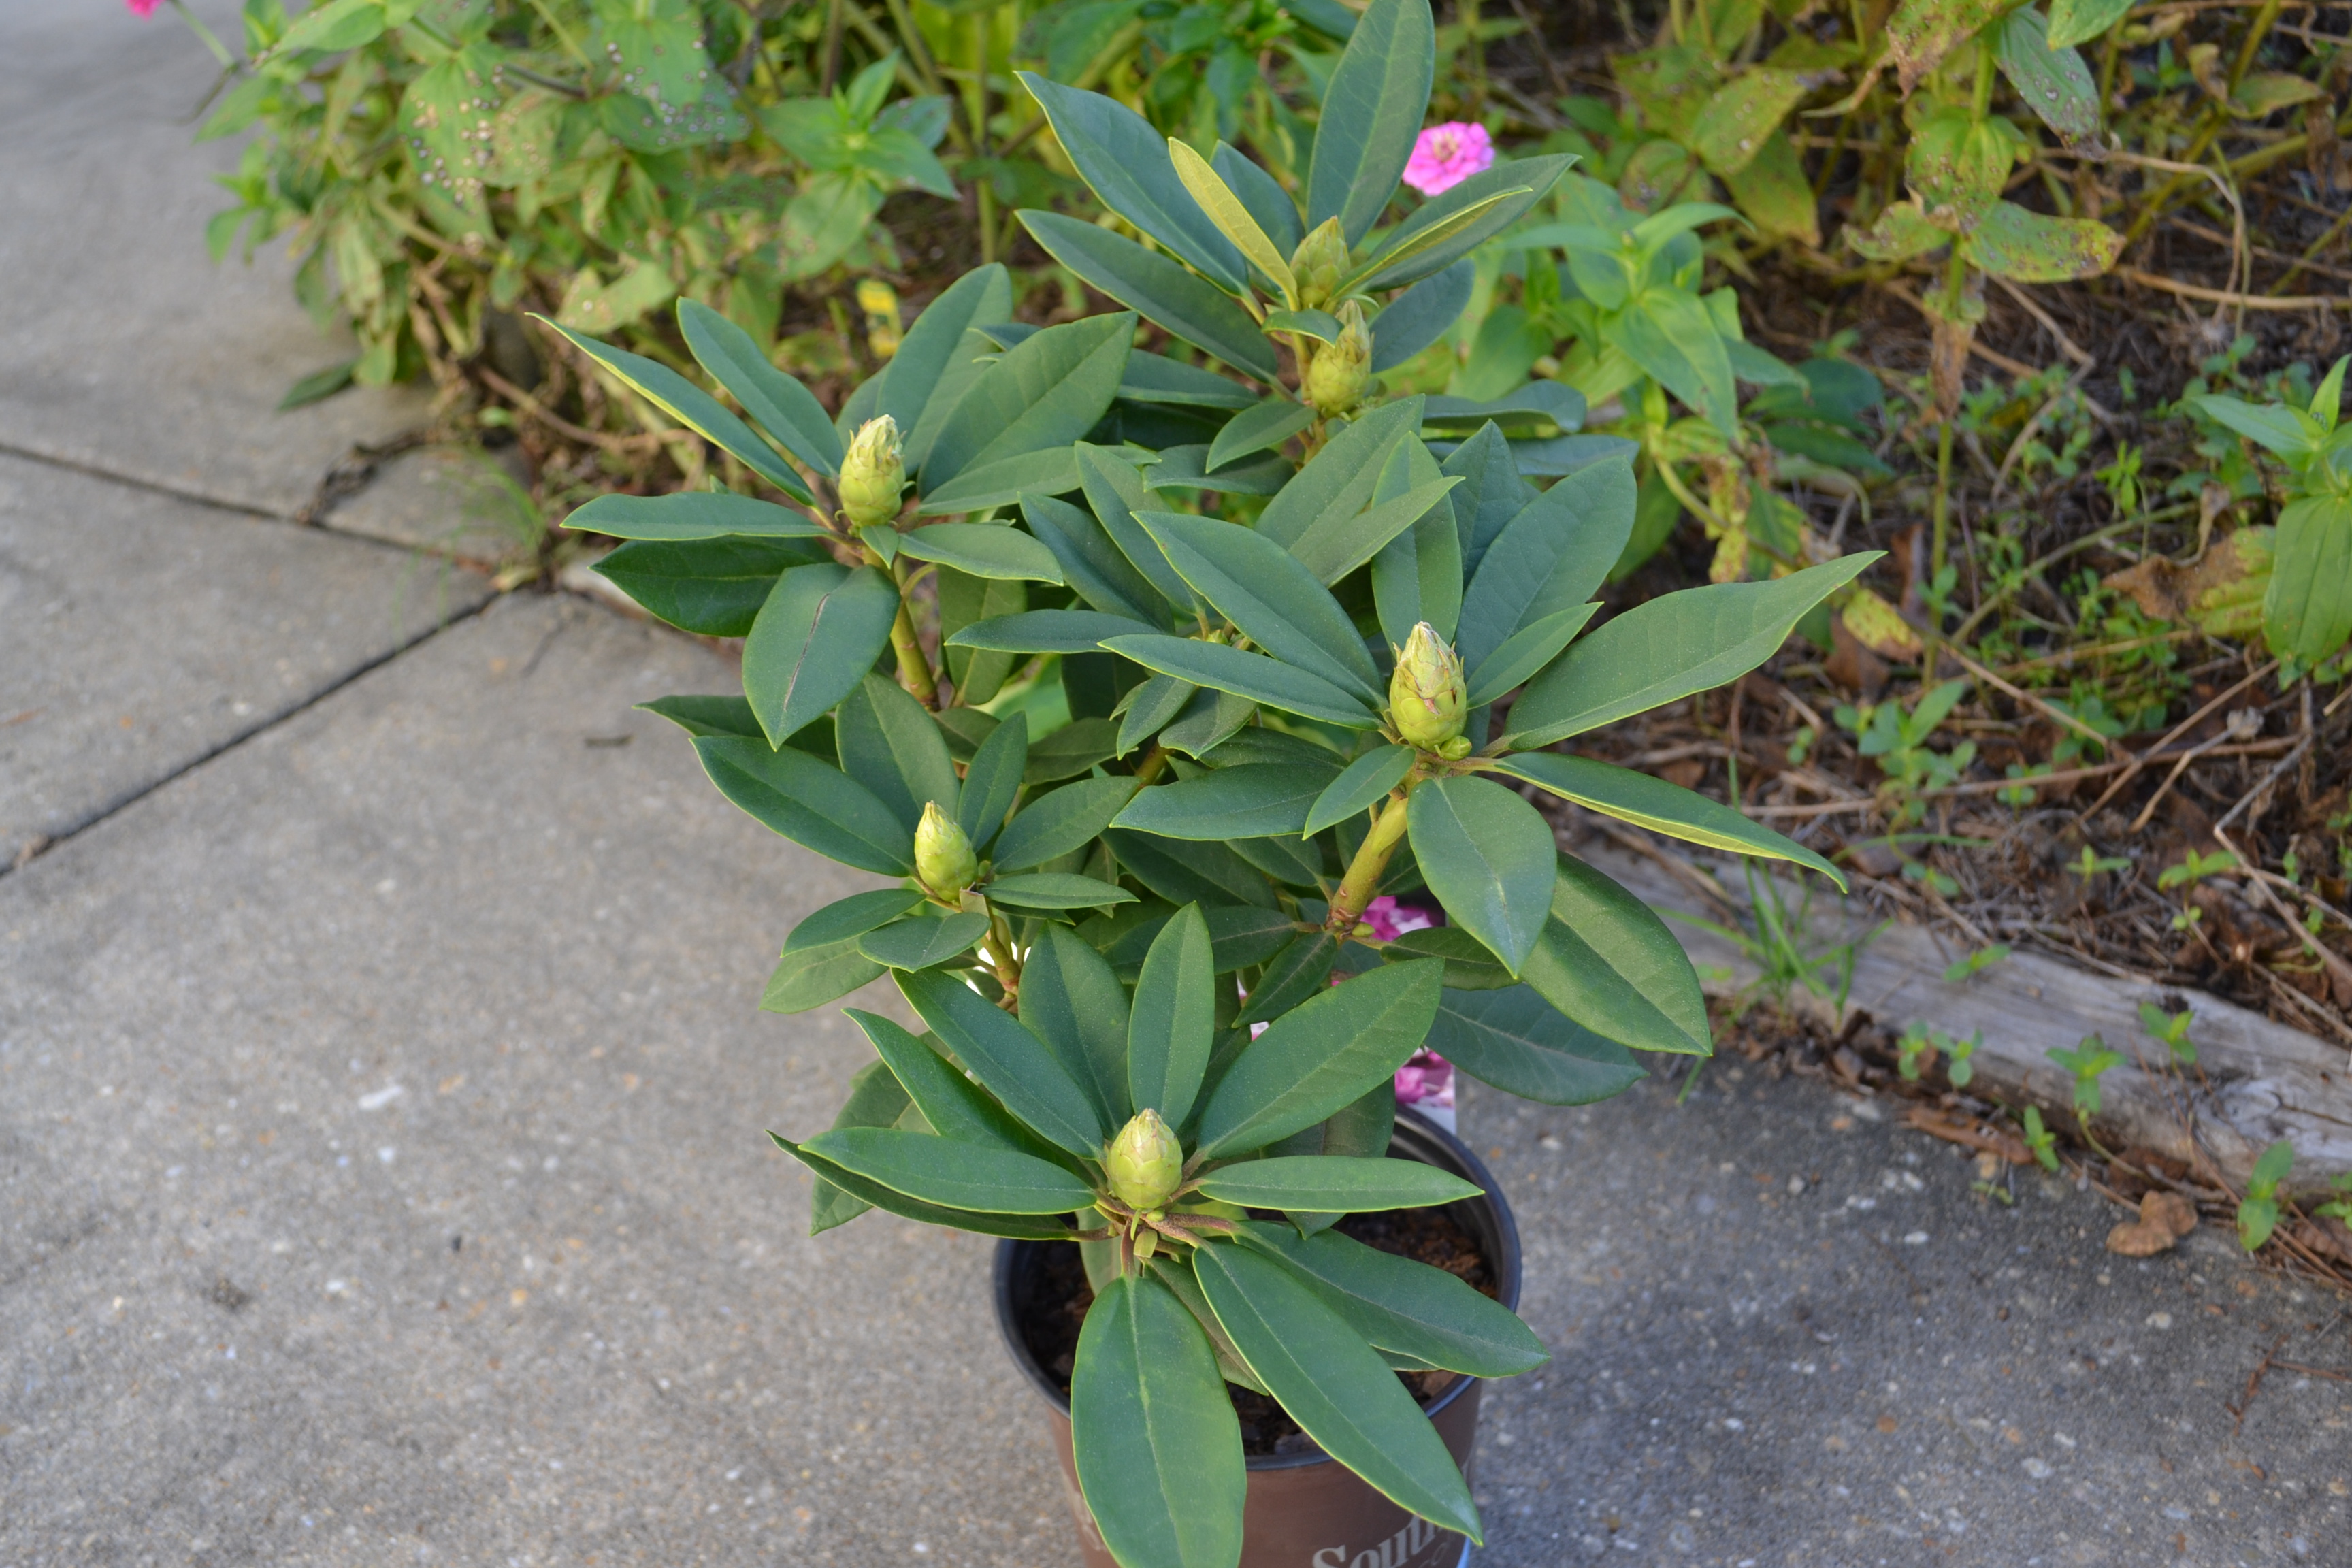
Rhododendron foliage with buds.
Consider trying one of these newer rhodendrons if your landscape has a suitable spot and you will definitely enjoy a bright spot of color come spring.
Special Note: If you have animals or children be cautious since all plant parts are toxic if ingested.
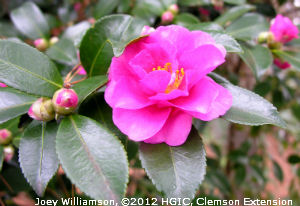
by Sheila Dunning | Nov 18, 2015
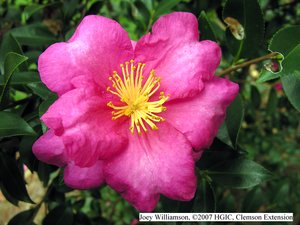
Camellia sasanqua ‘Kanjiro’ at the South Carolina Botanical Garden
Camellia sasanquas begin blooming this month. Their three-inch diameter blossoms of pink, white, rose or red displayed over glossy, dark green foliage will come into their full glory in November. This robust and stylish aristocrat of the garden is often passed by in favor of its familiar cousin, Camellia japonica. While it’s true that the “japonicas” have larger flowers, Camellia sasanqua has just as many endearing attributes. Like the japonicas, sasanquas have been selected and hybridized into dozens of forms that vary immensely in flower color, size and shape. With a variety of growth habits from dwarf and spreading to narrow and upright, their ability to thrive in part sun or shade, sasanquas are one of the most versatile landscape plants.
Sasanquas bear profusions of flowers in fall and early winter depending on cultivar and location. In general they blossom before Camellia japonica. Sasanquas have mature heights that range from 4-15 ft. The taller cultivars are typically trimmed up as small trees. Other cultivars remain shrubby and limited in height. Their small foliage makes them suitable subjects for formal pruning, although they are quite attractive when allowed to grow naturally. Several sasanqua varieties are ideal for creating dramatic espaliers when trained on fences and walls. Like other cool weather bloomers, sasanquas bloom over a much longer period than most spring and summer plants with buds opening over a three-month period. The blossoms shatter easily and create colorful carpets of petals on the ground, adding to their garden impact. Even when not in bloom the sasanquas make a statement with their beautifully glossy, rich green leaves that excel at providing backdrops for garden neighbors.

Camellia ‘Vernalis Yuletide’ at the South Carolina Botanical Garden
Camellia sasanqua ‘Shishi Gashira’ at the South Carolina Botanical Garden
Sasanqua camellias are native to China and Japan. They prefer rich organic acid soils (the same as azaleas and gardenias). Provide plants with organic mulch such as leaf litter or shredded bark. Broken shade is preferred but sasanquas will tolerate more sun if watered well. Consistent watering is important to continuous blooming. If the experience drought conditions the buds will dry and fall without opening.
Select sasanqua varieties based on what you want them to do in your garden. ‘Shishi-Gashira’ is a dwarf, low spreading plant that is suited well for foundation plants and container specimens. Other compact varieties include the more upright ‘Yuletide’ whose fiery red blossoms are accented with bright yellow stamens and the double rose ‘Bonanza’ which begins flowering in September with flowers that rival the japonica varieties in size and form. If you need larger and faster growing plants for hedges, screens or small specimen tree, consider the white ‘Snow on the Mountain’, double pink ‘Pink Snow’ or pale, shell pink ‘Jean May’. ‘Kanjiro’ and ‘Daydream’ are vigorous upright pink varieties whose single flowers are fragrant.