by Matthew Orwat | Oct 29, 2018
After hurricane Michael many fall vegetable gardens were uprooted, wind whipped or destroyed. All is not lost. The fall and winter vegetable season can recover before cold temperatures set in.
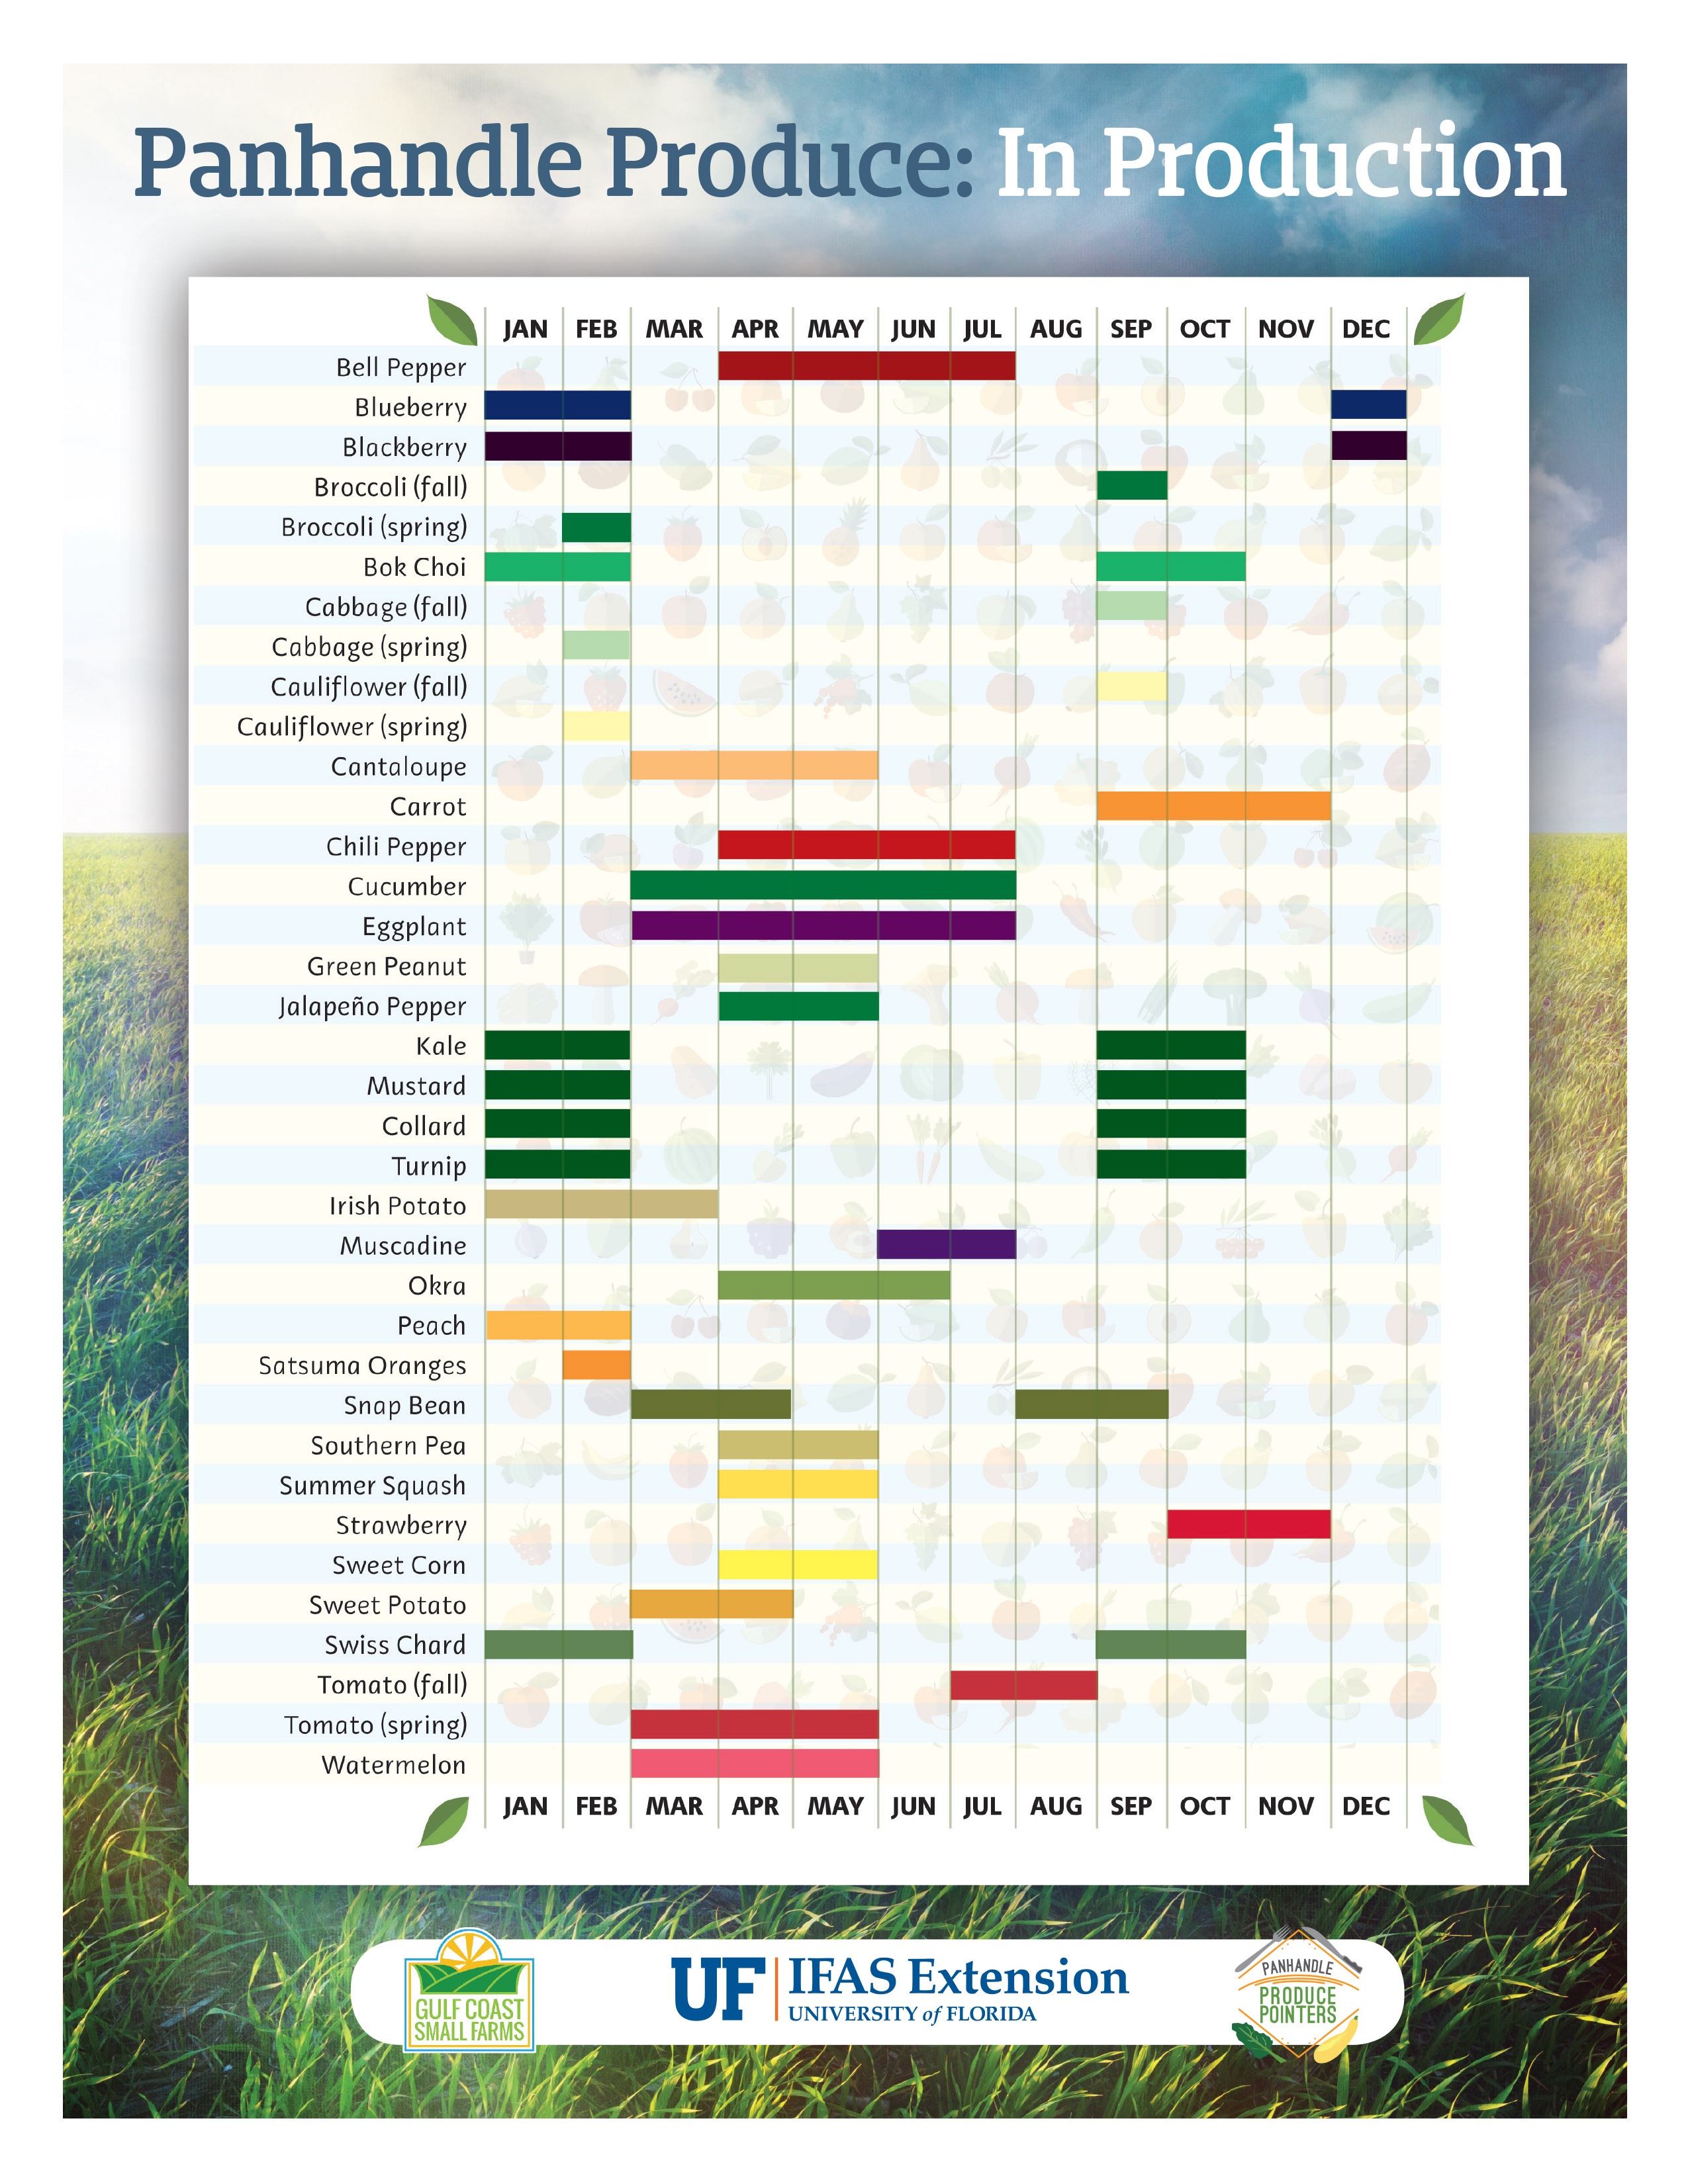
The first step is to assess the condition of the garden. Have plants been uprooted, blown over, or just superficially damaged? If they have been irreparably there is still time to set out transplants or direct seed the garden. Several radish cultivars are able to produce a crop in about 30 days from seed. Many different types of radishes, from Cherry Belle to Watermelon, are available which will offer quick results in this area. It is still prime time to set out Swiss chard plants and other Cole crops such as kale, collards, turnips and mustard. Broccoli could be grown throughout the winter if given frost protection from a low tunnel structure.
Strawberries may also be planted now, to establish themselves from spring production. Carrots are another good option for this time of year.
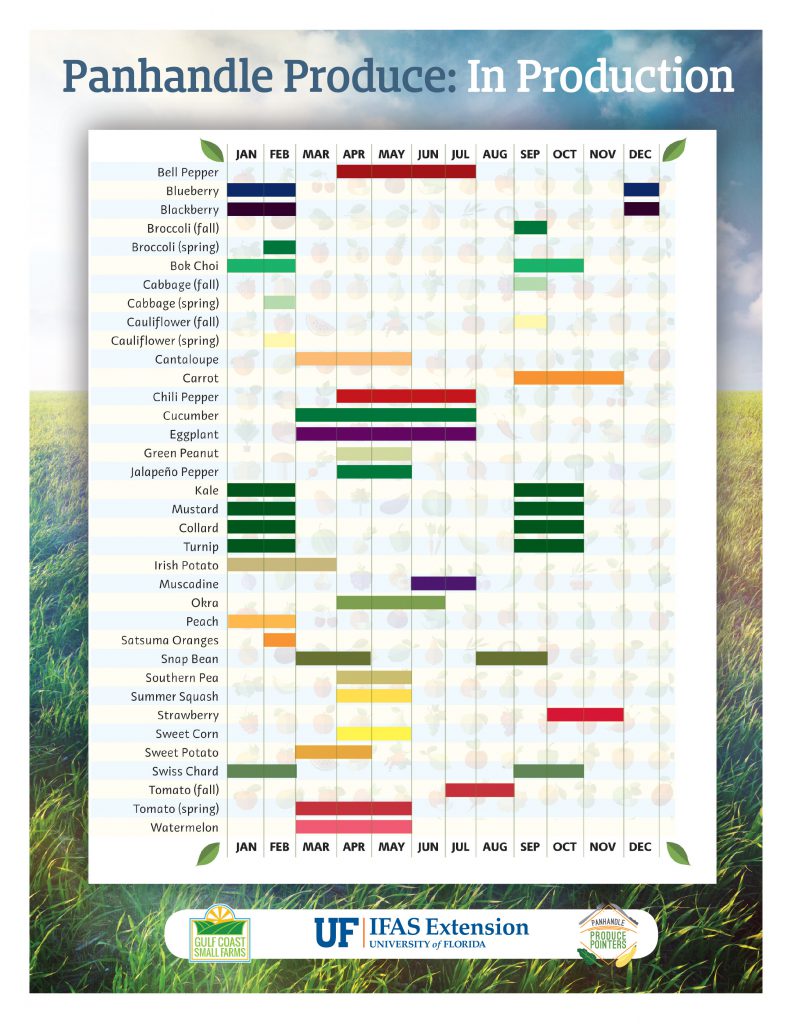
Please refer to the chart below to assess production timelines:

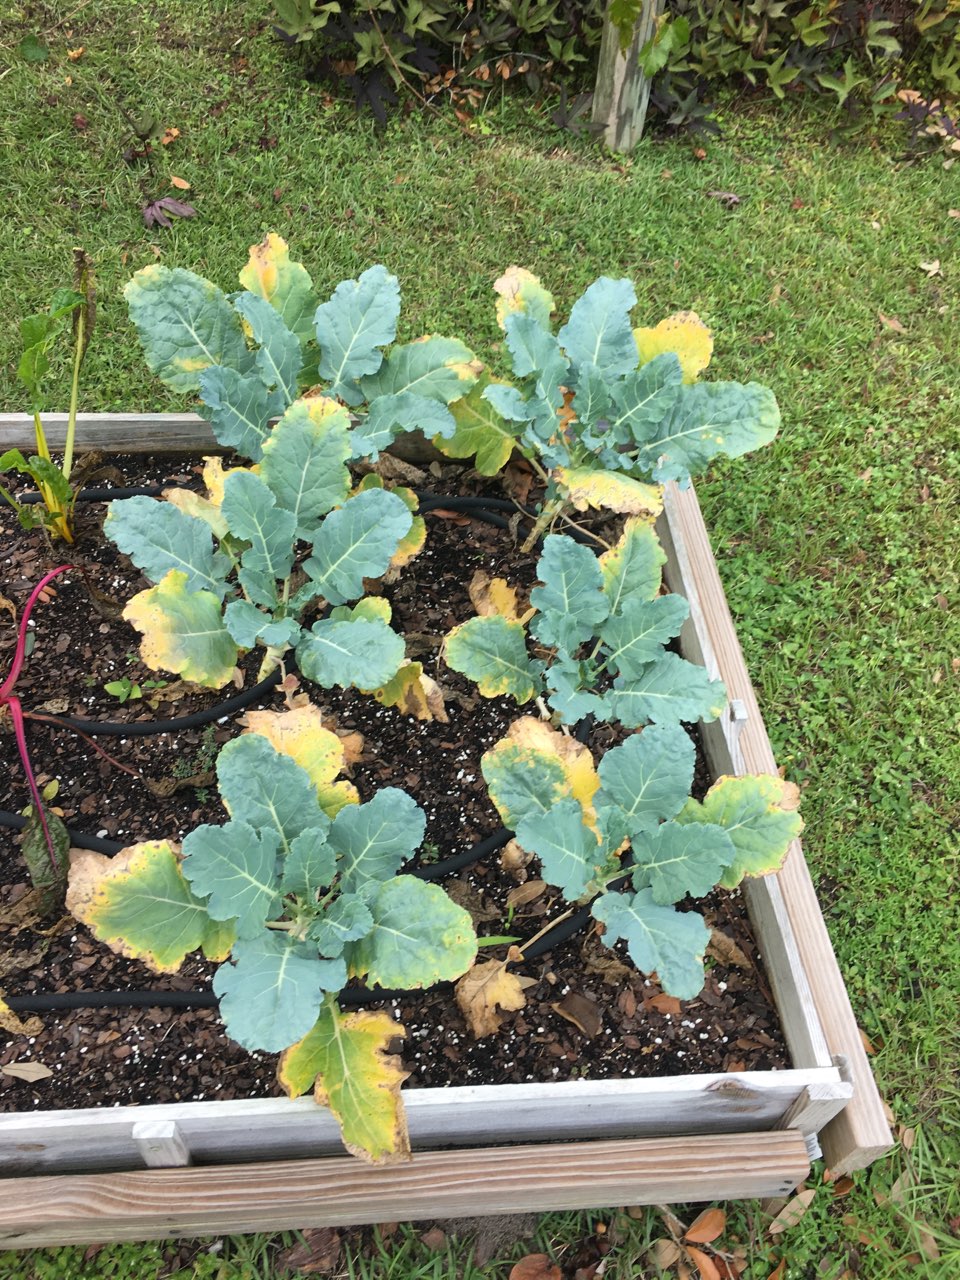
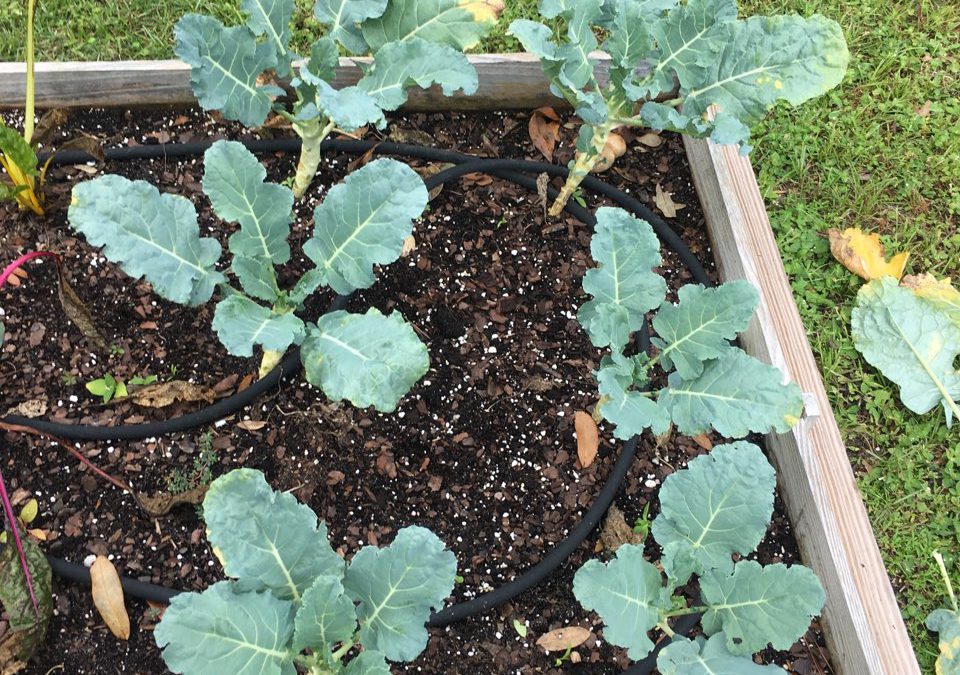
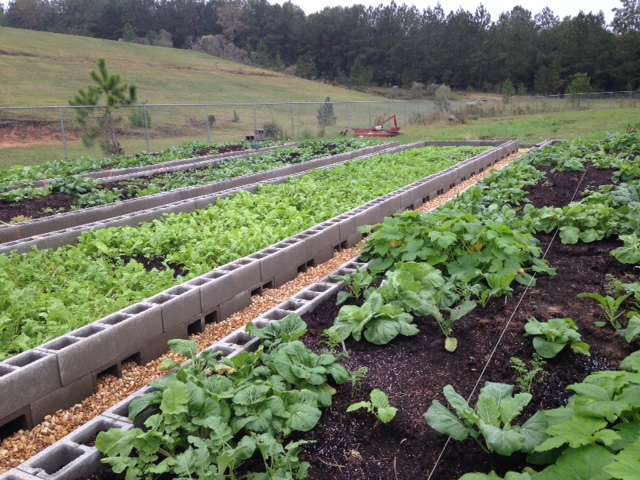
Broccoli neglected for 2 weeks following hurricane Michael. Fertilizer to follow. Image Credit Matthew Orwat, UF / IFAS
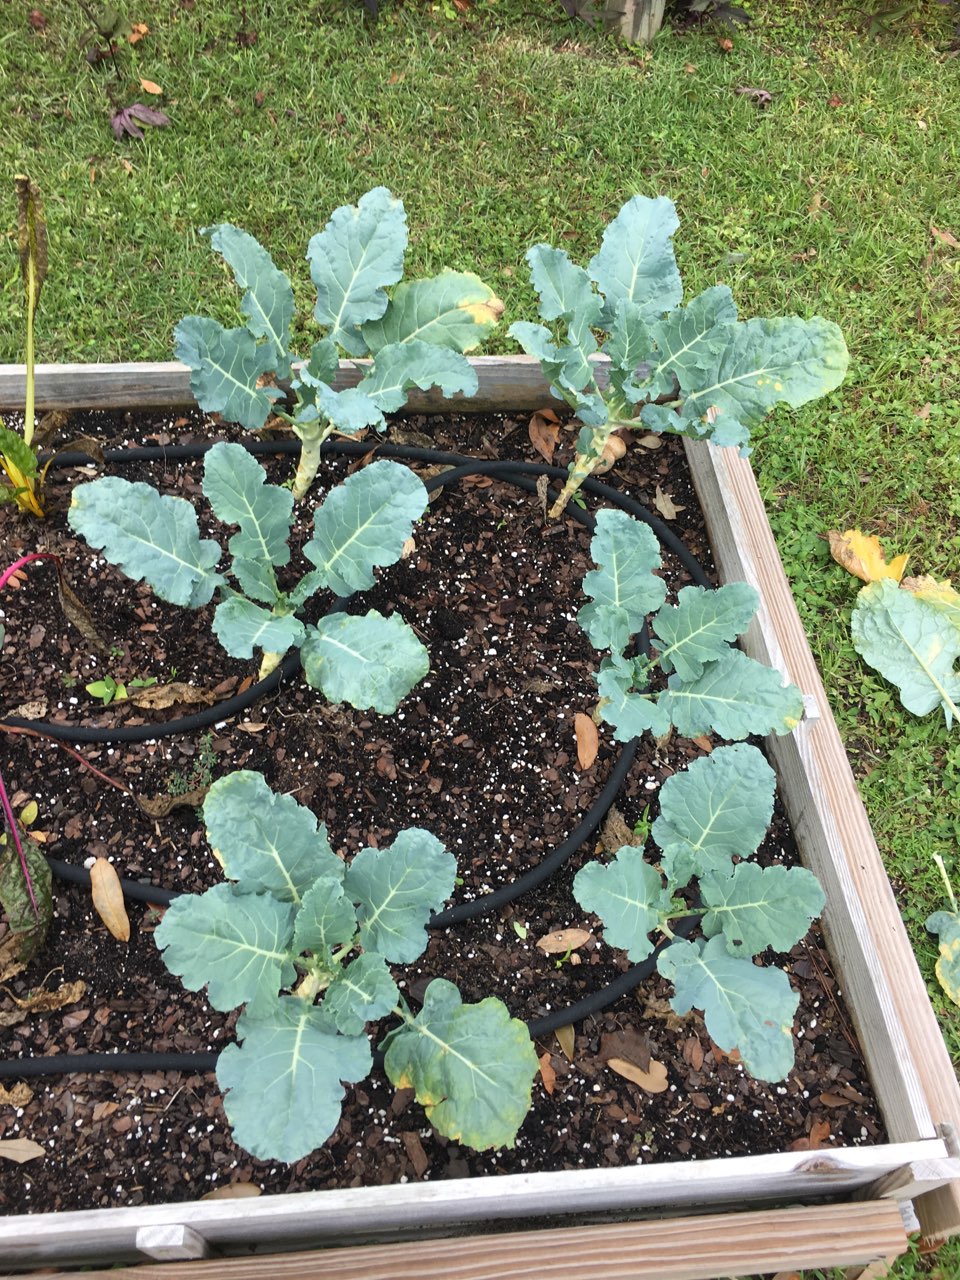
Sometimes plants have suffered wind damage. Remove damaged or dead leaves to discourage fungal disease and encourage new growth. Oftentimes excessive rain has washed fertilizer out of the garden bed and additional applications of nutrients may be needed.
The good news is this fall vegetable season is still salvageable. Even if you are busy with recovery efforts, plant a small container or a few square feet of vegetables for this fall and winter season. Your efforts will be rewarded with a table of fresh produce! For additional information about home vegetable production please refer to this UF / IFAS Publication: Florida Vegetable Gardening Guide .

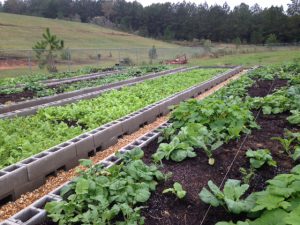
Broccoli trimmed after being neglected for 2 weeks following hurricane Michael. Fertilizer to follow. Image Credit Matthew Orwat, UF / IFAS
by Carrie Stevenson | Sep 18, 2018
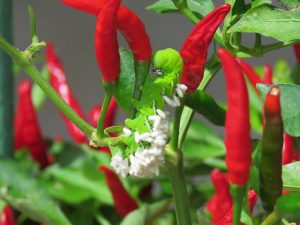
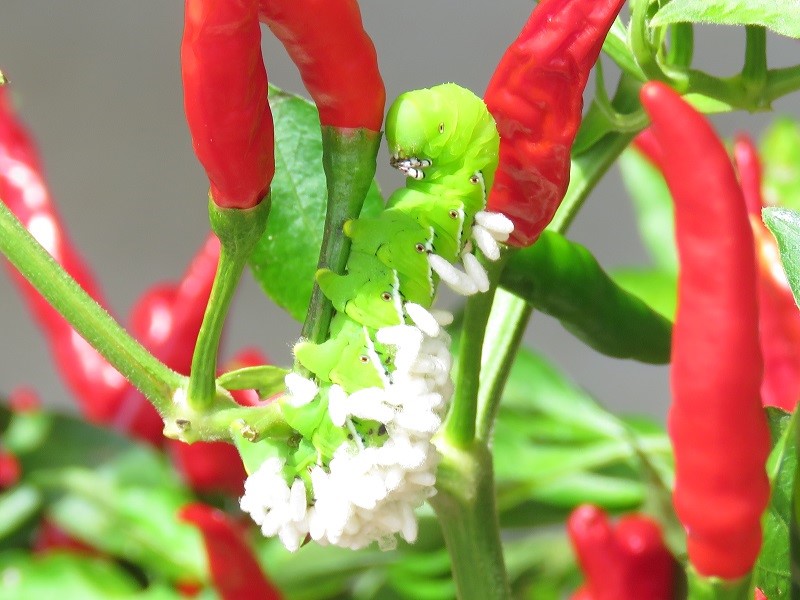
This tomato hornworm is being parasitized by beneficial wasps. Photo credit: Henry Crenshaw
Why would anyone allow dozens of wasps to thrive in their garden? Why would they let caterpillars keep moving through their pepper bushes? Don’t they know you can spray for that?
As Extension agents, one of the tenets we “preach” in gardening is the concept of Integrated Pest Management (IPM). This technique involves a series of insect control measures that begin with the “least toxic” method of control, using chemicals as a last resort. One of those least toxic measures is “biological control”, in which a natural predator or parasite is recognized and allowed to remove a pest insect naturally. It is important to be able to recognize some of the more common garden predators and parasites. Many times these insects look strange or dangerous, and they are mistaken for pests and killed.
One such beneficial insect to the home gardener is the braconid wasp (Cotesia congregatus). Most people shudder at the mention of wasps, but these tiny (1/8 inch long), mostly transparent wasps are of no danger to humans. Quite the opposite–they are an excellent addition to gardens, especially if you are growing tomatoes or peppers. One of the major pests to these favorite vegetables is the tomato hornworm (Manduca quinquemaculata), a fat green and white-striped caterpillar.
The beneficial wasp can control hornworms because females lay eggs under the caterpillar’s skin, after which the eggs hatch and larvae feed on the hornworm. After eating through the caterpillar, they form dozens of tiny white cocoons on the caterpillar’s skin. The tomato hornworm is rendered weak and near death, and the vegetable crop is saved.
If you happen to find a tomato hornworm covered in these small oval cocoons, consider yourself lucky. Let the process continue, allowing the new generation of beneficial wasps to hatch and continue their life cycle. They will control any future hornworms in your garden, and the whole process is fascinating to watch!
For questions on integrated pest management, beneficial insects, or growing peppers and tomatoes, call your local County Extension office.
by Molly Jameson | Aug 20, 2018
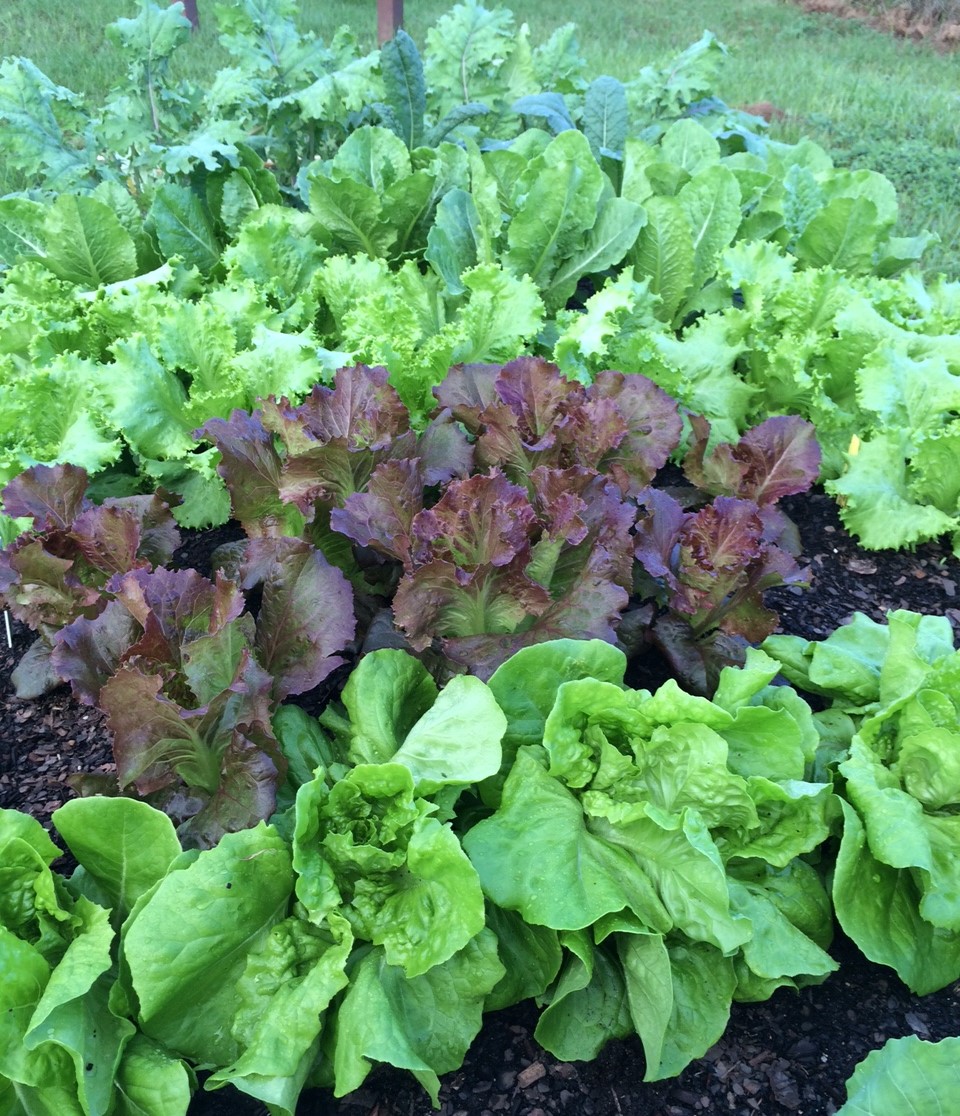
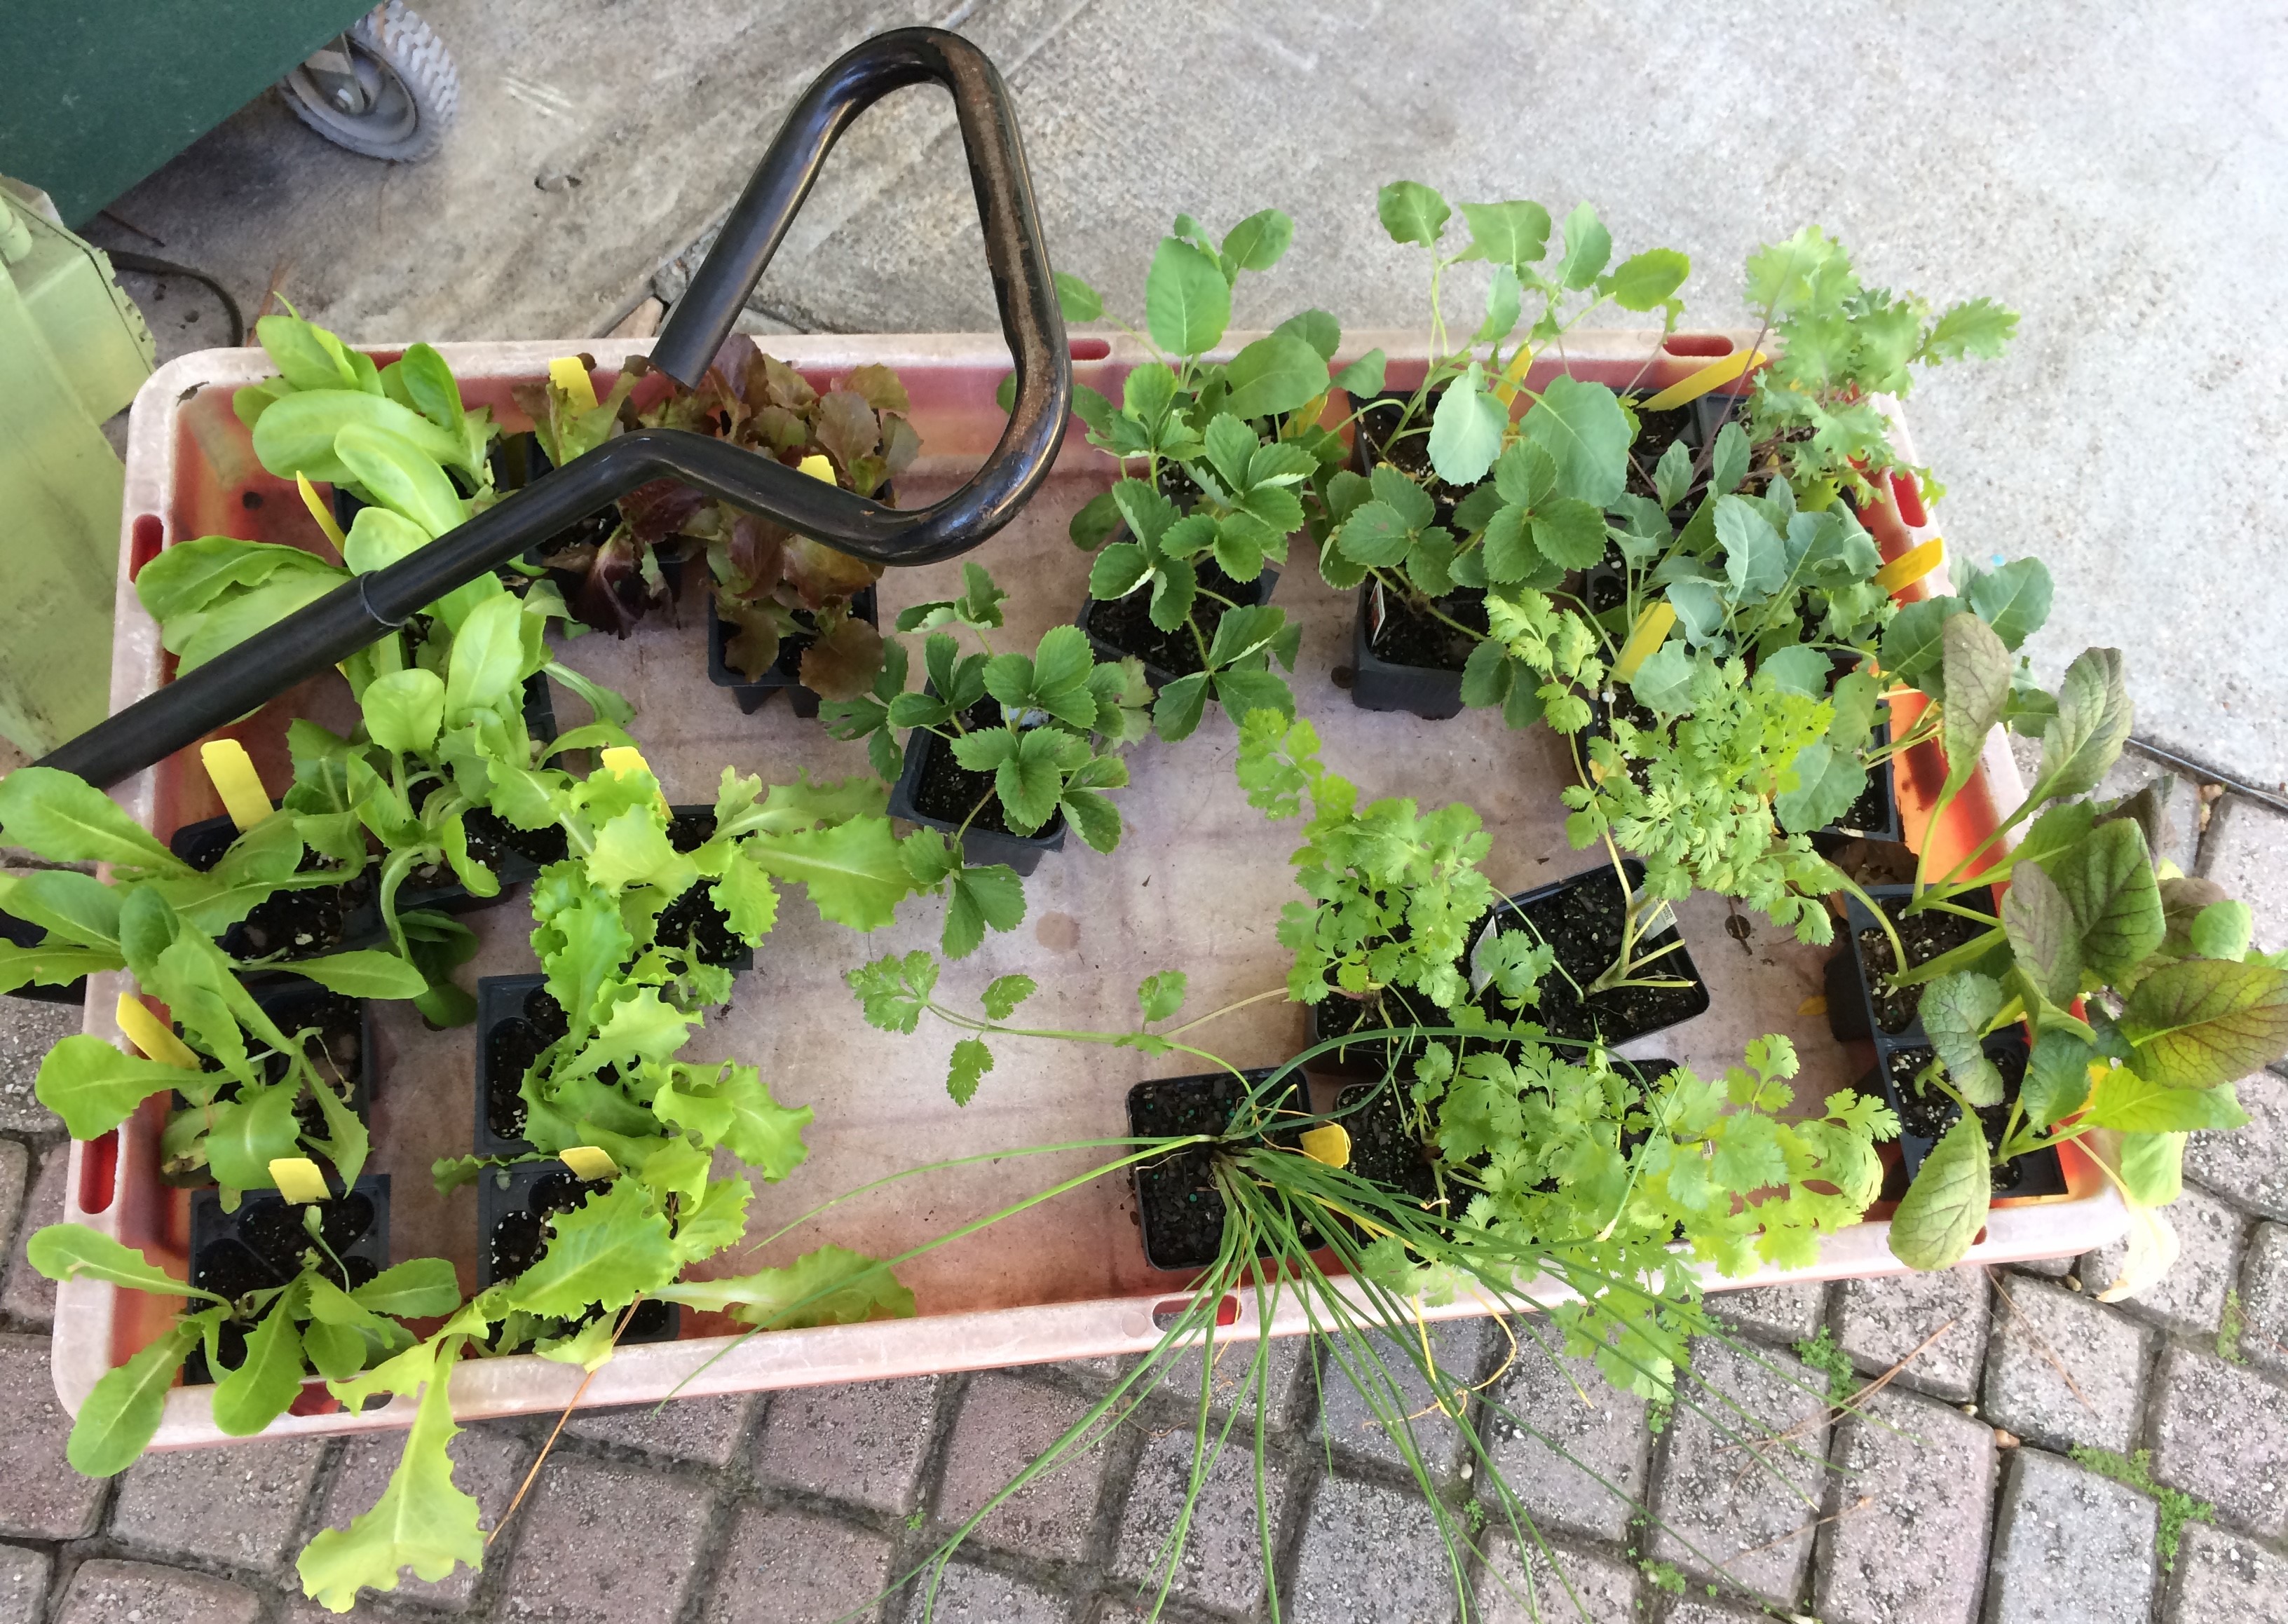
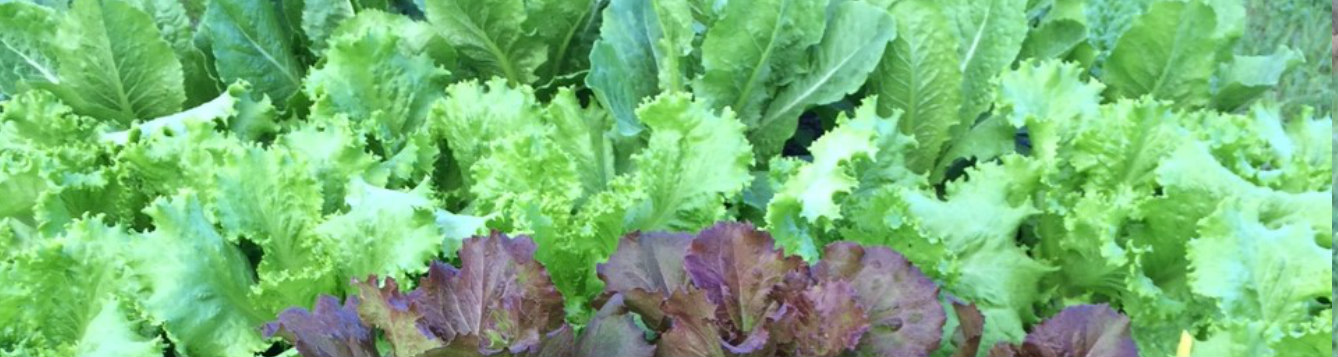
Start preparing now so your fall garden will be full of dark leafy greens, multi-colored lettuces, and root vegetables of all shapes and sizes. Photo by Molly Jameson.
August is a double-edged sword. The oppressive heat is at its pinnacle – where even the thought of spending time in the garden makes you break into a sweat – but it is also the time of year that visions of fall start coming into focus, and you can’t help but peek at the weekly forecast for signs of declining temperatures.
If your garden looks anything like mine, there are sweet potato vines weaving in and out of every corner of sunlight they can find. The sweet peppers you let fully ripen are bright red and sweeter than ever. You may have already reaped the reward of your watermelons, but you’re still hoping you can get the harvest timing right for the late season bloomers. Your okra is as tall as you – maybe even taller – and you’re grateful, for their big oblong heart-shaped leaves are shading out at least some of those warm-season weeds.
Fall is the time to start growing kale, lettuce, onions, parsley, mustard greens, and much more. Photo by Molly Jameson.
But the seasons are-a-changing, and soon you’ll be pulling up the last of your summer garden to make room for dark leafy greens, a cornucopia of roots, and a rainbow of lettuce varieties.
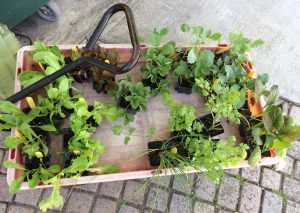
If this is making you want to rush to your nearest plant nursery and unearth all your half-used fall seed packets, then come on down to the Leon County Extension Office in Tallahassee to join us for our annual Fall Backyard Gardening Series!
This is a two-part series, running from 6:00 to 8:00 p.m. on September 4 and 6:00 to 8:00 p.m. on September 11, 2018, at 615 Paul Russell Road. I, along with Extension Agents Mark Tancig and Trevor Hylton, will discuss garden site selection, soil and fertilization, and fall planting and gardening techniques. As a bonus, you’ll leave with freshly planted vegetable seeds to take home to later transplant into your garden.
Please register on Eventbrite. The cost for both evenings is $10, and light refreshments will be provided. For more information, contact Molly Jameson at mjameson@ufl.edu or by phone at 850-606-5219.
And if you’re not in the Tallahassee area, check with your local extension office to see what fall gardening events they may have available. Tending a fall garden in Florida can be one of the most rewarding outdoor endeavors you can experience!
by Matthew Orwat | Aug 20, 2018
 The heat and humidity of August is upon us, the cool of fall seems very far away, but is it? Believe it or not, now is the time to start planning fall vegetable gardens.
One of the most popular fall vegetables throughout the lower southern states are greens. There are old stand-bys such as cabbage, mustard, turnip and collard, but also more novel selections such as kale, and rainbow Swiss chard. One technique to extend the cropping season of collards and kale, is harvesting only lower leaves while allowing plants to continue to grow, instead of harvesting entire plants. If several plants of each are planted, there will be enough for a family to have a continuous supply of greens through the season.
Most greens prefer a pH of 6.0 to 6.5, but will tolerate pH in the range of 5.5 to 7.0. If pH is too low, the rate of dolomitic per hundred square feet to raise pH one point is 2-3 lbs. Dolomitic lime must be added at least two months before planting to be effective. Greens may be fertilized with a variety of products from compost (at the rate of 20 lbs. per 100 sq. ft.) to 10-10-10 (at the rate of 2-3 lbs. per 100 sq. ft.) balanced fertilizer with micronutrients. Two to three light repeat applications in the soil at the leaf’s edge may be warranted if plants show a need.
Starting in late August, if the weather is not blisteringly hot, collards may be started by direct seeding. If hot days are excessive, it may be necessary to drop a shade cloth on young plants until weather cools. This will improve development in the event of extended heat in early September. It is also necessary to water regularly and thoroughly while making sure plants are well-drained.
In mid-September, kale, Swiss chard, turnip greens, mustard greens and cabbage may be planted. It is often an advantage to stagger plantings from September through December to extend the season.
Greens can be planted by either direct seeding or transplanting. I have found that if starting greens when it is still very warm, direct seeding is desirable since more transplant shock occurs when temperatures are higher. When it is cooler, transplanting may be more advantageous since the plants will be more developed and ready to harvest sooner.
Greens make a delightful addition to any meal so why not grow your own and experiment with novel types that cannot be found in store shelves. The video below details some novel techniques used to maximize greens’ harvest. Happy Gardening.
Video: Greens and Lettuce for Fall Gardening
Florida Vegetable Gardening Guide
by Matt Lollar | Jun 21, 2018
Are you interested in growing squash in your garden? Do you know the difference between summer squash and winter squash? Check out this very informative instructional video on growing squash in your home garden by Walton County Agriculture Agent Evan Anderson.
[youtube https://www.youtube.com/watch?v=hlbJfV-0FuU&w=560&h=315]
by Molly Jameson | Jun 21, 2018
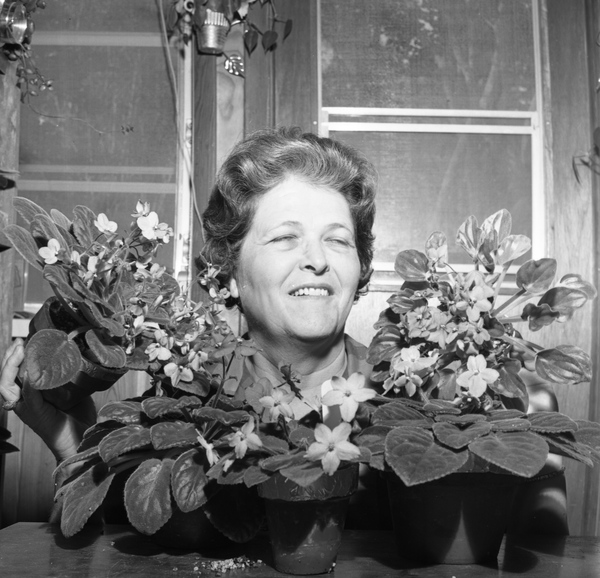
Mrs. Henry C. Mills in 1966 with her African violets at the North Florida Fair
flower show. Photo by Dan Stainer/State Archives of Florida.
Growing up, as soon as I entered the fair gates, I always headed straight for the rides. If I was lucky, I was able to get an unlimited pass strapped around my wrist and didn’t need to worry about rationing any tickets. Although I usually didn’t remember the names of particular rides – they were clear in my imagination. The spaceship, the circular mini roller coaster, the alien arms… and of course, the Ferris wheel. It wasn’t until I was about a dozen rides in – and starting to feel a little queasy – that the fun houses and win-a-goldfish-by-throwing-a-ring or shoot-a-basketball-for-a-giant-stuffed-tiger games drew my attention. After that, I was ready for funnel cake. Maybe even a corn dog and an assortment of fried cheese, pickles, and the like. Inevitably, I would eat too much and be out of commission for any more rides I was hoping to squeeze in – or squeeze into! This is when I might finally make my rounds through one or two of the giant warehouse-looking buildings that lined the way to the exits, where I knew there was at least a llama or a goat to be fed at the petting zoo.

Instead of simply attending the North Florida Fair this year, submit your garden’s best for competition. Photo by North Florida Fair.
But when I started volunteering at the Leon County Animal Shelter as part of the 4-H Pet Partners at age 12, I was introduced to these buildings in a whole new light. We were assigned the task of creating papier-mâché cats and dogs to display at the fair to help build awareness of pet overpopulation. I remember my dog well – he was beagle-like, with long droopy paper ears and stiff pointy legs that I struggled to keep balanced. The day we went to set up our display, my adrenaline soared, as I knew our creations were to be judged and ribbons to be bestowed. Ever since, I no longer view the fair buildings as a last stop – rather, I relish my stroll through each of them, as they contain so many handmade treasures, many of which are adorned with blue rosettes of triumph.
The tradition of displaying and competing for the best quality handiworks at the fair goes all the way back to the Middle Ages and Renaissance, where merchants sold and traded agricultural goods that had been grown over the summer and freshly harvested in the fall. Naturally, competitions arose during these times, as they strove for the finest products.
Today, fairs reflect the personality of an area, and nearly universally include judges who inspect home grown fruits and vegetables, flowers, preserved foods, and baked goods entered into competition by the community. The North Florida Fair awards about $80,000 in cash prizes to citizens who create and grow various items. Anyone living within the 24 counties that comprise North Florida – from the Suwannee, west to the Alabama line – is eligible to enter as many of the exhibit categories as they would like.

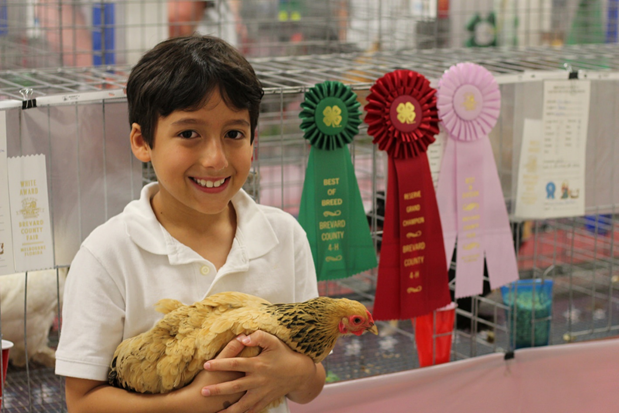
A youth showcasing his prize winning chicken at the North Florida Fair. Photo by Aly Donovan.
The exhibits are arranged into various departments, such as Home Agriculture, Capital City Garden Club Flower Show, Poultry, Baked Goods, and Fine Arts and Crafts. Within each department, there are various classes that are split into certain age divisions (i.e., youth only) or experience levels (i.e., amateur vs. professional). Under the Home Agriculture department there are 42 classes, including 13 classes covering fresh vegetables. The Capital City Garden Club Flower Show department has 13 classes, including annuals, perennials, hanging baskets, fruiting shrubs, trees, and vines, succulents, and much more. If you would like to submit something you’ve grown, now is the time to begin planning, as this year’s fair is set for November 8-18.
All of the details for each department and class can be found on the North Florida Fair website (http://northfloridafair.com/), under the Exhibitors tab. Pay close attention to the application and submittal deadlines for each specific category, as most items are due for judging the week prior to the fair opening.
So, let nostalgia win you over as you prepare your home-grown vegetables and flowers for submittal to the North Florida Fair. You might just earn a blue ribbon to be displayed for all fair attendees to admire, either as they walk off a full stomach in preparation for more rides, on their way to the exits, or just as they get started creating their own fond fair memories.