Are you interested in growing lettuce and other leafy greens? Are you looking for tips on extending the growing season for your leafy green crop? If so, then check out this very informative instructional video by Washington County Horticulture Agent Matthew Orwat.
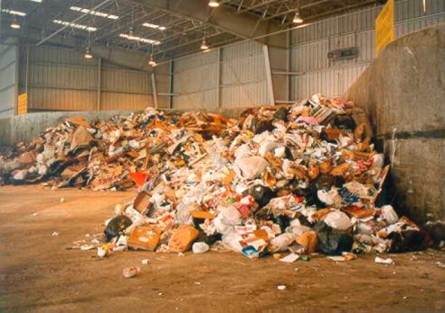
Food is wasted along the many routes in our food system as it is grown, processed, transported, sold, stored, and prepared. According to the Environmental Protection Agency, the U.S. generates more than 37 million tons of food waste annually, 95 percent of which ends up in landfills or incinerators. That amounts to over 200 pounds of wasted food per every American every year!
Food waste in landfills combines with anaerobic conditions (lack of air) to create methane, a powerful greenhouse gas 25 times more harmful than carbon dioxide. Landfills are responsible for 18 percent of total methane emissions in the U.S., which contributes significantly to climate change.
Waste waiting for the landfill. Ninety-five percent of the 37 million tons of food waste we produce annually ends up in landfills, when combined with anaerobic conditions, generates methane. Photo by Heidi Copeland.
Nationally, we can prevent and recover food waste by implementing techniques such as standardized food labeling, streamlined donations to foodbanks, the creation of secondary grocers, industrial composting, clean energy creation through treatment plant digestion, business and consumer education, and changing overall food policy.
But as a gardener, what can you do to help? If you grow fruits and vegetables, you are already helping, as this means the food from your garden did not have to travel long distances to get on your dinner table. If you actively compost your kitchen scraps, you are also helping, as Americans throw out nearly 40 percent of food purchased. Here are a few other simple life-style changes you might want to try:
Purchase more locally produced food. Buying local not only supports local farmers, but the food most likely used fewer resources than non-local food on its way to market.
Learn canning and pickling techniques. Homegrown fruits and vegetables are as fresh as you can get, and canning can then preserve this food for months.
Store food properly and keep perishables and leftovers in plain sight in the refrigerator so you see them every time you open the door. Investing in a good set of clear glass reusable containers can securely store leftovers, make them easier to identify, and can be safely heated for quick consumption.
Don’t throw out something just because it is past the date on the label. Unless it is baby food or formula – which federal law mandates be dated to ensure consumption when most nutritious – these dates refer only to peak quality. If the items do not show signs of spoilage, such as an off odor, texture, flavor, they are safe to consume.
This late winter has been alternating between warm and cool extremes. One thing is for certain and that’s that it’s time to start planning your sweet potato crop.
Sweet potatoes are generally planted March through June in the Florida Panhandle. The most common method of planting is with sweet potato slips. Sweet potato slips are simply six to eight inch cuttings of a sweet potato vine with the majority of the leaves pulled off. You can purchase sweet potato slips from a local garden center or a seed catalog. Make sure you only purchase certified, disease free slips. You can also easily start your own sweet potato slips from a store-bought sweet potato.
Sweet Potato Slip Production
Pre-sprout Your Tubers – Place sweet potato tubers in a warm place (75 to 85 degrees) with high humidity (90%), such as in your garage, for two to four weeks. It is important that you put the tubers in a well-ventilated container. Allow the tubers to stay in the pre-sprout area until sprouts are roughly 1/4-inch in length.
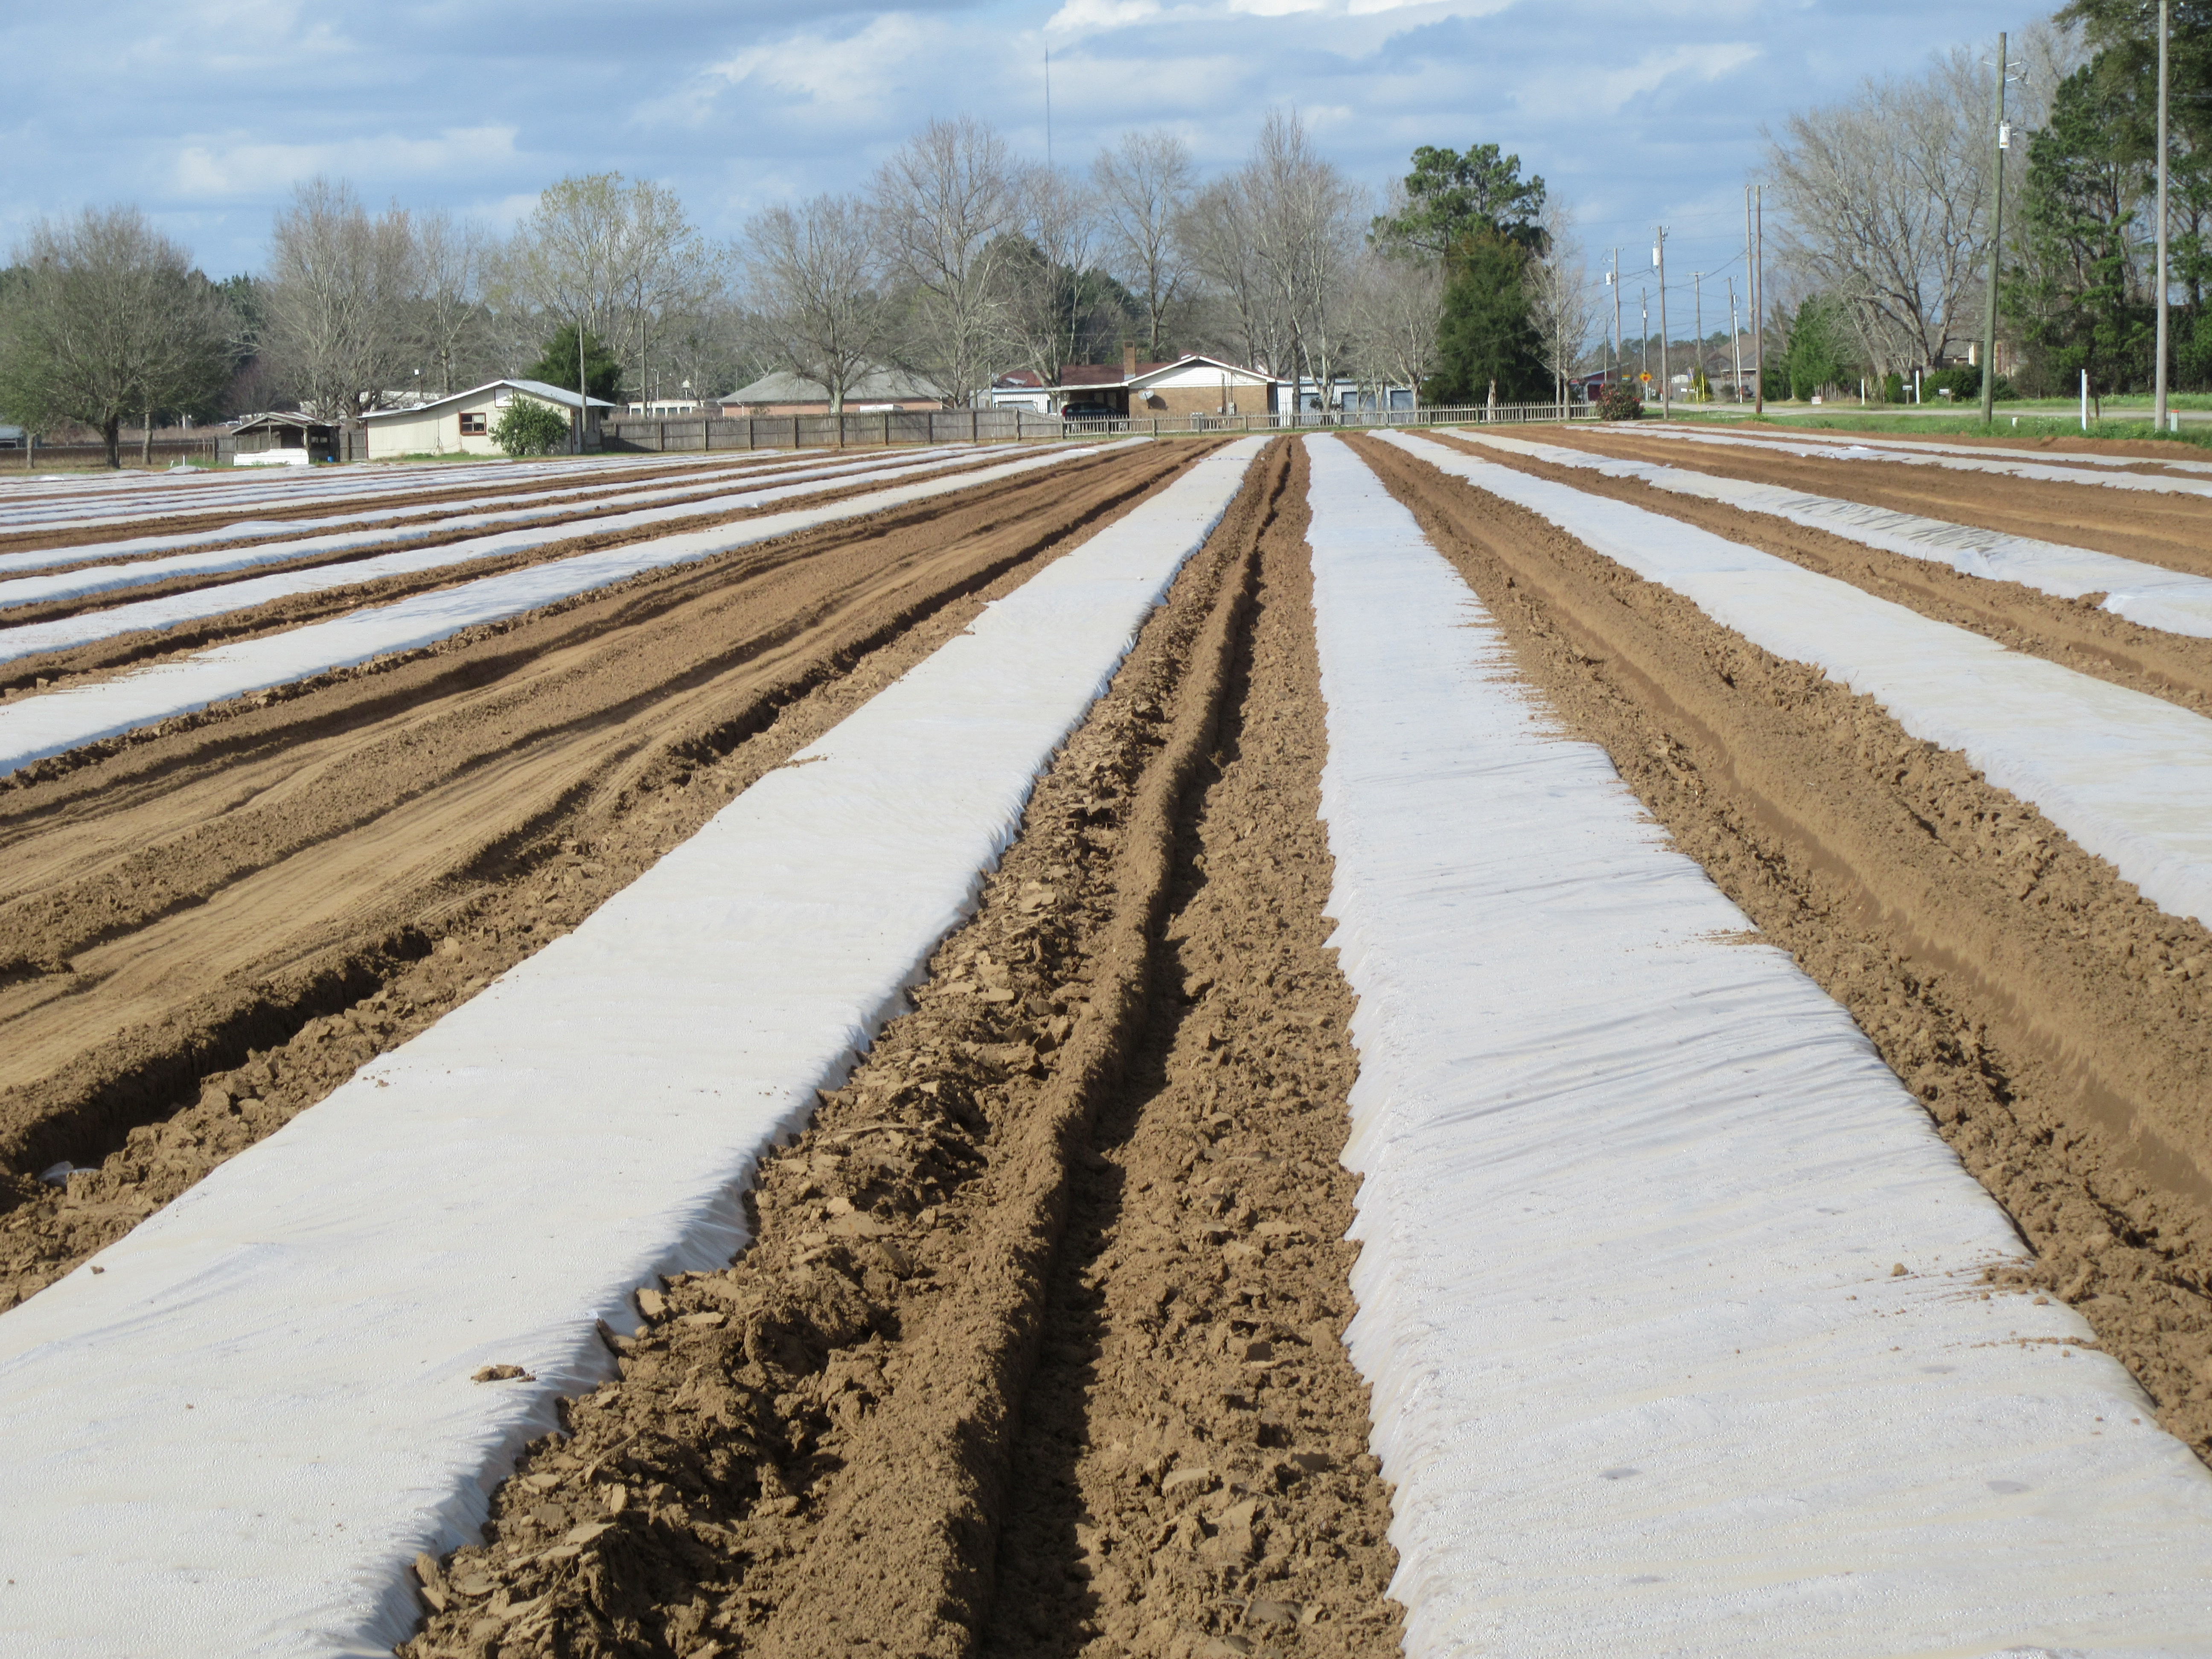
Bedding – Sweet potatoes are placed in “beds” to produce slips. A sweet potato bed can be made out of the same materials as you’d use for a raised bed garden. You can simply build a frame out of 2″x12″ lumber. Plastic is placed in the bottom of the beds before a layer of bedding material is put down. The bedding media can be a peat-based potting mix or a more economical substrate would be wood chips or sawdust. Sprouted sweet potatoes should then be placed in a single layer 8″ to 12″ inches apart and covered with two additional inches of bedding material. Then top dress the bed with a general purpose, granular fertilizer, water the bed, and cover with clear or black plastic. Poke holes in the cover plastic to aerate the soil and prevent carbon dioxide and temperature buildup. You may need to water the bed periodically, but do not completely saturate. Sweet potato slips can also be produced in the garden if you have a sandy, well-drained soil such as the field pictured below.
Sweet potato slip production in the field. Photo Credit: Evan Anderson, University of Florida/IFAS Extension.
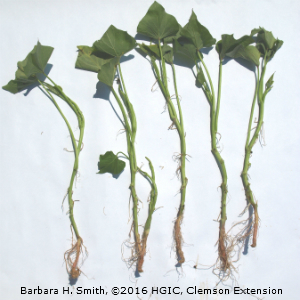
Cut Slips – Slips will be ready to cut in seven to ten weeks. Cut slips 1″ above the bed surface and trim to 10″ to 12″ in length. Strip all but the top one or two leaves from each slip. If you are unable to plant your slips at the time of cutting, then store them in a cool, dry area to prevent them from rotting.
Sweet potato slips can be planted March through June in the Florida Panhandle. Plant the slips at least three nodes (leaf stubs) deep at 12″ by 36″ spacing. Fertilize based on soil test recommendations. Sweet potatoes are ready to harvest generally between 100 to 120 days after planting slips. After harvest, you will need store your sweet potatoes in a warm (80 to 85 degrees), humid (80 to 90%) place for one to two weeks to allow them to “cure”. After the curing period, you can store your sweet potatoes in a cool area (55 to 60 degrees) until you are ready to eat them.
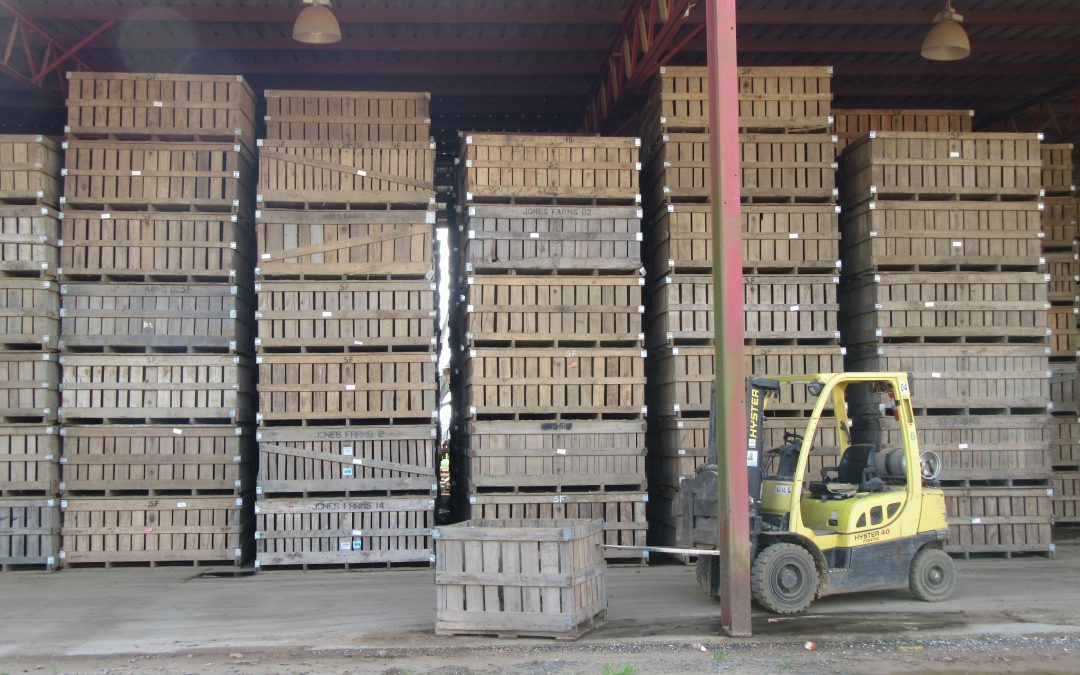
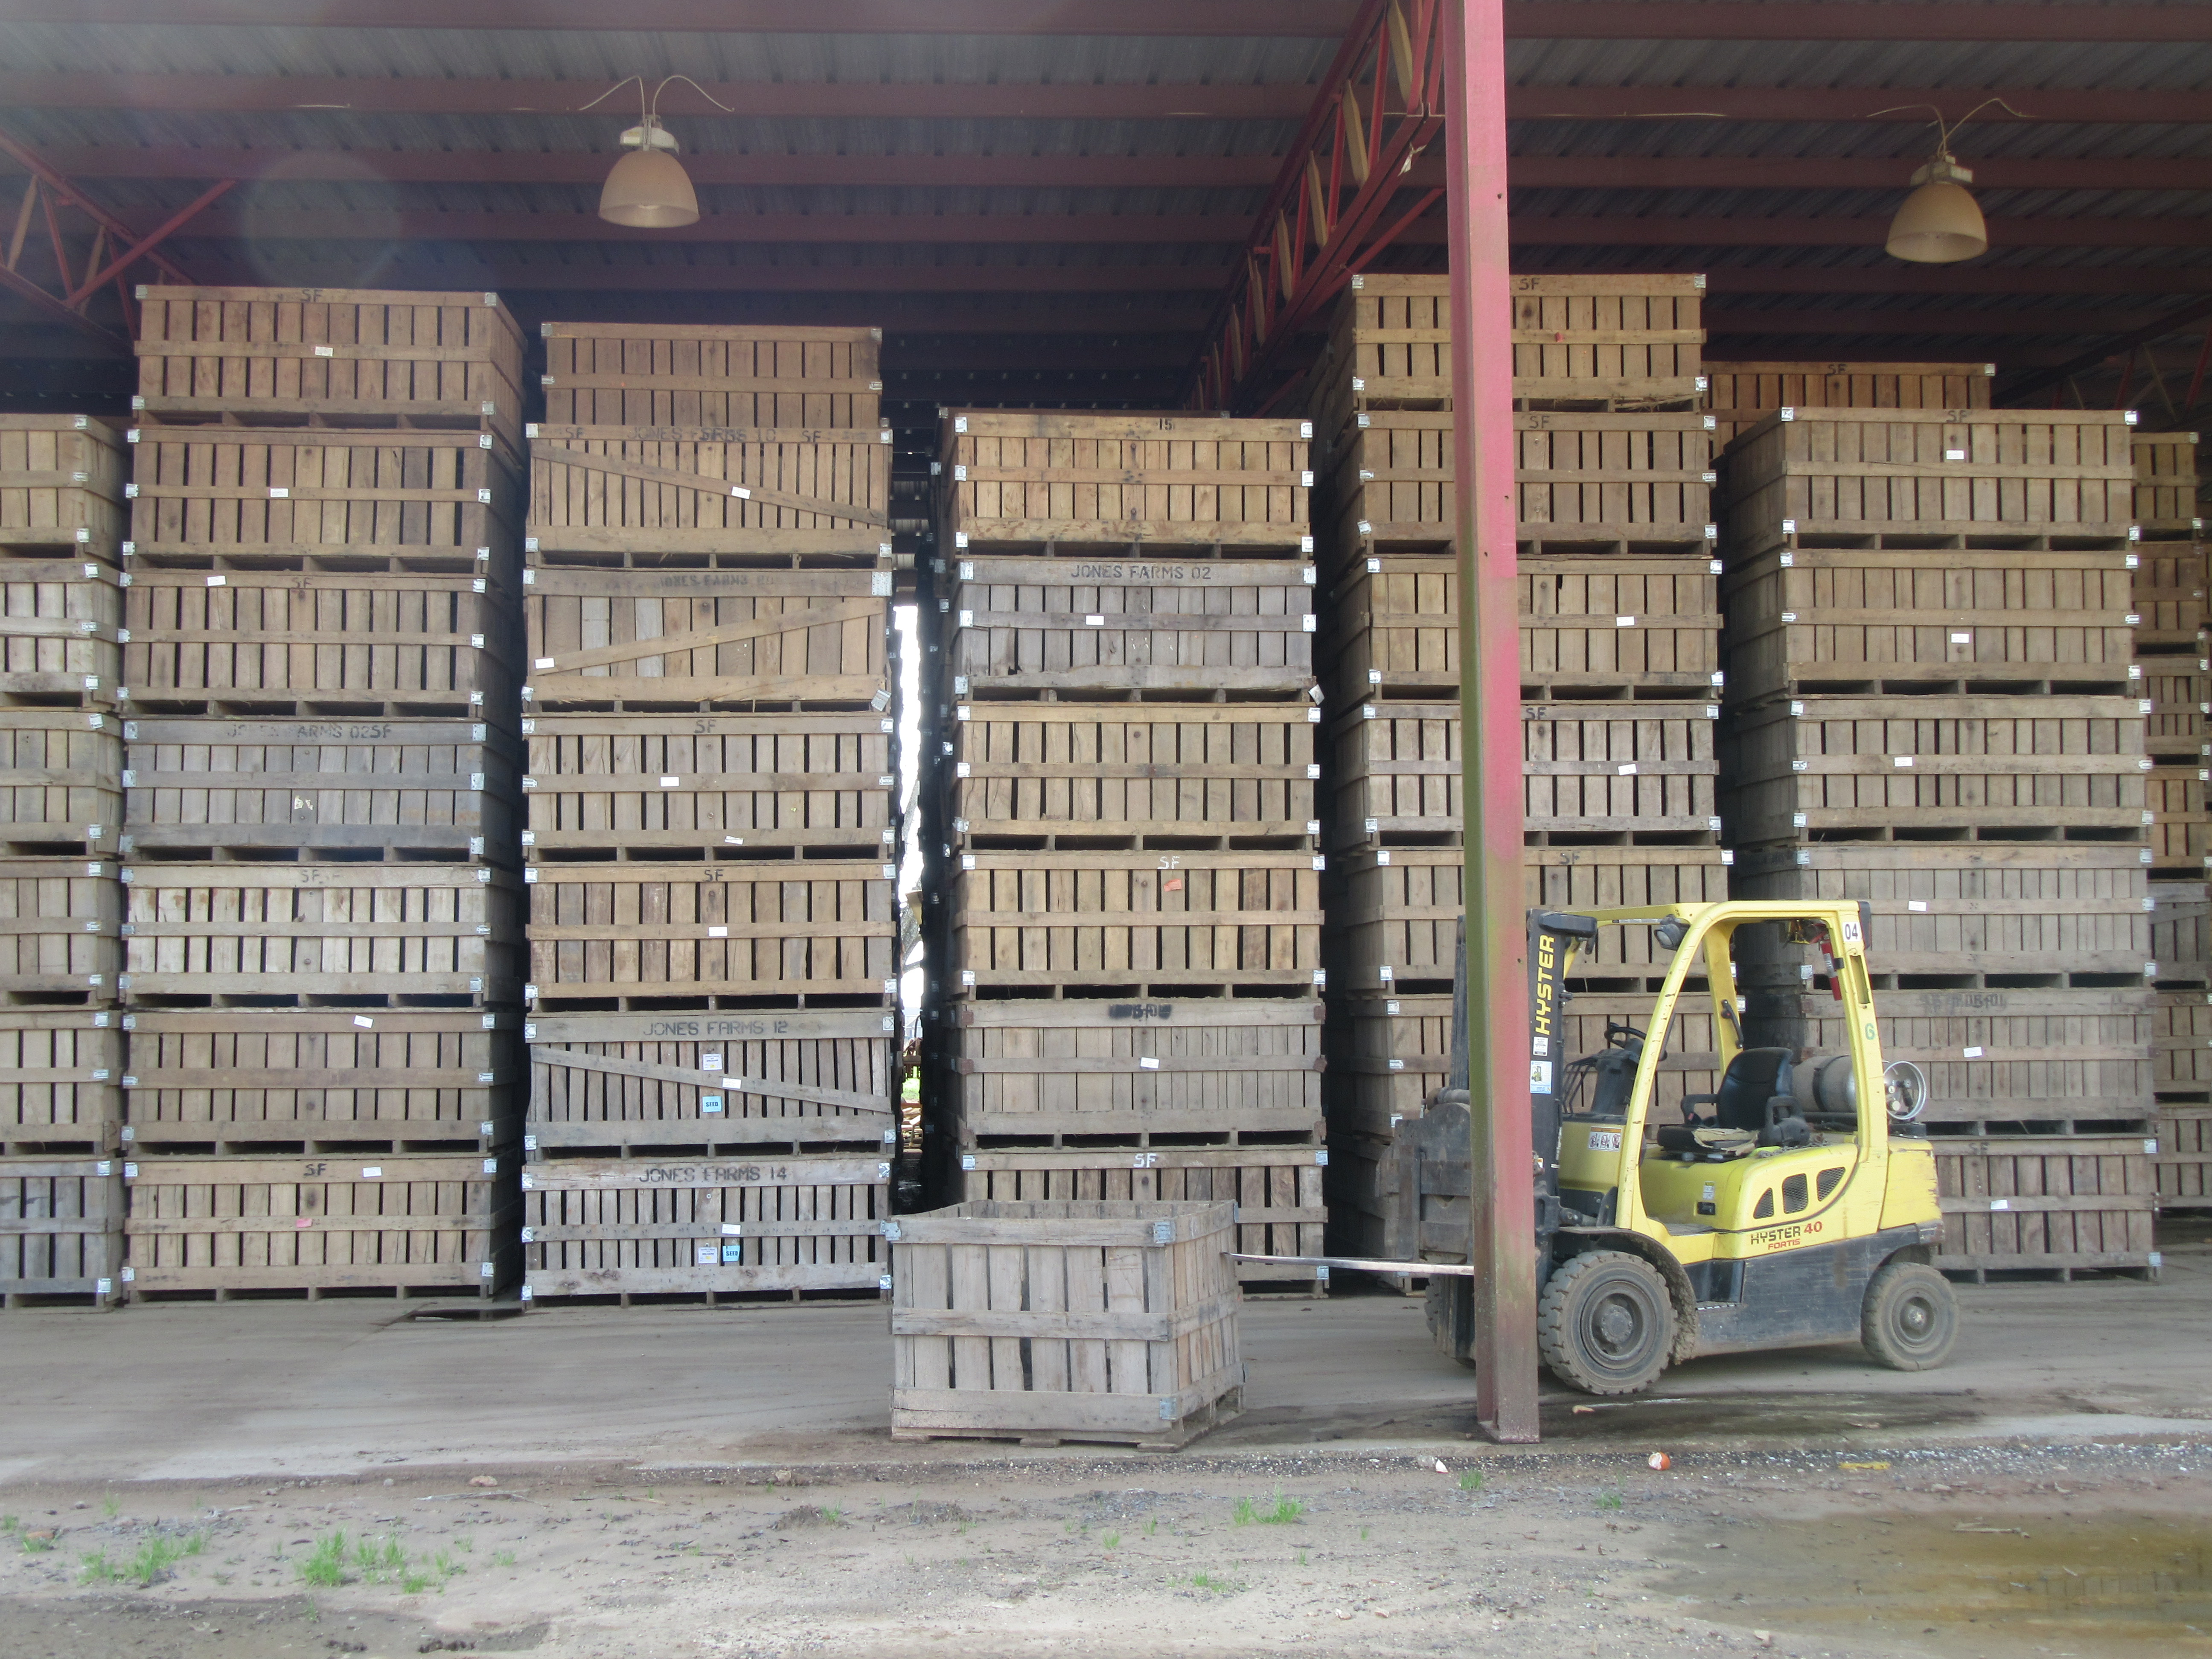
Sweet potato storage on a commercial farm. Photo Credit: Evan Anderson, University of Florida/IFAS Extension.
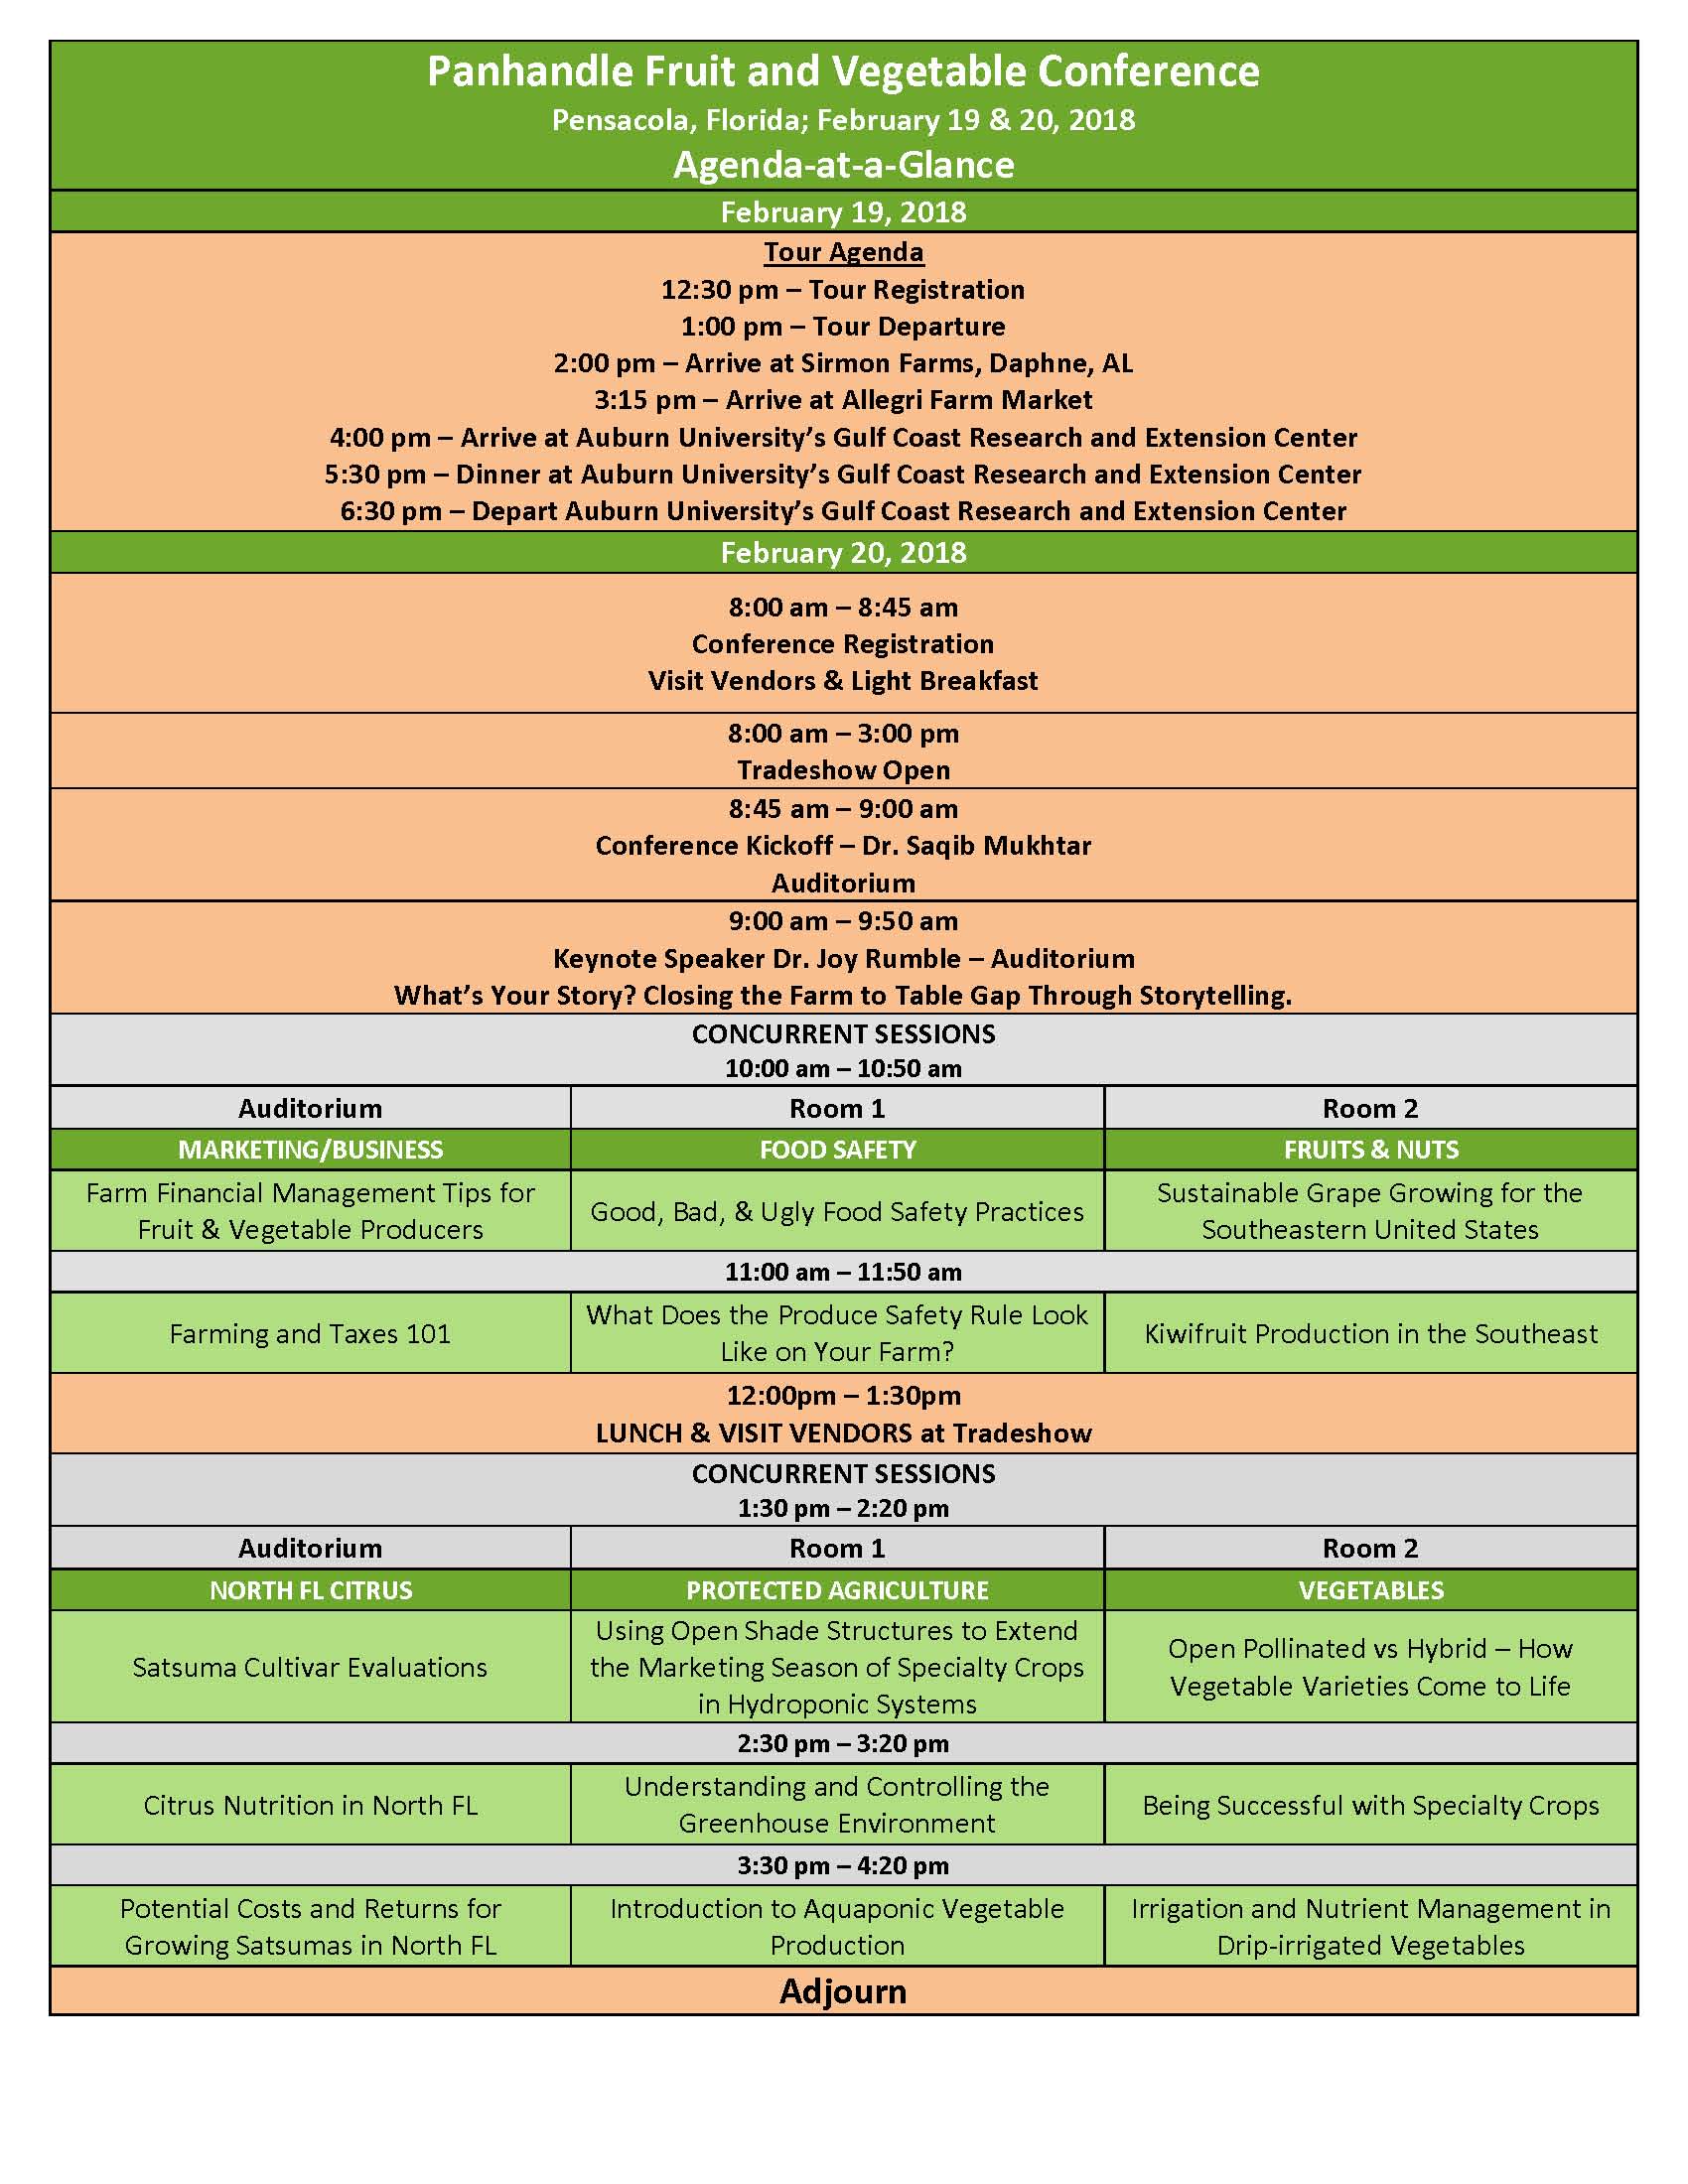
Register today for the 2018 Panhandle Fruit & Vegetable Conference! The Panhandle Fruit & Vegetable Conference is scheduled for February 19th & 20th. On the 19th we will go on an afternoon farm tour in Baldwin County, AL that will end with dinner (included) at Auburn University’s Gulf Coast Research and Extension Center in Fairhope. Educational sessions with guest speakers from University of Florida, Auburn University, and Texas A&M University will be held on February 20th where topics will include Citrus Production, Vegetable Production, Protected Ag Production, Marketing/Business, Food Safety, and Fruit & Nut Production. A full list of topics can be found here. Fifty dollars (plus $4.84 processing fee) covers the tour and dinner on the 19th and educational sessions, breakfast, and lunch on the 20th! The complete agenda is now available. Use your mouse or finger to “click” on the image below for full screen viewing.
Make sure to register by Wednesday, February 14th! – Registration Link
We’re having a cold winter this year and I’m sure the last thing on your mind is your spring garden, but it’s time to start ordering seeds! The spring gardening seed catalogs are now out on garden center magazine racks and it’s tempting to buy everything that looks good in pictures. However, there are a few things to think about when picking out what you want to grow.
Know Your Season
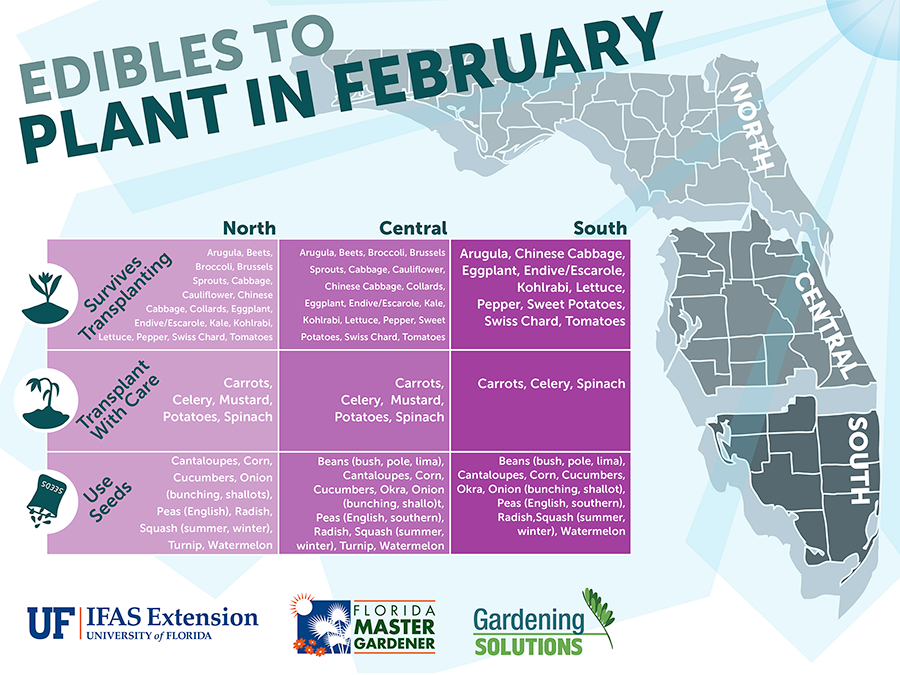
Vegetable crops are usually grown by season. We are lucky in Florida because we have both a warm season and a cool season. We are unlucky too because we have very hot summers! Usually our spring crops suffer from too much heat and humidity in July and August. Cool season crops are typically planted from September to March, while warm season crops are typically planted in February and March or August and September. Eggplant and okra are outliers because they can usually make it through the summer. It’s important that you follow tried and true planting dates for the crops you intend to grow. You can find a very helpful table embedded in the Florida Vegetable Gardening Guide that lists what to plant when.
Know Your State
As you may have noticed, North Florida has a very humid climate year-round. We not only have to give our crops extra care due to rain and humidity, but we also need to grow varieties adapted for our climate. Some recommended varieties are listed in Table 2 of the Florida Vegetable Gardening Guide. You can also find some recommended varieties in Seed Sources for Florida Homegrown Vegetables. (Please note that some of the seed sources listed in this publication are geared more toward commercial growers, so they may be unavailable unless you intend to plant quite a few acres in one crop.)
Know How Green Your Thumb Is
Probably the most important thing about gardening is your level of commitment and experience. Take a few minutes to assess your skills as a gardener and the amount of time you are willing to commit to your garden. Then use the following list to help you determine what to plant.
Easy to Grow in Florida – Radish, Collard, Turnip, Kale, English Pea, Green Bean, Sweet Potatoes
Somewhat Easy to Grow in Florida – Okra, Yellow Squash, Zucchini, Eggplant, Watermelon, Sweet Corn
Hard to Grow in Florida – Tomato, Cantaloupe, Muskmelon, Pumpkin
This is only a short list, but I hope it gives you a starting point to help you determine your skill set.
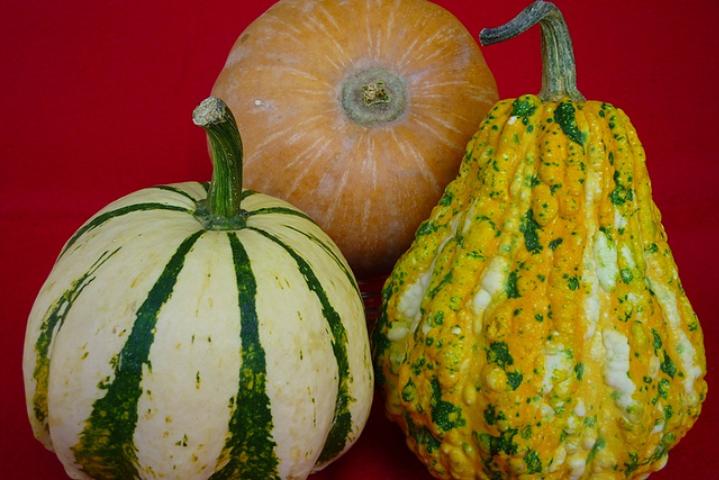
A variety of calabaza squash. Photo Credit: University of Florida/IFAS
Know the Difference Between Open Pollinated, Heirloom, and Hybrid Varieties
Open-pollination of crops occurs when insects, birds, wind, or other natural mechanisms carry pollen from flower to flower. Seed can be saved from open-pollinated varieties which will produce crops with similar characteristics to their parents.
Heirloom varieties have a history of being passed down within a family or community. As the name suggests, seed can be saved from heirloom varieties which will produce crops with similar characteristics to their parents.
Hybridization is a controlled method of pollination in which the pollen of two different varieties or species is crossed by human or natural mechanisms. Seed saved from hybrids will most likely not produce as vigorously as their parents and may produce crops that are significantly different from their parents.
I would never want to discourage you from growing new crops, but I hope you now have a little better plan as to what to plant this year. If you want to try something new with minimal risk then I would recommend you try growing yard-long beans, calabaza squash, and malabar spinach. These vegetables serve as excellent substitutes for some of the more commonly grown varieties. You can read more about these crops and other minor vegetables by visiting the University of Florida/IFAS Minor Vegetable Webpage.
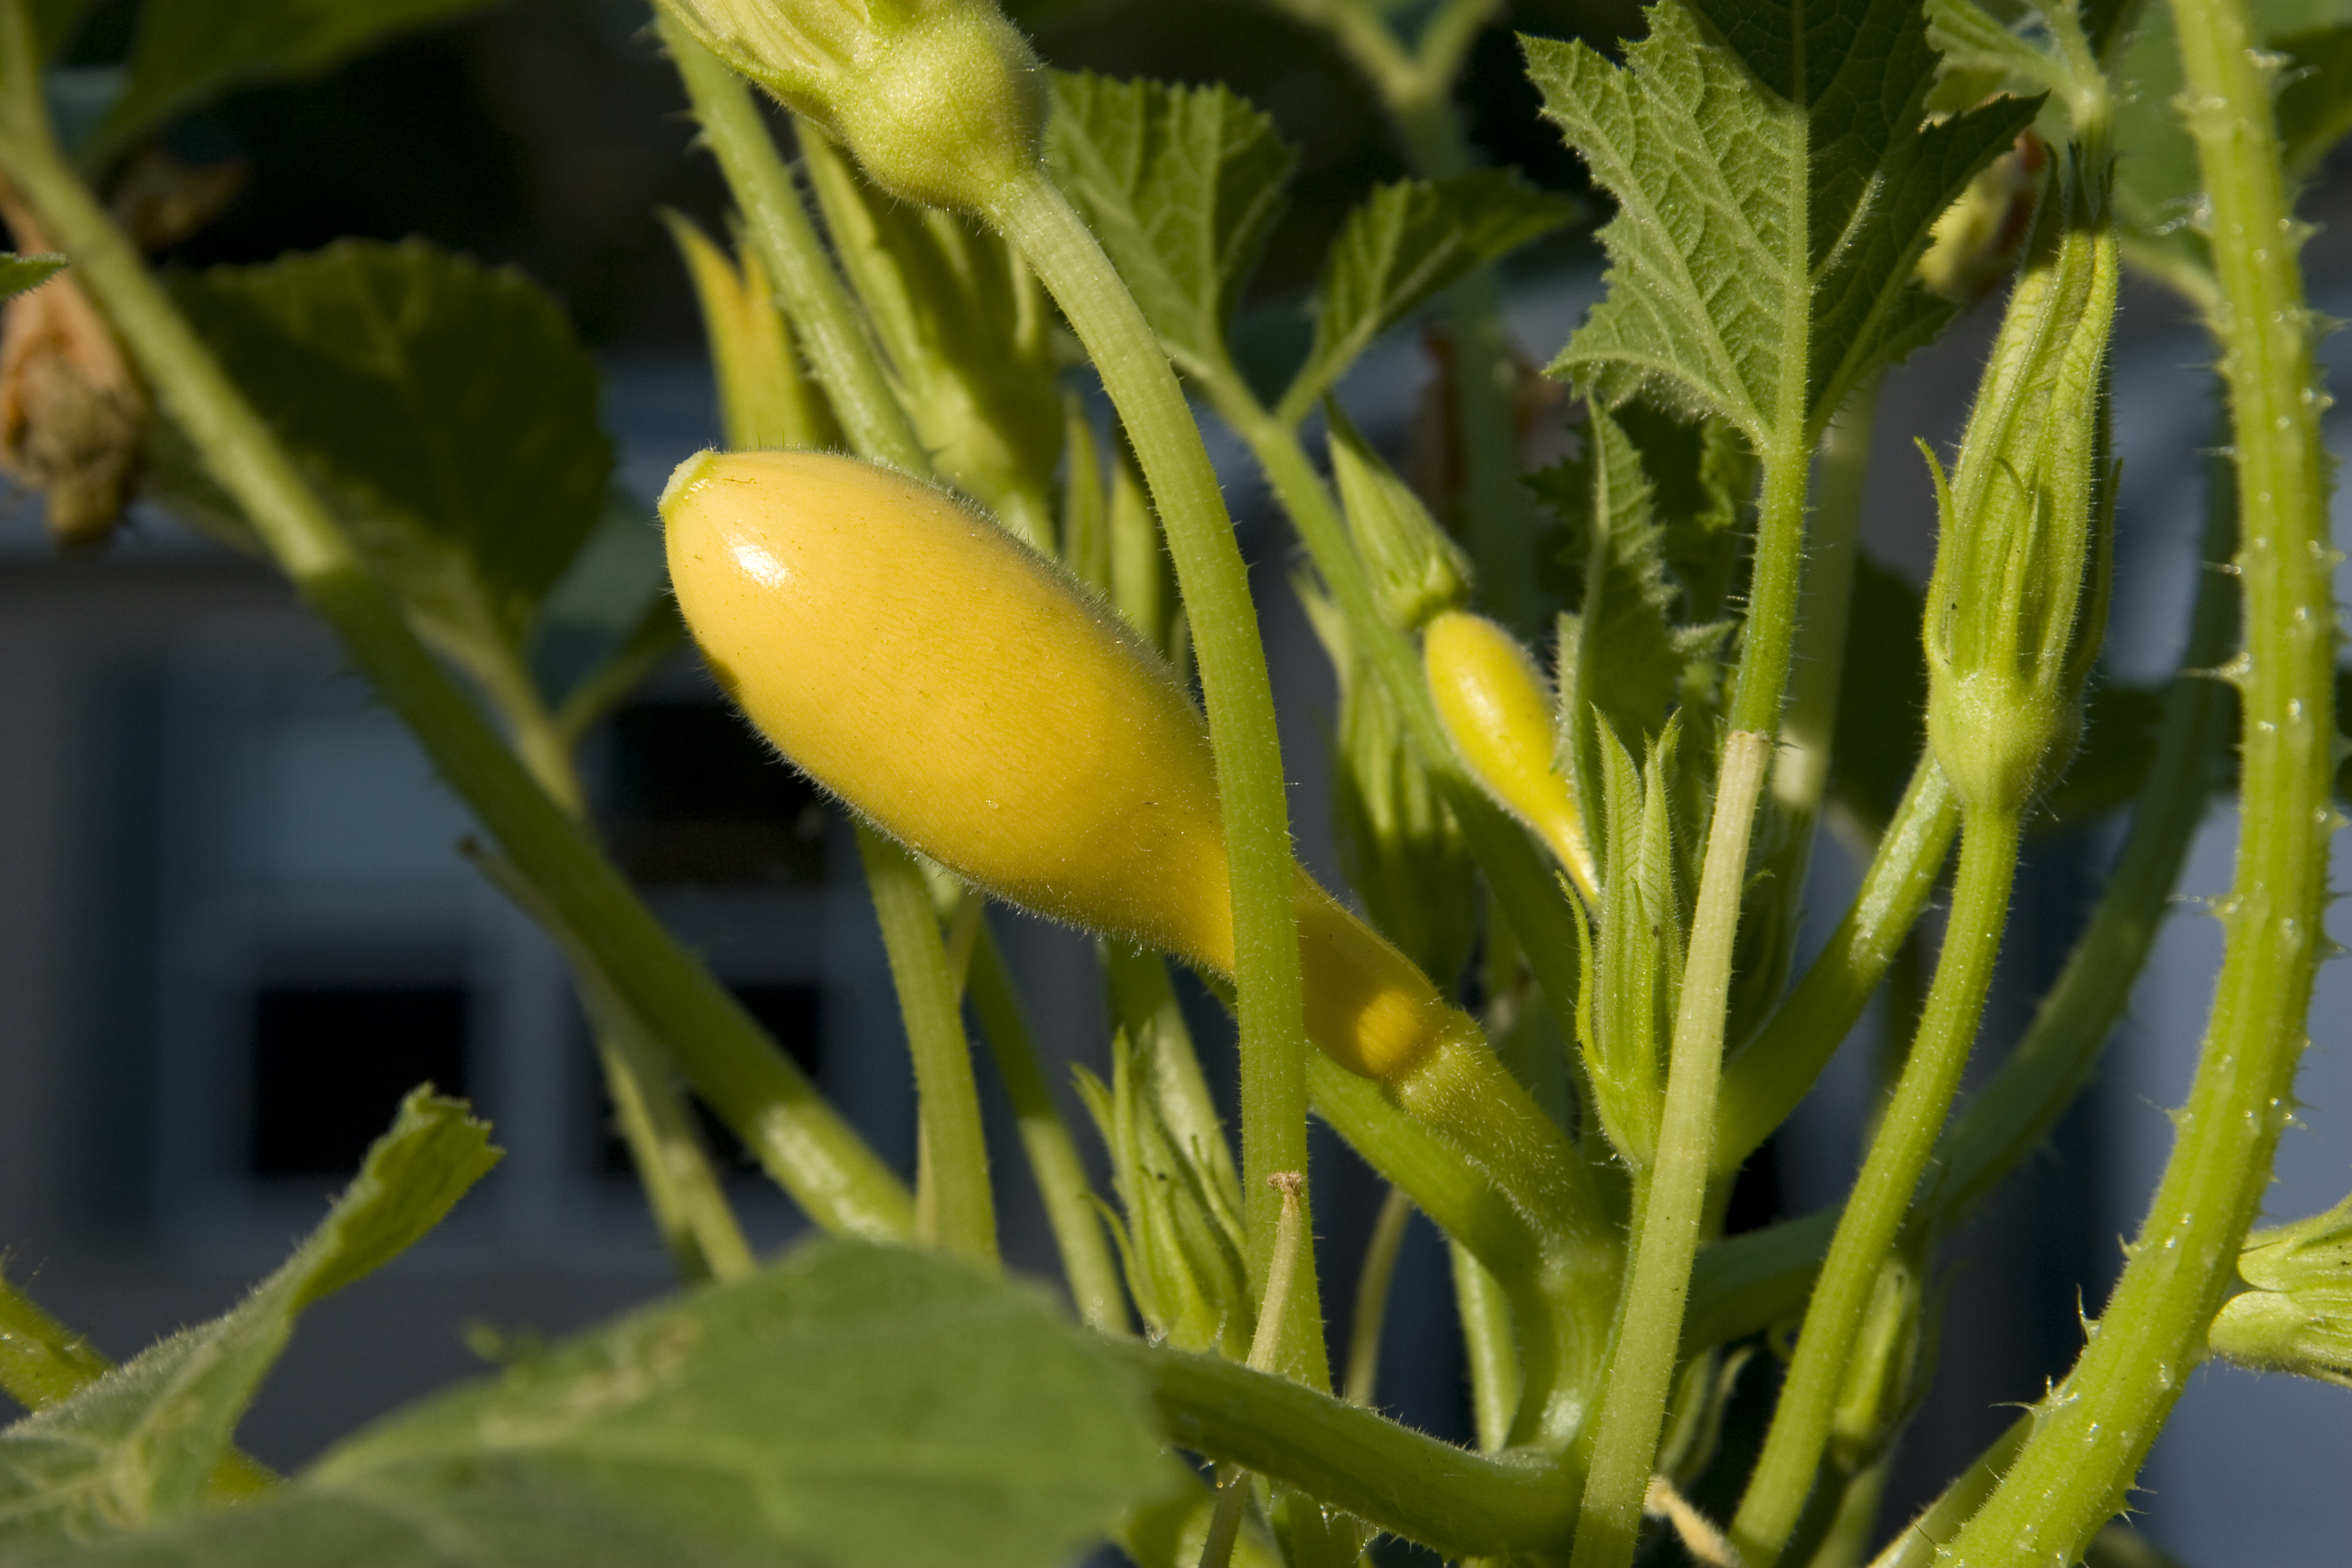
Get a head start on your spring vegetable garden by planting seed now for some of your favorite spring crops. A great advantage to starting from seed is the seemingly endless number of varieties of your favorite vegetables that are available from online seed companies. You can experiment with new and heirloom varieties. Look to plant several different varieties that will mature at different times, thereby lengthening your harvest season.
Home grown squash. UF/IFAS Photo by Tom Wright.
Seed is also cheaper than purchasing transplants, especially if you save your seeds in optimal conditions. To save leftover seed, keep it tightly closed in the original packet and store in a closed jar or plastic storage bag along with a desiccant (one of the little packs that come in vitamin bottles or shoe boxes) to absorb any excess moisture. Place in a consistently cool place, like your refrigerator. Some seeds naturally keep longer than others.
No fancy pots are needed, just about anything several inches wide and deep with a drainage hole will work. The pots should sit in a shallow waterproof tray to catch the runoff. Be sure to sterilize any reused pots with a solution of 1 part chlorine bleach to 9 parts water to destroy any lingering pathogens from the previous plants.
A commercial seed-starting mix is your best choice. Compressed peat or coir pots are also a good choice. Some all-purpose potting mixes are okay, but others are heavy and can hold too much water and promote fungal disease.
Plant the seed according the packet instructions, water well and place in a nice sunny spot where you can check them every day. If you don’t have a convenient sunny spot, a shop light with florescent and/or grow lights mounted about 6 inches above the tops of the plants will work well. A timer for the light is a handy device to make sure your seedlings have a good 14-16 hours of light a day. If your pots are in a sunny window, rotate them 180° daily to insure uniform growth. If you find your seedlings skinny and stretched, they are not getting enough sun.
Make sure that the soil stays evenly moist from the time of planting until the young plants are ready for your garden. A clear cover over the pots or tray will help to keep moisture consistent while the seeds germinate.
When the time comes to transition your plants to the outdoors, do it gradually. Expose them to the sun for an hour or two the first day and gradually increase their ‘sunbathing’ time each day for about a week and then transplant them to their new home.