by Molly Jameson | Apr 7, 2017
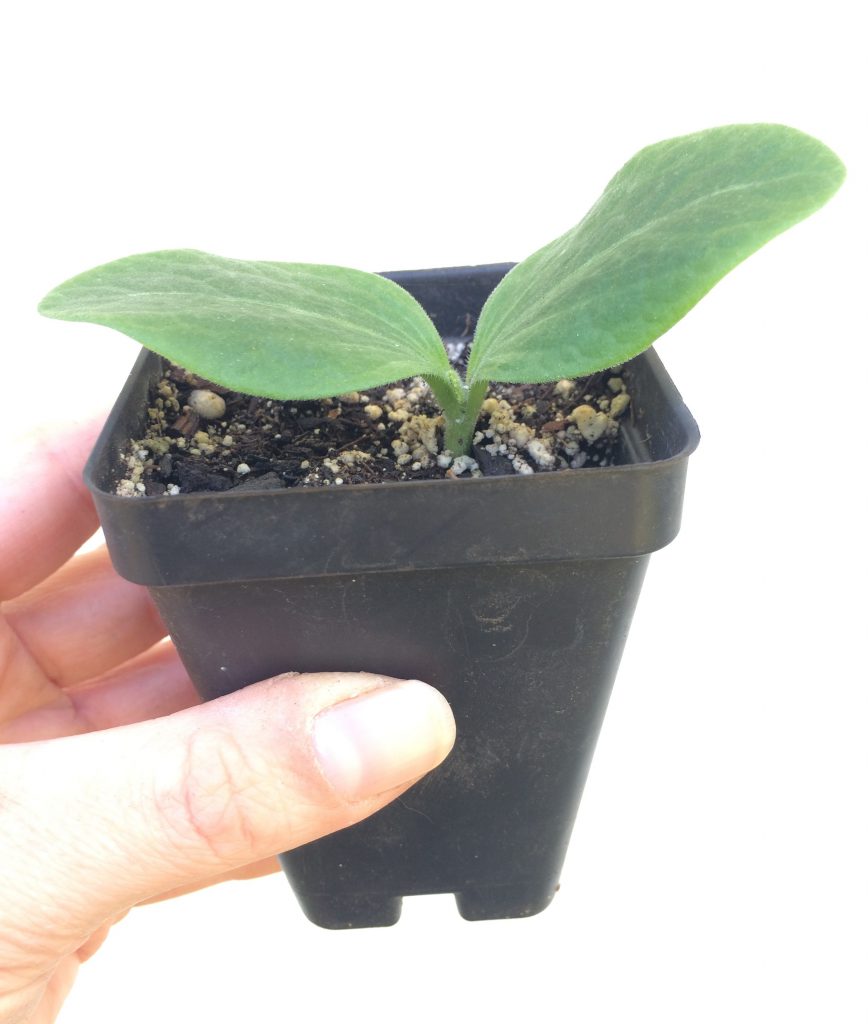
Be careful planting cucurbit transplants, as they have sensitive roots. Photo by Molly Jameson.
When I think of the end of winter and the hot temperatures that will soon be here to stay in the Florida Panhandle, I often feel a little melancholy. But the one silver lining that always picks me back up is remembering what warmer temperatures will mean in the garden. This is the start to all the fun, colorful, fruiting crops. Think of the oranges, reds, yellows, and even purples that will soon fill their vines.
As an extension agent, one of the questions I am often asked is whether to start summer vegetables from seed directly in the garden, or to start seeds in pots and transplant them later. The answer is – as is often the case – it depends.
Are you planting tomatoes, peppers, or eggplant? Well, the beginning of April is too late to start from seeds with these crops in our neck of the woods. Buy transplants! Are you growing beans, okra, or root crops? Now that we are past the risk of frost, put those seeds directly into your garden. Are you growing cucurbits, like squash, cucumbers, or melons? You have a choice. You could seed them directly, or you could start seeds in pots. What is the advantage of starting in pots, you ask? Well – this will give you the chance to pick the strongest plants and will allow you to transplant them exactly where you want them. The disadvantage? Other than the extra work, cucurbits tend to be sensitive to disturbance. Be sure to handle with care and do not over water once your seedlings have sprouted.
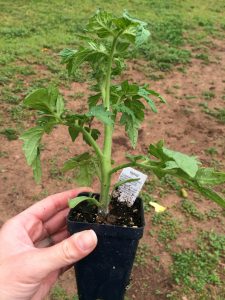
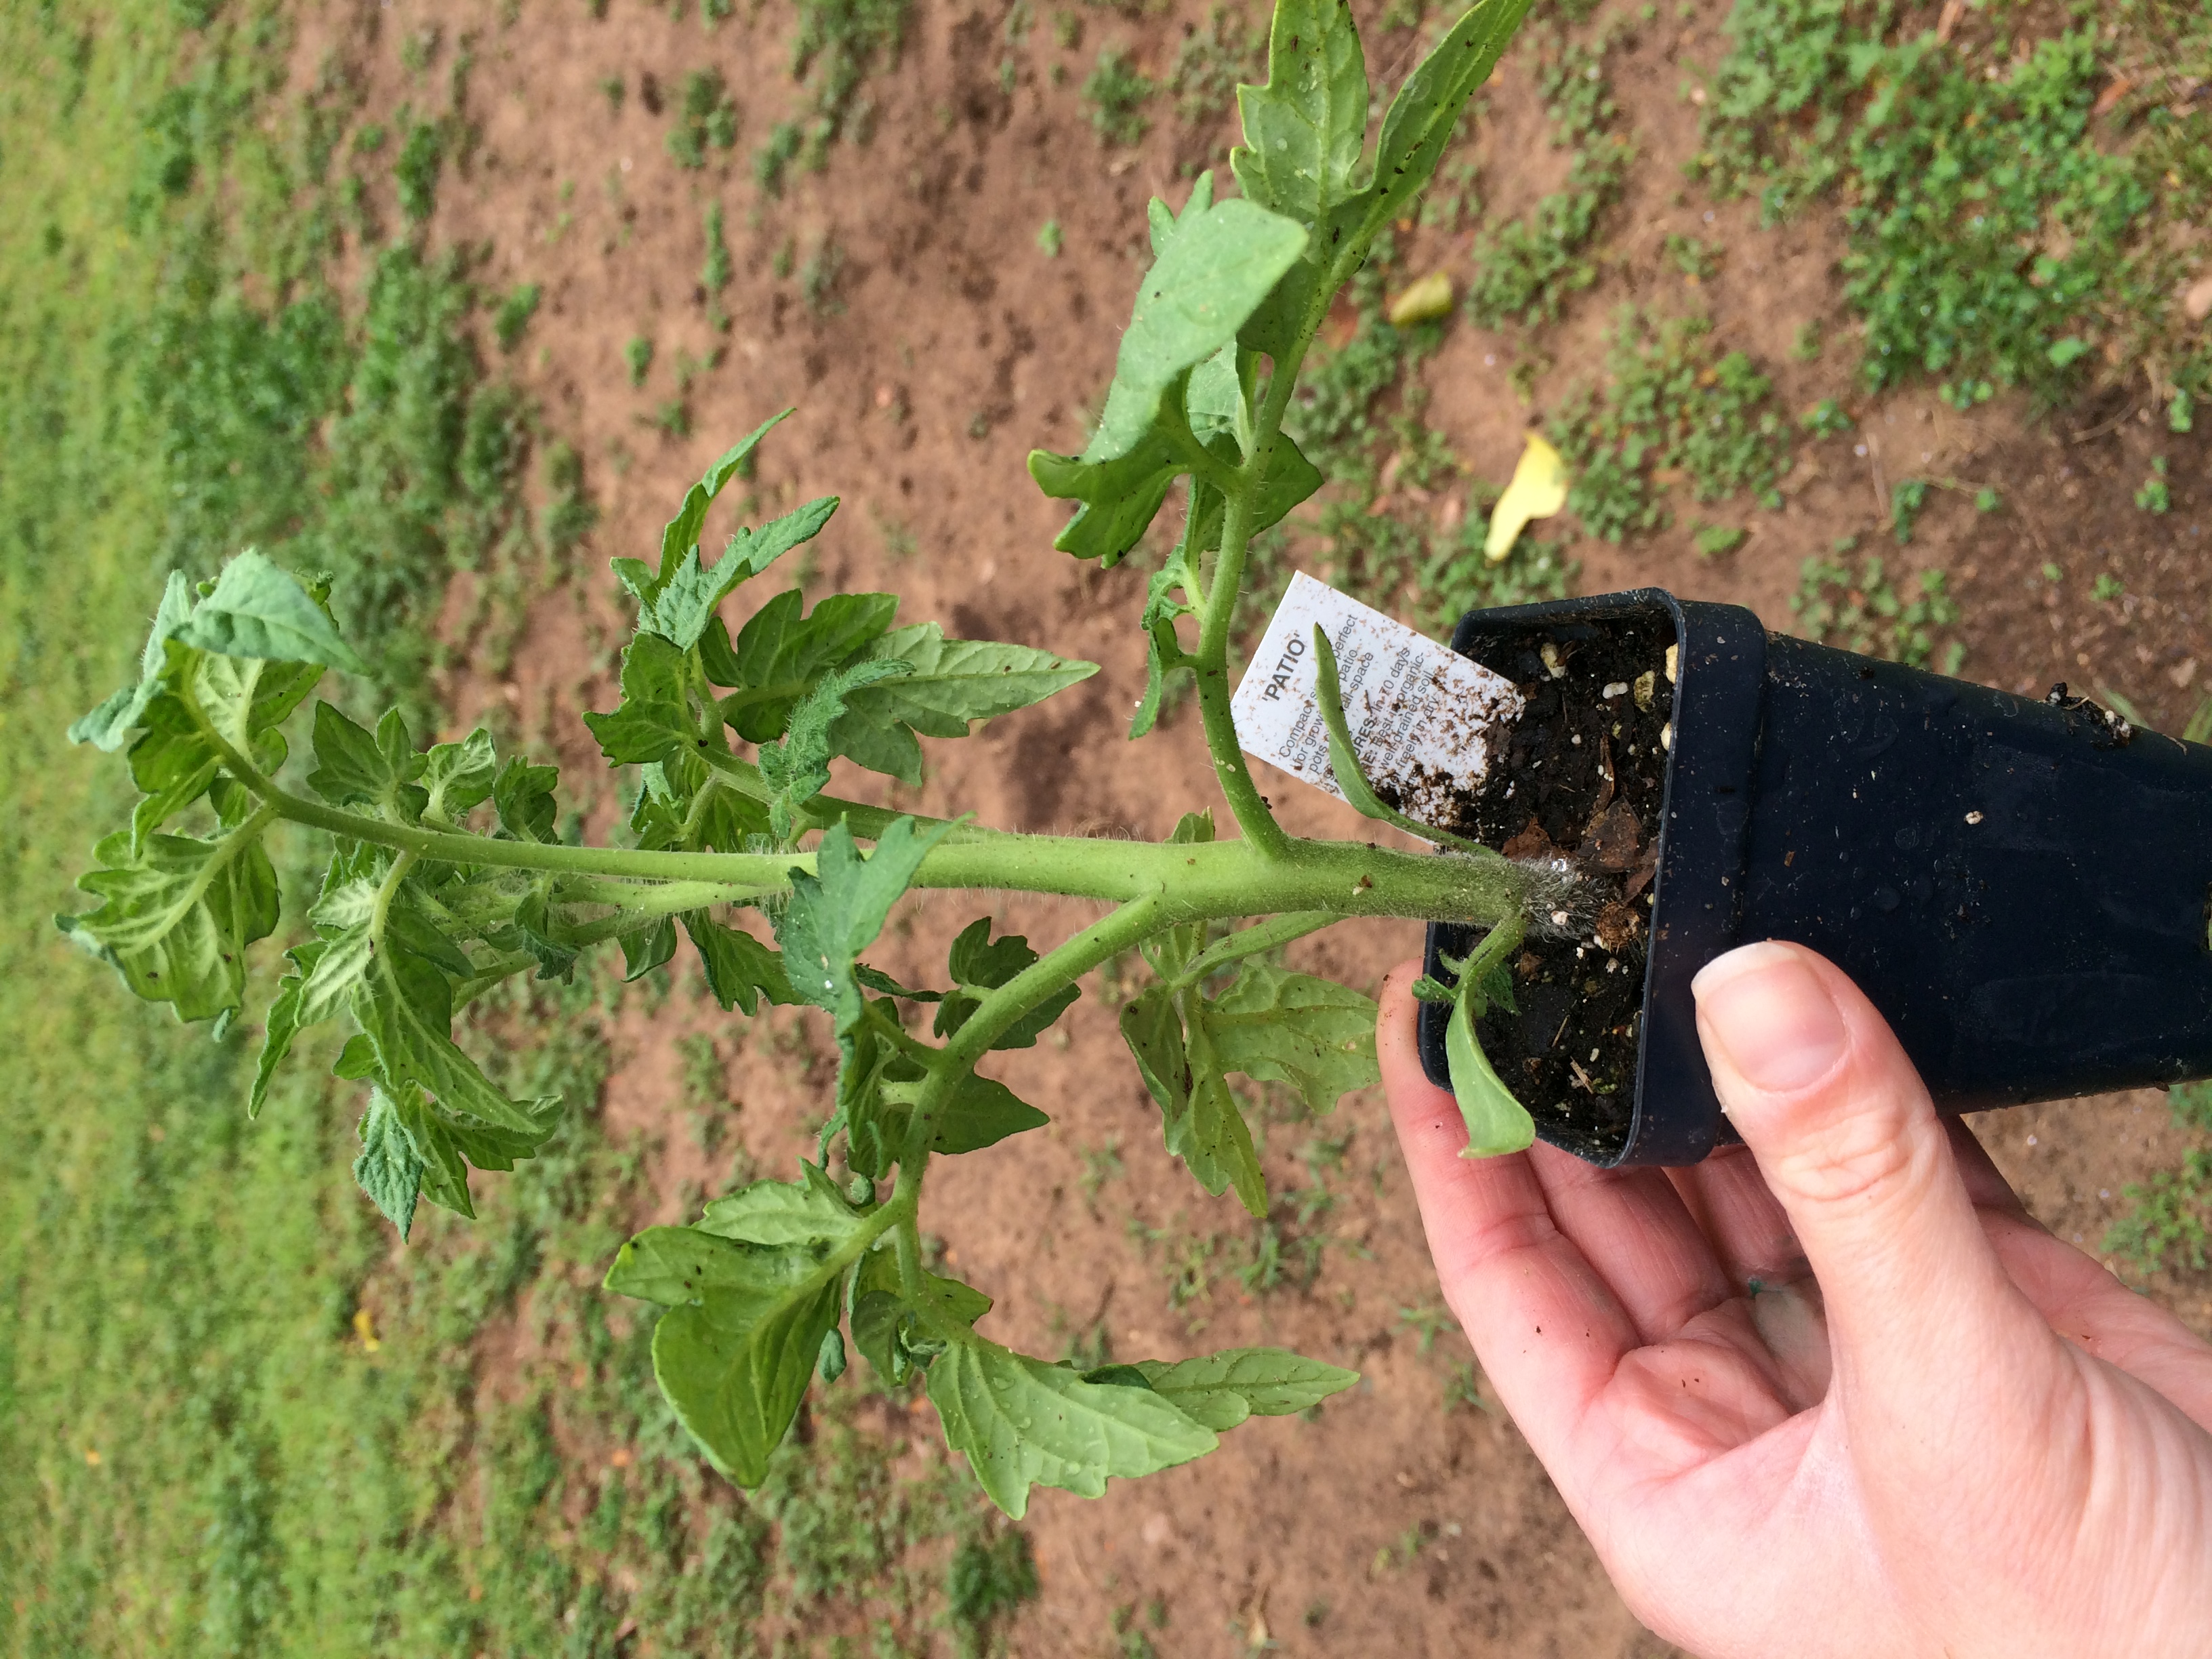
Transplant into the garden when the plant is about the length of its pot. Photo by Molly Jameson.
Whether you grew the seeds in pots yourself or acquired transplants elsewhere, there are certain practices you can follow to ensure your plant babies have a good start. Here are a few tips when it comes to transplanting into the garden:
What should be considered when purchasing transplants? When purchasing transplants, it is important to make sure the plant is healthy. Look for plants with strong stems, green leaves, and no signs of pest or disease damage. Ideally, the plant should not be much taller than the length of its pot, and should be about as tall as it is wide. Also, avoid vegetable plants that are already producing fruit, this is an indication they have been in their pot too long, prompting them to become stressed. When stressed, annuals often feel they need to hurry and produce seeds to carry on the next generation.
When should transplants be planted into the garden? For spring gardens, plant transplants once danger of frost has passed (late March in the Panhandle), when the transplant has had time to develop a strong root system, and when the transplant is about the length of its pot. If you are growing your seeds indoors or in a greenhouse, allow the plant to “harden-off” by placing the plants outdoors in partial shade for a few hours a day for about a week before transplanting.
What is the transplanting process?
- First, prepare your garden site with compost and other soil amendments.
- Water your plants very thoroughly just before planting to decrease transplant shock. The entire root system should be completely wet.
- Dig a hole that is at least double the width of the plant’s root ball.
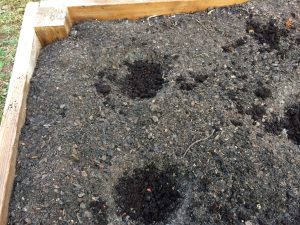
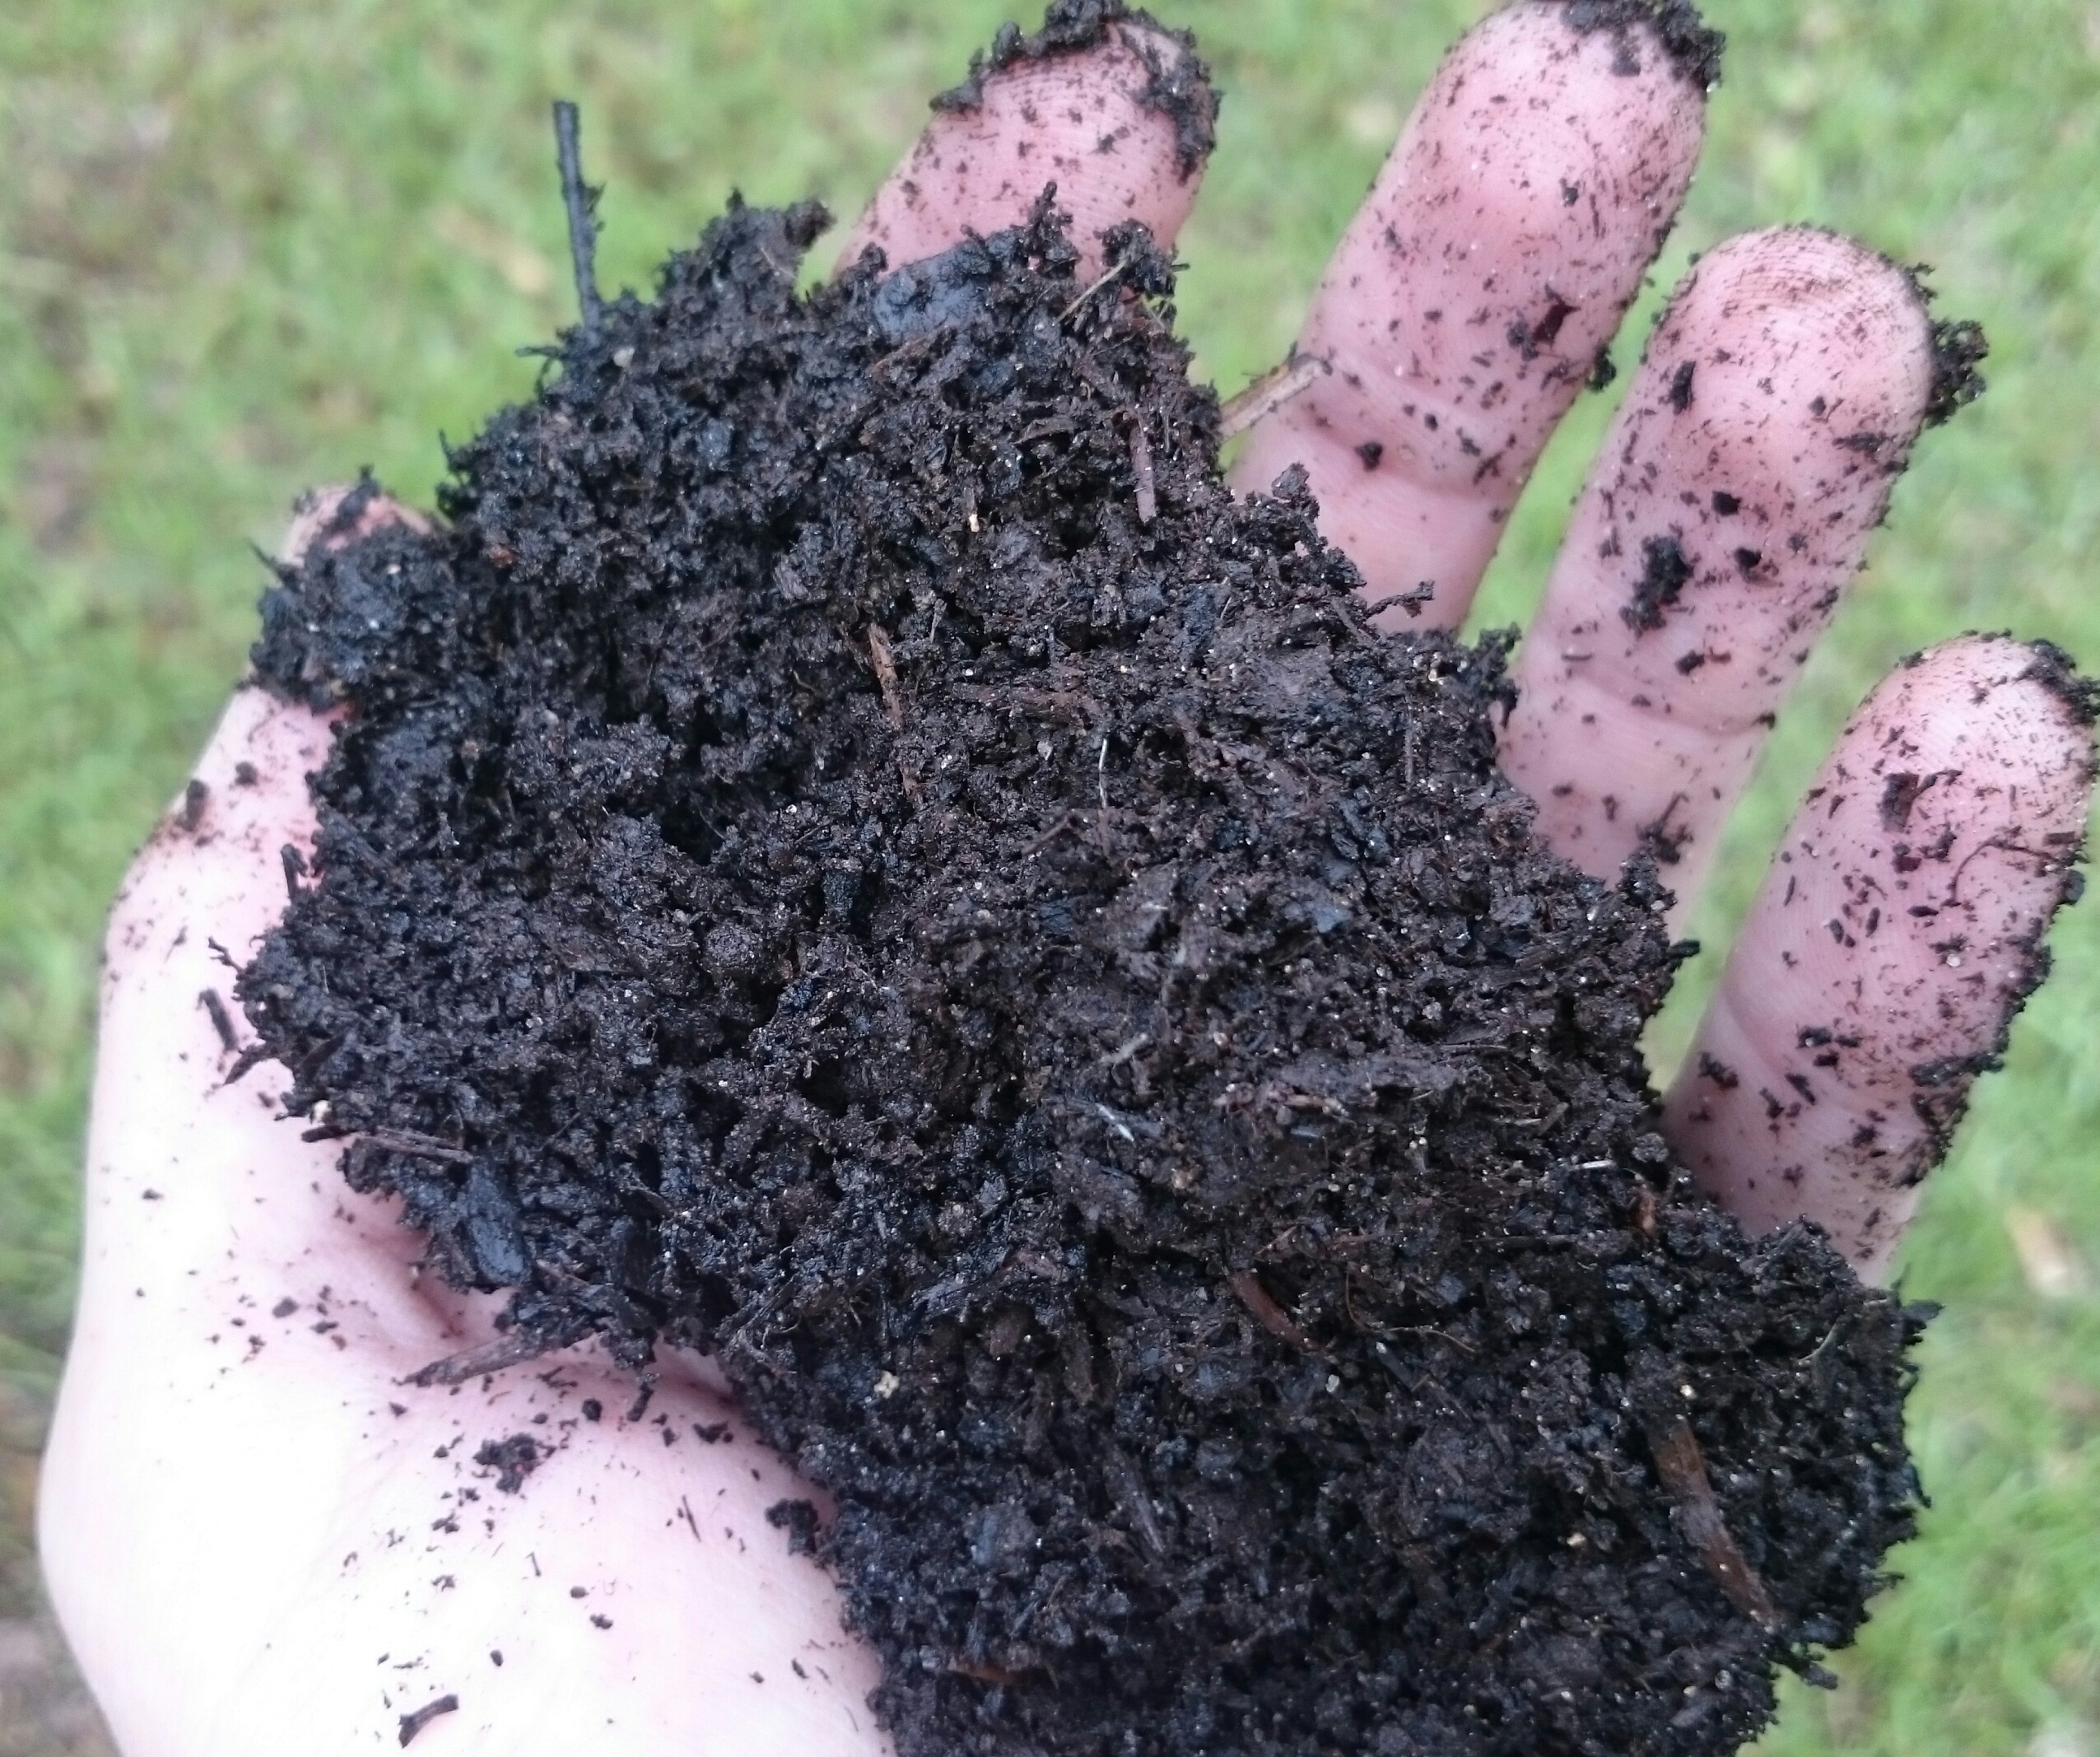
Add fresh compost or worm castings to each planting hole to give your plants an extra nutrient boost. Photo by Molly Jameson.
- Add one to two handfuls of fresh compost or worm castings to each hole. These soil amendments will improve soil health, introduce beneficial microbes, and provide a slow- release nutrient source for your growing seedlings.
- Avoid covering any leaves or stems under the soil surface. Remove these lower leaves and stems with sharp garden clippers to minimize the size of the wound.
- Avoid touching the stem and avoid disturbing the root ball when removing the transplant from its pot. Gently squeeze the pot to loosen the potting soil and turn the transplant sideways or upside down with the palm of your hand to gently “catch” the transplant.
- Unless the transplant is a tomato, plant it so that the soil level is about the soil level of the transplant, making sure the plant has good structure to decrease susceptibility of falling over as it grows.
- If transplanting a tomato, plant deeper than the soil level of the transplant, as tomatoes can grow what are called “adventitious” roots – roots that grow from their stem – that will improve overall root development.
- Make sure to cover up all roots, and water the soil around the plant thoroughly. Continue to water deeply, keeping the soil moist but not soggy, for the next three to four days while the plant becomes established. You can then begin to switch to a normal watering pattern.
- Always water the soil around the plant, not the plant leaves, throughout the season to decrease susceptibility to disease.
Remember: gardening is a science and an art! And just like art, there are many aspects that are open to interpretation. Have fun gardening – experiment and try new techniques. Keep a journal tracking all your gardening adventures. With time, this can become your road map to the sweetest of summer fruit.
by Molly Jameson | Mar 1, 2017
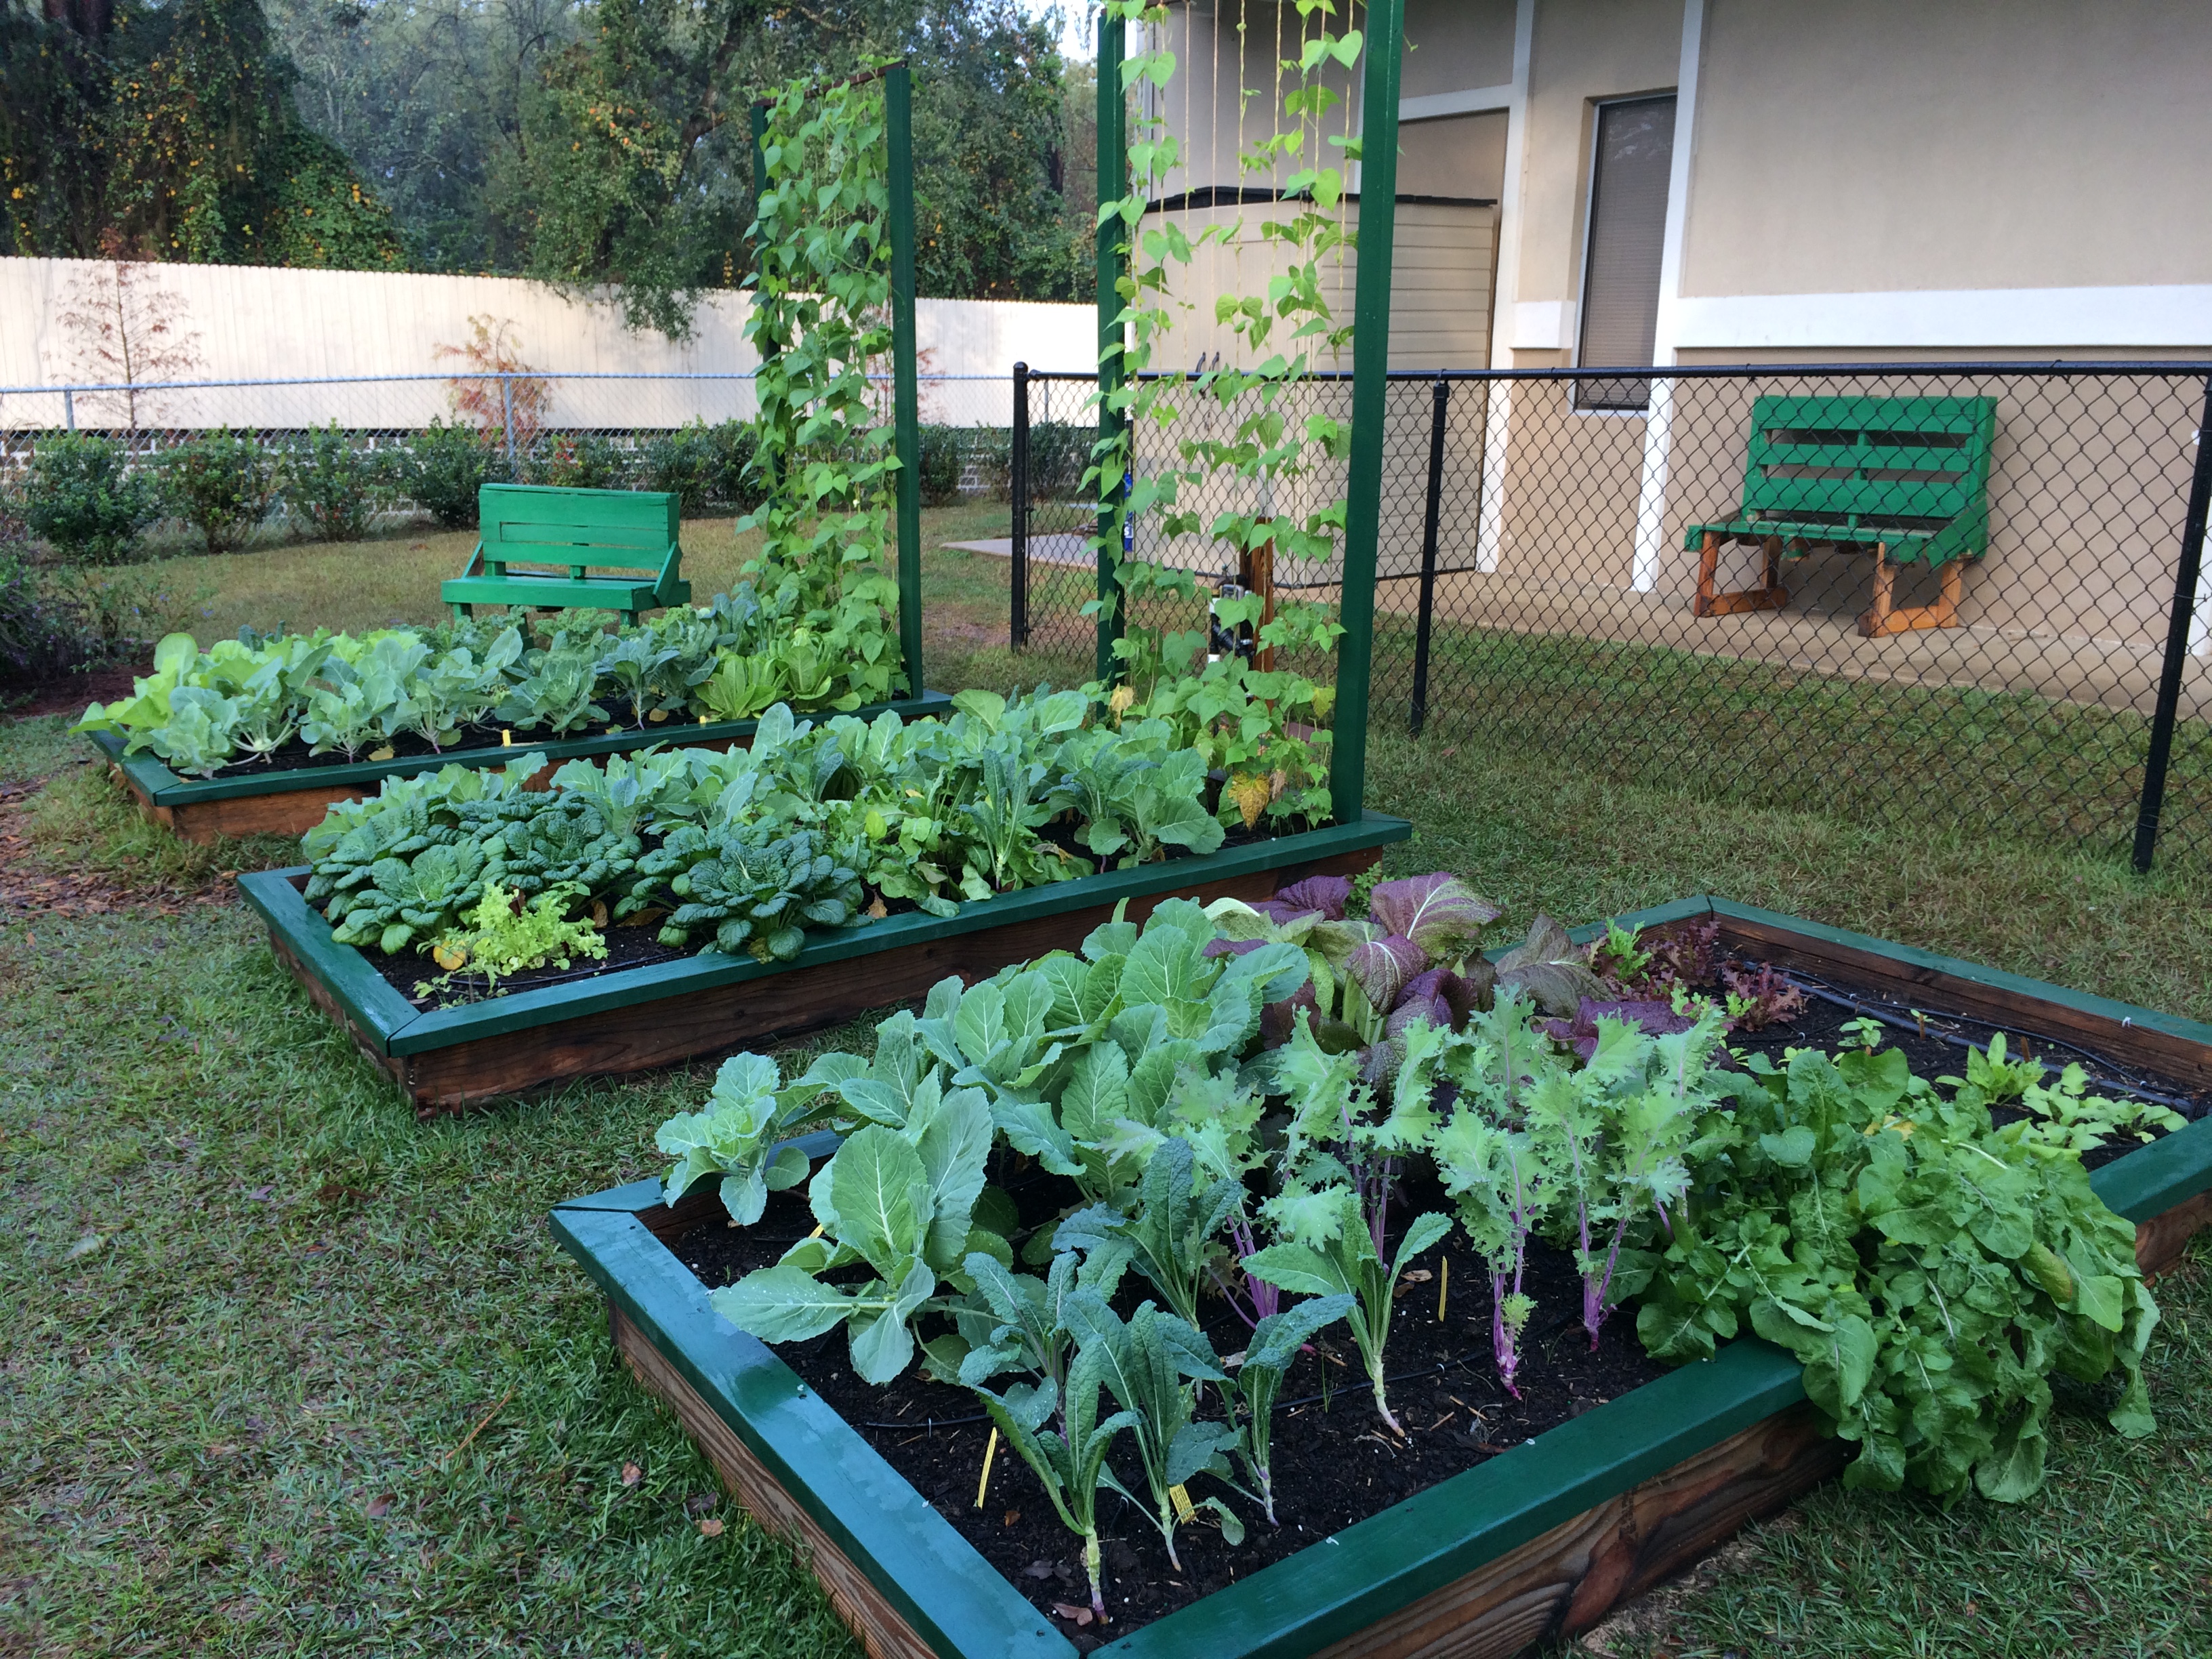
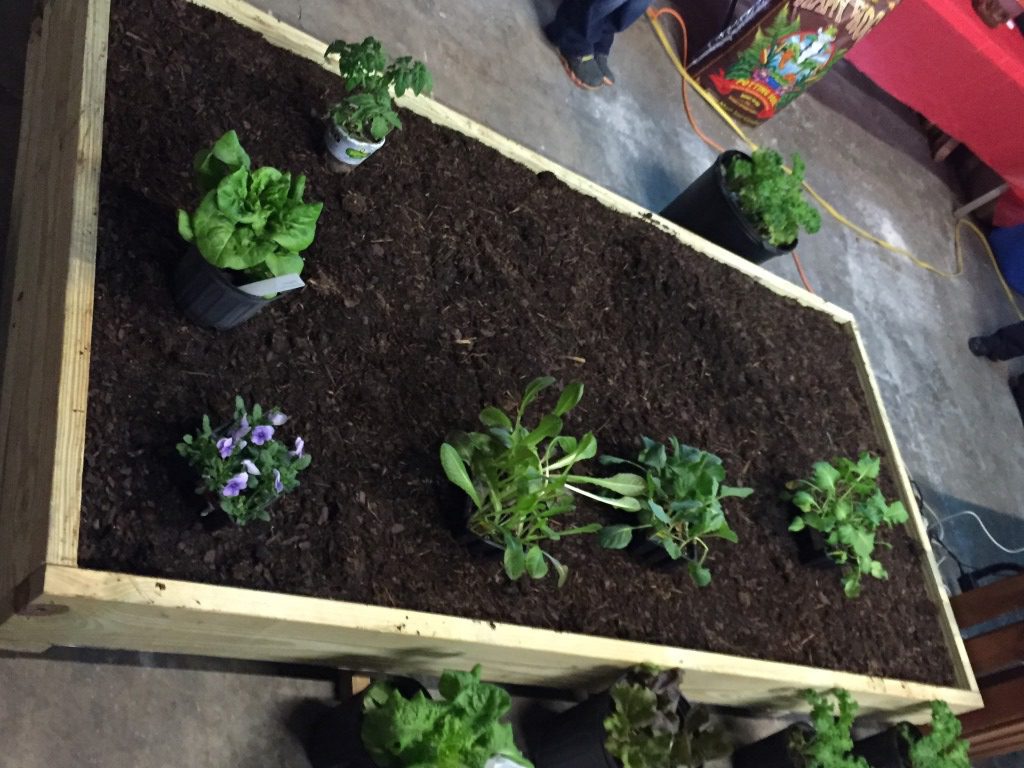
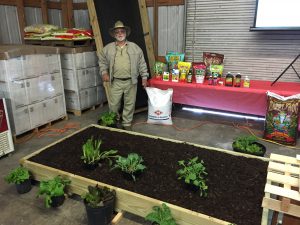
Raised-bed gardening can maximize production in a small amount of space. Photo by Molly Jameson.
Want to start a vegetable garden, but don’t know where to start? Are you seeing rectangular boxes popping up all over your neighbors’ yards and wondering why? Well, I am here to spread the news of raised-bed gardening!
Raised-bed gardening is a convenient way to grow vegetables without worrying about the quality of your soil. This is because you will be bringing in a high quality soil mix to your site. Vegetable plants need nitrogen, phosphorus, potassium, and many other nutrients to grow and mature properly. In many Florida Panhandle soils, we either have too much sand, too much clay, and nearly always, not enough organic matter. Organic matter results from the various stages of decay of anything that was alive. Think of it as the “glue” that holds the soil together, improves both soil moisture-holding capacity and drainage, and slowly releases nutrients that become available to the plant.
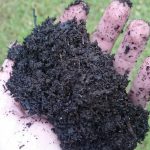
Organic matter is the “glue” that will hold your soil together. Photo by John Edwards.
Although you could add nutrients and organic materials to your soil without building a raised bed, the walls of a raised bed will hold your soil in place, reduce erosion, and even help keep out weeds. Here are a few things to consider when planning the installation of a raised-bed garden:
Location
The most important thing to consider when picking your location is sunlight. Vegetable plants need a lot of direct sunlight for optimum production. Leafy vegetables (lettuce, kale, arugula) can tolerate four to five hours, but fruiting crops (tomatoes, squash, peppers) generally need six hours of full sunlight to grow strong and produce fruit.
When starting a garden, remember that we are in the northern hemisphere, and this means the sun dips to the south, especially in the winter. Objects therefore cast a shadow to the north, so pay attention to the position of southern tree lines, houses, and anything else that may block the sun. If you must choose, morning sun is better than afternoon sun, as afternoon sun can be very extreme in our area, especially in the summer.
Lastly, consider visibility! If you stick your garden in the very back corner of your yard, how often will you see it? The more visible it is in your daily life, the more likely you will notice easy-to-pull weeds, when your garden needs watering, what is ready to be harvested, and everything else that goes on in the garden.
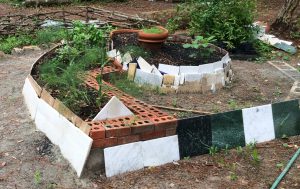
Although wood is most popular, you can use materials such as concrete, bricks, or tiles to build a raised bed. Photo by Molly Jameson.
Materials
Now you have chosen a perfect garden location. What materials should you use to build your raised bed? Lumber is the most popular material. But you could use concrete blocks, bricks, tiles, or anything else that can support soil. You can make your beds as long as you like, but the important thing to remember is not to make the raised bed wider than four feet. This will allow you to reach all areas of your soil without stepping into the bed, which causes compaction. If you are working with kids, two or three feet wide is even better. You should make the height of your bed 10 to 12 inches, which will allow good drainage and enough space for your vegetable plants to develop strong roots.
When choosing lumber, you can go with untreated or treated wood. Within the last 15 years, wood preservatives considered unsuitable for raised-bed gardening have been phased out. There is well-documented research that has shown the newer products are considered safe for gardening. Although untreated wood typically will not last as long as treated, even treated wood will still begin to decompose after a few seasons. Either way, connect your wood with lag bolts, instead of nails, to hold the wood together tightly.
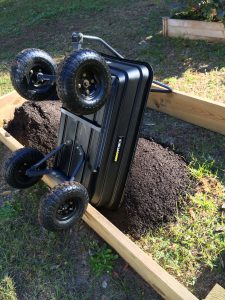
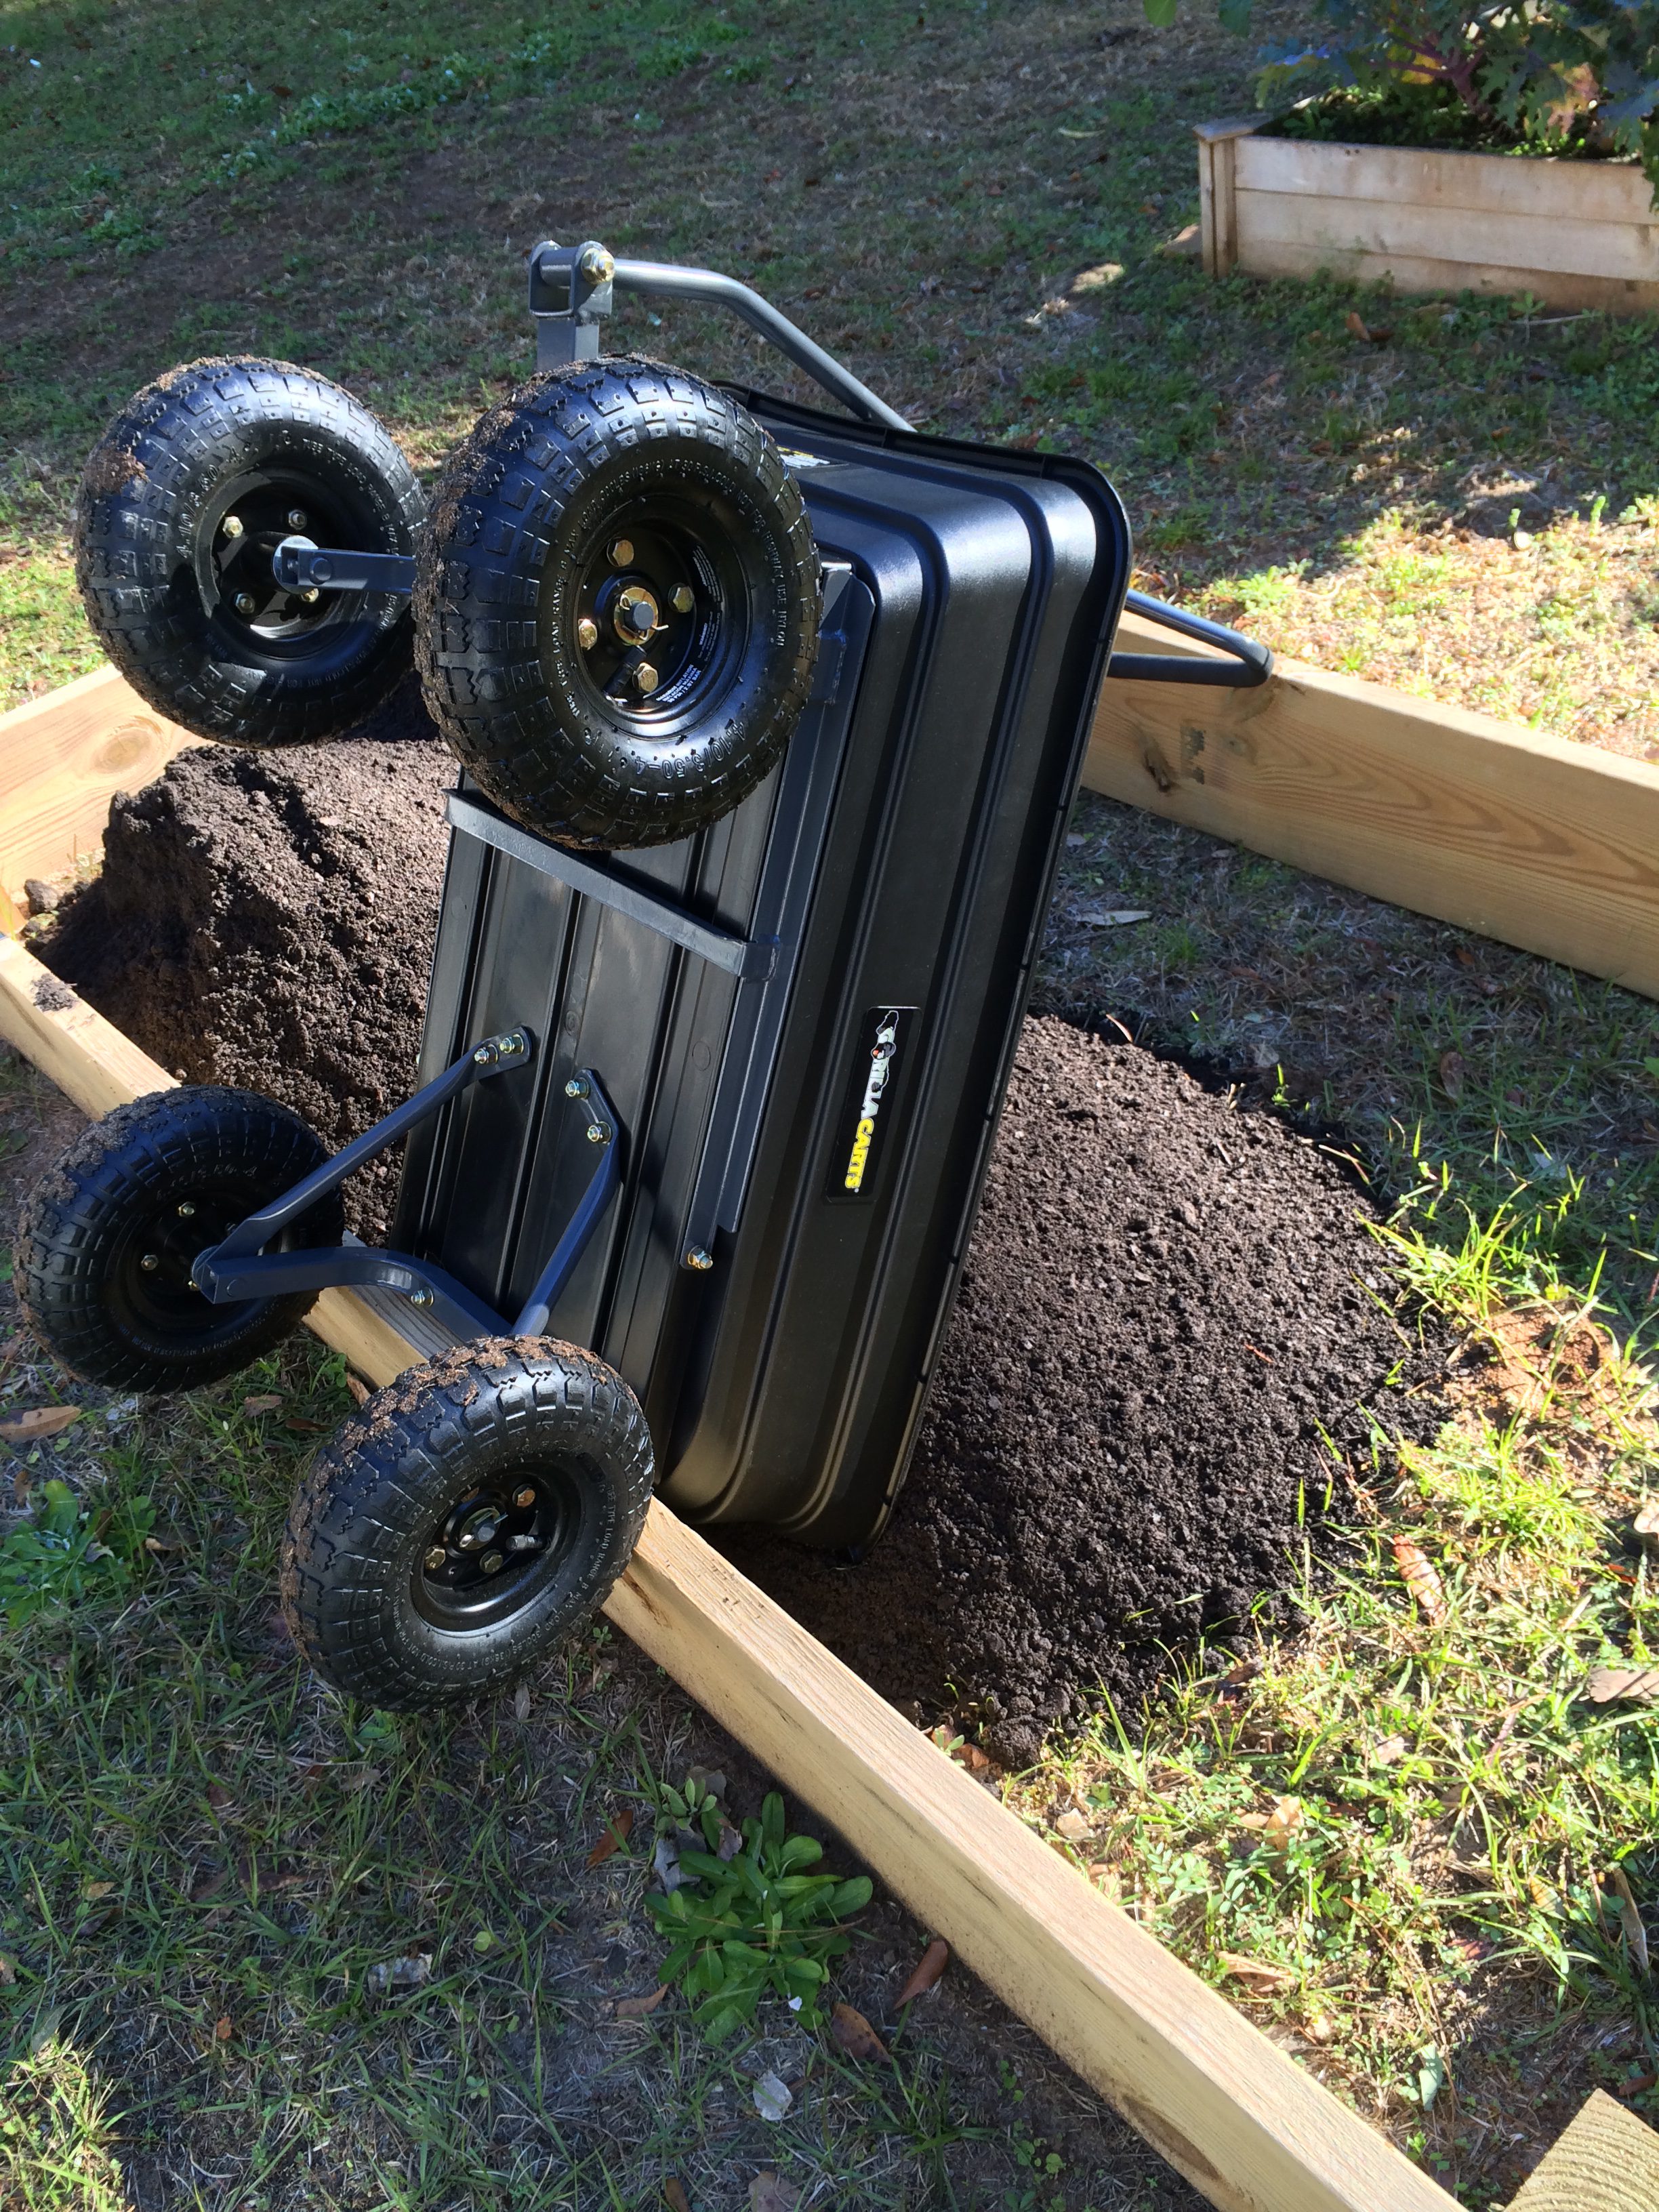
When filling a four ft. by eight ft. raised bed, you will need about 1 cubic yard of soil mix. Photo by Molly Jameson.
Soil
Now that you have your raised-bed structure built, what will you put in it? There are many landscape and nursery companies that can offer vegetable garden soil mixes for purchase in bulk. Typically, they will be about 50 percent compost (organic matter) and 50 percent top soil (nutrient-containing minerals). If you are filling a four foot by eight foot by 12 inch raised bed, you will need about one cubic yard of soil mix, which typically costs $30 to $60. This is about the volume of the back of a pick-up truck. If you do not have access to a truck, most companies will deliver in bulk for a $30 to $50 fee. This could be worth it if you are filling up multiple beds! Seasonally, you will then need to top off your raised bed as your soil will shrink as the organic materials decompose. But for this, you can buy bagged soil mixes or make your own compost.
The last step is filling your raised bed with vegetable plants! This could also be considered the first step… as you now must consider plant spacing, spring vs. fall vegetables, seeding into the garden vs. using transplants, trellising, pest control, harvesting…but we’ll save all that for future articles. Happy gardening!
by Larry Williams | Feb 25, 2017
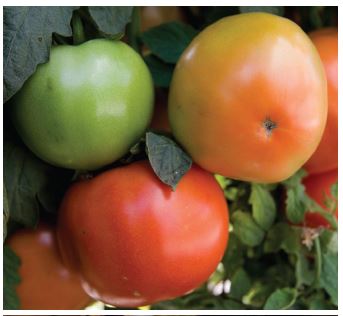
 Florida farmers produce more fresh tomatoes than any other state. Yet Florida home gardeners find it difficult to grow tomatoes. By changing a few basic practices, home gardeners can increase their chances of success.
My philosophy of growing tomatoes in Florida (mixed with science) is outlined below.
First, I choose mostly determinate varieties that have resistance to key diseases.
Most gardeners are used to growing indeterminate varieties. Farmers mostly grow determinate types. Determinate varieties are more compact and produce most of their crop at one time. You can usually harvest all the fruit in two to five pickings and then pull up the plants. Indeterminate varieties, sometimes referred to as “everbearing” tomatoes, set fruit along a vine stem that continues to grow all season.
Correct variety selection is a must for success with tomatoes in Florida.
One reason home gardeners have a difficult time growing tomatoes in Florida is because of incorrect variety selection. Most popular (indeterminate) tomato varieties lack resistance to Tomato Spotted Wilt Virus (TSWV) and bacterial wilt. These two diseases wreak havoc in home as well as commercial plantings. Amelia, a determinate variety that has TSWV resistance, has started showing up in some retail outlets. For a list of other varieties to look for, consult this publication, “Tomatoes in the Florida Garden”.
Secondly, I plant reasonably early – usually after April 1 (maybe earlier this year due to warm late winter). Tomato plants grow best when temperatures exceed a specific base temperature for a certain number of days (referred to as heat units or degree days). Tomatoes are heat-loving plants that need a long warm growing period to grow from seed to fruit. Optimum fruit set occurs within a narrow night temperature range. Tomatoes produce the largest yields of highest quality fruits when day temperatures are in the range of 80 to 85ºF and when night temperatures remain above 62 but below 72ºF.
Thirdly, I fertilize to produce a healthy, sturdy plant when the plant is young. With the first open flowers, I reduce fertilization (particularly the nitrogen) to about half the original rate. When the first fruits are about two inches in diameter, I reduce fertilization a little more. Once I harvest the first tomatoes, I further reduce the fertilizer to about ¼ the original rate or completely quit fertilizing. Many home growers fertilize tomatoes too much. This results in a big green plant with few tomatoes. This reduction in fertilization is mainly important with the amount of nitrogen being applied. The plant still benefits from adequate potassium.
There are two basic phases of growth in plants – vegetative and reproductive. When a tomato plant begins to produce flowers, it is becoming sexually mature (switching from a vegetative phase of growth to a reproductive phase of growth). Just remember that as plants mature and fruit, the demand for nitrogen decreases. Excessive nitrogen can reduce fruit set and development. Too much nitrogen keeps the plant in a vegetative phase of growth resulting in a big, overly vigorous, green plant with few to no fruit.
As heat, humidity, rains, diseases and insects increase during summer months, tomato production declines. Entire plants may begin to die. At this point, I’m thankful for any production I got. I do away with the plants and find something else to do other than grow tomatoes.

by Matt Lollar | Feb 10, 2017
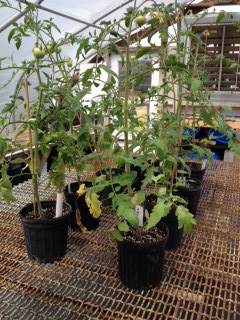
BASIC HYDROPONIC GARDENING WORKSHOP

Bob Hochmuth shows one of the many hydroponic growing systems at the University of Florida’s Institute of Food and Agricultural Sciences Live Oak Research and Education Center. UF/IFAS photo: Thomas Wright
-
Learn hydroponic gardening basics.
-
Identify suitable plants for hydroponic gardening.
-
Learn plant food recommendations for hydroponic gardens.
-
Go home with equipment for a small portable hydroponic garden.
WHEN: Tuesday, February 28, 2017
TIME: 5:30 – 7:00 PM (Sign-in begins at 5:00 PM)
WHERE: Jackson County Agriculture Center
2741 Pennsylvania Avenue
Marianna, Florida 32448
REGISTRATION FEE: $20.00 (Includes Mini-Garden Materials and Plants)
Class size limited to 20 people.
Registration deadline Thursday, February 23, 2017
To register or for information, call (850) 482-9620.
by Matthew Orwat | Jan 26, 2017
 Now is the time to start planning for a spring garden! There are many different methods of successful gardening but here I’d like to discuss raised bed gardening.
A few advantages of raised beds:
- Raised bed gardens provide an opportunity to bring the family together for some quality time. Add ways that you can enjoy the time with your spouse, child or grandchild. This gives you a chance to see the wonder on their faces as the plants sprout and flourish.
- Share the joy as you smell the flowers and pick the fruit.
- Provide a bouquet for the table as you add an item from the garden to your family meal.
A special kind of raised bed garden, known as an enabling garden, provides individuals needing assistance a way to garden with ease. Many have the impression that building such a garden is expensive, but it is not much more expensive or difficult than building a raised bed garden on the ground. First, begin by trimming and framing a raised bed garden just as you would for a ground level raised bed.
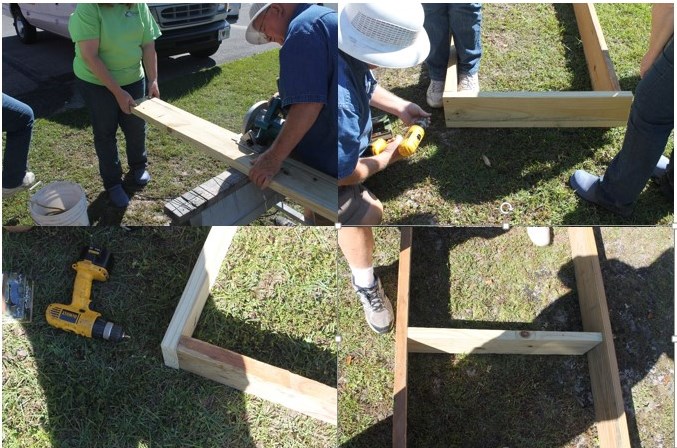
Materials
- 2 – (2X8) boards 14 foot long (treated or cedar)
- 2 – 2 ½ foot end pieces trimmed from a 2×8 board (treated or cedar)
- Central brace board trimmed to fit the inside of the bed
- 16 – 3 inch screws
- Table Saw
- Drill
- Extension Cord
- Durable base such as metal screening, lined with permeable weed barrier, attached to the frame securely.
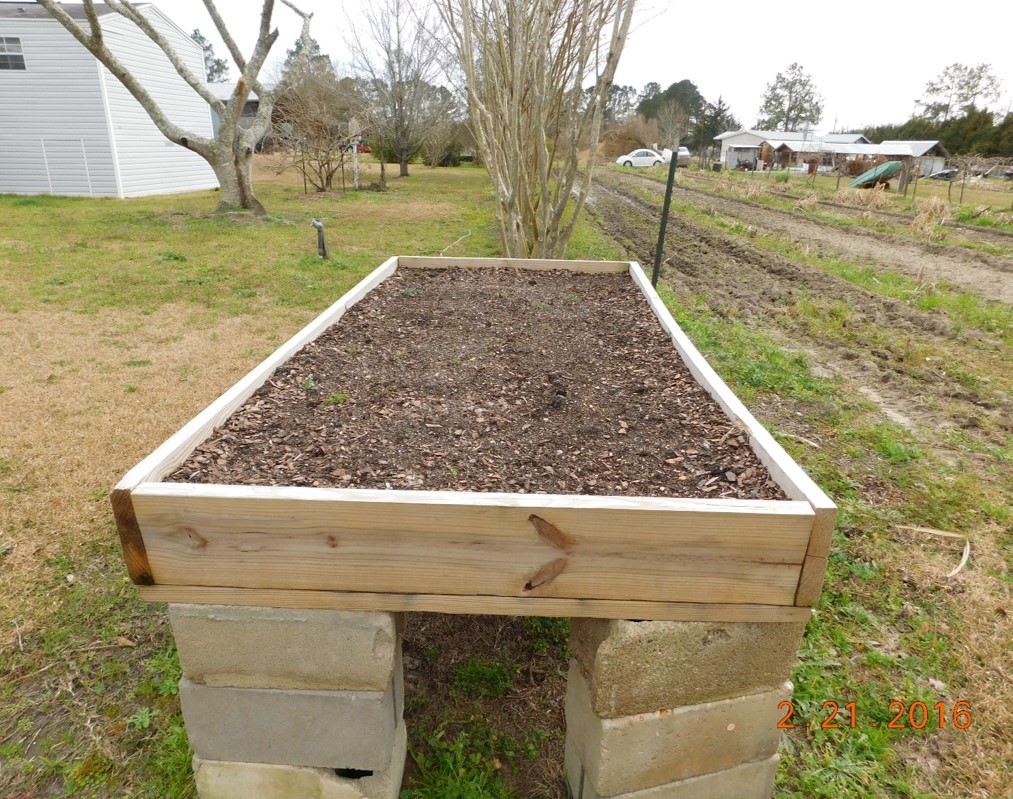
Once it is made, raise it to the desired level by placing it on cinder blocks. Add enough soil or compost to mound slightly higher than the lumber. Make sure the compost is well rotted, or use sterile potting soil. Don’t use soil from the garden since it may contain root diseases. Smooth out media evenly. Purchase a drip hose or line and run back and forth over the center area. Young plants will not have a large root so make sure the irrigation delivers adequate water to the entire bed.
Many different vegetables herbs can be grown in raised beds but peppers, squash, eggplant, cherry tomatoes, basil, thyme, oregano and mint make excellent choices for a spring raised bed. Happy Gardening !
by Matthew Orwat | Jan 26, 2017