by Judy Biss | Feb 3, 2016
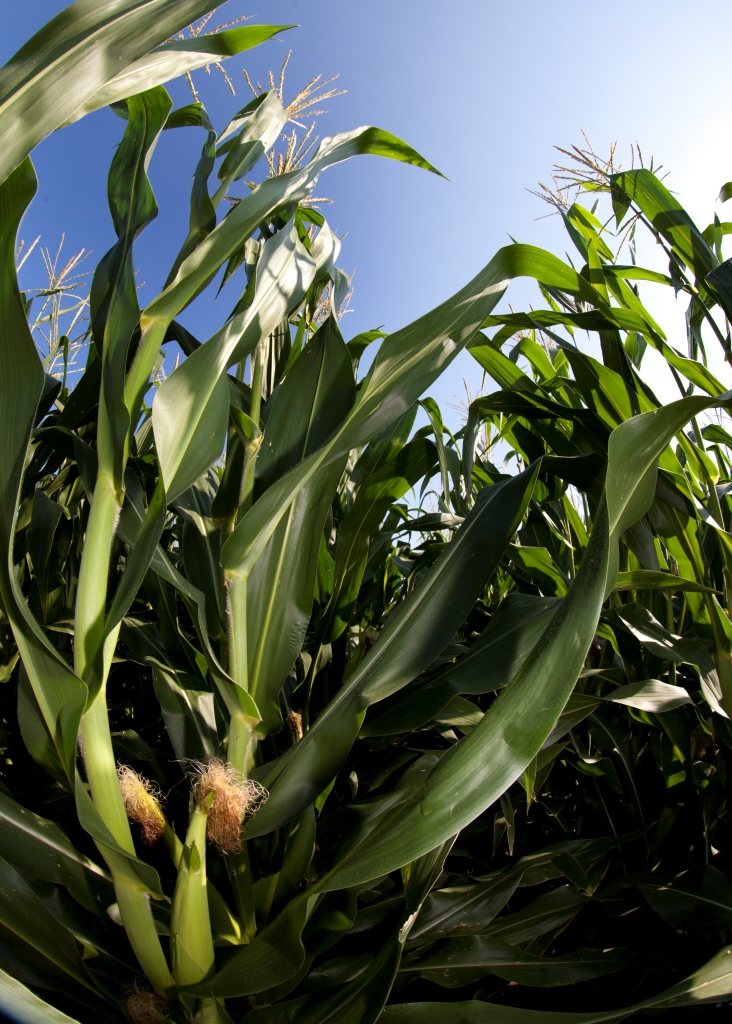
Corn tassels at the top provide the pollen needed to produce the perfect ear of corn on the stalk below. UF/IFAS Photo by Tyler Jones.
It won’t be long until row crops and vegetable gardens are planted and thriving once again next spring. A sometimes taken for granted, yet critical element of any prosperous crop is successful pollination. Most of us know what “text book” pollination means, but did you know in cucurbit plants, (squash, melon, pumpkin) at least 1,000 grains of pollen must be evenly deposited in each bloom to produce a uniform marketable fruit? Or, to grow our favorite summer delight, each watermelon flower must be visited by a honeybee a minimum of 8 times? And how about the fact that each silk in a corn flower is connected to one kernel on the ear of corn, and for the kernel to develop properly pollen must travel down the silk through a pollen tube to the waiting kernel? Add to these facts the dizzying variety of pollen and flowers, bloom times, pollination dynamics, weather conditions, plant growth, and availability of pollinator insects, then one can begin to see how amazing pollination is, and how critical it is to our food supply.
What are the basics of pollination?
The first step of fruit or vegetable reproduction takes place when flowers emerge. Plant flowers can be male, female, or perfect flowers. The male flowers produce pollen. The female flowers have ovaries which, when fertilized, become the fruit or vegetable. “Perfect” flowers have both male and female parts within a single flower. Most garden vegetables such as beans, peppers, and tomatoes have perfect flowers, whereas cucurbits like squash, pumpkins and watermelon, have separate male and female flowers on the same vine. For successful pollination to occur, the male pollen must reach the female ovaries in order for the fruit or vegetable to be produced.
Methods of Pollinating
Transfer of pollen to the plant ovaries for fruit and vegetable production, whether in the same “perfect” flower, or in another separate female flower, occurs in several ways. Some plants, like corn, depend on wind to transfer pollen to the silk, and ultimately ovaries, of the female flower. Other plants, like squash depend on the help of pollinators like insects to deliver the pollen to the ovaries. Plants that produce perfect flowers can self-pollinate, but still benefit from contact with pollinators. In small backyard gardens, many crops in the cucurbit family (squash, melons, etc.) or those that have separate male and female flowers, can be pollinated by the gardener by hand. In the absence of insect pollinators in dooryard gardens, hand pollination will increase yields.
The Importance of Bees
Obviously, in production agriculture, hand pollination of crops is not feasible, and although some crops are wind pollinated, most crops need insect or animal pollinators to accomplish the job. As we know, bees are one of the most important pollinating insects, and it is well documented that yields of many fruit and vegetable crops increase in both quality and quantity when pollinated by honey bees. According to the UF/IFAS publication Minimizing Honey Bee Exposure to Pesticides:
The Business of Pollination
Because they are so critical to increased quality and quantity yields, managed honey bee colonies are used across the country in a thriving contractual pollination industry. According to the UF/IFAS publication Sample Pollination agreement,
The business of pollination is crucial to the agricultural industry in the United States. In Florida, the major need for pollination is in fruit and vegetable production.
And according to the UF/IFAS publication Minimizing Honey Bee Exposure to Pesticides,
Rental of honey bee colonies for pollination purposes is a highly demanded service and a viable component of commercial beekeeping and agriculture. Bee colonies are moved extensively across the country for use in multiple crops every year. There are also over 3,000 registered beekeepers in Florida, managing a total of more than 400,000 honey bee colonies and producing between 10–20 million pounds of honey annually.
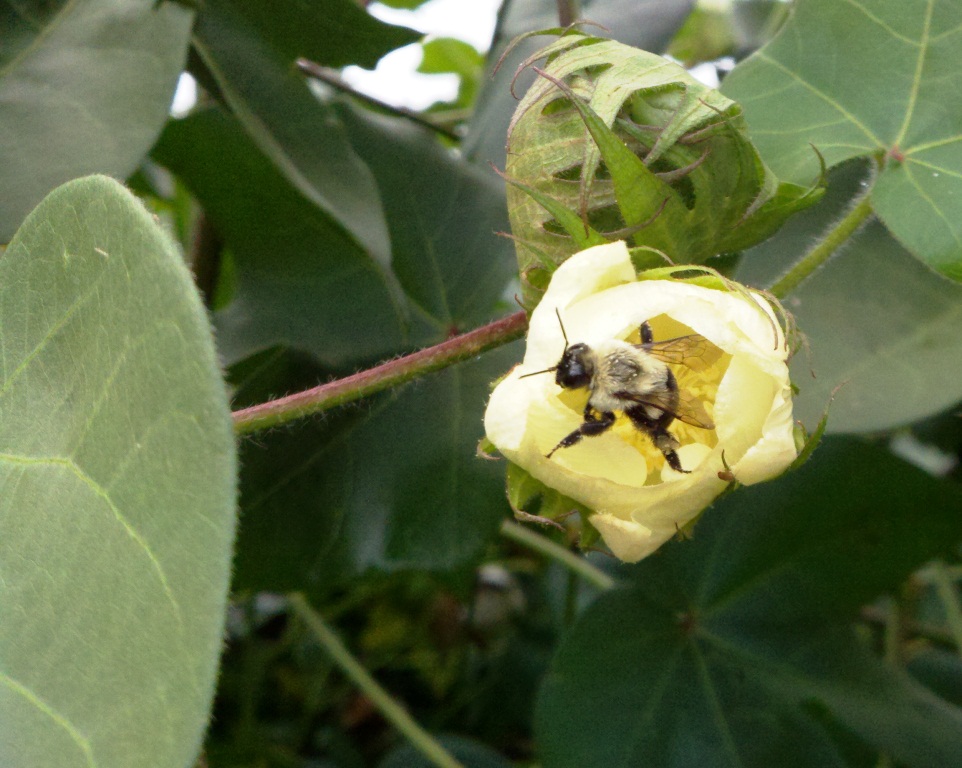
Cotton is largely self-pollinating, but attractive to bees. In some cotton varieties, pollination by bees can increase seed set per boll. Source: University of Georgia Pollination: Crop Pollination Requirements. Photo by Judy Biss
Crop Pollination Requirements
The dynamic of pollination is a fascinating and critical component of both dooryard and production agriculture. Research on plant health, varieties, growth, and potential, as well as research on honey bee colony health and management, all play a role in producing sustainable food yields. The University of Georgia has summarized pertinent literature related to common fruit and vegetable crop pollination requirements (Apple, Blueberry, Cantaloupe, Cucumber, Squash, Watermelon, Other Crops). This comprehensive resource provides the recommended number of beehives per acre for each crop, plus additional information on plant variety characteristics, and other useful information related to maximizing pollination and yield. Check it out: Pollination: Crop Pollination Requirements
So whether you have a dooryard garden or a large farm, it will benefit you to learn all there is to know about your crop’s pollination requirements to maximize yield and quality potential.
For more information on this topic, please see the following publications used as resources for this article:
by Blake Thaxton | Jan 20, 2016
It is cold right now…at least it is this week. Even though the winters in northwest Florida do not have consistent cold temperatures, it is not warm enough to grow warm season vegetables all year around. The cold spells come and go but will soon be gone and spring will have sprung. With spring comes birds chirping, flowers blooming, and spring vegetable gardening. Now is the time to begin to prepare for what is ahead. Here are a few things to begin to think about before the work begins:
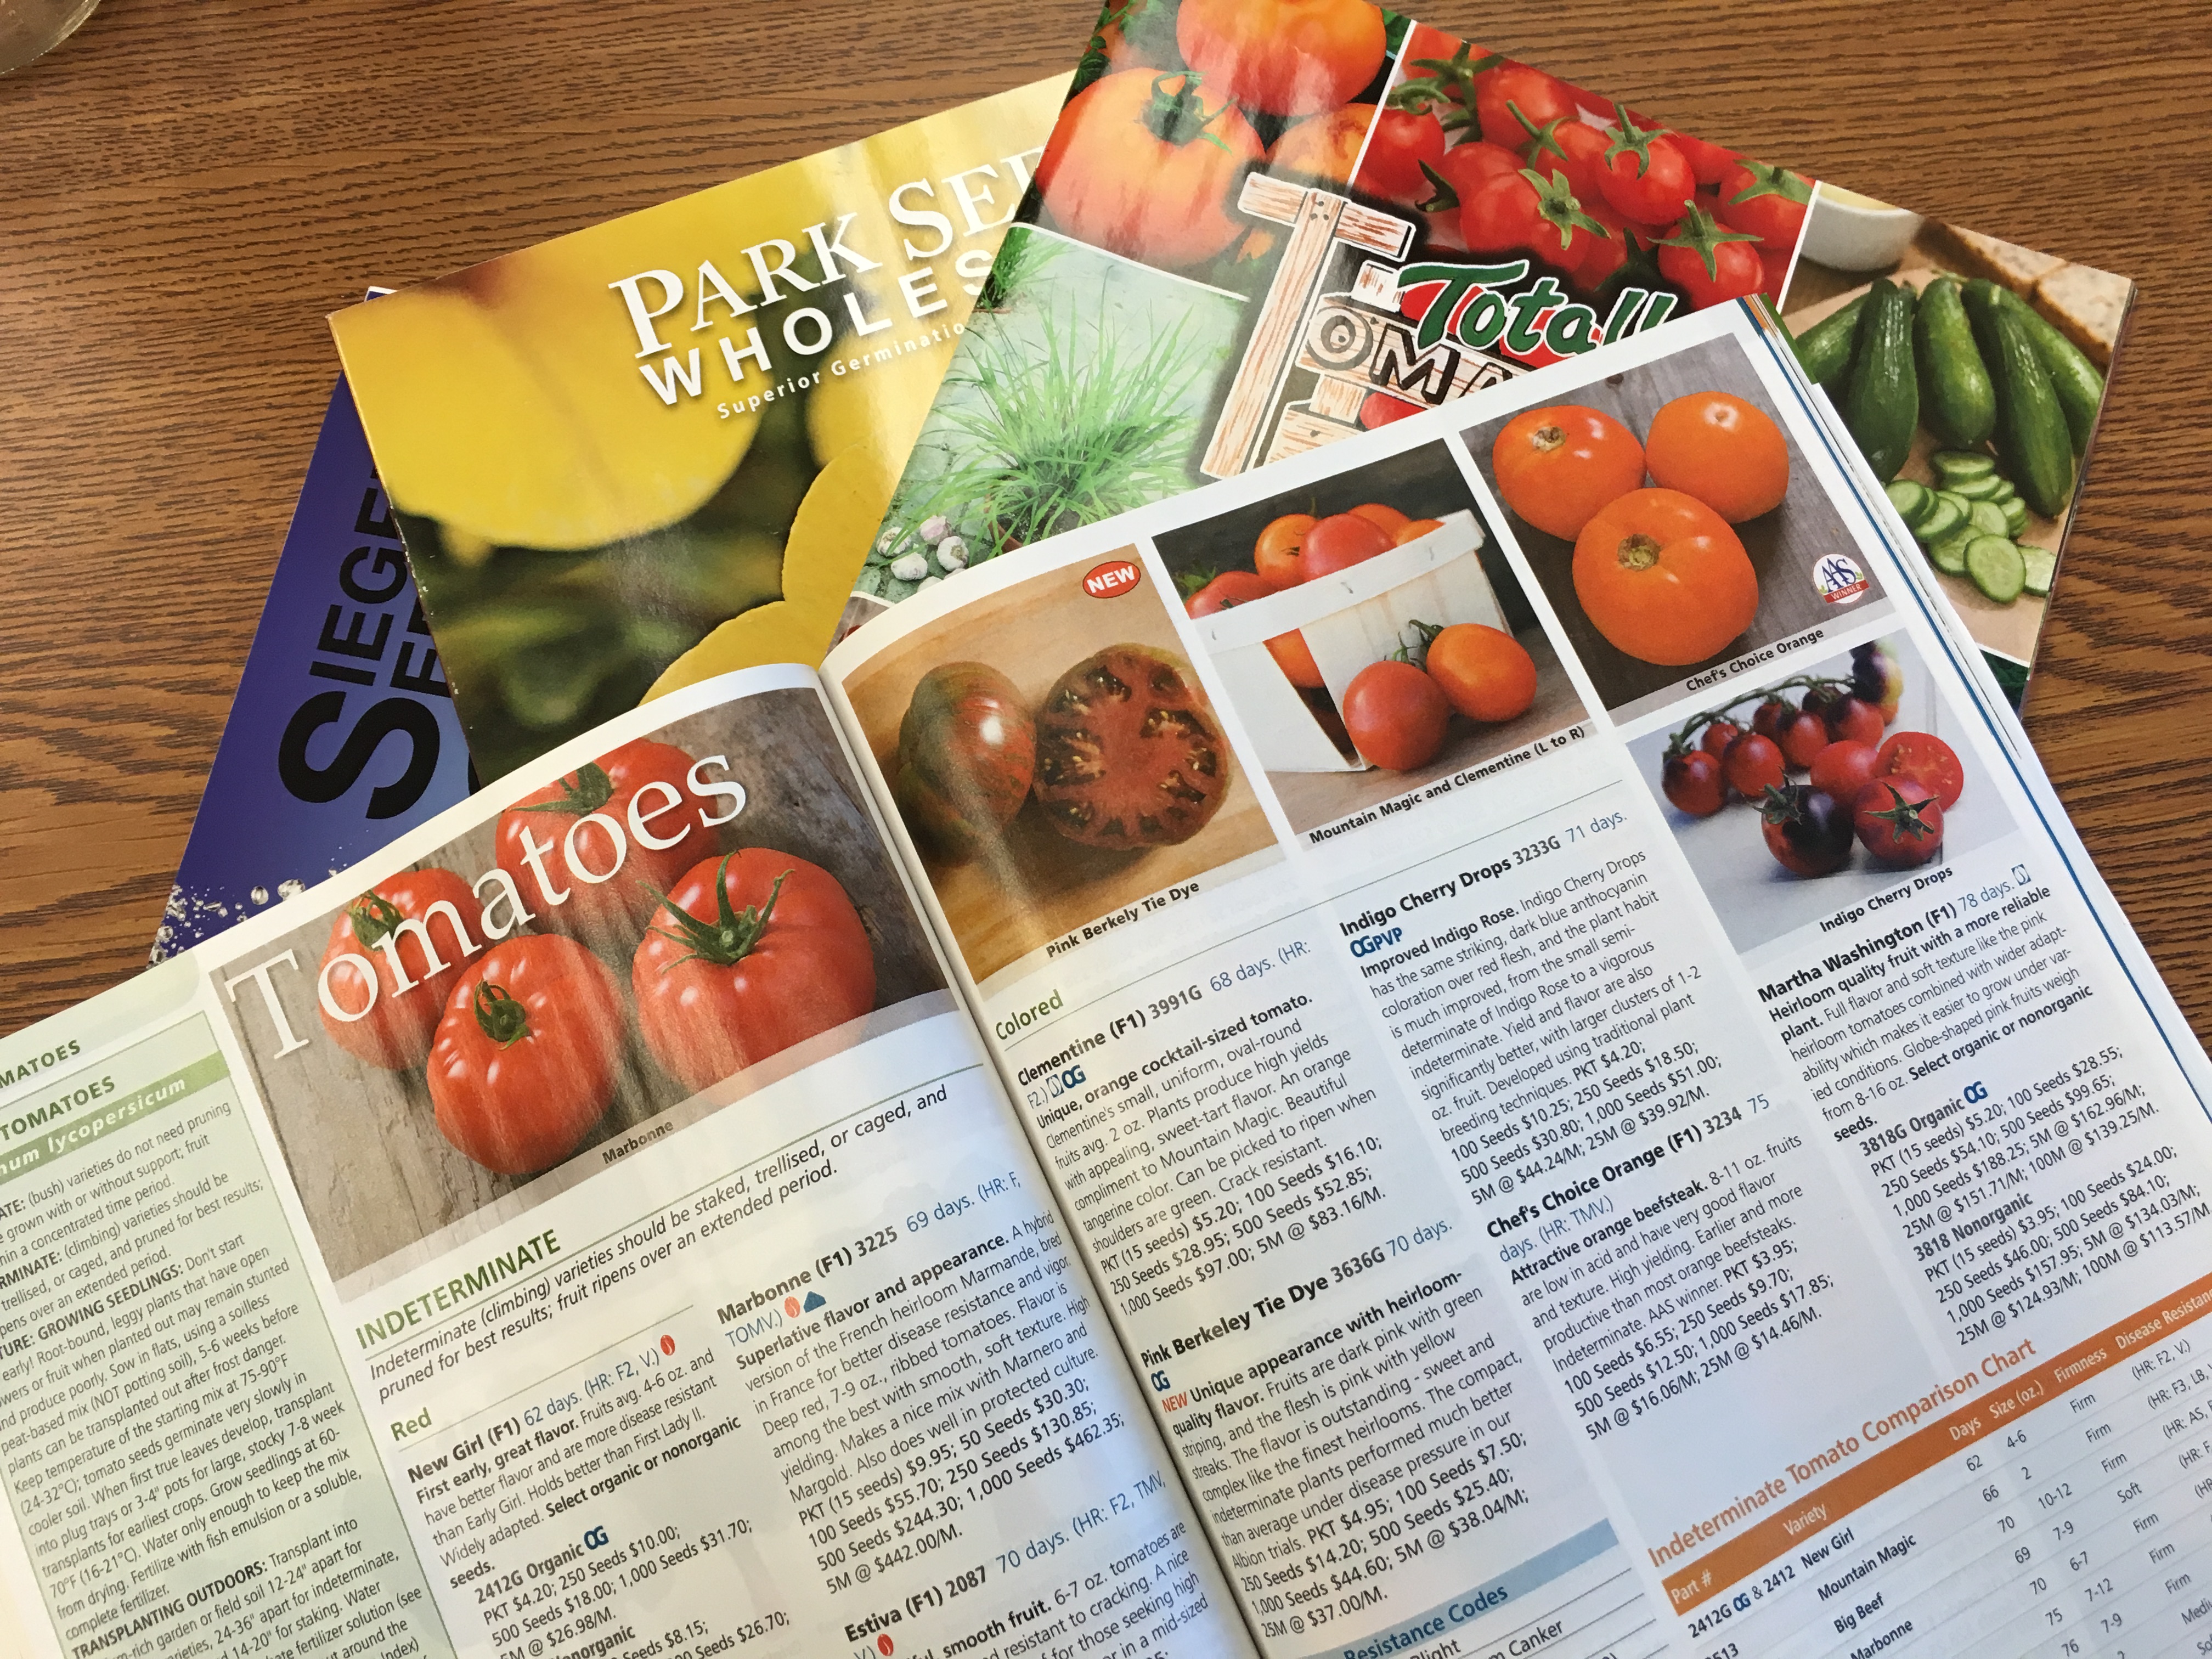
- Variety Study – This is a great time of year to sink into a seed catalog and pick out the different vegetables and fruits to try this year. Make sure to explore University of Florida/IFAS recommended varieties before making final selections. Think of problems that have occurred in past years and search for varieties that tolerate these conditions. Look through the Florida Vegetable Guide to see recommended varieties.

Seed Catalogs.
- Seed Searching – Recommended varieties are not always available at the local seed and feed store and sometimes take a little bit of searching. Of course, the internet can assist greatly in finding desired varieties. A simple search engine inquiry could help in locating and purchasing desirable selections.
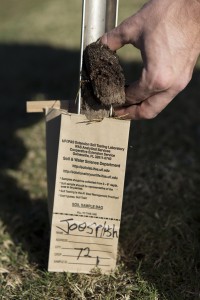
A man taking a soil sample with an auger. UF/IFAS Photo by Tyler Jones
- Soil testing – Soil testing is the cornerstone of having a healthy garden that has been fertilized correctly. Although it would not be appropriate to put out fertilizer this early before the crop, the pH should be adjusted through liming if there is an indicated need on the soil test. This will give time for the pH to begin to adjust before the crops are planted.
- Starting transplants – Another activity that can begin before the actual planting in the garden takes place is seeding inside. Transplants are vegetable and fruit seedlings that begin in potting soil in small containers. This can happen in make shift containers made out of Styrofoam coffee cup with drainage holes or multi celled commercial plastic trays. Seeds can be started in the house and moved inside and out of the climate control depending on the weather or in a greenhouse. Wherever they are, they need to be in high light conditions to prevent plants from becoming stretched and weak. Learn more about Starting the Garden with Transplants.
Now It’s time to start thinking of consistent warm days. The vegetable garden tasks will be overwhelming soon enough. Go ahead and get an early start with some of the winter tasks of spring vegetable gardening.
by Molly Jameson | Jan 13, 2016
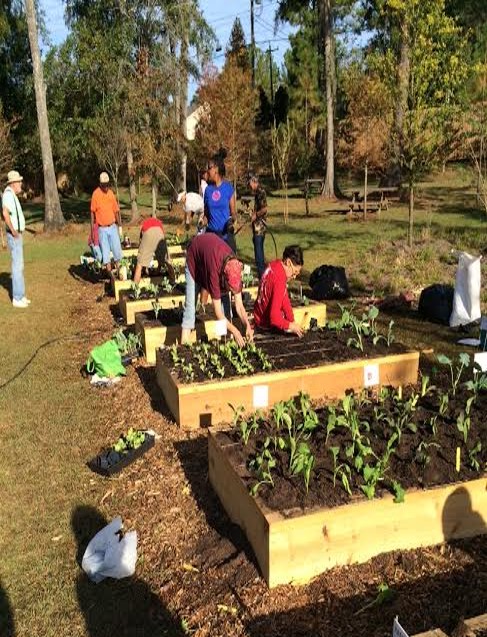
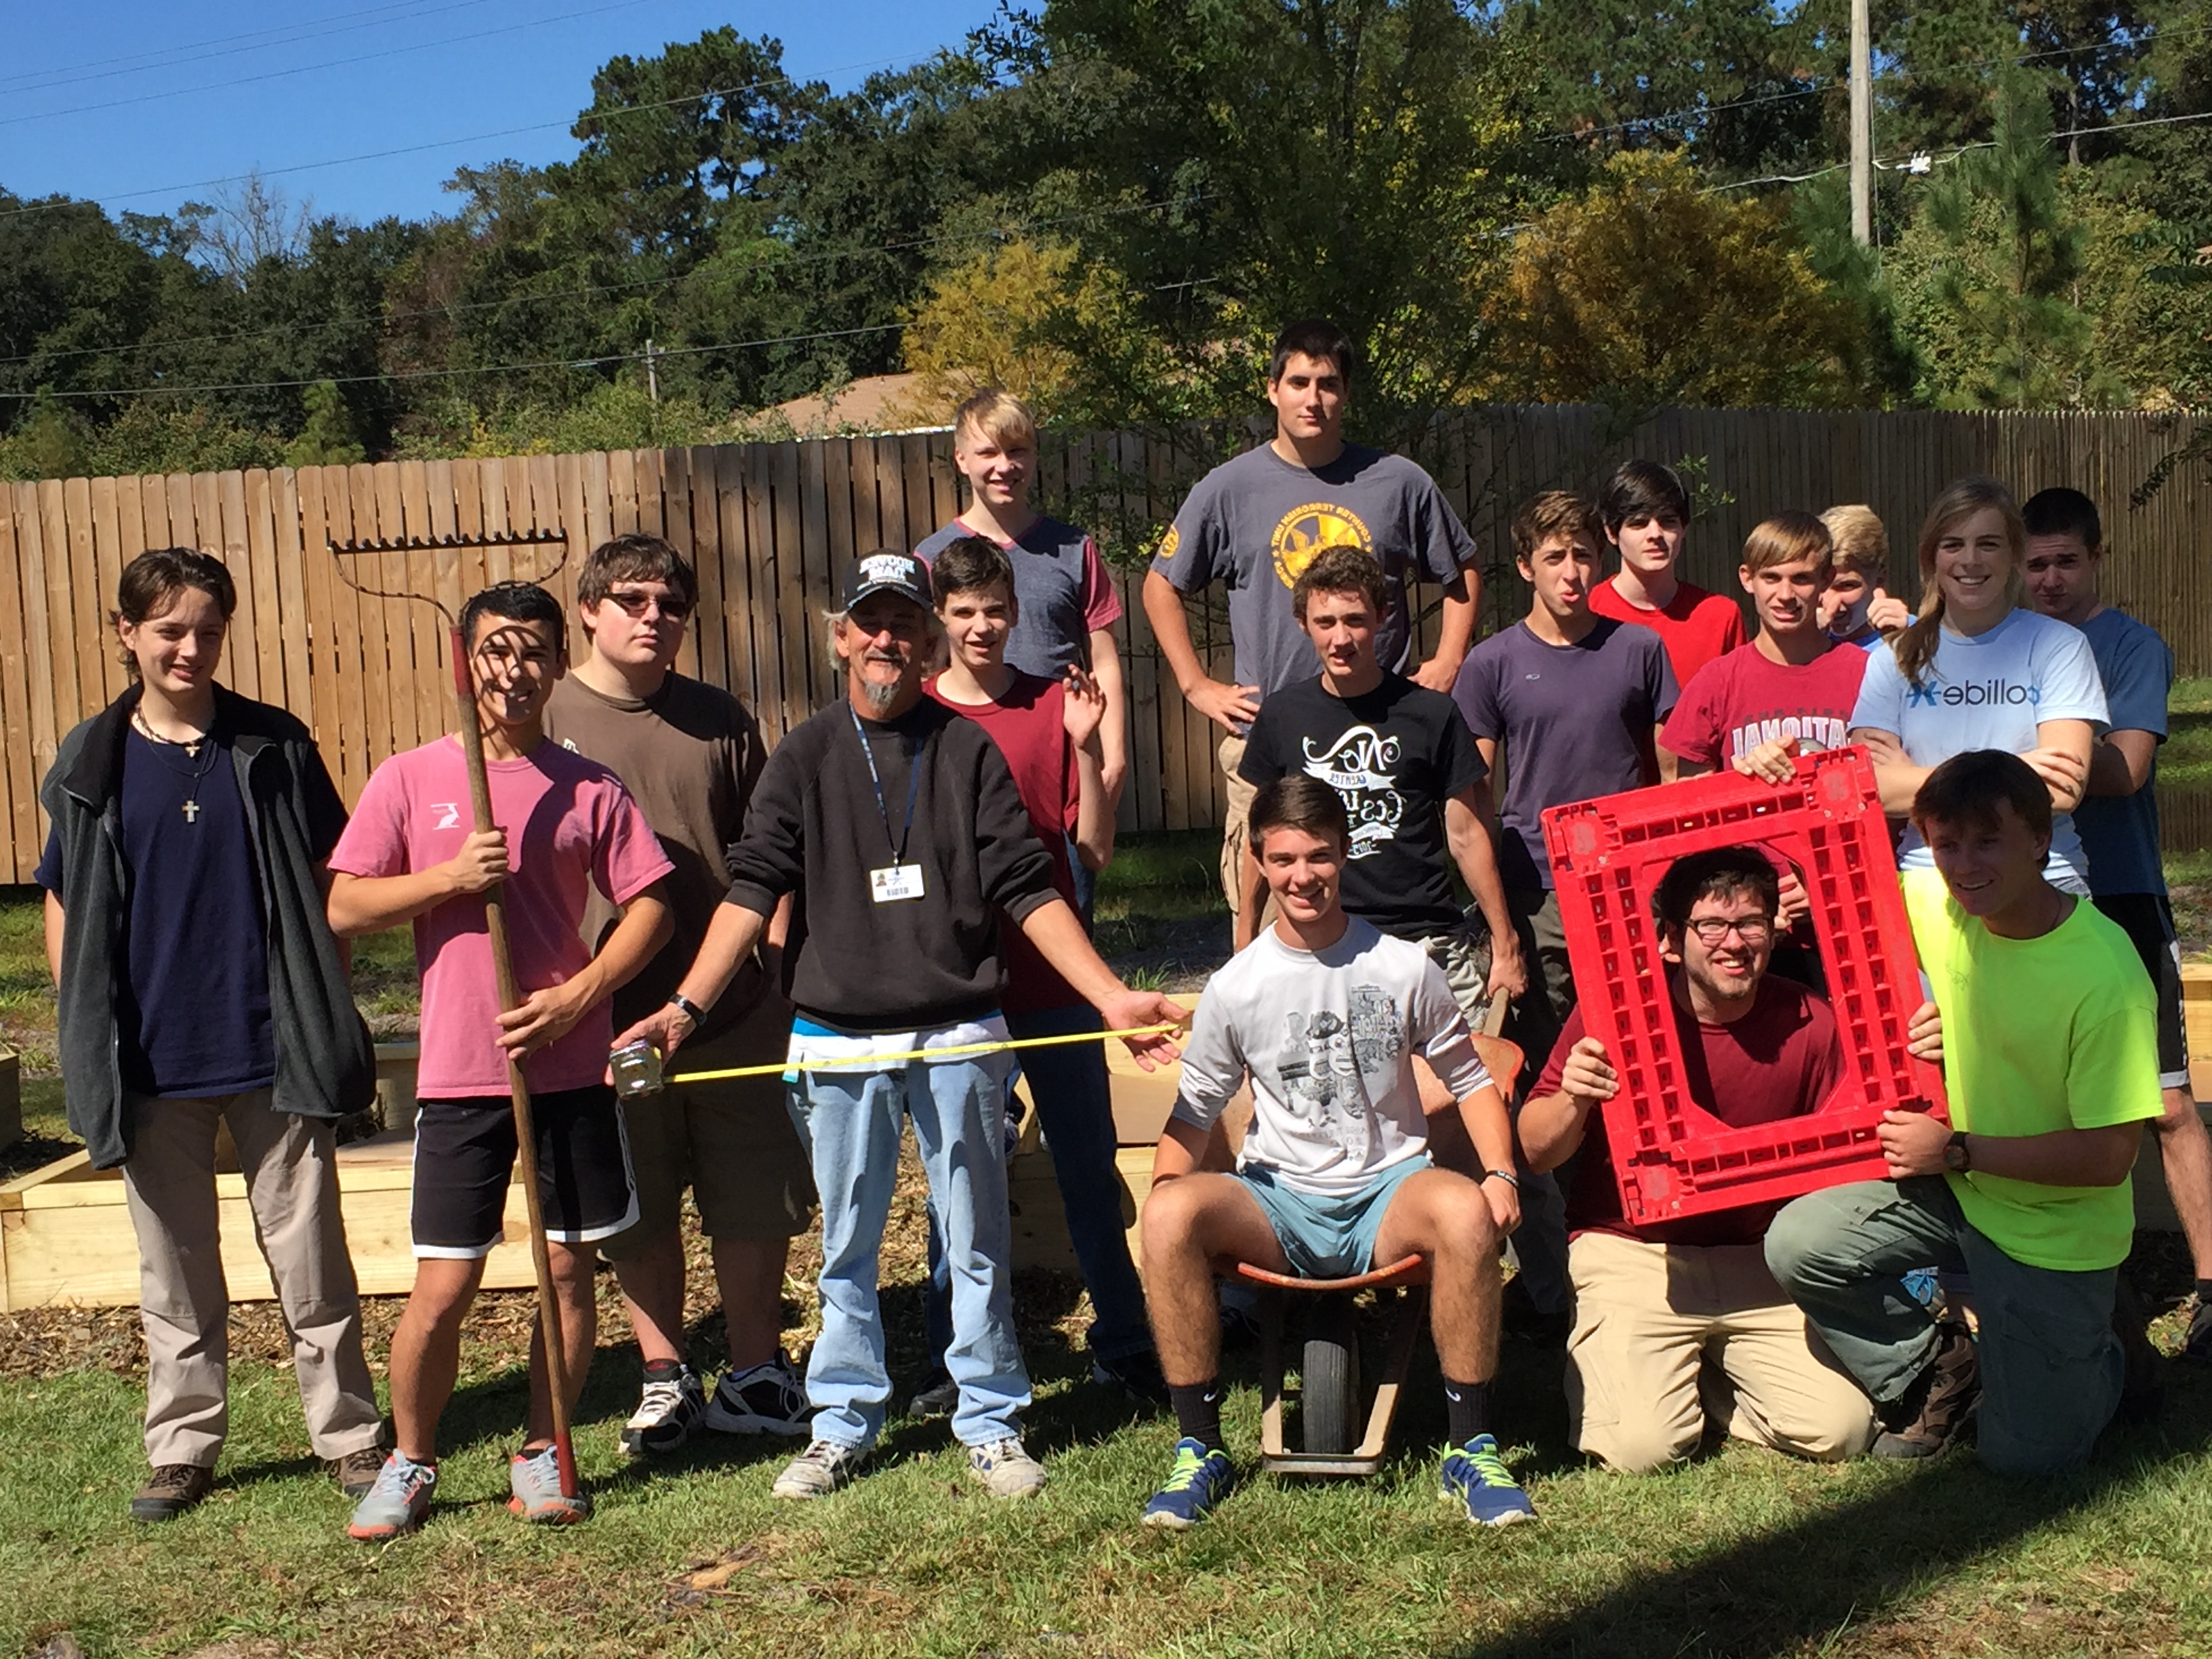
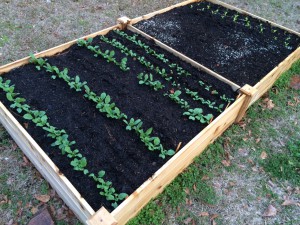
Volunteers after lots of hard work mulching and adding compost to eight raised beds at The Shelter garden.
Have you ever been interested in volunteering at a school or community garden? Are you involved with a garden that could use some help? Well, UF/IFAS Leon County Extension recently started an Adopt-a-Garden program for volunteers to “adopt” a school or community garden for volunteer credit. Volunteers can teach hands-on gardening techniques, conduct educational talks and present displays at garden workdays, assist with garden planning and networking, encourage gardeners to work together, and help with any other activity that adds to the vitality of the garden. The program focuses on garden education and outreach as the primary objectives.

Volunteers hard at work planting fall vegetables in The Shelter garden.
The first major project of the Adopt-a-Garden program has been very exciting, with UF/IFAS Leon County Extension Master Gardeners “adopting” the new homeless shelter at the Kearney Center in Leon County. Master Gardeners lead the way in the organization and construction of eight raised bed vegetable gardens located on site directly behind The Shelter facility. They were awarded a community garden mini-grant from Leon County, which helped to cover garden supplies.
The Leon County Master Gardeners have received assistance from UF/IFAS Extension Agents, Florida State’s College of Social Work, and many other members of the community in gathering supplies and donations, recruiting volunteers, communicating with The Shelter staff, building and filling the raised beds, planting the garden, and maintaining the garden.
The gardening materials for The Shelter garden were generously supplied at no coast or at discounted costs by Lowe’s Home Improvement, Britt’s Dump Truck Services, Tallahassee Nurseries, Native Nurseries, Asplundh, and the FSU College of Social Work.

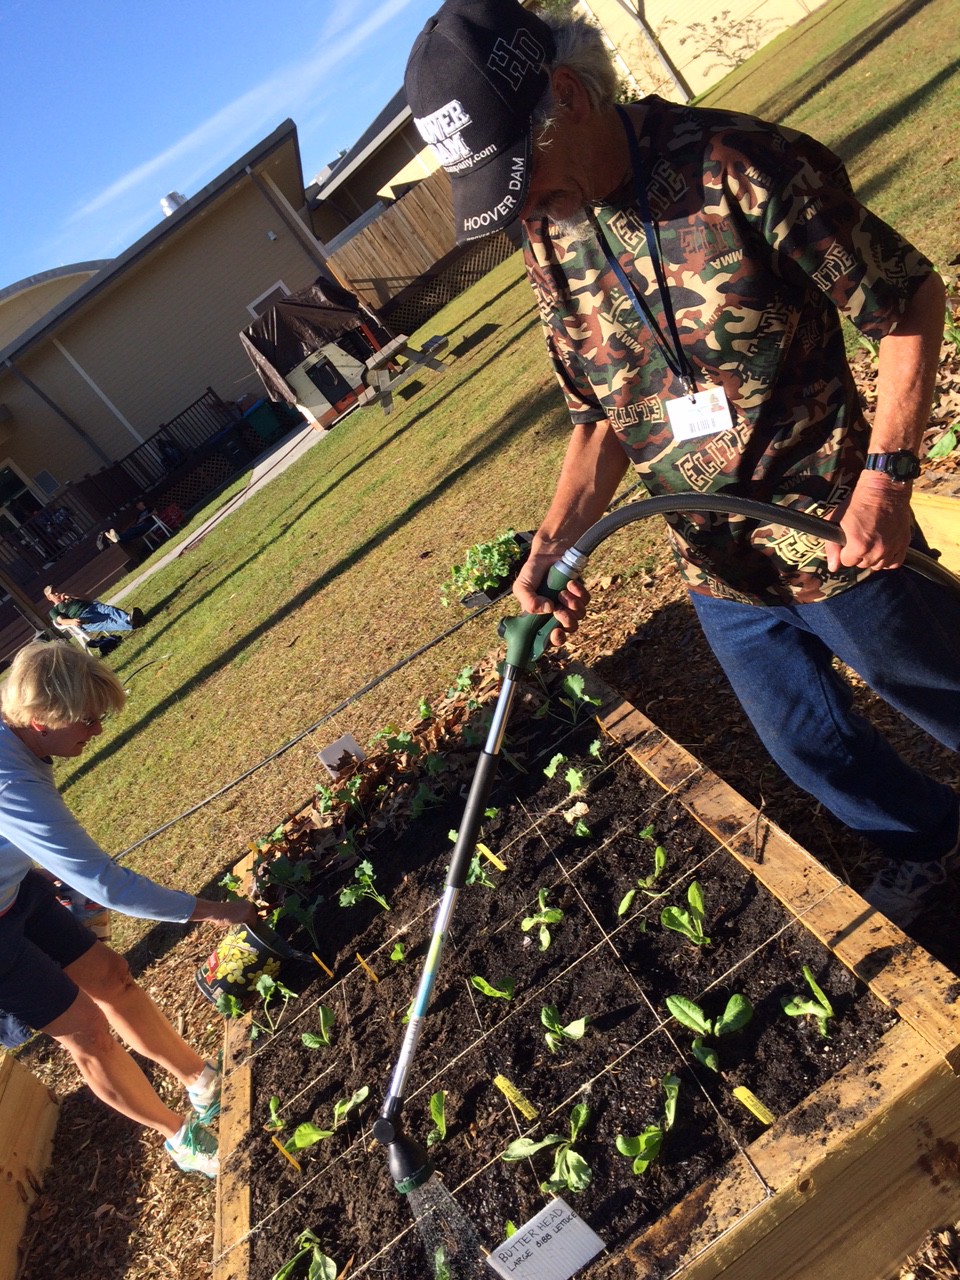
Shelter resident watering freshly planted lettuce.
Leon County Extension and Leon County’s Office of Resource Stewardship will conduct shelter resident and staff garden trainings to ensure the garden is maintained and successful going forward. Extension’s Family Nutrition Program is currently offering nutrition education classes to shelter residents as well.
This project will allow shelter residents to get hands-on experience working in a vegetable garden, learn about different vegetable varieties, and taste their harvest, as vegetables that are grown in the garden go directly to The Shelter kitchen for meal preparation. The garden was officially dedicated as the Wendy Crook Memorial Garden by Leon County Government, with the dedication event reported by local television station ABC 27 WTXL. The article and video clip can be viewed here.
Along with the Wendy Crook Memorial Garden, other school and community gardens have been “adopted” by volunteers. If you are in the Leon County area and are interested in becoming a volunteer with the Adopt-a-Garden program, you can find out more information at the Leon County Adopt-a-Garden website or contact Extension Agent Molly Jameson, at mjameson@ufl.edu. Volunteers are encouraged to team up on garden projects and all levels of gardening experience are welcome.
by Molly Jameson | Nov 24, 2015
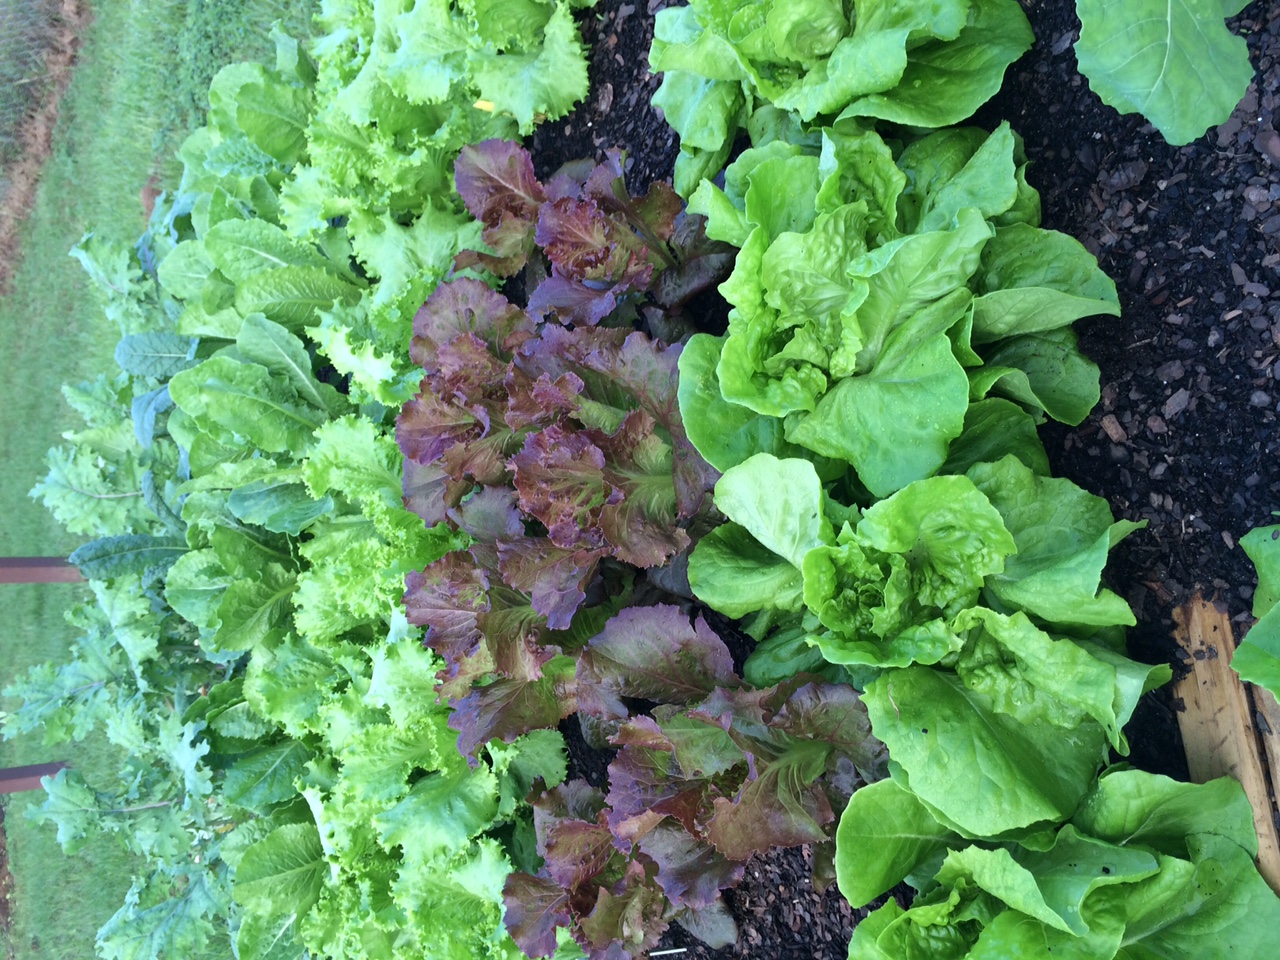
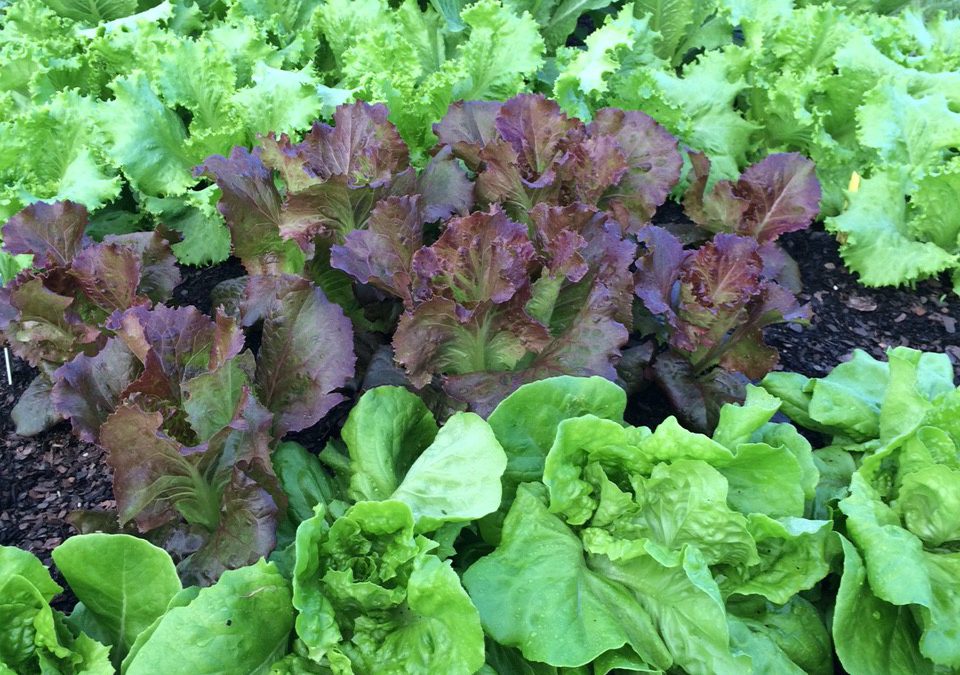
Kale, mustard, and lettuce in fall garden. Photo by Molly Jameson.
In North Florida, December can mark the peak in fall vegetable gardening. Early lettuce varieties are beginning to head and your later varieties are coming on strong. Radishes are starting to erupt out of the ground, and leafy greens are producing big beautiful leaves. But did you know that simple changes in how you harvest can greatly increase the longevity of your fall garden?
Here are a few harvesting tips for stretching out the fall harvest to ensure you will have plenty of greens all the way into spring:

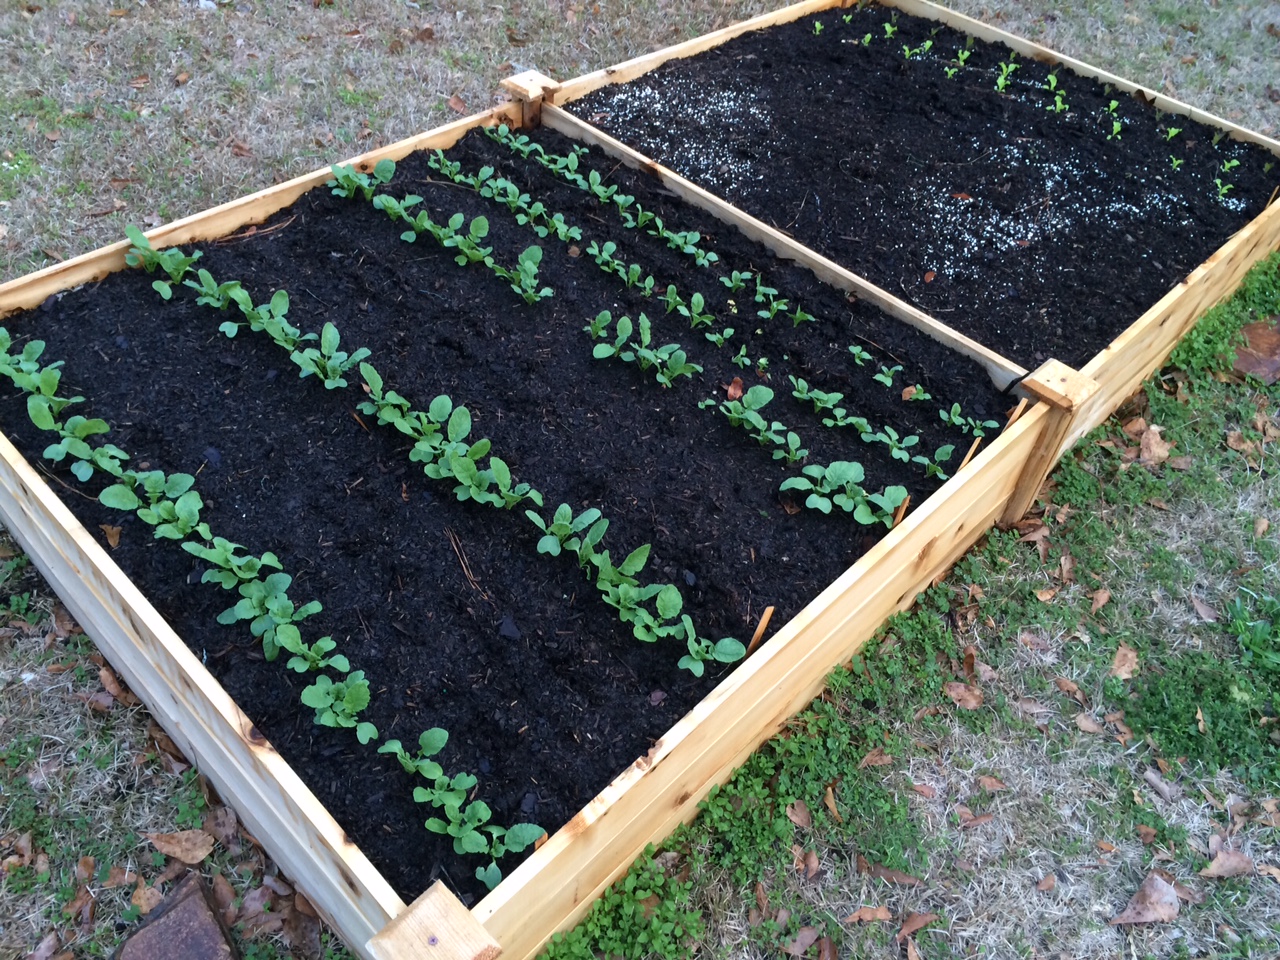
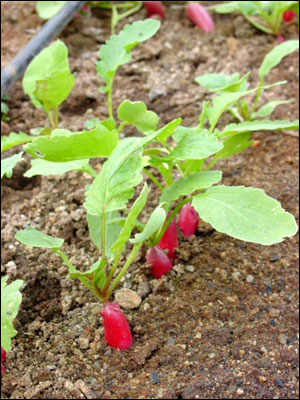
Plant radishes and arugula as gaps form in fall vegetable garden. Photo by Molly Jameson.
- Harvest leaves often: Leafy vegetables and herbs often produce more leaves the more you pick them. Harvest the lower, oldest leaves of vegetables such as leaf lettuce, kale, collards, and Swiss chard often. Be sure to maintain two to three leaves per plant; this method will ensure tender, pest-damage-free leaves, while encouraging the plant to keep producing.
- Thin to eat: Plants such as arugula and spinach are excellent vegetables to seed heavily and thin to eat. Once the plants have produced their first few true leaves, harvest the whole plant and use the leaves in salads. Continue this method until plants are about six inches apart, and then harvest leaves only. In this way, you will have salads filled with small tender leaves in the beginning of the season, and larger leaves for salads and cooking all the way into spring.
- Cut stems of florets high: Once your broccoli or cauliflower curds are ready to be harvested, cutting the stem high will often mean more secondary heads will form. Once your plants quit producing florets, start harvesting the leaves, which have great flavor and are highly nutritious. Also, with cauliflower, loosely tie the leaves around the curd. This forms a protective barrier from the sun and also improves color.
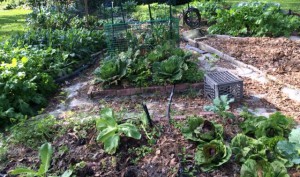
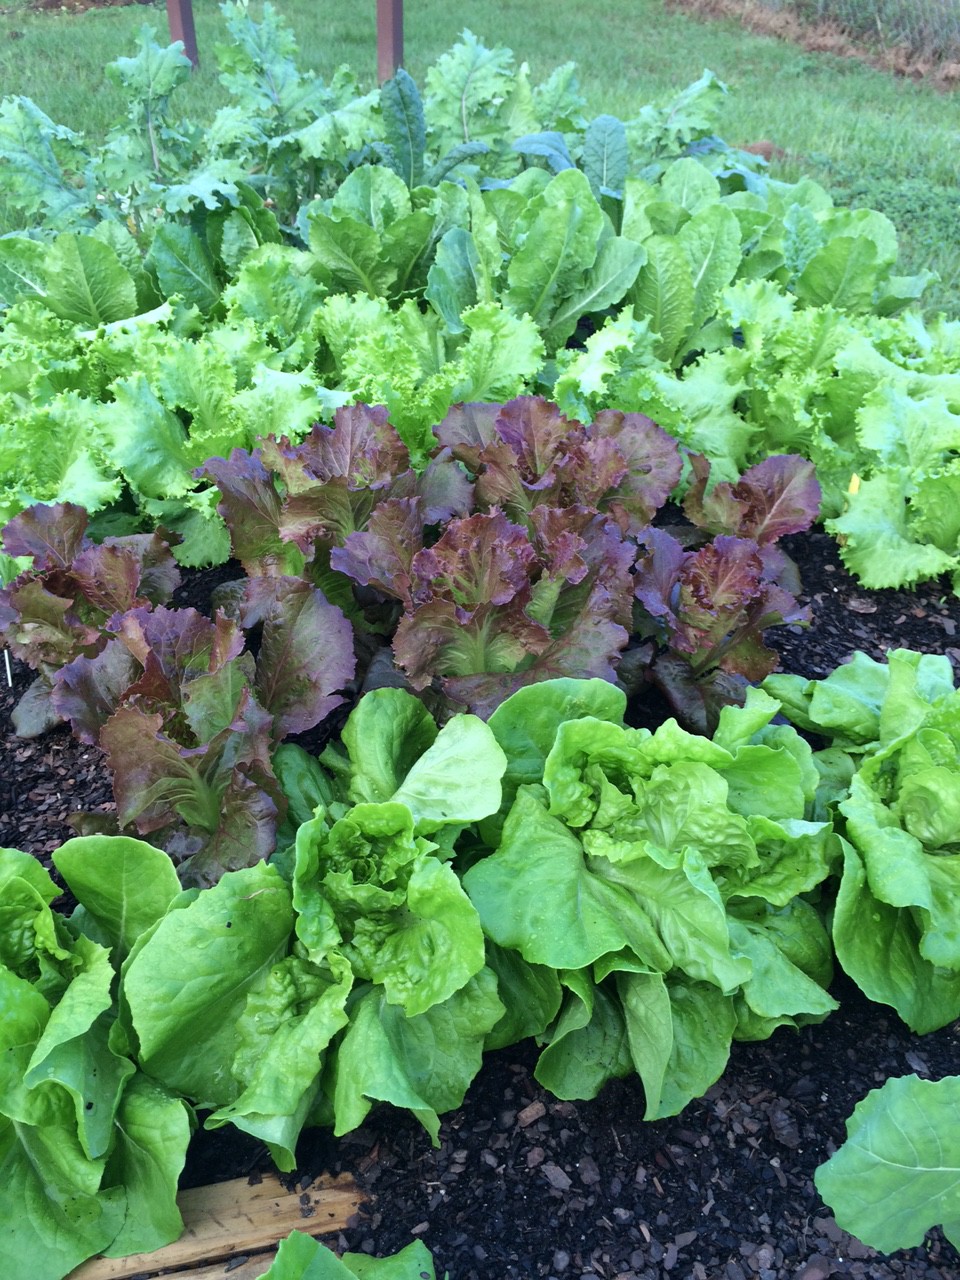
Assorted greens in fall vegetable garden. Photo by Molly Jameson.
- Harvest in the morning: Plant moisture and nutrient content are often highest in the morning. Once harvested, these leaves are less likely to wilt, and flavor will be preserved. Submerge or run cool water over the plants to maintain vigor. Alternatively, you can harvest in the evening if you plan to prepare the food that night.
- Fill in the gaps: Once you begin harvesting frequently, you will notice space begins to open up in your garden. It is often too early to plant cold-sensitive spring crops, yet you can continue to plant some quick growing fall vegetables, such as radishes and arugula. Sow these seeds as space opens up to maximize your food production until it is warm enough for the new season.
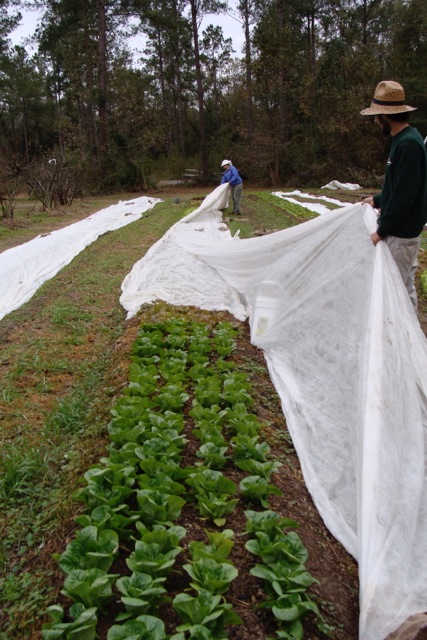
- Use materials to extend the season: By using frost cloth, low tunnels, cold frames, and shade cloth, you can protect your vegetables from early cold snaps and extend the season into spring. These materials, as well as wire and netting, can also protect your crop from deer, squirrels, and rabbits.
by Matthew Orwat | Nov 13, 2015
Radishes ready to harvest. Image Credit, UF / IFAS Gardening Solutions
Floridians are lucky, in that they are able to grow many vegetables throughout the winter months. If a fast growing, quick producing vegetable is desired, nothing is faster than a radish. Radishes can develop from seed to mature root in 20-30 days, and can be planted any time between September and March. The cooler months of October to February are even better since radishes do not develop the “hot” flavor when grown in cooler temperatures. There is less risk of that occurring during the cooler months of fall and winter.
Radishes should be direct seeded in the garden at a depth of 0.25 inches. They should be seeded 1 inch apart, with rows 6 inches apart. It is important that they not be crowded since the edible root portion will not form properly unless the plants are given plenty of space. Once plants emerge, thin them to about 3 inches apart.
At planting, plenty or organic matter and fertilizer should be incorporated in the bed. If soil is not well-drained garden in a raised bed. Avoid fertilizing once the seeds have germinated. Make sure to provide uniform irrigation and a weed free environment.
Harvest should take place when the radishes are ready (20-30 days), but fairly young to ensure a mild tasting root.
For more information consult Root Crop Production in Florida, part of the Florida Vegetable Production Handbook
by Molly Jameson | Nov 4, 2015
Covering a row of lettuce with frost cloth at Turkey Hill Farm. Photo by Turkey Hill Farm.
While most of Florida does not have to worry about freezing winter weather, the Florida Panhandle is certainly an exception. North Florida experiences a few hard freezes – temperatures less than 28°F for over five hours – every year. Although most of our cold weather occurs in January and February, we can expect our first frost around the second week of November. Therefore, it is important for gardeners to be prepared.
Most of the Panhandle is in zone 8b, which means average minimum temperatures are between 15 and 20°F. Nights – especially consecutive nights – that get this cold can “burn” the tips of even the toughest vegetables, such as collards and kale. It is also important to remember that if you live in a more rural area, temperatures will be slightly cooler, relative to the city. Frost is also more likely to occur on clear nights, as heat that radiated down from the sun during the day will escape the atmosphere at night, if clouds are not present. Also, if you were late getting your fall garden started, it is even more important to protect your vegetable plants, as young plants are more susceptible to cold weather.
Young plants are more susceptible to cold weather, so be sure to use cold protection. Photo by Molly Jameson.
One strategy home gardeners can use to protect their plants during cold weather is to use frost cloth. Frost cloth is a breathable polyester fabric that is light weight and heat-retentive. It can moderate temperatures about six to eight degrees Fahrenheit. Use it on all of your garden plants if there is a hard freeze, but do not cover cold hardy vegetables in mild frosts, as their flavor can actually become sweeter in cool weather, and the plants will become more tolerant to the cold.
Frost cloth can be found at most plant nurseries, and it can last multiple years if you take care of it. Use wire hoops to keep the cloth off smaller crops, as ideally the cloth should not touch the plant. Most importantly, the cloth must touch the ground at all points to be effective, as it works by trapping heat that radiates from the soil and increases the humidity around the plant.
In the morning, do not remove frost cloth too early, as quick thawing can actually cause the most severe damage. Wait until the outside air temperature is about 50 to 60°F. Since frost cloth is breathable, if temperatures do not reach 50 to 60°F during the day, you can leave it on multiple days.

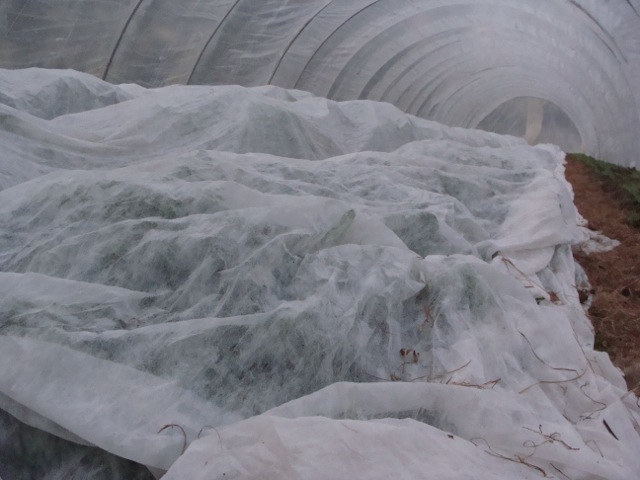
Frost cloth in high tunnel at Turkey Hill Farm. Photo by Turkey Hill Farm.
Sheets or blankets (not plastic) can be a frost cloth substitute, but there are disadvantages, such as not allowing proper air circulation or not being large enough to reach the ground.
Another strategy that can help keep your garden safe from cold weather is to keep your plants well watered, as frost damage is actually dehydration. When ice crystals form on the leaf surface, it draws moisture from the leaf tissue. Damage will therefore be less severe if the plant is not already drought-stressed. You can also mulch around the base of your plants with wood chips or straw to help moderate soil temperature and retain moisture.
Being prepared for cold weather will help keep your vegetable garden going strong all the way into the spring. Remember that healthy plants will be more resistant to cold weather than unhealthy plants, and investing in a few sheets of frost cloth can go a long way to ensure your veggies survive our chilly North Florida winters.