UF/IFAS Extension Agents from across the Florida Panhandle had a great discussion about fall vegetable gardening in the latest episode of Gardening in the Panhandle LIVE! Fall Vegetable Gardening on September 12th. As usual, we had a great bank of questions supplied by our viewers and we want to follow up by sharing a recap of the discussion with reference links so you can dig deeper into the recommendations they provided.
Managing your soil is easily the most critical task in gardening. Well-managed soils retain water and nutrients, making them available to your plants, thus enabling them to thrive. It may seem daunting, but with a bit of knowledge, you’ll quickly discover that soil management is much simpler than you thought. Soil management can be broken down into two major topics. The first is the physical properties outlined in a previous article, which may be found here. The second, and arguably more complicated of the two, are those chemical properties that drive plant growth.
The What and Why of Soil pH
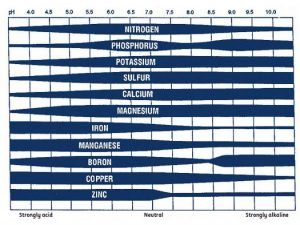
When considering chemical properties, you first need to look at soil pH. This is the measure of acidity or alkalinity within your soil profile. Innate soil pH is a product of the parent material from which your soil has formed, which tends to be slightly acidic on the Panhandle. Testing is the only accurate way to measure your soil’s pH level and buffering capacity. Your county extension office will be happy to facilitate that testing.
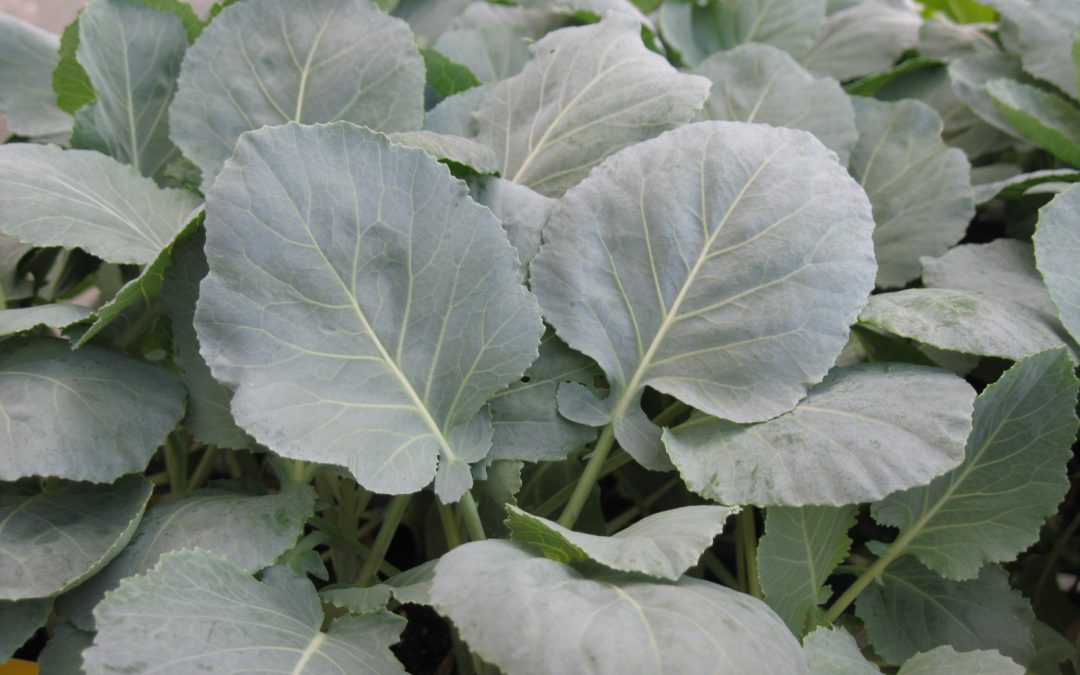
So, why is pH so important to plant growth? You’ll want to manage your soil’s pH for two reasons. The first is that soil acidity greatly influences the form that fertilizers and herbicides take in your landscape. Put into context, if you add fertilizers into the soil with an incorrect pH, that fertilizer may not dissolve in the water present. It will thus be unavailable to your plants. Here is another example of putting the right plant in the right place. Some, such as centipedegrass, thrive in a low-nutrition environment created by a low pH, whereas most vegetable plant species and many other landscape species only want a slightly acidic environment. Placing plants that will grow in the natural pH of your soil is a great way to ensure success in your gardens.
UF/IFAS photo
Ok, you’ve tested your soil and discovered it is not optimal for the plants you want to grow. Fear not, as you can take some actions to adjust your soil’s inherent acidity levels. Keep in mind that any changes will be very localized and are temporary. To raise soil pH, you must apply some version of calcium, colloquially called liming. Your calcium source should be based on soil testing, as different types may also add needed nutrients. Most notably, dolomitic lime will change soil pH while adding magnesium. Soil testing will also tell you to provide the buffering capacity of your soil, which will dictate the amount needed to adjust the soil properly. Soil pH may also be lowered through elemental sulfur additions, but this process is very difficult and may become detrimental to plant growth through repeated application. In this instance, it may be preferable to address via plant selection versus pH adjustment.
How Does Soil Hold Onto Water and Nutrition
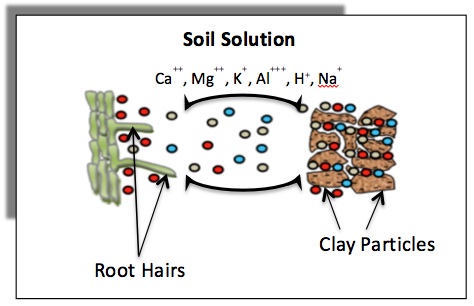
The other main consideration for soil chemical properties is cation exchange capacity or CEC. Now, this can be a very complicated topic. Put very simply, it refers to your soil’s ability to retain both water and applied nutrients. It’s important to understand as it holds components critical to plant growth in the root zone of said plants. This happens as there are negative charges on the surfaces of clay particles in your soil that latch onto the positive ions of applied fertilizers.
Photo: University of Georgia Extension
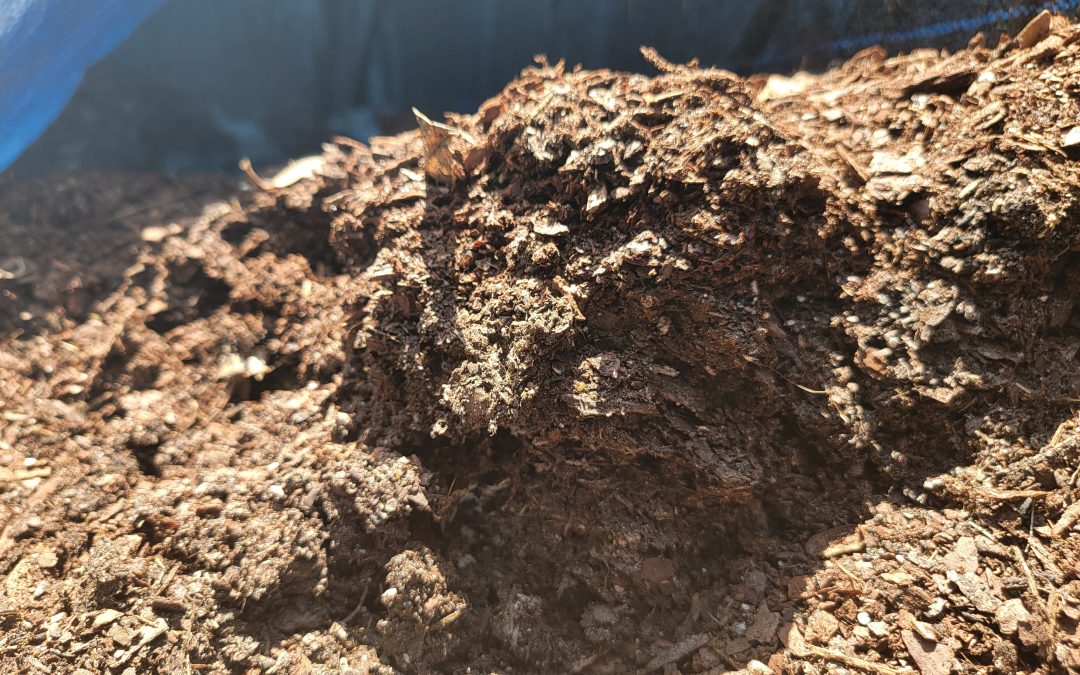
So, what about soils low in clay, such as those in Florida? Organic matter will help in this arena. It mimics clay’s properties and will retain nutrients better than your native soil. However, this is not a pass to add endless amounts of compost, as they come with a nutritive load that must be considered in your garden management plan. Adding 1-3 inches worked into your plant root zone is more than enough when establishing new gardens.
Understanding your soil is critical when gardening anywhere. In Florida, where soils are less than optimal, understanding how water and nutrients are retained and used by your plants will help avoid much frustration. For more information on soil management refer to these IFAS documents, or contact your local extension agent for additional information on this and any topic regarding your gardens and more.
by Mark Mauldin, Agriculture & Natural Resources, Washington County
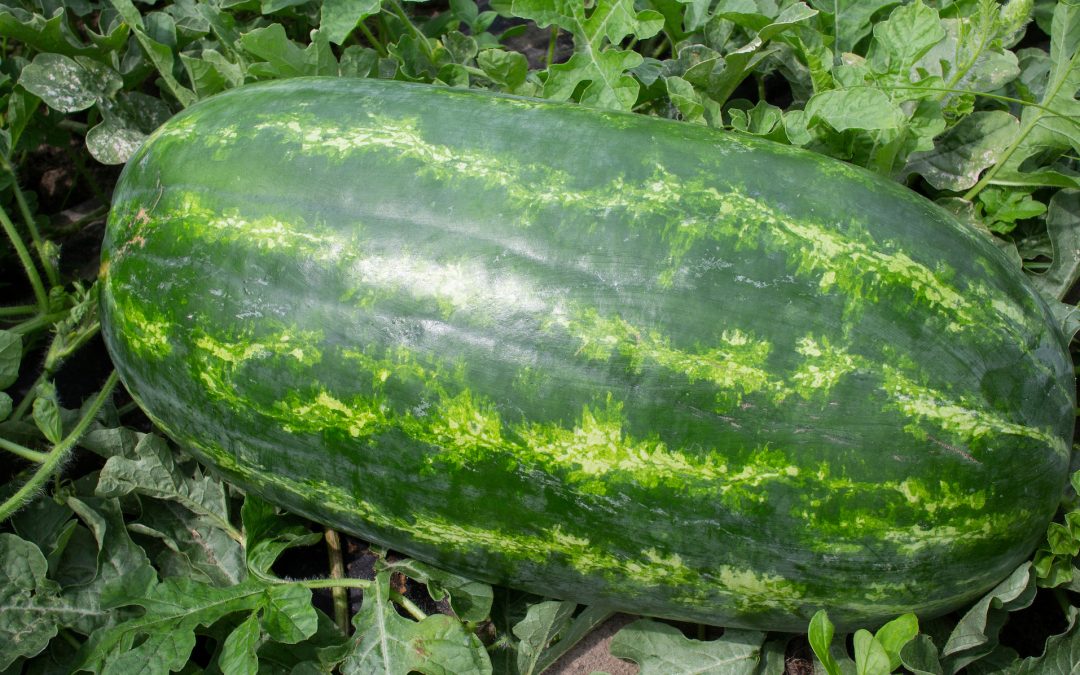
Calling all watermelon producers, commercial growers to gardeners. Planting season is just around the corner. As you plan your plantings don’t forget about the Big Melon Contest at the Panhandle Watermelon Festival. The festival and the contest have been summer-time staples in the Central Panhandle for decades. Don’t miss out on the opportunity to showcase your skills as a grower and a shot at some serious prize money.
To make the contest fun for growers of all types of watermelons, a winner and first runner-up will be recognized for each variety of melon entered in contest*, with the heaviest melon in the class winning $50 and the first runner-up $25. In addition to the variety classes, there will be a $300 grand prize paid for the overall heaviest melon in the contest and $200 for the first runner-up.
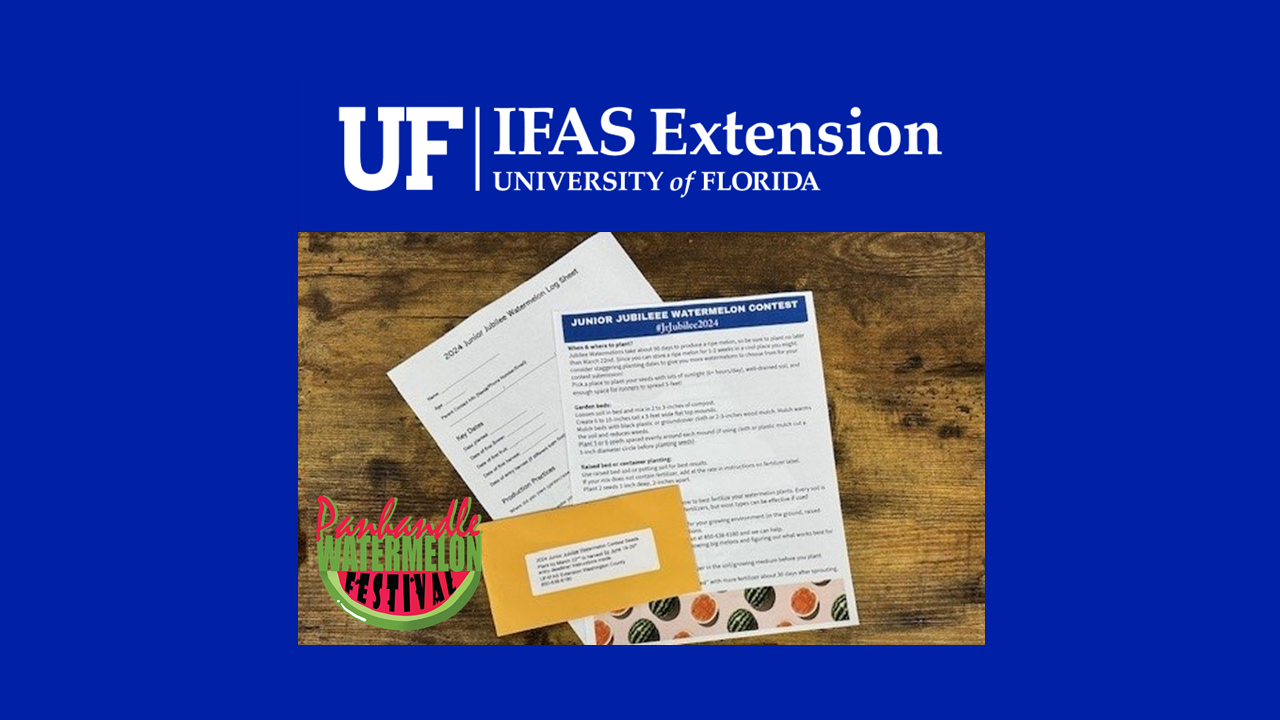
New for 2024, the Junior Jubilee Contest is a melon growing competition open only to kids 18 and under. To participate in the Junior Jubilee Contest, kids must sign-up this Spring (3/4/24 – 3/22/24). Upon signing up, kids will receive seeds and growing guide. Through the Spring the kids will grow their own melons and then bring their 2 biggest back, to enter the contest at the festival. All kids who bring a melon back for the contest will be recognized at the melon auction and prizes will be given for the 10 biggest melons, including a $200 grand prize for the biggest melon. For more information or to enter the Junior Jubilee Contest contact the Washington County UF/IFAS Extension Office. Click the link below for more details about the Junior Jubilee Contest.
There is no cost to enter a melon in the contest. However, melons entered in the contest are donated to the festival and will be sold via auction. Proceeds of the auction will go to help off-set the costs of next year’s festival. All contest melons will be on display during the festival and their variety, weight, and grower will be announced during the auction.
The 2024 Panhandle Watermelon Festival will be Friday June 21st and Saturday June 22nd in Chipley, FL. The Friday night concert festivities will be held at Jim Trawick Park and Saturday’s events (including the melon auction) will be at the Washington County Ag Center. The auction will begin at 12 noon on Saturday.
Melons being entered in the contest will need to be delivered to the Washington County Ag Center prior to the festival. Melons will be received and weighed-in at the Ag Center Wednesday 6/19 between 8am and 4pm and Thursday 6/20 between 8am and 7pm central time. If you have melons that you would like to enter in the contest but are unable to deliver during the specified times, contact Mark Mauldin prior to 6/19 to make arrangements. Pick-up may be possible, to the extent practical, provided arrangements are made in advance.
The Washington County Ag Center is located at 1424 Jackson Ave. Chipley, FL 32428.
If you have any questions regarding the contest, contact Mark Mauldin at the UF/IFAS Extension, Washington County Office (850-638-6180 or mdm83@ufl.edu).
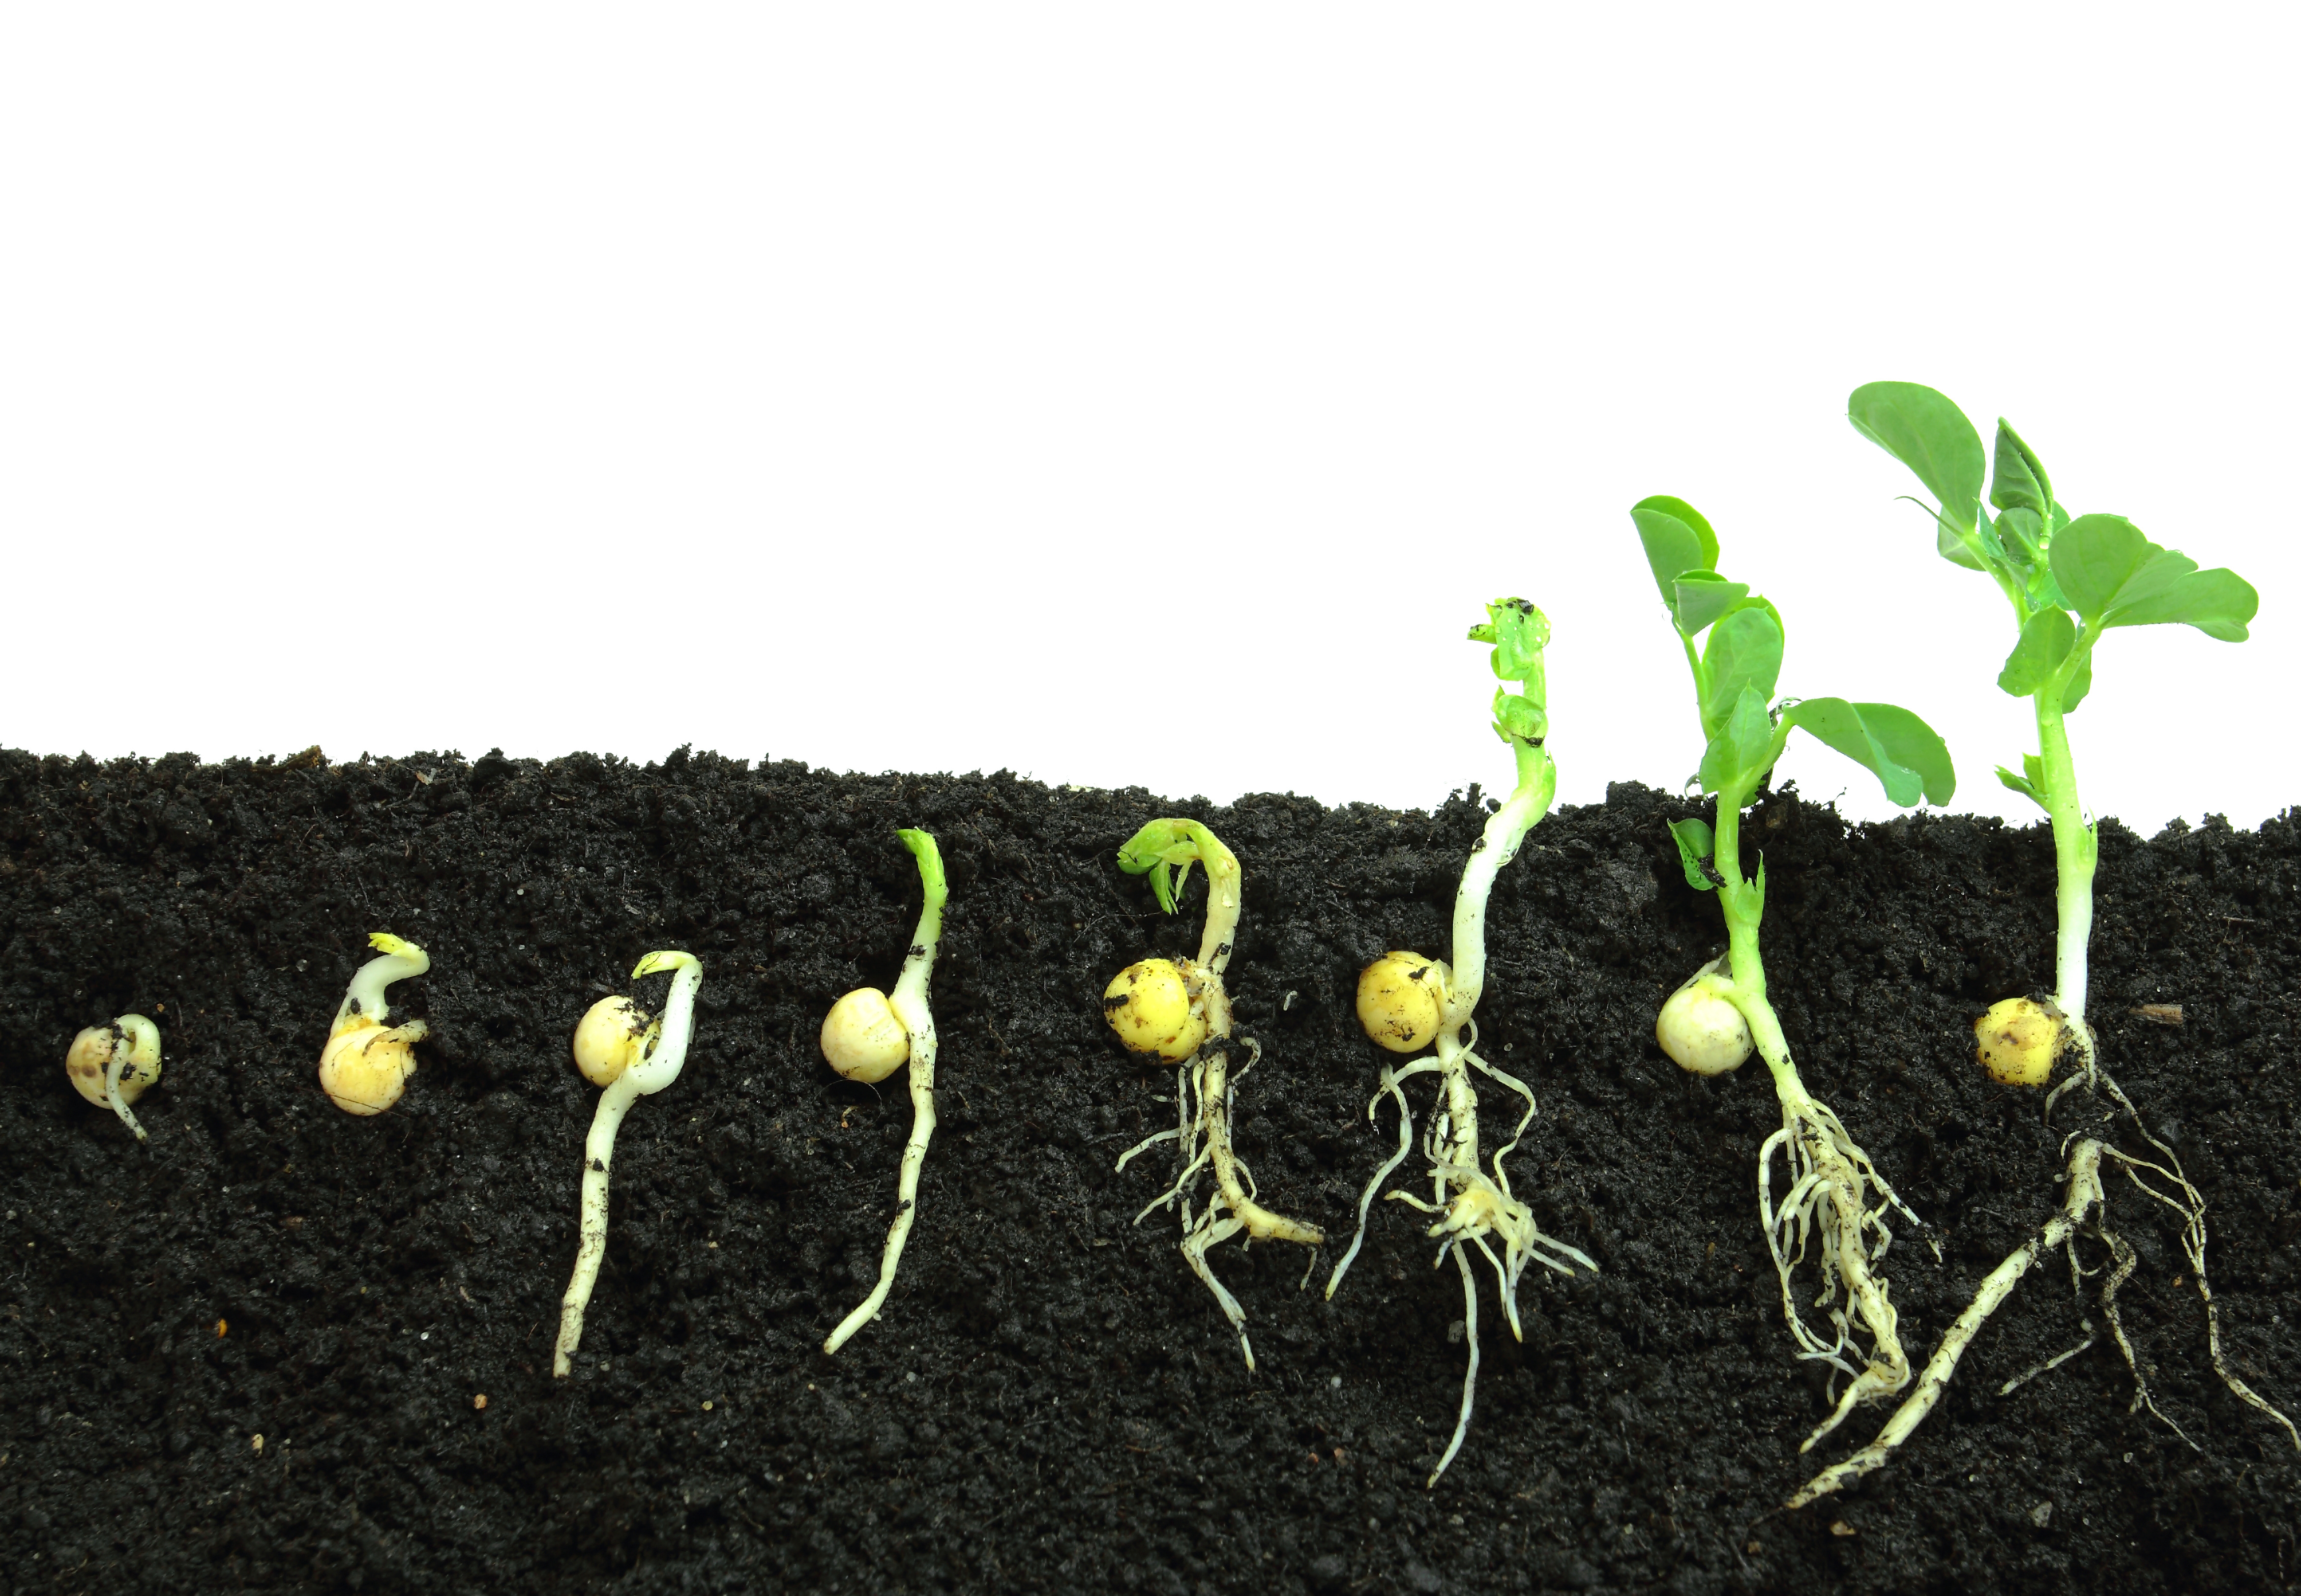
When a pea seed germinates, it goes through a series of stages: imbibition, activation of enzymes, and radicle and root emergence. Photo by Bogdan Wankowicz, Adobe Stock.
The Science of Germination
Navigating through a few recent hard freezes, the Florida Panhandle’s winter still holds its grip, but a shift is anticipated. As we transition into February and March, the temperatures are likely to soften, offering a milder embrace. Amidst this change, many gardeners eagerly anticipate the surge of new life. This phenomenon is deeply intertwined with the captivating science of germination. It is indeed an intricate process that transforms a dormant seed into a thriving plant.
The Germination Process
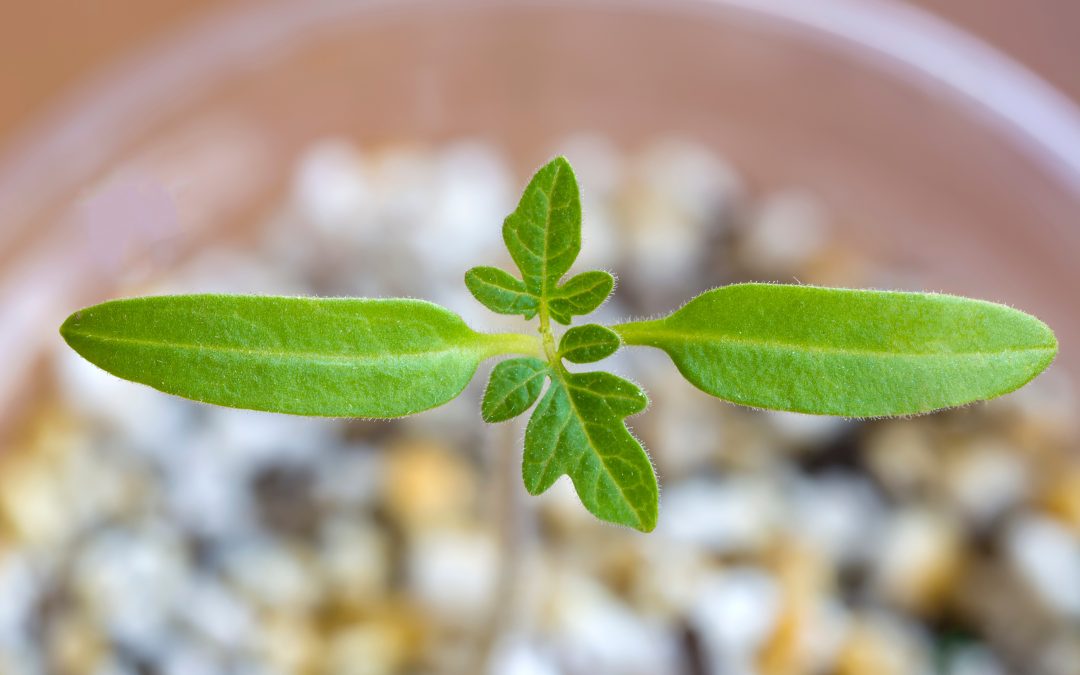
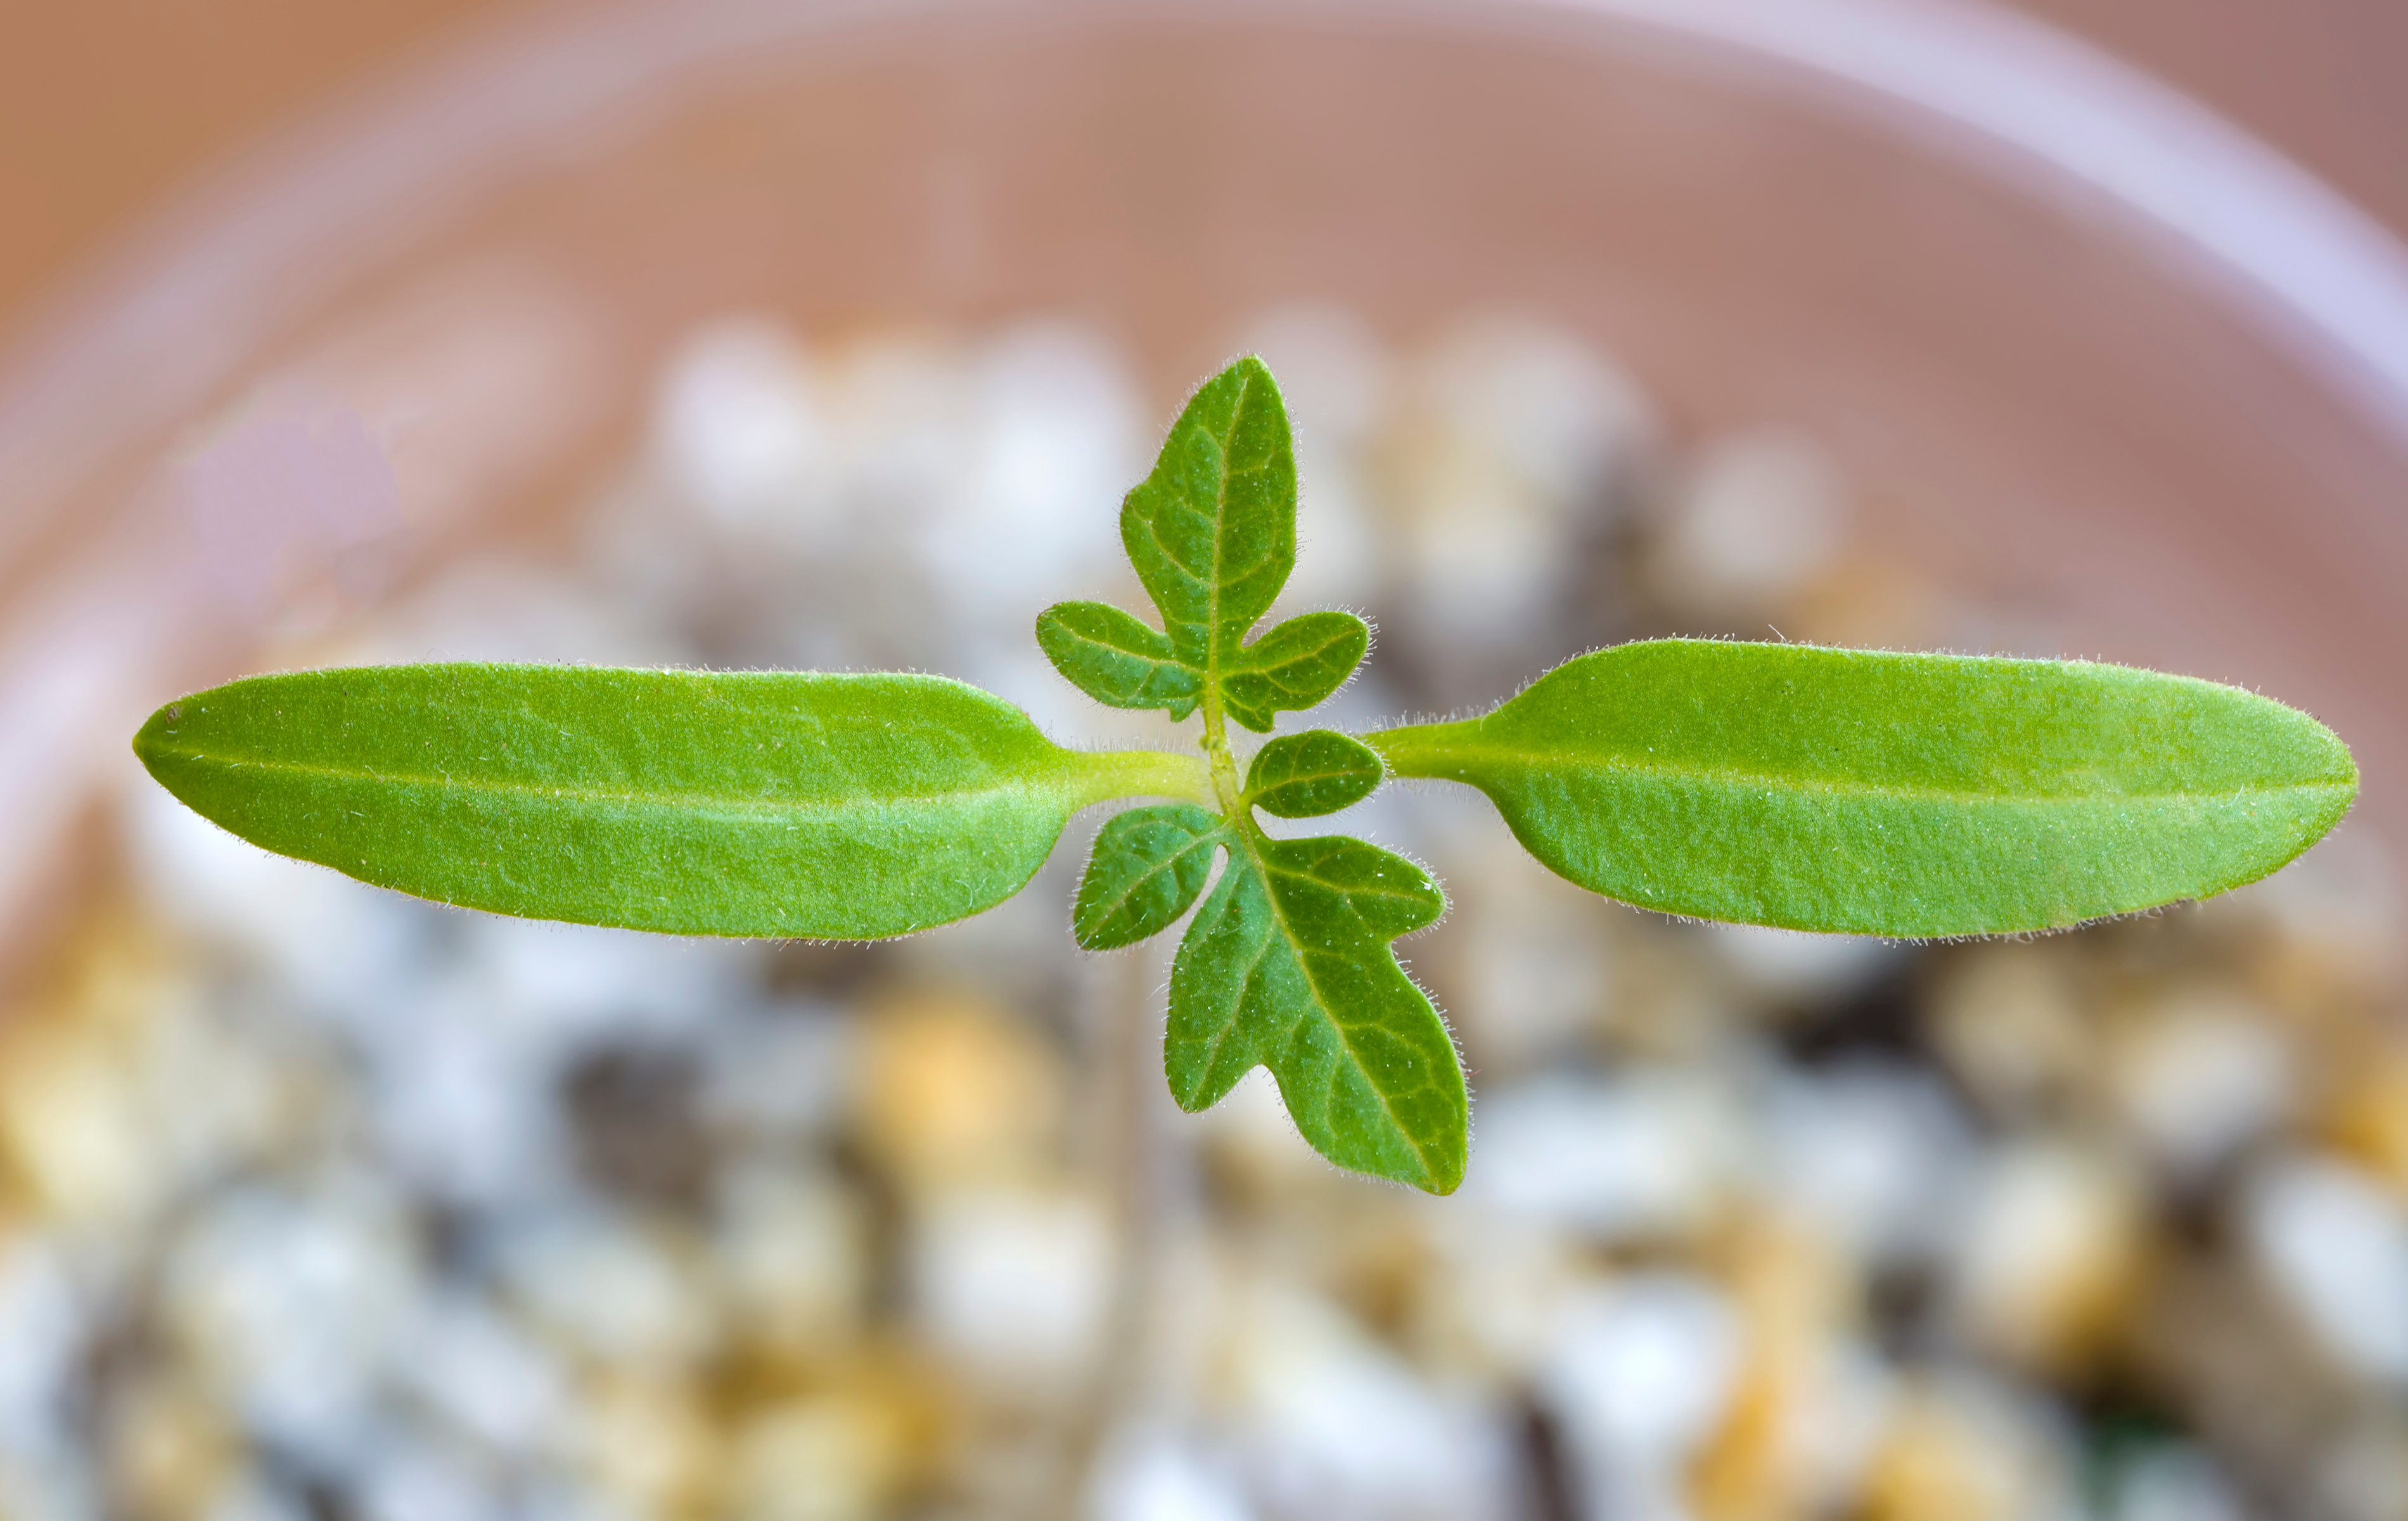
Tomato seedlings initially produce cotyledons, serving as temporary nutrient sources, followed by the emergence of true leaves, which engage in photosynthesis and mark the onset of lateral branching. Photo by Baharlou, Adobe Stock.
Germination is when a seed transforms into a seedling, ready to emerge from the soil. But what exactly is happening during this process?
Germination commences with the absorption of water, also known as imbibition. As water is absorbed, the seed swells, softening the seed coat and paving the way for the emergence of the embryo. This pivotal step activates enzymes within the seed, kickstarting the breakdown of stored nutrients, such as starches, into simpler forms like sugars. These nutrients serve as the fuel for the growing embryo until it can harness energy from the sun through photosynthesis.
The first visible sign of this process is the emergence of the radicle, the embryonic root that anchors the plant and facilitates water and nutrient absorption from the soil, establishing a solid foundation for growth. Following radicle development, the embryonic stem begins its upward journey, accompanied by the emergence of cotyledons, or seed leaves, that aid in nutrient storage during the initial stages of growth.
With the growth of leaves, the seedling gains the ability to engage in photosynthesis. This transformative process allows the plant to convert sunlight into energy, fueling further growth and development. The root system continues to expand and branch out, enhancing stability and enabling the plant to absorb water and essential nutrients from the soil.
As the plant progresses through stages of growth, it eventually matures to produce flowers and seeds, completing the life cycle. These seeds, in turn, hold the potential to initiate the germination process anew, perpetuating the cycle of growth and renewal.
Temperature’s Role in Successful Germination
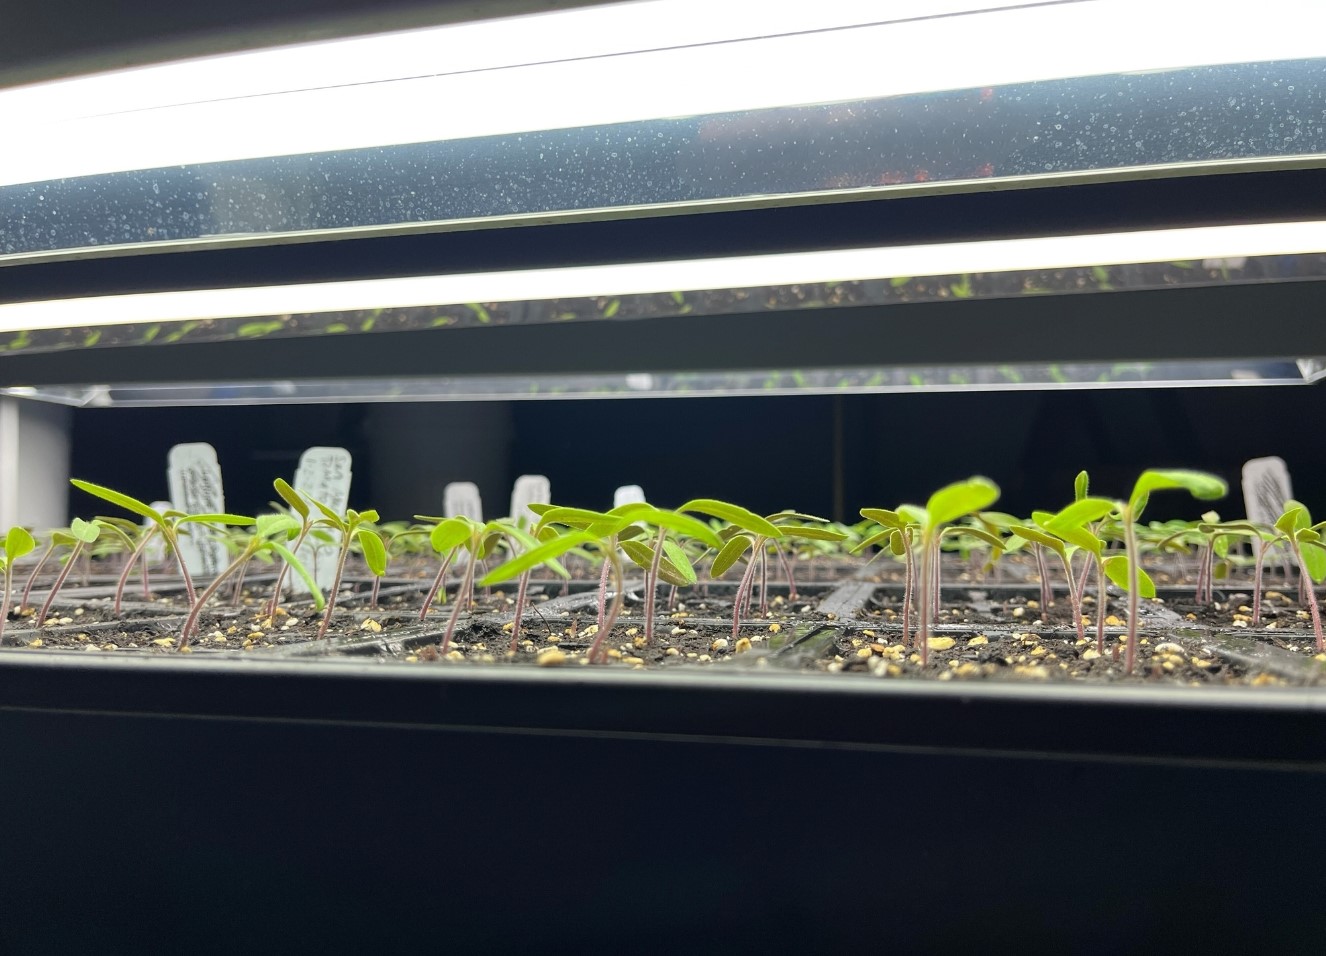
Get a jump start on the spring gardening season by using full spectrum grow lights and heat mats to germinate and grow warm season crops, like tomatoes, indoors. Photo by Molly Jameson.
Temperature is a critical factor influencing the success of germination, serving as a cue for enzymes to initiate their performance. Seeds exhibit distinct temperature preferences, affecting both the likelihood and speed of germination. Understanding these preferences is essential for a thriving garden.
While some seeds, like peppers and tomatoes, flourish in warmer conditions, others, such as lettuce and spinach, prefer cooler environments. It’s crucial to identify the ideal temperature range for your chosen seeds to ensure successful germination. When planning your garden, closely monitor soil temperature and sow seeds at the appropriate time to align with their preferences. For instance, if you’re starting warm season seeds like tomatoes in winter, consider investing in heat mats, a greenhouse, or indoor full spectrum grow lights to maintain a consistent and favorable temperature for germination.
Optimizing germination and ensuring a successful start for your garden hinges on understanding the specific temperature preferences of your crops. Temperature not only influences whether a seed will germinate but also plays a significant role in determining the speed of germination, providing a valuable head start when appropriately managed.
Chilling Requirements for Some Seeds
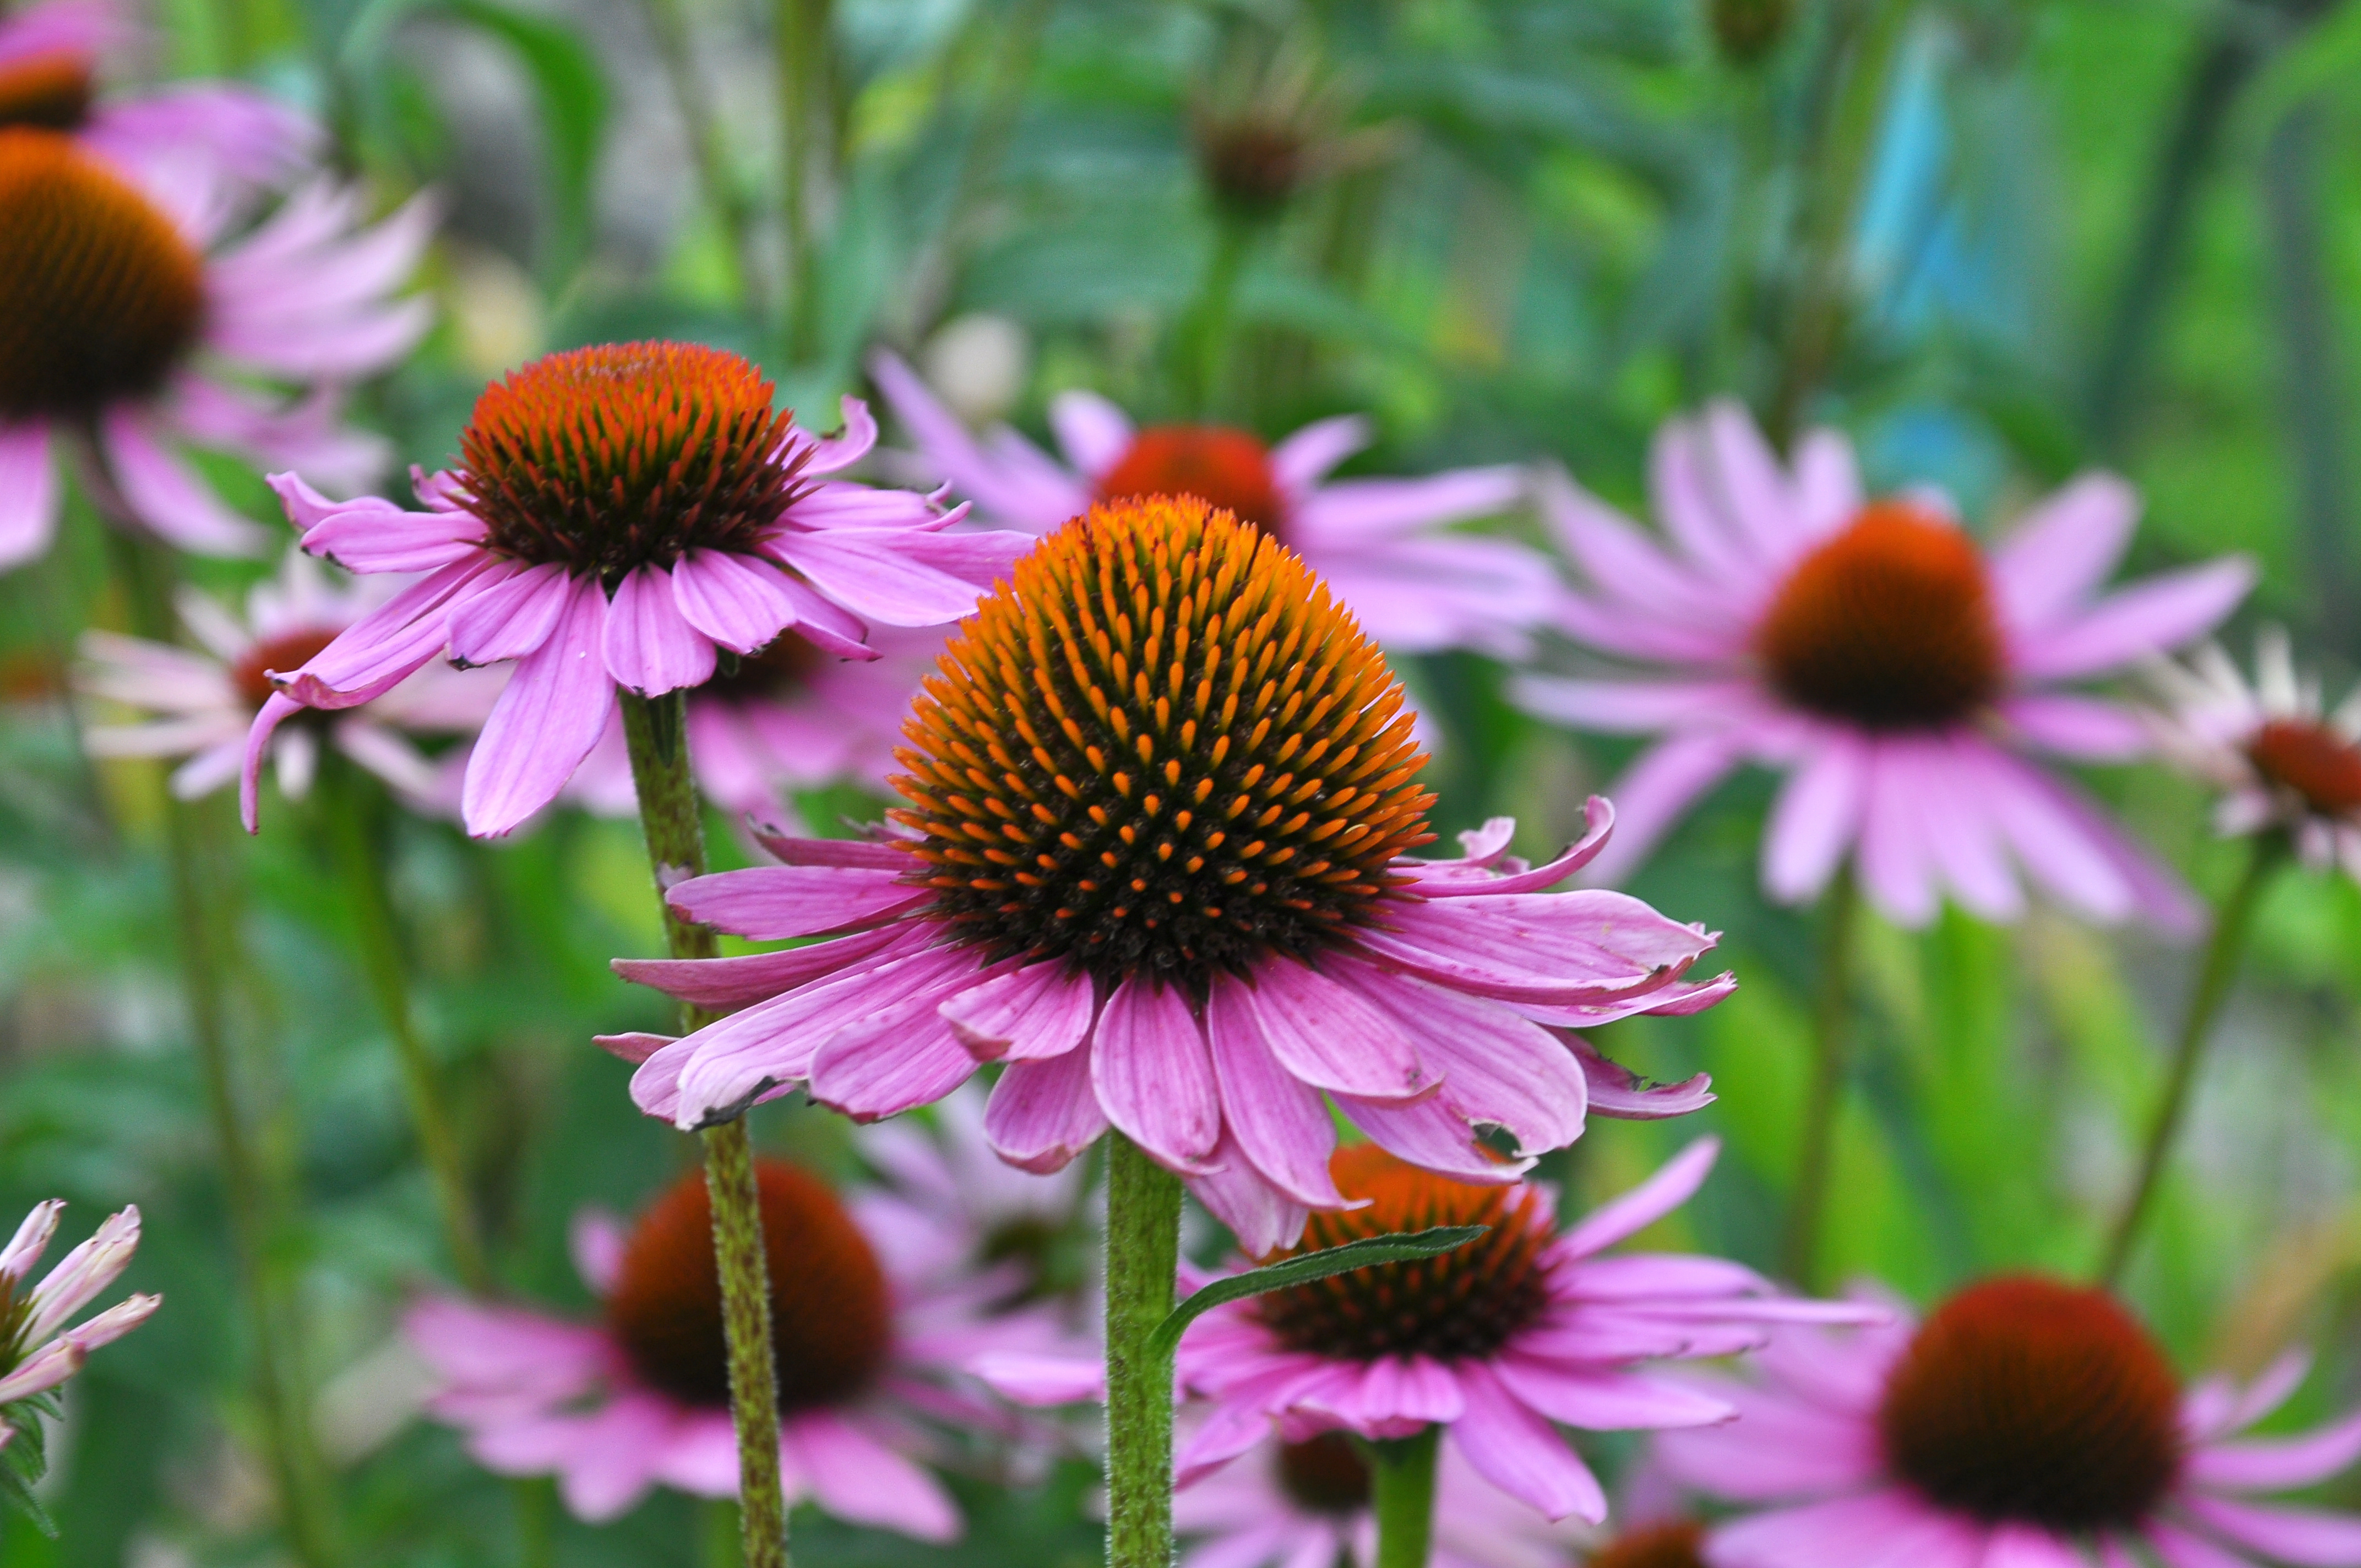
Echinacea purpurea (purple coneflowers) benefits from cold stratification, a process that involves exposing seeds to cold conditions to break their dormancy and promote germination. Photo by Orestligetka, Adobe Stock.
Some seeds, like black-eyed Susan (Rudbeckia hirta) and purple coneflower (Echinacea purpurea), exhibit a preference for a winter chill through a process known as stratification. This involves exposing seeds to cold temperatures before planting. It mimics the conditions these seeds would experience in their native habitats, breaking dormancy and promoting successful germination. If you’re growing seeds that benefit from cold stratification, consider simulating winter conditions by freezing them for at least a month before planting. Additionally, certain seeds benefit from wet stratification, where they are kept moist during the cold treatment.
While stratification is more commonly associated with perennial flowers and woody plants, there are some vegetable seeds that can also benefit from cold treatment. Carrots and beets may experience improved germination rates with a brief period of cold stratification. Keep in mind that while these vegetables may benefit from stratification, it’s not always necessary for successful germination. Many vegetable seeds are adapted to germinate without a cold treatment.
As we anticipate the arrival of spring, let’s not just see seeds as tiny dormant entities but as intricate biochemical wonders waiting to unfold. Germination is not merely a biological process; it is a testament to the resilience and adaptability of life. It is a reminder of the interconnectedness of all living things and the perpetual cycle of growth and renewal that defines the plant kingdom here on Earth.
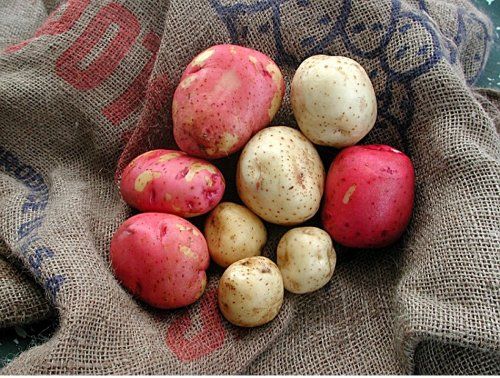
Looking to add a nutritional powerhouse to your early season garden this year? One plant that is often thought to be difficult to grow in Florida will surprise many home gardeners. This plant has a long, storied history, having been introduced extensively worldwide, and has invigorated and decimated entire populations. I speak, of course, of the humble potato (Solanum tuberosum), which performs well in our cooler North Florida winter. This member of the Solanaceae or nightshade family can trace its origins to the Andes mountains, where it was discovered by European settlers and brought back to their countries of origin. From there, the potato found success as a food crop and was reintroduced worldwide. This tuber is a big producer, and worthy of a spot in your home garden.
Varieties
The first objective with potatoes is to find a variety that will perform well in our sandy soils and climate. Russets are thought to be the gold standard in potatoes, and while some may be suitable, they are not optimal for Florida gardens. Instead look for some of the later entrants to this market. Several white and red varieties are available which mature quickly and can tolerate environmental conditions in the panhandle. White varieties suitable for this region are ‘Lachipper’ and ‘Sebago’, while the red varieties known to do well here are ‘Red Lasoda’ and ‘LaRouge’. These are compatible with our environment and as such perform well here.
UF/IFAS photo: C. Hutchinson
Growth Practices
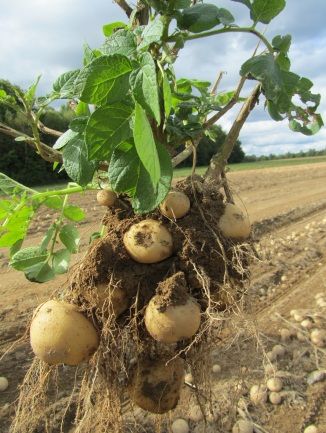
A well-draining, slightly acidic, and loose soil will provide the best environment for maximum yield. As with all gardening, it’s best to have your soil tested well before you plant and make any pH adjustments required early. Potatoes grow from “seed” which are essentially smaller potatoes grown specifically to produce more plants. It’s best to acquire these from a reputable seller and avoid grocery store leftovers, as their variety and disease resistance is questionable. Growth happens from the “eye” of the seed, which may be planted with or without growing roots. Cut the seeds into smaller pieces, ensuring there is at least one eye per piece, and allow them to sit in a cool, dark environment for a few days to callous over. They are now ready to plant and should be four inches deep, spaced eight inches apart in three-foot rows. Potatoes require two fertilizer applications, emphasizing nitrogen and potassium specifically, as these pass through the soil easily with irrigation. Apply half of the fertilizer at planting with another application approximately 30-40 days later. Application rates vary and are based on yield goals as well as soil test results so check with your local extension agent to discuss application rates. Keep the potatoes evenly moist but make sure not to flood the rows. Finally, there is a unique methodology with potatoes in that you’ll need to add soil to the top of the row when the potatoes poke through. This is called hilling and is crucial to keep the tubers from turning green and producing a toxin known as solanine.
UF/IFAS photo: C. Christensen
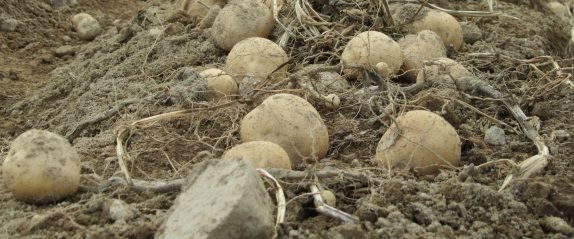
Harvest Time
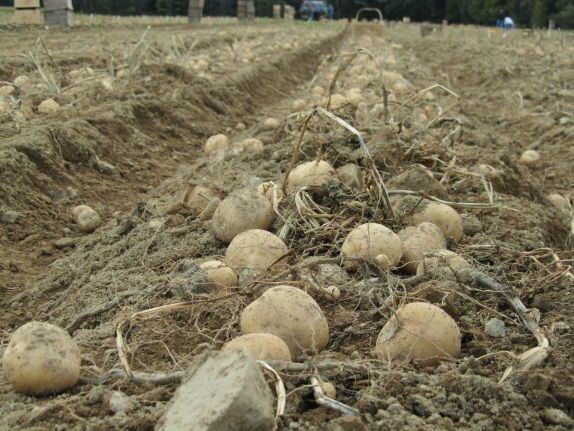
Your potatoes should be harvestable in about 90-105 days, depending on variety and environmental factors. You’ll be able to tell the plant has matured as the vines will begin to die back naturally. Modern practices have augmented this to include a vine kill which may be performed mechanically or through chemical application. This will force the tubers to mature, allowing the gardener greater control of harvest times and helping to avoid the risk of late-season pathogens. Vine kills are performed between 80-90 days after planting with tubers remaining in the ground for an additional 21 days. All of these time frames are dependent on variety but will produce a more usable and easy-to-store tuber.
UF/IFAS photo: C. Christensen
Potatoes are a worthy addition to the garden and can provide a lot of nutrient-dense food in a small space. There are a few tricks to growing these tubers, but for what they give back, you’ll find it a very rewarding experience. For more information, see these Ask IFAS documents. As always, please contact your local extension agent for additional information on this and any topic regarding your gardens and more.
Looking for a mid-season vegetable to plant in your garden? Look no further, Chinese cabbage is a great option. This cabbage matures quickly and is ideal for growing in winter’s shorter days and cooler temperatures.
Figure: Bok Choy Harvested & Prepared in a dish. Credit: Jieli Qiao, Guiyang, Guizhou, China
Growing Asian vegetable crops in Florida has become an increasing trend over the last decade, mostly due to health benefits and profitability by producers. However, the crop is new to many, who are interested in growing and consuming these vegetables. There are two sub-species of Chinese cabbage. The Pe-Tsai group are the broad leaved, compact heading varieties. The head may be six inches across and either round or cylindrical, in shape. The second group is known as Bok Choy (figure). These are non-heading Chinese cabbage varieties that have several thick, white leaf stalks, and smooth glossy, dark green leaf blades clustered together, similar to the way celery grows.
Again, cooler temperatures are key. Warm temps cause the plant to uptake more calcium, making the heads soft and bitter and may contribute to early seed development through bolting. Chinese cabbage matures in around forty to seventy-five days from planting, depending on variety. There’s no specific requirements to growing this cabbage in Florida, just follow the same soil preparation, liming, fertilization, and cultivation practices that you would use for other leafy vegetable garden crops. The main pests and diseases that occur are leaf blight, downy mildew, aphids, and cabbage caterpillars. Leaf blight and downy mildew usually occur in warmer times of the year, with higher temperatures and rain.
Chinese cabbage is very versatile. It’s great in salads, stir fry, pickled and even as a replacement for lettuce on your favorite sandwich. Enjoy!
Information for this article can be found at the UF/IFAS EDIS Publication, “Bok Choy, an Asian Leafy Green Vegetable Emerging in Florida”: http://edis.ifas.ufl.edu/hs1337 & “Cabbage, Chinese – Brassica Campestris L. (Pekinensis Group)”: http://edis.ifas.ufl.edu/mv036.
UF/IFAS Extension is an Equal Opportunity Institution.