
The time to begin soil preparation depends to some extent on what’s growing on your garden site now. If you have heavy weeds, or a cover crop, you intend to turn under; you should start a month to six weeks before planting. This also is the time to add lime, if needed.
If you’ve kept the garden site fallow, or you plan to remove all vegetation and no lime is required, you could prepare the soil and plant within two or three days. However, if you plan to work extra organic matter into the soil before planting, you should start two or three weeks ahead of time.
To prepare the soil, dig down six to eight inches, and turn each shovelful completely over. If you’re turning in weeds, or a cover crop, you should remove all the woody plant material as it won’t decompose very well.
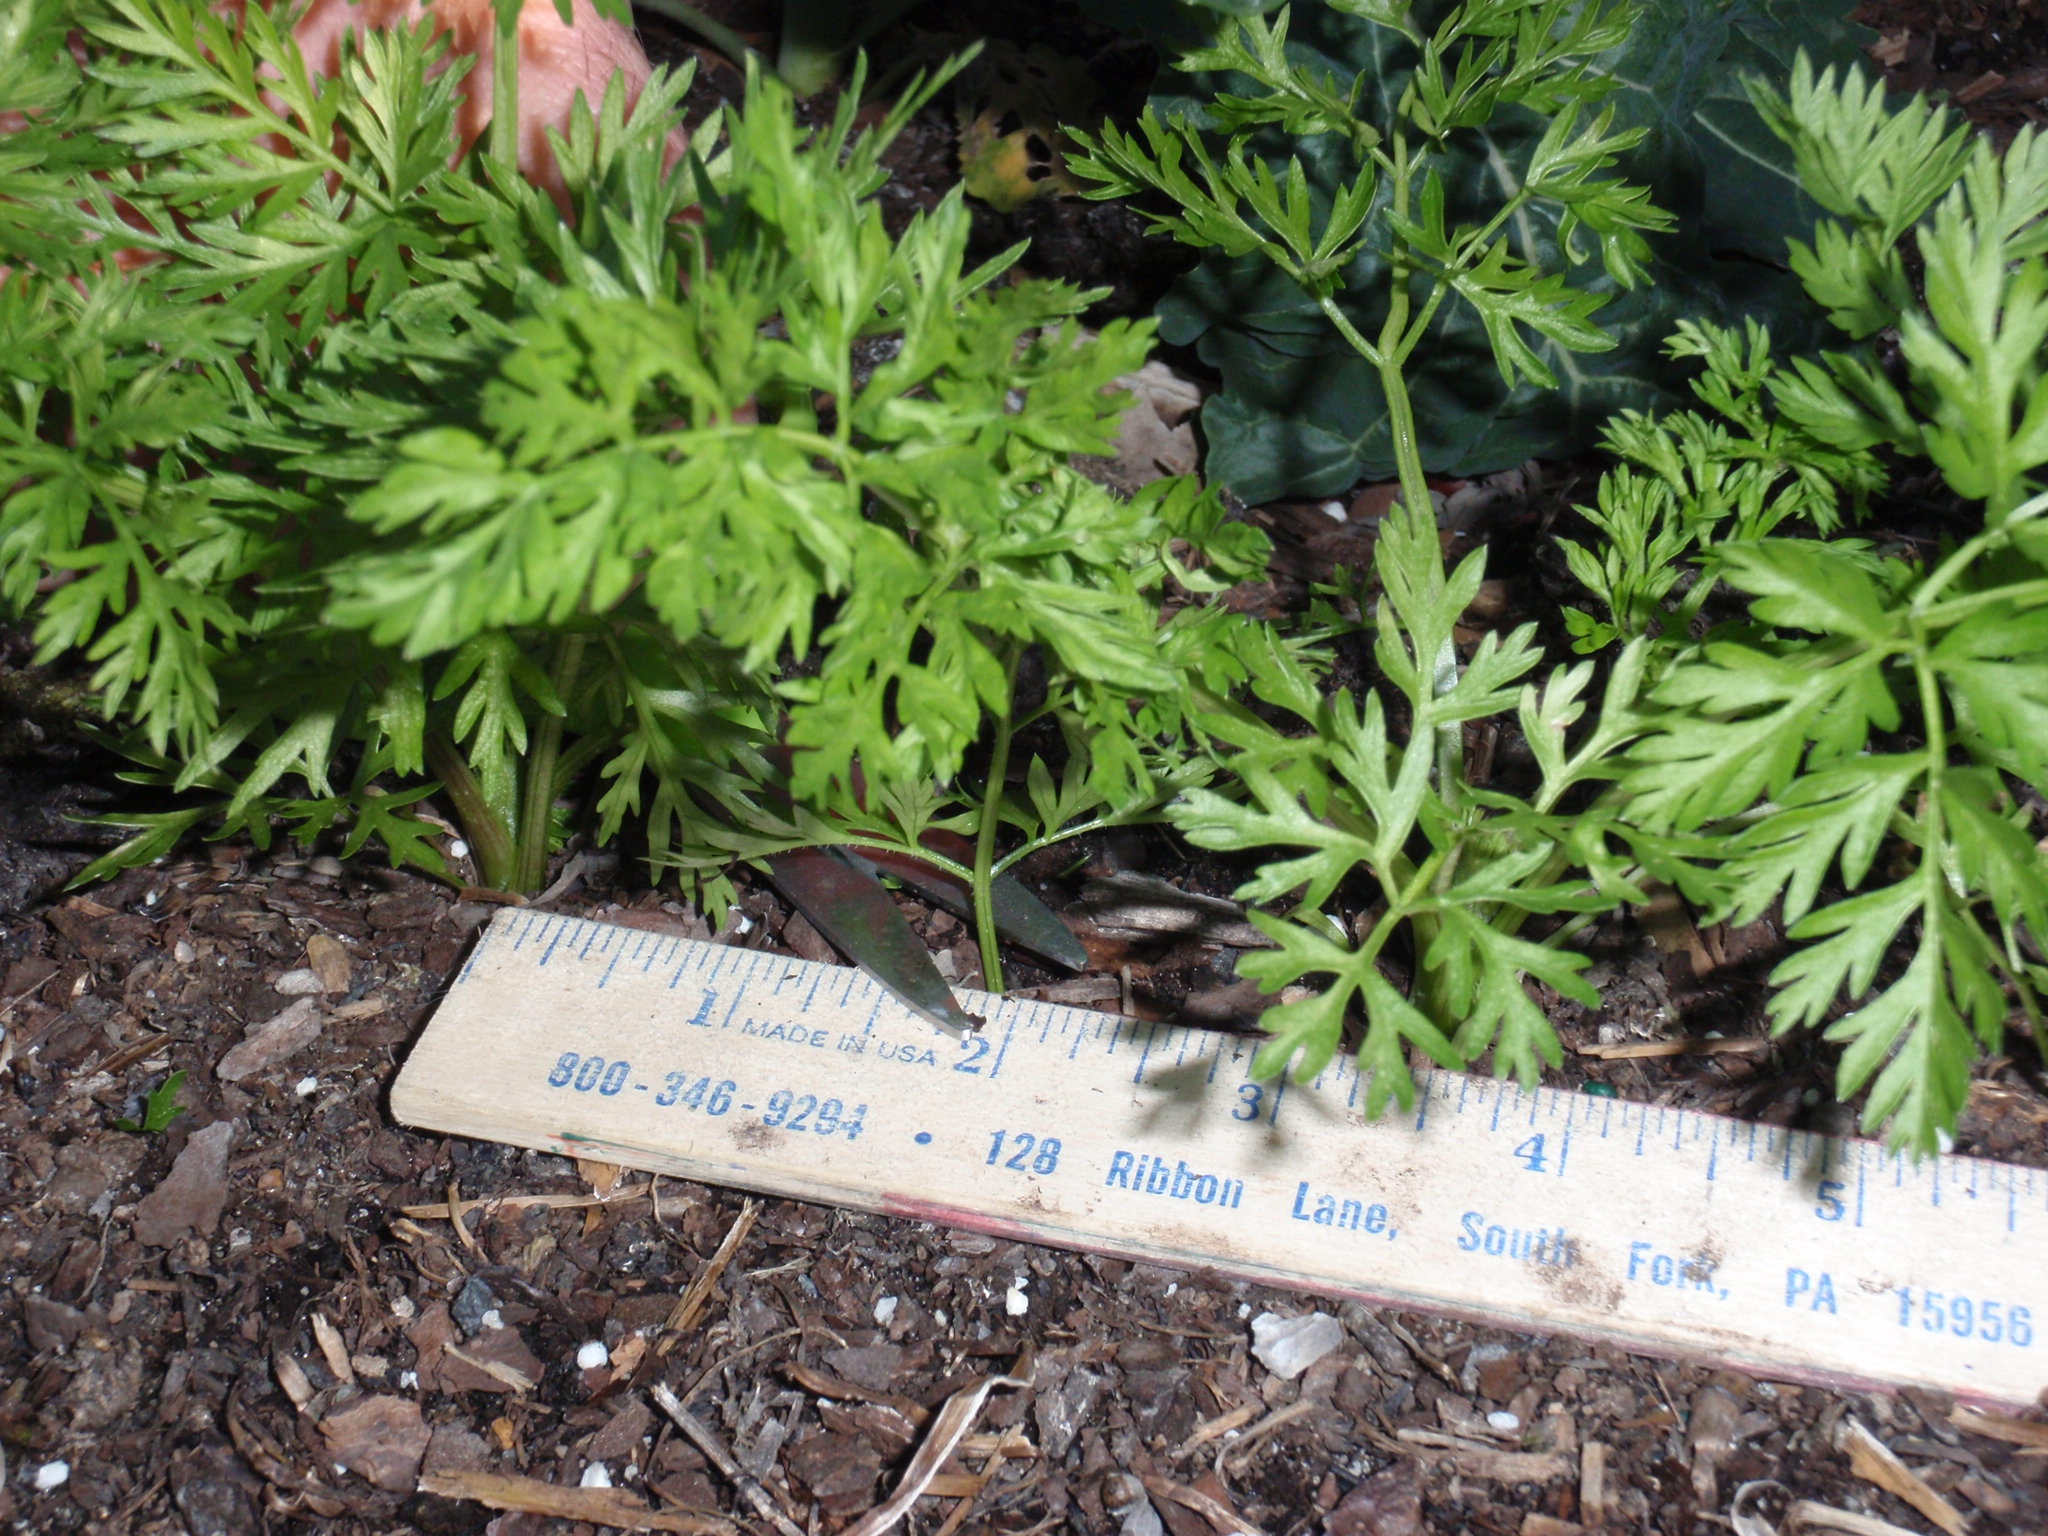
After the soil is turned, break clods and level with a rake. Do this as soon as you can, to prevent excess drying of the soil, and to keep good soil texture. This is important, because a finely pulverized soil surface will make planting easier, give you better seed germination and help insure a more even stand of vegetables. It’s especially important to have fine textured soil when planting small-seeded crops, like carrots.
In some soil, it’s also necessary to add some kind of liming material well before planting at the same time you turn the soil. Lime reduces soil acidity. Without going into a chemistry lesion, lime adds calcium to the soil and makes minor elements move available to plants. The most commonly used form of lime is dolomite. Besides calcium, dolomite provides magnesium another important plant nutrient. [important]You should add lime only when a soil test indicates the need for it. Too much can be as bad as too little. [/important]
If a soil test indicates your soil is too sweet, or alkaline, you may need a special fertilizer program. The best thing to do before liming or adding sulfur to reduce soil pH is consult your local County Extension Office.
To summarize briefly, to have a good garden, you need to prepare the soil properly. Be sure to start far enough ahead of planting to allow organic matter to decompose fairly well. Turn the soil to a depth of six or eight inches. Make sure you have a level, finely textured surface before planting. If a soil test indicates lime is needed to give your garden plot the right acid level, it should be applied when your turn the soil.
For more information on garden plot preparation:
Florida Vegetable Gardening Guide
Soil Preparation and Liming for Vegetable Gardens