by Eddie Powell | Apr 1, 2014

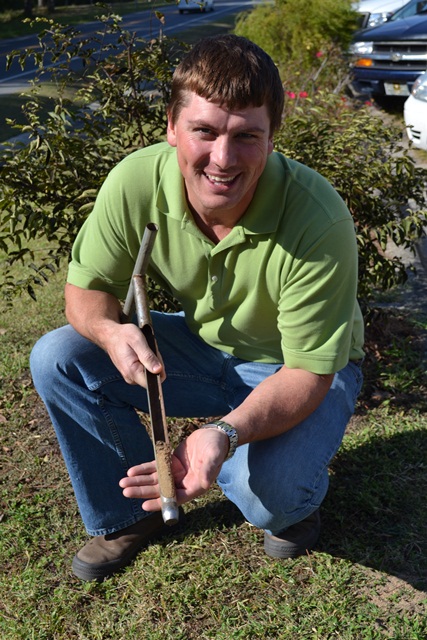
Soil Sampling may save you time and money!
As spring approaches, many Florida homeowners are gearing up to grow their own vegetables. The most frequently asked question this time of year is, “why do I need to fertilize my soil?” The answer is simple – – not all nutrients are present in the right amounts to support good plant health.
North Florida is a prime example of an area lacking certain nutrients, since the soils in this area are generally infertile and acidic. Especially with all the rain from this past year! Therefore, soils must be tested and appropriate amounts of lime and fertilizer must be applied to the soil for adequate plant growth. If this is not done then the crops will suffer from inadequate plant growth and yield will suffer.
Most vegetable crops grow and perform best at a pH range, 6.0-7.0. A soil sample must be taken to determine soil pH. Feel free to bring one of those samples by your local University of Florida IFAS Extension office for your soils pH results. If the pH extends far below or above this range, then crop productivity will be significantly reduced. This happens because the crop cannot utilize the fertilizer properly. In other words, this causes the plant to use too much of some nutrients (like manganese, zinc, and iron) that are required in very small amounts and too little of some nutrients (like nitrogen, phosphorus, and potassium) that are required in larger amounts. The plant system becomes upset so to speak and does not function well and some plants may even die.
To avoid having your crop suffer because of a lack of fertilizer, contact your local University of Florida IFAS Extension Agent and ask he/she to help you select the best kind of fertilizer for your crop. After you have selected the correct fertilizer, make sure to ask your agent to assist you with the following:
- Be aware of the correct amount to be applied to the area where you plan to grow your vegetable crops
- Understand how to apply the fertilizer to the soil so that your plants will use it properly for an excellent crop yield.
Points to remember:
- For vegetables, keep your soil pH range between 6.0 -7.0 so that your crop can uptake the fertilizer properly
- Make sure to apply the correct amounts of fertilizer to the soil so that your plants will not suffer but produce high quality produce.
by Roy Carter | Mar 25, 2014
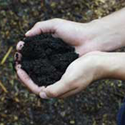
Image Credit UF IFAS Gardening solutions.
What does it mean to grow gardens organically? It depends upon who you talk to. The simple answer is that organic gardeners only use animal or plant-based fertilizers rather than synthetic. It also means use of natural pest control devoid of synthetically manufactured insecticides. In other words, using natural substances and beneficial insects to ward off pests instead of spraying with the backyard equivalent of Malathion. My information on organic vegetable gardening was provided by UF IFAS Extension Publication “Organic Vegetable Gardening” HS 1215.
Why garden organically? Since “USDA Certified Organic” does not apply to home gardening, why would any gardener give up all synthetic fertilizers? And why not use synthetic pesticides, when just one application could eliminate even the most devastating ravages of a crop insect or disease? Why work, so hard handling large quantities or organic soil amendments and manures when synthetic fertilizer of every description and purpose are so quickly available and easy to use?
Early organic gardeners did it to preserve a way of life that reduced pollution and environment decay, thus creating a more ecological society. Organic enthusiasts are extremely health-conscious, and hope that working vigorously outdoors and eating foods free from pesticides just might lead to better nutrition and health.
The biggest differences between organic and conventional gardening are in the area of fertilization and pest control. The organic gardener prefers organic materials and natural methods of dealing with insect problems and fertilizer requirements. The conventional gardener uses a combination of chemically prepared materials and scientific methods in approaching the vegetable garden.
Whichever method you choose, you need to select a plot of good, well-drained soil for planting vegetables. Also, it is important to choose vegetable varieties suited to Florida growing conditions.
Soil preparation is the most important step in organic gardening. Since organic fertilizers and soil conditioning materials work rather slowly, they need to be mixed into the soil at least three weeks ahead of planting time.
To have a successful organic garden, you need to use abundant quantities of organic material, usually in the form of animal manures, cover crops, compost or mixed organic fertilizer. These materials improve the tilth, condition, and structure of the soil. They help the soil hold water and nutrients better. In addition, organic matter supports micro-biological activity in the soil, and contributes major and minor plant nutrients. Another benefit is that as these organic matters decompose, they release acid which help to convert insoluble natural additives, such as ground rock, into forms plants can use.
by Les Harrison | Mar 4, 2014
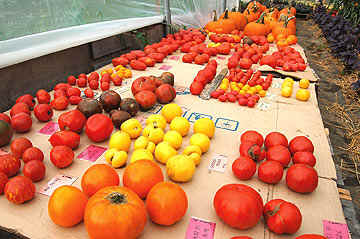
An assortment of Heirloom Tomatoes. Image Credit Dan Culbert
Thursday night’s temperatures have confirmed the winter of 2014 is not over. This year’s cold days and freezing nights have taken a toll on power bills, auto batteries, and the mosquitoes.
Still there is indication that spring will soon be coming. The most tangible evidence is arriving in north Florida mailboxes almost daily.
Garden catalogs from every part of the nation are finding their way into many area homes. Their pages promise the buyer the potential for legendary success and the envy of their friends and neighbors.
After all, who can resist the full color beauty of giant flowers, large luscious fruit and vegetables which are sure to win a prize at the fair? There is not a runt, reject or cull in all the pages of these publications offering the mortal version of horticultural heaven.
Before ordering, the would-be gardener should consider several factors to increase the likelihood of a positive gardening experience. A failure will waste not only funds, but also much time and hard work and may introduce a long-term problem or two.
Cultivar selection for a tree, shrub, vegetable or fruit is critically important to producing the desired results. While a specific plant cultivar may grow and produce in one environment, it may not do so in all situations.
A common example of this problem is grape vines offered. Only muscadine grapes will grow and produce locally because Pierce’s disease kills other varieties.
Carefully examine the growing zones recommended by the catalog for specific cultivars. Check with fellow gardeners and the UF/IFAS Extension Office to see if they have any information or experience with any cultivars under consideration.
Heirloom varieties are especially sensitive to the variances in growing conditions. While they offer unusual and sometimes unique taste and culinary traits or landscaping characteristics, these antique varieties can be a challenge to grow.
Their genetic potential can make a consistent yield, especially for the novice growers, a real effort. Also, as an open pollinator variety, the results can be inconsistent.
Another question for the catalog company customer is new or untried plants varieties. Some of these plants are patented and few or no trials have been performed with them in north Florida’s growing zone.
Caution should be used when ordering these seed or plants. Being the first in North Florida to cultivate a new variety may require a large commitment of time and resources, and may produce only a large disappointment.
Check with fellow gardeners, local nurseries and your UF/IFAS Extension Office for available information on these new or patented varieties. It may save much wasted motion.
Lastly, be sure the plant or seeds under consideration do not have the potential as exotic invasive pests. As hard as this may be to believe, this does occur.
Some catalog vendors will advise buyers in the ordering instructions or at the time of ordering. Either way, the purchaser should check to verify the plant ordered does not have the potential to escape control and damage the environment.

by Carrie Stevenson | Feb 18, 2014
Backyard gardens have increased in popularity the last few years, with record calls to Extension offices statewide on how to grow tomatoes and preserve produce. Along with the boom in home gardening, schools have steadily added gardens to their campuses. There are countless benefits to including children in growing their own food. Personal experience and numerous studies have shown that children improve their attitude towards fruits and vegetables and are more likely to try new foods if they’ve helped grow it themselves. Urban-dwelling youth find a safe place to interact with nature, increase their awareness of where food comes, and learn to be responsible for a living thing. Youth of all ages can gain critical math and science skills from measuring, planting, observing and problem-solving. Even toddlers enjoy scooping up soil, holding worms, and seeing the growth of a tiny seed or plant over time. Any veteran gardener will tell you that the fresh air and physical work improves their health and mental outlook.
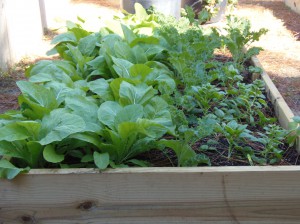
This raised bed garden is used at the Roy Hyatt Environmental Center to teach youth about gardening and provide food for numerous animals housed at the center. Photo credit: Molly O’Connor
School gardens are being used around the country to achieve all of these objectives, including intangible skills such as teamwork, confidence, and patience. The utility of gardens for lessons on art, poetry, creative writing, and music should not be underestimated; countless writers and artists have been inspired by the natural world.
Across the country, Extension programs, Master Gardeners, and 4-H staff are lending their gardening expertise to schools and learning centers from preschool to the University level. The Junior Master Gardner 4-H program is an excellent hybrid between horticultural and youth education, and is set up with curriculum and lessons for working with kids in both a classroom and field setting. The Florida Ag in the Classroom “Gardening for Grades” program has curriculum for elementary through high school levels correlated with state standards and ready to go for a classroom. Youth study soil structure, chemistry, botany, environmental science, agriculture, meteorology, and wildlife ecology in an engaging, hands-on way. In-service training workshops are held periodically to prepare teachers for beginning and teaching from a school garden, so ask your local Horticulture or Agriculture agent about these programs.
Typically, backyard gardeners, schools, or Scout groups will create a raised-bed garden, which reduces weeds and water needs and allows for easier control of soil type and maintenance. Guidelines for raised bed gardens, for home or educational institution, are available here.
Vegetable gardens aren’t the only teaching tool in the horticultural world. Butterfly and wildlife gardens are (pardon the pun) perennially popular, and are typically easy to implement. Youth may learn valuable lessons on food webs and insect life cycles in addition to the soil and botanical information. For more information on the benefits of gardening with youth, visit the UF school garden site or contact your local horticulture Extension agent.

by Eddie Powell | Jan 27, 2014

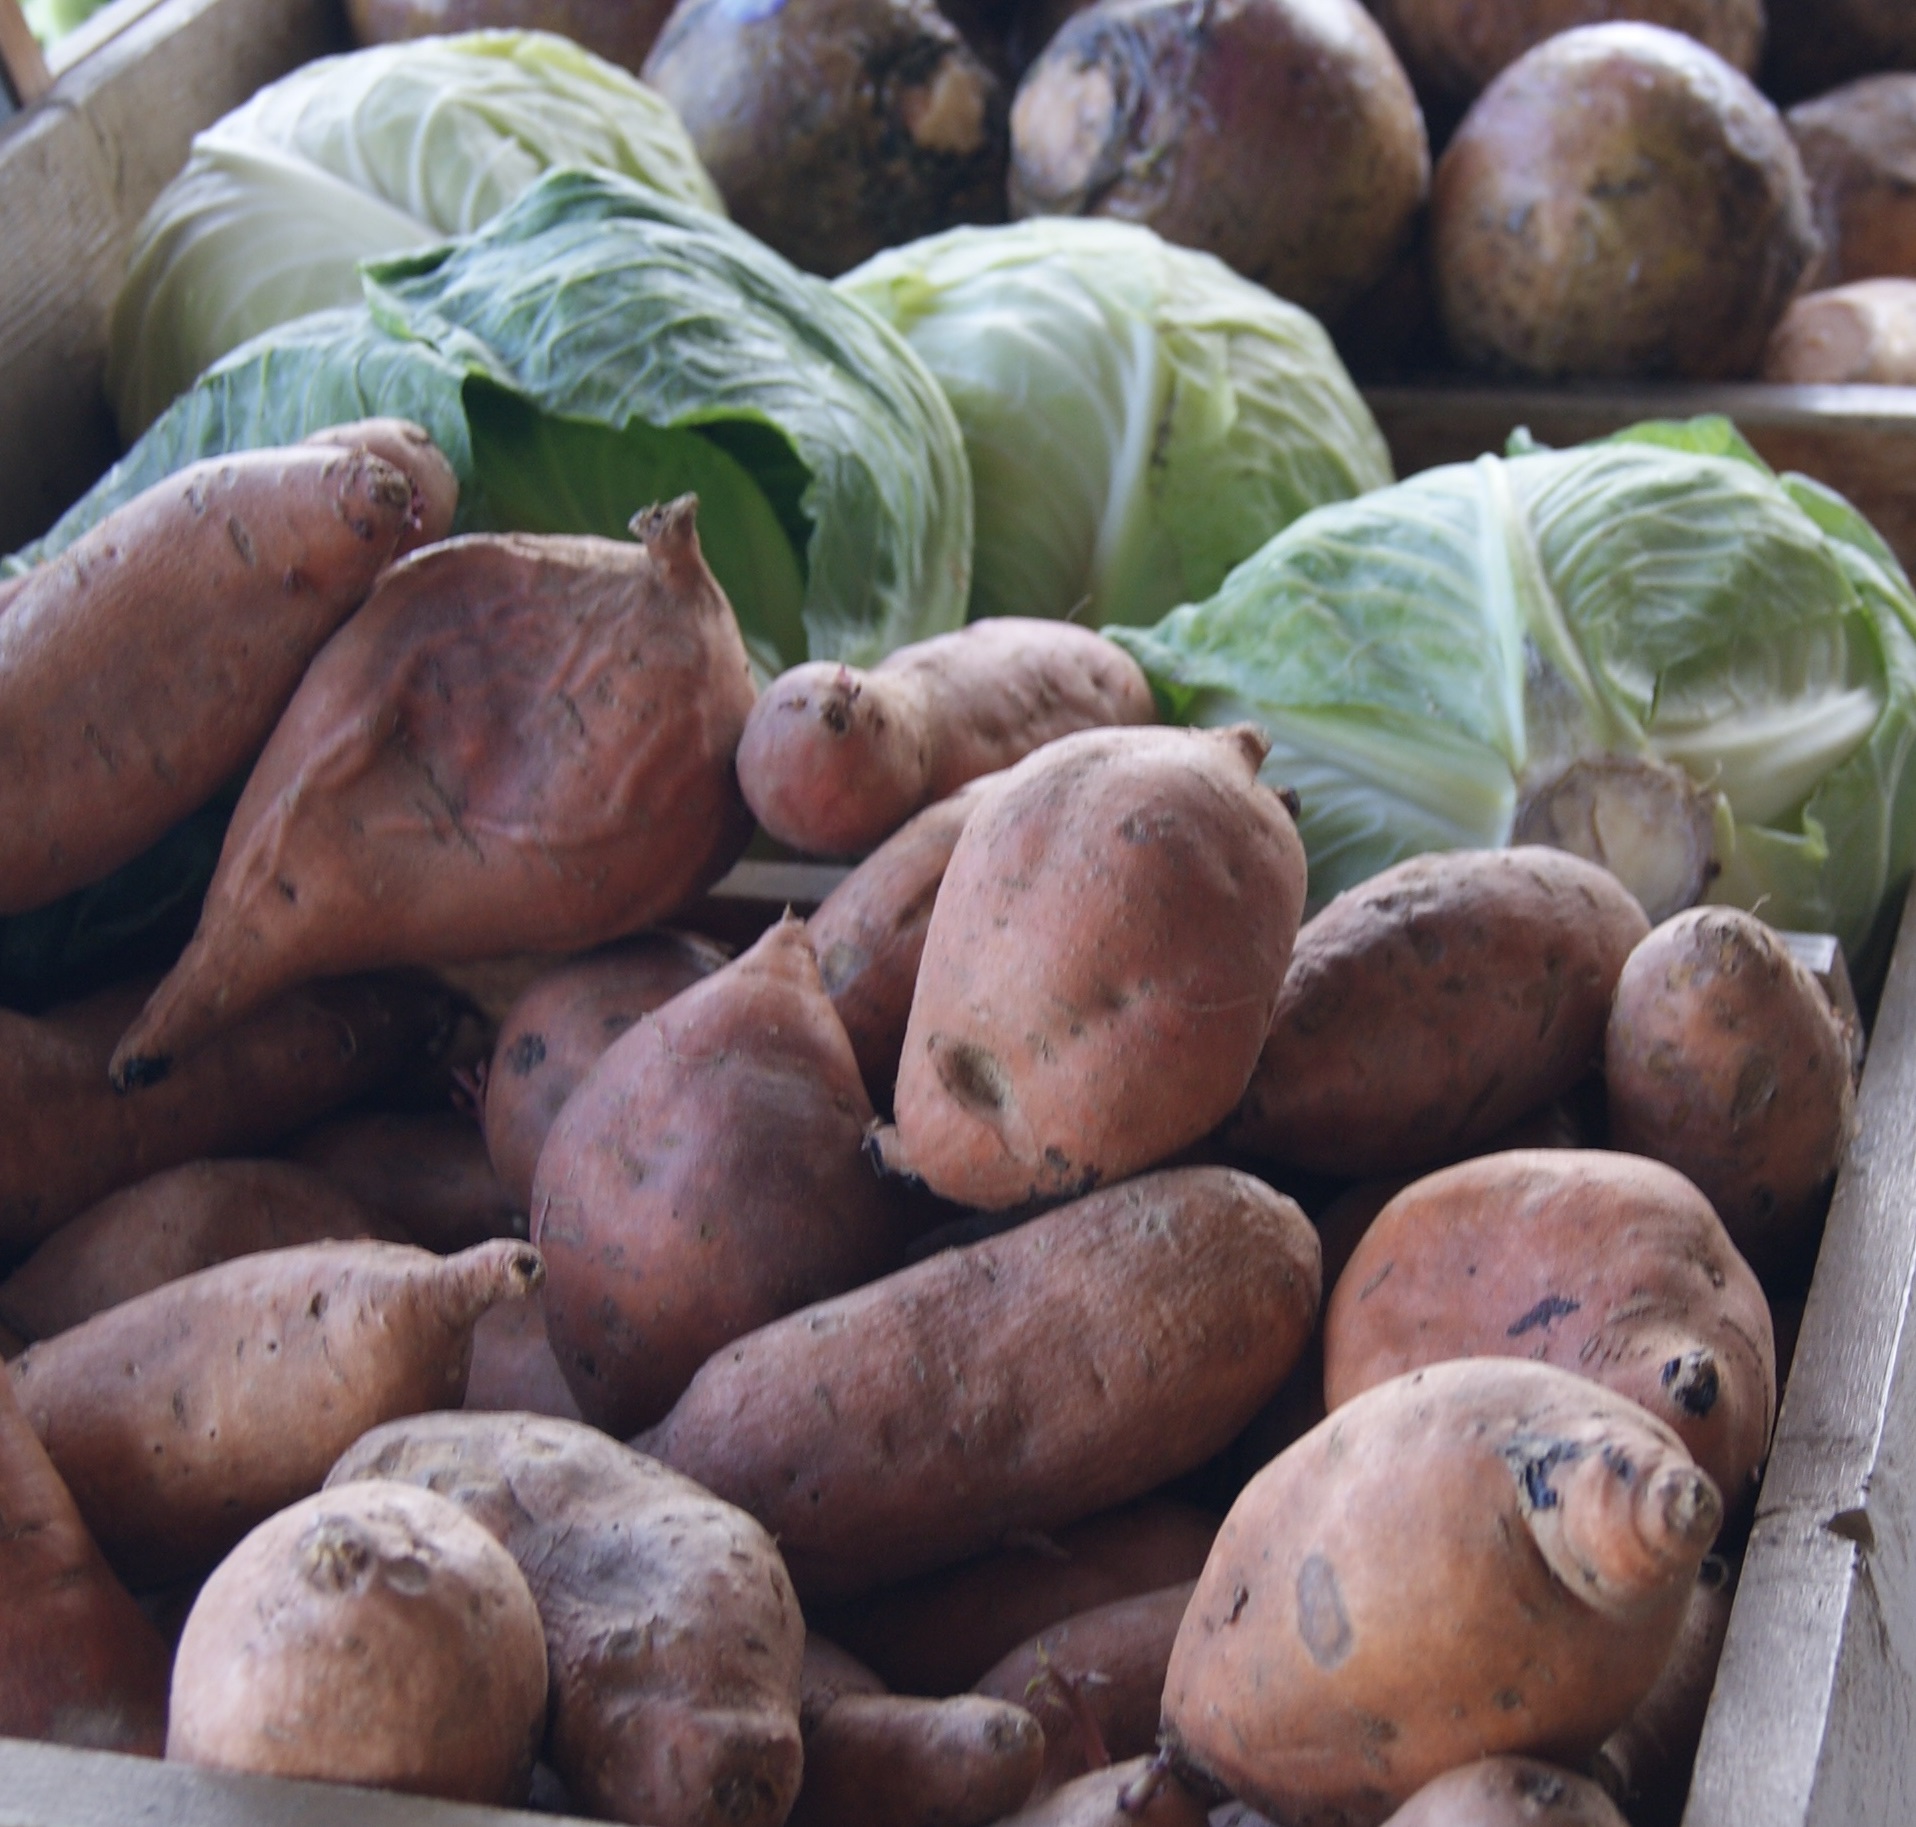
A bountiful harvest
Every winter, many Florida homeowners enjoy growing their own vegetable plants. It is definitely cheaper to buy vegetable seeds than vegetable transplants, and some vegetables grow better when direct seeded.
One factor to take into consideration when planning a vegetable garden is that each vegetable has a different germination response to temperature. Some seeds germinate best under low soil temperature while other respond best under high soil temperatures.
When planting vegetable seeds, remember that cool season crops, such as cabbage, turnips, and cauliflower, will perform best under cooler soil conditions.
The key to getting the highest seed germination rate is to match the correct soil temperature to the vegetable seed of choice.
Below is a listing of correct soil temperatures needed for vegetable seed germination.
MINIMUM Soil Temperature for Germination in Degrees Fahrenheit
- 32- Endive, Lettuce, Onion, Parsnip, and Spinach
- 40 -Beet, Broccoli, Cabbage, Carrot, Cauliflower, Parley, Pea, Radish, Swiss Chard, and Celery
- 50-Asparagus, Sweet Corn, Tomato, and Turnip
- 60-Lima bean, Snap Bean, Cucumber, Okra, and Pepper
- 65-Eggplant, Muskmelon, Pumpkin, Squash, and Watermelon
OPTIMUM Soil Temperature for Germination in Degrees Fahrenheit
- 70-Celery, Parsnip, and Spinach
- 75-Asparagus, Endive, Lettuce, and Pea
- 80-Lima Bean, Carrot, Cauliflower, Onion, Radish, Tomato, Turnip
- 85-Snap Bean, Beet, Broccoli, Cabbage, Eggplant, Parsley, Pepper, Sweet Corn, and Swiss Chard
- 95-Cucumber, Muskmelon, Okra, Pumpkin, Squash, and Watermelon.
MAXIMUM Soil Temperature for Germination in Degrees Fahrenheit
- 75 -Celery, Endive, Lettuce, and Spinach
- 85-Lima Beans, Parsnip, and Pea
- 95-Asparagus, Snap Bean, Beet, Broccoli, Cabbage, Carrot, Cauliflower, Eggplant, Onion, Parsley, Pepper, Radish, Swiss Chard, and Tomato
- 106-Cucumber, Muskmelon, Okra, Pumpkin, Squash, Sweet Corn, Turnip, and Watermelon
by Taylor Vandiver | Jan 21, 2014
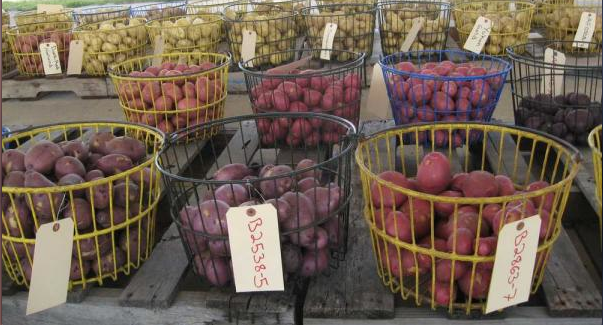
Florida-grown potatoes. Photo courtesy UF/IFAS.
The time to plant potatoes is now!
Potatoes are a good way to usher in the growing season of your home garden. They are easy to grow and their harvesting date doesn’t coincide with many other vegetables. In North Florida you can plan to put in your potatoes around the end of January through February. It’s easy to grow red- and white-skinned Irish potatoes. Also, brown-skinned russet potatoes do nicely in the garden. However, before we get ahead of ourselves, the first step you need to take is preparing your soil and garden plot.
Since potatoes prefer a loose, well-drained, slightly acidic soil (pH 5 to 6), little needs to be done in many Florida gardens. However, potatoes do not grow well in flooded conditions. Care must be taken to ensure that the root zone has adequate drainage. To help alleviate flooding conditions, beds should be formed into mounds (hills) about 10 to 12” above soil level. It’s always a good idea to add in organic matter to your soil, this will provide nutrients and structure to your soil.
The potato tuber is the plant “part” required to grow a new potato plant. When a piece of the tuber is planted, it is called a “seed” potato. Only certified seed potatoes should be planted in the home garden. Certification ensures that the seed tubers are free of disease and viruses. Certified seed can be obtained from a number of reputable garden supply stores. Do not purchase potatoes from the grocery store to plant in the home garden. Potatoes from grocery stores are often sprayed with chemicals that inhibit sprouting and they can contain diseases that would be harmful to your garden. Also, remember to never store tubers in direct sunlight. Seed potatoes should be cut so that each piece is about the size of an egg with at least one eye per seed piece. Seed potatoes should be allowed to “heal” before planting; this will reduce the risk of rot upon planting.
Potato plants should be spaced at about 6–8 in. within the row with at least 36 in. between rows. Seed pieces should be planted with the cut side down and eyes (or sprouts) facing up. Due to the fact that the seed piece should be planted only 4 in. below soil surface, new tubers could emerge from the soil surface. These exposed tubers will turn green and inedible in the sun. Therefore, hilling is a necessary process in growing potatoes. Hilling is the act of adding about 2 – 3 in. of soil to the top of the potato row.
Potatoes, in Florida are generally grown during the drier times of the year. As a result, supplemental irrigation may be required to provide plants with an adequate amount of water. Moderate soil moisture levels should be maintained throughout the season. Just remember to never over water!
Most potatoes are ready for harvest between 80 and 115 days after planting. To harvest, carefully dig potatoes below the potatoes and remove them from the root system of the plant. Potatoes are best stored in cool, dark, well-ventilated locations. An important fact to remember when harvesting potatoes is to always avoid eating green potatoes. Green potatoes have high levels of a toxin called solanine, which has a bitter taste. It is toxic even at very low levels. Potatoes can “green” in the field, in storage, and at home when exposed to the light.
As always, if you have any question or need further information please contact your local extension agent!