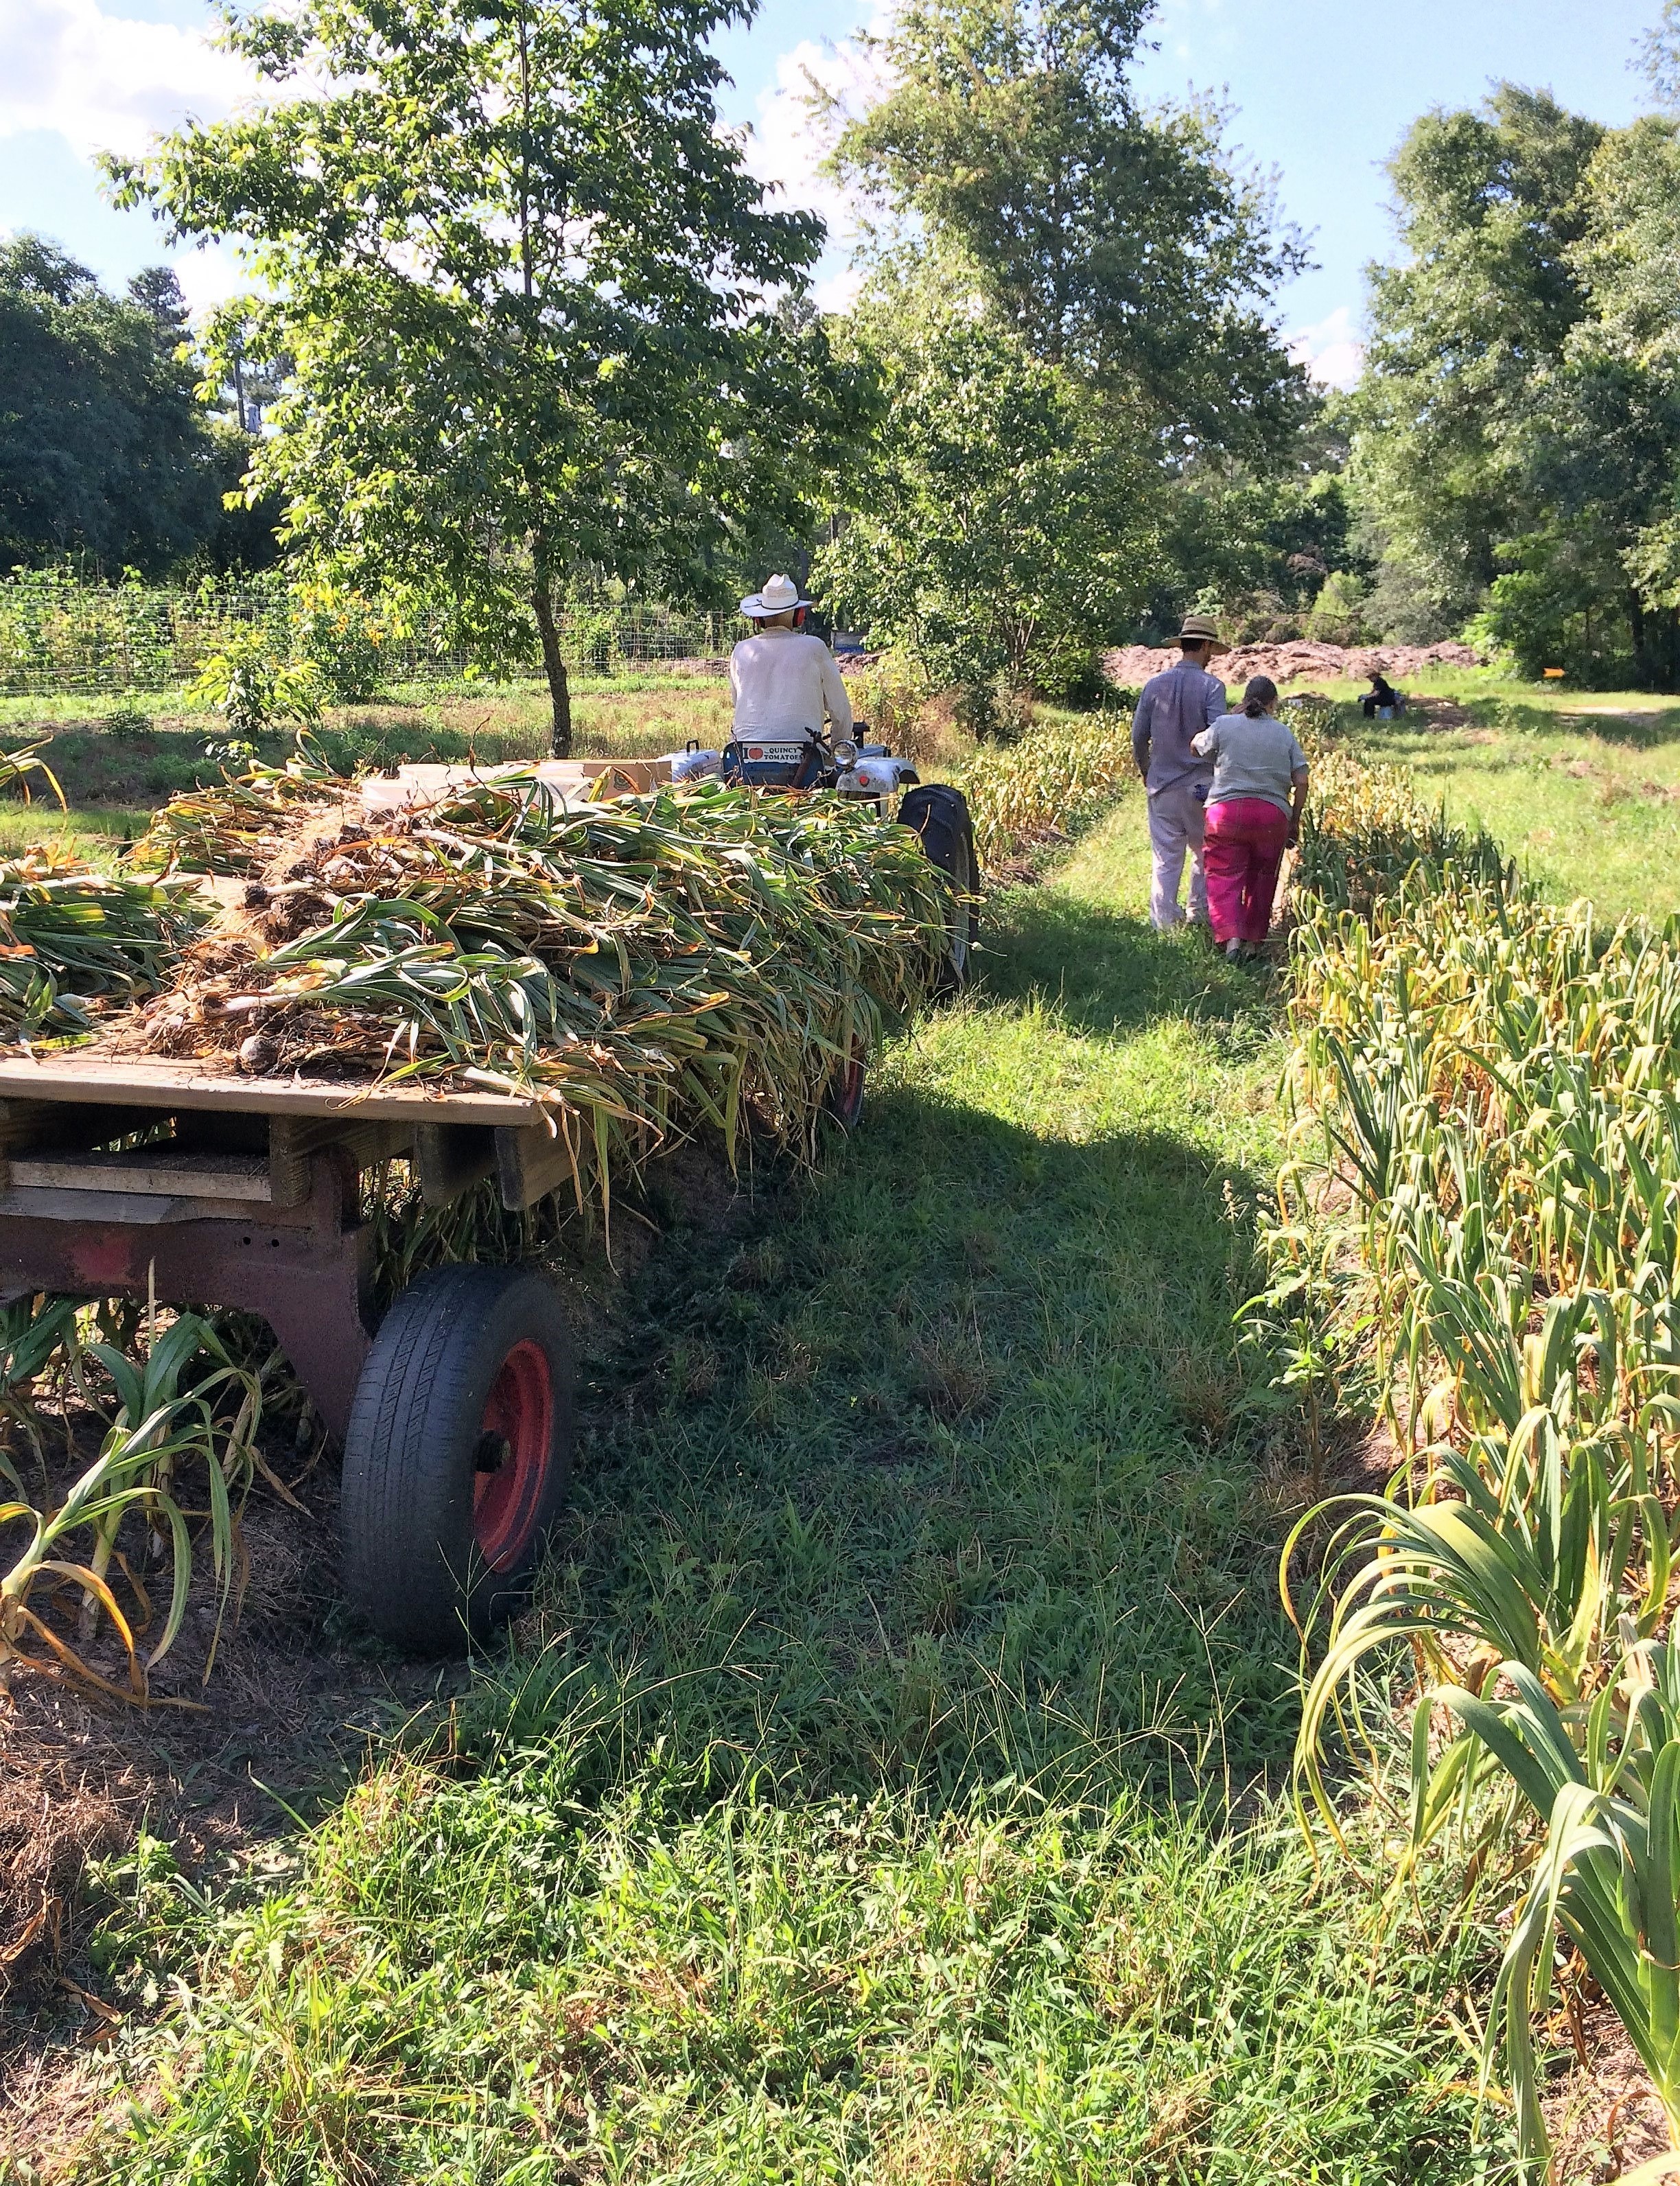
Elephant garlic grows well in our climate, including here at Turkey Hill Farm, where it is being harvested in late spring. Photo by Molly Jameson.
One of my all-time favorite vegetables to grow and eat is elephant garlic. While related to garlic, elephant garlic (Allium ampeloprasum) is actually considered a bulbing leek. Like garlic, it is in the genus Allium, a family of flowering plants that includes over 600 different species of onions, leeks, and garlic that are native to many parts of the world, including North America, Asia, North Africa, and Europe.
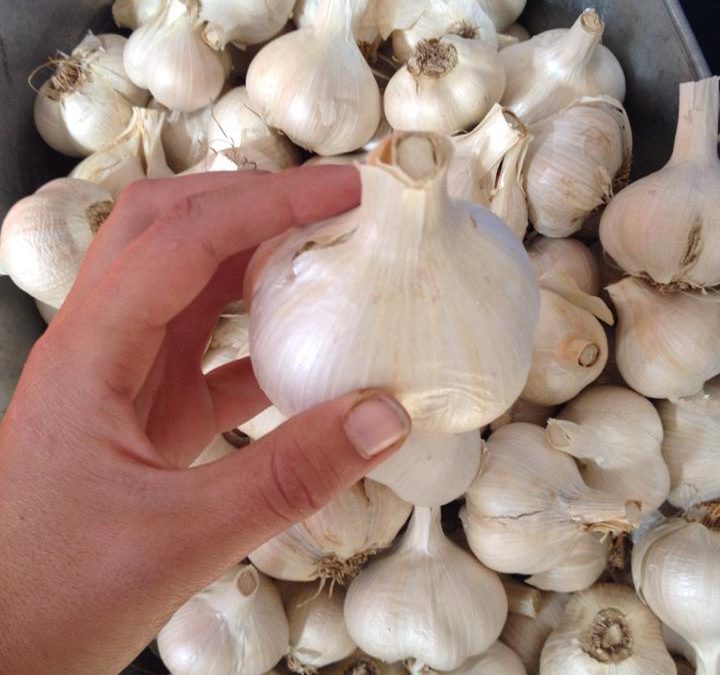
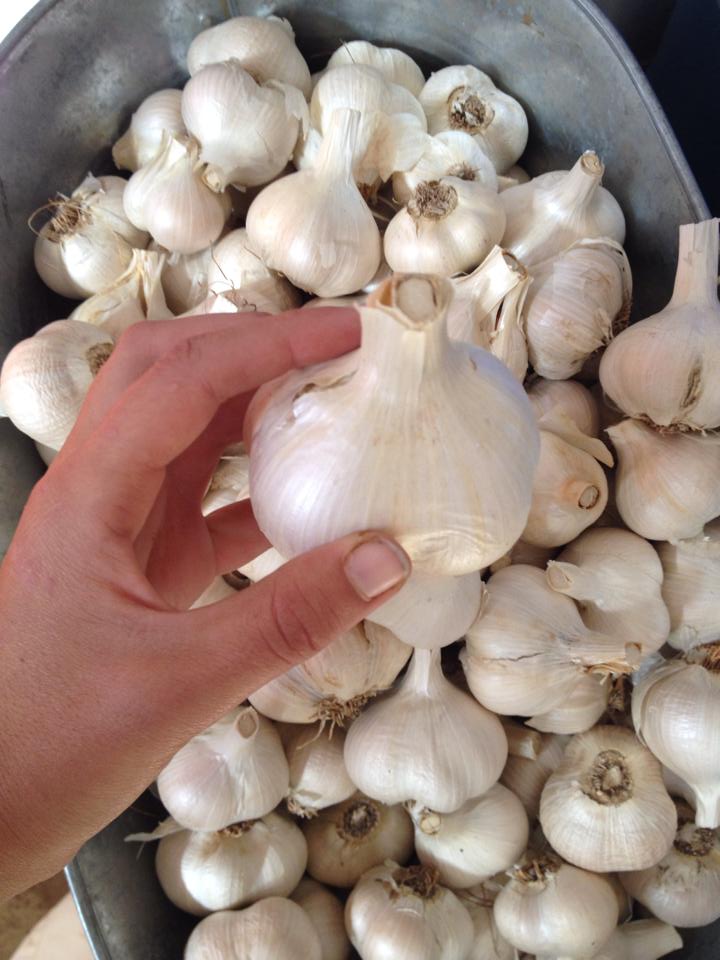
Elephant garlic is more mild tasting than regular garlic and can grow up to three times larger than regular garlic bulbs. Photo by Full Earth Farm.
Elephant garlic is very much garlic-like, but it has a milder, slightly sweet flavor and can grow up to three times the size of regular garlic bulbs. It is well-suited for growing in the Florida Panhandle, as it can take our heat and humidity much better than regular garlic.
Elephant garlic is a long season crop, requiring eight months for best results. It therefore should be planted in the fall for an early summer harvest. But if you just can’t wait, you can plant it now and still harvest this summer, but the garlic you harvest will most likely be one big round bulb instead of a bulb that can be separated into cloves.
When planting your elephant garlic, choose a location that receives full sun and has well-drained, nutrient-rich soil. When you are ready for planting, separate the individual elephant garlic cloves from a bulb and plant each six-to-eight inches apart, with the pointed end facing up. Cover the cloves with four-to-five inches of organic-matter-rich soil, and water well. Elephant garlic requires consistent moisture, so be sure to water your plants regularly, especially during any dry spells.
One of the unique features of elephant garlic is that it forms a tall, flowering stalk, or “scape,” in the spring. To encourage the plant to focus its energy on bulb development, remove the scapes. The top of the scape contains an edible round composite flower head that you can enjoy in salads or stir-fries.
Cure elephant garlic in cool, dry, and well-ventilated location. Photo by Molly Jameson.
As your elephant garlic plants mature, you’ll notice that the bulbs start to grow larger, the leaves that wrap the bulbs will decrease, and the tops will begin to turn a lighter green or yellow as they begin to die back. This is a sign that your elephant garlic is ready to be harvested. To harvest, gently loosen the soil around the bulbs with a potato fork and carefully lift them out of the ground.
If you planted late, or your elephant garlic experienced water or nutrient stress, you may still find that some of your harvested garlic only formed one big round bulb. You could leave these giant bulbs in place, and they should turn into cloves the following year. Or go ahead and harvest the big bulbs and use them in the kitchen just like you would regular garlic cloves.
Once harvested, you’ll need to cure your elephant garlic before storing. To do this, lay the bulbs out in a single layer on a dry, well-ventilated surface for at least a week. After the bulbs have cured, you can trim the roots and store them in a cool, dark place for up to eight to 10 months.
While elephant garlic may not be as pungent as regular garlic, it grows much better in our climate than regular garlic, and it still packs a flavorful punch, adding a unique twist to any dish. So why not give it a try in your garden? With a little care and attention, you’ll be enjoying home-grown elephant garlic in no time.
Would you like to make money off your land? Are you looking to diversify your current plans on your property? Jackson County is hosting a fruit and vegetable meeting on January 26, 2023, and this just may be the perfect way to start off your new year!
Photo by Molly Jameson.
When thinking about what it means to be successful in planting your garden or having fruit trees, often the first thing that comes to mind is a healthy quality crop. This starts with the health of your soil. We will have two specialists that cover soil health and the benefit of adding cover crops to your rotation during the off season. The second thing that might come to mind when wanting to be successful is how to start? how much time do I have to devote to gardening? and how much do I want to do? This meeting will also have a specialist coming to Marianna to cover how to get started on a property with a specialty crop. Even though this information may be geared towards new farmers, it could also be very useful to new land owners and community residents just wanting to do more on their property. You may find that you have so much extra produce that you want to have a little fruit stand!
There will also be a session on the importance of drip irrigation, fertigation and how to implement these practices. Drip irrigation will not only save you money in the long run with the use of less water, but it is also much better for overall plant health by reducing pest and disease problems. Fertigation is the process of adding soil amendments, water amendments and other water-soluble products into an irrigation system. This process can be both beneficial to the plants and cut back on the time it would take to fertilize by hand.
The next session on specialty vegetable and fruit crops will teach about the various exciting specialty crop opportunities in the Tri-State area such as artichokes, blackberries, Seminole pumpkins, and more. Finally, the meeting will also cover cucurbit disease updates and will be extremely useful if you already have a field or garden of watermelons, cucumbers, or squash! Come with questions! CEUs will be offered as well if you are a homeowner that holds a pesticide license.
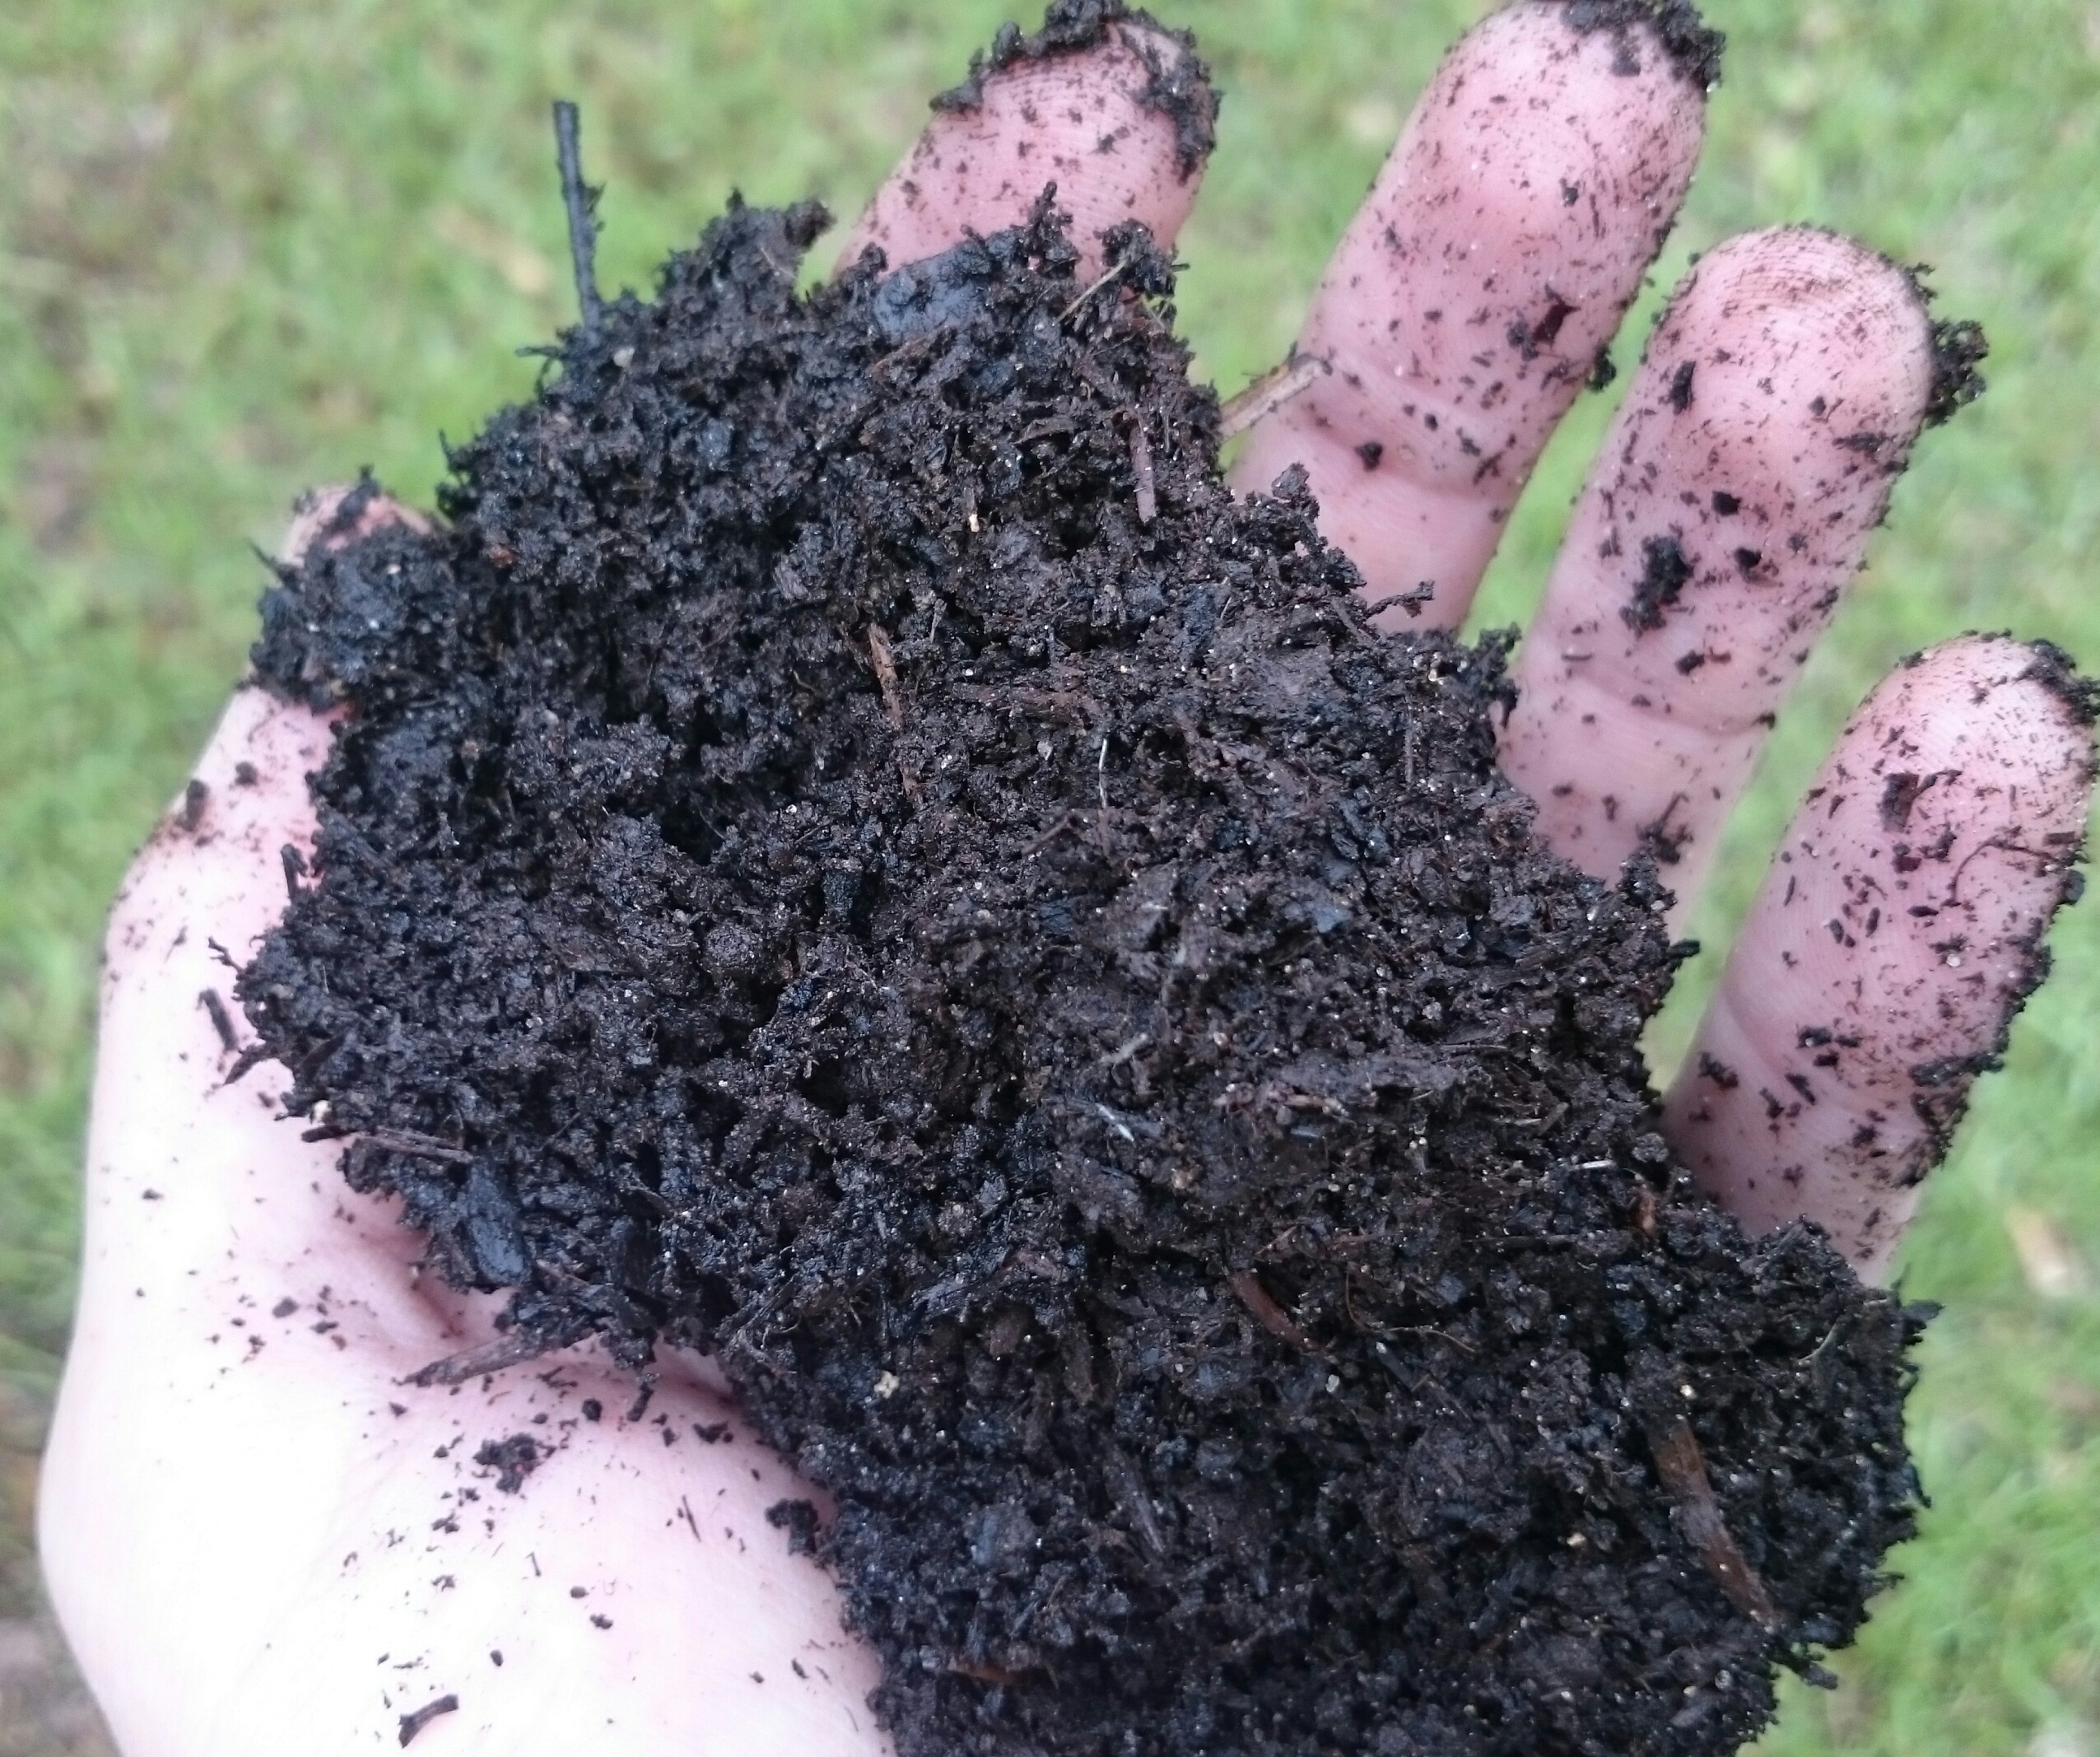
Organic matter is the “glue” that will hold your soil together. Photo by John Edwards.
While, the audience for this conference is primarily small to medium sized, diversified cucurbit and vegetable producers in the tri-state region including the counties in the Panhandle, Alabama, and Georgia, the residential community is welcome to attend and will truly benefit with learning about soil health, cover crops, fertigation, drip irrigation, and specialty crops. The conference will be held at the Jackson County Extension Office in the Peanut Hall. We are planning a full morning with educational sessions and lunch to follow.
This meeting will be $5 at the door and pre-registration is highly encouraged. Please call our office at 850-482-9620 to reserve your seat and if you have any questions.
Tri-State Fruit and Vegetable Meeting
Thursday, January 26, 2023, 8:00 am- 1:00 pm at the Jackson County Agriculture Offices Auditorium, 2741 Penn Ave., Marianna.
Want to grow a vegetable garden but don’t know where to start?
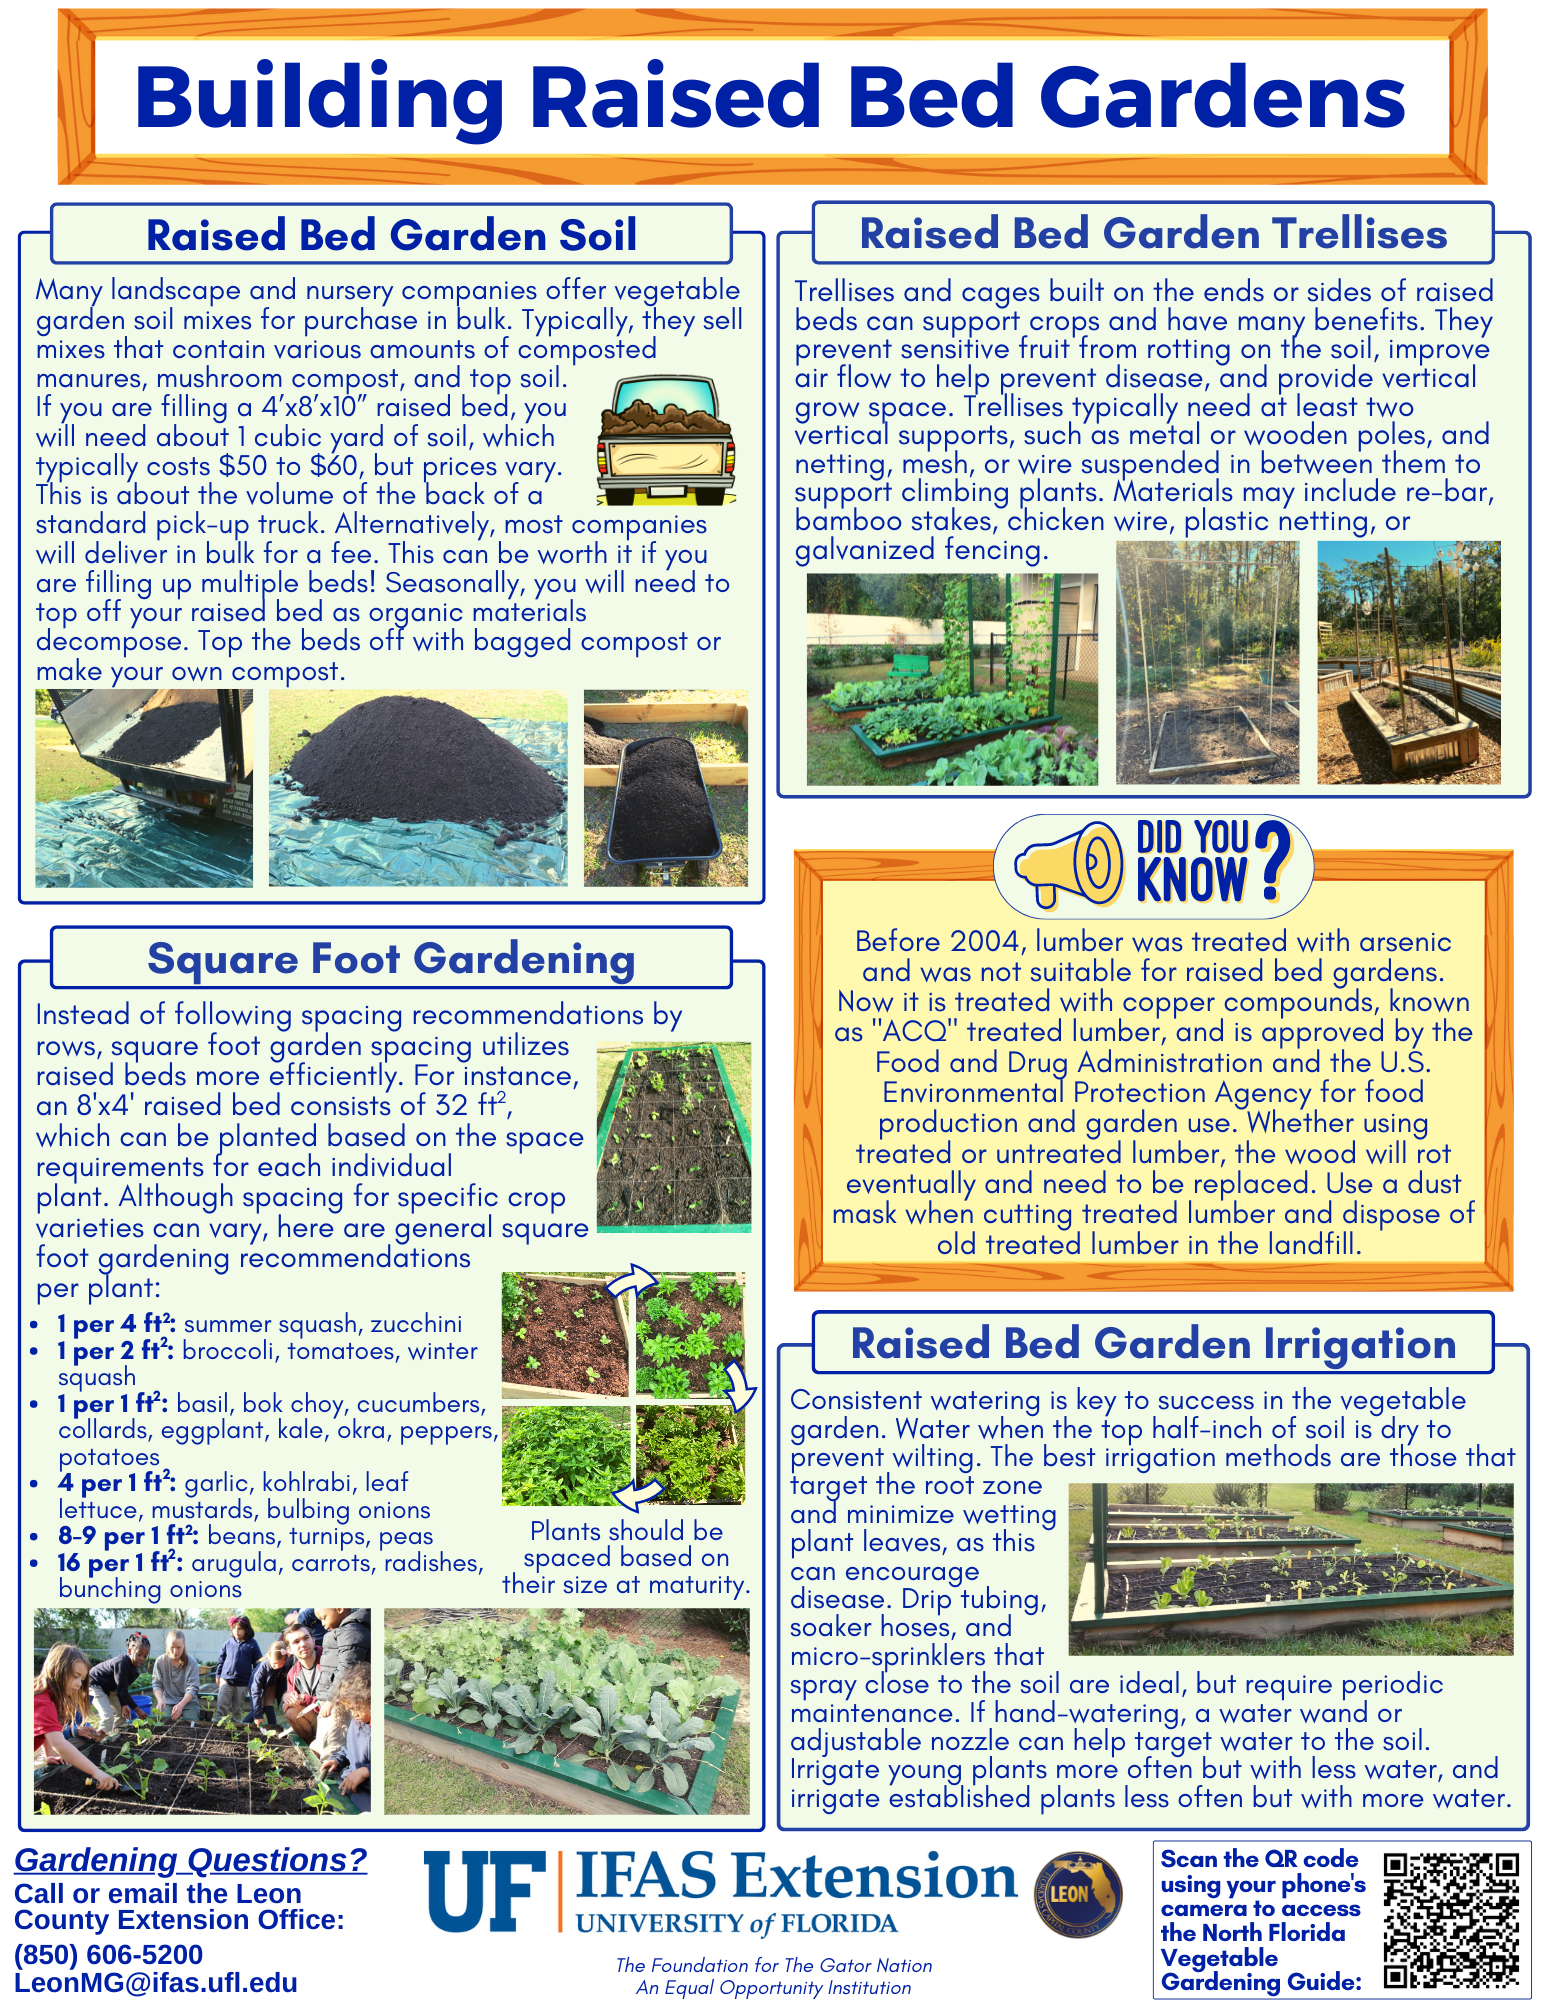
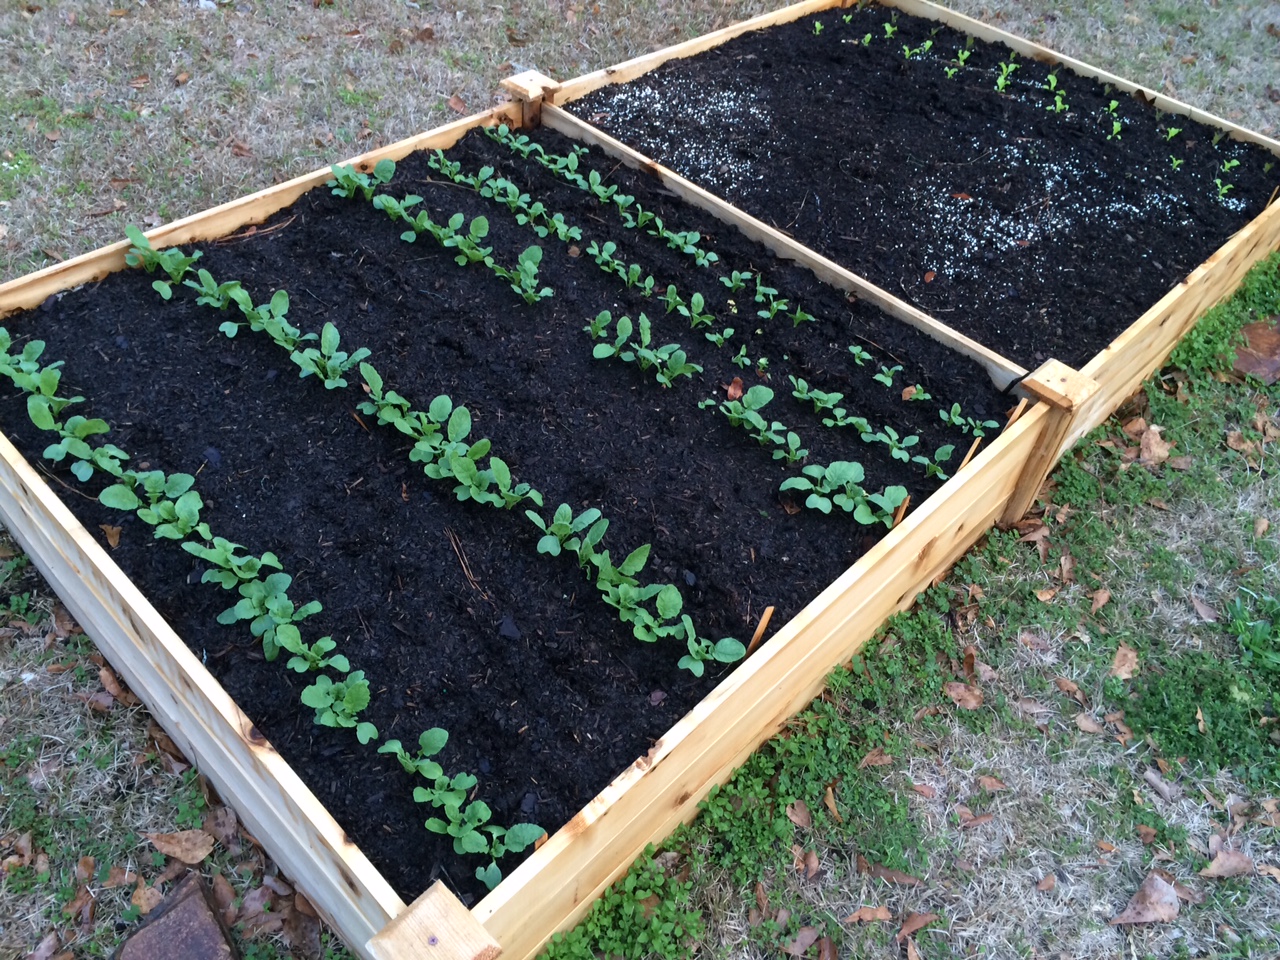
Raised bed gardens give you the ability to put a garden anywhere you have at least six hours of sunlight and access to water, regardless of your native soil type.
See the fact sheet below (Or Click Here for the downloadable PDF version!) for tips on how to build a raised bed vegetable garden. And be sure to reach out to your local Extension office with any questions!
Page 1 of the Building Raised Bed Gardens Fact Sheet created by UF/IFAS Leon County Extension.Page 2 of the Building Raised Bed Gardens Fact Sheet created by UF/IFAS Leon County Extension.
Yay, we are halfway through with August and our summer is winding down! This is the perfect time to start prepping for that fall garden. Growing a productive fall vegetable garden requires thoughtful planning and good cultural practices. This process consists of selecting a site, planning the garden, preparing the soil, choosing the seeds and plants, planting a crop, and nurturing the plants until harvest time. In the Florida Panhandle it can be a challenge to get cool season crops started; there is a balance in starting them early enough to allow them to mature (50-60 days) before a hard frost and getting them through the end of a hot summer.
August and September are the main planting times for a fall garden. There are several cool-season crops and a final crop of warm-season vegetables that can be planted. Some good warm season crops are lima beans, cucumbers, eggplant, peppers, and tomatoes. Going into September it will be a good time to establish strawberry plants. Some good vegetables to start growing just around the corner are broccoli, carrots, cabbage, collards, mustard, and Swiss chard. https://edis.ifas.ufl.edu/NorthFloridaGardeningCalendar Herbs that do well are cilantro, parsley, and lemongrass. Mint, oregano, and thyme should be planted in containers as they tend to spread. Mexican tarragon, mint, rosemary, and basil will also do well in September. See Herbs: http://edis.ifas.ufl.edu/topic_herbs
Transplants from the local garden center will get the garden off to a fast start while seeds will offer more varieties to choose from. It is also important to think about your location. A vegetable garden can be in the ground, a raised bed, or even grown in containers. Your plants will need more than just a place to grow. They will also need sunlight, water, air, soil, fertilizer, and care. Most vegetables require at least 8 hours of sunlight. Keep an eye out for pest problems such as insects, diseases and weeds because they will continue to flourish in warm temperatures and high humidity. To help conserve soil moisture a layer of newspaper and mulch can be placed between the rows. Mulch also aids in weed control.
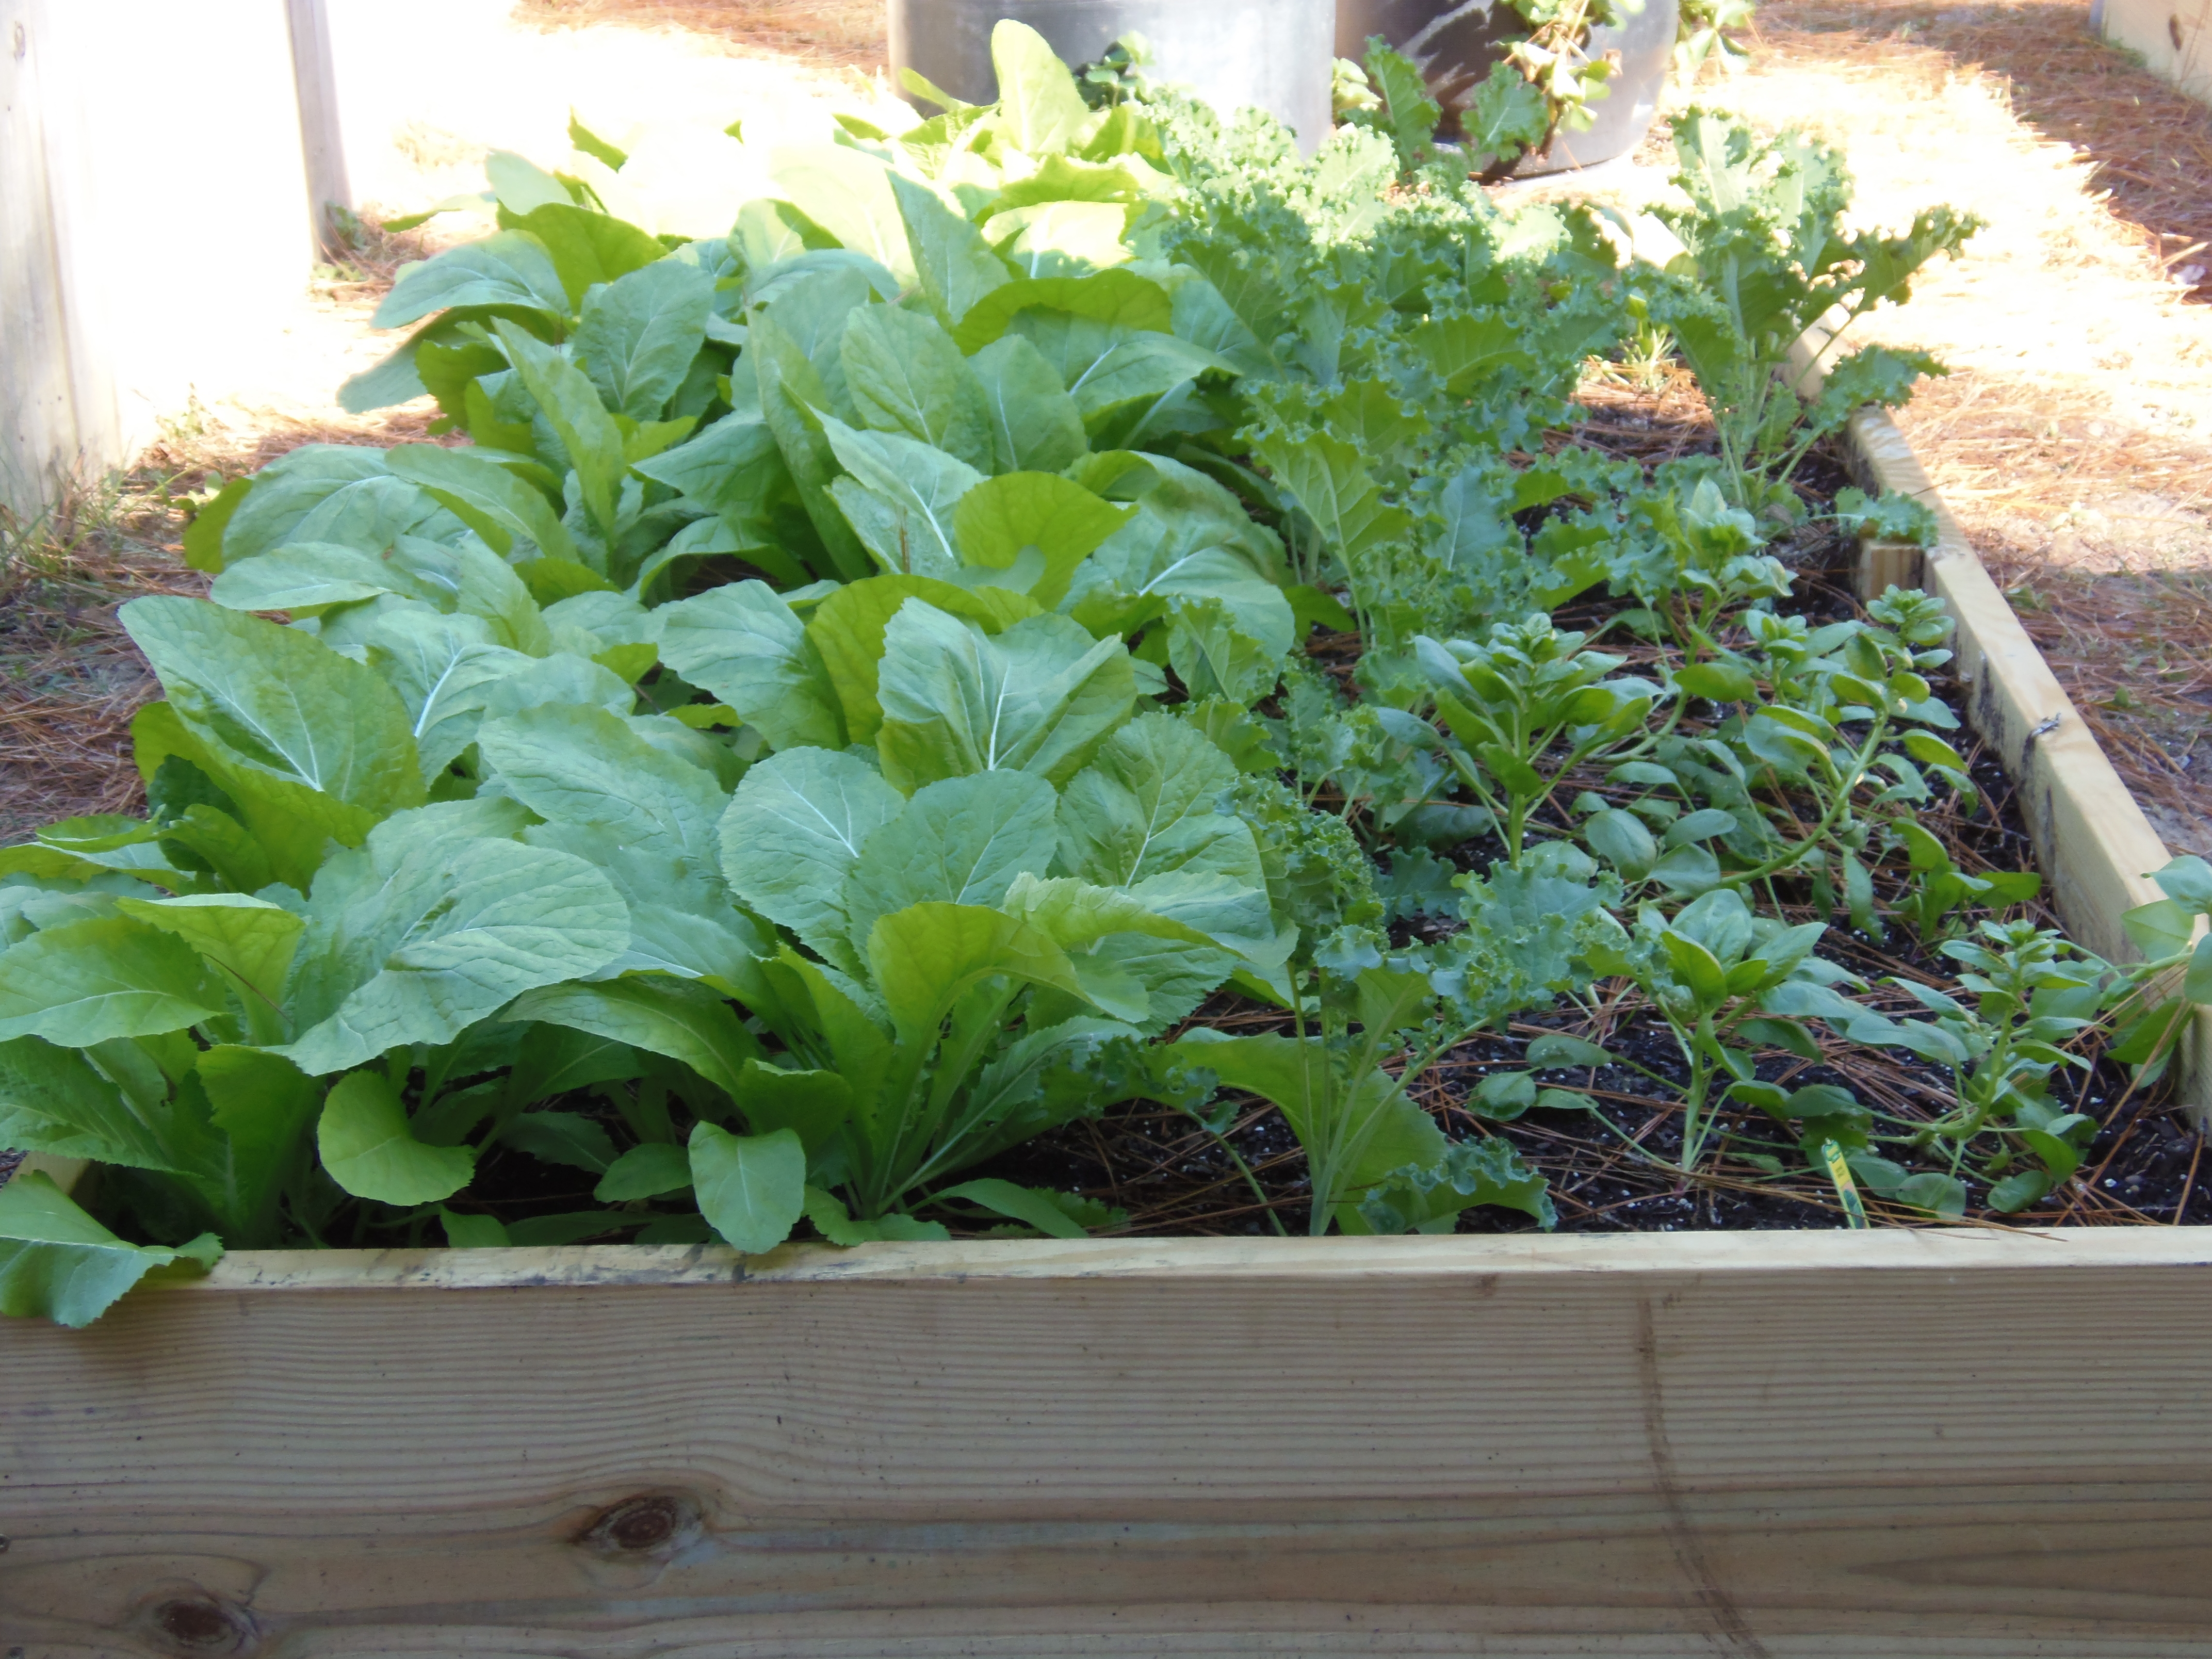
Raised beds are an excellent way to get started with gardening. Photo by Molly Jameson.
The result of a beautiful, successful vegetable garden is fresh produce to eat, share with neighbors, family, and friends and even the possibility to sell your harvest. With patience and practice your gardening skills will improve every year! Follow the above few tips and you will be well on your way to a great harvest! For more information about starting a fall garden or any other horticultural or agricultural topic, contact your local UF/IFAS County Extension Office. Happy Gardening
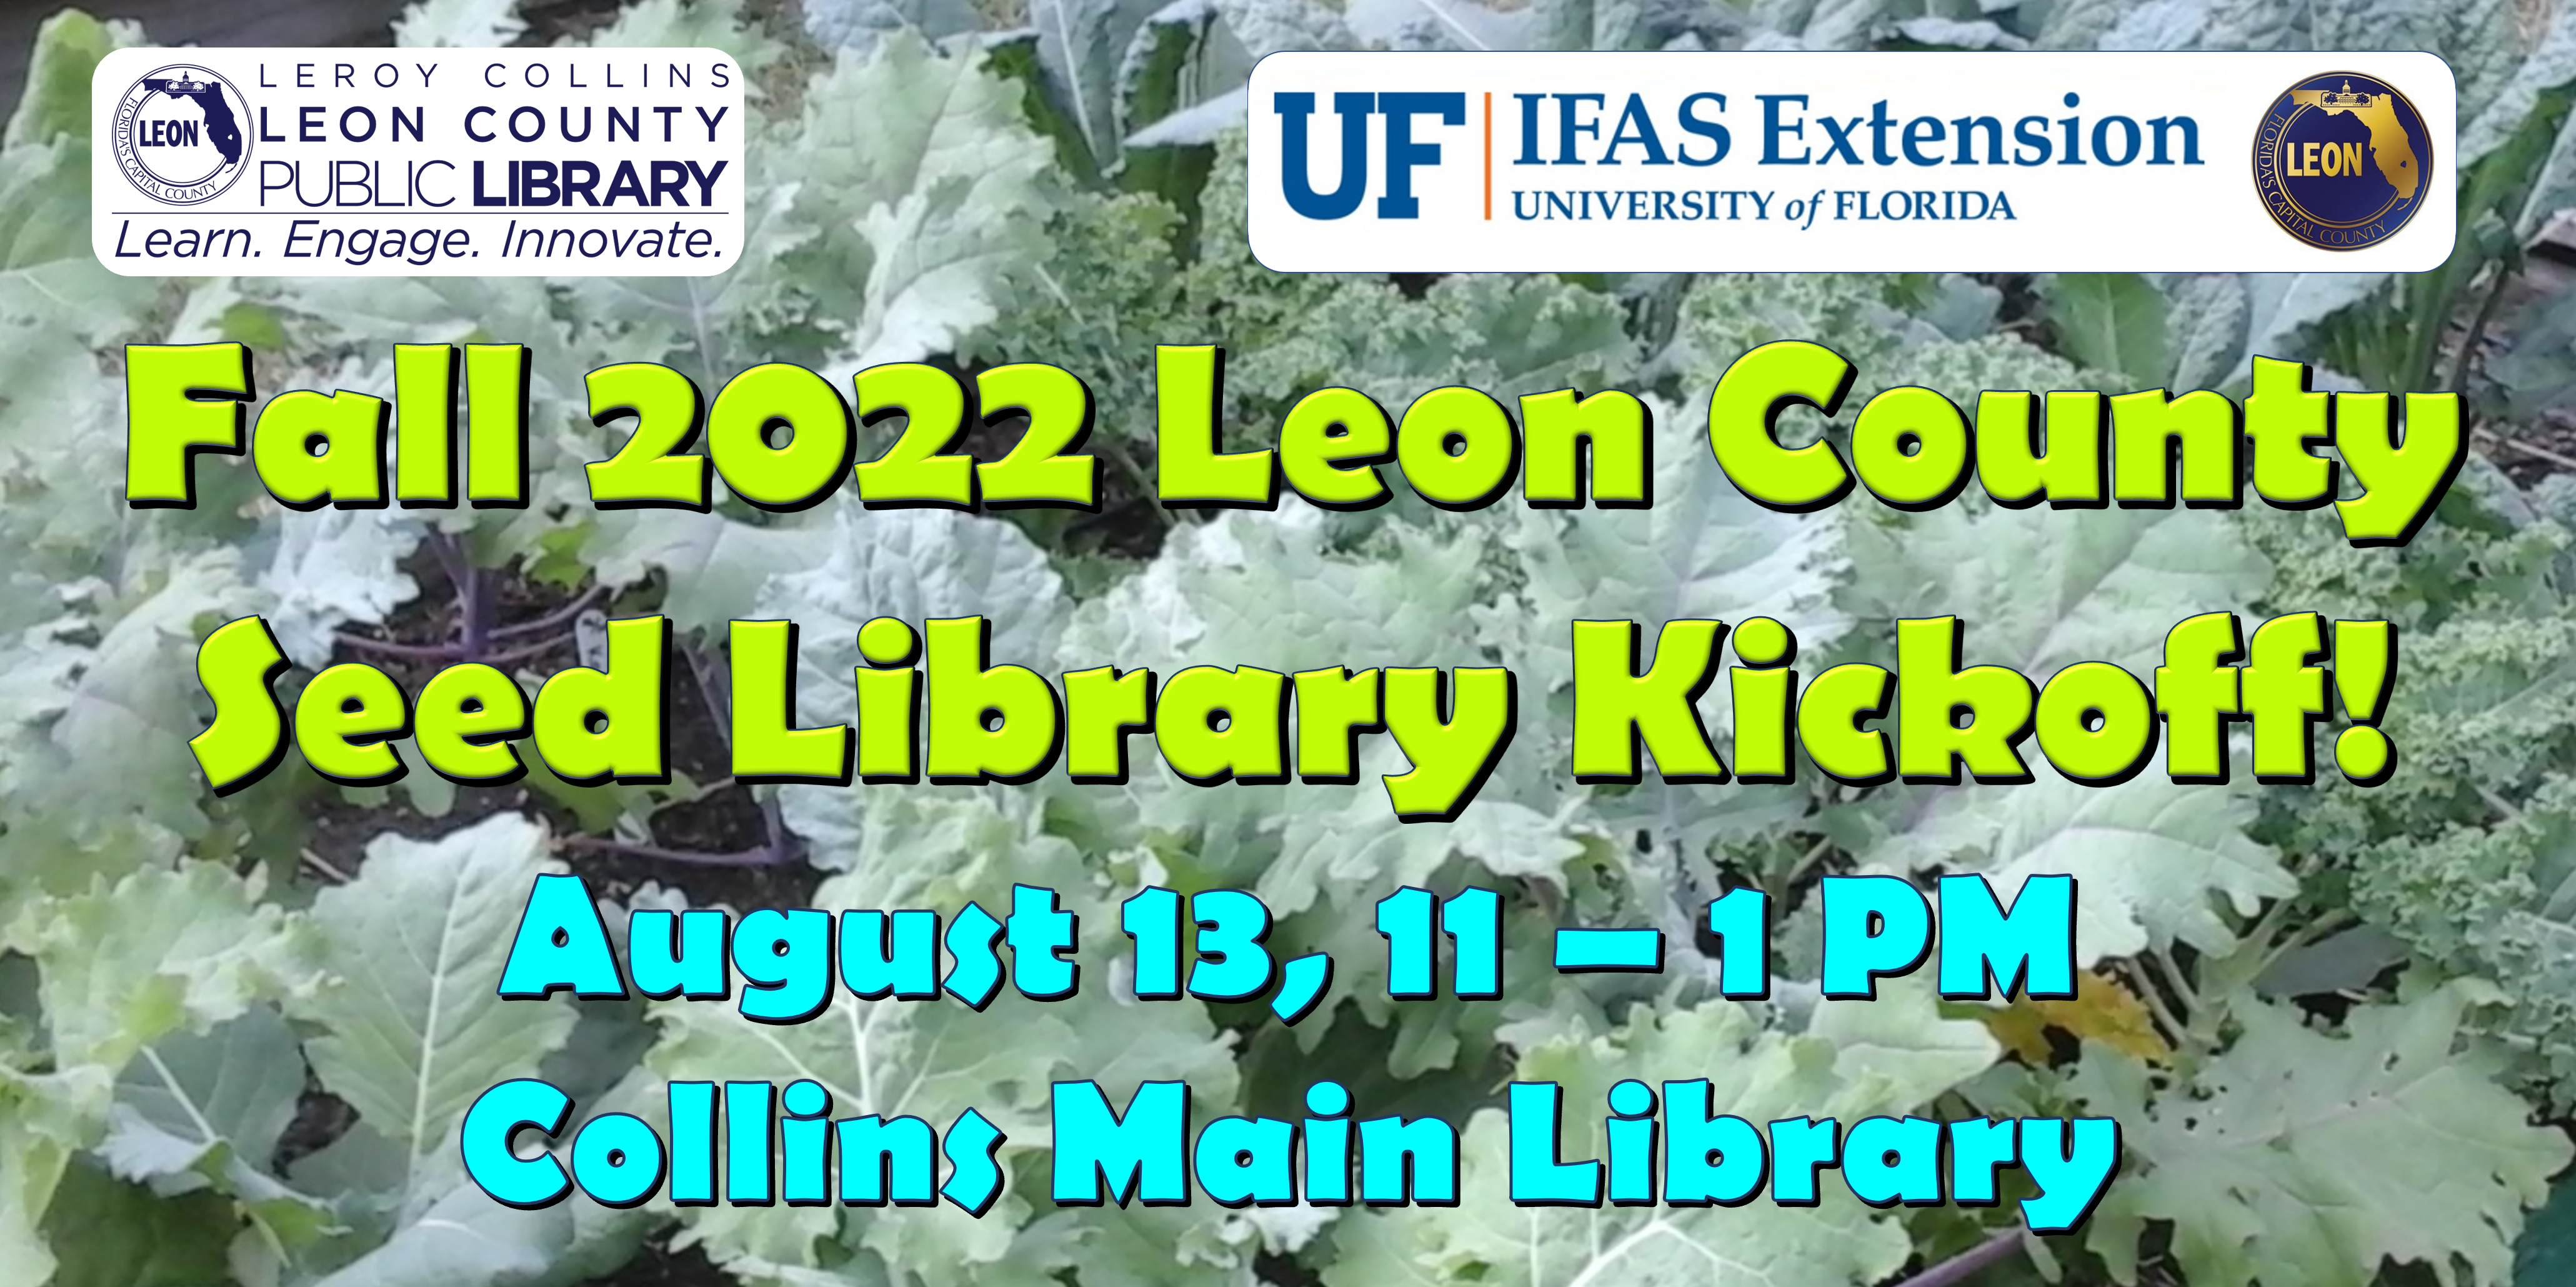
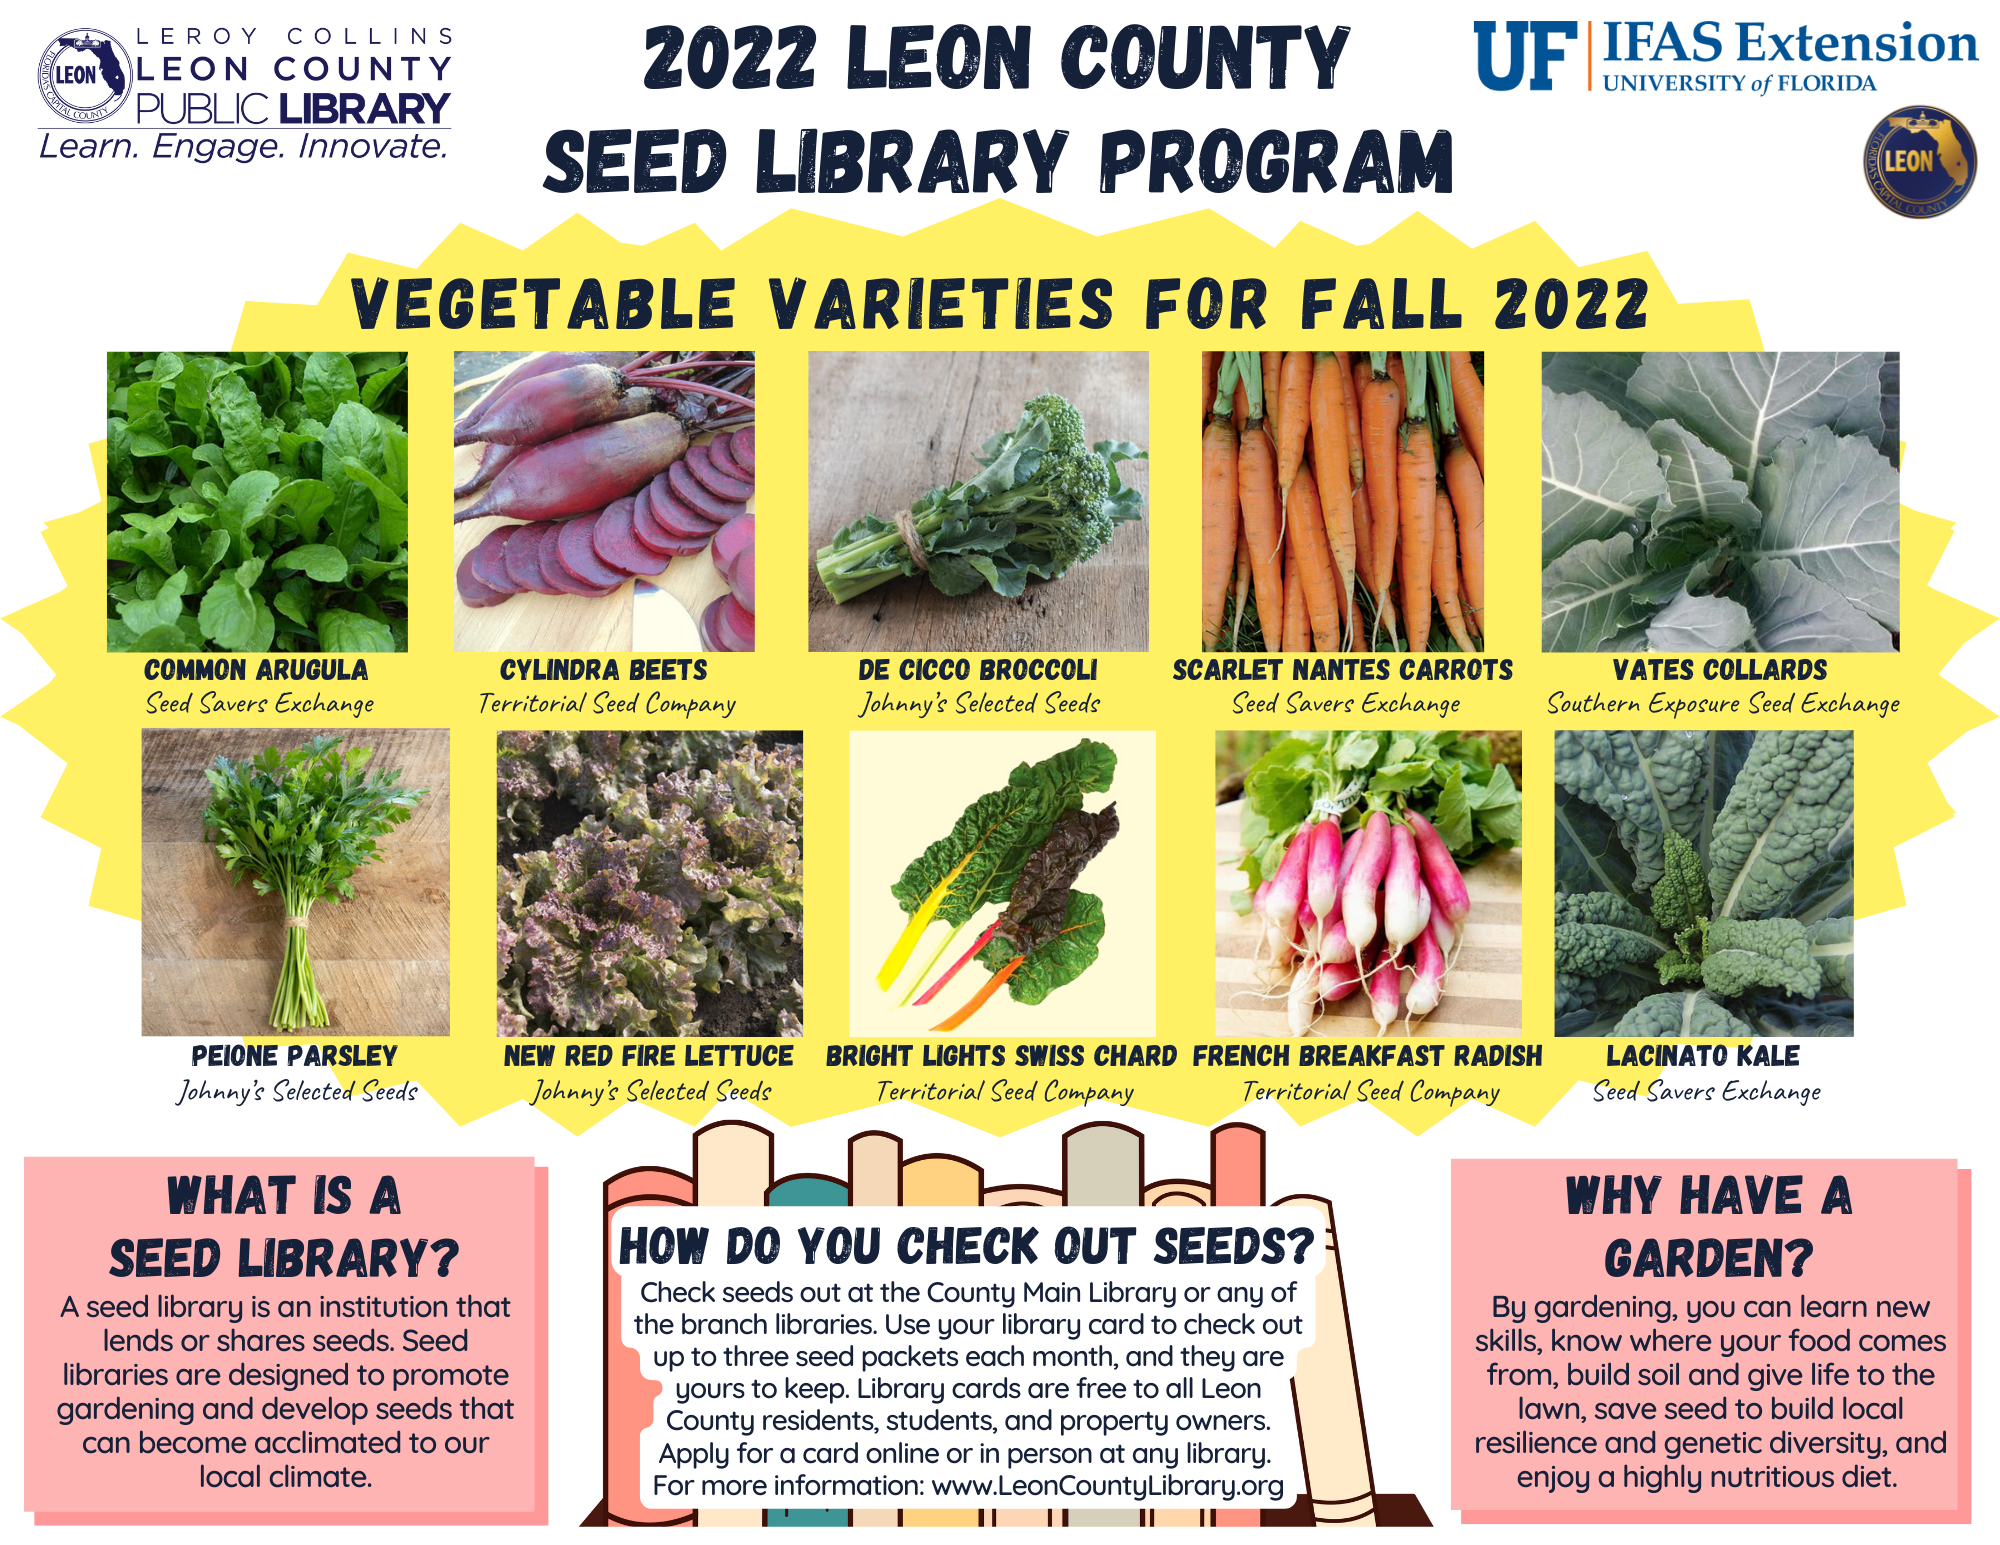
The Fall 2022 Leon County Seed Library Kickoff event starts at 11 a.m. on August 13 at the Collins Main Leon County Library.
To kick off the Fall 2022 Season of the Leon County Seed Library Program, UF/IFAS Extension Leon County will be at the LeRoy Collins Leon County Main Library (200 W. Park Ave.) Program Room on Saturday, August 13, from 11 a.m. to 1 p.m., with information on raised bed gardening, a hands-on seeding activity, an Ask-a-Master-Gardener booth, and a healthy cooking demonstration.
Although we are still in the full swing of summer, gardeners know it is time to start thinking about planning the fall garden. Although pulling weeds and adding fresh compost can wait a little while, gathering seeds for the new season can be something to think about doing now.
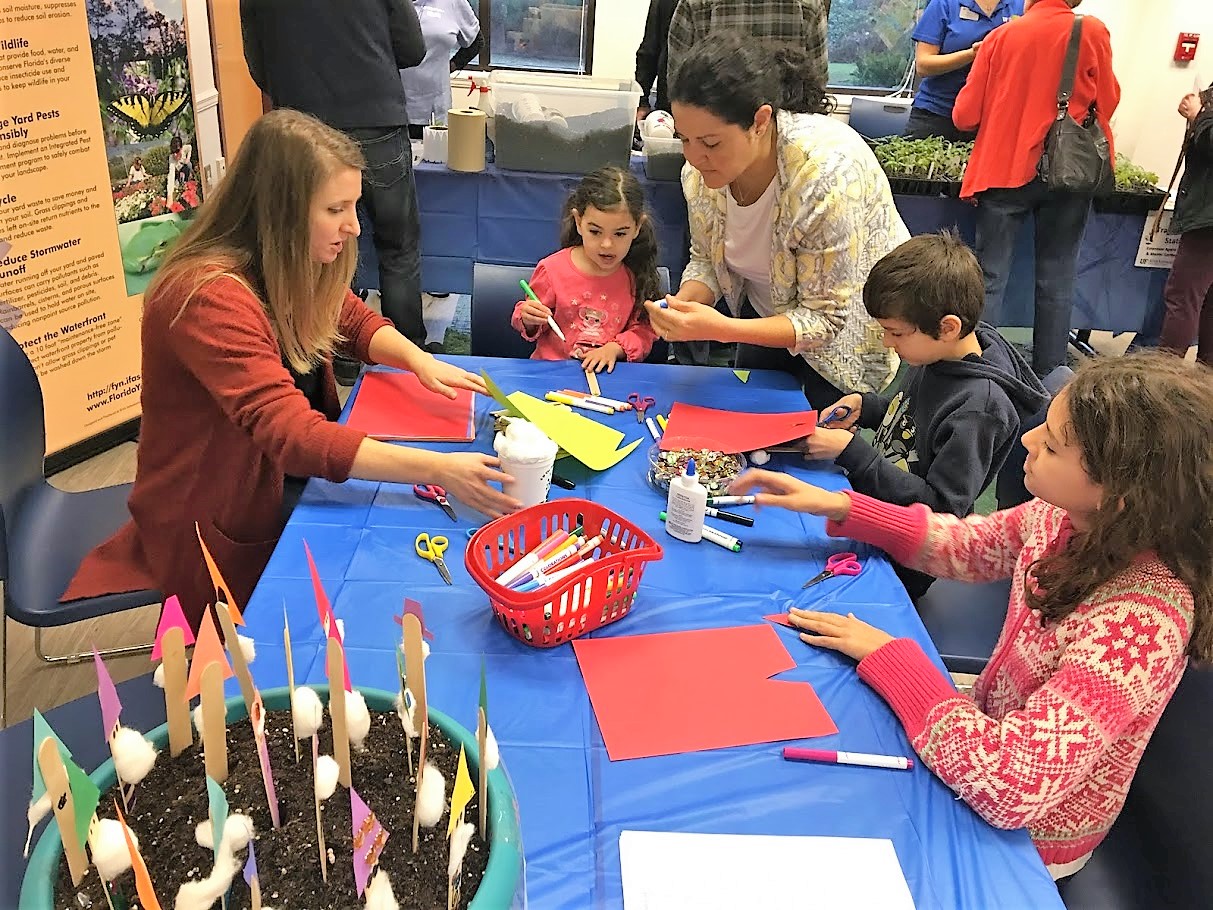
Youth creating garden gnomes at the 4-H station during the 2019 Seed Library Program debut. Photo by UF/IFAS.
If you live in or around Tallahassee, the Leon County Seed Library Program can help jump-start your fall garden. Starting August 13, you can go to any of the seven Leon County libraries to check-out three sample vegetable seed packets per month per library card! The Leon County Master Gardener Volunteers are currently busy labeling and packing each of the seed varieties that will be distributed to the seven libraries.
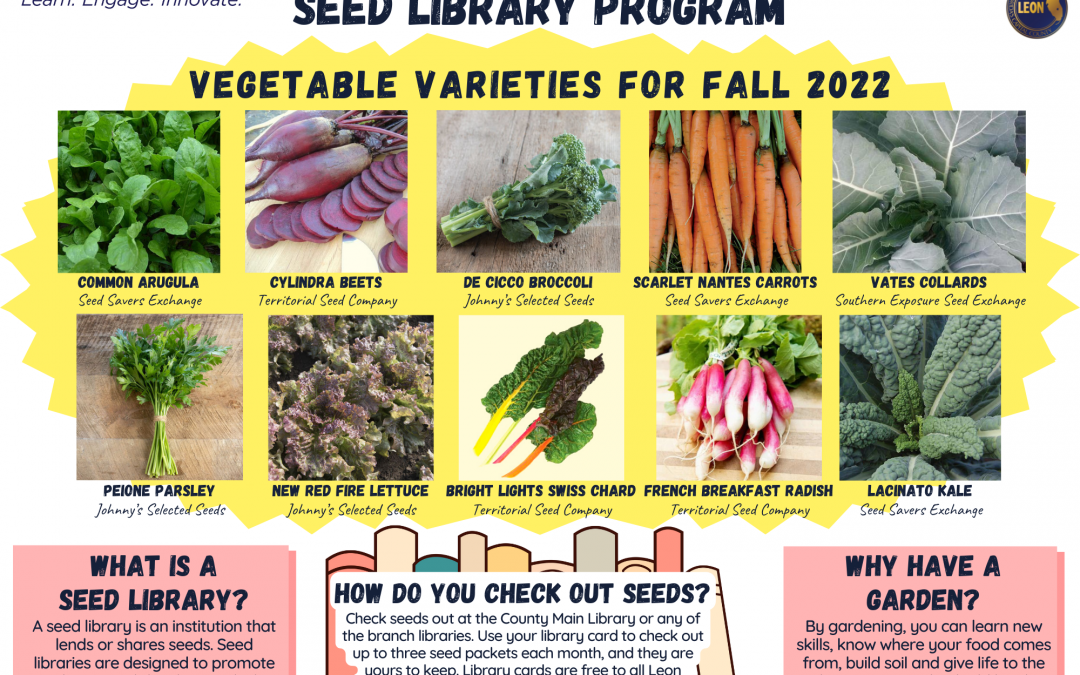
There will be 10 vegetables varieties this season, including a few varieties that have never been featured in the program. If you like to save seeds from your garden, know that all varieties in the Seed Library Program are open-pollinated (by insects, birds, wind), which means if they are not crossed with another variety, the seeds they produce will grow true to form.
The Fall 2022 selection includes:
Common Arugula: Deep green with a spicy, peppery, mustard-like flavor
Cylindra Beets: Heirloom with long cylindrical roots, good for slicing
De Cicco Broccoli: Central light green head and side shoots to extend season
Unlike areas with cooler climates, North Florida’s weather is a bit of a rollercoaster. Where the traditional four seasons allow for one growing season, the panhandle’s temperature changes create two growing seasons – spring and fall. During the winter, temperatures fall too low to keep plants happy, so those who expect to grow tropical plants in Florida may be disappointed. During the summer, the heat and humidity climb to levels that even plants can find stressful! Many of our vegetable crops simply can’t handle the extremes and wither away.
There are a few edible plants we can grow, however, that don’t seem to mind the hot weather. If you simply can’t live without a productive garden during the summer, you might consider trying these:
Also called Southern peas, black-eyed peas, or field peas, these are known for their ability to produce a crop despite the harshest of conditions. Actually a bean rather than a pea, they take 65 to 125 days to grow to full maturity, depending on variety. Because they are a nitogen-fixing legume, they have also been used as a cover crop.
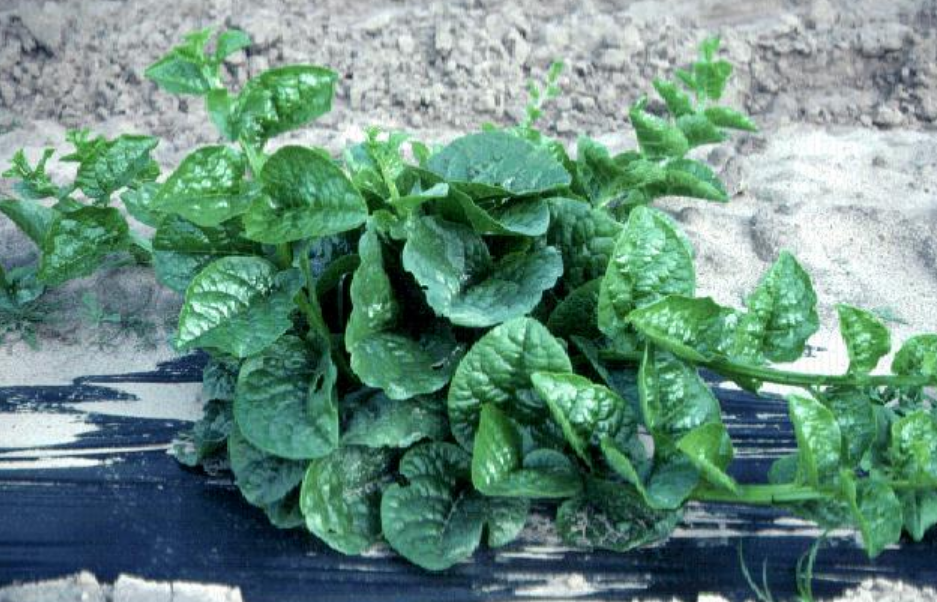
Malabar Spinach. Photo Credit: James M. Stephens, UF/IFAS
Popular in Asian countries, Malabar spinach is actually a vining plant unrelated to true spinach. It grows quickly and is edible both raw and cooked, though some people may not appreciate its mucilaginous texture. Similar to okra’s sliminess, this quality does make it useful for thickening soups. Malabar spinach may be propagated from seed or by cuttings, which root easily. The plant also produces berries which, while not toxic, have very little flavor and tend to stain whatever they touch.
A traditional Southern favorite, okra takes the heat and keeps producing. Related to cotton and hibiscus, it grows pods that are ready to harvest after 60-70 days. Seeds have a tough exterior and need to be soaked overnight before planting. Harvest every couple of days at least for best results, as pods that grow too large become tough and fibrous.
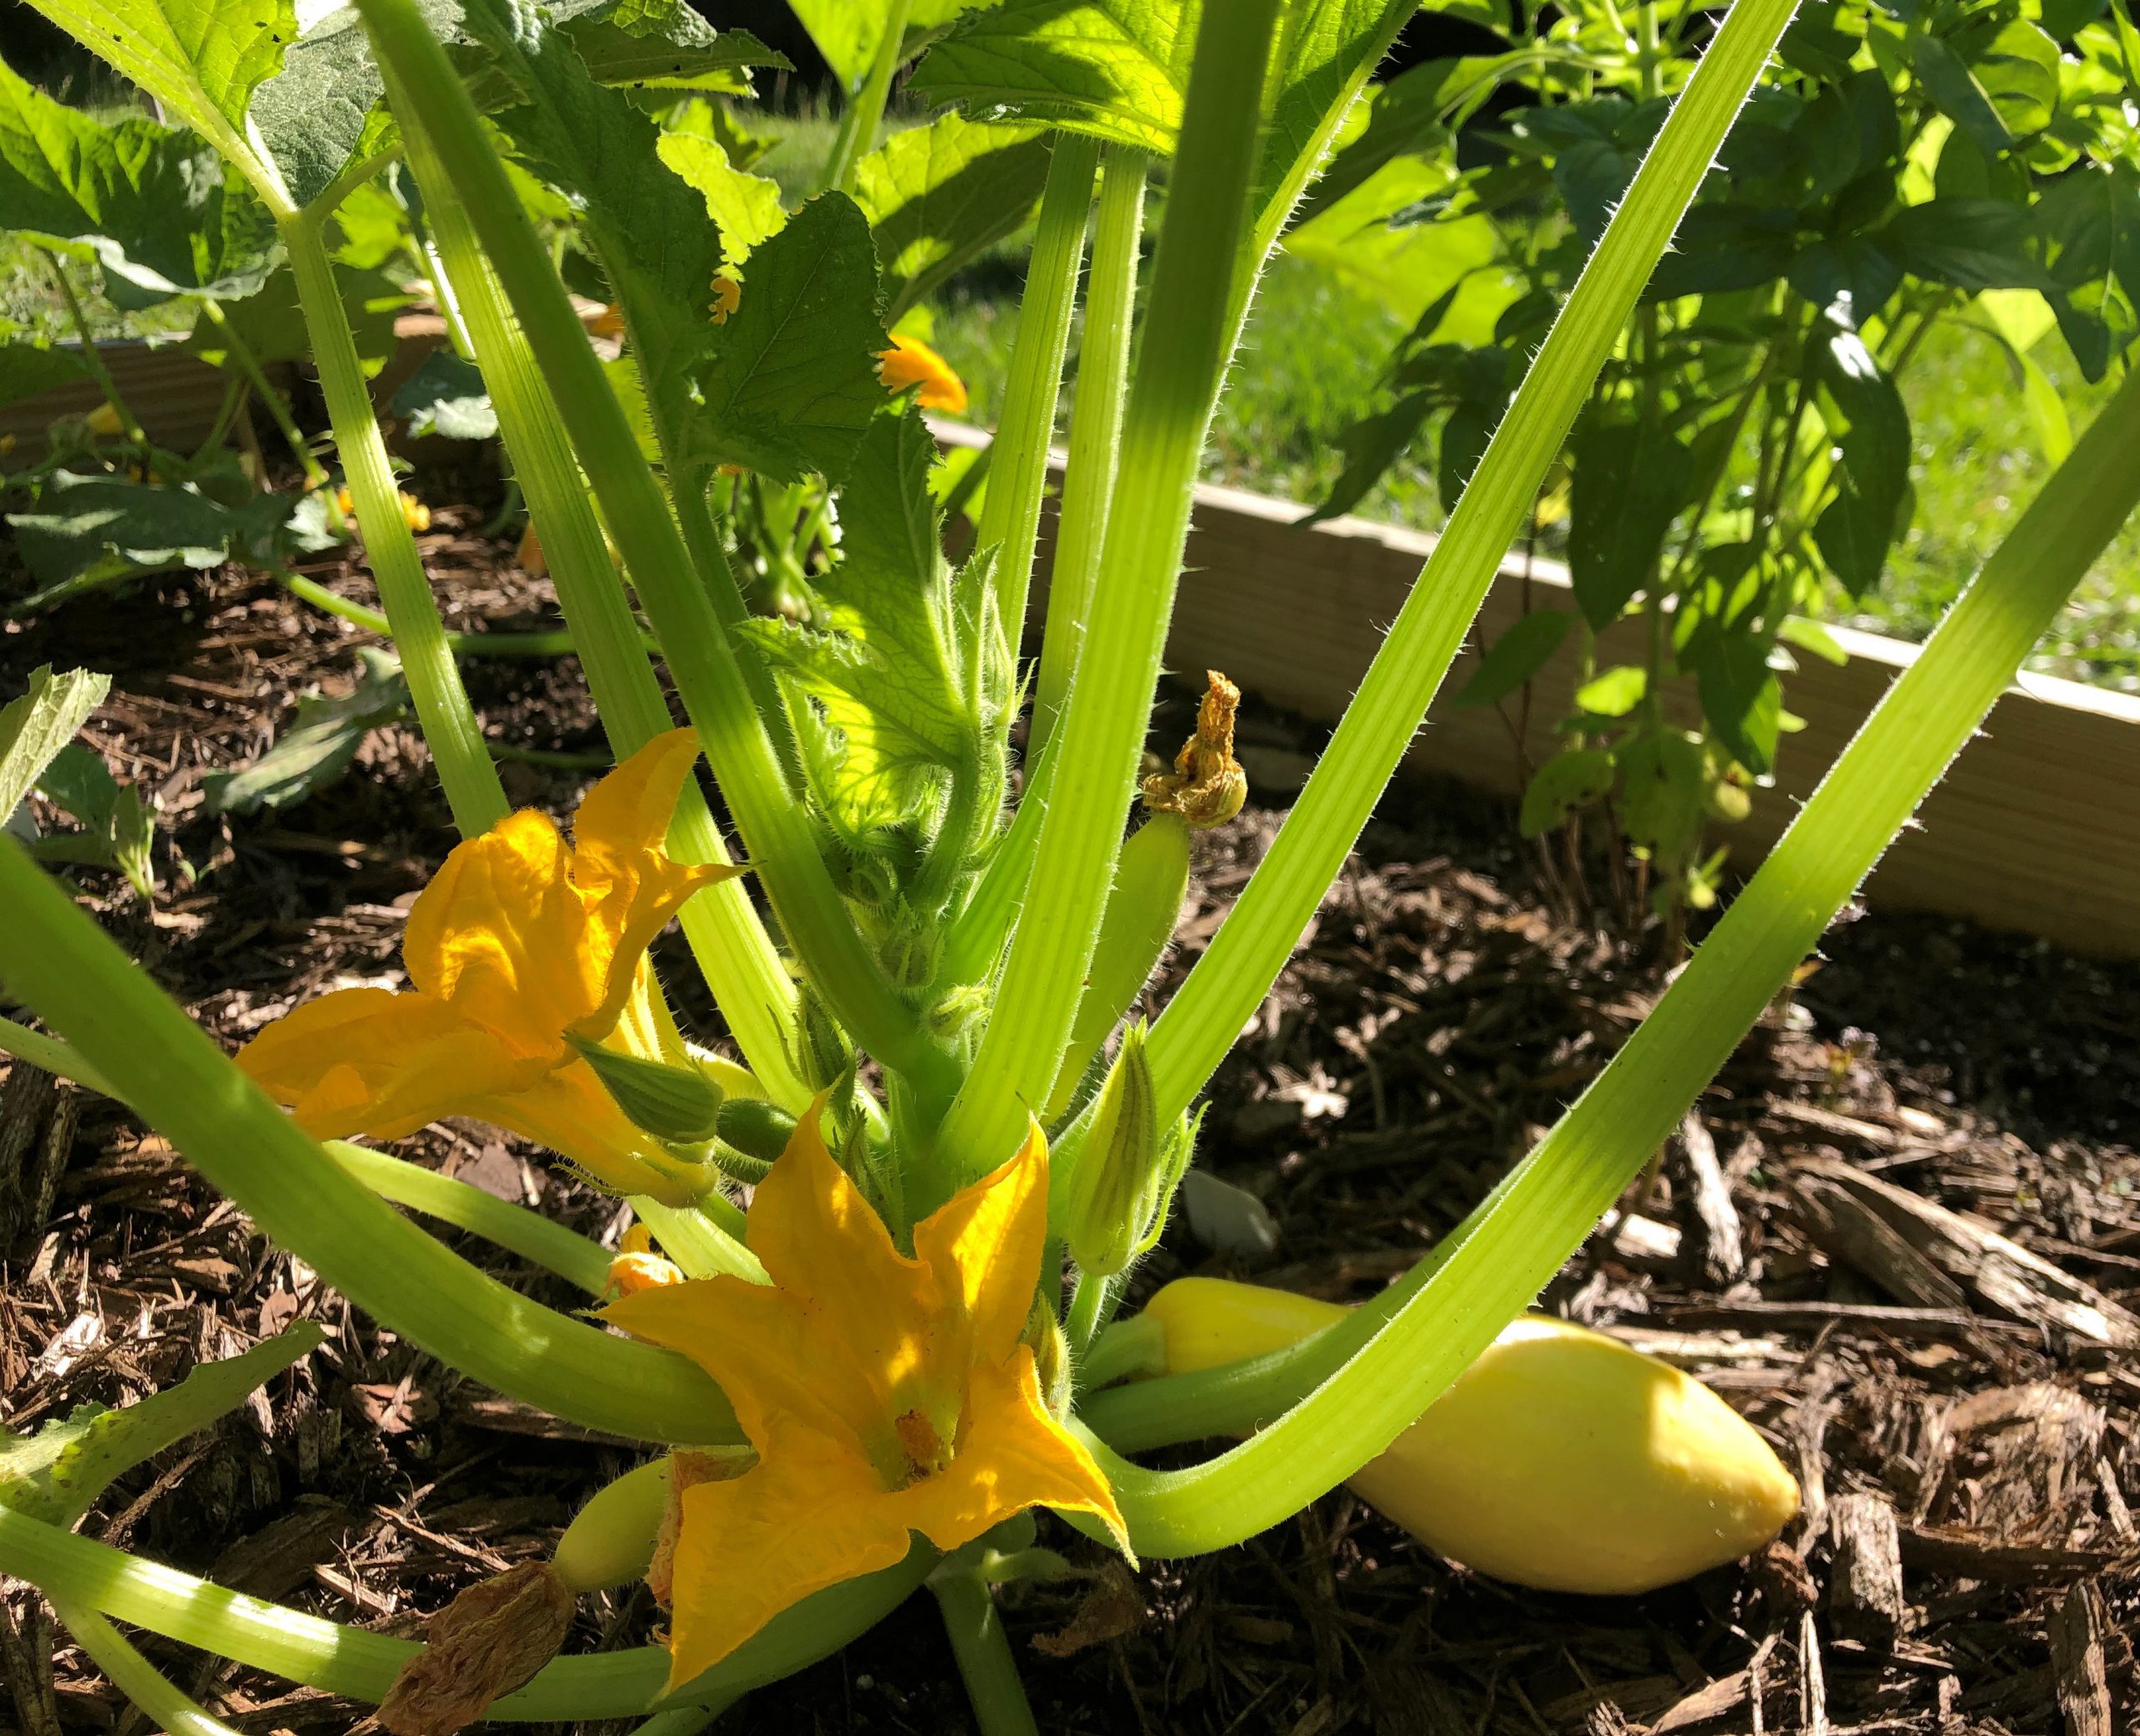
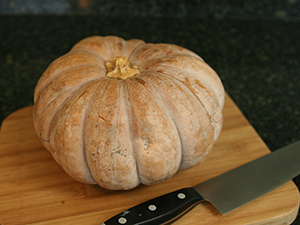
Though they may need extra attention paid to them due to their attractiveness to pests, Seminole pumpkins are a great option for a summer planting. Similar to butternut squash, these cucurbits aren’t your traditional carving pumpkin, but they make great eating. Give them plenty of room to spread out in a sunny space. They take 120 days after planting before they’re ready to harvest, and their thick skin allows them to be stored for a long time after.
Does well in sandy soil? Check. Doesn’t mind the heat? Check. Sweet potatoes are great for our neck of the woods. Start out with disease-free slips for best results, and pick varieties such as ‘Beauregard’ that do well in our area.
Related to cowpeas, yardlong beans grow on a climbing vine. The beans themselves, as the name suggests, are contained in a pod that can reach 36 inches in length. These can be picked and cooked much like green beans while the pods are still tender.