by Ray Bodrey | Dec 5, 2024
It’s getting close to that time of year again! You may be the giver or receiver of a wonderful holiday plant soon. Dish gardens, potted flowering plants (such as azalea, begonia, poinsettia, or chrysanthemum), plants with attractive foliage, and even patio citrus make great gifts. However, special care is needed to keep them healthy throughout the holiday season and beyond!
For plants intended to be “house plants”, over watering, over fertilizing and poor placement are the most common problems encountered by caretakers. The first thing you need to keep in mind about gift plants is that most of them have been growing in a carefully controlled greenhouse environment for some time. These types of plants are acclimated to a specific temperature & humidity level. Therefore, they’re sensitive. When they’re moved into your home atmosphere, they typically go into a level of shock. If you received a gift plant, you’ll have to help it overcome this shock by paying careful attention to the important factors- light, temperature, water, and fertilization.
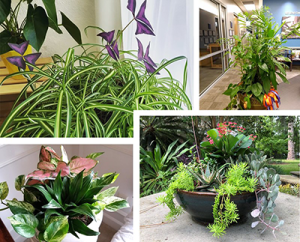
House Plants & Indoor Garden Examples Credit: UF/lFAS Communications
Indoor areas often restrict light and provide very low humidity. Plants with dense foliage prefer light, but not continuous direct light all day. Placing a plant near a window or near light fixtures should suffice for photosynthesis requirements. However, flowering plants such as mums and poinsettias will stand more light than most foliage plants and should be placed in very bright areas. Most indoor plants grow well in temperatures of 60 to 70 degrees. Be careful to not place plants in drafty locations where sudden changes in temperature occur. Also, don’t place plants close to radiators or air conditioner vents/returns. These areas typically dry soil excessively and could cause plants to wilt.
Watering is one of the major causes of failure with plants in the home, especially for containers which don’t have drainage holes. Most house plants will require a thorough soaking once a week. Water only when necessary and don’t let the pots stand in saucers of water unless the plants are very tolerant to excess water. Overwatering can kill plant roots, increase chances of disease, and eventually kill the entire plant.
Proper fertilization is another important part of growing healthy plants. Fertilizer labeled for house plants or 10-10-10 are good, general-purpose, complete fertilizers to use. Always follow all the directions on the bag or container, so that you don’t over fertilize, causing the plant’s demise.
Following these basic practices to keep house plants healthy should keep your gift plant looking attractive for the remainder of the holiday season and beyond.
For more information on house plants, please visit:
https://gardeningsolutions.ifas.ufl.edu/plants/houseplants/
https://gardeningsolutions.ifas.ufl.edu/plants/houseplants/indoor-gardens/
or contact your local county extension office for more information.
by Molly Jameson | Nov 6, 2024
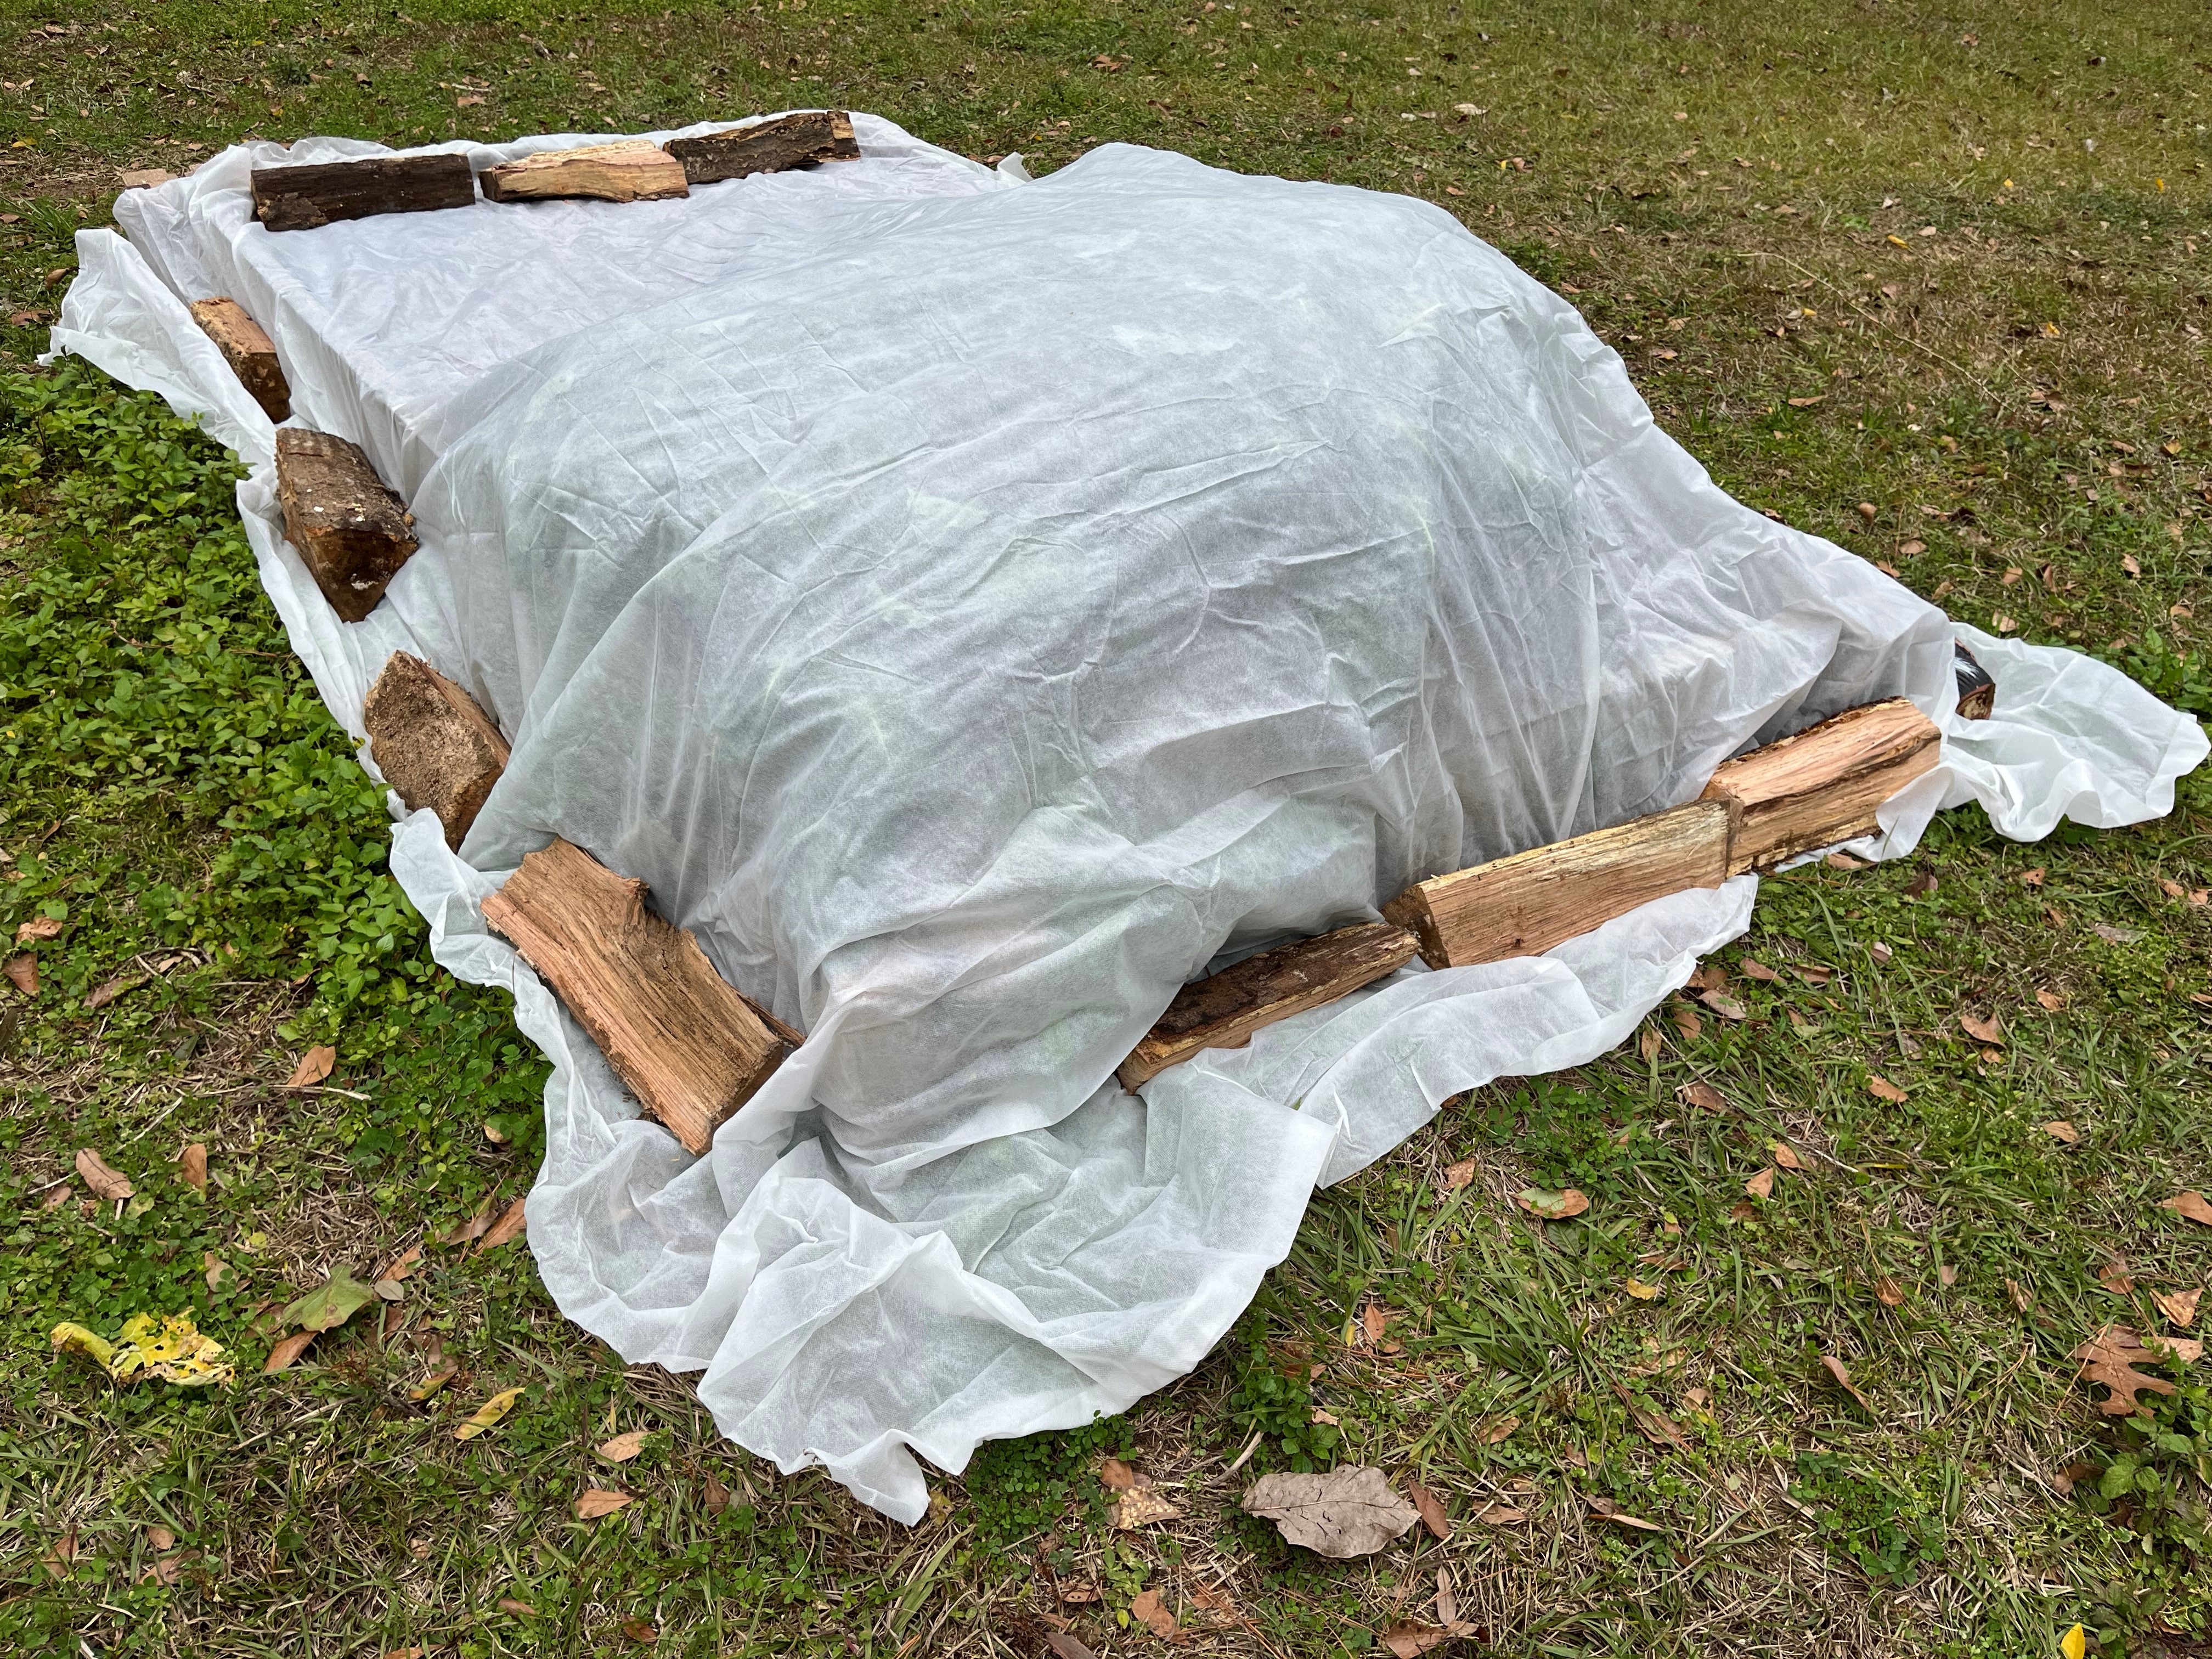
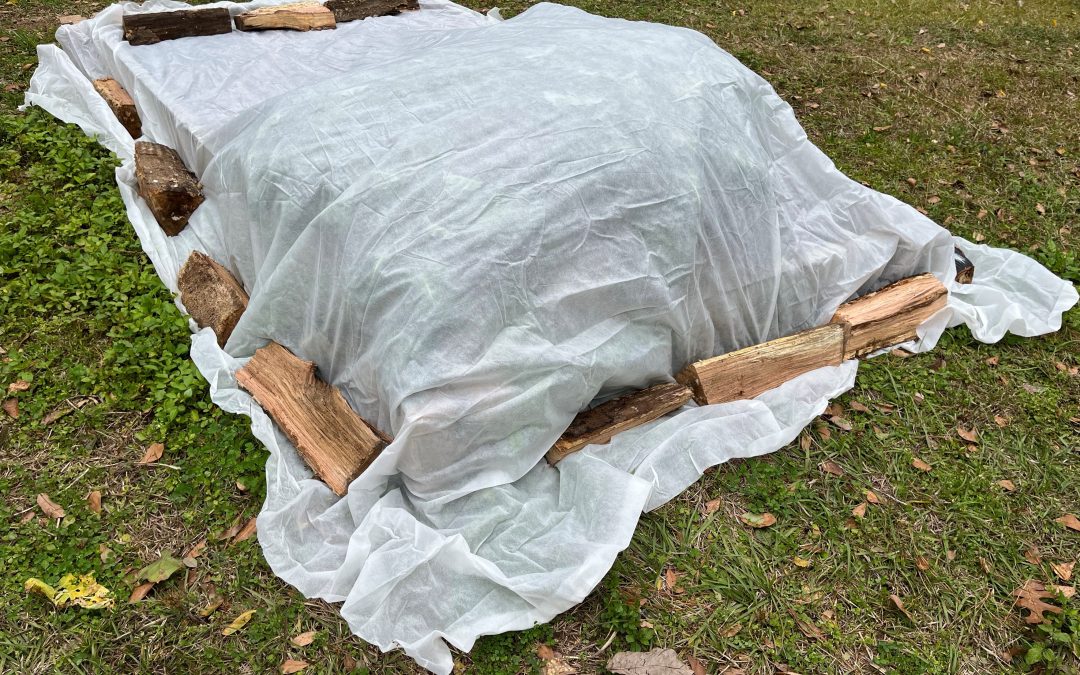
Anchor frost cloth securely to keep it tightly in place, as removing air gaps helps trap ground heat and shield plants from cold air. Photo by Molly Jameson.
Here in North Florida, mild winters are the norm, but our occasional cold snaps can be enough to wreak havoc on our gardens. As you might remember, in December of 2022 the entire Panhandle experienced temperatures dipping into the teens and low 20s for several nights in a row, with some areas reaching as low as 18°F. This kind of unexpected freeze can catch even the most experienced gardeners off guard.
While plant covers are the go-to solution for many of us, pairing them with additional techniques can offer even better protection when temperatures dip. From common cold weather protection myths to practical DIY tips that enhance your plant cover’s effectiveness, knowing your options can make all the difference during an impending cold snap.
Cold Protection Myths and Misconceptions
When a frost or freeze warning hits, there’s plenty of advice flying around. Some of it’s helpful, and some, not so much. Here are a few misconceptions to clear up:
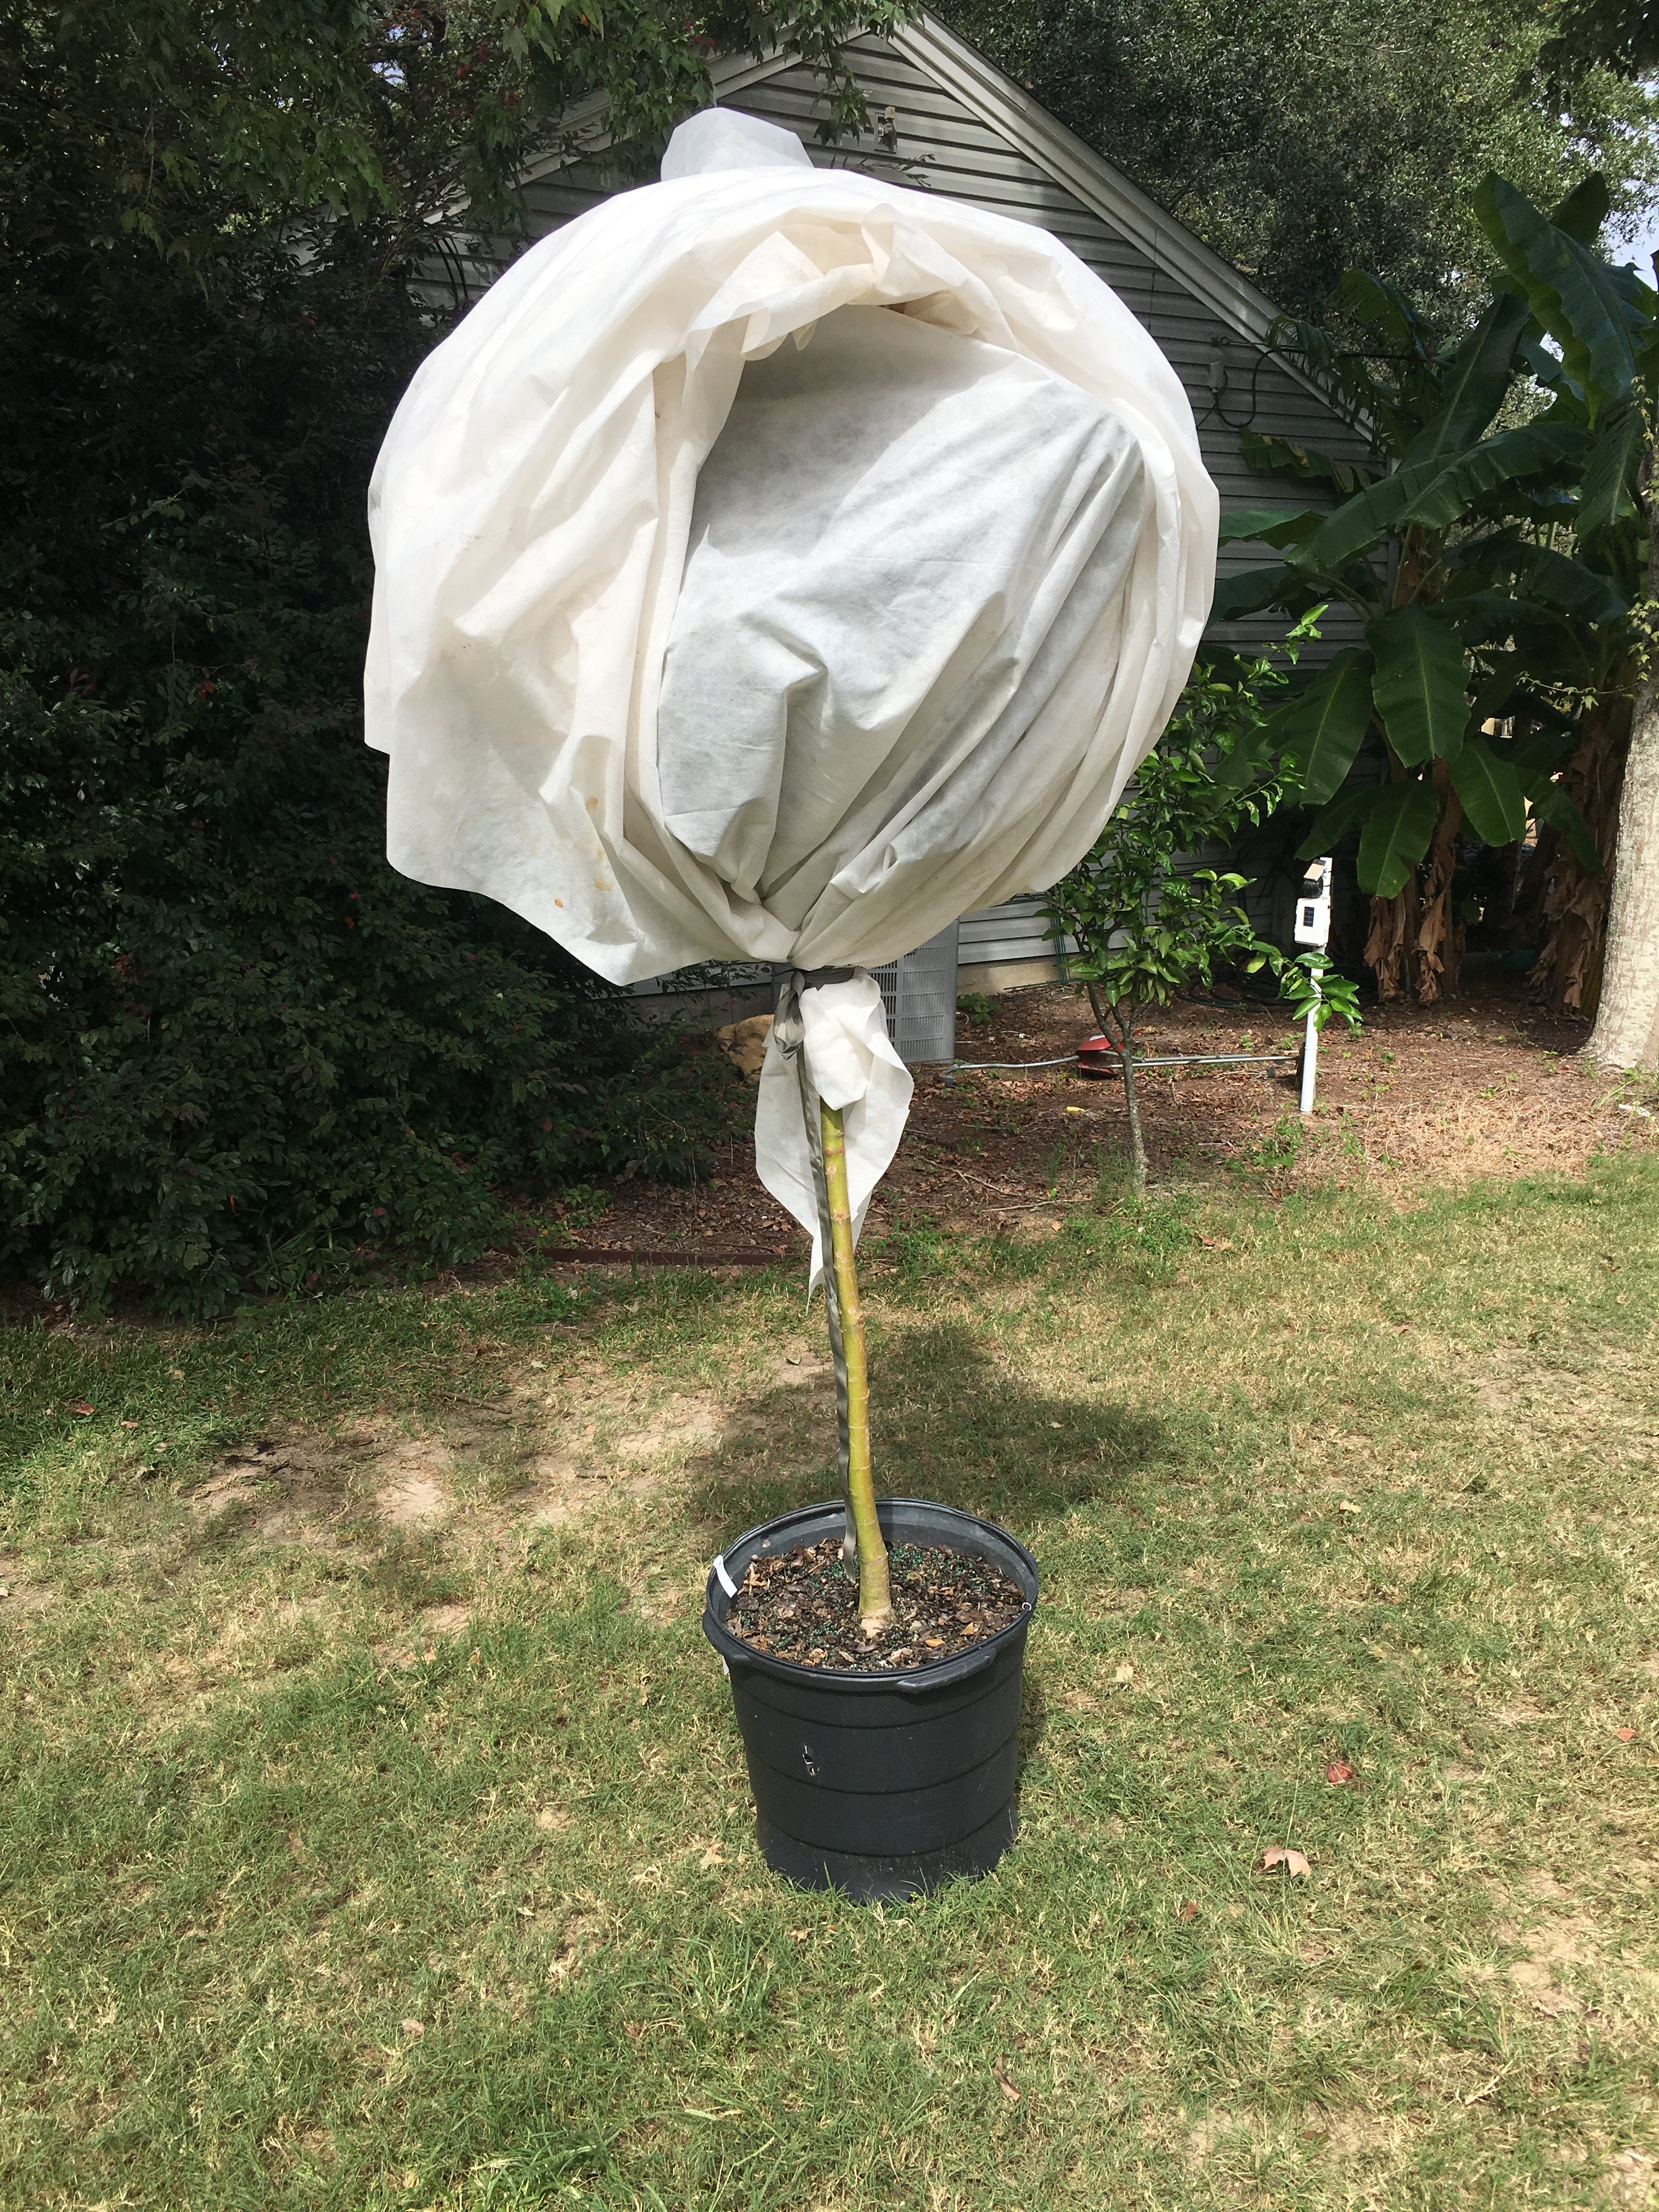
“Lollipop” trees will allow the heat from the ground to escape, giving the tree no cold protection. Photo by Jonathan Burns.
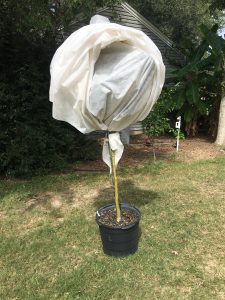
- “It’s All About Covering the Leaves”
Many gardeners believe that simply covering the leaves of their plants will provide adequate protection. However, this can lead to what’s commonly referred to as “lollipop” trees, where only the foliage is covered, leaving the trunk exposed. This is problematic because cold air can still penetrate, and the heat rising from the ground isn’t captured effectively. To ensure proper protection, the plant cover should touch the ground all around the plant to trap heat radiating from the soil, providing insulation from below. For best results, choose a medium-weight frost cloth (about 1 to 1.5 oz/yd²) made from breathable polypropylene or polyester fabric. These materials offer excellent insulation, providing about 4 to 8 degrees of temperature protection, depending on factors like cloth weight, ground heat trapped, and wind conditions. Frost cloth also allows moisture and air exchange, which helps prevent overheating on sunny days.
- “A Plastic Sheet Works Just as Well as Frost Cloth”
Throwing a plastic sheet over your plants might seem like an easy fix, but it often leads to more harm than good. Plastic is non-breathable, which can trap condensation and freeze on the plant’s surface. It also doesn’t insulate well, transferring cold temperatures directly to the leaves and stems. If you must use plastic in a pinch, make sure it doesn’t touch the plants directly and that it’s securely anchored to the ground to effectively trap warmth. Be sure to remove it in the morning once temperatures start to rise to avoid overheating.
- “Covering Your Plants Alone is Enough”

With PVC hoops ready to hold frost cloth and a thick layer of pine straw mulch, these raised beds are prepped for whatever winter throws their way. Photo by Molly Jameson.
While covering plants is crucial, sometimes additional steps can make a big difference. Mulching around the base of plants with a thick layer of pine straw or leaves helps insulate the soil and trap ground heat. It’s a small step that offers big protection to the roots and lower stems.
- “Watering Plants Before a Freeze Doesn’t Help”
Watering the soil around your plants before a freeze is a good practice because moist soil retains heat better than dry soil. This can help keep the root zone warmer overnight. However, it’s important to focus on watering the soil rather than the leaves. Water on foliage can freeze and cause damage, so it’s best to keep leaves dry as the temperatures drop. A deep watering a day or two before the cold hits is ideal for giving your plants a fighting chance.
DIY Cold Protection Solutions
If expensive greenhouses and plant covers are out of your budget or you want to get creative, there are plenty of do-it-yourself solutions for protecting your plants:
- Recycled Materials as Frost Protection
Old bedsheets, towels, or even buckets and cardboard boxes can be used in a pinch to cover smaller plants. Just be sure to anchor them down well, so they don’t blow away.
- DIY Hoop Houses
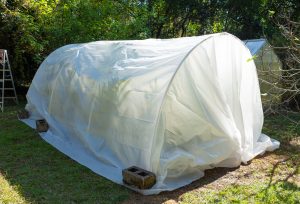
A temporary hoop house can be constructed using PVC pipes as the frame and polyethylene film as the covering to protect cold-sensitive plants during freezes. Photo by David W. Marshall.
For taller or sprawling plants, construct simple hoop houses using PVC piping with breathable frost cloth or lightweight plastic sheeting. Unlike placing plastic directly on plants, hoop houses create an air gap between the plastic and the plants, which helps trap heat from the soil while preventing direct contact damage. If using plastic, seal it tightly at night to trap warmth, and open it partially during the day to prevent overheating or excessive moisture buildup as temperatures rise. These low tunnels are perfect for garden beds or fruiting plants that need a little more room under cover.
- String Lights for Added Warmth
For extra protection, consider using outdoor-rated incandescent string lights (not LEDs, which don’t produce heat). Drape the lights around or near the plant under the covering to create a gentle source of warmth, which can raise temperatures by a few degrees on especially cold nights. For fire safety, keep lights from direct contact with dry materials and use only moisture-safe, outdoor lights.
- Windbreaks to Stop the Chill
In areas with open landscapes, cold winds can make frost damage even worse. Planting a hedge or using temporary barriers like hay bales or pallets can shield your garden from icy gusts and protect your more delicate plants.
Long-term Planning: Choose Cold-Tolerant Varieties
One of the best ways to prepare for cold snaps is to plant cold-tolerant varieties suited to North Florida’s climate. Vegetables like collards, kale, and carrots, or perennials like rosemary and garlic chives, can withstand mild freezes with little effort. If you’re growing fruit trees, look for varieties with proven cold tolerance or dwarf varieties that are easier to cover.
With a little planning and a few simple techniques, you can protect your garden from unexpected cold spells and keep it thriving through our chilliest nights.
by Sheila Dunning | Nov 6, 2024

Red Maple structure IFAS Photo: Hassing, G.
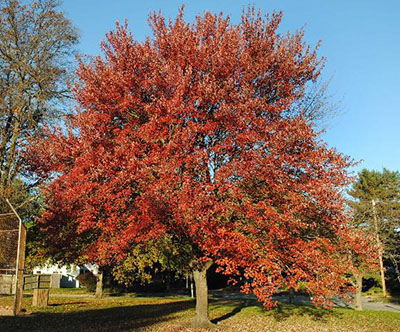
Though the calendar says November, the weather in Northwest Florida is still producing summer or at least spring-like temperatures. The nice days are wonderful opportunities to accomplish many of those outside landscape chores. But, it is also a good time to start planning for next month’s colder temperatures. Since we don’t experience frozen soil, winter is the best time to transplant hardy trees and shrubs. Deciduous trees establish root systems more quickly while dormant; versus installing them in the spring with all their tender new leaves.

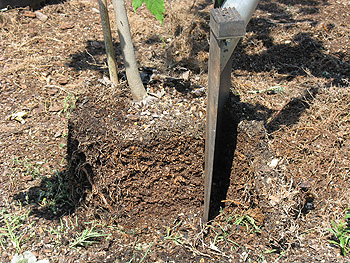
Remove an inch or more for extremely rootbound trees.
Here are a few suggestions for tasks that can be performed this month:
- Plant shade trees, fruit trees, and evergreen shrubs.
- Do major re-shaping of shade trees, if needed, during the winter dormancy.
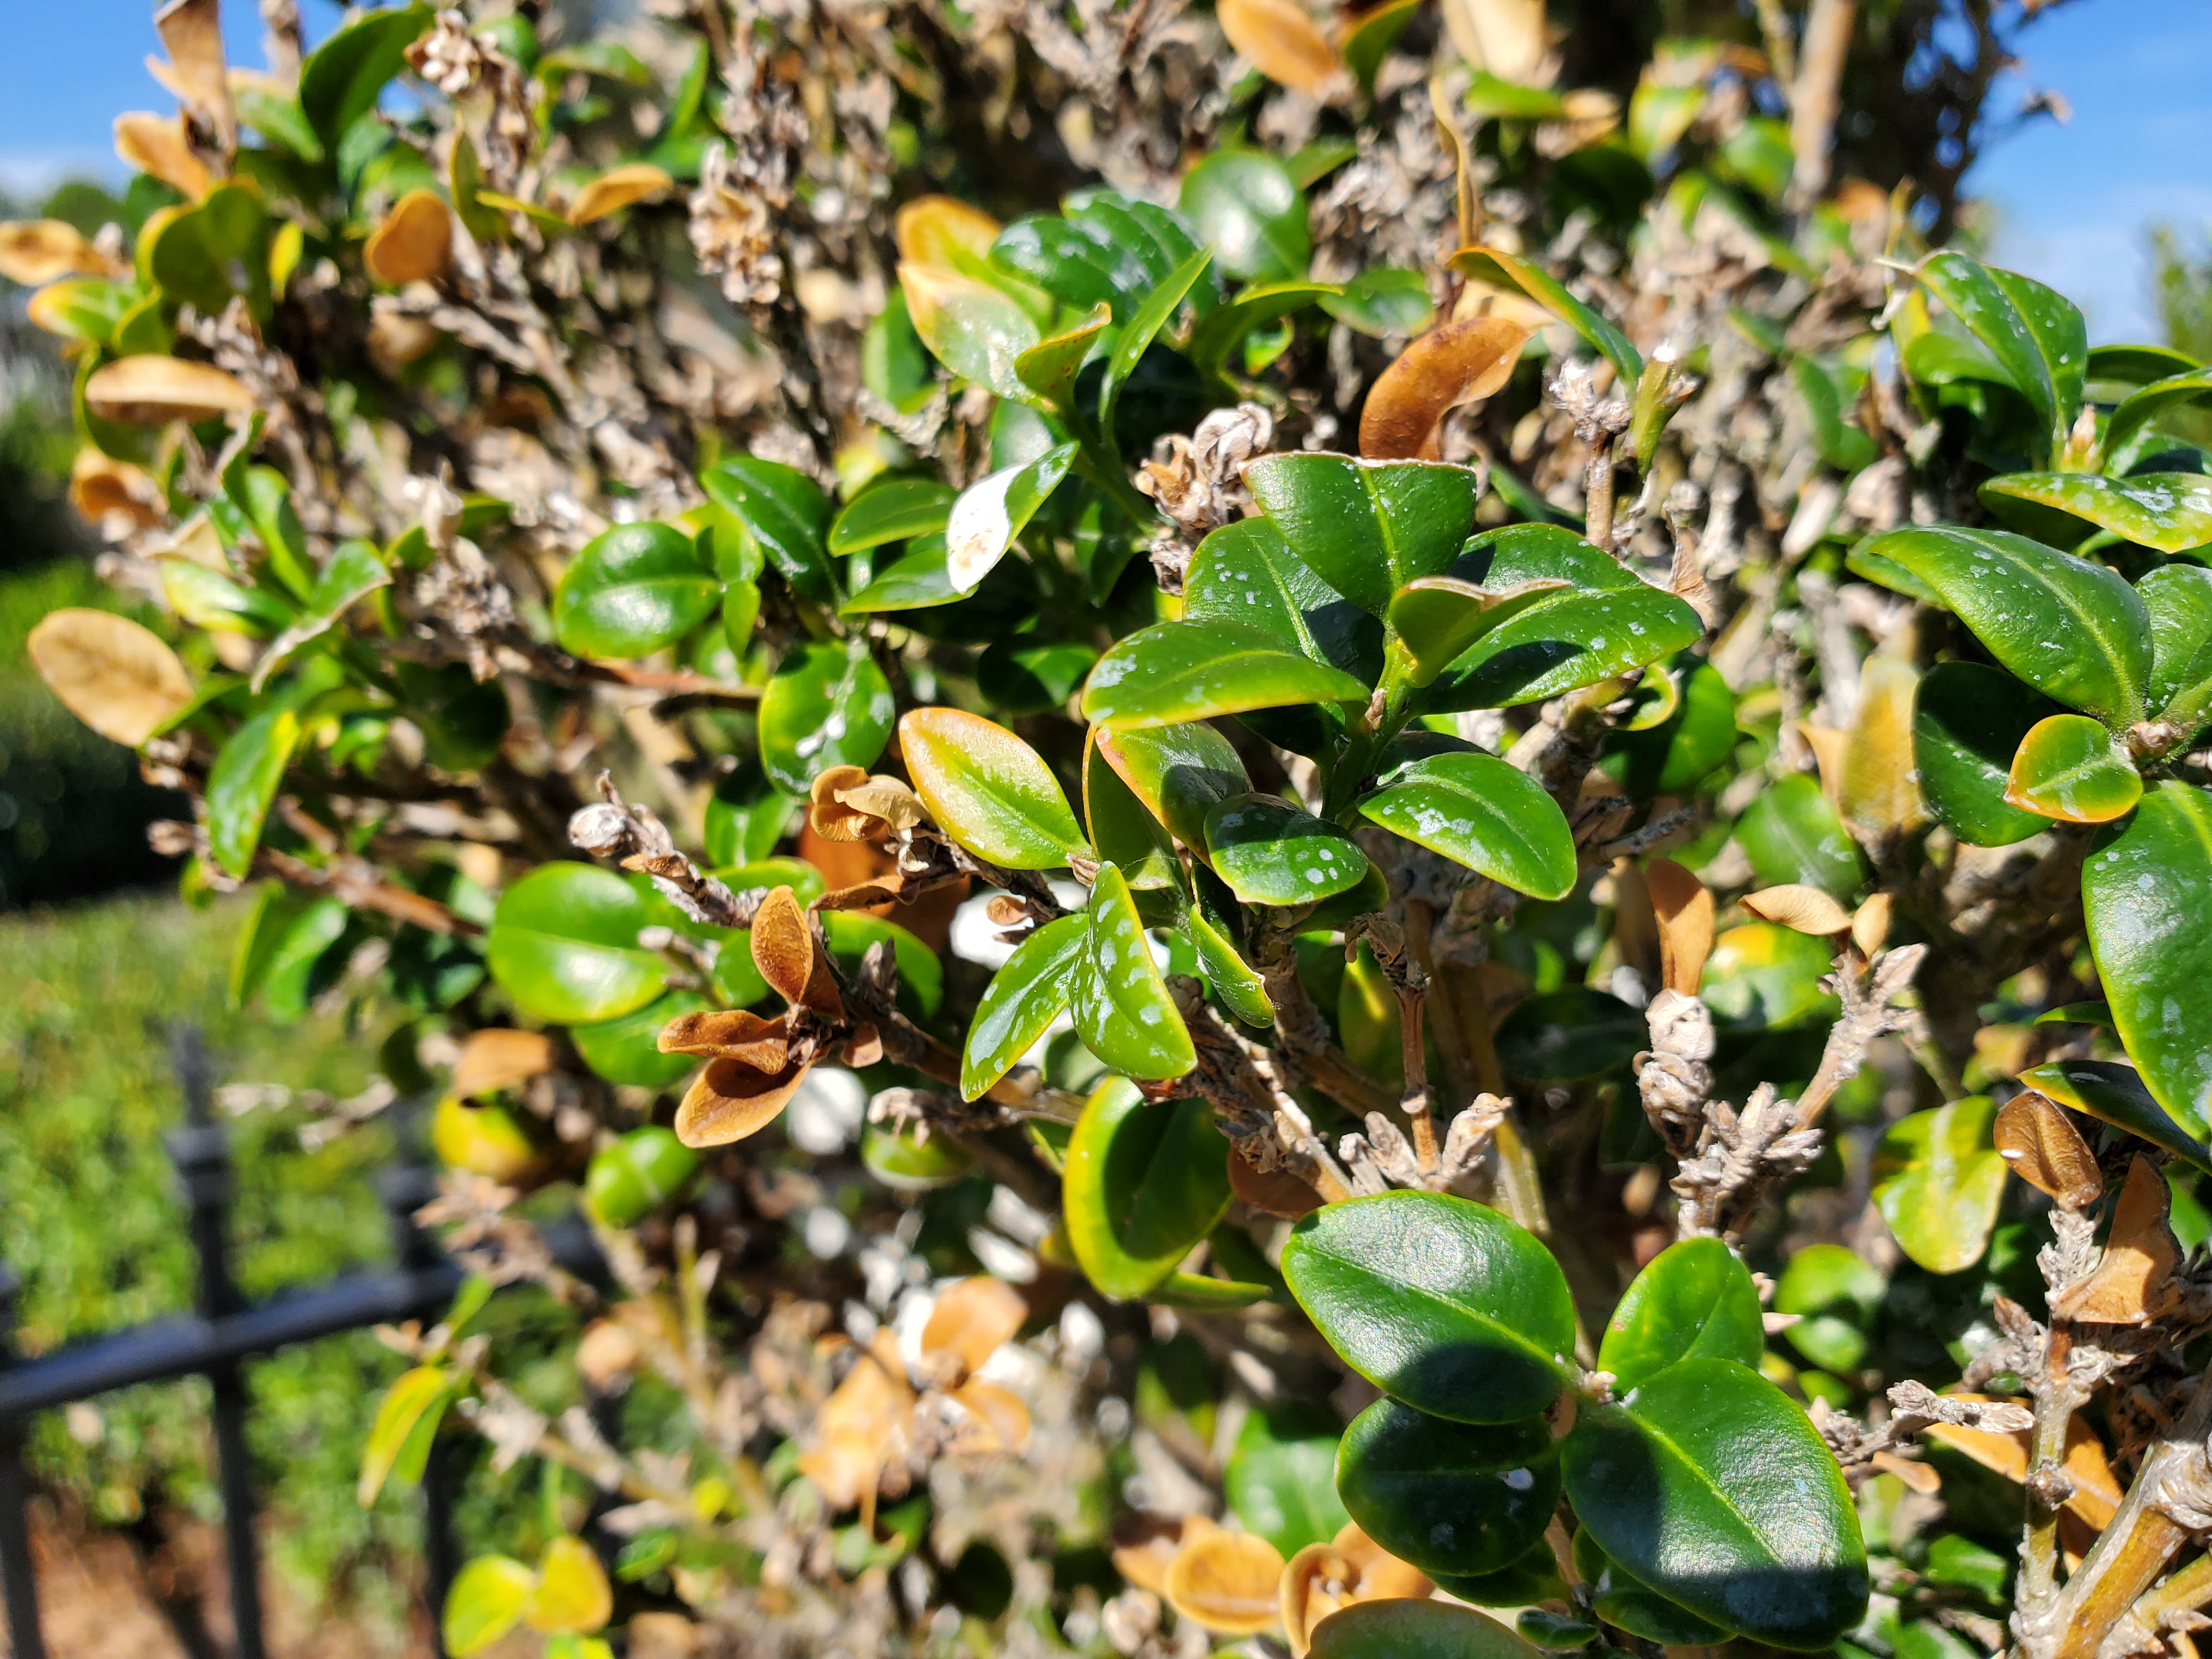
- Check houseplants for insect pests such as scale, mealy bugs, fungus gnats, whitefly and spider mites.
- Continue to mulch leaves from the lawn. Shred excess leaves and add to planting beds or compost pile.
- Replenish finished compost and mulch in planting beds, preferably before the first freeze.
- Switch sprinkler systems to ‘Manual’ mode for the balance of winter.
- Water thoroughly before a hard freeze to reduce plants’ chances of damage.
- Water lawn and all other plants once every three weeks or so, if supplemental rainfall is less than one inch in a three week period.
- Fertilize pansies and other winter annuals as needed.
- Build protective coverings or moving devices for tender plants before the freeze warming.
- Be sure to clean, sharpen and repair all your garden and lawn tools. Now is also the best time to clean and have your power mower, edger and trimmer serviced.
- Be sure the mower blade is sharpened and balanced as well.
- Provide food and water to the area’s wintering birds.
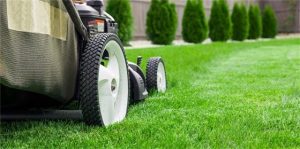
Mowing a lawn. Photo Credit: University of Florida/IFAS
by Larry Williams | Oct 31, 2024
So far, our fall has been unusually dry with warmer temperatures. Even though our average annual rainfall is around sixty-two inches per year, we don’t always receive rain exactly when we need it. There are times when we need to apply additional water. During dry weather, employ the following water management practices to improve the water efficiency of your lawn and landscape.
Mulching helps conserve water. On bare ground, about sixty percent of the water can be lost through evaporation. A two to three-inch layer of mulch will help hold onto the water so the plants can use it. Try to mulch the entire root zone when possible or at least apply mulch all the way around the plants out to the end of the branches.
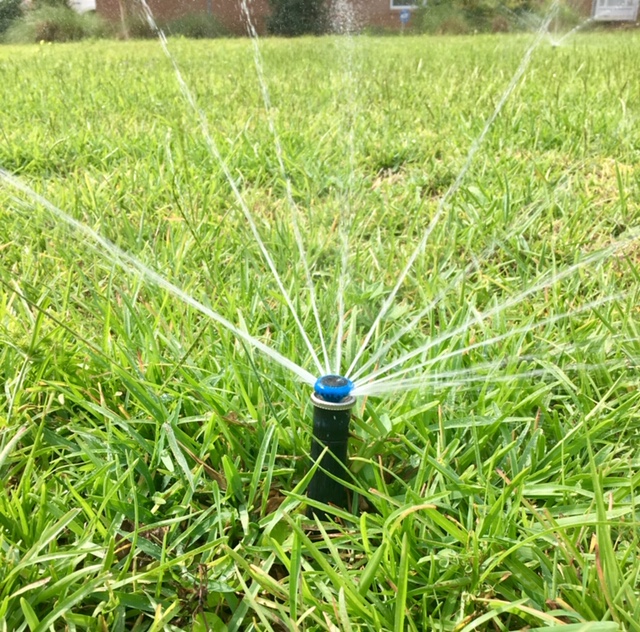
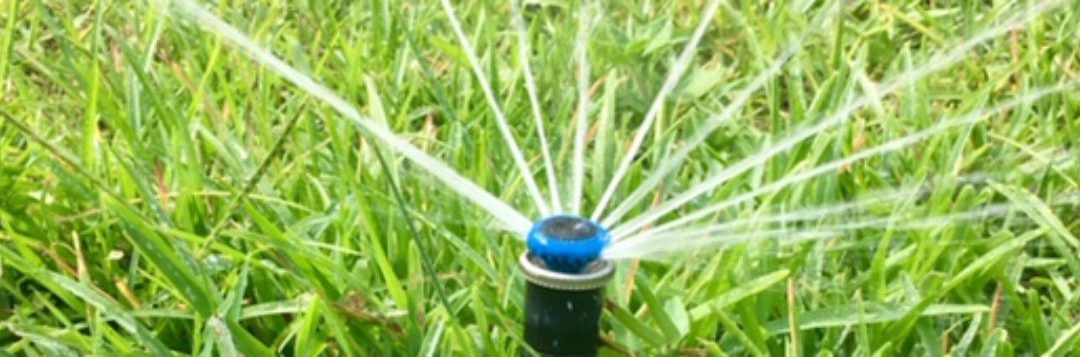
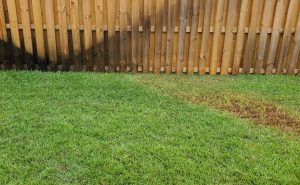
Irrigate on as needed basis during dry periods. Credit: Larry Williams
When watering, a thorough soaking to wet the soil to a depth of six to eight inches is much better for plants than light, frequent watering. Three to five gallons of water applied to one spot under the canopy of trees or shrubs should thoroughly saturate the root zone in that location. During dry periods, as a general rule), twenty-five percent of the root system, when watered thoroughly, can absorb all the water a plant requires at any given time.
When watering lawns, apply one inch of water per week when we are not getting rain. Although many sprinklers have irrigation rates of ¼ inch per hour, some may apply up to one inch per hour. Measure your irrigation rate and uniformity by placing several open-top containers of the same size under the sprinkler and see how long it takes to apply a known amount of water such as ½ inch.
An efficient irrigation program on turf should not begin until the lawn grass shows signs of moisture stress. Symptoms include a dull and bluish-green color and leaf blades folding. The most efficient time to irrigate is between sunset and sunrise because of less evaporation, less wind and lower temperatures. Early morning is the next most effective time to irrigate while midday is the least efficient.
Avoid fertilizing drought-stressed plants. Fertilizers are chemical salts and will dehydrate roots when water is in short supply. If you need to apply a pesticide, make certain the plant is not wilted at the time and spray during early morning or late afternoon. You should also avoid unnecessary pruning of plants during drought. Pruning encourages new growth, which has a high demand for water.
For more information on watering efficiently and drought tolerant plants, contact the UF/IFAS Extension Office in your county or visit the following website: http://gardeningsolutions.ifas.ufl.edu/care/irrigation.
by Sheila Dunning | Aug 7, 2024
The “Dog Days” are the hottest, muggiest days of summer. In the northern hemisphere, they usually fall between early July and early September. The actual dates vary greatly from region to region, depending on latitude and climate. It is miserable right now, but fall is coming.
In ancient times, when the night sky was not obscured by artificial lights, the Romans used the stars to keep track of the seasons. The brightest constellation, Canis Major (Large Dog), includes the “dog star”, Sirius. In the summer, Sirius used to rise and set with the sun, leading the ancient Romans to believe that it added heat to the sun. Although the period between July 3 and August 11 is typically the warmest period of the summer, the heat is not due to the added radiation from a far-away star, regardless of its brightness. The heat of summer is a direct result of the earth’s tilt.
Spending time outdoors this time of year is uncomfortable, potentially dangerous, due to the intense heat. However, the chinch bugs are very active in St. Augustine grass (for more information: http://edis.ifas.ufl.edu/lh036), and the summer flowers need water. So, take care of those tasks early in the day and then retreat to the air conditioning to plan your fall planting.
Plant tomato plants in August for fruit in October. Varieties such as Phoenix, Florida 91, Solar Set and Heat Wave II are good selections for setting fruit in high temperatures, should summer temperatures continue. Otherwise, try some of the newer UF/IFAS recommended varieties for fall planting in North Florida such as Bella Rosa, Tribute or Finishline. For more information on tomato selection refer to: http://edis.ifas.ufl.edu/in756. For information on other vegetables for fall gardening refer to the Florida Vegetable Gardening Guide: http://edis.ifas.ufl.edu/vh021.
Many bedding plants flower quickly and can add color to the fall landscape. These include pentas, African marigolds, torenia, zinnias, melampodium and scaevola. Other can be planted in October for blooms all winter-long. Plan spaces and color themes for calendulas, pansies, snapdragons and violas. Add in ornamental cabbage or kale and some dusty miller to accent the garden. They too will perform through the cold. For more information on Annuals for the Florida Garden refer to: http://edis.ifas.ufl.edu/mg319.
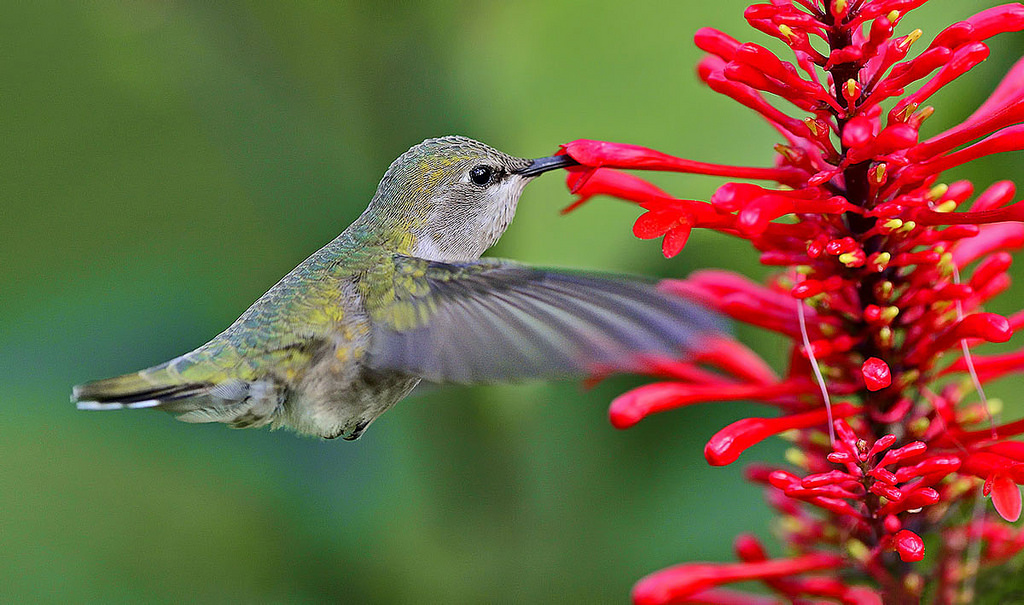
Dependable fall blooming perennials include lion’s ear (Leonotis leonurus), pineapple sage (Salvia elegans), firebush (Hamelia patens), cigar plant (Cuphea micropetala), yellowbells (Tecoma stans) and firespike (Odontonema strictum). Also, garden mums (Chrysanthemum sp.) and many different Irises will add color again in the spring. To gain information on perennials for Florida refer to: http://edis.ifas.ufl.edu/mg035.

Webster’s second definition of “dog days” is a period of stagnation or inactivity. But, even when the heat forces you to slow down on the labor-intensive work, there is plenty of gardening “activity” to do. Stay in the air conditioning and plan that spectacular fall and winter yard.
by Evan Anderson | Mar 29, 2024
After a relatively cold winter like the Florida panhandle has experienced the last couple of years, it’s always gratifying to see plants greening up in the spring. Anyone who enjoys the outdoors is likely to want to get out there and start helping things grow. That means it’s time to get the irrigation system up and running every day, right?
Probably not!
The conditions in our region can be harsh on plants. The soils are very sandy, meaning they don’t easily hold on to water or nutrients for plants to use. The weather ranges from freezing cold in the winter to sizzling hot in the summer. Rain might come down in 20-inch bursts or not at all for weeks at a time.
With all these challenges plants face, it’s very important to choose ones that can handle all that our environment throws at them. Native plants and those designated as “Florida Friendly” tend to be well suited for our location, but they still may need some care. They must be placed in the correct location in the landscape based on their needs for sunlight, water, and other factors. If you choose the right plant and place it in the right location, you’ll drastically reduce the amount of management that it needs on an ongoing basis. This includes watering.
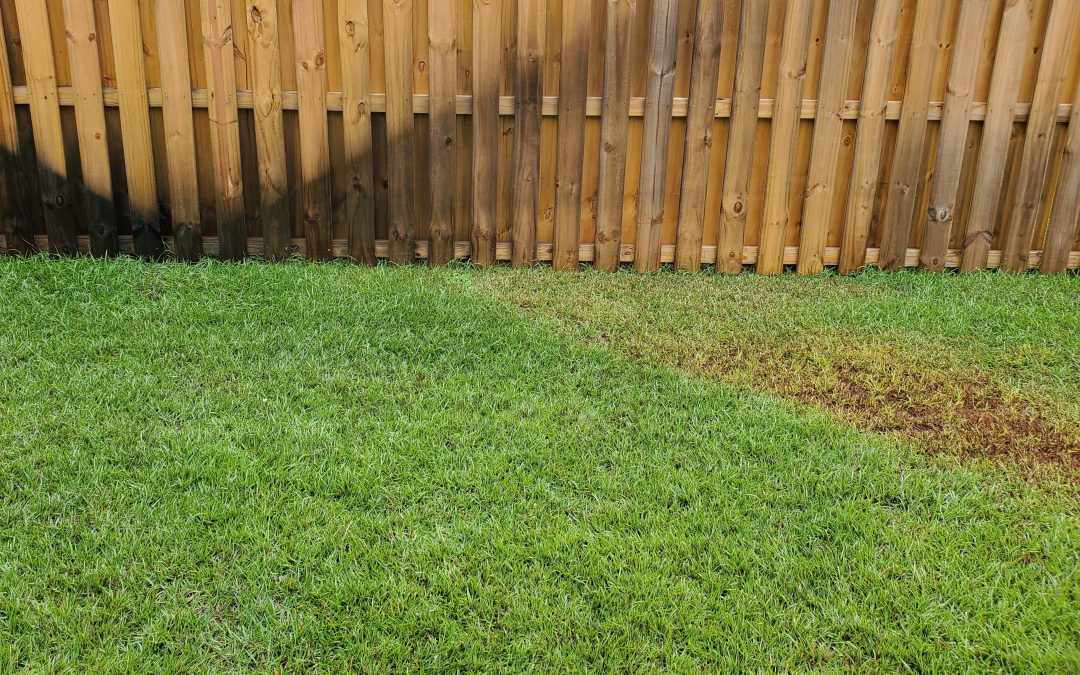
While actively growing, plants – whether that means towering trees or low-growing grass – take up water through their roots and give some off in the form of water vapor through their leaves. If the amount of water in the soil is more than the plant is giving off, it doesn’t need more! Watering at these times can actually harm, rather than help. The roots of overwatered plants typically start to die back, which can lead to symptoms such as patchy dieback of foliage or what may look like nutrient deficiency. Overwatered areas might also see an uptick in water-loving weeds such as dollarweed, which will be difficult to control unless the area is dried out a bit.

Set irrigation systems to water early in the morning rather than at midday, and make sure they water plants, not walls.
It is tempting to think that our sandy soils drain quickly enough to make watering a constant necessity, but remember! We’ve already chosen plants that survive well in our location. Even our turfgrasses are chosen for their ability to withstand drought. There may only be three or four months out of a year that become dry enough to warrant extra irrigation at all, and even then, it’s probably less than most people expect!
For lawns, a general rule is to water only when the grass is showing signs of drought stress. Leaf blades may fold up lengthwise, the lawn’s color may become duller, and footprints in the turf persist rather than springing back. If the turf needs watering, apply ½ to ¾ inch of water per irrigation – that’s all!
Improperly calibrated irrigation systems can do more harm than good.
To figure out how much that is, set several small, empty straight-edged cans such as cat food tins or tuna cans out in the lawn. Run the irrigation for a set period of time to see how much water collects. This will also highlight any inconsistencies in watering, so you can try to adjust your irrigation system to water evenly by replacing broken nozzles and making sure the whole area is covered with no gaps or overlaps. Make sure the irrigation system is equipped with a rainfall shutoff device as well, to automatically stop watering when it rains (which it often does regularly).

Overwatered shrubs may display patchy dieback or yellowing leaves.
For landscape plants such as trees and shrubs, you may not need any supplemental irrigation at all unless there is a severe drought. Know your plants’ needs and keep an eye on the weather. Droughts, if we do have them, usually occur in the spring or fall in our area. During the summer, daily rainstorms often allow us to keep our irrigation systems off for months at a time!
Water appropriately and you may notice a reduction in your water bill, fewer plants that need to be replaced, and fewer water-loving weeds. You’ll also help the environment by reducing runoff into water bodies.
For more information on watering, contact your local Extension office. There is also a wealth of information to be found online, with resources such as the Florida Friendly Landscaping program and UF’s EDIS publications (see “Watering Your Florida Lawn”, for example). Happy watering!