by Daniel J. Leonard | May 7, 2020

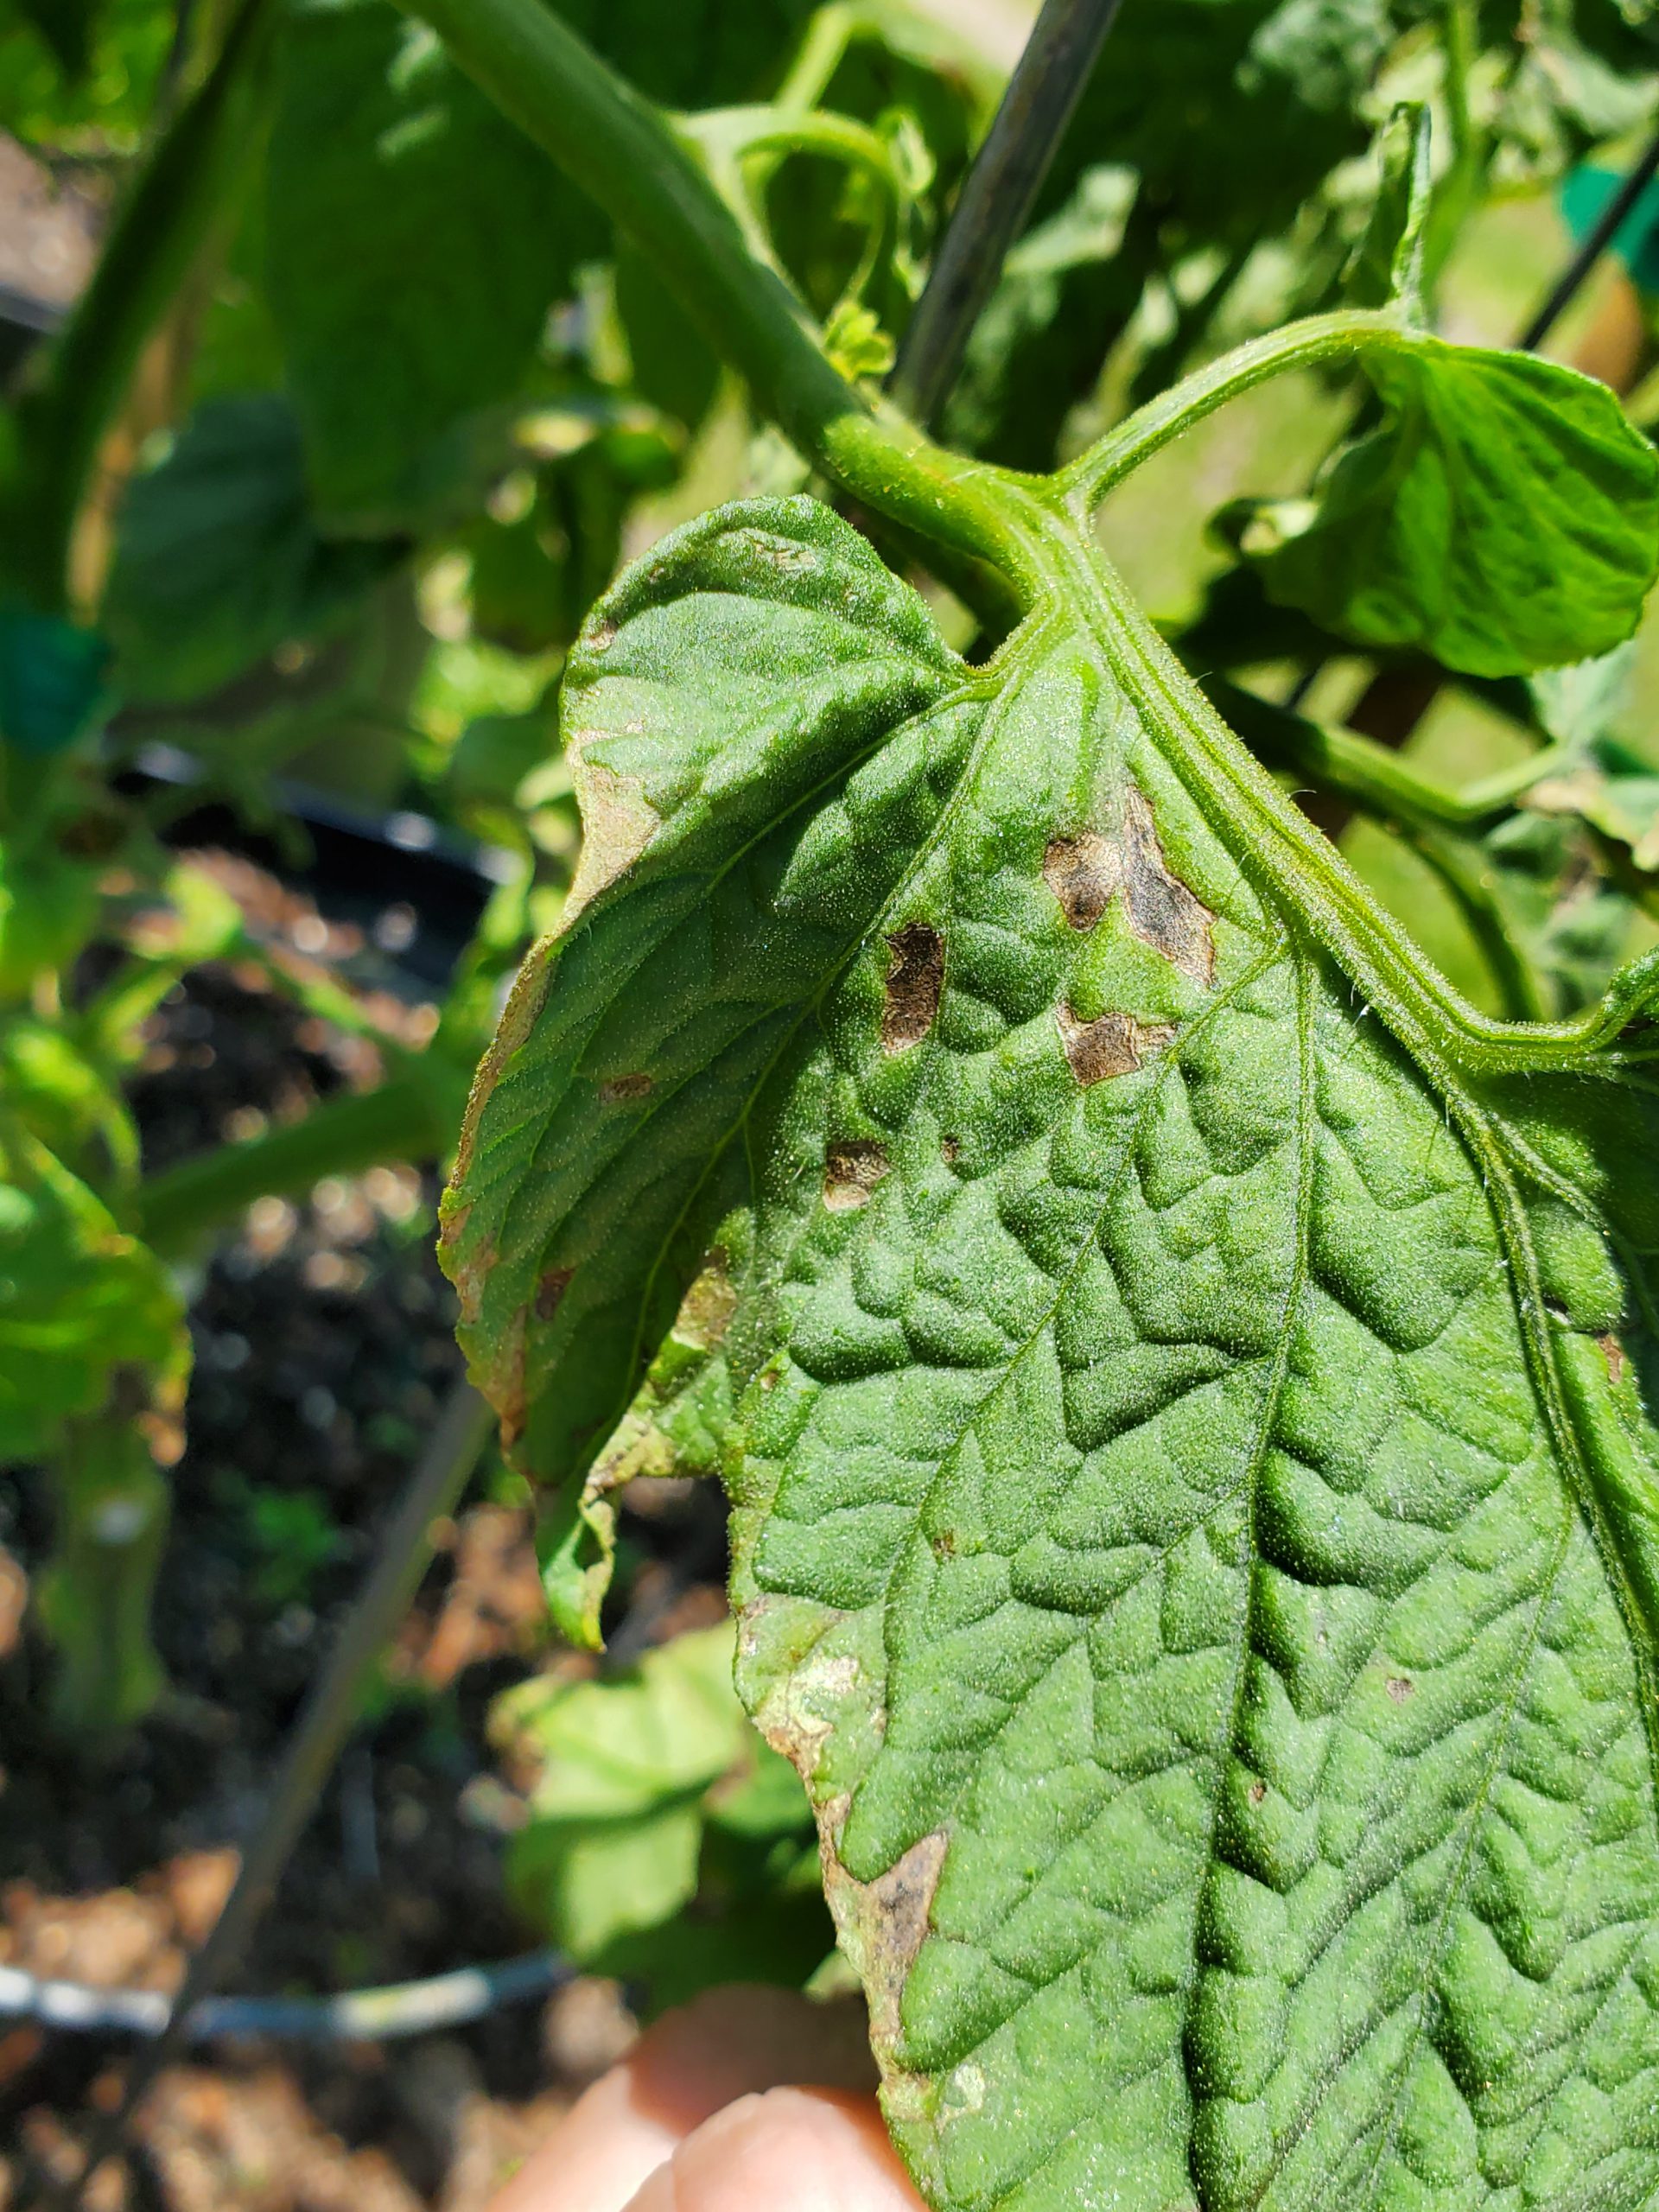
Early BLS symptoms appear on lower leaves. Photo courtesy of the author.
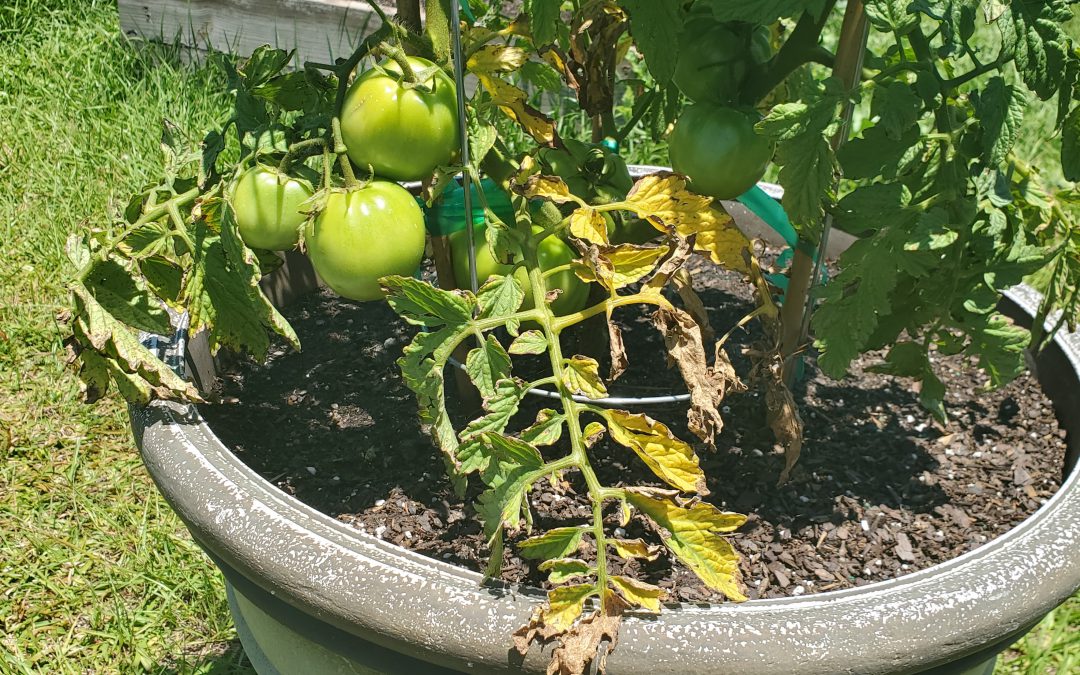
Tomatoes are among the most notoriously difficult vegetable species to grow in Florida. Even when you do everything right (choose disease resistant varieties, buy clean seed/healthy transplants, plant early, rotate crops, scout for insects, prune and support vines, etc), things can go wrong in a hurry. Bacterial Leaf Spot (BLS) caused by the pathogen Xanthomomas perforans, is one of those things. BLS often hitches a ride into gardens undetected on seed and transplants and presents itself as warm and humid weather arrives in late April/early May. Outbreaks typically happen in concurrence with the frequent heavy rainstorms that accompany these months and quickly wreak havoc on tomato plants.
BLS occurrence, much worse in some springs than others, has exploded this year in home gardens. First noticed on the plant’s lower leaves, BLS pathogens enter through natural openings in leaves called stomata, manifest as small, “water-soaked” leaf lesions and then develop within days into dark circular spots, sometimes surrounded by a yellow halo. As conditions worsen, all these individual infections cause a general yellowing or “blighting” of entire leaves. Though the issue begins on tomato leaves, BLS can affect all parts of the plant, including stems, flowers and fruit too! It’s at this point, when blighted leaves become obvious and lesion developing on flower stalks cause both flowers and small fruit to drop, that most home gardeners notice that something is up.

Advancing progression of BLS with “blighted” leaves. Photo courtesy of the author.
Unlike with many other pathogens, gardeners don’t have an abundance of options to control BLS. However, taking the following preventative measures can reduce the pathogen’s impact and stave off disease progression until ripe fruit can be harvested.
- Don’t irrigate overhead. Utilize drip/microirrigation or hand water beds and containers at soil level. This prevents the leaves from becoming wet; wet leaves become a perfect host for BLS.
- Never work tomato plants when leaves are wet. No staking, pruning, tying, or anything else until plant tissue is dry. Working wet tomato plants is an excellent way to spread bacteria!
- Sanitize pruning tools often and wash hands after working infected plants.
- Maintain airflow in plants by planting at correct spacing and thinning interior leaves as necessary to facilitate quicker drying of the plant.
- Prune lower leaves to at least 12” from the soil’s surface to prevent disease transmission from soil to leaves through splashing water.
- Remove infected leaves (when plants are dry!) to slow disease progression.
- Rotate crops and destroy infected plants to prevent buildup of BLS organisms in soil.
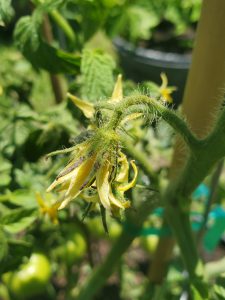
BLS lesions on tomato flowers. Photo courtesy of the author.
- Preventative measures are best, but if your garden has a history of BLS and local weather forecasts call for warm/wet/humid weather, it is best to spray fungicides proactively to protect your crop. A weekly spray with a tank mixture of copper and mancozeb is effective at keeping BLS at bay. This is the only chemical spray combination proven to be effective in controlling BLS.
- Unlike many common tomato pathogens that can be reliably avoided through planting resistant cultivars like ‘Big Beef’, ‘Celebrity’ and others, no varieties are resistant to BLS.
While BLS is an extremely destructive pathogen of both home and commercially grown tomatoes, growers can lessen the disease’s effects by following the preventative measures outlined above and spraying with a copper/mancozeb mix if necessary. Growing tomatoes this year hasn’t been easy, but it’s worth it to fight back and realize a harvest despite difficulties like BLS!
If bacteria have given you the blues or other garden issues are bringing you down, give your local UF/IFAS County Extension Agent a call! We’re here to help you be successful in all your horticultural endeavors. Happy gardening!

by Beth Bolles | Apr 8, 2020
Success in the garden can occur with proper watering. Learn several ways to water to your vegetables In the Home Garden with UF IFAS Extension Escambia County.
by Mary Salinas | Apr 1, 2020
With our warm weather, many homeowners are looking to create a beautiful lawn for the year. There are so many products in the home improvement stores and nurseries that promise to make your lawn into a green paradise. What to choose?
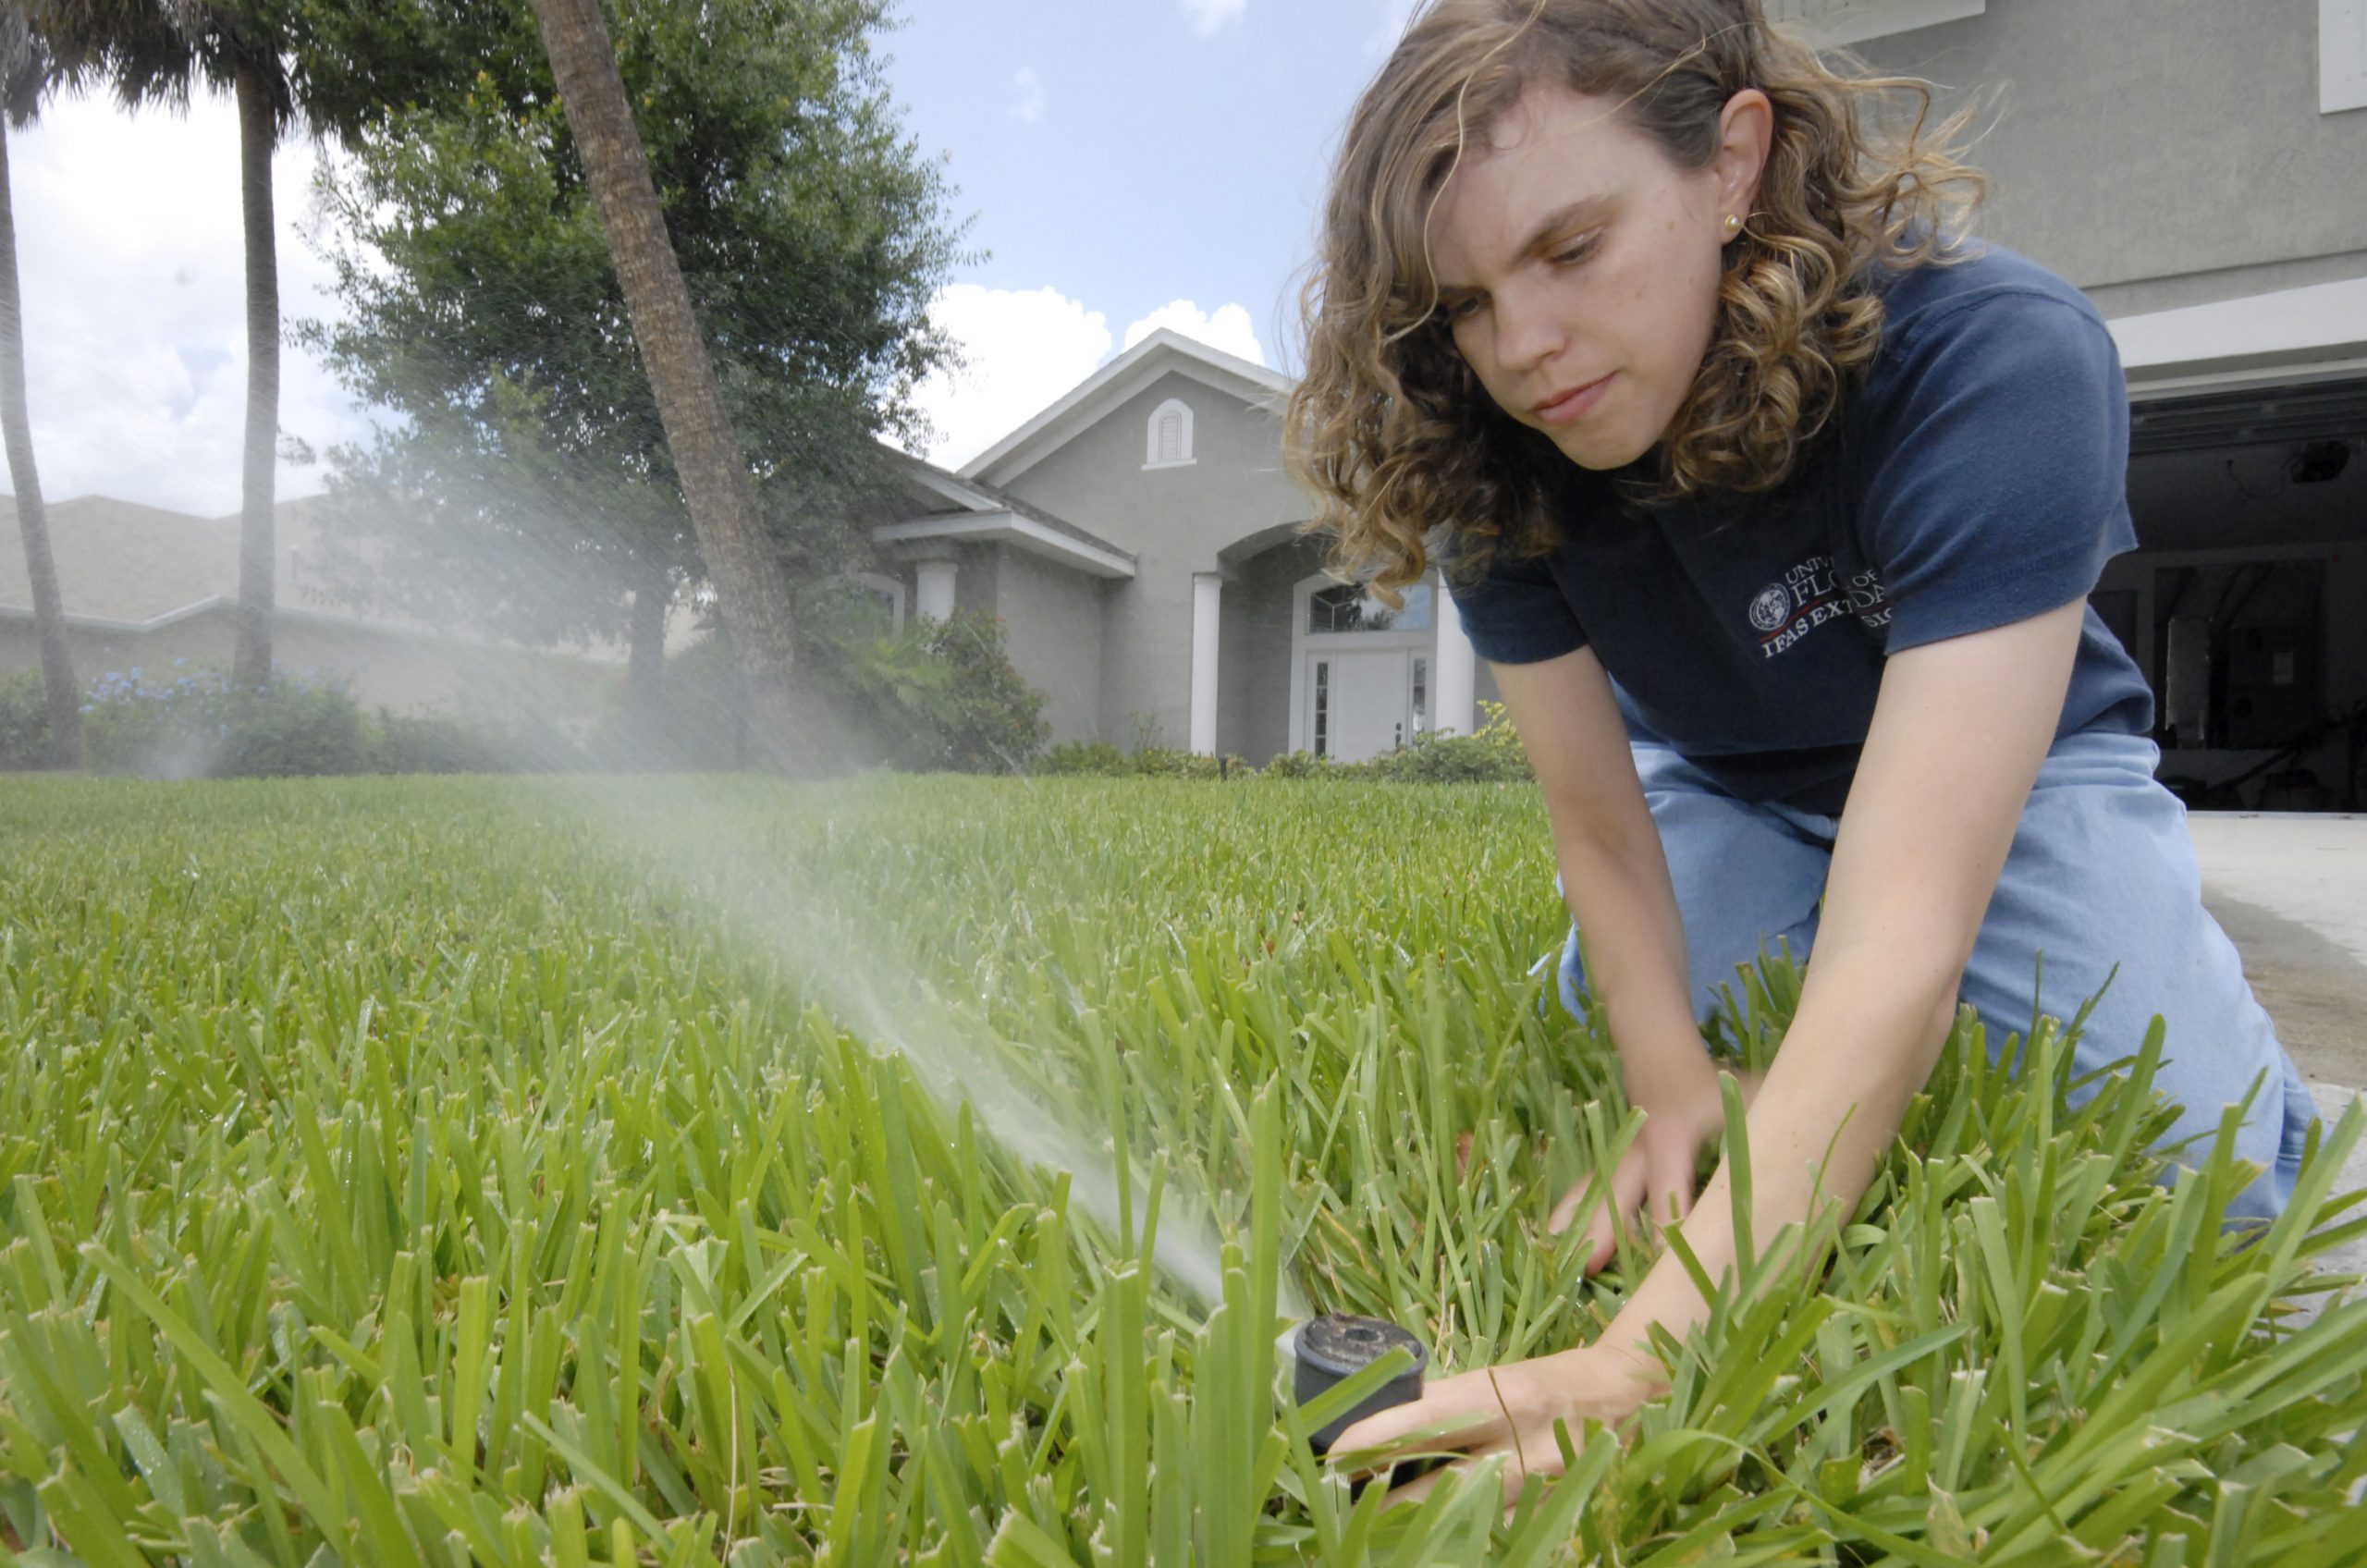
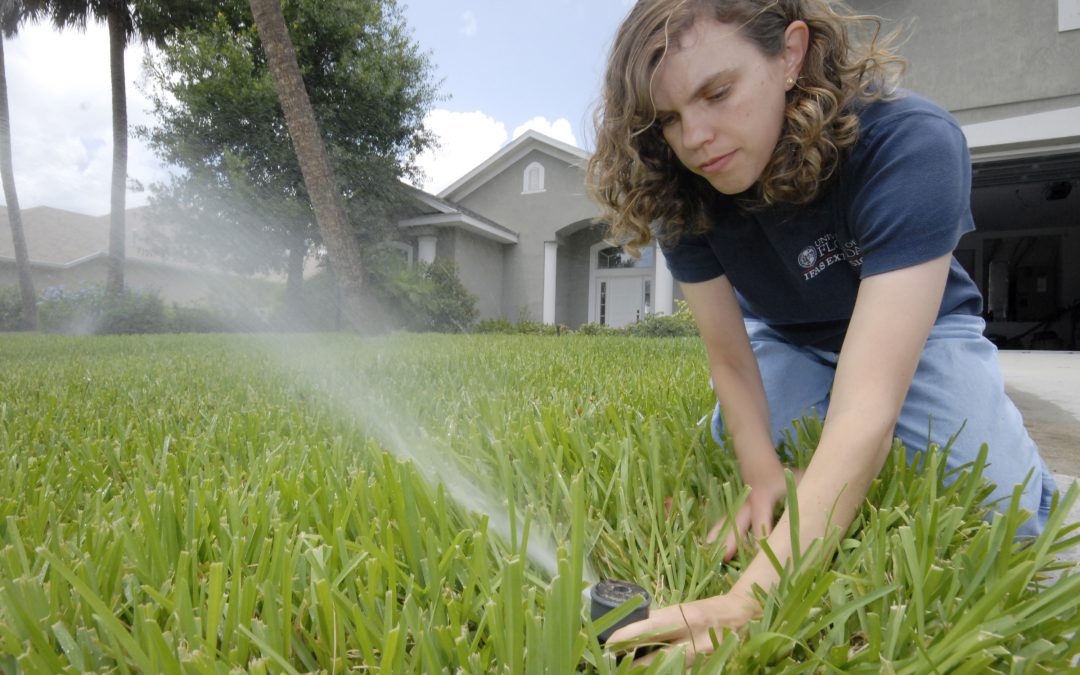
Photo UF/IFAS Extension. Spring is a good time to check the water flow and direction of a pop-up irrigation system and make adjustments as necessary.
UF/IFAS Extension provides advice based on scientific research. This is what the science says:
- Wait to apply lawn fertilizer in north Florida until mid-April. Lawn grasses don’t have sufficient root growth and capabilities to use the fertilizer until then. Applying fertilizer earlier in February and March feeds the winter weeds or is lost to leaching down into the soil below the grass roots. Here’s more detail on fertilizing your lawn.
- Weed and feed products are not recommended. Instead, spot treat weeds when they are small before they mature and set seed. Consult our Weed Management Guide.
- Preemergence herbicide, if applied correctly, can cut down on the weeds. Apply in late February or first of March for summer weeds and October 1 for winter weeds. Now in late March – Early April is still a good time to use a preemergence herbicide for those weeds that have not yet sprouted. It is crucial to apply the product correctly, following all label directions. Measure your lawn and make sure the right amount of product is applied. This is a convenient way to measure your lawn from your armchair.
- Sharpen your mower blades! A clean cut on the grass blade cuts down on lawn stress and diseases setting in.
- Water efficiently. We see more damage to lawns from overwatering than underwatering. Overwatering leads to increased weeds, disease, insect pests and weakens grass roots. Lawns need ½” to ¾“ of water and this will tell you how to determine when to water. The root system is healthier and stronger when watered deeply only when it needs it. Learn how long it takes your sprinkler system to deliver that amount.
The University of Florida provides more advice and information at:
by Daniel J. Leonard | Apr 1, 2020
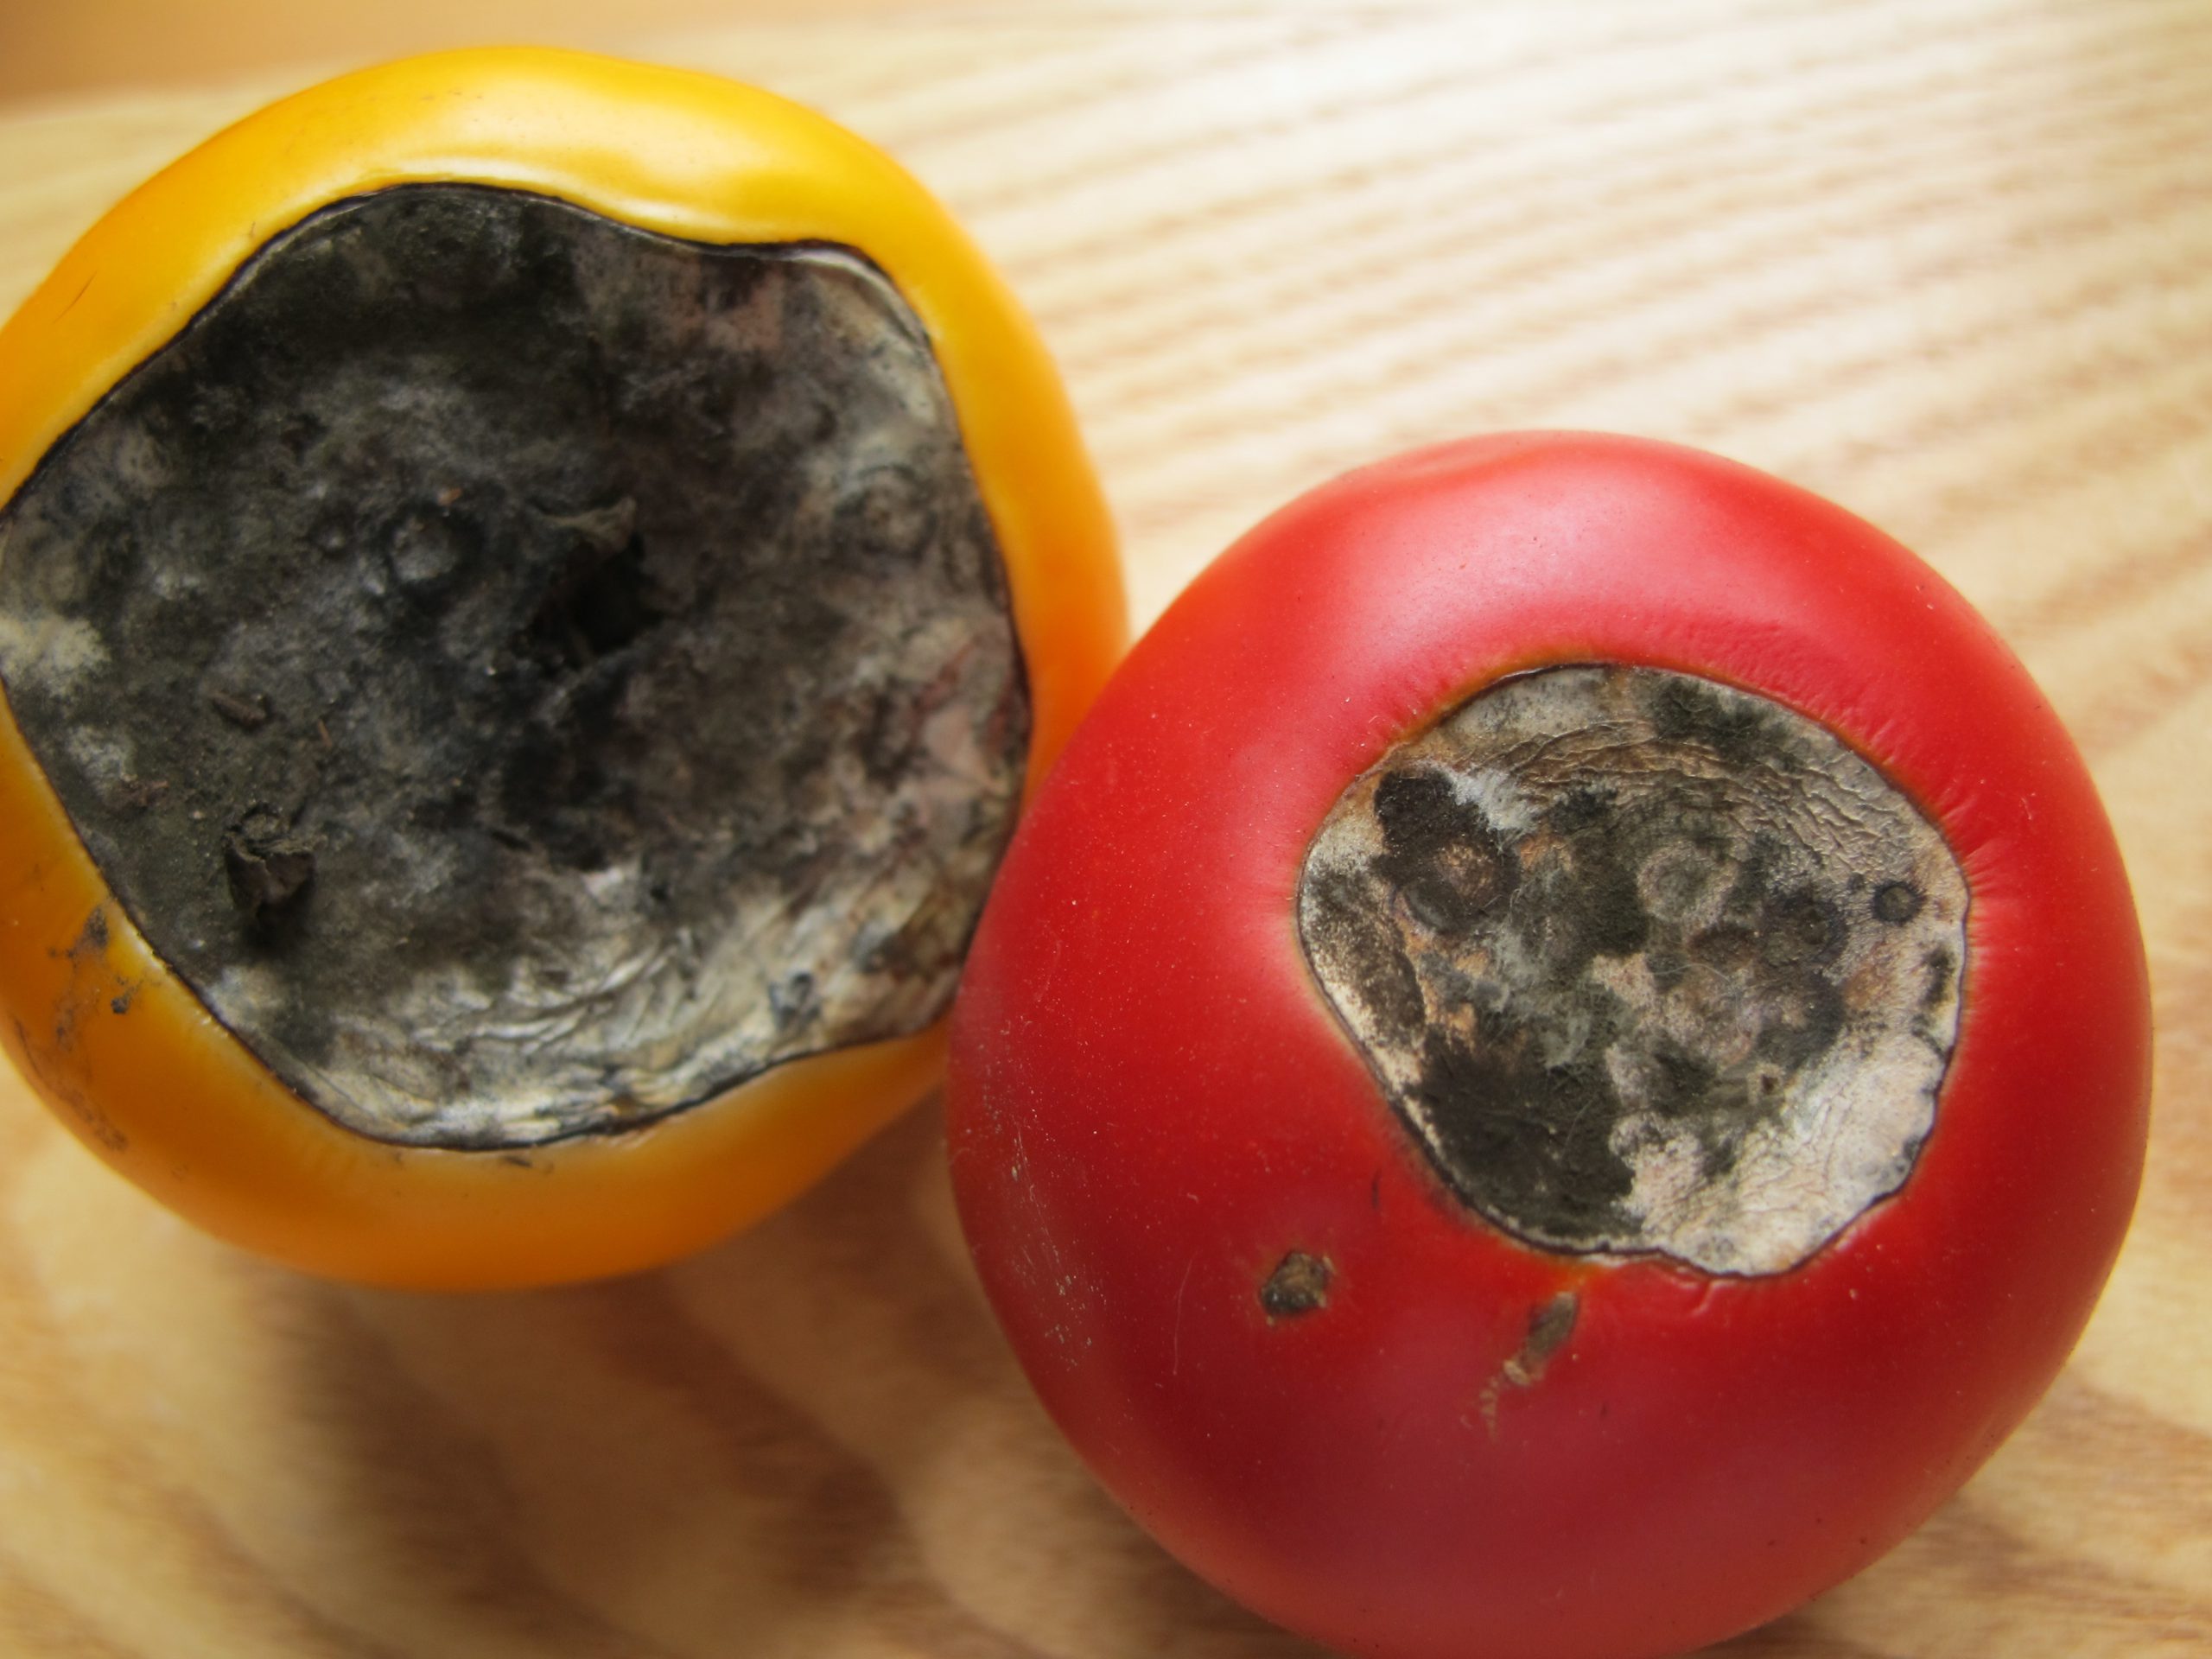
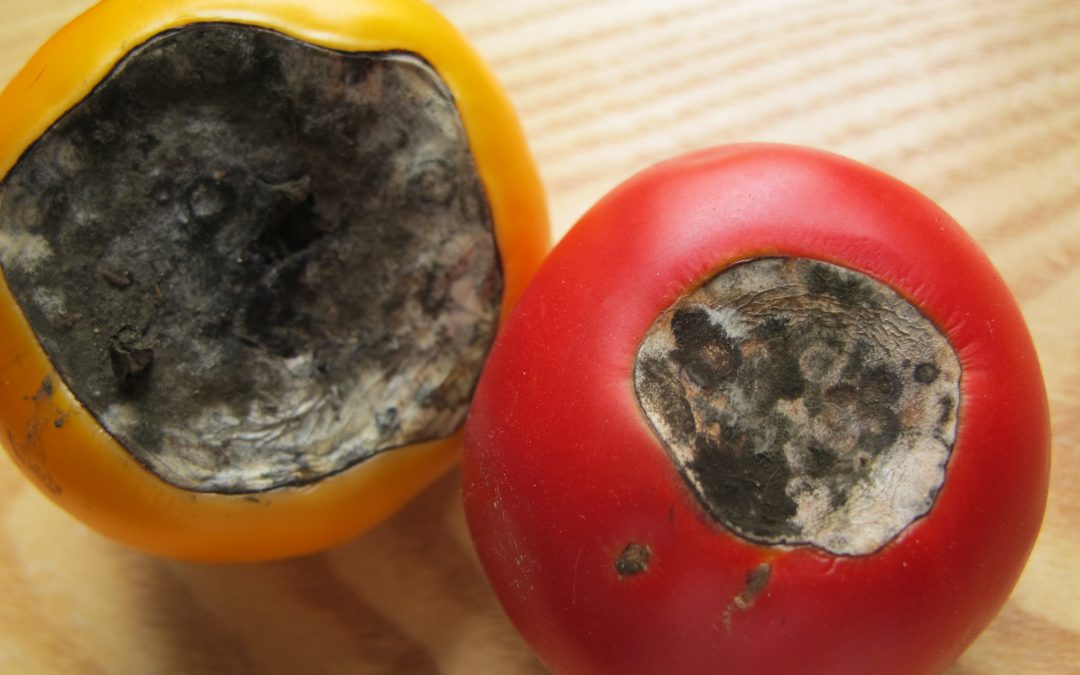
There aren’t many more frustrating things than growing seemingly healthy tomatoes, those plants setting an abundance of flower and fruit, and then, once your tomatoes get about the size of a golf ball, having the fruit rot away from the base. This very common condition, called Blossom End Rot (BER), is caused one of two ways: by either a soil calcium deficiency or disruption of soil calcium uptake by the plant. Fortunately, preventing BER from occurring and then realizing an awesome crop of tasty tomato fruit is relatively simple and home gardeners have a couple of possible preventative solution!
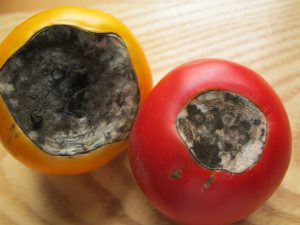
Blossom End Rot damage. Photo Courtesy Larry Williams, Okaloosa County Extension.
- Soil Test & Lime if Needed. The only way to really know if your soil calcium level is sufficient is through a soil test. A complete soil test through the UF Soil Lab or other lab measures both raw nutrient levels and pH. Testing for pH is especially critical. For calcium, either already in the soil or in a supplement you apply, to be available to tomato plants, soil pH needs to be between 6.0-7. In more “acidic” soil pH below 6, nutrients like iron and aluminum become more available to your tomato plants, outcompeting calcium for uptake into the roots. We don’t want that. If your soil test indicates a pH below 6, it will give a lime recommendation somewhere between 3-5 lbs/100 ft sq of garden area to raise the pH to the sweet spot between 6.0-7.0 where your tomatoes will thrive.
- Use a Non-Lime Calcium Supplement. If you’ve had your soil tested and your pH is fine, adding more lime as a calcium supplement isn’t helpful. Using lime as an additional calcium source can actually lift pH above that 6.0-7.0 zone and cause other problems. At this point, once pH is where we want it, I like to add a non-lime calcium supplement. There are lots of options here. Traditional fertilizers labeled for tomatoes and veggies tend to have a good calcium content in the 6-10% range and work great. However, if you’re into organic gardening or just don’t need the extra nutrient value of a complete fertilizer, Gypsum is a good calcium supplement and is widely available. Regardless of which non-lime source you choose, apply at planting or shortly after and follow label rates for best results.
- Water Properly. Consistent watering is key in helping ward off BER. Though we know BER is generally

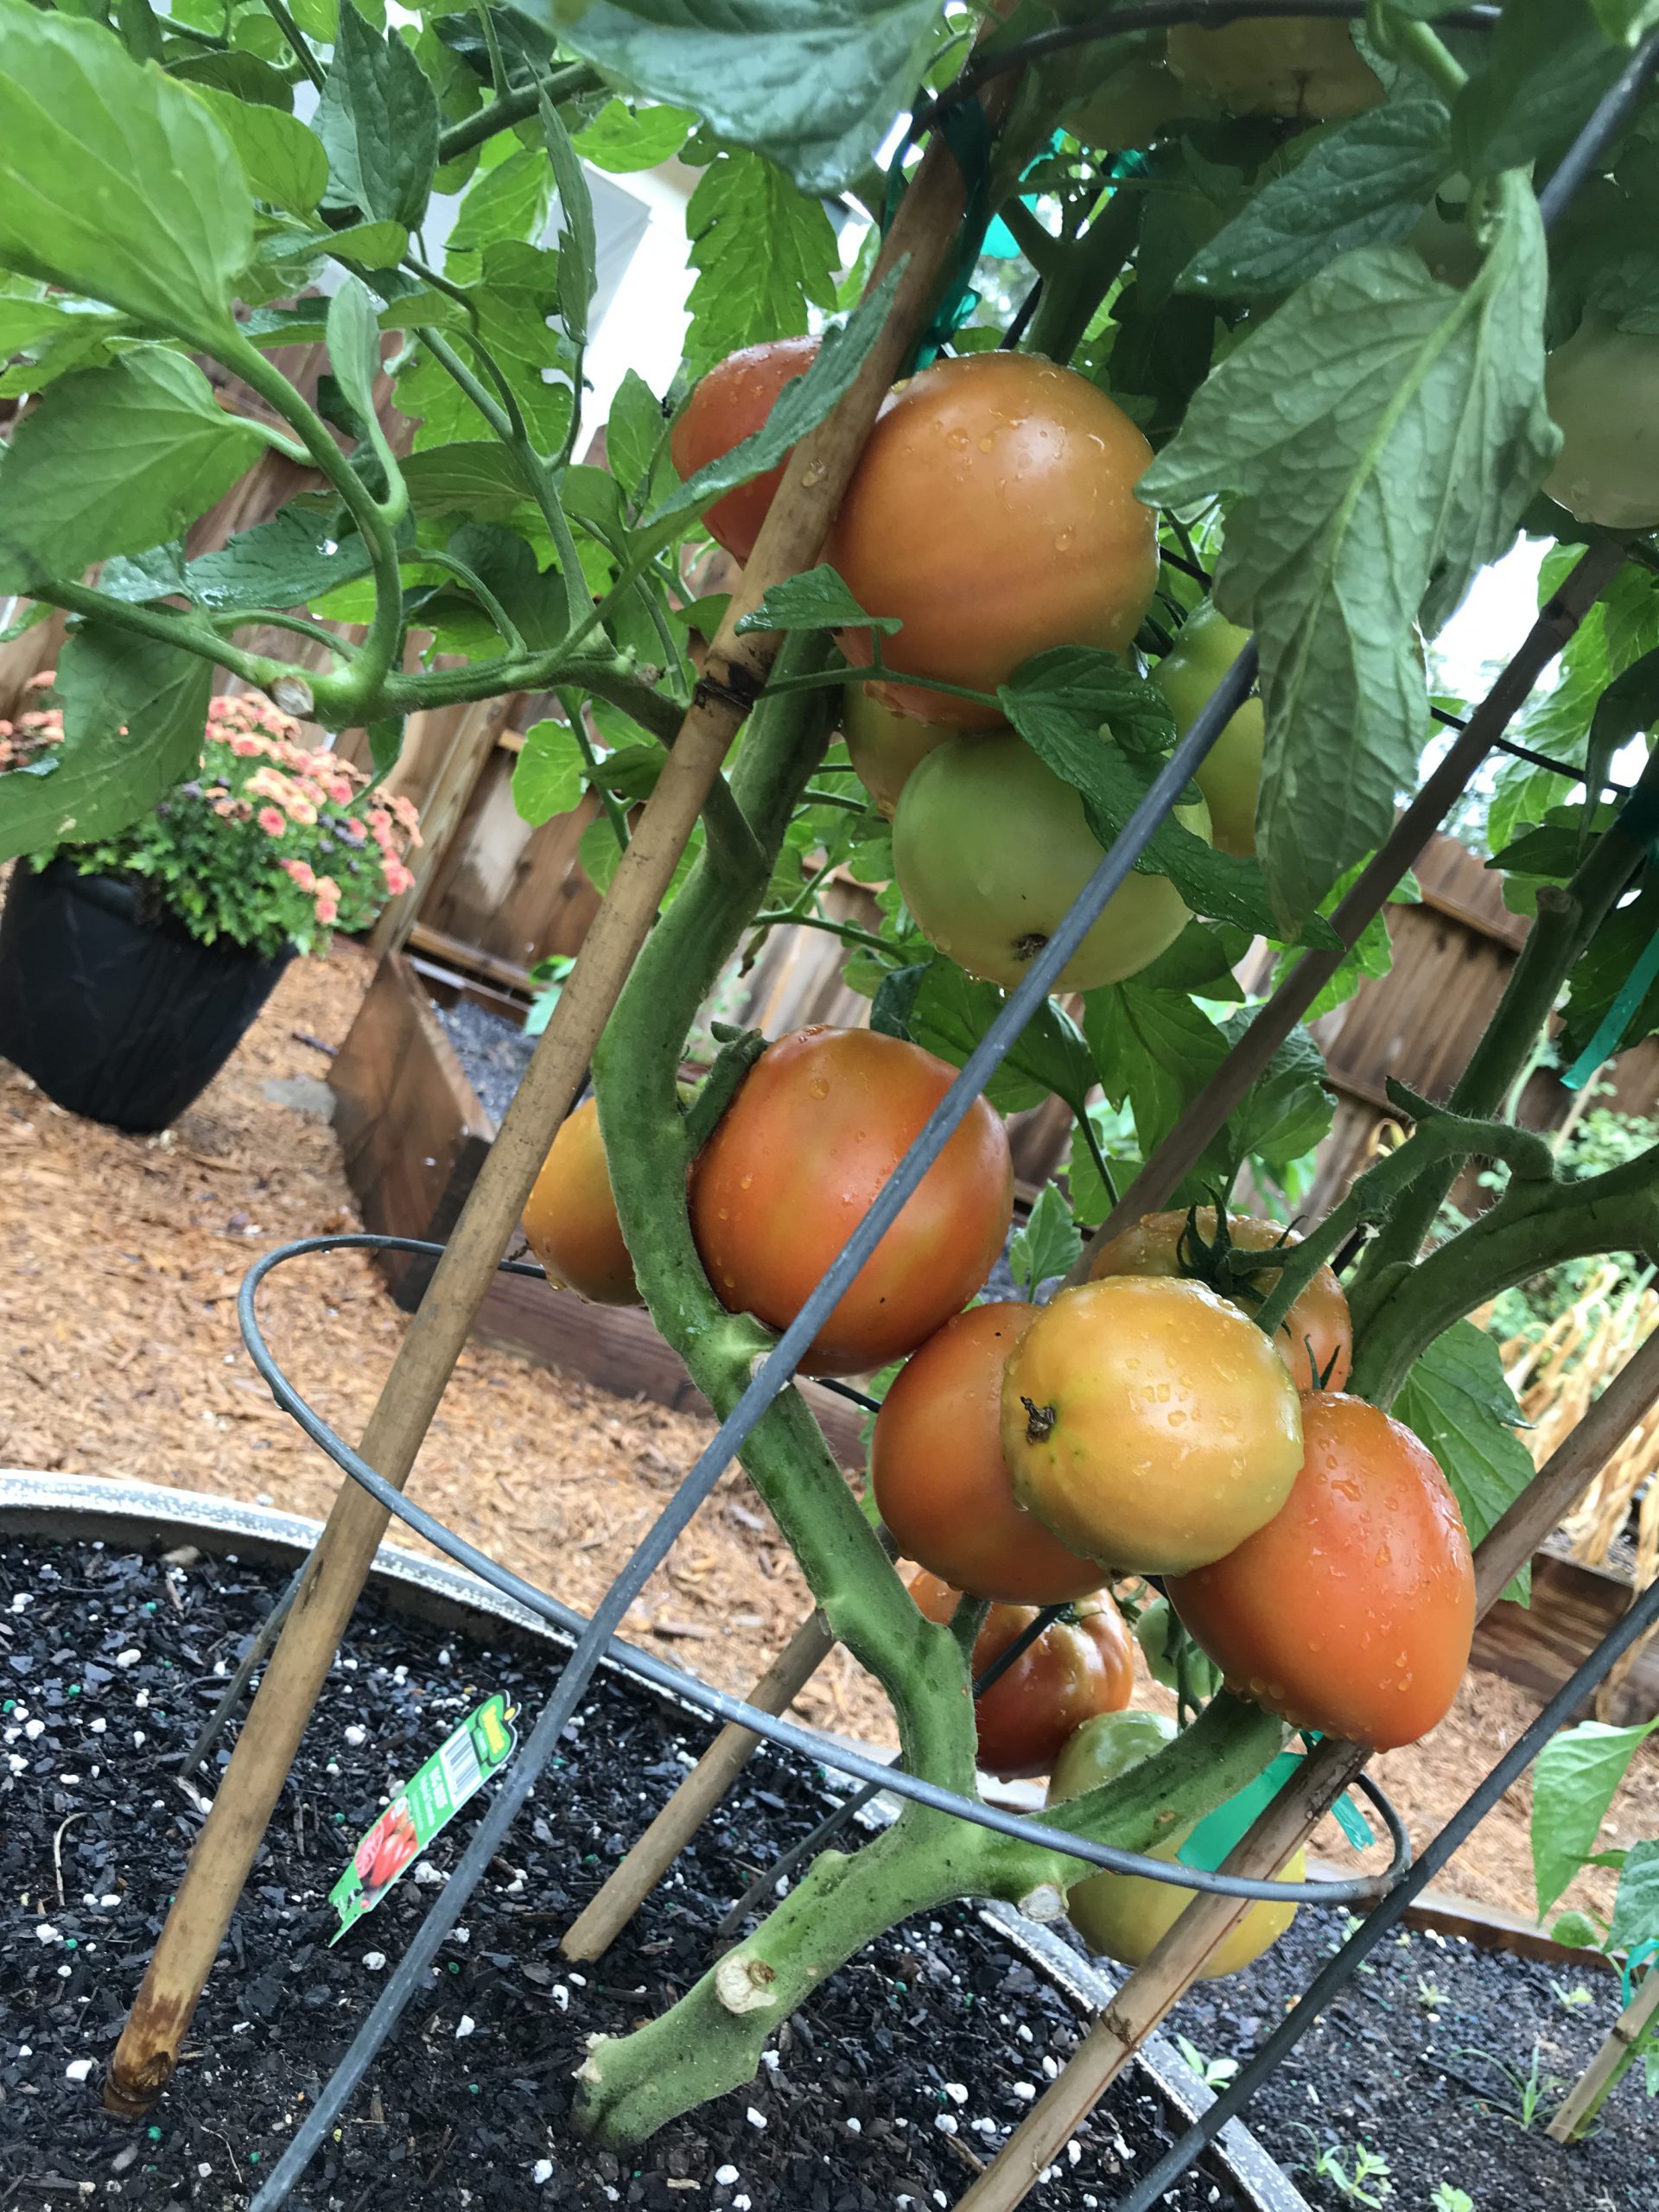
Healthy ‘Big Beef’ tomatoes grown in 2019 with a pH of 6.5, amended with Gypsum at planting, and watered regularly each day! Notice no BER. Photo courtesy the author.
caused by calcium deficiency, it can be induced by creation of distinct wet and dry periods from non-regular watering, interfering with calcium uptake and availability to the plant. So, while you may have adequate soil calcium, if you don’t water correctly, the condition will happen anyway! It’s also good to keep in mind that mature tomato plants use large quantities of water daily, so during the heat of summer, plants in containers may need to be watered multiple times daily to maintain consistently moist soil. Think about it, you don’t drink 8 glasses of water when you wake up and then never drink again throughout a hot day. A tomato is no different. Allowing your plants to wilt down before providing additional water ruins productivity and can induce BER.
Blossom End Rot, while one of the more destructive fates of tomatoes, is totally preventable by a little legwork early in the growing game from you! Soil test and change pH with lime if needed, add a shot of calcium through a tomato blend fertilizer or non-lime supplement like gypsum, and water regularly! Do these three things and you’ll be well on your way to a great crop of early summer tomatoes. If you have any questions about tomato blossom end rot or any other horticulture or agricultural topic, please don’t hesitate to reach out to us at the UF/IFAS Calhoun County Extension Office. Take advantage of this beautiful spring weather and get in the garden today! Happy gardening.
by Daniel J. Leonard | Oct 8, 2019
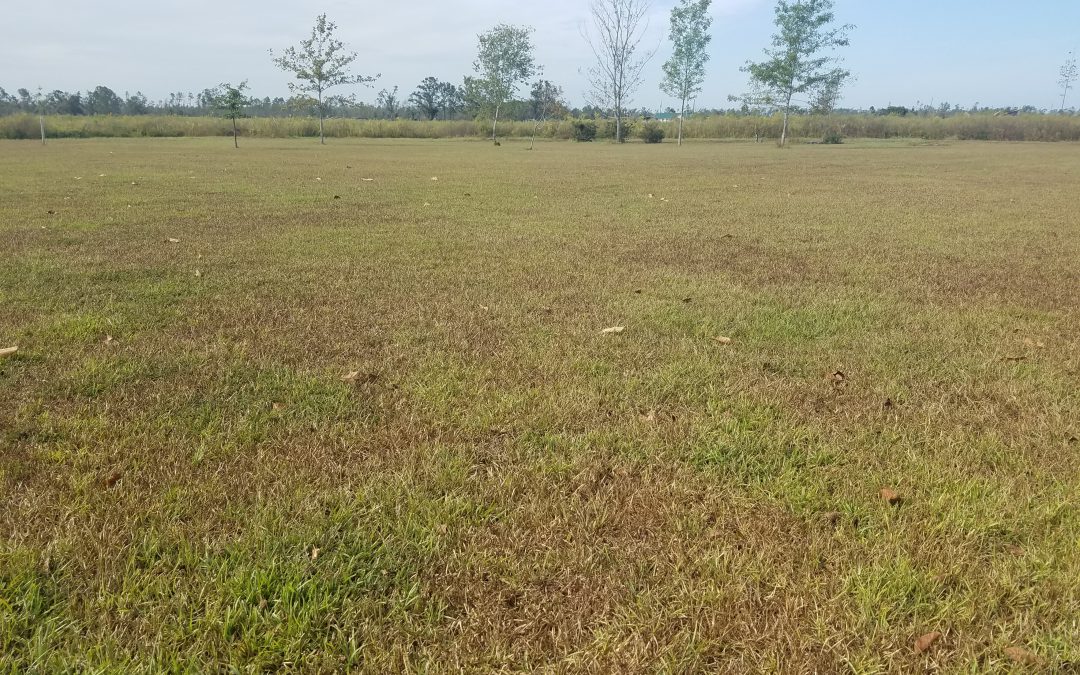
For a state that receives around 60” of rainfall a year, it is sure dry in Florida right now! In the Panhandle, the majority of our annual rainfall occurs in in bunches during winter and early spring via near-weekly cold fronts, in the mid-summer as a result of afternoon thunderstorms, and periodically in late summer/early fall if a tropical system crosses our path. Mixed in, however, are two distinct, historically dry periods: the first one in April through mid-May (contrary to popular myth, if we have May flowers, they’re gonna have to make it without April showers) and the second right now in September and October. The prolonged second dry period that we’re experiencing now makes it difficult to manage the mostly unirrigated, low-input turfgrass common in rural Panhandle lawns and pastures. It is critical to enter these expected droughts with healthy turf and remembering to employ 3 simple management tips when it quits raining (although you should follow them year-round ideally) can greatly increase your turf’s resiliency!
Unirrigated Centipdedegrass turf showing drought stress- Photo courtesy of the author.
Water Wisely – The average Florida turfgrass requires ¾-1” of water per week and we generally achieve that through rainfall. However, in our droughty months, supplemental irrigation can be a lawn saver, particularly in high traffic or more stressed areas of the yard. I realize that many of you, myself included, maintain large lawns without irrigation systems and it’s impossible to keep all your lawn well-watered during drought, but you can maintain the areas around your home, hardscapes and landscaped beds with the highest impact/visibility nicely! In these areas, put down no more than ¾” of water per irrigation event, a ballpark number that ordinarily allows the turf root zone to become saturated. Measuring your sprinkler’s water output is easily done by setting several straight-sided cans (tuna or cat food containers work great) under the sprinkler and timing how long it takes to achieve 3/4”. You might be surprised how much water you waste by leaving a sprinkler running for an hour or more!
Apply Herbicides Appropriately – Herbicides are a great item to have in the turf care toolbox, but if used incorrectly can be a waste of time and money at best, harmful to your turf at worst! Once turf and associated weeds become drought stressed (turning bluish gray, obvious wilting, leaves curling, etc.), it is too late for weed control with herbicides. There are a couple of reasons for this. First, when plants get stressed, they slow or stop their growth and focus on survival. This survival response prevents herbicides from being taken up properly and ultimately causes ineffectual weed control. Also, many herbicides specifically state on the product label that they should not be applied during certain conditions (drought, temperatures above 85-90 degrees, etc.). It is critical that one adhere to these label directions as applying the incorrect product in hot and dry conditions can cause volatility, drift to non-target plants, and in some cases, toxicity to turf you’re treating in. When it’s droughty like it is now, leave the herbicides in the chemical shed to prevent wasting your time and money and potentially damaging non-target plants!
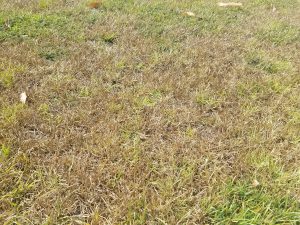
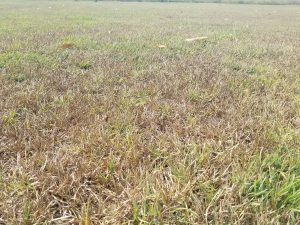
Unirrigated Centipedegrass turf showing drought stress – photo courtesy of the author
Raise that Deck – Finally, one of the most important turf management strategies during an extended drought is to reduce mowing and raise your mower’s cutting height when/if you do mow. As mentioned above, plants are already stressed during a drought and physically chopping off a chunk of the turf plant stresses it further, causing an energy-intensive wound response when the plant is actively conserving resources for survival. Therefore, if you just HAVE to mow, raise the cutting height as high as possible to make the smallest injury possible on the grass and keep your mower blades sharp to ensure a clean cut, which will heal easier and require a smaller energy response from the plant.
During droughts like the one we’re currently in, there isn’t one silver bullet to keep your non-irrigated turf looking good. However, there are several strategies you can use throughout the year to get your lawn through dry times. Remember to water ¾”-1” per week when you can, where you can. Before you water, calibrate your sprinkler to ensure you put out enough water and don’t waste your time and inflate your utility bill by putting out too much! Reduce or eliminate use of herbicides as they are ineffective during stress periods and can harm your turfgrass. Finally, reduce or eliminate mowing and if you must mow, raise the deck! If you have any questions about getting your turf through the drought or other horticultural or agronomic topics, please contact your local UF/IFAS Extension Office!
by Matt Lollar | Oct 8, 2019
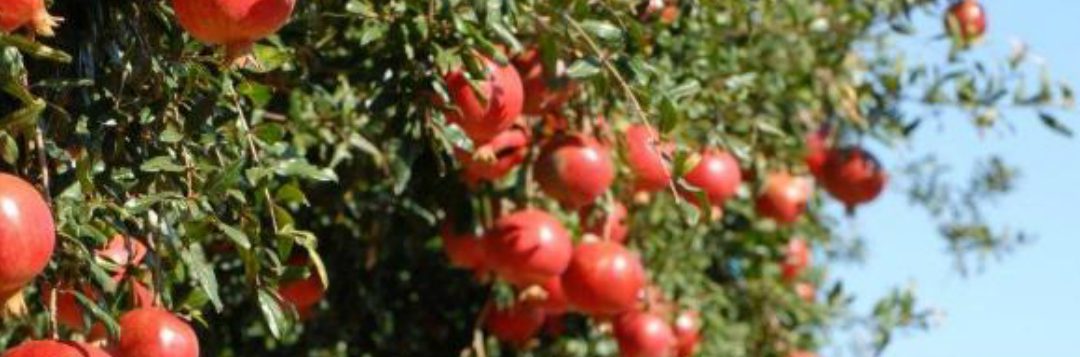
Last week at the Panhandle Fruit and Vegetable Conference, Dr. Ali Sarkhosh presented on growing pomegranate in Florida. The pomegranate (Punica granatum) is native to central Asia. The fruit made its way to North America in the 16th century. Given their origin, it makes sense that fruit quality is best in regions with cool winters and hot, dry summers (Mediterranean climate). In the United States, the majority of pomegranates are grown in California. However, the University of Florida, with the help of Dr. Sarkhosh, is conducting research trials to find out which varieties do best in our state.
In the wild, pomegranate plants are dense, bushy shrubs growing between 6-12 feet tall with thorny branches. In the garden, they can be trained as small single trunk trees from 12-20 feet tall or as slightly shorter multi-trunk (3 to 5 trunks) trees. Pomegranate plants have beautiful flowers and can be utilized as ornamentals that also bear fruit. In fact, there are a number of varieties on the market for their aesthetics alone. Pomegranate leaves are glossy, dark green, and small. Blooms range from orange to red (about 2 inches in diameter) with crinkled petals and lots of stamens. The fruit can be yellow, deep red, or any color in between depending on variety. The fruit are round with a diameter from 2 to 5 inches.
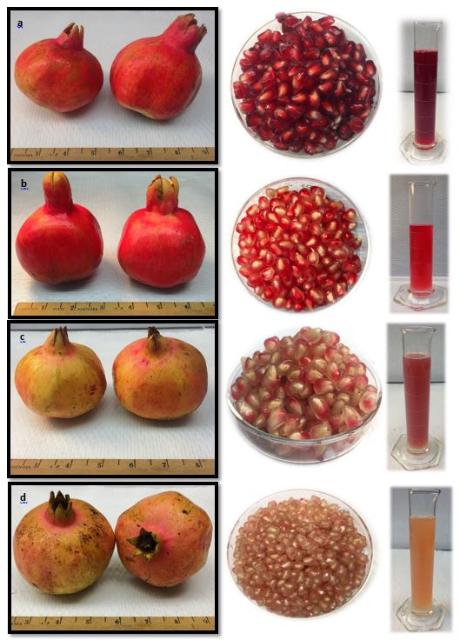
Fruit, aril, and juice characteristics of four pomegranate cultivars grown in Florida; fruit harvested in August 2018. a) ‘Vkusnyi’, b) ‘Crab’, c) ‘Mack Glass’, d) ‘Ever Sweet’. Photo Credit: Ali Sarkhosh, University of Florida/IFAS
A common commercial variety, ‘Wonderful’, is widely grown in California but does not perform well in Florida’s hot and humid climate. Cultivars that have performed well in Florida include: ‘Vkusnyi’; ‘Crab’; ‘Mack Glass’; and ‘Ever Sweet’. Pomegranates are adapted to many soil types from sands to clays, however yields are lower on sandy soils and fruit color is poor on clay soils. They produce best on well-drained soils with a pH range from 5.5 to 7.0. The plants should be irrigated every 7 to 10 days if a significant rain event doesn’t occur. Flavor and fruit quality are increased when irrigation is gradually reduced during fruit maturation. Pomegranates are tolerant of some flooding, but sudden changes to irrigation amounts or timing may cause fruit to split.

Two pomegranate training systems: single trunk on the left and multi-trunk on the right. Photo Credit: Ali Sarkhosh, University of Florida/IFAS
Pomegranates establish best when planted in late winter or early spring (February – March). If you plan to grow them as a hedge (shrub form), space plants 6 to 9 feet apart to allow for suckers to fill the void between plants. If you plan to plant a single tree or a few trees then space the plants at least 15 feet apart. If a tree form is desired, then suckers will need to be removed frequently. Some fruit will need to be thinned each year to reduce the chances of branches breaking from heavy fruit weight.
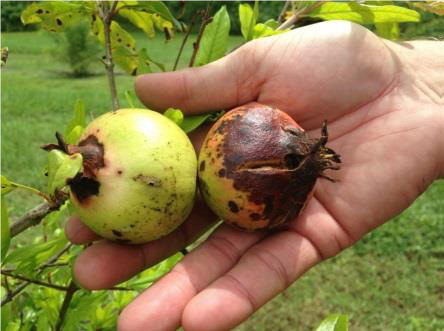
Anthracnose caused by Colletotrichum sp. to pomegranate fruit. Photo Credit: Gary Vallad, University of Florida/IFAS
Anthracnose is the most common disease of pomegranates. Symptoms include small, circular, reddish-brown spots (0.25 inch diameter) on leaves, stems, flowers, and fruit. Copper fungicide applications can greatly reduce disease damage. Common insects include scales and mites. Sulfur dust can be used for mite control and horticultural oil can be used to control scales.