by Larry Williams | May 12, 2016
Do you have azaleas or camellias with leaves that are thickened, curled and waxy in appearance? This is fairly common this year and is caused by a fungus.

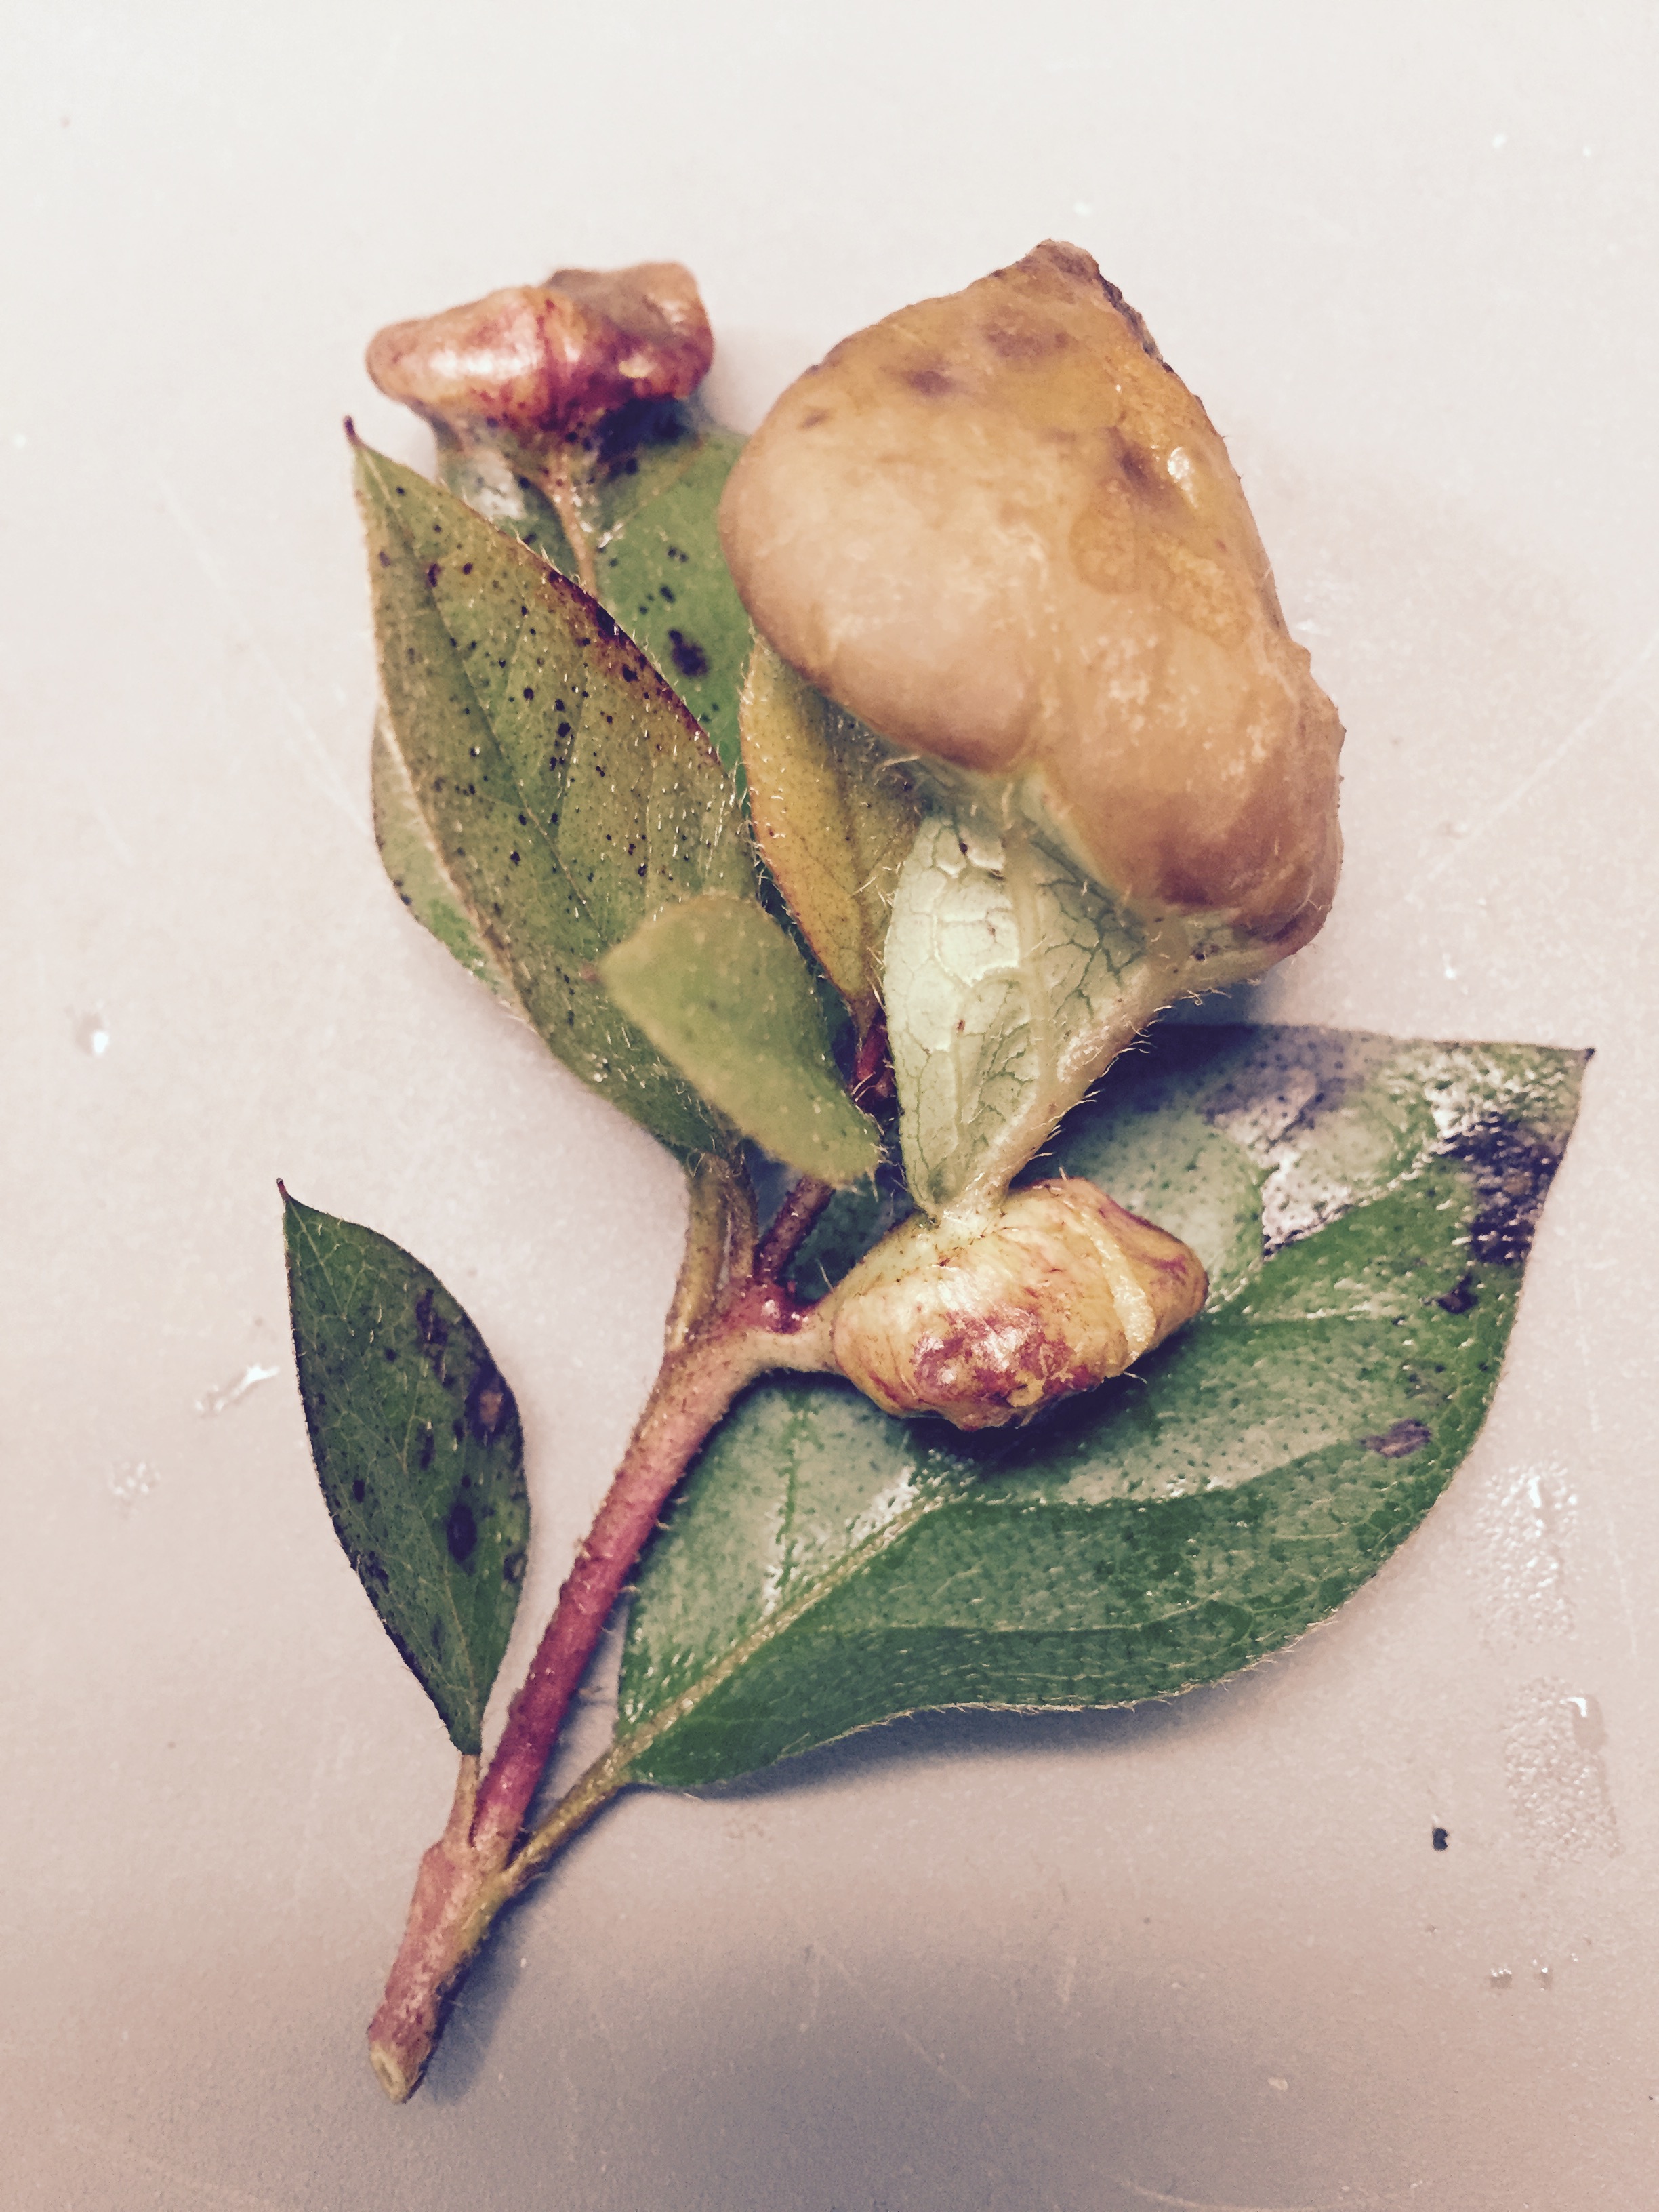
Camellia leaf gall on Sasanqua Camellia. Note swollen, malformed leaves. Photo credit: Larry Williams
Exobasidium vaccinii is a fungus that causes leaves, and in some cases flower petals, to enlarge abnormally and is commonly referred to as azalea leaf and flower gall.
Infected azalea and camellia leaves become large and distorted. Eventually a white powder covers the galls. The white growth consists of spores, which is how the fungus reproduces. Galls ultimately turn brown and harden. Not every leaf will be infected.
The disease relies on airborne spores produced in the whitish mold on the surface of galls in late spring to early summer to reproduce. Some plant pathologists believe that once the spores are released, they are blown and washed to leaf and flower buds where they cause new infections. Galls then form the following spring. Other plant pathologists think that the spores are produced the following year from the old dried, brown galls that fell to the ground around infected plants the previous year. In spring, the spores blow and splash onto new leaves and petals as they emerge causing infection. One or both lines of thought may be true. But in either case, it’s important to remove and dispose of infected leaves before they turn white with spores.
Once you see evidence of infected leaves, it’s too late for chemical control. Besides, there currently is no effective or practical fungicide to control this disease in home landscapes. But you can reduce the amount of infection the following year by pruning infected leaves and throwing them away before spores develop. After removing infected leaves with galls, never leave them on the ground around the plants.
It’s best to bury, burn or place infected leaves in a plastic bag and throw them away. This disease is more severe during a cool, wet spring, which we experienced this year. It’s advisable to not add to the problem by artificially providing the “wet weather” the spores need by frequently using an overhead sprinkler and keeping the foliage wet in the spring during disease development. This is exactly what this and many other plant diseases need – wet conditions. It’s best to water established landscape plants on an as needed basis.
In the home landscape, the fungus does not cause any long-term problems for the plant. It just makes the plant’s leaves look ugly. Infected leaves will usually fall prematurely.
by Ray Bodrey | Apr 22, 2016
You could certainly argue that the azalea bloom is the symbol of the southeast during spring time. This time of year, yards across the panhandle explode with vibrant colors of this unmistakable flower bloom. Even though Florida’s azalea plants put on a spectacular flowery show, most of us pay very little attention to their management at this time of year. However, the kind of care azaleas receive in late spring and summer can have an effect on the bloom production for next season. There are some management measures that can be done during this time to ensure that you have a bountiful azalea bloom next spring.

Credit. Carolyn Wildes, UF/IFAS.
Chlorosis, a condition that causes leaves to produce insufficient chlorophyll, is the most common problem with azaleas this time of year. Fortunately, this is easy to recognize and correct. Chlorosis shows up as yellowing in between the veins of leaves, the veins stay dark green. It’s caused by lack of available iron in the soil.
To correct chlorosis, add aluminum sulfate to the soil. The addition of ¼ to a ½ pound per square yard of soil surface should suffice. Broadcast the aluminum sulfate over the soil surface and add a layer of mulch. It’s important to remember that you should not apply aluminum sulfate more than once a year. More applications will cause detrimental effects to the plant. Other chemicals that are useful in correcting iron chlorosis in azaleas are ordinary agricultural sulfur, ferrous sulfate and chelated iron compounds. Each of these chemicals have different application directions, so be sure to read the labels for direction of use.
Proper watering is also imperative. Generally, established plants should receive ¾ – 1 inch of water every 10 days to 2 weeks during dry periods to wet the soil to a depth of 10-12 inches. When the weather is hot and dry, azaleas need soil saturation in the root zone once a week. Azaleas have shallow feeder roots that dry out very quickly if the soil is dry. Remember, soil with a sufficient amount of organic matter holds moisture better than sandy soils, and will require less watering. Also, a mulch layer helps to reduce evaporation and keep the soil cool and moist.
Pruning your plants should be done in late spring. If you prune later in the year, there’s a good chance you may reduce or eliminate flowers for next year. Usually it’s best to prune right after flowering.
As for fertilizer applications, frequent and light applications are necessary in Florida’s sandy soils. Acid-forming fertilizers like 12-4-8, 15-0-15 or ammonium sulfate should be applied in all four seasons. Apply approximately ¼ pound to a mature plant, or ¾ to 1 ½ pounds per 100 square feet.
Following these recommendations will help secure your rich bloom season for next year.
For more information please see:
Azaleas at a Glance
Florida-friendly Landscaping
by Matthew Orwat | Sep 9, 2015
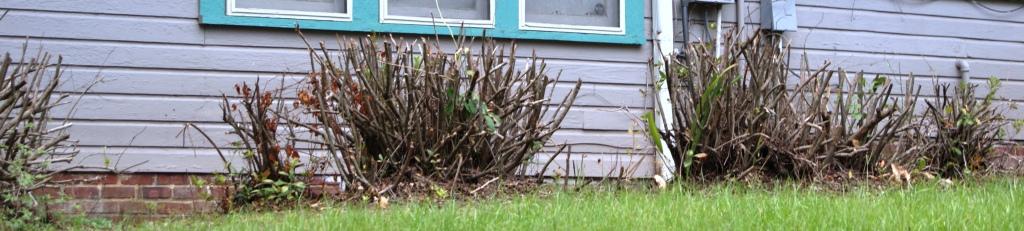
Azaleas pruned late in the fall will have little or no bloom in the spring. Image Credit: Matthew Orwat
As fall approaches, our spring blooming shrubs such as gardenia, spirea and azalea begin to look unkempt and overgrown. That means it is time to give them a severe pruning to get them ready for winter, right? Not so fast, take a minute to understand the growth habit of each species before diving in with the pruning shears.
Azalea:
Many do not understand that annual spring azalea bloom could be sacrificed completely by pruning spring blooming azaleas at the wrong time.
Pruning traditional azaleas in the fall will result in a loss of spring bloom the following year because most bloom on previous years’ wood. This means that they flower on growth put on throughout the previous growing season. If a gardener removes the previous season’s new growth, they are removing the blooms as well.
So, when is the proper time to prune azaleas? The ideal time to prune is directly after the spring bloom. This will give the plant enough time to generate abundant new growth, thus maximizing bloom next spring.
Even the developers of the Encore Azalea, a new repeat blooming type, recommend pruning as soon after the spring bloom as possible to maximize bloom set for the following year.
For more information on pruning azaleas or on general azalea culture, please read the UF / IFAS publication Azaleas at a Glance or check out the Pruning Azalea page on Gardening in a Minute.
Gardenia:
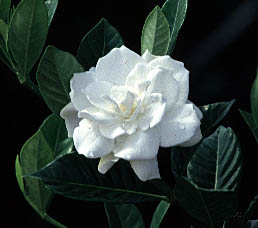
Gardenia, Image Credit Dan Culbert.
Gardenias don’t need much pruning except to remove any dead or non-productive wood, to help them remain bushy, and to remain the same size as other plants in the landscape. Choose a cultivar that will mimic the size of other shrubs, not one too large for the area. Pruning should be done as soon after the summer bloom as possible. Pruning after the beginning of fall will reduce the next year’s bloom production. Know your cultivar. Some cultivars of gardenia flower on new wood as well as old, while some flower on old wood only.
Spiraea:
Regarding spiraea, prune after the bloom as needed. The closer to the late summer or autumn, the greater negative effect pruning will have on bloom quality since spirea set their bloom in early autumn.
I hope this article prevented a few pruning disasters as well as started a thinking process for the act of pruning your landscape plants.
by Larry Williams | Aug 3, 2015
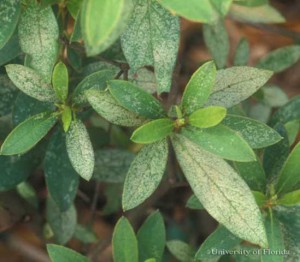
Damage caused by azalea lace bug. Photo credit: James Castner, UF/IFAS
When azaleas are in a garden, azalea lace bugs are sure to follow. The good news is these insects, that discolor the leaves of azaleas, can be controlled.
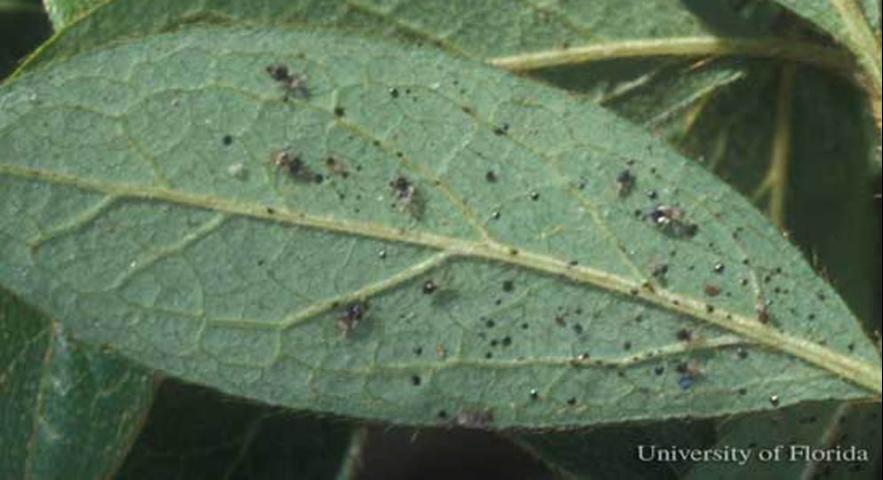
Lace bugs live on the underside of leaves and damage their hosts by piercing leaves with their straw-like mouthparts and removing the plant’s juices. Infested leaves have tiny yellow spots on the top surface and are discolored with dark, varnish-like excrement and old insect parts on the underside. Azalea plants begin to look unhealthy as insect numbers increase through spring and summer.
Azalea lace bugs spend winter as eggs on the underside of azalea leaves. They hatch in early to mid-March and then begin to feed and develop into adults.
Lace bugs complete their first generation by late April. They increase in number throughout the remainder of spring, summer and fall. These insects can complete three to five generations in a single growing season. In late September adult lace bugs, in their final generation of the season, lay eggs that will carry the population through winter.
The key to easily controlling azalea lace bugs is to properly time control efforts.
Inspect plants in early spring to see if insects are present. Look for leaves that are whitish to yellow on the top surface (they may be mottled in appearance) and have small, dark, varnish-like spots on the undersides. If leave damage is heavy continue to check plants every week for small lace bugs, which should begin to be visible in late March through April.
Early to mid spring is the best time to control the first generation of the bugs. Proper insecticide application timing will reduce need for further sprays during the rest of the growing season.
Insecticidal soap, horticultural oil, neem oil and most synthetic insecticides provide good control of lace bugs on azaleas. When using these types of chemicals, make sure to spray the backs of the leaves.

Azalea leaf with lace bugs. Photo Credit: James Castner, UF/IFAS
Systemic insecticides available for use against lace bugs include dinotefuran (Safari), imidacloprid (Bayer Advanced Tree & Shrub Insect Control, Merit) and acephate (Lilly Miller Ready-to-Use Systemic, Orthene). When properly applied, one application may provide season long control.
When using any chemical treatment on plants, it’s best to apply the product during early morning or late evening under cooler temperatures but never during the heat of the day or when the plant is in full sun. And always follow instructions on the pesticide label concerning mixing, application and safety precautions.
by Mary Salinas | Apr 28, 2015
Fleshy distortions are appearing on some azaleas this time of year. What is responsible for this? A fungus, Exobasidium vaccinia, likes our cool, wet spring weather and infects azalea leaves and flower petals. This disease likes a cool, wet, shady and protected environment.

Azalea gall. Photo credit: Mary Derrick, UF/IFAS Extension.
The infection causes the plant to form large, fleshy, distorted tissues known as galls. The galls produce a white powdery coating that is capable of producing more spores that will continue to cause new infections if left on the bush. The gall will eventually turn dry and brown and fall to the ground. Sometimes there are only a few leaves infected or there may be quite a few on a bush.
Not to worry – this is not likely to cause significant harm to your azalea. The best plan of action is to remove the galls as soon as possible and dispose of them in the trash or burn them to prevent reinfection of your plants. Avoid any irrigation that sprays water onto the leaf surfaces as the moisture creates a favorable environment for disease. Once you see this gall forming, there is no chemical control that is effective.
For more information on caring for your azalea:
Azaleas at a Glance


