by Beth Bolles | Jan 8, 2026
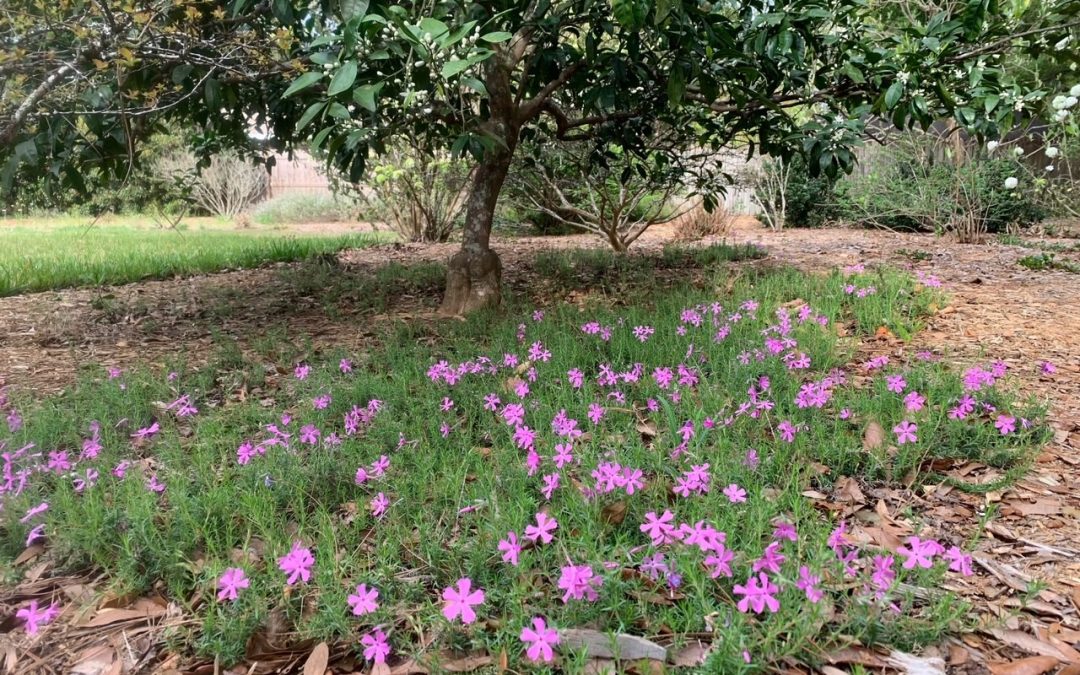
Growing up in Tennessee, my backyard was a large expanse of woods right off a concrete patio. In areas that received sunshine, one of my favorite plants was a groundcover called thrift, Phlox subulata. Each spring, pink flowers brightened the slope as the groundcover spread amongst the rocks. Luckily, I was able to bring a piece to Florida to add to my landscape over 24 years ago.
Creeping phlox in a home landscape. Photo by Beth Bolles, UF IFAS Extension Escambia County.
Thrift or creeping phlox is a low maintenance groundcover that only grows about 6 inches tall. Plants grow well in moist, rich soil, but also in poorer soils or sand. Planting sites should not hold water to prevent rotting roots. Phlox does need sunlight for best spring blooms but the Florida summer sun can be too intense. Consider using in areas where sunlight is plentiful in the spring but tree canopies may offer shade in the summer heat.
This is usually not a groundcover for traffic areas so use stepping stones if you need to move through planted areas. There are cultivars with flowers that are red, white, or lavender but the original pink is very appropriate for the spring season.
If you choose Creeping phlox for your landscape, some neglect is good once plant’s are established. Pick a spot that has good air circulation and water as needed after root’s take hold. Routine overhead watering may lead to some disease in your plants.
by Julie McConnell | Jan 8, 2026
Flowers are a beautiful addition to any landscape, but have you ever wondered why some plants bloom in the spring while others show off in the summer?
Let’s start with why plants produce flowers. Simply put, flowers are the sexual reproductive structures a plant uses to increase genetic diversity by incorporating DNA from male and female flower parts into seed produced as a result of pollination and successful fertilization. For a plant to produce flowers it must be sexually mature which might be determined by triggers such as how many leaves and nodes the plant has produced or the amount of time that has passed.
Maturity
A plant grown from seed must reach the markers required for that species to become mature, however, a plant that is propagated vegetatively (cuttings, division, grafting, etc.) is the same stage of maturity as the parent plant so if the parent plant is mature then the vegetative “offspring” will also be mature and able to bloom.
But if we only went by plant maturity then a mature plant would flower continuously, but even the novice gardener knows that is not accurate. So, what else needs to happen to induce flowering? There are two other important factors that play a role: photoperiods and temperature.
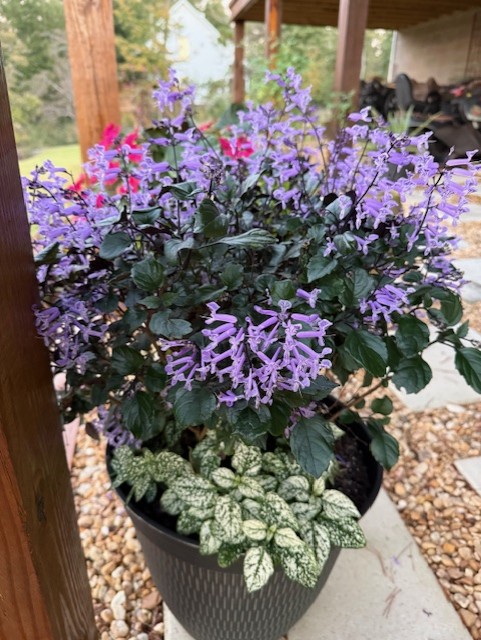
Mona Lavender Plectranthus bloomed sporadically through the summer but as the days got shorter it burst into bloom. Photo: J_McConnell, UF/IFAS
Photoperiod
Photoperiod is the number of hours of daylight in a 24-hour period. Flowering plants are separated into three main groups: short-day plants (SDP), long-day plants (LDP), and day-neutral plants (DNP. But wait, it gets a touch more complicated – the plants are not technically sensitive to the hours of daylight rather it is the hours of uninterrupted darkness. Think of short-day plants as long-night plants, long-day plants as short-night, and day neutral plants do not have a preference.
Have you ever seen the recommendation to put a Christmas cactus in a dark cabinet for a few weeks to induce flowering? It works because Christmas cactus requires short days (long nights) to initiate flower bud development. If the plant is exposed to lights in normal household settings or you keep opening the cabinet and allowing light in this can delay flower bud development.
Temperature
The last factor that affects flower production is temperature. Plants have ideal temperatures where they thrive, for example tomatoes grow well when temperatures are warm and are damaged by freezes. But did you know that even a heat-loving tomato also has a heat limit? When day temperatures are above 90 degrees and nights are above 70 degrees tomatoes stop producing flowers and fruit. Along these same lines, perennial plants may require a designated number of hours below approximately 50 degrees to initiate flower buds. If you have grown fruiting trees and shrubs, you may be familiar with the concept of chill hours which is the number of accumulated hours between 32-45 degrees needed by a plant to flower.
Practical Application
Why does any of this matter? If you are planning a flower garden and want to maximize your seed/plant budget, understanding the bloom requirements of the plant will help you make better choices. It also may help explain why plants seem to behave differently depending on the time of year, such as when you are successive planting flowers.
- Example 1: A long-day plant seeded in May has time to reach full vegetative size before the days are long enough to trigger flowering. The same seed planted in late July flowers on a shorter vegetative plant because the daylength hours have been met triggering earlier flowering (fewer days from seed to bloom).
- Example 2: A bedding plant you purchased in March that looked great in the spring, stopped blooming in summer, then started blooming heavily in the fall was triggered by photoperiod and/or temperature.
Plant breeding can affect bloom triggers even within the same species, so it is difficult to compile a list of true short-day, long-day, and day-neutral plant lists, but now you know this is a feature to look for during your garden planning!
by Joshua Criss | Dec 26, 2025
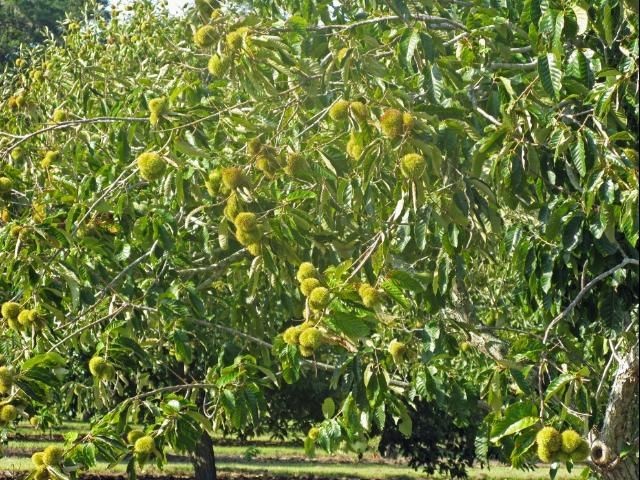
Christmas is a season rife with horticultural significance. Extracts from the Boswellia and Commiphora myrrah trees were presented at the nativity as frankincense and myrrh. Holly (Ilex spp.) and Ivy (Hedera spp.) are common in decorations, and a huge number of spices are used to flavor our favorite dishes of the season. Without plants, Christmas just would not be quite the same. One plant made famous thorough “The Christmas Song” sung by Nat King Cole is the humble Chestnut tree (Castanea spp.).
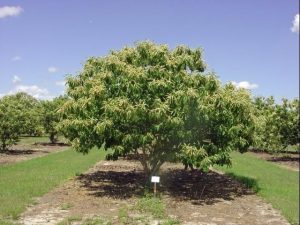
UF/IFAS Photo
A Brief History
Chestnuts once grew prolifically throughout the United States. They were prized rot resistant lumber produced alongside their staple nut crop. Further they were a critical resource for wildlife providing a food and shelter resource. This all came to crashing halt in the early 1900’s when a fungal blight took hold all but eliminating them from America’s forests.
Hybridization has brought this tree back into relevance. American Chestnut (C. dentata) and Chinese Chestnut (C. mollissima) has provided reinvigoration this tree’s once known potential. The reason is that the mixed genetics of this hybrid provide resistance to the blight while providing the products for which this tree is known.
Growing These Trees
Chestnut trees are known to grow upwards of 40 feet tall and wide. Keep in mind that these plants are monoecious, meaning you’ll need two if you would like a harvest. For this reason, you’ll really want to implement the concept of right plant, right place as they will take up a lot of real estate.
Though they prefer acidity, a wide array of well-draining soils will suffice. That said, these trees will appreciate some active irrigation beyond that required to establish the tree.
As all Extension professionals will tell you, fertilization should be planned and executed based on soil testing. It is common though to apply one pound of a 10-10-10 fertilizer per year of tree age up to 15 years.
Growing this way, you can expect these trees to bear in roughly five years. Nuts will be produced on the new wood where branches maximize sunlight interception. Therefore, pruning for this will produce the highest yield.
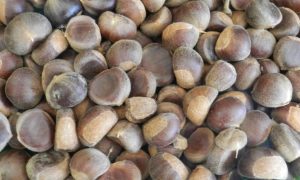
UF/IFAS Photo
Pest Concerns
There are minimal pest concerns with chestnut trees. The main concern is Chestnut blight, which has been largely mitigated through hybridization. There are some other concerns, but these again can be mitigated through cultural practices. Keeping the areas under these trees clean will deny overwintering habitat to any insects while appropriate irrigation will greatly reduce the risk of any fungal infections. If managed appropriately, the biggest pest you’ll find near these trees is squirrels and deer seeking to deny you a harvest. As always, the only real way around this is physical barriers.
Chestnut trees are certainly worth a second look in your landscape. New hybridization has brought these back into the spotlight. With both wood and edible nuts they are certainly one that you should consider for your property. Done properly, you’ll soon be roasting chestnuts on an open fire as Nat King Cole suggested many years ago. As always, for more information on this or any gardening topic, call your local extension office.

by Matt Lollar | Dec 26, 2025
The Christmas season is all about the gifts! This statement couldn’t be further from the truth, but most likely some gifts will be given. An old traditional gift is gift fruit. And a lot of the time that gift fruit is a mix of citrus from Florida. A unique citrus that I’ve been wanting to add to my grove is the limequat. A few weeks ago I had a close encounter with a limequat at a local nursery, but it was in disguise. The limequat in question had a tag that read ‘Key Lime’. I am a fan of Key lime pie, therefore I like Key limes, but I knew I don’t want the added maintenance of protecting a Key lime tree from the cold. I had a suspicion this plant was a limequat, but I decided to pass on it. This experience prompted me to do a little research, so I don’t pass up on this opportunity in the future.
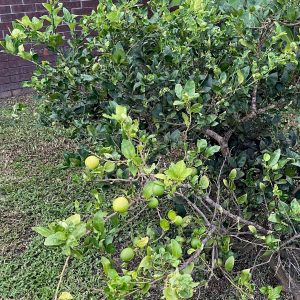
Key Lime fruit at various degrees of ripeness. Photo Credit: Ray Bodrey, University of Florida/IFAS Extension – Gulf County
Key Lime vs. Persian Lime
Before we talk more about limequats, I think it’s important we discuss the differences between Key limes and Persian limes. The Persian lime, Citrus latifolia, originated in southeast Asia. The first report of these trees in the United States was at a home in California in 1875. Like Persian limes, the Key lime, Citrus aurantifolia, originated in southeast Asia and was brought to the Americas by Spanish and later became naturalized in the Florida Keys and throughout Central and South America. Although these limes are two different species, they are both hybrids of crosses between the same three species (Citrus medica, Citrus grandis, and Citrus micrantha). Persian limes are more cold hardy than Key limes and neither are as cold hardy as limequats.
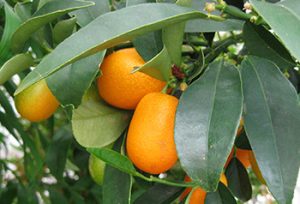
Kumquats growing on a tree. Photo Credit: University of Florida/IFAS
Limequat
Limequats resulted from cross pollination between a Key lime and a kumquat. However, limequats are less cold hardy than kumquats. Similar to kumquats, the skin of limequats is sweeter than their flesh. Three common cultivars of limequats are ‘Eustis’, ‘Lakeland’, and ‘Tavares’. ‘Tavares’ limequats produce larger fruit than ‘Eustis’ and ‘Lakeland’, but their mature fruit are more orange in color. A number of commercial and retail nurseries sell a limequat variety under the name ‘Key’ or ‘Key Lime’, which stemmed my confusion at the local nursery. All confusion could have been avoided if I would have known the scientific name at the time of my visit. (Limequats are listed as either Citrus x floridana or Citrofortunella x floridana.)
So now you know how limequats came about. For more information on limequats and other citrus species, please visit the UF/IFAS Gardening Solutions Citrus Page.
by Carrie Stevenson | Dec 26, 2025

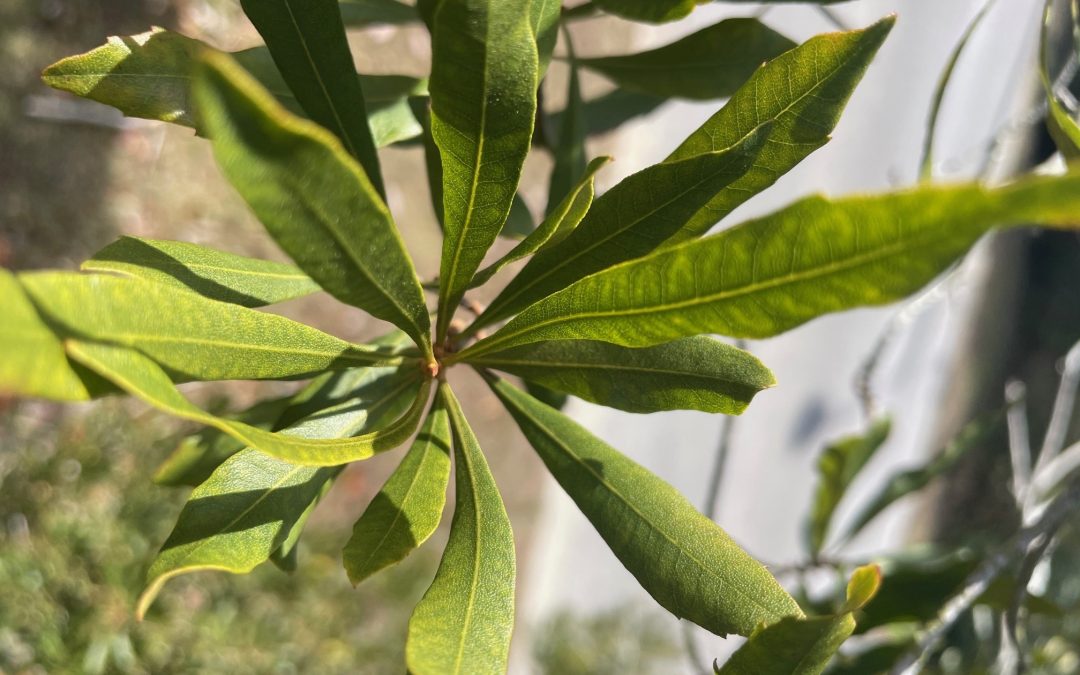
Wax myrtle is an evergreen shrub found commonly along the edges of wetlands. Photo credit: Carrie Stevenson, UF IFAS Extension
Wax myrtle (Myrica/Morella cerifera) is one of those evergreen shrubs that mostly lives out its life in the background. Neither tall and imposing (on average, up to 12’; rarely as tall as 20’), nor full of showy flowers, it is nonetheless an important native species. Behind that low-key persona is a small tree that has played numerous roles in American history. Also known as bayberry, wax myrtle grows in low-lying areas along the edges of wetlands. It is a fast grower and will fill in open spaces if there is enough available light. Wax myrtle is a hardy plant, highly tolerant of salt, and works well in pollinator gardens and urban locations. Both male and female plants are necessary to produce numerous berries, which grow directly on the plant stem. A wide variety of birds use the plants as nesting areas and feed on the berries, including warblers, swallows, wrens, and turkeys.

Wax myrtle shrubs play an important role in feeding and roosting for birds. Photo credit: Carrie Stevenson, UF IFAS Extension
People have long planted wax myrtle shrubs as natural privacy screens, or used an extract from the leaves as a mosquito repellent. The leaves are tough, similar in texture to live oaks, helping hold in water for drought tolerance and keep out salt, enabling them to thrive in coastal areas.
The leaves and berries serve several useful purposes for humans. Native American tribes, particularly the Seminoles in Florida, would use fermented leaves as a medication for headaches and fevers. The berries are a greenish gray/blue color and are the size of BB’s. Each shrub can grow hundreds of small berries along each branch, and berries have a waxy coating that will separate from the berry flesh when boiled.
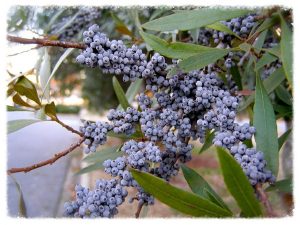
A wax myrtle plant loaded in its small, waxy berries. Photo from Creative Commons.
Early American settlers would collect this wax and reform it into bayberry candles. They would serve a dual purpose in providing both light and mosquito protection. In those early days, mosquito-borne diseases like yellow fever and malaria were both common and deadly, so it was a matter of survival. The plants have also been used to deter fleas and cockroaches.
According to several native plant enthusiasts who posted bayberry-candle-making videos on YouTube, the rule of thumb is that you’ll need to collect a gallon of wax myrtle berries to create a cup of wax. Besides candles, early settlers also used the wax for soap, sealing wax, and shaving cream. Be mindful that wax myrtle plants are flammable, so it is recommended that if planted in a home landscape, they are in an area safely away from the building walls.


