by Mary Salinas | May 18, 2016
If your lawn and landscape care professional applies fertilizer as a part of his/her services, then the answer is yes. Since January 2014, the Florida Department of Agriculture and Consumer Services (FDACS) has required that all commercial fertilizer applicators have a Limited Fertilizer License.
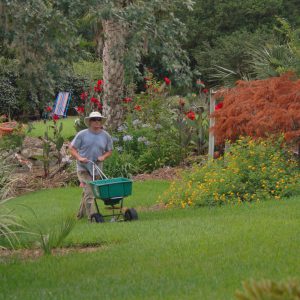
UF/IFAS File Photo.
So what does FDACS define as a fertilizer? You may be surprised at what is considered a fertilizer under the statute that governs this license. The following are included:
- Lawn or landscape fertilizers
- Organic fertilizers
- Any product that contains plant nutrients including compost
- Lime and all other products that influence soil acidity/alkalinity
- Substances that promote plant growth
- Any other substance that provides a soil corrective measure
In order to obtain this license, lawn care professionals attend a science-based training session called Green Industries Best Management Practices (GI-BMPs) that teach environmentally friendly landscaping practices in order to protect Florida’s water quality. These practices also save the homeowner money, time, and effort; increase the health and beauty of the home landscape; and protect the health of your family, pets, and the environment. The training is led by UF/IFAS Extension professionals. Attendees must pass a post-training exam and then can receive a license valid for 4 years.
In order to check whether your lawn care professional has a Limited Fertilizer License, check the FDACS site here. Every applicator must have his/her individual license.
by Mary Salinas | Feb 16, 2016
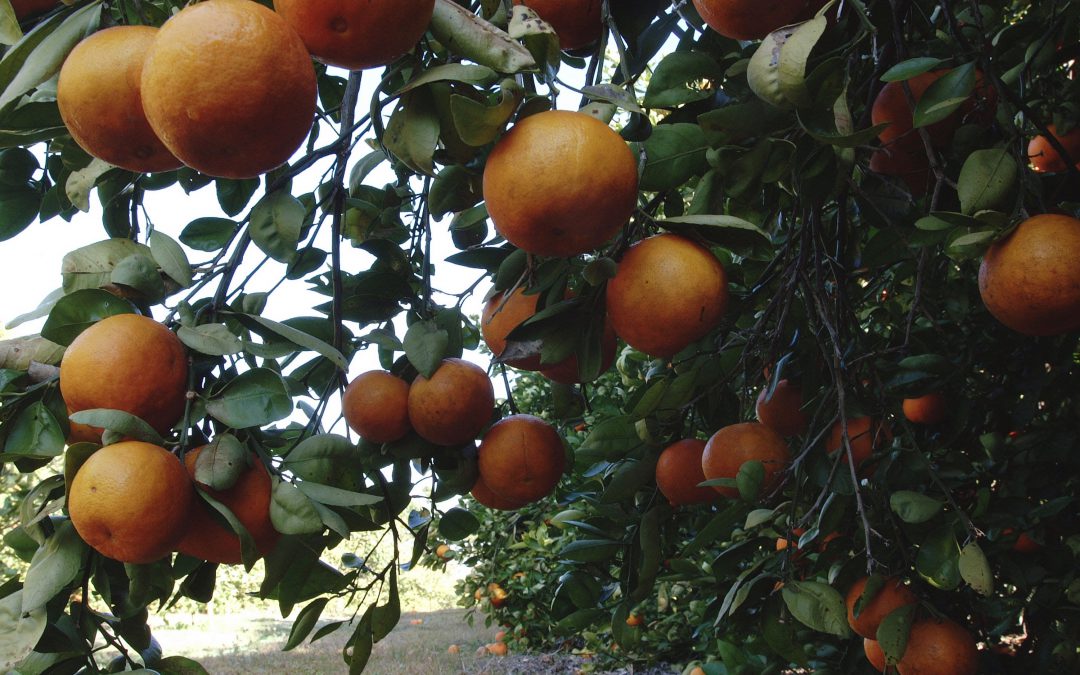
As you have read in other articles in this blog, it is too early to fertilize your lawn; however, this is a good time to start fertilizing your citrus to ensure a healthy fruit crop later in the year.
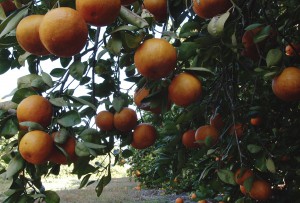
Orange grove at the University of Florida. UF/IFAS photo by Tara Piasio.
Citrus benefits from regular fertilization with a good quality balanced citrus fertilizer that also contains micronutrients. A balanced fertilizer has equal amounts of nitrogen, phosphorus and potassium such as a 6-6-6, 8-8-8 or a 10-10-10. The amount of fertilizer to be applied will vary on the formulation; for example you will need less of a 10-10-10 than a 6-6-6 as the product is more concentrated. Always consult the product label for the correct amount to use for your particular trees. Fertilizer spikes are not recommended as the nutrients are concentrated in small areas and not able to be widely available to all plant roots.
The number of fertilizations per year will vary depending on the age of the tree. Trees planted the first year need 6 light fertilizations that year starting in February with the last application in October. In following years, decrease the number of fertilizations by one per year until the fifth year when it is down to 3 fertilizations per year. From then on, keep fertilizing 3 times per year for the life of the tree. Good quality citrus fertilizer will have accurate and specific instructions on the label for the amount and timing of fertilizer application.
Fertilizer should be spread evenly under the tree but not in contact with the trunk of the tree. Ideally, the area under the drip line of the tree should be free of grass, weeds and mulch in order for rain, irrigation and fertilizer to reach the roots of the tree and provide air movement around the base of the trunk.
If you have not in recent years, obtain a soil test from your local extension office. This can detect nutrient deficiencies, which may be corrected with additional targeted nutrient applications.
For more information:
Citrus Culture in the Landscape

by Carrie Stevenson | Oct 28, 2015
Dirt, earth, humus, terra firma, soil—no matter what you call it, the ground below us is one of the most important substances on, well, Earth. As children, most of us stomped in mud puddles, dug holes, and played in sand boxes—the tactile experience of moving dirt around seems to appeal to humans innately. Just last weekend a local charity raised thousands of dollars by setting up an obstacle course for adults (and kids) called the “Mud Run,” with participants exiting the race completely covered in mud.

Kids have an innate appreciation for soil! Photo credit: Carrie Stevenson
Despite how much fun it can be to play in, the humble soil often gets overlooked. Mixtures of clay, sand, and loam seem less exciting when competing for attention with more charismatic natural phenomena such as colorful flowering plants or powerful top predator animals. Partially because of this status, soil scientists and agronomists declared 2015 the “International Year of Soils” with the goal of educating the general public on soil’s importance.
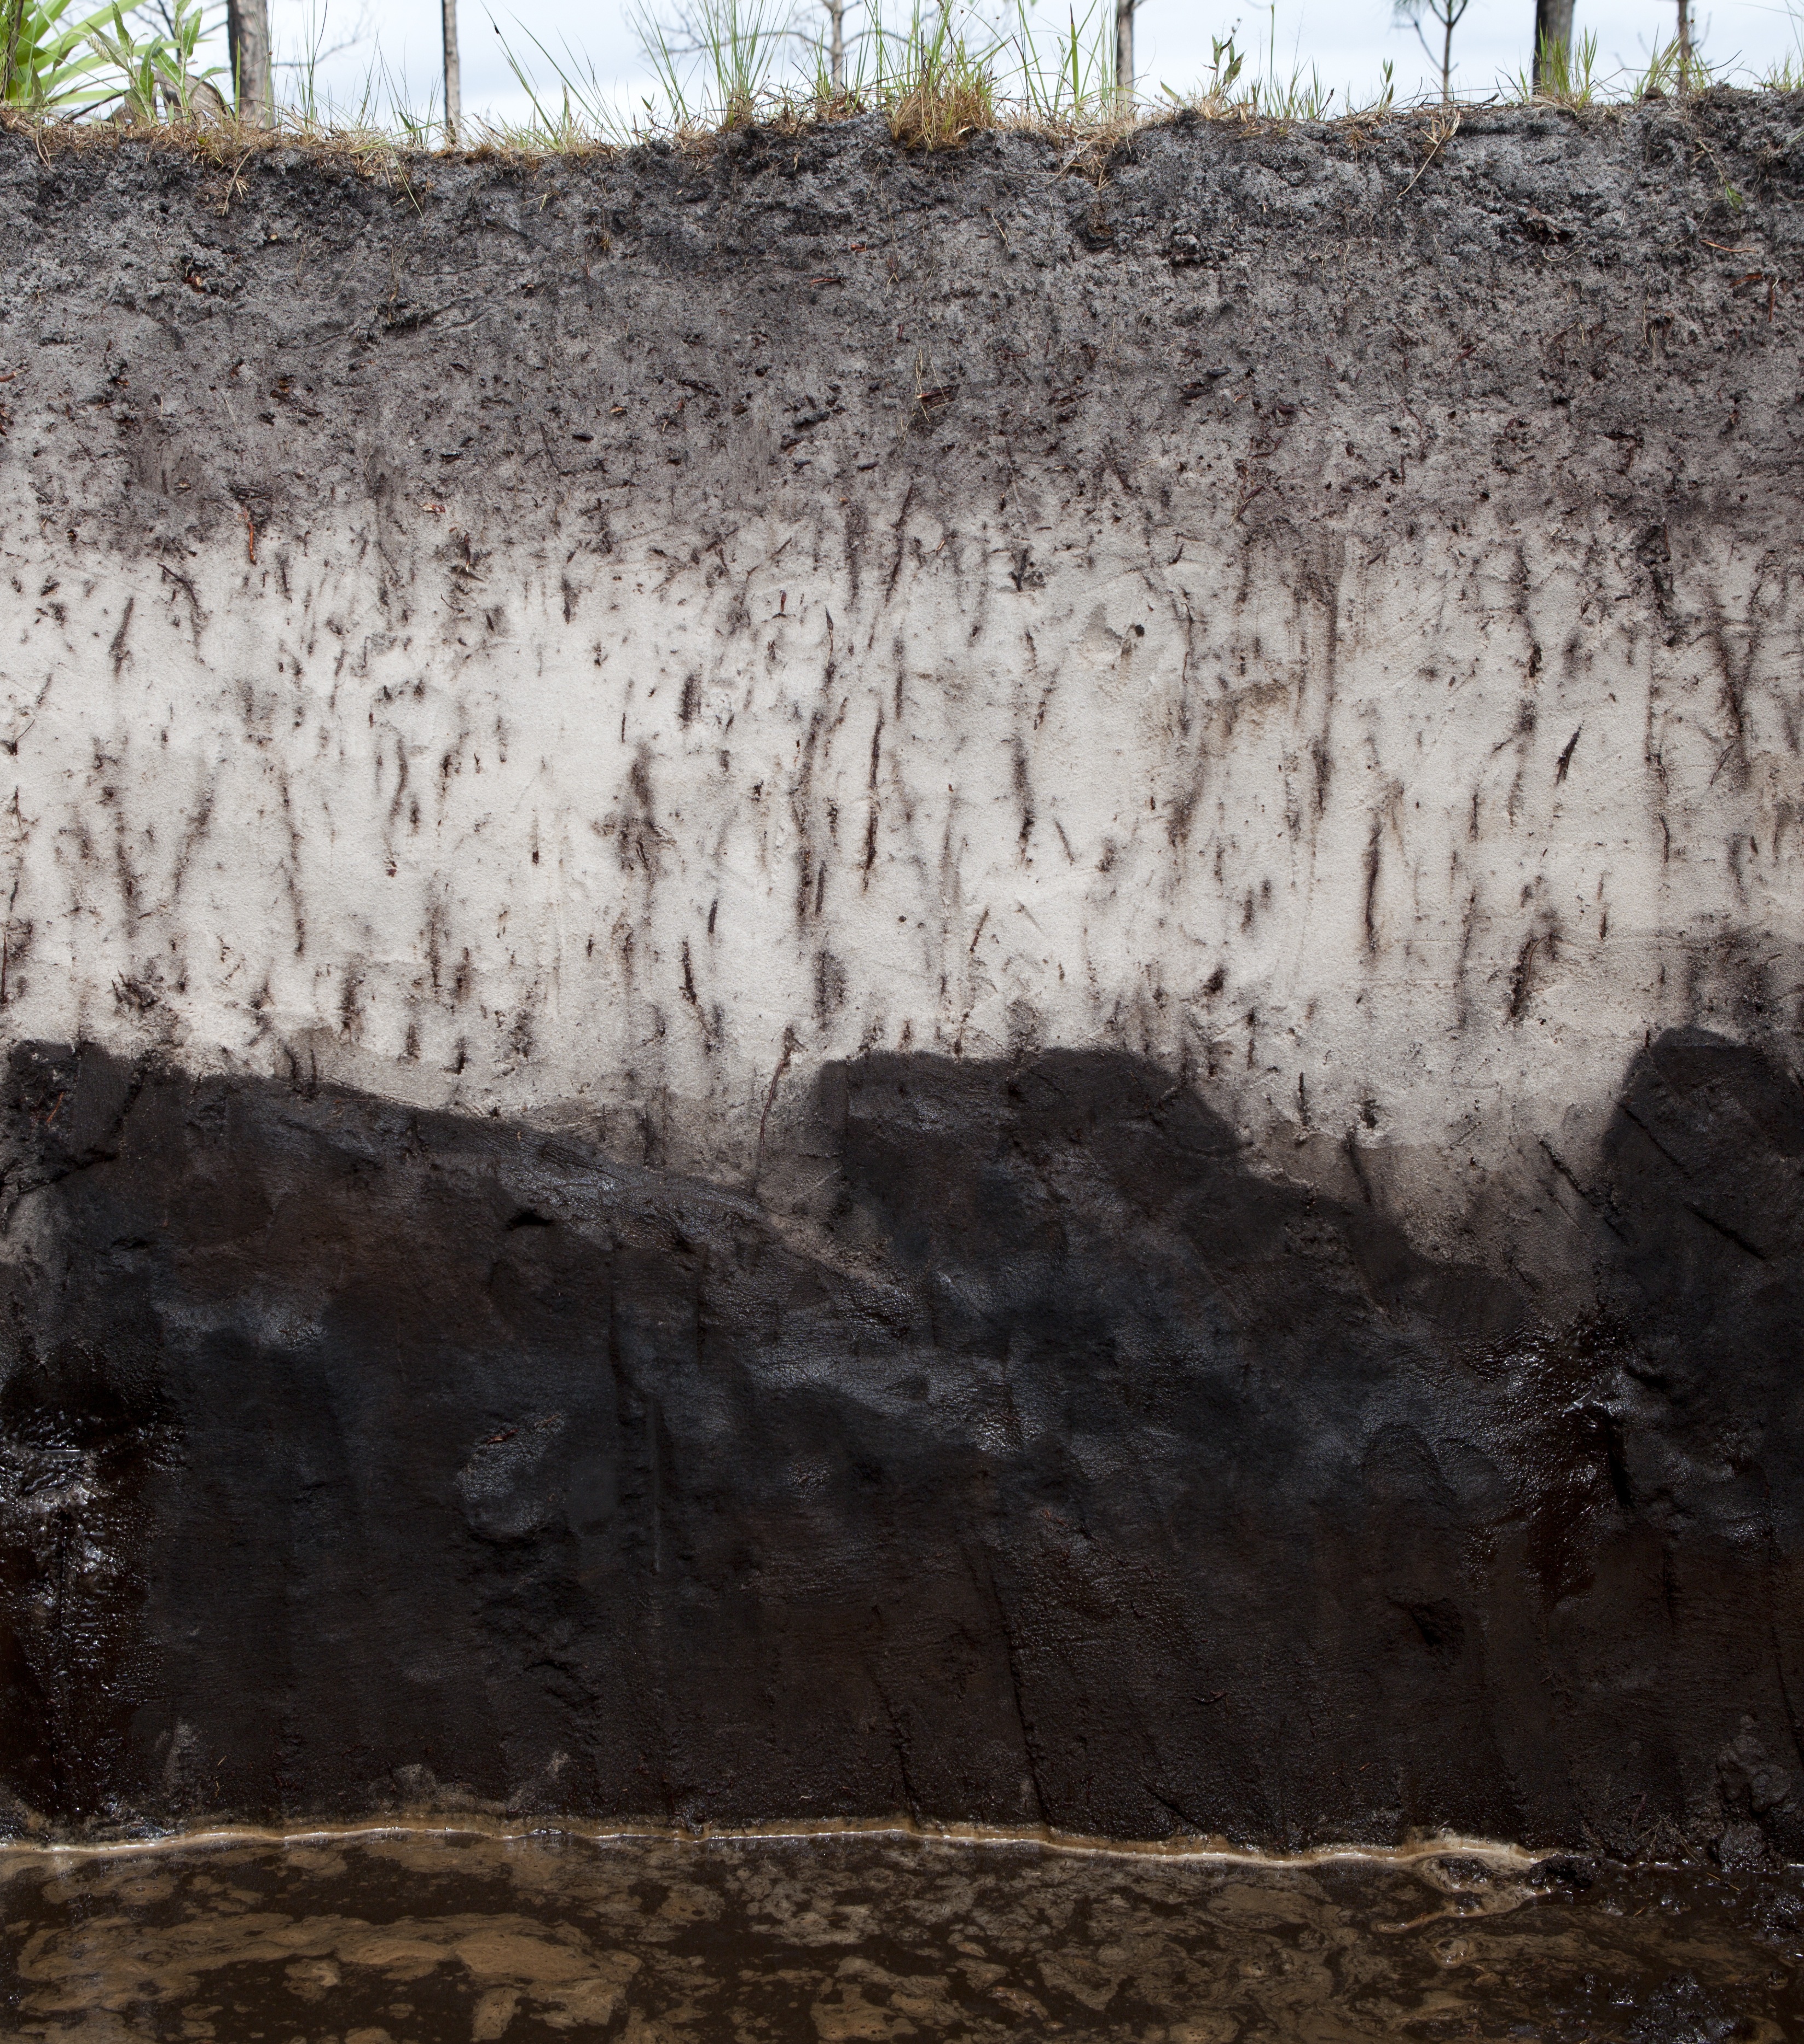
While most of us don’t think about soil on a regular basis, it is the literal foundation for producing healthy food and much of our clothing, along with fuel sources and many medicinal products. Without the small organisms and insects living in the soil to break things down, everything that ever died could still be slowly decaying on the surface of the earth. Soil is the primary player in recycling and making crucial nutrients such as phosphorus, nitrogen, and potassium available to plants. If you’ve ever tried to grow vegetables in the Panhandle, you know the high sand content and low nutrient levels of many of our native soils leave much to be desired. Gardeners know that a mix of organic materials is necessary to give soil enough structure, water-holding capacity, and nutrient sources to provide plant roots a healthy growing environment.
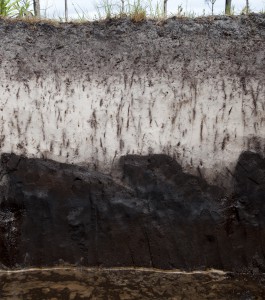
Soil profile. Photo courtesy UF/IFAS.
Soils are crucial to agricultural production, but they also play important environmental roles. On a global scale, soils are a “sink” for carbon and help combat climate change. At the same time, soils help reduce pollution through filtration and store water to recharge our drinking water aquifers. The water absorbed within healthy soils can help protect communities from both drought and flooding.
Pollution and erosion are among the biggest threats to healthy soil, and governmental agencies at all levels devote considerable funds and staff to protecting this life-giving limited natural resource. To learn more about soil and how to test for soil nutrients and pH, talk to your local Extension agent. There are many great online resources devoted to soil science, such as the Natural Resource Conservation Service’s new “Unlock the Secrets in the Soil” campaign, the USDA’s online soil surveys, and the UF IFAS Soil & Water Science Department newsletter, “Myakka.”
by Molly Jameson | Sep 3, 2015
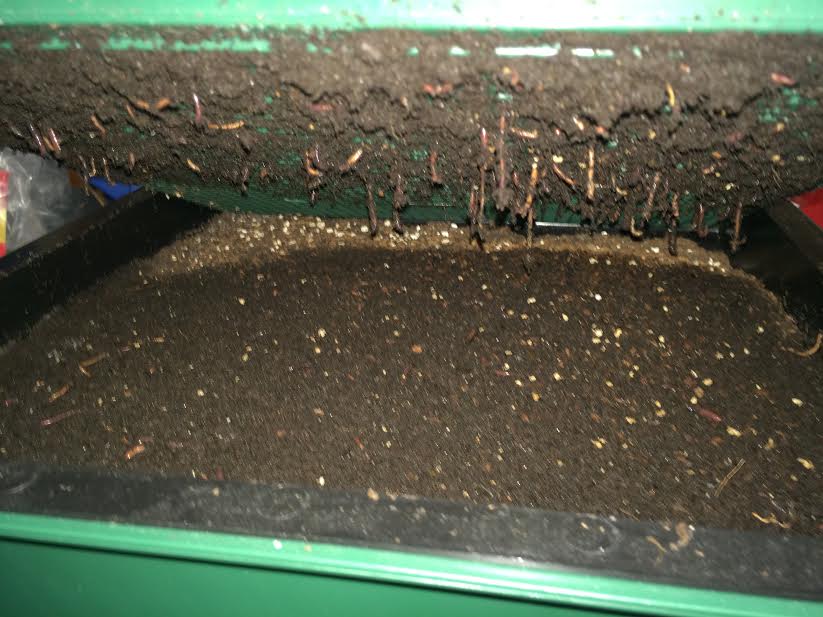
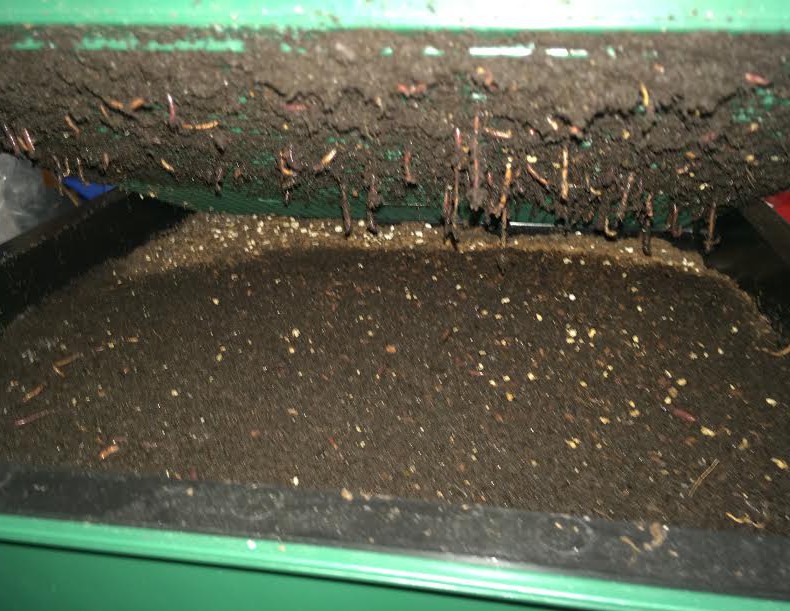
Red wigglers hanging through the bottom bin of a “Worm Factory” vermicompost system. Photo by Molly Jameson.
What if I told you there was a way to create compost indoors? No pitchfork required, no hot steamy temperatures, a simple mix of ingredients, and it would fit right under your kitchen sink? As long as you can convince your family to have worms in the house… you can start vermicomposting.
Vermicomposting uses a type of worm called red wigglers. These worms specialize in digesting organic matter, can digest their own body weight in food each day, and can double their population within months. It is, therefore, a wonderful way to responsibly dispose of food waste and can reduce your garbage by more than a third. Microorganisms inside the worms are actually doing most of the work, and the “castings” excreted are teaming with beneficial microbes and nutrients that will condition your soil and make the plants in your garden shine.
You can easily construct a vermicompost bin at home, but you can also purchase one online. Bins should hold about five gallons for one to two people or ten gallons for three to four (Rubbermaid containers work nicely). Your container should not exceed 12 inches in depth, as red wigglers do not like to burrow deeply. You will also want good aeration, so drill holes in the bottom of the bin and either place the bin in another container or put the bin on bricks and use a tray underneath to capture escaped materials. Either way, you will want a lid – as worms do not like light and need moisture – but they also need to breathe, so make sure it is not airtight. Be sure your bin is never in direct sunlight or in a location that regularly exceeds 80°F.
To get started, you will need about 1,000 worms, which weighs about one pound. Red wigglers can also be purchased online, at local nurseries, and some bait shops. Better yet – if you know vermicompost enthusiasts, they may be happy to share.
Before you purchase your worms, you want to prepare your worm bedding. Shredded newspaper and coconut fiber (coir) – which you can find at your local nursery – work great. You will also need to add a small scoop of garden soil to inoculate your bin with microbes. To get started, lightly moisten your bedding material and fill your bin about two-thirds full.
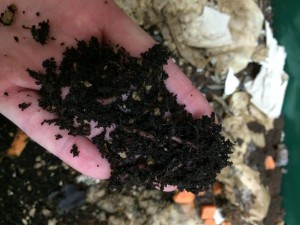
Finished worm castings will be dark, slightly moist, and will have an earthy smell. Photo by Molly Jameson.
Now it is time to add the food. Worms love vegetable scraps, most fruits, moldy bread, coffee filters and grounds, tea bags, and crushed eggshells. Chop their food into small pieces for fastest consumption. Foods to avoid include meat, dairy, large amount of citrus, and onion peels. Start out slow, and put the chopped food in the corner of your worm bin. Once your worms are settled, maintain the bin as half bedding, half food scraps. If your bin looks too dry, add more food. If your bin looks too wet, add more bedding or hold back on food a few days. Bad odors will develop only if the worms are overfed.
Give your worm bin about three to four months, and then you can begin to harvest. Add a handful of castings to potting mix or a thin layer directly to your garden. Give vermicomposting a try – your plants will thank you, your trash will not stink, and you will reduce your global impact.

by Mary Salinas | Aug 19, 2015
When you know that your lawn needs an application of fertilizer, herbicide, insecticide or fungicide, the question becomes how much to buy and put down. For these products, success stems from applying the right amount, not too much or too little. The label on those products always tells the consumer how many square feet of lawn can be treated, but how do you figure that out?
You could always do it the old-fashioned way with measuring tape and a calculator, estimating the angles and the areas of those curvy, irregular flower beds. This method takes a bit of time and you will still wonder about the accuracy of your final numbers.
Here’s an easier, and more accurate way to do it!
Sod Solutions, Inc. offers an online tool that is easy to use and very accurate. Enter your address and GPS locates the aerial view of your property. Create an overlay by plotting points and the square footage is automatically calculated. The instructions under ‘How to Use the Calculator’ are very clear and makes this tool so easy and convenient to use.
For more information on lawn care topics:
Gardening Solutions: Lawns