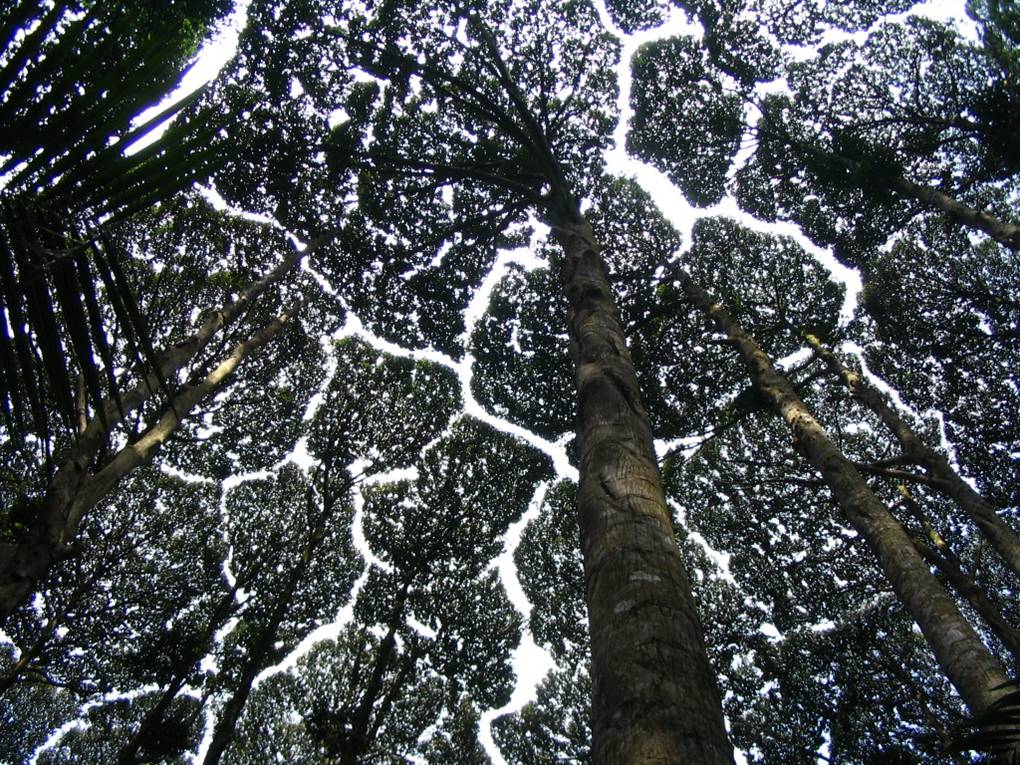
The Borneo camphor tree (Dryobalanops aromatica) exhibits a perfect example of crown shyness. Photo from Wikimedia commons at the Kuala Lumpur Research Forest
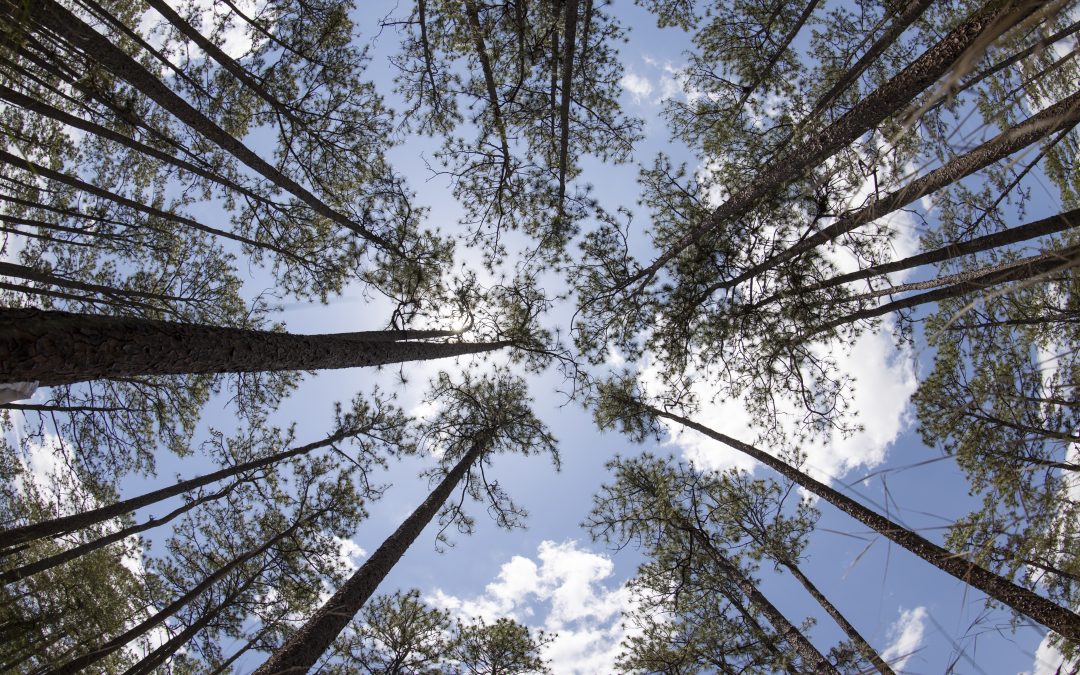
I spent a lot of time in my childhood lying in our backyard hammock, reading. Inevitably, I’d take a break and stare up at the tree canopy above me. We had sweetgum trees in that corner of our yard, and I’d watch squirrels chasing each other through the branches. One thing I noticed, but never really investigated, was how the highest branches spread out towards each other from the clump of trees, yet didn’t touch or overlap each other. You could nearly always see gaps of sunlight outlining the individual trees.
The canopy of mature oak trees exhibiting crown shyness. Photo credit: Carrie Stevenson, UF IFAS Extension
The term for this is “crown shyness.” As anthropomorphized as that seems, it’s an apt description for this seemingly polite growth pattern. The topmost branches of any given tree are in constant competition with each other for sunlight. Being photosynthesizers, sunlight is life. No growth can happen without the basic ingredients of sunlight, water, and carbon dioxide. So, from a tree’s perspective, there is an inherent disincentive to send growth beneath their own existing branches or those of an adjacent tree. The result of this is a botanical dance of sending branches out, neighboring trees doing the same, and multiple trees subtly angling for light. It’s like sharing an armrest on an airplane with a stranger. There’s a limited and highly desirable resource (the armrest), resulting in a (hopefully) gentle back and forth where someone either claims the space fully or you make an unspoken agreement to share it. If you do share it, it’s rare your arms touch; most of us want to keep some personal space!
Like Blue Angel jets in the diamond formation, trees will keep just a bit of sunlight between them and their neighbor. Photographed by Mass Communication Specialist 1st Class Ian Cotter. Official U.S. Navy Photograph.
While we may consciously shuffle for position in crowded public spaces, this happens for trees at a metabolic level. Evidence from an Argentinian study demonstrated that trees can “detect the presence of neighbors before being shaded by them,” using an internal sensor that detects light on the red:far red spectrum. This botanical spidey-sense comes from light-receptor proteins called phytochromes, which send out an alert that they’re close to another tree and may want to stop sending branches that direction. Growing into an adjacent tree quickly brings diminishing returns for absorbing sunlight, and it is in the tree’s best interest to keep a safe distance.
Single-species stands of pine trees exhibit crown shyness. Photo credit: Tyler Jones, UF IFAS
Crown shyness appears to be more pronounced in groves of same-species trees. Monocultures like pine plantations, or even large stands of black mangrove, exhibit the same growth patterns and timing, adapting to environmental factors the same way—particularly if they were planted or germinated at the same time. Foresters or ecologists trying to maximize the space for timber, fruit, or ecosystem restoration may want to deliberately encourage a diverse array of species, which fill in the gaps beneath the canopy and survive on less direct sunlight.
Maybe we could call it “crowd” shyness when people step back to give folks room to dance, avoiding “mechanical abrasion”! Photo credit: Cole Stevenson, University of the South
Another contributing factor to crown shyness, and perhaps one of the more crucial ones, is “mechanical abrasion.” University of Florida botanist Francis “Jack” Putz conducted research on this in Costa Rica back in the 80’s, which is still frequently cited in more recent publications. His team’s findings showed that crown shyness was “positively correlated with the distance pairs of trees adjacent to the gap swayed in the wind.” When tree branches physically bumped into one another on a regular basis, they kept their distance to prevent bud, bloom, and branch tip damage. For this scenario, imagine someone dancing enthusiastically in the middle of a big music festival—if there’s room, people will often spread out. The more the person flails, the more space you give them. If they’re just minimally swaying back and forth, you might stand closer. Putz, et. al observed this same principle in the coastal mangrove forests—more flexible branches adjacent to one another gave each other more space, while those with “stiff crowns” that couldn’t move much grew closer together.
When space opens up due to the loss of a neighboring tree or branch, the infusion of sunlight/fuel spurs a tree to send energy quickly to gain the advantage over adjacent trees. Tree species vary in their capability and success in doing this. An earlier article on pioneer species (the first to occupy a newly open space) and the process of succession sheds more light on this natural phenomenon. In a mature forest, the end result is a balanced mosaic of tree branches reaching out and nearly touching one another, but leaving each other space to grow.
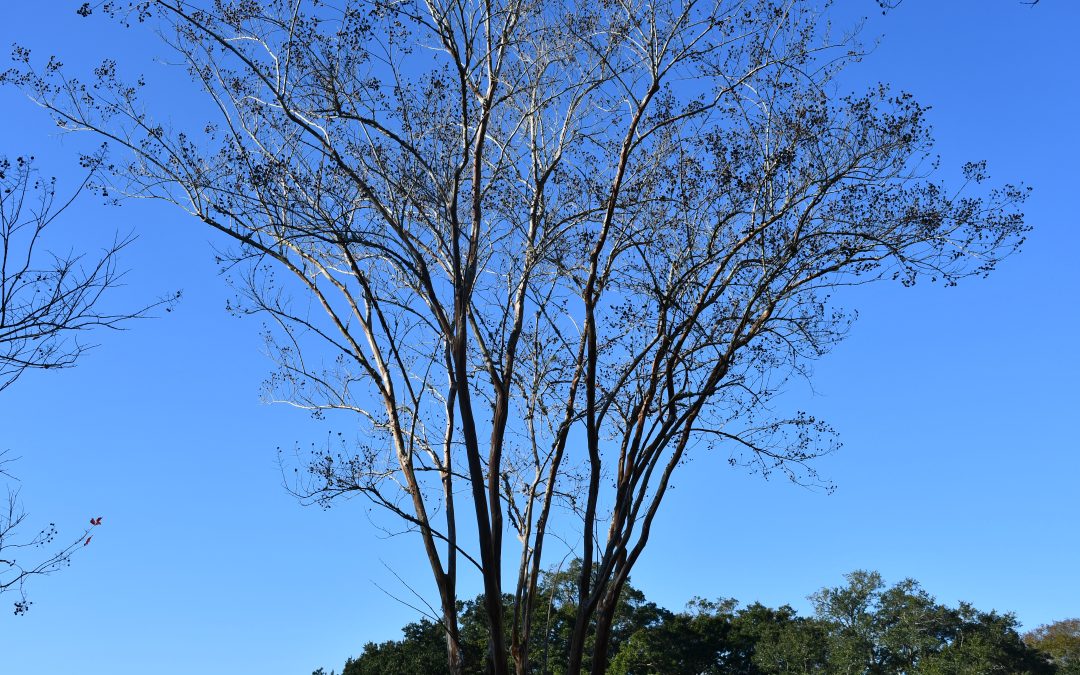
Crape myrtle trees are often aggressively pruned each winter regardless of the location. Learn three steps from the University of Florida IFAS Escambia Extension to selectively prune your crape myrtles to maintain an attractive tree form in your landscape.
During the summer months, we can’t seem to get away from insects. Whether it’s a fly circling your food, those pesky aphids in your garden, or a mosquito out for blood, they make their presence known. But when winter rolls around and temperatures drop, they seem to disappear. But where do they go?
Unlike humans, insects are exothermic or cold blooded. They cannot regulate their own body temperature and must rely on the heat of the environment. Each insect species has its own developmental threshold, a temperature below which no development takes place. For many insects, that threshold is about 50 degrees Fahrenheit. This means that when temperatures drop below 50 degrees Fahrenheit, consecutively, the insect is not active, and no development is occurring. Typically, the warmer the temperature is (as long as it is above the development threshold), the more insect activity we see.
Insects may also enter a state called diapause, which is similar to hibernation. During diapause, an insect’s metabolism slows dramatically, and the insect stops feeding, growing, or reproducing. This allows the insect to survive through cold winter conditions, conserving energy until temperatures warm up again.
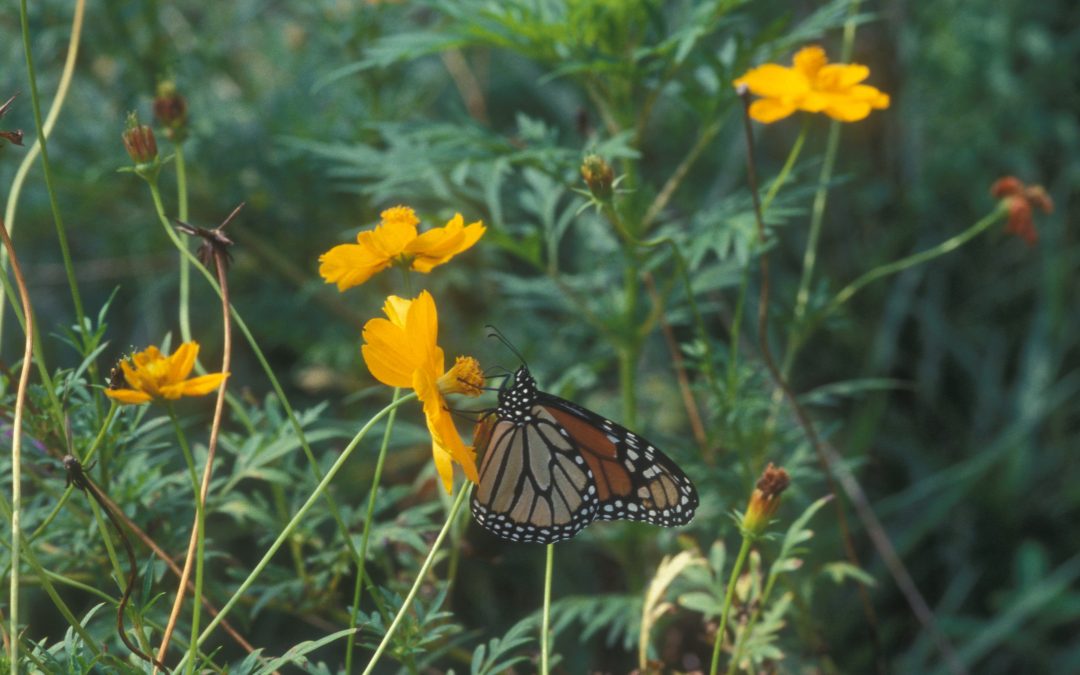
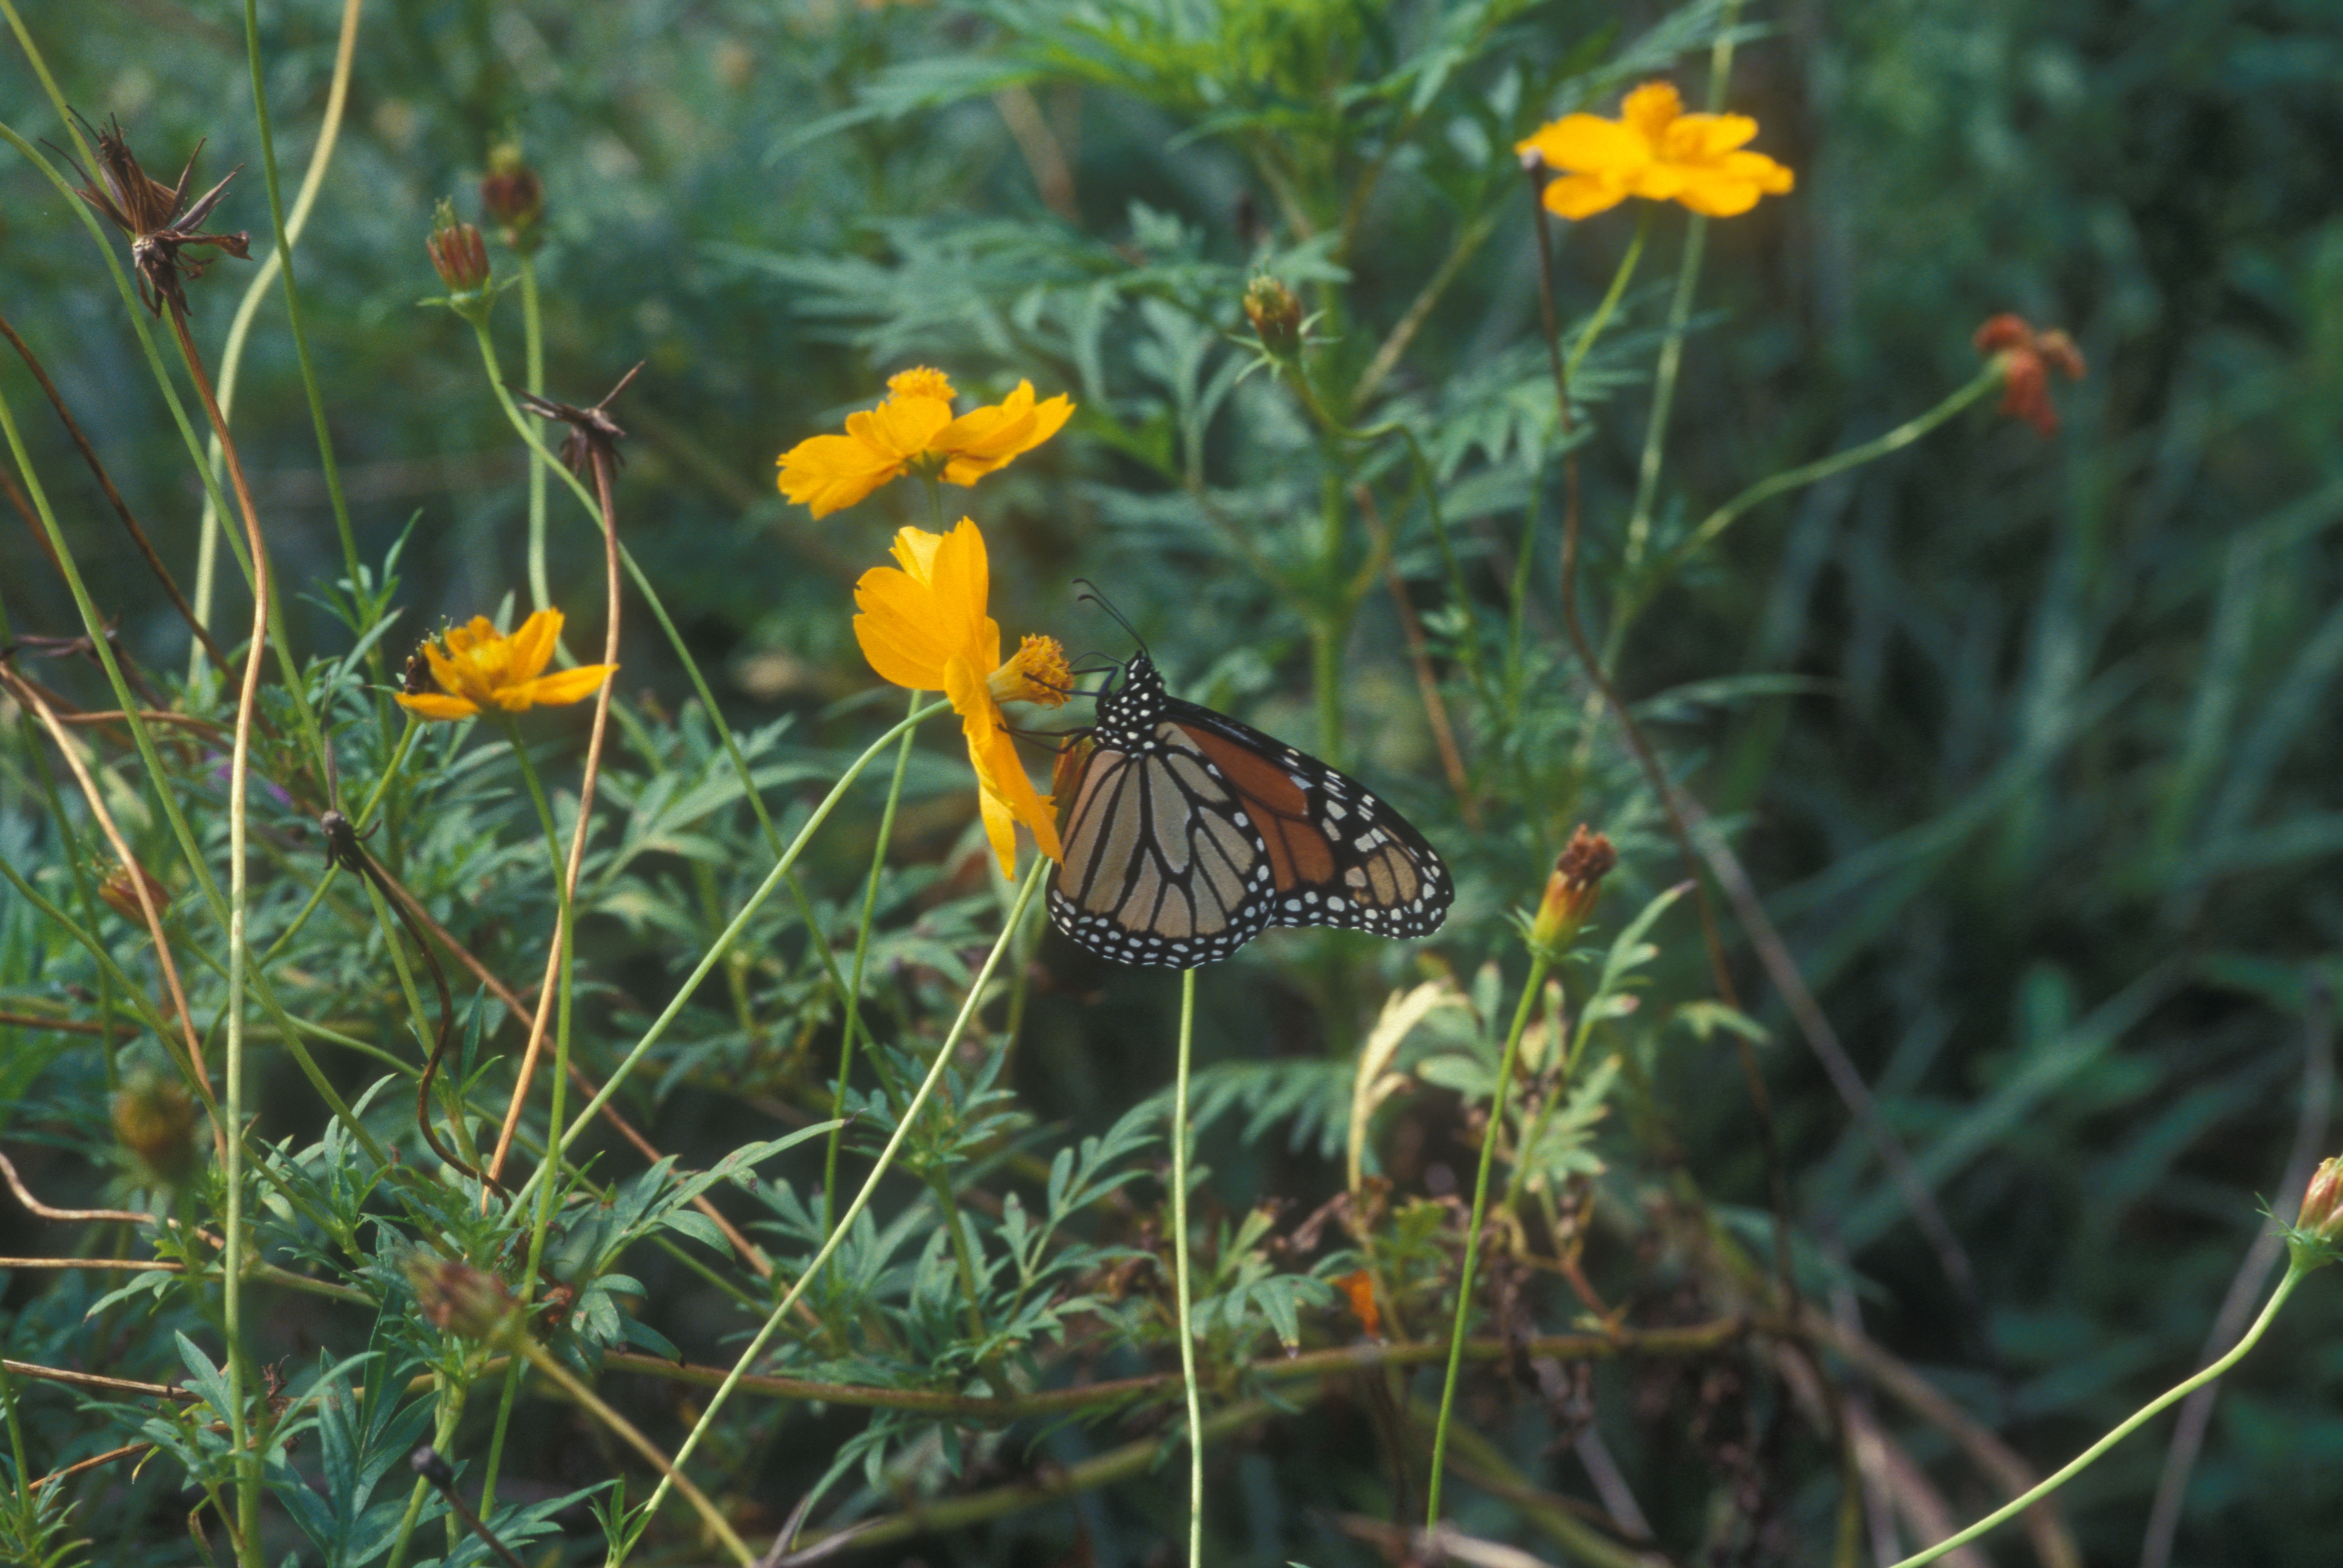
Another insect survival technique during the winter is migration. Many species of insects migrate to warmer climates to escape the cold. A well-known example of this is with the infamous Monarch butterfly migration. Monarchs migrate south to Mexico to overwinter and survive the cold weather. Some other insects migrate in smaller, less noticeable ways such as moving to different micro-climates. For example, beetle grubs may move down deep within the leaf litter to stay warm. Insects like lady beetles may congregate in large numbers inside homes, barns, or buildings during the winter.
Some insect species can produce glycerol, a type of anti-freeze, that prevents their body from freezing even when temperatures drop below freezing.
While many insects seem to disappear during the winter, they’re actually using their time wisely and although, cooler temperatures may slow down their activity, they won’t necessarily change insect populations drastically. Insects are well adapted for survival, and they are here to stay. They’re just enjoying a break until the warmth of spring brings them back!
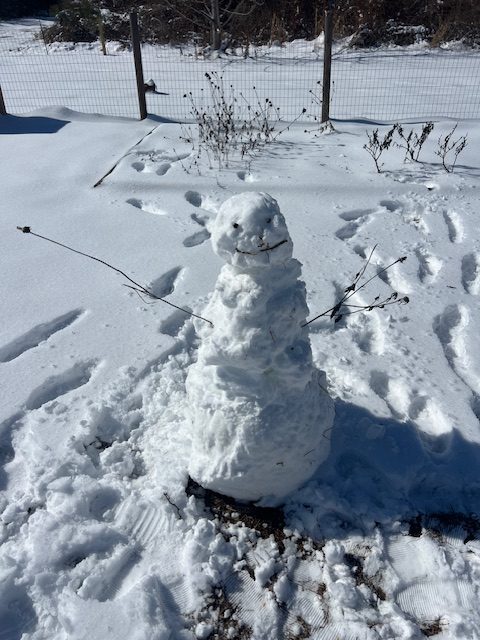
Snowman in the Garden. Photo Credit: Abbey Smith, UF/IFAS Extension
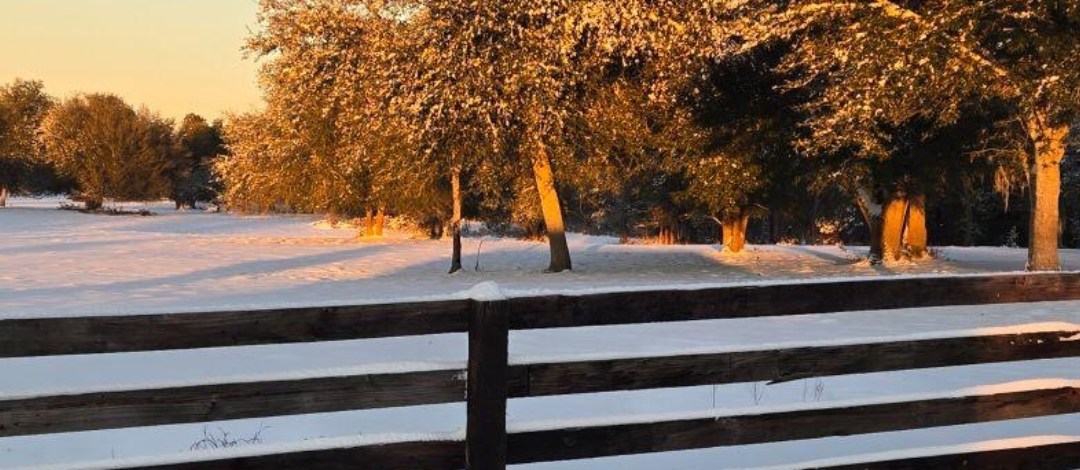
2025 has already been a year for the books, as Winter Storm Enzo has proven that it really can snow in the Sunshine State. With the fluffy white snow also comes below freezing temperatures, therefore most landscape plants that fit the hardiness zones of Florida are not cold-tolerant or what is also called “cold-hardy.” In the Florida Panhandle, freezes are becoming more prevalent in recent years, so it is best to act ahead of time to protect your patio and landscape plants from feeling the adverse winter affects.
Preparation in Advance
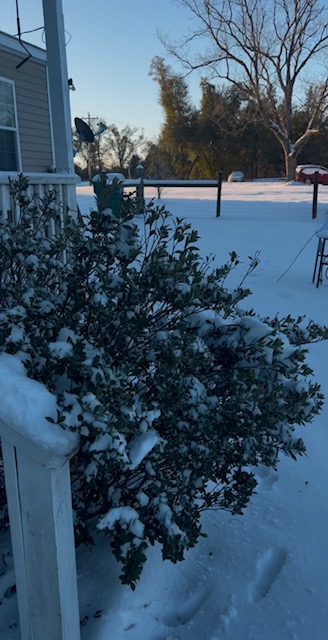
Gardenia bush in the snow. Photo Credit: Abbey Smith, UF/IFAS Extension Jackson County
It is always best to do your research and know what hardiness zone(s) your plants will thrive in. This will help you understand the level of cold tolerance the plant can withstand and will allow you to select cold tolerant varieties that will grow best in the Florida Panhandle. You can find your hardiness zone by using this link: https://planthardiness.ars.usda.gov/.
Proper care throughout the year will also help your patio and porch plants withstand freezing temperatures; a healthy plant has a better chance of recovering from cold damage than an unmaintained one. A freeze event can usually be spotted in the forecast multiple days in advance, and it is best to be proactive by moving potted plants that would be adversely affected to the indoors or to a warmer sheltered area.
Cold Protection Tips
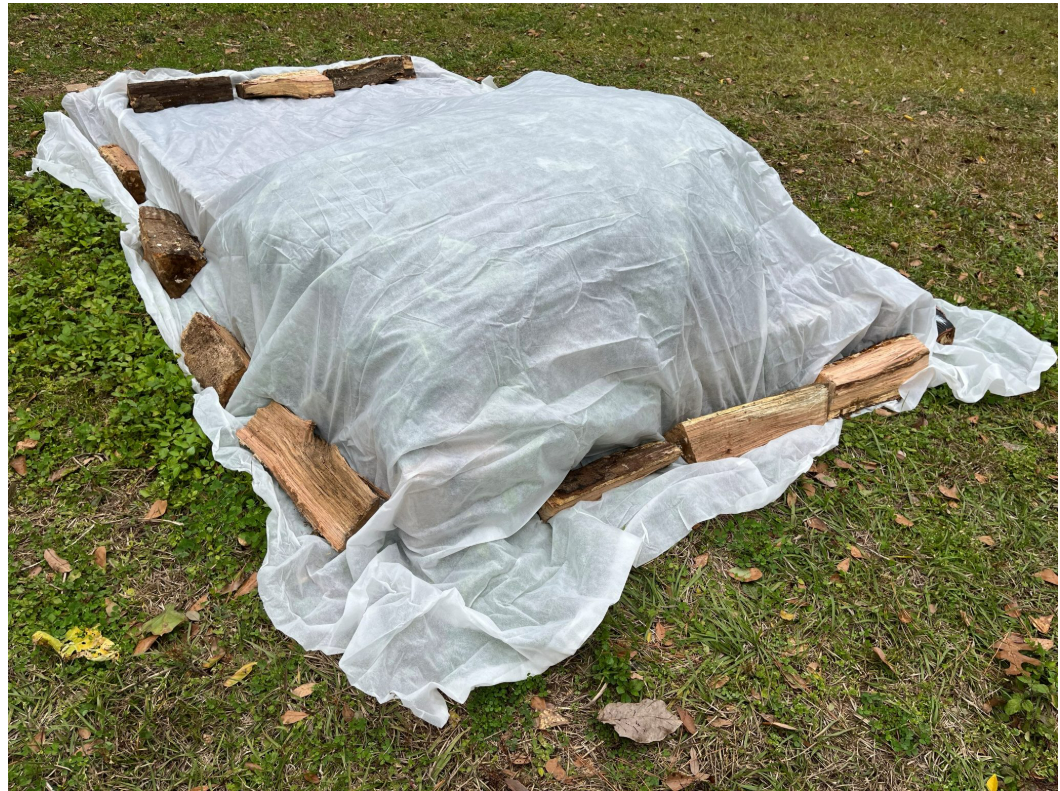
One of the most effective ways to protect your plants from cold weather is covering them up during the night. Frost cloths can be purchased at most garden stores or through online platforms. If you are unable to buy frost cloths, you can use breathable materials such as old bed sheets or burlap bags that will still allow for air flow to the plant but keep it insulated and warm.
Example of frost cloth protection. Photo Credit: Molly Jameson, UF/IFAS Extension Leon County
You can also use mulch for insulation. Applying a thick layer of mulch around the base of your landscape plants will help insulate the soil to regulate ground temperatures and protect the plant’s root system from cold weather damage. Pine straw or leaves will work best and should be applied in a 3-to-4-inch layer kept away from the base of your stem or trunk of the plant. In some cases, it may be necessary to use an outdoor heat lamp, but always ensure that it is placed away from any flammable materials and only used as needed.
It has been said that using your irrigation at home can be a form of freeze protection. This is typically not effective for a homeowner. When farmers run irrigation to protect their crop, the irrigation systems that are used commercially are designed for scenarios like this. The irrigation must be run for several hours after temperatures rise for this method to work and protect the plants. With a home irrigation system, this is considered water-wasteful and the amount of water a home irrigation system emits can turn into heavy ice quickly, which will damage your plant rather than offer protection.
Cold protection for plants in Northwest Florida is all about preparation. Whether its covering plants, adding mulch to your landscape, or moving your plants indoors, a little effort can go a long way in preventing cold damage. With a bit of TLC, you can keep your landscape and garden beautiful all year long.
Gardening in the Panhandle LIVE! is launching Season 6 with new topics starting on March 6, 2025! Each episode is delivered live on Zoom Webinar then posted to our YouTube Playlist. If you would like to join us live and help drive the panel discussion, be sure to click on the title below to register and submit your questions a few days prior to air date.
Learn how to incorporate edible plants into your landscape. Whether your goal is a large vegetable garden or one tree with edible fruit, we can help you find ways to make your landscape a source of fresh food!
Are you trying to create a tropical look in your North Florida yard but frustrated with freeze damage? Let us teach you what plants can offer lush foliage and withstand cold weather!
Not only people love Florida’s climate, but many plant pests thrive here, too. Learn how to identify and manage landscape pests using Florida-Friendly Landscaping practices.
We all know the importance of pollinators, but how can you help to support them? Join us to learn how to attract, identify, and count for the 2025 Great Southeast Pollinator Count!
Growing houseplants can be tricky since our indoor climate is very different from outdoors. Learn how to help your houseplants thrive while keeping your home comfortable!
Flowering bulbs can create dramatic impact in the landscape, but some have specific requirements that might not fit our climate and soil conditions. Learn how to select the right ones for your North Florida landscape!
Did you miss a broadcast or want to watch one again?