by Matt Lollar | Dec 26, 2025
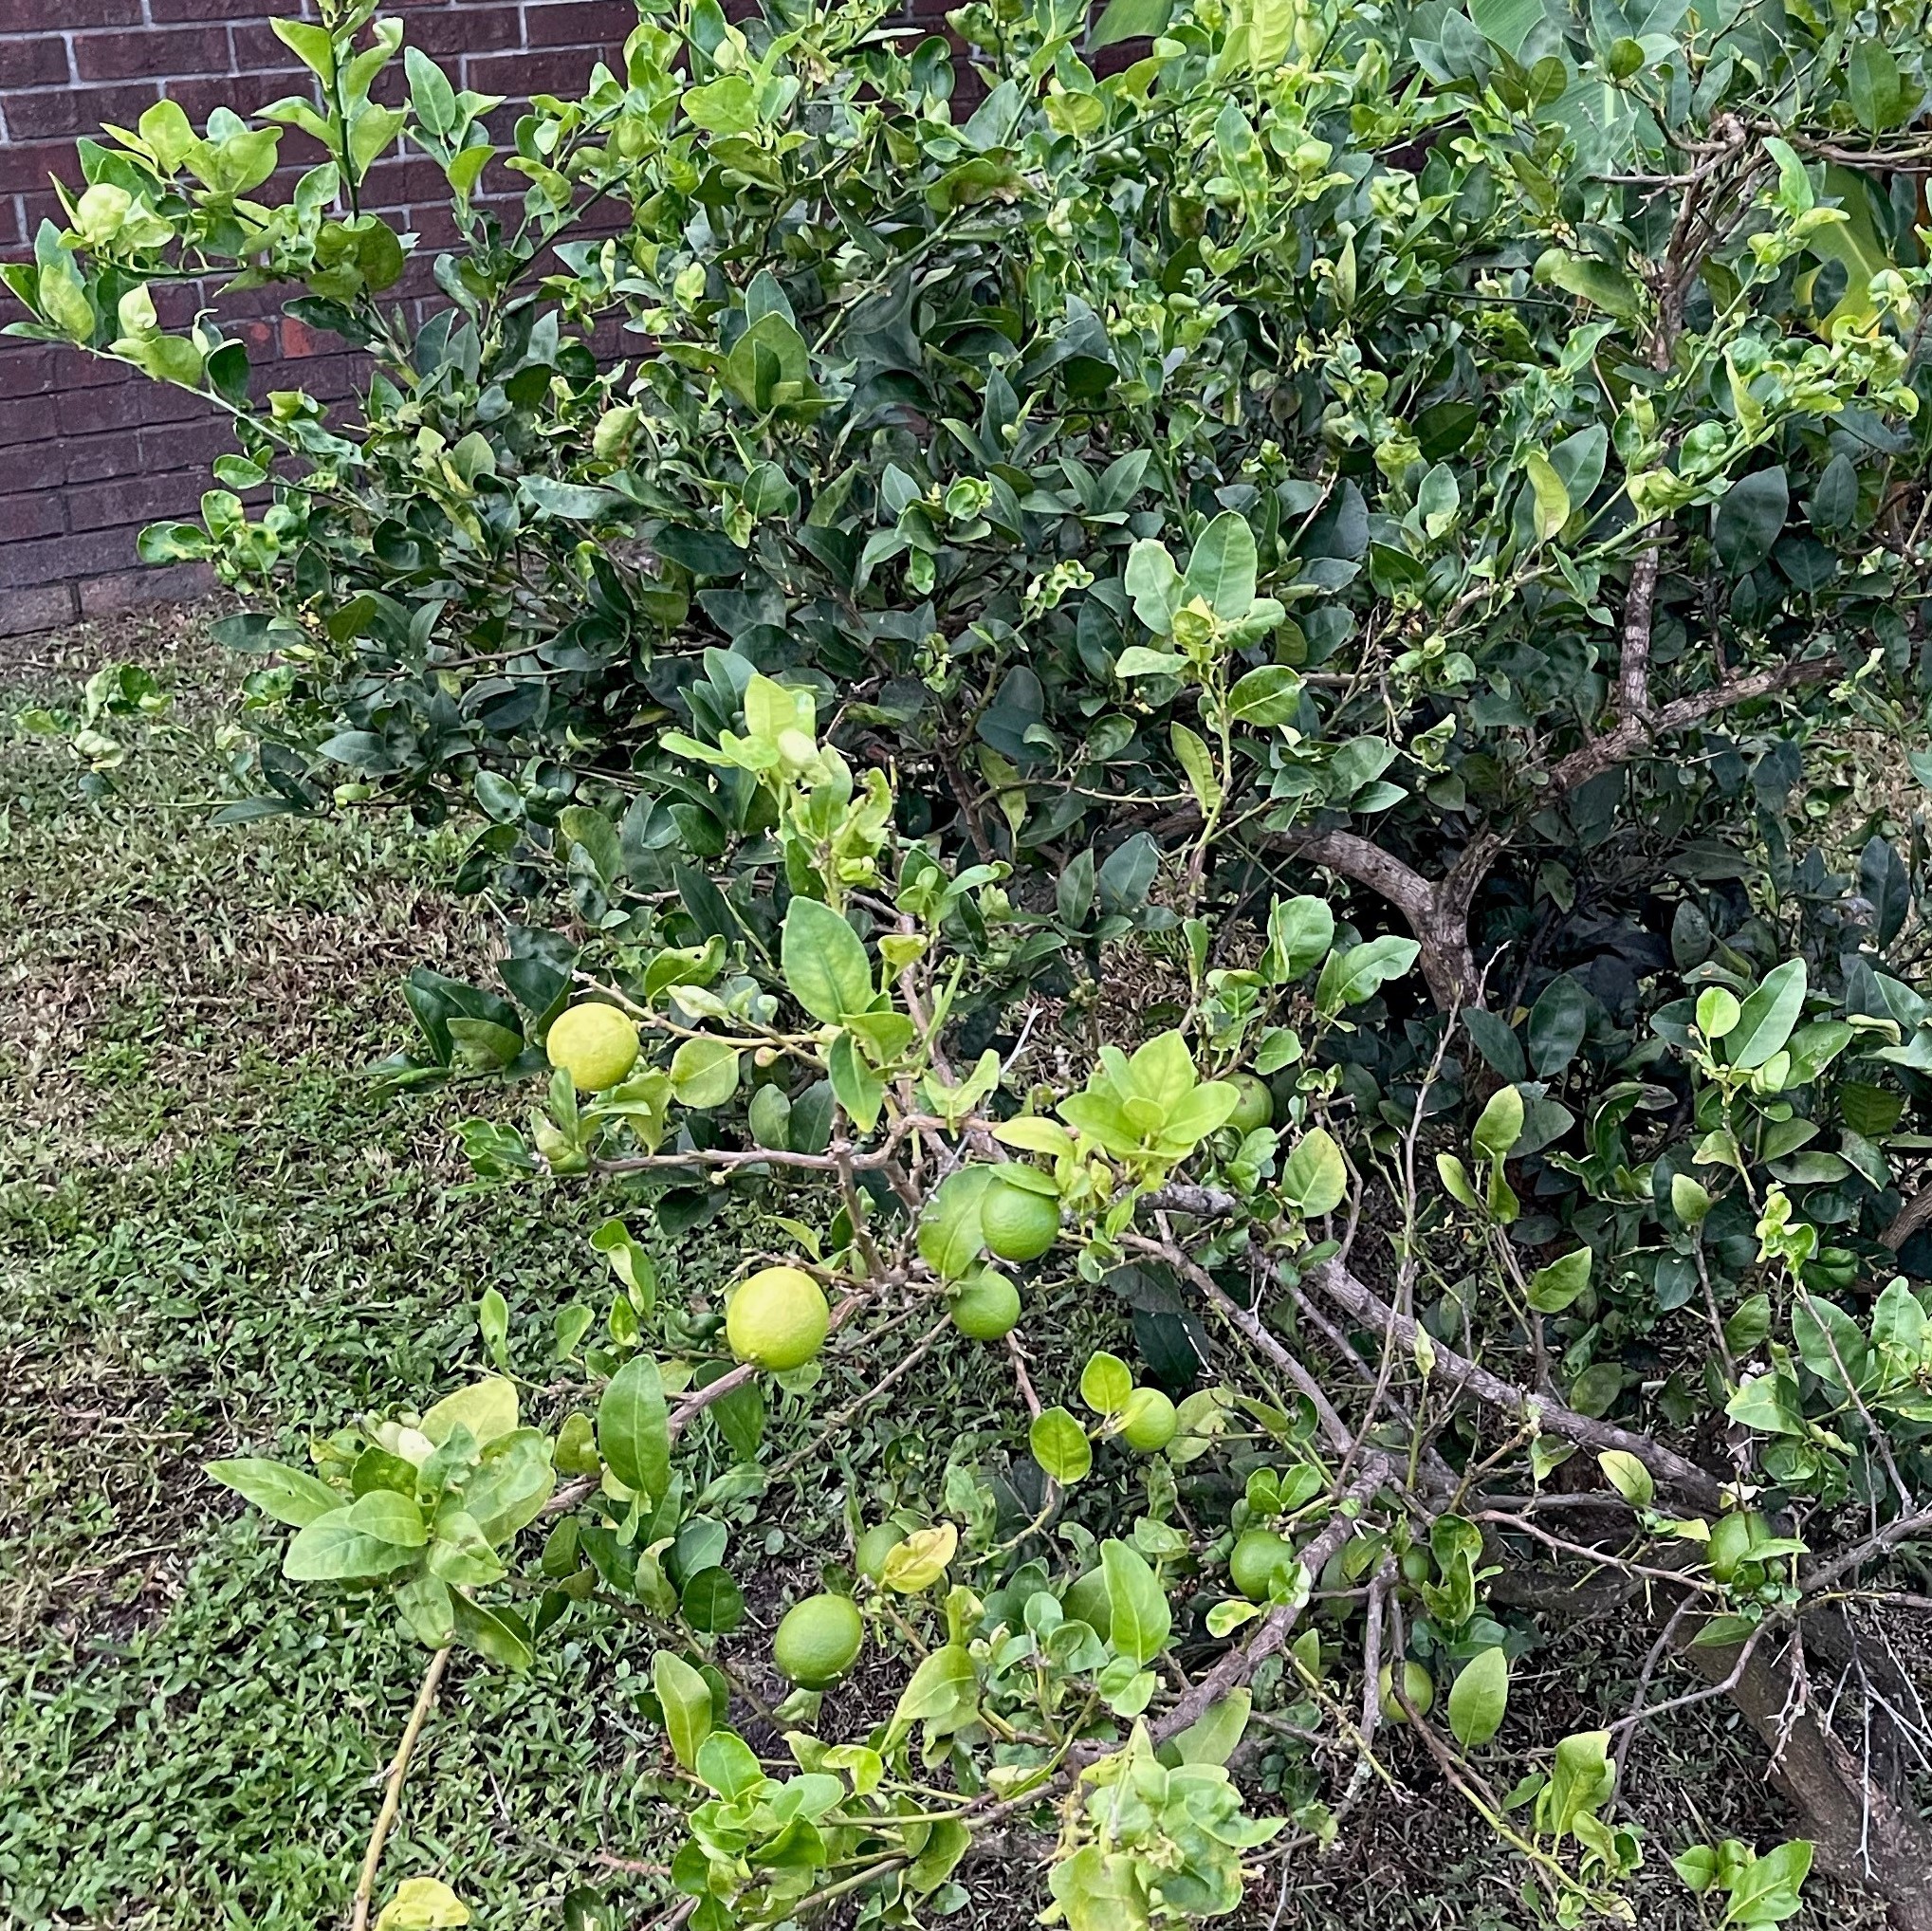
The Christmas season is all about the gifts! This statement couldn’t be further from the truth, but most likely some gifts will be given. An old traditional gift is gift fruit. And a lot of the time that gift fruit is a mix of citrus from Florida. A unique citrus that I’ve been wanting to add to my grove is the limequat. A few weeks ago I had a close encounter with a limequat at a local nursery, but it was in disguise. The limequat in question had a tag that read ‘Key Lime’. I am a fan of Key lime pie, therefore I like Key limes, but I knew I don’t want the added maintenance of protecting a Key lime tree from the cold. I had a suspicion this plant was a limequat, but I decided to pass on it. This experience prompted me to do a little research, so I don’t pass up on this opportunity in the future.

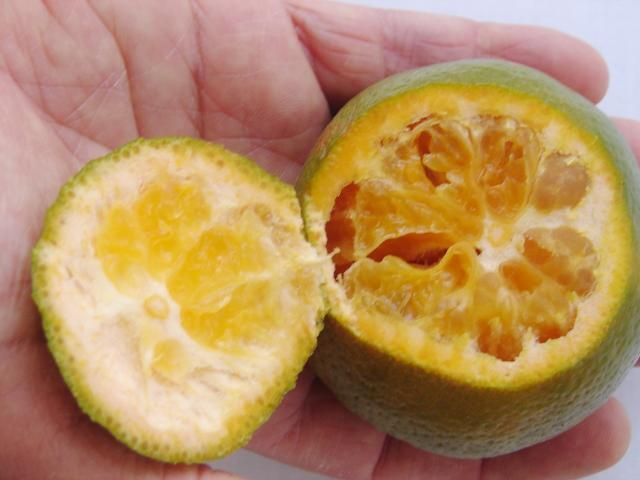
Key Lime fruit at various degrees of ripeness. Photo Credit: Ray Bodrey, University of Florida/IFAS Extension – Gulf County
Key Lime vs. Persian Lime
Before we talk more about limequats, I think it’s important we discuss the differences between Key limes and Persian limes. The Persian lime, Citrus latifolia, originated in southeast Asia. The first report of these trees in the United States was at a home in California in 1875. Like Persian limes, the Key lime, Citrus aurantifolia, originated in southeast Asia and was brought to the Americas by Spanish and later became naturalized in the Florida Keys and throughout Central and South America. Although these limes are two different species, they are both hybrids of crosses between the same three species (Citrus medica, Citrus grandis, and Citrus micrantha). Persian limes are more cold hardy than Key limes and neither are as cold hardy as limequats.
Kumquats growing on a tree. Photo Credit: University of Florida/IFAS
Limequat
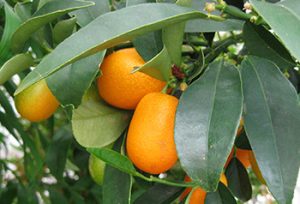
Limequats resulted from cross pollination between a Key lime and a kumquat. However, limequats are less cold hardy than kumquats. Similar to kumquats, the skin of limequats is sweeter than their flesh. Three common cultivars of limequats are ‘Eustis’, ‘Lakeland’, and ‘Tavares’. ‘Tavares’ limequats produce larger fruit than ‘Eustis’ and ‘Lakeland’, but their mature fruit are more orange in color. A number of commercial and retail nurseries sell a limequat variety under the name ‘Key’ or ‘Key Lime’, which stemmed my confusion at the local nursery. All confusion could have been avoided if I would have known the scientific name at the time of my visit. (Limequats are listed as either Citrus x floridana or Citrofortunella x floridana.)
So now you know how limequats came about. For more information on limequats and other citrus species, please visit the UF/IFAS Gardening Solutions Citrus Page.
by Carrie Stevenson | Dec 26, 2025

Wax myrtle is an evergreen shrub found commonly along the edges of wetlands. Photo credit: Carrie Stevenson, UF IFAS Extension
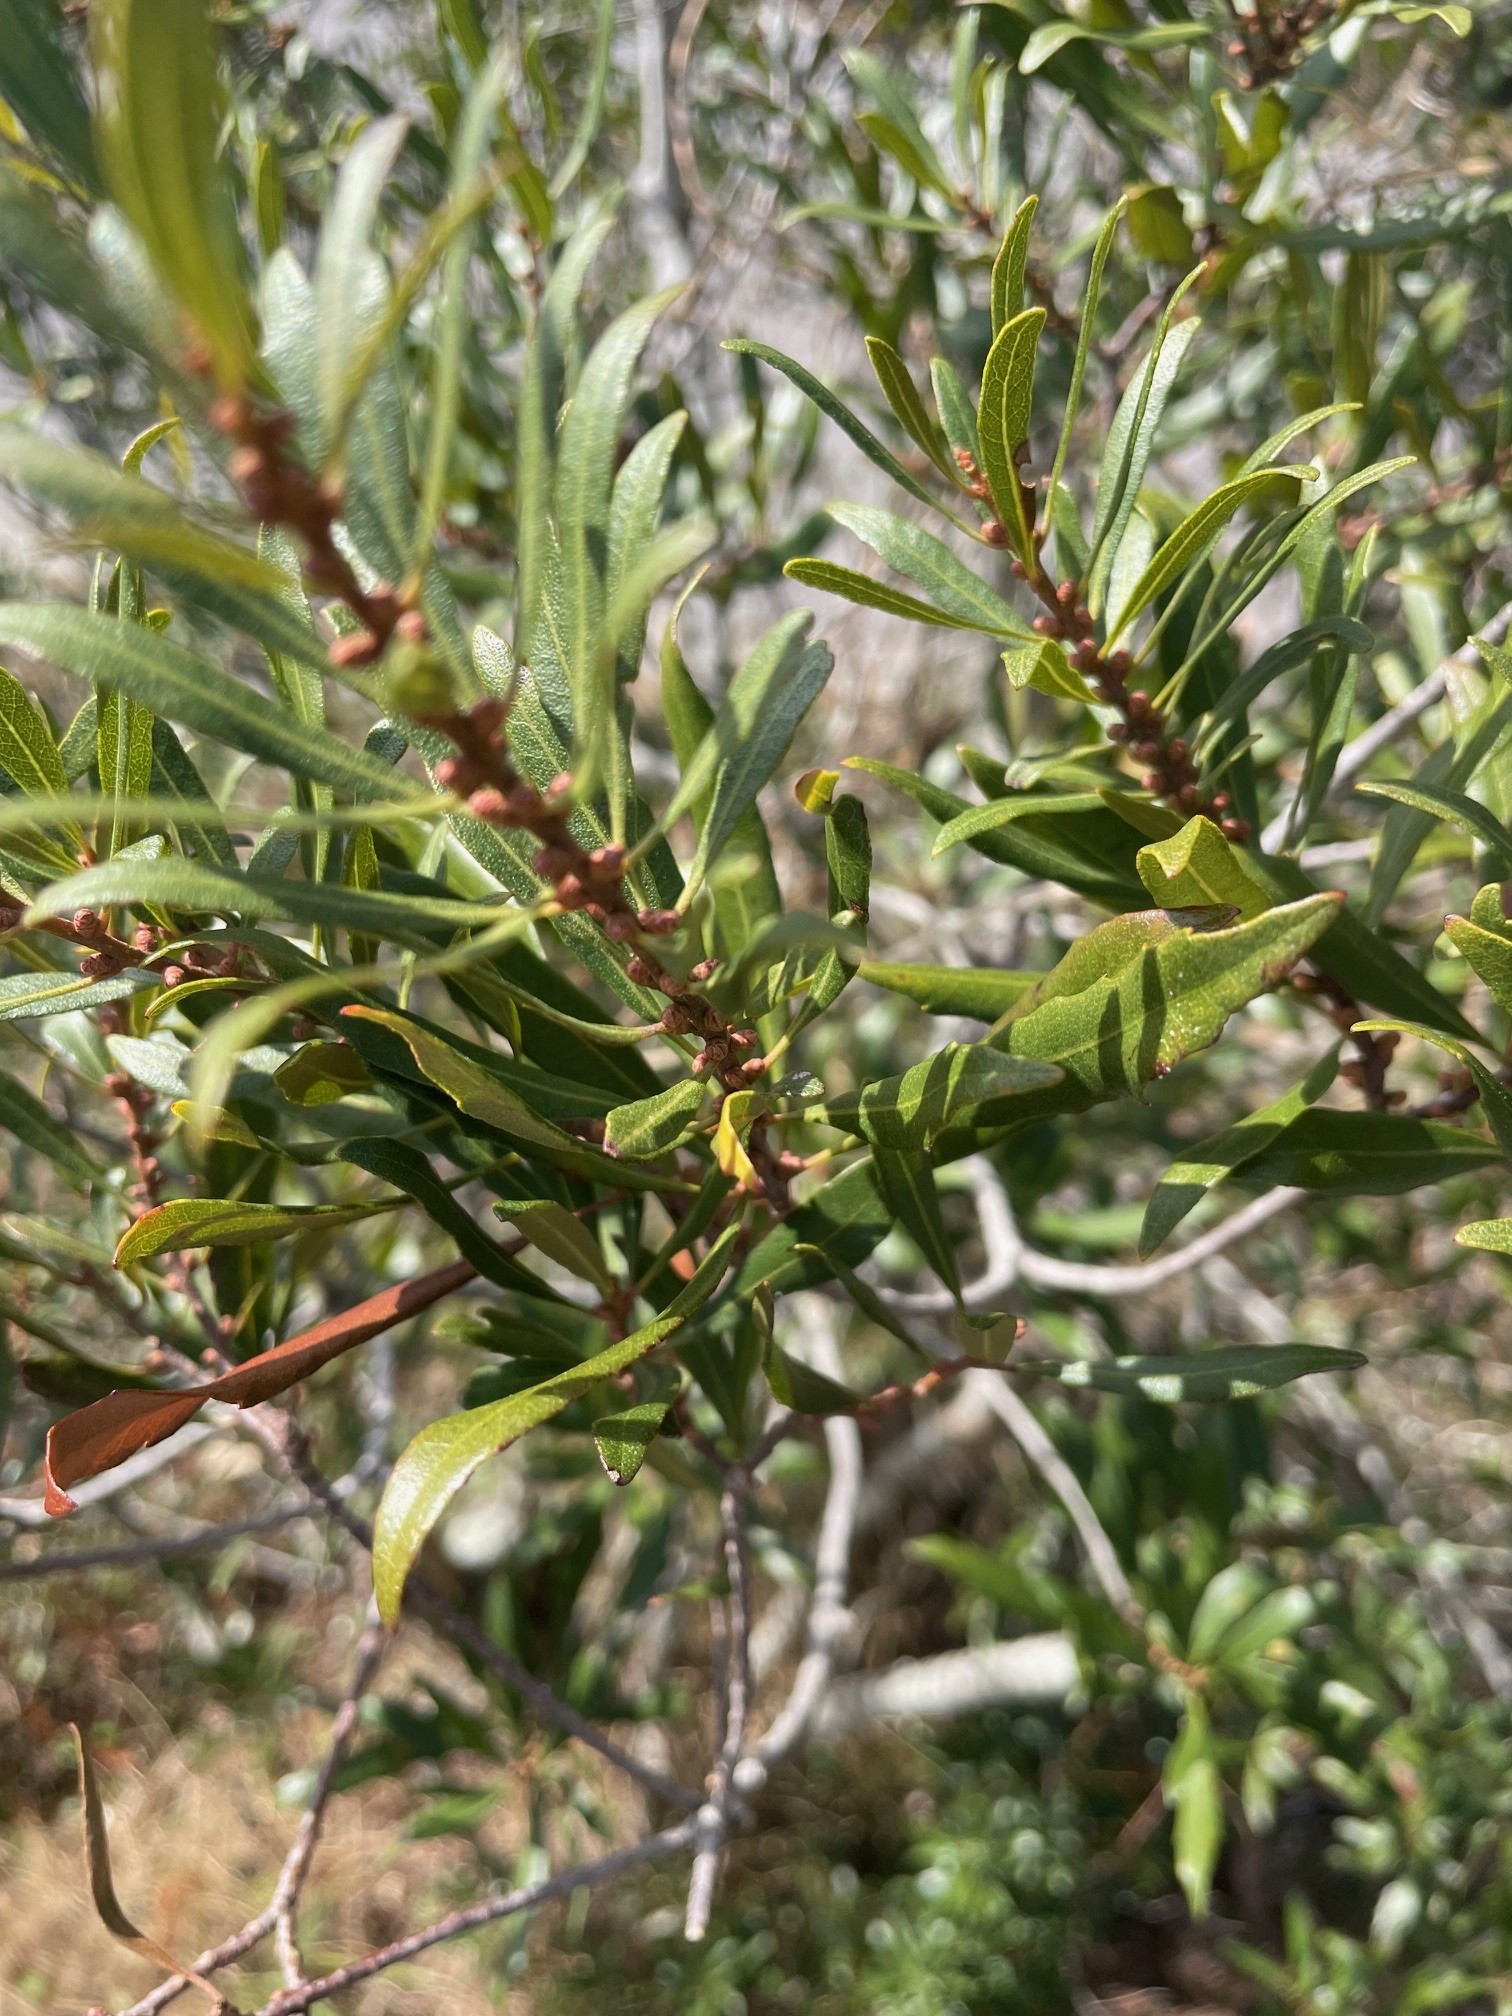
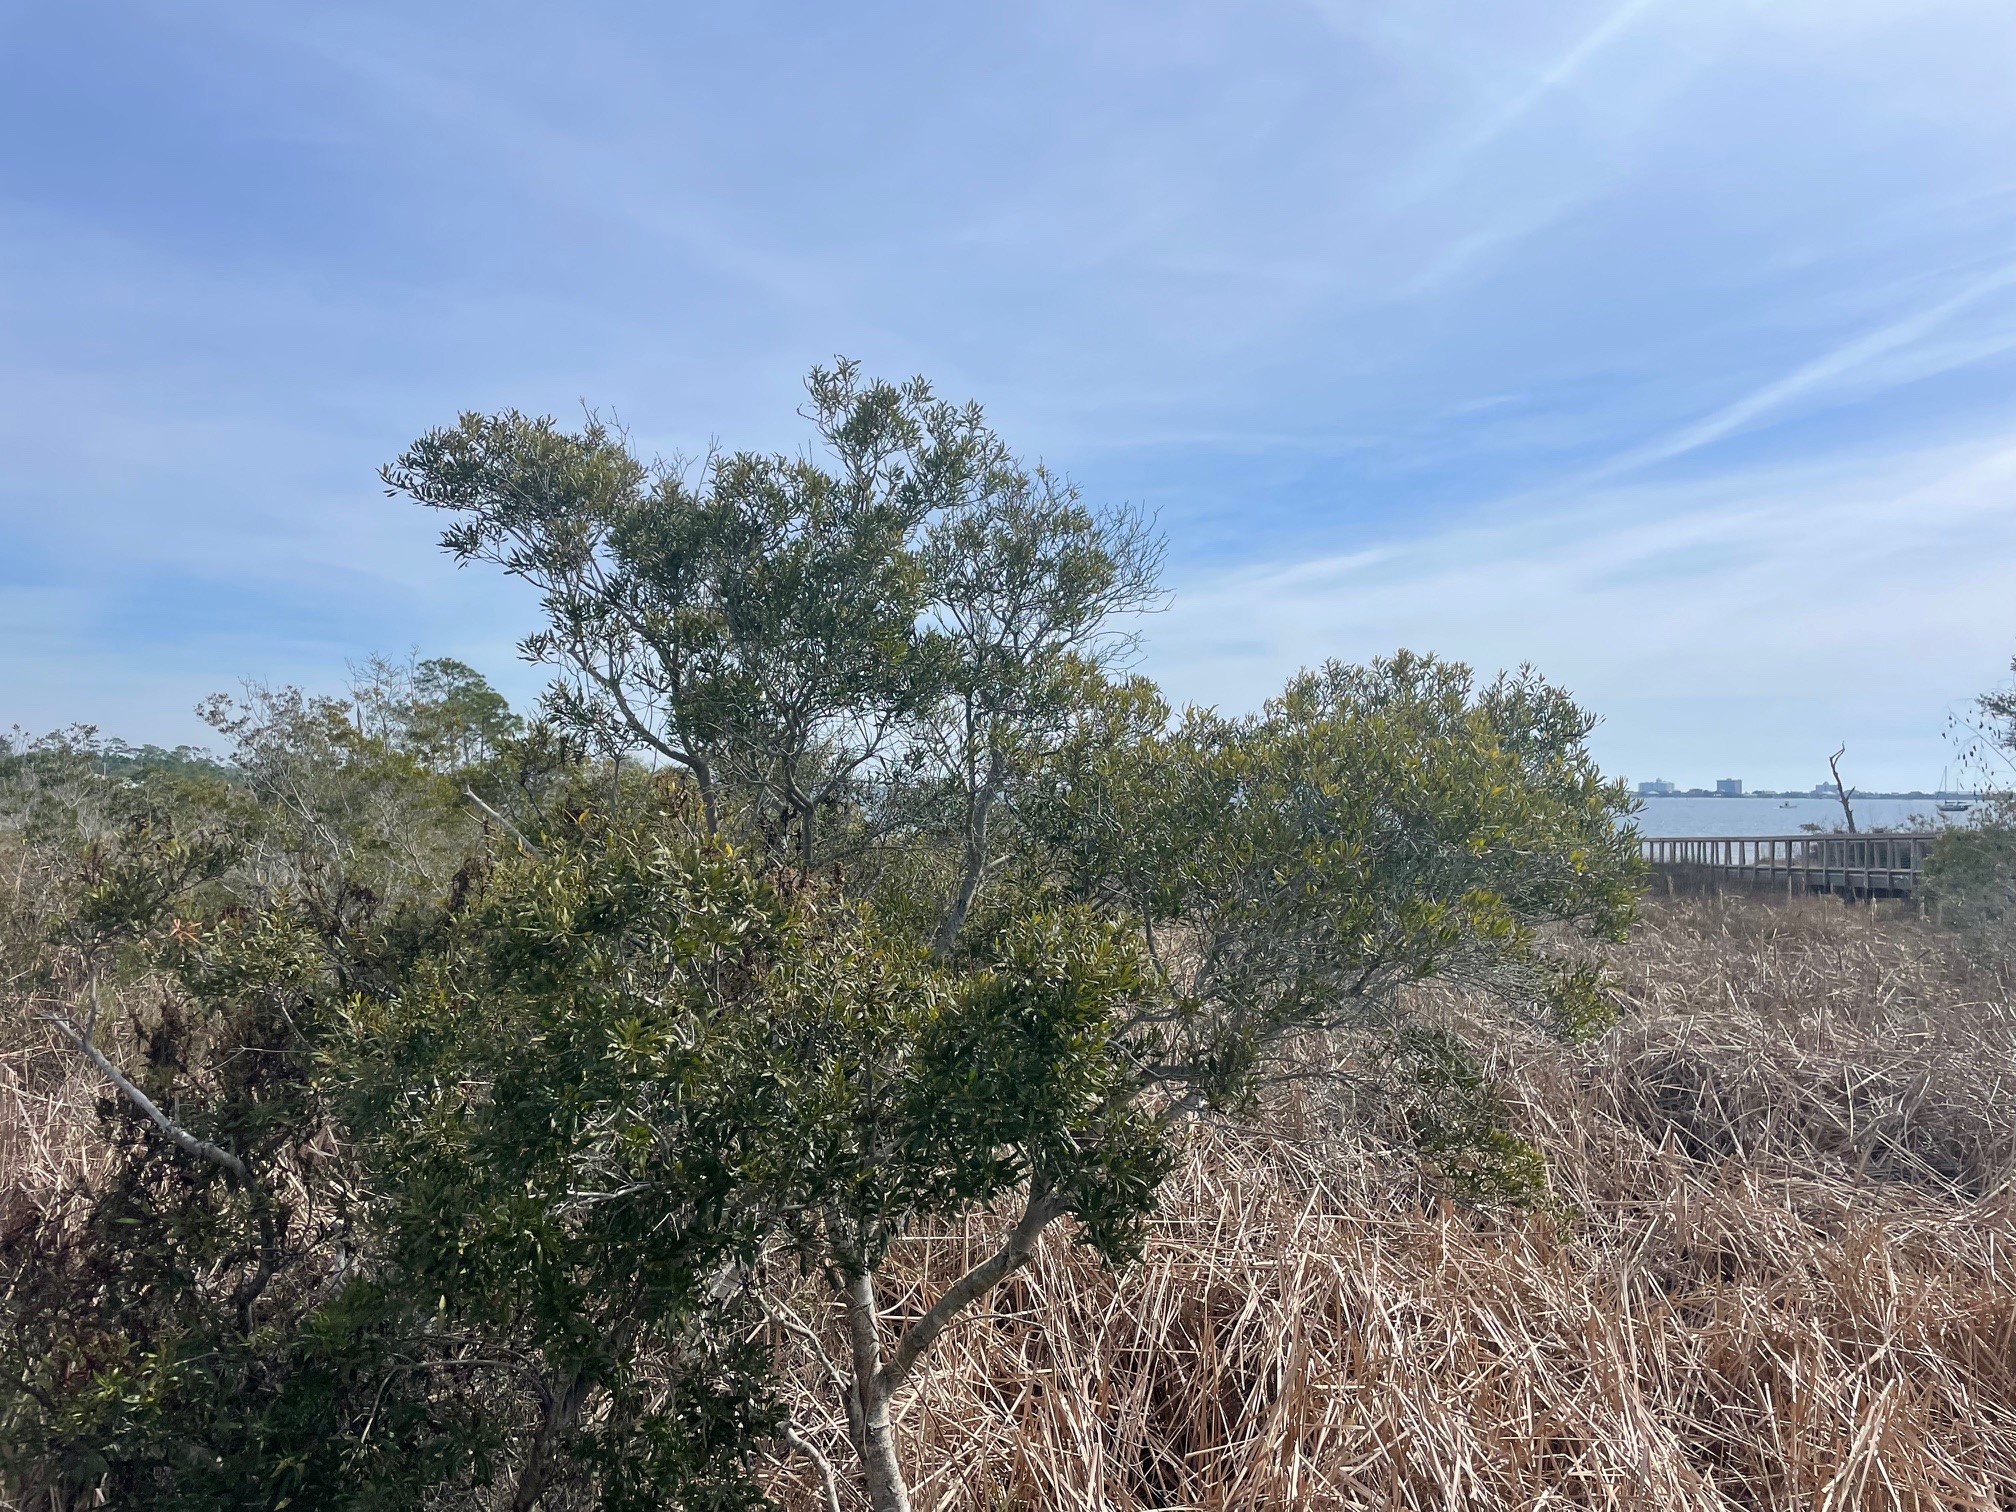
Wax myrtle (Myrica/Morella cerifera) is one of those evergreen shrubs that mostly lives out its life in the background. Neither tall and imposing (on average, up to 12’; rarely as tall as 20’), nor full of showy flowers, it is nonetheless an important native species. Behind that low-key persona is a small tree that has played numerous roles in American history. Also known as bayberry, wax myrtle grows in low-lying areas along the edges of wetlands. It is a fast grower and will fill in open spaces if there is enough available light. Wax myrtle is a hardy plant, highly tolerant of salt, and works well in pollinator gardens and urban locations. Both male and female plants are necessary to produce numerous berries, which grow directly on the plant stem. A wide variety of birds use the plants as nesting areas and feed on the berries, including warblers, swallows, wrens, and turkeys.

Wax myrtle shrubs play an important role in feeding and roosting for birds. Photo credit: Carrie Stevenson, UF IFAS Extension
People have long planted wax myrtle shrubs as natural privacy screens, or used an extract from the leaves as a mosquito repellent. The leaves are tough, similar in texture to live oaks, helping hold in water for drought tolerance and keep out salt, enabling them to thrive in coastal areas.
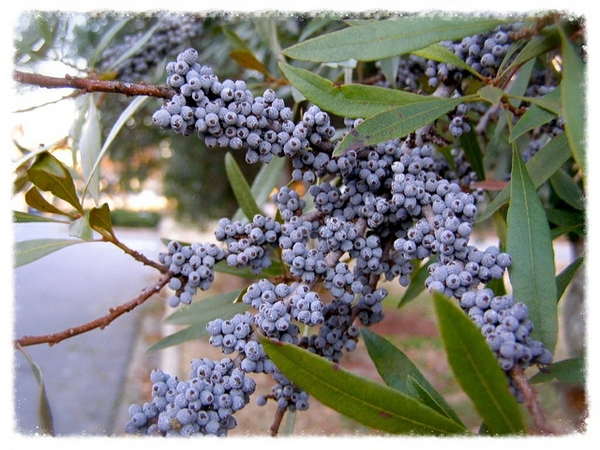
The leaves and berries serve several useful purposes for humans. Native American tribes, particularly the Seminoles in Florida, would use fermented leaves as a medication for headaches and fevers. The berries are a greenish gray/blue color and are the size of BB’s. Each shrub can grow hundreds of small berries along each branch, and berries have a waxy coating that will separate from the berry flesh when boiled.

A wax myrtle plant loaded in its small, waxy berries. Photo from Creative Commons.
Early American settlers would collect this wax and reform it into bayberry candles. They would serve a dual purpose in providing both light and mosquito protection. In those early days, mosquito-borne diseases like yellow fever and malaria were both common and deadly, so it was a matter of survival. The plants have also been used to deter fleas and cockroaches.
According to several native plant enthusiasts who posted bayberry-candle-making videos on YouTube, the rule of thumb is that you’ll need to collect a gallon of wax myrtle berries to create a cup of wax. Besides candles, early settlers also used the wax for soap, sealing wax, and shaving cream. Be mindful that wax myrtle plants are flammable, so it is recommended that if planted in a home landscape, they are in an area safely away from the building walls.
by Mark Tancig | Dec 18, 2025
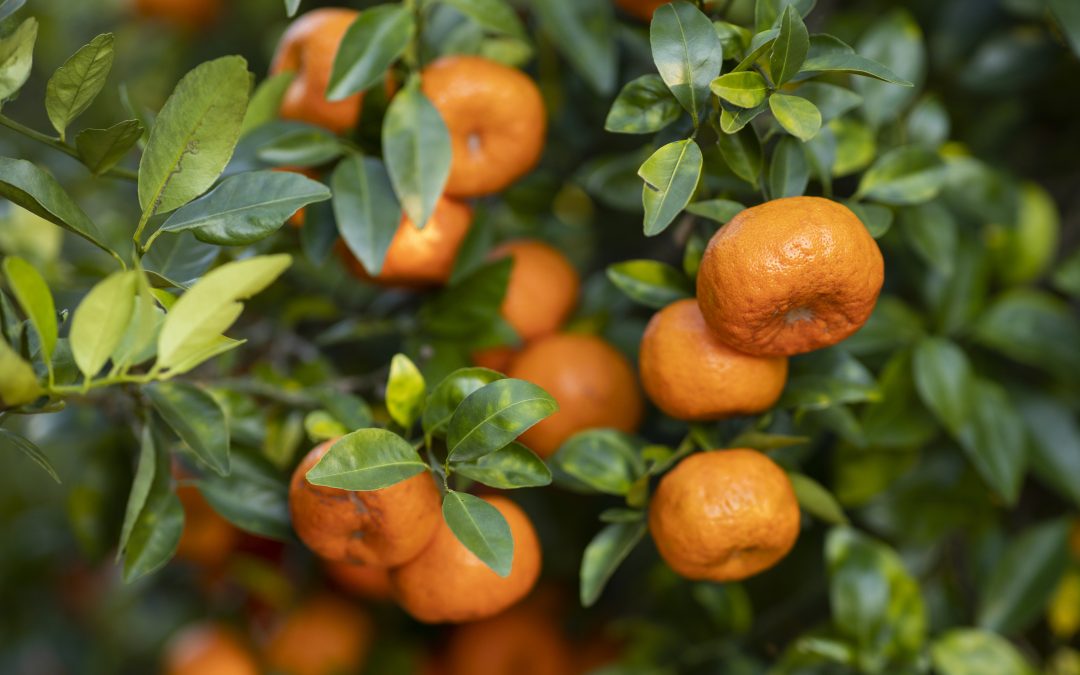
Cold hardy citrus are a treat for north Florida gardeners. Credit: Tyler Jones, UF/IFAS
Growing citrus in the backyard is definitely a gardening perk for those living in north Florida. However, our frequent cold snaps are also a source of anxiety for many backyard citrus growers. With weather forecasters excited to highlight dips in temperature, many folks call their local extension office, or head to social media, fretting over what they should do with their citrus. This article is intended to walk you through what to consider when deciding how cold it needs to get before worrying.
First of all, you can really help yourself out by selecting and planting varieties that are known to be cold hardy. In addition to Myer lemon, calamondins, kumquats, grapefruit, and pummelo, other cold hardy citrus varieties include:
- mandarins – satsuma, shiranui, Sugar Belle, Tango and Bingo
- oranges – navel, Hamlin, Minneola Honeybell, and Valencia
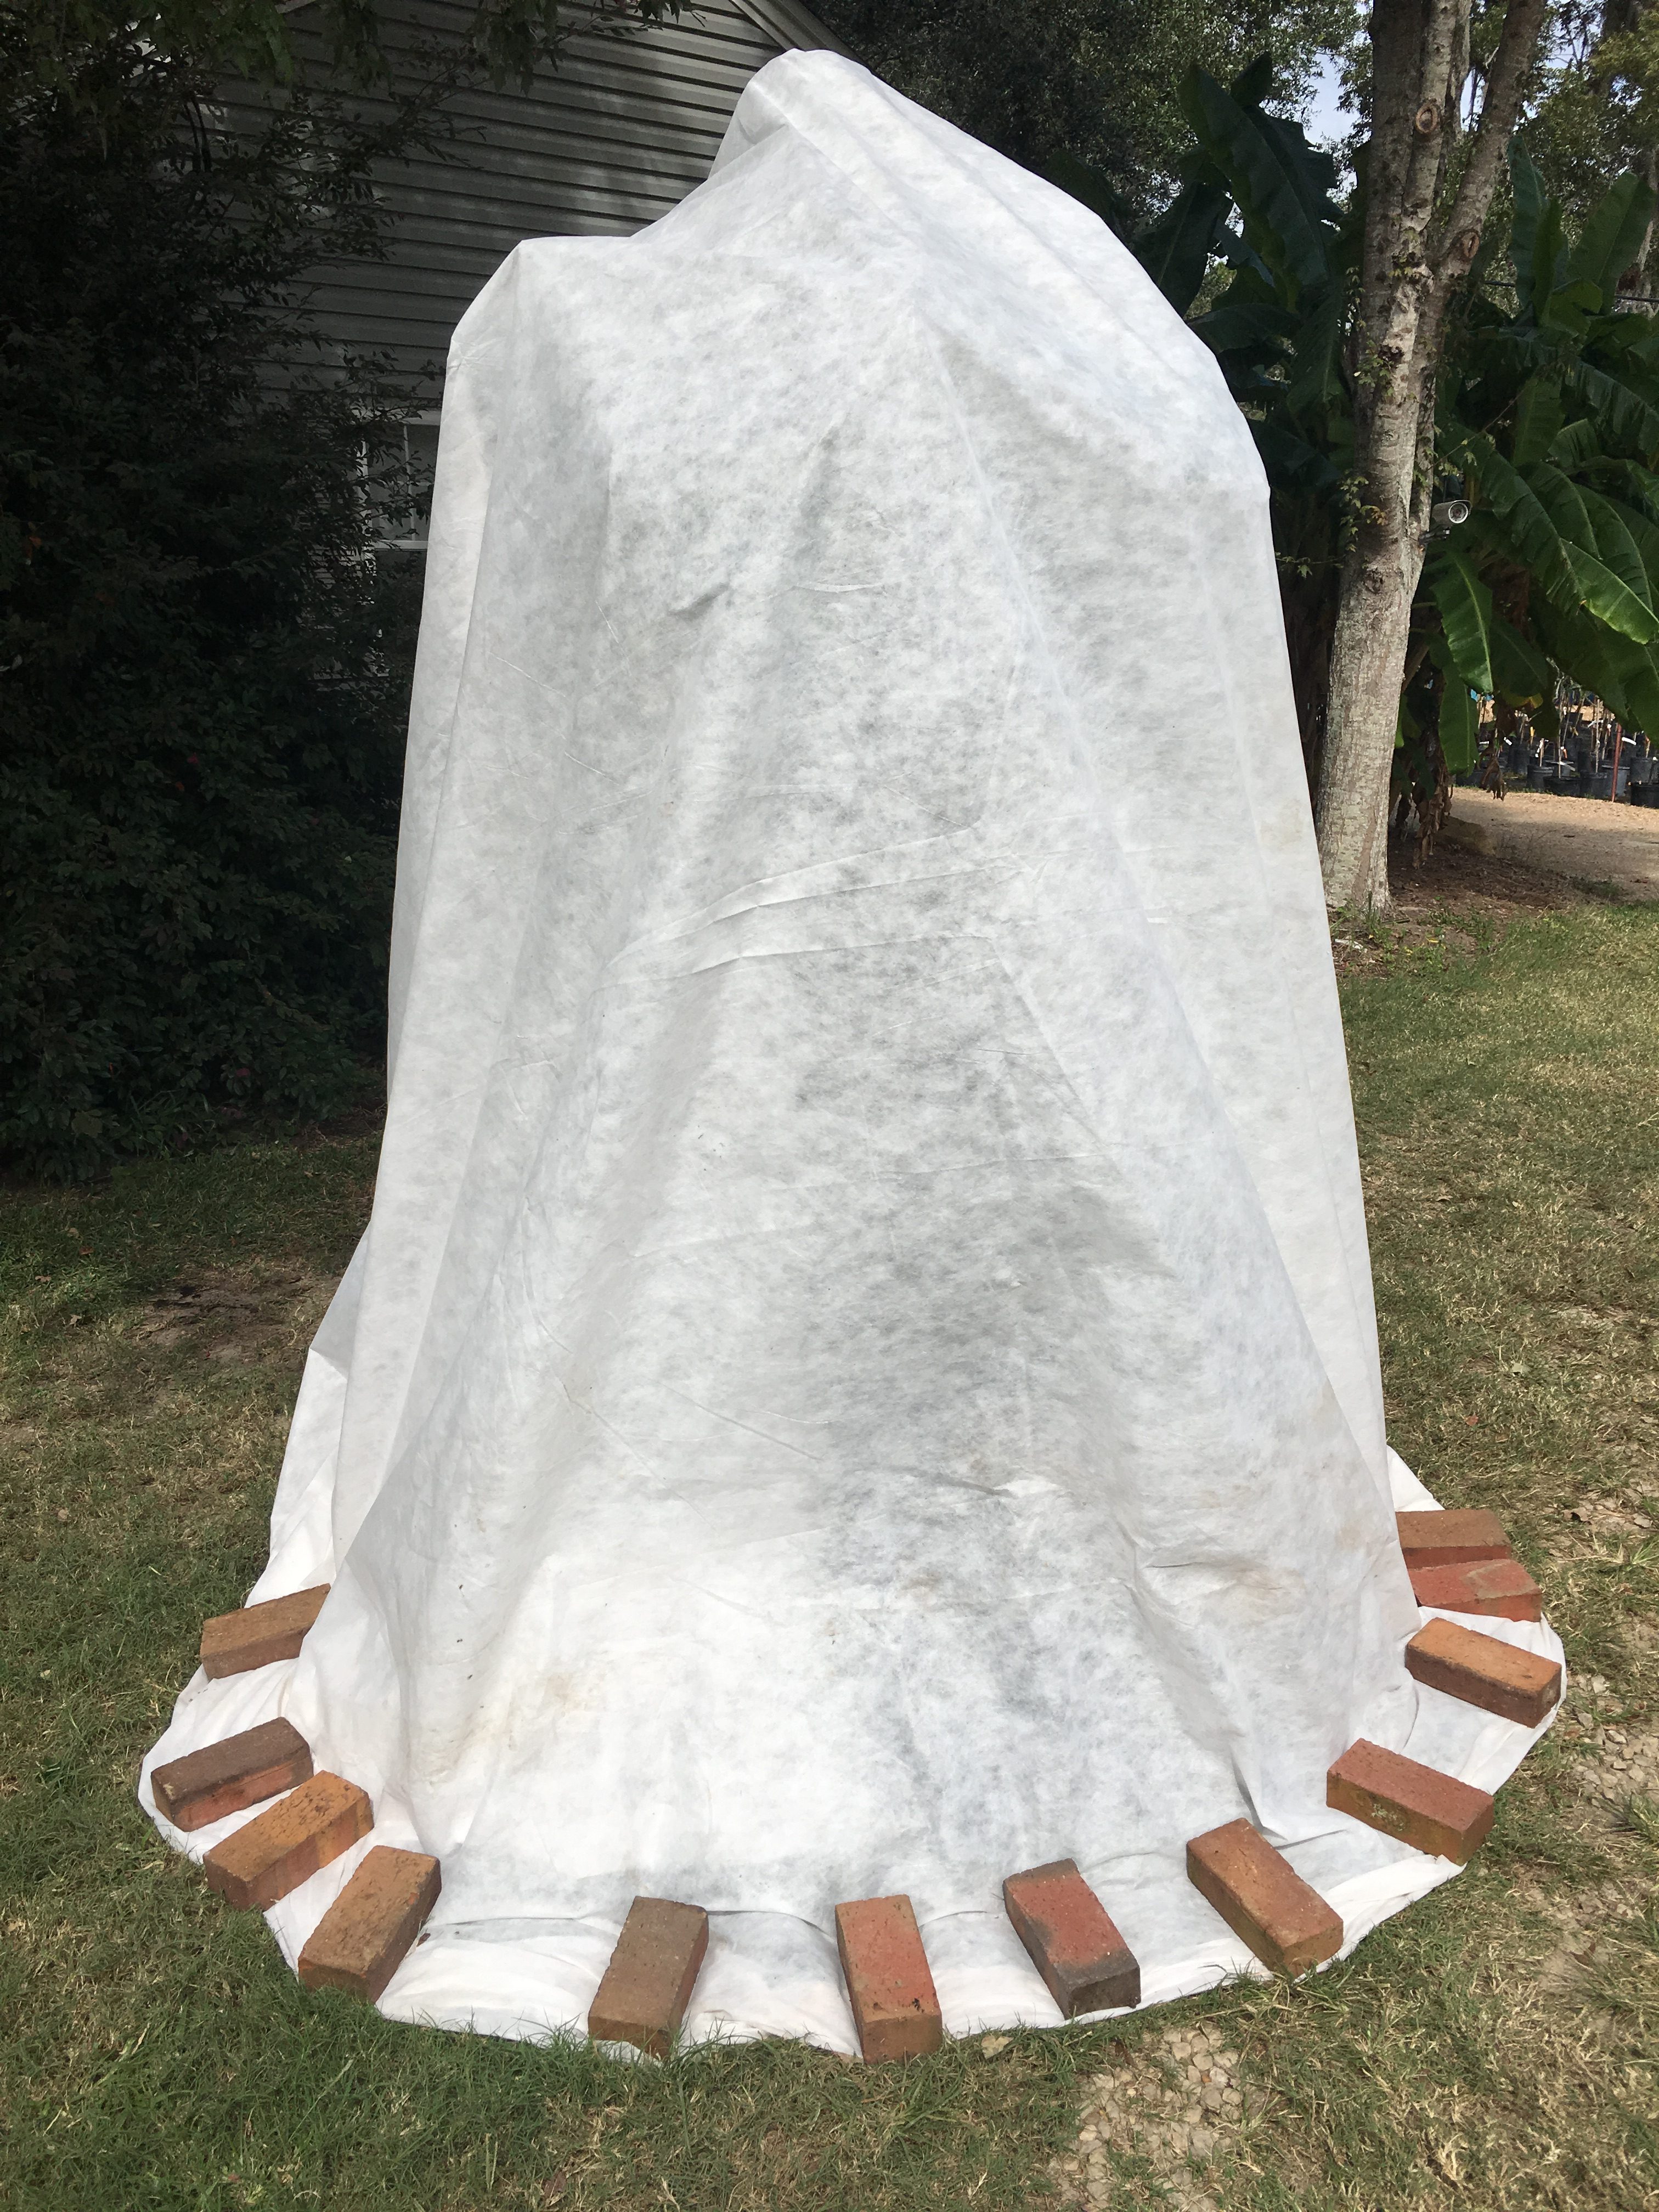
Again, the above varieties are known to be hardy, as trees, down to at least temperatures in the mid-20s. Young trees are more susceptible to these temperatures, but once mature, you shouldn’t worry about having to cover them down to the mid-20s. Remember, when covering plants for cold protection, you want the material – whether it be fancy frost cloth or just a simple blanket – to completely cover the tree and drape on the ground. It is the heat leaving the soil that you are trying to capture to keep the tree protected.
When it comes to the fruit, temperatures reaching 26 to 28 degrees for more than two hours may begin to freeze and cause damage. Satsumas, navels, and Meyer lemon fruit have thinner skins compared to grapefruit and so are more likely to freeze. Ripe citrus fruit is more cold-tolerant than unripe fruit due to their sugar content. Unfortunately, if you have unripe fruit, remember that citrus does not ripen off the tree. If you notice frozen fruit after a freeze, salvage any fruit as soon as possible, mostly for juicing, or dispose of in the compost pile.

Citrus fruit showing damage after a freeze. Credit: Mongi Zekri, UF/IFAS
Now, back to the forecasters. They seem to get excited every time we begin to reach anywhere near 32 degrees and begin issuing frost and/or freeze warnings. These are important to consider, but as we now know, just because we’re getting frost or freeze temperatures, it doesn’t mean we’ll lose our citrus. According to the National Weather Service, here’s what all of these advisories mean:
- Frost Advisory – minimum temperature is forecast to be 33 to 36 degrees on clear and calm nights during the growing season
- Freeze Watch – issued when there is a potential for significant, widespread freezing temperatures (32 degrees and below) within the next 24-36 hours.
- Freeze Warning – issued when significant, widespread freezing temperatures (32 degrees and below) are expected.
So, if you hear there is a frost advisory, not much need to worry. If we get all the way to a freeze warning, now we need to pay attention to what the minimum low temperature is forecasted to be. If it’s 28 or below, now we begin to worry about any fruit on the tree. It does have to hold at these low temperatures for several hours before damage occurs, so maybe we’ll be okay. Once we get to the lower 20s, we should probably go ahead pick all of the ripe fruit and hope for the best on any unripe fruit. At these sub-freezing temperatures, we also need to start implementing measures to protect the tree, especially the graft union where the top of the tree has been united with the rootstock, typically indicated by a thickened or swollen like area at the base of the tree. This includes tree covers and soil banking – mounding soil over the graft union through the sub-freezing temperatures.

When covering a tree for cold protection, be sure to drape the cover all the way to the ground. Credit: Jonathan Burns.
Hopefully, this information can help you sleep better during a north Florida cold snap. For more information about citrus and cold damage, there are some great UF/IFAS resources available online. As always, you can also contact your local Extension Office.
by Larry Williams | Dec 18, 2025

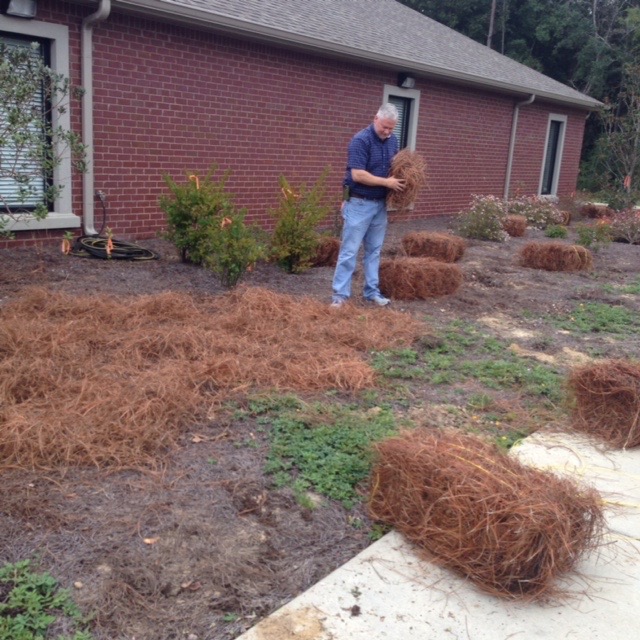
Pine straw being used as mulch in plant bed. Credit: Larry Williams
There is a difference between mulching and amending the soil. Mulching involves placing material such as pine straw, leaves or pine bark on top of the soil. Amending the soil is the incorporation of the material into the soil (in the root area).
Soil amendments and mulch can be organic or inorganic. Most soil amendments are organic (coming from a living organism) such as pine straw or peat moss. A few inorganic (non-living) soil amendments include sand, perlite and vermiculite.
Many common organic soil amendments don’t last long in our soils and climate. Materials such as peat moss decompose rapidly in our sandy soils, under our warm, moist conditions. Microorganisms break the “stuff” down rapidly, once it is in the soil. As a result, the benefits from the additional organic matter are quickly lost unless additional organic matter is repeatedly incorporated within the soil.
Slower decomposing materials such as sawdust or other wood products will last longer. But microorganisms that help decompose wood within the soil use or tie up some of the available plant nutrients such as nitrogen during the decomposition process. So additional nitrogen may need to be added to meet the nitrogen requirements for plants that are growing in the amended soil when wood is used as a soil amendment. Additional nitrogen may be needed until the wood is thoroughly decomposed. This may take months to years based on how well rotted the wood was when incorporated. It’s best to use well-rotted sawdust as a soil amendment. Nitrogen deficiency results in a general light green to yellow color in plant leaves.
Mushroom compost contains a high degree of lime. As a result, it will raise the soil pH, making the soil more alkaline or less acidic. It has its place as a soil amendment but should not be used where “acid loving” plants are to be grown. This would include plants such as centipedegrass, blueberries, azaleas, camellias and gardenias. It’s best to know the soil pH before using mushroom compost to avoid ending up with soil that’s too alkaline for the plants you intend to grow.
There needs to be a reason to amend the soil. Is the soil too heavy and poorly drained such as is the case with clay or muck type soils? Then, you may need to add something such as perlite or sand to “open” the soil to improve drainage. Is the soil sandy with a low pH? Then, you may want to use mushroom compost.
Amending soil for no good reason can be a time consuming and costly mistake.
by Donna Arnold | Dec 11, 2025
Winter Bliss and Climate Challenges in North Florida Gardens
Gardening is far more than a pastime, it’s an endeavor that demands patience, skill, and dedication. Every plant requires careful attention to thrive, and every gardener knows the challenge of protecting their landscape against nature’s shifting moods.
In North Florida, winters from December through February are typically mild, offering residents the chance to cultivate cool-season vegetables, hardy ornamentals, and lush greenery that brighten homes even in the colder months. These gardens are more than decoration; they are living investments in beauty, wellness, and community pride.
Yet, the increasing instability of seasonal patterns has thrown gardeners off balance. Sudden frosts, unexpected heat spikes, and shifting rhythms test both resilience and creativity. What once felt like a predictable cycle now requires constant vigilance, as climate change reshapes the very environment in which these gardens grow. For North Florida residents, tending a garden is not just about nurturing plants, it’s about nurturing joy, identity, and a connection to place, even as the climate itself becomes more uncertain.
Photo credit: Donna Arnold,FAMU Extension.
The Growing Challenge of Climate Change
In recent years, gardeners have faced out-of-season frosts that damage cold-sensitive plants such as citrus, hibiscus, and tropical ornamentals. Unlike commercial growers with greenhouses, most homeowners lack protective infrastructure, leaving their landscapes exposed. The financial loss of damaged plantings can be significant, but the emotional toll of watching cherished gardens succumb to sudden freezes is equally profound.
Climate change intensifies these challenges. Stronger cold fronts and occasional winter heat spikes disrupt plant growth, weakening resilience and reducing vitality. Homeowners often resort to improvised measures, blankets, plastic sheeting, or makeshift covers, that provide only temporary protection. Without specialized forecasting tools, residents rely on local news or apps, which may overlook microclimate variations across neighborhoods.
Weather vs. Climate: Why It Matters
It’s important to distinguish between weather and climate.
- Weather refers to the day-to-day conditions, temperature, rainfall, humidity, and more, that we experience locally.
- Climate is the long-term average of these conditions, measured over seasons, years, or even decades, across regions or globally.
Florida, for example, has a wet season and a dry season, but rainfall within those periods can vary greatly from day to day. While climate patterns help us anticipate seasonal trends, the unpredictability of weather events, like sudden frosts or heat spikes, creates challenges for gardeners. Understanding this distinction helps residents prepare for short-term weather swings while adapting to long-term climate shifts.
Adapting for Resilience
Climate change is no longer a distant concept; it’s a daily reality for North Florida gardeners. To adapt, communities must embrace:
- Education programs on cold protection and plant selection.
- Affordable protective solutions like frost cloths and portable covers.
- Resilient landscaping strategies, including native plants better suited to fluctuating conditions.
For further reading on climate impacts and gardening adaptation in Florida, see: Cold Protection for North Florida | UF/IFAS Extension; Climate Change and Florida’s Native Plants – Florida Wildflower Foundation; Surviving Winter Storms: Smart Gardening; Frost in the Panhandle? Practical Tips for Protecting Your Garden | Gardening in the Panhandle Practices for Northern Florida Gardens