by Daniel J. Leonard | Jan 10, 2018
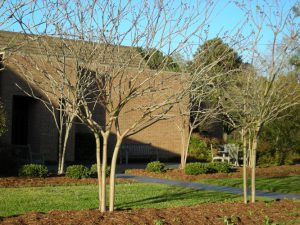
Are you guilty of “Crape Murder”, the dreaded horticultural sin that involves lopping off your beautiful Crape Myrtles fence post high and creating gnarly looking knuckles? No need to raise hands, you know who you are! Despite the cruelness of this act, all is not lost; there is still time to repent and change your ways! The facts of the matter are, if you have made a habit of lopping the tops off your crapes, you are most definitely not alone, you probably thought you were doing the right thing, and it can be corrected.

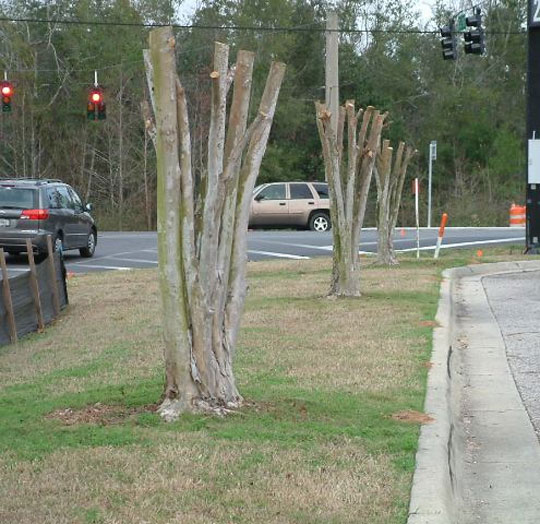
Improper pruning of crape myrtles. Photo Courtesy – Beth Bolles.
Crape Myrtle (Lagerstroemia spp.) are one of the most beautiful trees Southerners have in their horticultural arsenal. Unsurpassed in both form and flower, it is easy to see why Crape Myrtle is the most widely planted tree in the Southeastern United States. A mature Crape Myrtle properly grown is a remarkable sight, sinewy limbs reaching high in a vase shape supporting lilac-like flowers that come in a rainbow of colors. These qualities make it even more strange that homeowners and landscape professionals alike insist on butchering them every winter.
Before we move on to corrective procedures, let us examine a few of the reasons that crape murder is committed. First, I think peer pressure has a lot to do with it. When one sees every house on the street and all the business landscapes doing things a certain way, one tends to think that is the correct way. Second, there are folks who believe that pruning their crapes back each year creates a superior flower show. In reality, this practice creates an overabundance of succulent, weak, whippy branches (with admittedly larger flowers) that tend to bend over and break after a summer wind or rainstorm and are more prone to pests and disease. In addition, many homeowners over prune their crapes in this way because they planted a cultivar that grows too large for the site. There are dozens of crape myrtle cultivars sold, be mindful to pick one with a mature size and shape that will fit with the scale of the site!
So, now that we know why crape murder is committed, let’s discuss how to remedy it once the atrocity has already occurred.
- If the improper pruning has not been going on very long (a couple of years or less), it may be possible to correct over time without taking drastic measures. If this is the case, select two or three of the young “whippy” canes that are growing up and out and remove the rest. Ideally, the canes you select will be growing away from the center of the plant and not back into the middle of the plant or straight up to facilitate proper branch spacing as the tree continues to grow. The canes you select now will become primary branches in the years to come, so plan and prune carefully. Repeat for each main trunk that has been “murdered”. You will have to keep watch on the cut areas, as they will attempt to regrow as suckers after pruning; simply remove these juvenile shoots until they stop emerging.
Properly pruned crape myrtle. Photo courtesy – North Carolina Cooperative Extension
- If the murder has been going on for more than a year or two, it likely cannot be corrected without a major rejuvenation of the plant. Though it will likely be painful for you emotionally and seemingly run counterintuitive to your instincts, the best method to rejuvenate a disfigured crape is to break out the chainsaw and cut the plant back to the ground! This forces the plant to do one of two things; either grow an outrageous number of new shoots or die. In most cases however, the crape myrtle’s tough constitution permits it to regrow from the stump. The first growing season after performing this procedure, allow the shoots that sprout to grow and do not prune. The winter following the first growing season, remove all except three to five strong, well-spaced shoots and allow these to become the new plant’s main trunks. In all succeeding years, only prune to remove dead wood, crossing branches and branches growing toward the center of the plant.
If you have been guilty of crape murder, it is not too late to change your ways! Follow these steps, get out and enjoy the cool weather, and get to correcting your mistakes while the plants are still dormant! As always, if you have any questions about the topic of this article or any other horticultural topics, please contact your local Extension office and happy gardening!
by Larry Williams | Aug 18, 2017
A New Yorker cartoon shows a lady shopping a garden center bench for plants. She has three choices at three price points: annuals, $6; perennials, $10; eternals, $749.95.
No matter what the cost, plants don’t live forever. And if they did, what would they cost? They’d probably cost more than $749.95. Even though we know plants don’t live forever, we still don’t want a plant that we purchased, planted and cared for to die an early death.
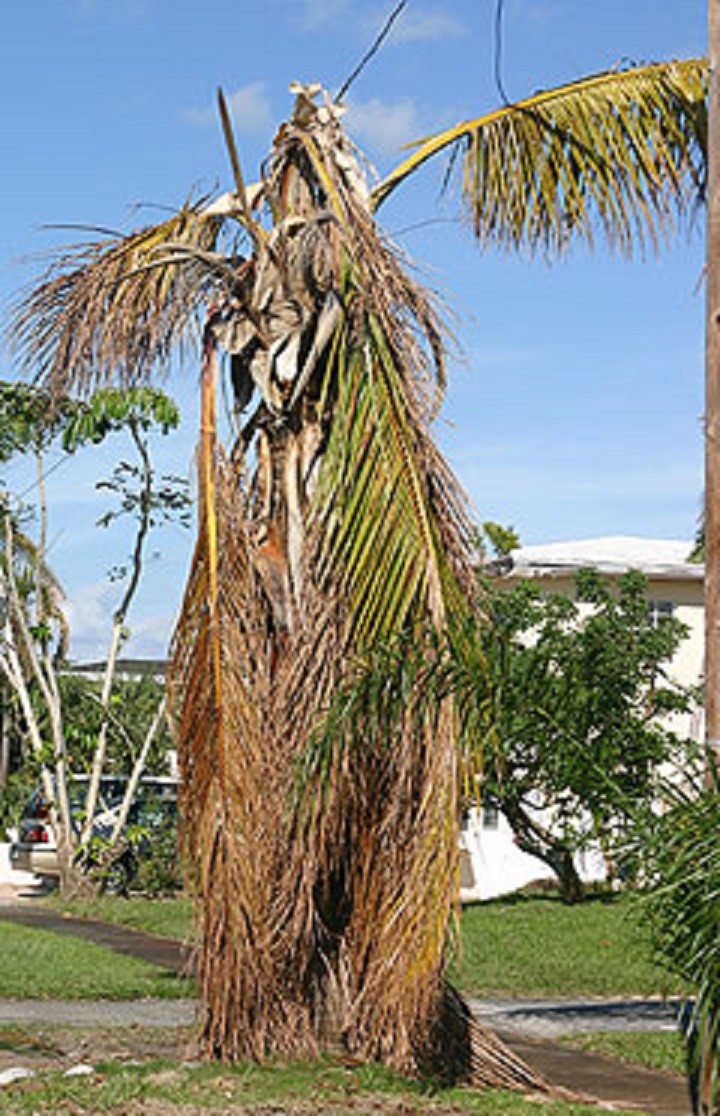
All too often, I find myself in the position of reminding a person of this fact of life – plants don’t live forever.

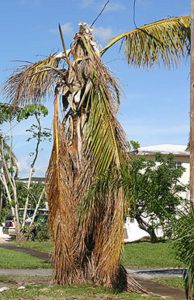
Palm in decline.
Credit: Edward F. Gilman, UF/IFAS.
There are extremes, though. The bristlecone pine can live thousands of years. There is one that was named Methuselah, which, at one time, was believed to be the oldest living tree on record approaching more than 4,800 years of age in central California. But in the 1970’s, offspring of Methuselah all died because they were sent to low-altitude locations. The parent tree’s location in the White Mountains is two miles above sea level.
Even though the bristlecone pine can live thousands of years, misplacing it (planted at too low an altitude) results in the tree living a fraction of its potential life. The point is to plant the right plant in the right place. Make sure the plant is well suited for Florida and to the site conditions: that wet site, that dry site, that salty site, that high pH site, that shady site, that sunny site, etc.
The second point is to have realistic expectations based on the plant species. Some plants genetically will live longer than others. One of our longest-lived tree species in Florida is the live oak. There are live oak trees in Florida that are hundreds of years old. But don’t expect a silver maple to make it that long. It’s a shorter-lived tree species. In Florida, a thirty-year-old silver maple is probably in a state of decline due to old age.
The third point is to learn how to correctly plant and maintain the plants you have. For example, most woody plants (trees and shrubs), will live a much shorter life simply from being planted too deep. And an over fertilized centipedegrass lawn will go into a state of decline resulting in the lawn living a shorter life.
Plant the right plant in the right place, learn what it likes and provide it. And when the plant reaches the end of its life, replace it.
Many homeowners spend more than $749.95 attempting to turn a short-lived plant into an eternal plant.
by Gary Knox | Aug 17, 2017
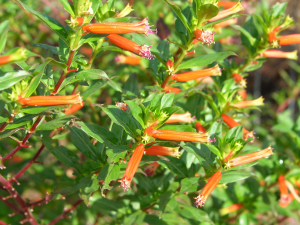
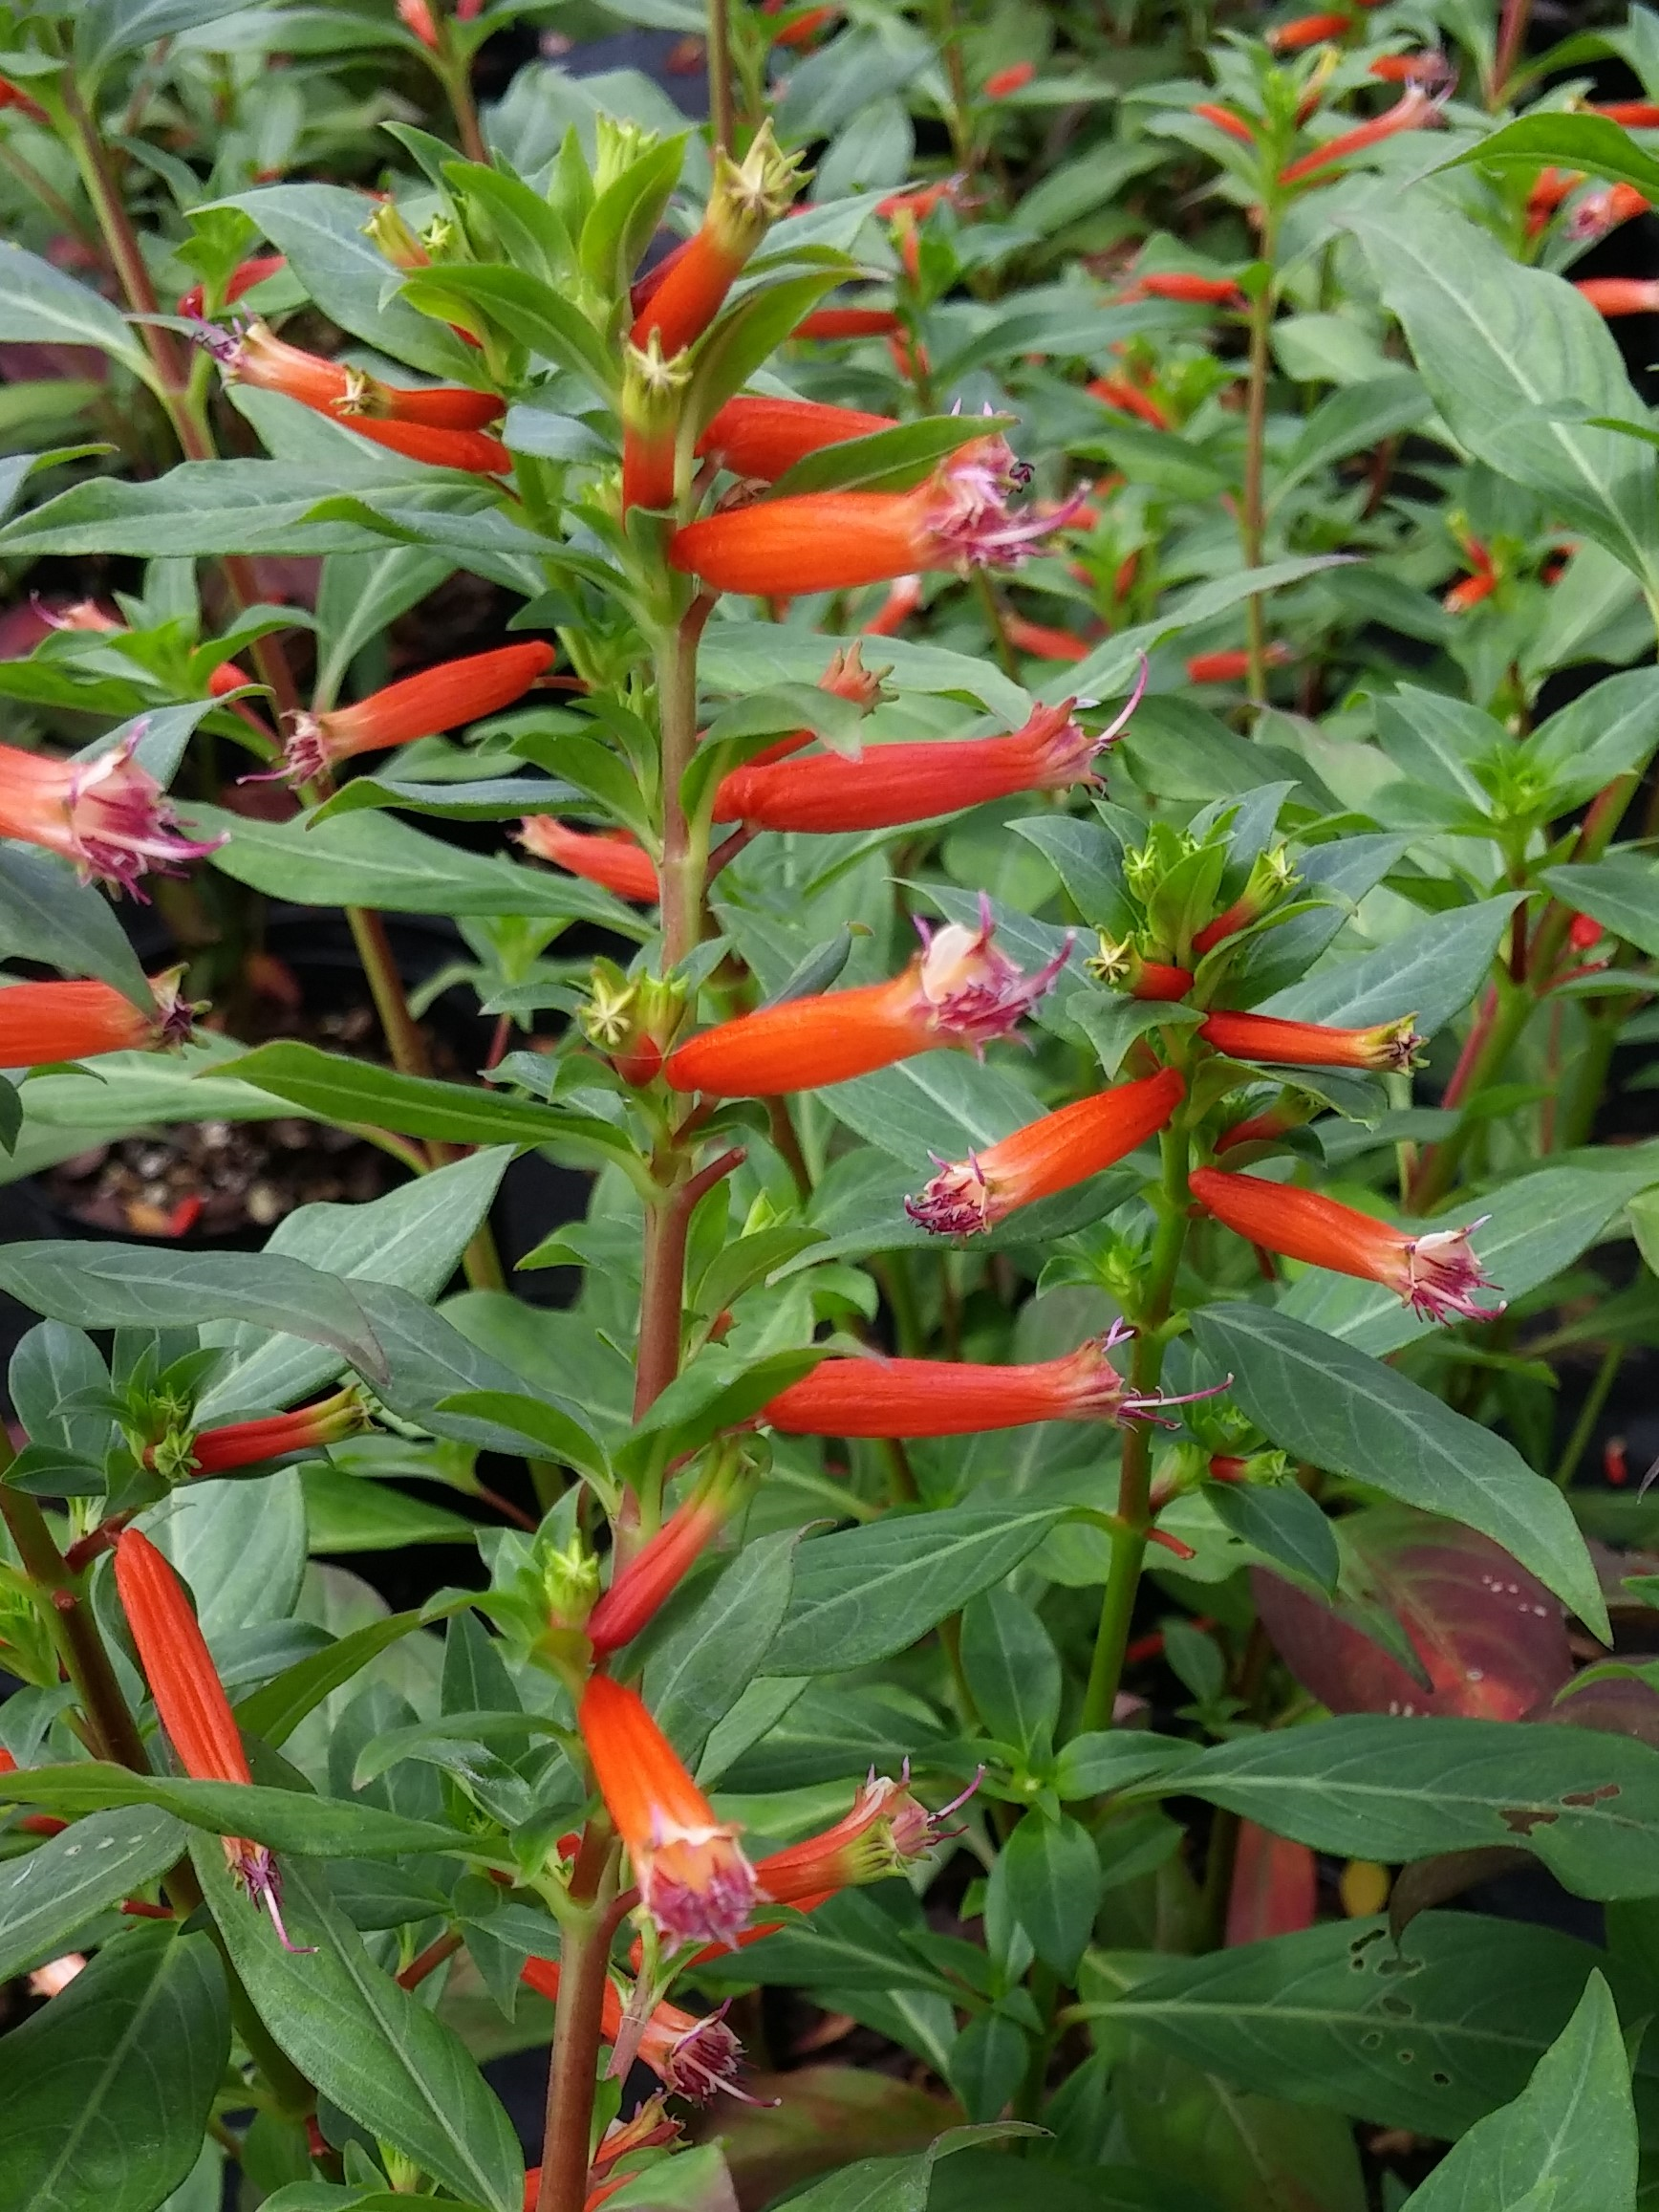
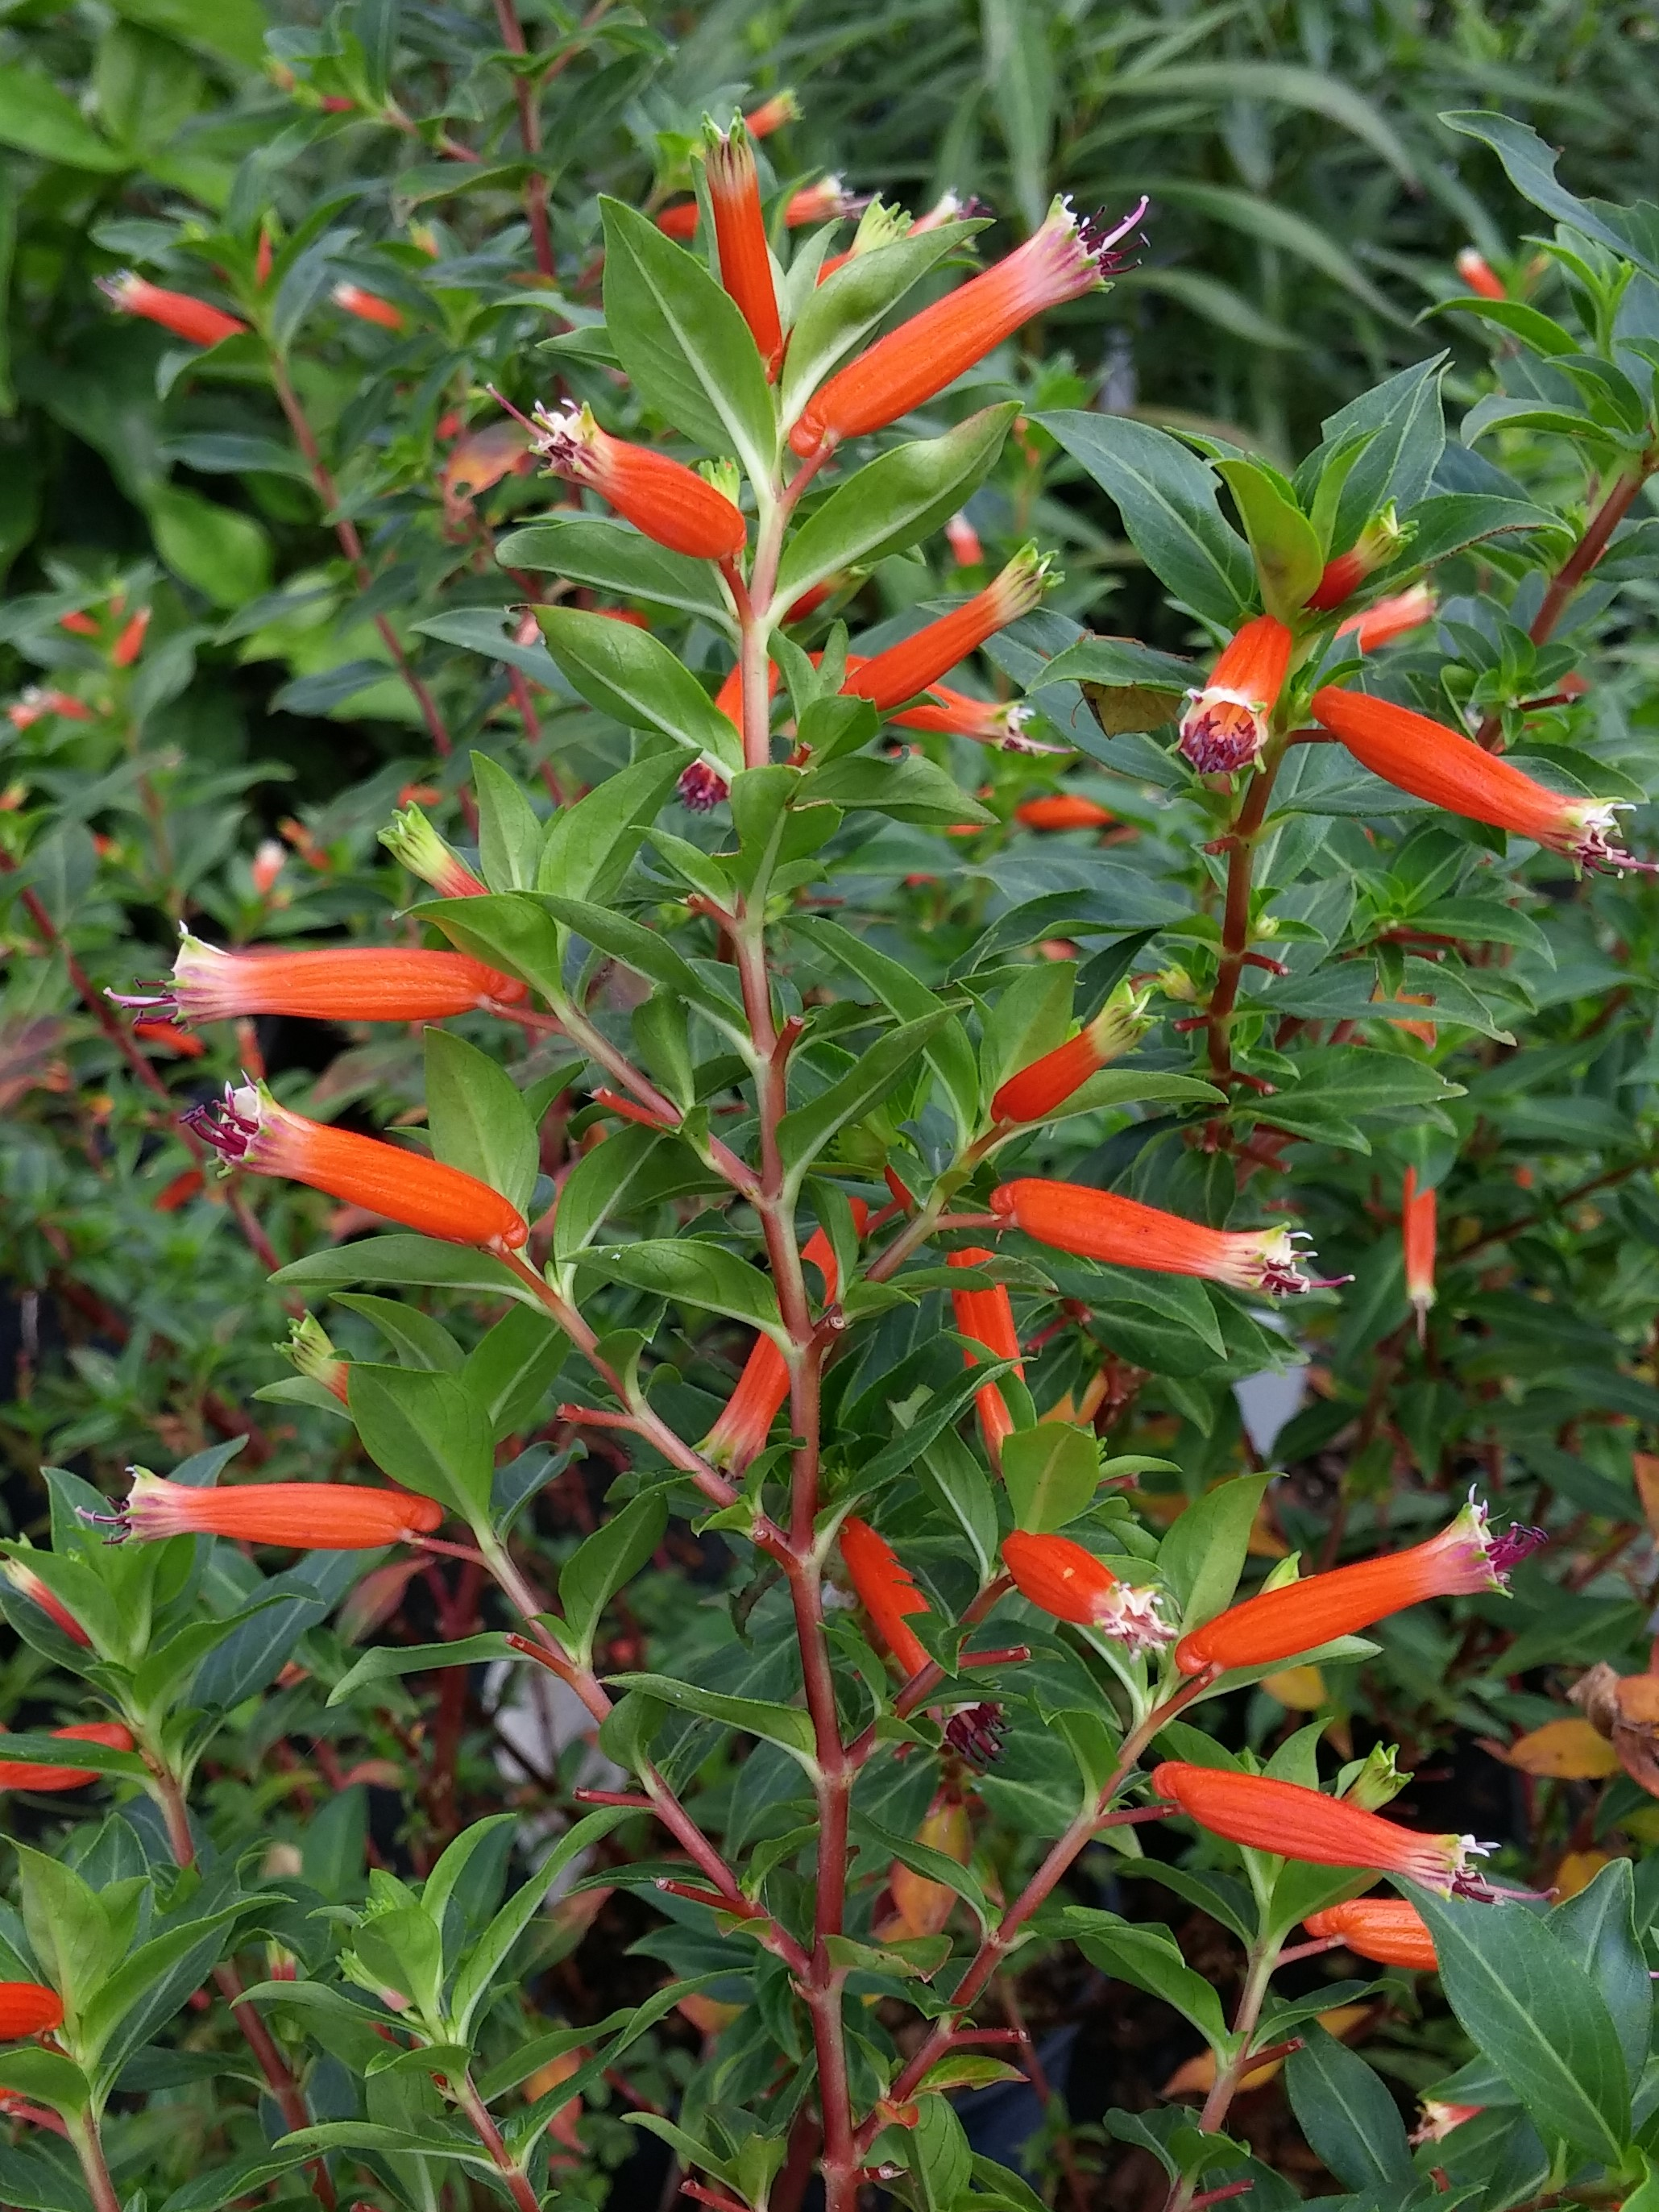
Cuphea ignea
Photo courtesy: Gary Knox
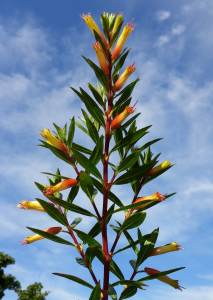
Cupheas are perennials that produce bright orange, red, yellow or purple flowers all summer and fall. Some species are called cigar plants due to their tubular, cigar shaped flowers tipped in red or yellow (like a lit cigar). Others are sometimes called firecracker plants because their cylindrical flowers are bright red or orange (looking like a firecracker). By any name, their nectar-filled, tubular flowers are widely known for attracting large numbers of hummingbirds, butterflies and bees. In addition, young stems of some species are reddish, further adding color and contrast to the usually narrow, lance-shaped green foliage.
As a group, cupheas grow best in full to part sun (the brighter, the better) and well-drained, moderately fertile soil. Cupheas are drought tolerant once established, but grow faster and larger with regular moisture and occasional fertilization. Their origins in warm climates allow them to thrive in heat, but likewise make some species sensitive to cold winters. Those that are frost tender along the Gulf Coast are best placed in a sheltered location in the garden. Cupheas are pest and disease resistant and are not invasive in Florida. They are not truly deer resistant, yet reports suggest cupheas are not favored by deer.
Cupheas are great summer performers in bright, hot and dry locations. Flowering begins in summer and continues through fall until short days and cool weather reduce flowering or frosts cause dieback. Along the Gulf Coast, cool winter weather slows them down, so re-growth doesn’t occur until mid to late spring, and flowering usually doesn’t begin until days and nights are warm. Growth and appearance of many cupheas are improved if plants are pruned or cut to the ground in late winter.
Over 200 species of Cuphea are native to Mexico and the warm-temperate and tropical Americas. Of these and their hybrids, the cupheas listed below are great summer-flowering perennials for the northern Gulf Coast.
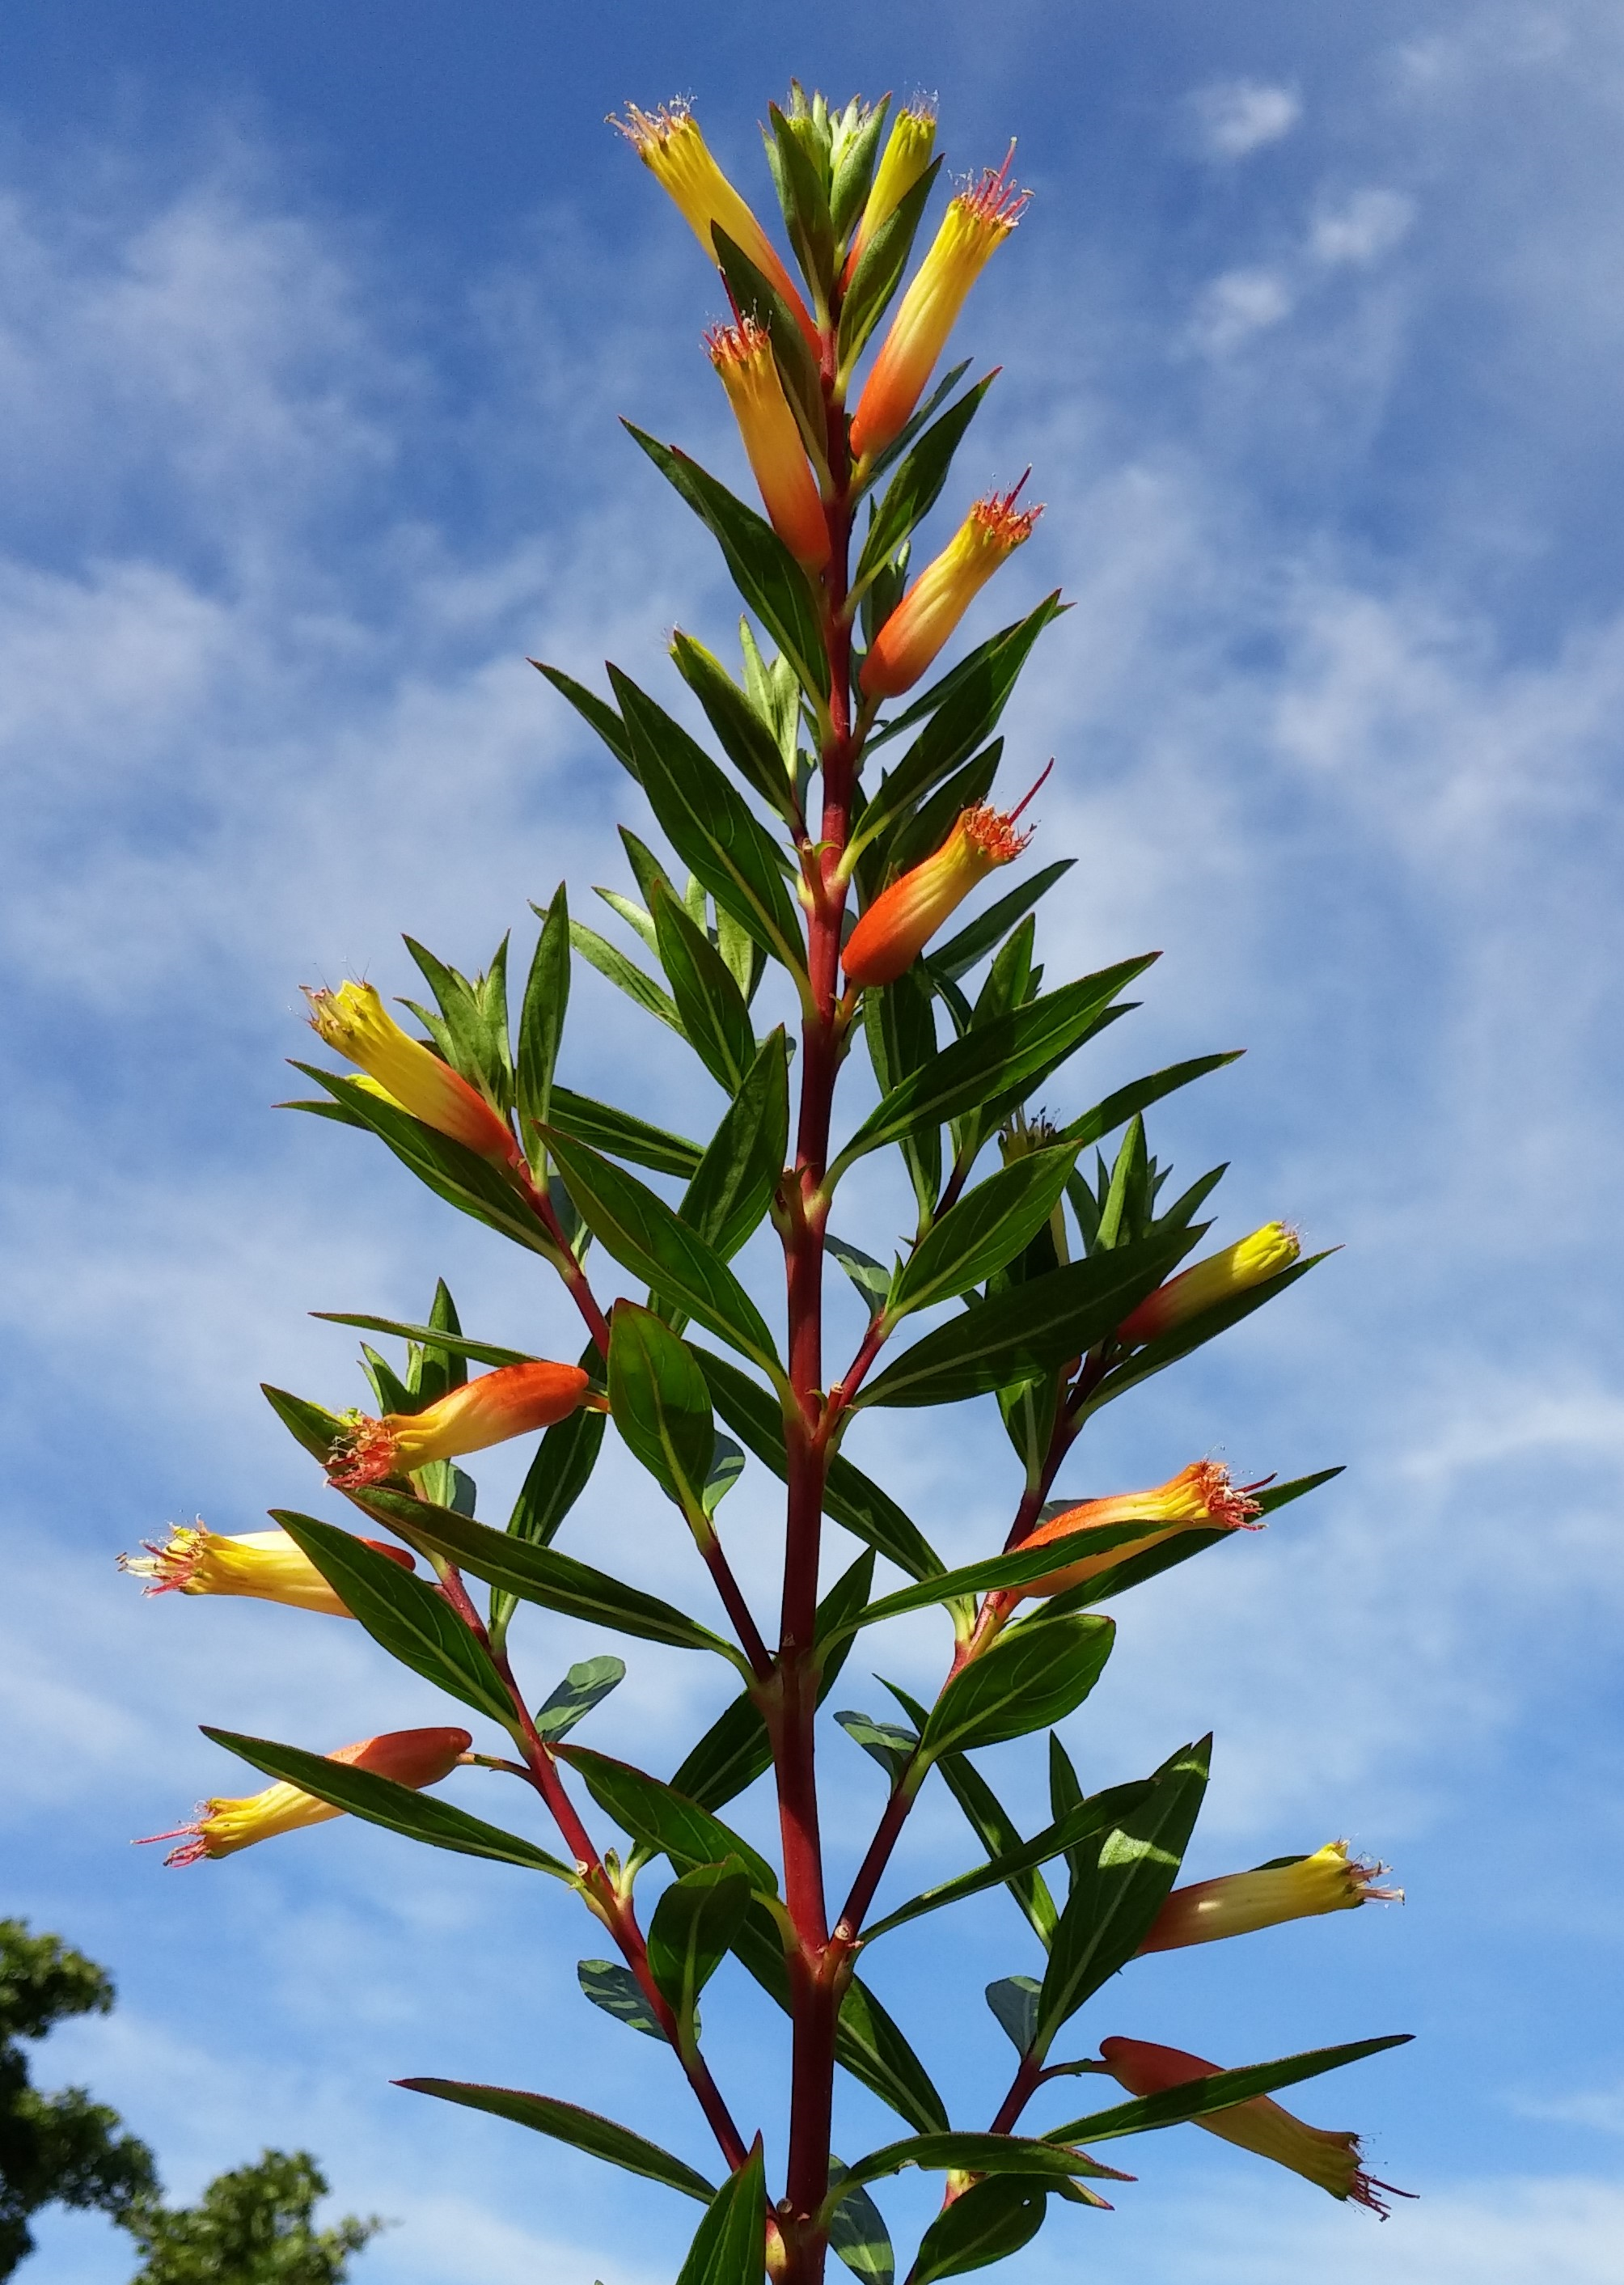
Cuphea micropetala
Photo courtesty: Gary Knox
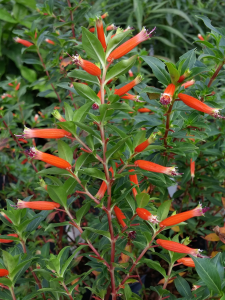
Cigar Plant (Cuphea ignea)
This fine-textured plant produces red to orange tubular flowers about an inch long. This cigar plant is hardy to about 20°F. It grows about 2 feet tall and 3 feet wide along the Gulf Coast, though it would be a larger, evergreen shrub in warmer climates. This cuphea tends to have lanky growth, so occasional summer pruning will stimulate branching which results in more dense growth.
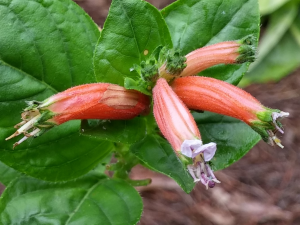
Cigar Plant or Candy Corn Plant (Cuphea micropetala)
Flowers are 1.5 inches long, emerge pale yellow and gradually turn orange from the base upwards, offering a colorful, two-tone effect. Foliage is hardy to 25-30°F and this cigar plant is root hardy to at least 15°F. Stems should be cut back to ground level in late winter to keep the plant tidy. Clumps spread slowly outward by rhizomes, and the plant will reach 3 feet tall and wide along the Gulf Coast.
Cuphea schumannii
Photo courtesy: Gary Knox
Orange Cigar Plant or Schumann’s Cuphea (Cuphea schumannii)
This sprawling, floriferous cigar plant prefers moist, well-drained soil to thrive. Barrel-shaped, 1- to 1½-inch blooms are orange and yellow and sometimes have small purple petals at the tips. Flowers cover the branch terminals in the heat of summer and into fall. This plant is hardy in Zones 8 to 9 (at least down to the mid 20s°F). Unlike many other cupheas, leaves of orange cigar plant are oval- to heart-shaped. Stems grow 2 to 3 feet tall and readily flop or fall over. Plan to give orange cigar plant lots of room to sprawl through the garden!

Cuphea ‘David Verity’
Photo courtesy: Gary Knox
‘David Verity’ Large Firecracker Plant (Cuphea ignea × micropetala ‘David Verity’)
This floriferous hybrid produces flowers that are dark orange with a short yellow-orange flared tip and purple filamentts. Well-adapted to the Gulf Coast, this plant is foliage hardy down to 25-30°F and root hardy to at least 15°F. In Zone 9 this plant will grow as an evergreen shrub up to 4 to 5 feet tall and wide, but it will be smaller in areas where frost or freezes occur. This selection is believed to be a hybrid between Cuphea ignea and C. micropetala that was given in the mid 1970s to David Verity, then the manager of the UCLA Mildred Mathias Botanic Garden. It was subsequently named for him when later brought into commercial production.
‘Vermillionaire®’ Large Firecracker Plant (Cuphea ‘Vermillionaire®’)
This new hybrid appears to be a superior cuphea because it grows as a naturally compact plant that produces more flowers than other selections. ‘Vermillionaire®’ grows about 24 inches or more tall and wide with a compact, mounding habit. Orange tubular flowers are produced continuously until late fall. This cuphea is too new to know the full extent of its hardiness, but it is expected to be a perennial in Zones 8 and higher.
Mexican Heather (Cuphea hyssopifolia)
Unlike the previous cupheas, this plant has small purple flowers, and some selections sport white flowers. Another difference is Mexican heather’s finely textured, bright green leaves. Gulf Coast Zone 8 plants are usually killed to the ground in winter, often recovering by summer but resulting in a compact plant growing less than 24 inches tall and wide. In Zones 9 and higher, Mexican heather is a larger-growing semi-evergreen tropical shrub. Reported pests are leaf-chewing beetles (Altica and Colaspis spp.) and the twig-dwelling lesser snow scale (Pinnaspis strachani). Mexican heather works well for edging beds or sidewalks, helping to define and soften pathways. Cultivars include Allyson, Lavender Lace, Purple Nurple™ and the white-flowered Monga (Itsy Bitsy° White) and ‘White Whispers’.
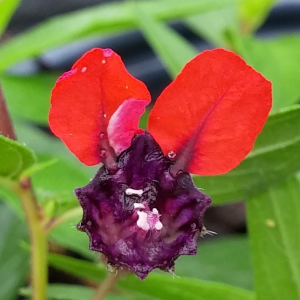
Bat-Faced Cuphea
Photo courtesy: Gary Knox
Bat Face Cuphea (Cuphea llavea)
Each 1-inch flower consists of a purple tube lipped with two red, upright lobes. By viewing the flower with its tip facing you, it takes only a little imagination to see the two red lobes resemble large “ears” above the purple “face” of a bat, hence the name. Along the Gulf Coast, bat face cuphea grows mound-shaped 8 to 24 inches tall and wide, depending upon the selection. It is very heat and drought tolerant but requires better drainage than the other cupheas. Bat face cuphea is evergreen down to the upper 20s°F and root hardy into the lower 20s°F. Improved forms of bat face cuphea include the cultivars, Flamenco Samba, Georgia Scarlet, Mellow Yellow, Miss Priss, Tiny Mice®, Sriracha™ Pink, Sriracha™ Violet, Torpedo, Vienco° Lavender and Vienco° Red.
by Daniel J. Leonard | Aug 11, 2017
Growing in containers can be one of the most versatile ways to add color, texture and mobility to the landscape. However, gardeners generally reach for finicky annuals to fill their pots with pizzazz. The problem with this strategy is that most annuals and perennials need to be watered constantly, fertilized regularly, and changed out with the seasons. That sounds like a little bang for a whole lot of buck! I and most of the real plant people I know fall squarely in the school of lazy gardening and believe there is an easier, less intensive, and ultimately less expensive way to get the same result. This can be accomplished by thinking outside the box and using an alternative class of plants that can fit the same bill of providing color and texture in pots without the headaches and have been sitting on the shelves right in front of us the whole time, the shrubs.
It is beyond me why shrubs aren’t used as container plants more often. Maybe the reason for the lack of use is pure perception; after all, no one with any sense would plant a giant, coarse green meatball or an enormous antebellum azalea in a decorative pot on their front walk. Recent innovations by plant breeders have left this argument moot though as new introductions of old species have revived interest in the entire group. Many of the best of these new cultivars sport traits perfect for container culture (dwarf growth habit, increased flowering, and interesting texture and form) while preserving the ironclad, undemanding nature of their parent plants. The following are a few of my favorite new shrub introductions for container growing!
- ‘Purple Pixie’ Loropetalum
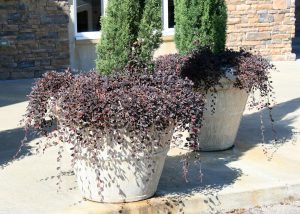
Purple Pixie loropetalum is a low-growing shrub that can spill beautifully out of a container. (Photo by MSU Extension Service/Gary Bachman)
If interesting architecture is what you require in a plant, ‘Purple Pixie’ must be on display in your yard. This dwarf cultivar of the wildly overused purple shrub Loropetalum chinense has taken the horticultural world by storm. The unique combination of true purplish foliage that only greens slightly in the hottest summer sun, ribbon-like pink spring flowers, and a graceful weeping habit make ‘Purple Pixie’ a winner. Give this plant a medium sized container (at least 12” in diameter), water when the soil begins to dry, fertilize infrequently with a slow-release formulation, site in full sun to partial shade, and enjoy for many seasons to come.
This is definitely not your granddaddy’s Ligustrum. Gone are the rampant growth, sickly sweet smelling flowers, and the aggressive nature of ‘Sunshine’s’ parent Chinese Privet (Ligustrum sinense). ‘Sunshine’ is a sterile cultivar with dwarf characteristics (growing 4-5’ with infrequent light pruning), vivid yellow-chartreuse foliage, and most importantly, no flowers. All ‘Sunshine’ asks of us is plenty of sun, occasional fertilizer and a light haircut once or twice a season! Use this plant to frame a dark flowerbed or in a container as a companion to the previous plant, ‘Purple Pixie’ Loropetalum for an extremely striking combination!
‘Sunshine’ Ligustrum. Photo courtesy of JC Raulston Arboretum.
A new take on a landscape standard, ‘Baby Gem’ is an exceptionally compact and slow growing cultivar of Buxus microphylla var japonica. All the same features gardeners love about traditional “full-size” boxwoods remains (tight, formal growth habit, ability to prune into many different shapes and ironclad constitution) but with ‘Baby Gem’ are delivered in a perfect package for a pot. This little “gem” of a plant is perfect for use in a smallish container to frame a formal landscape or to give a sense of order to an informal container garden or border!
So if you’re ready to stop replacing all of your potted plants each and every season, reach for one of these shrubs the next time you are at a garden center. You’ll likely be rewarded with compliments on your creativity, four season interest from the plants themselves, and more time to enjoy being in your garden instead of laboring in it! As always, if you have any questions about this or any other horticultural topics please contact your local UF/IFAS Extension office! Happy Gardening!