by Carrie Stevenson | Mar 17, 2015
A waterfront buffer zone may include a raised berm with native vegetation to slow runoff from a yard before entering the water. Photo credit: Carrie Stevenson
A taste of spring weather has arrived, and people will soon be filling the home improvement stores and getting ready for outdoor projects. If you live on the water or near a storm drain, it’s worth considering buffer zones and best management practices for fertilizing and lawn maintenance.
A waterfront buffer zone is an area the length of one’s property line, typically running about 10 feet (although it can be wider) from the edge of a shoreline (or even a storm drain) into the yard. In this area, the homeowner allows native vegetation to grow along the water and uses low-maintenance plants within the buffer. In this zone, no fertilizers or pesticides are used. Some homeowners will build a small berm to divide the area of maintained lawn (uphill) from the downhill waterfront side. This berm may be composed of a mulched area with shrubbery to catch and filter runoff from the more highly maintained lawn. This combination of actions helps treat potentially polluted stormwater runoff before it reaches the water, and keeps homeowners from using chemicals close to the water. It is often quite difficult to grow turf next to the water, anyway, and this takes the pressure off of someone trying to grow the perfect lawn down to the water’s edge. The buffer zones are often quite attractive and can be an excellent transition between managed turf and the waterfront.

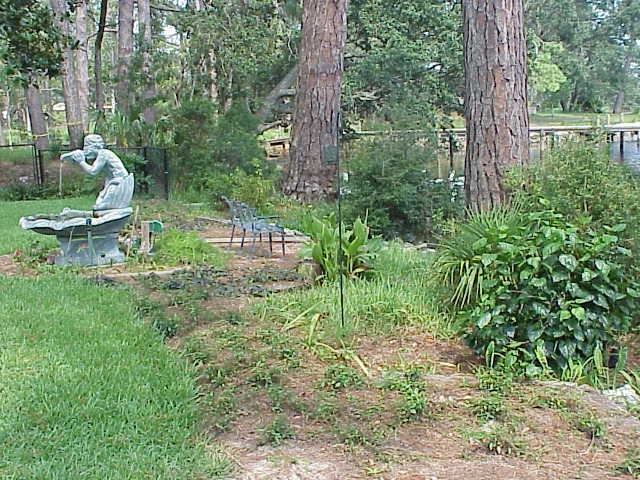
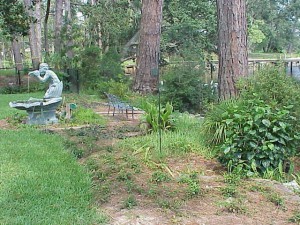
Unmaintained dirt roads along creeks are significant sources of sediment, which can harm the bottom-dwelling insects that form the base of the food web. Photo credit: Carrie Stevenson
Erosion prevention is crucial along waterways, as well. An open, non-vegetated lot can contribute a significant amount of sediment to a storm drain, stormwater pond, or natural body of water. Whether grass, trees, or bushes, any kind of vegetation is preferable to soil washing out of a yard and into the water. Sediment is a problem because it causes water clarity to drop, which can prevent seagrasses from getting the sunlight they need. Once settled, underwater sediment can form a stifling layer that chokes out small insects and invertebrates, which live in the soil and form the basis of the aquatic food chain. With no fish food available, fish may die or move out of an area. The most dramatic examples of this can often be found at dirt roads that cross over creeks. If not managed properly, the clay on these roads can nearly bury a small stream.
Other lawn care techniques for protecting the waterfront and preventing stormwater pollution include not mowing along the water, using a deflector shield and staying 3’-10’ away from the water’s edge when fertilizing, and not allowing grass clippings to blow into storm drains. Large amounts of decaying grass in a waterway can use up available oxygen, endangering aquatic organisms. When applying granular fertilizer, be sure to sweep up any spills on concrete so it doesn’t run into a storm drain. When cutting grass, mow at the highest height recommended for your turf to encourage deep rooting and stress tolerance. Healthy turf is better able to withstand drought, pests, and choke out weeds, reducing the frequency of pesticide and water application.
by Sheila Dunning | Dec 23, 2014

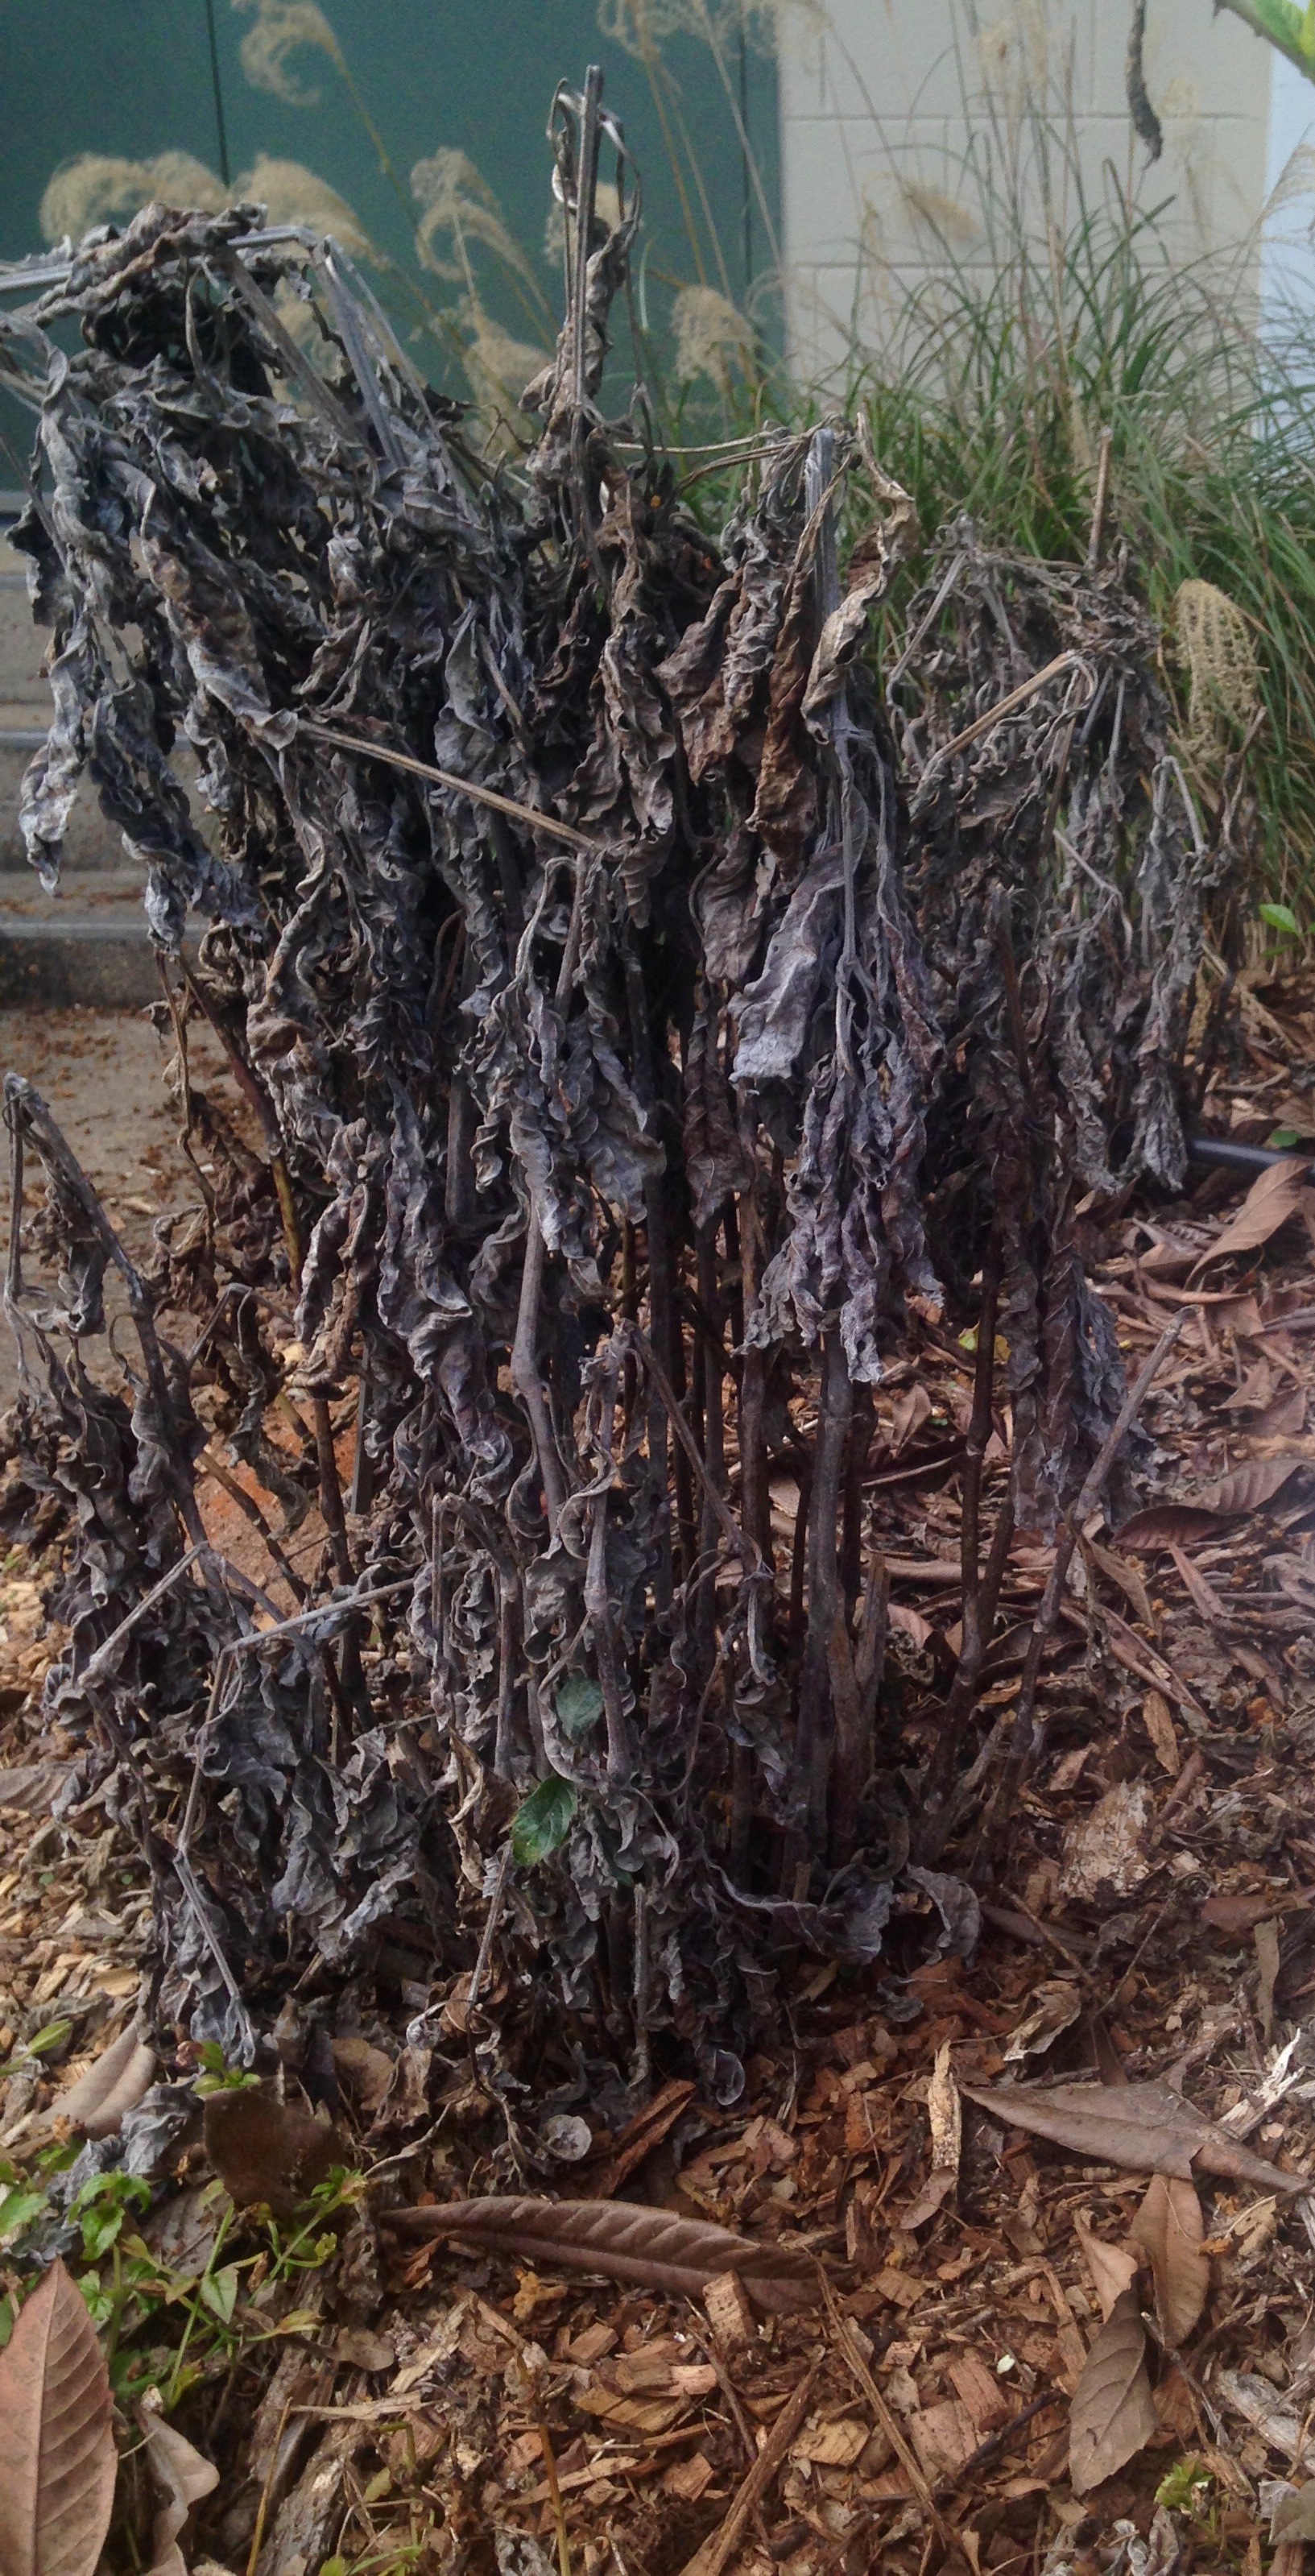
A frozen perennial plant. Photo credit: Taylor Vandiver UF/IFAS Extension.
When you look out at your landscape nobody has to tell you that winter temperatures in Northwest Florida Afterwards, the temperatures warm up and you feel compelled to do something about it. You just need to “turn your back and slam the door”. “Conceal, don’t feel; don’t let them know”. Cold injury can affect the entire plant or just certain plant or parts such as fruits, flowers, buds, leaves, trunks, stems, or roots. Many plant parts can adapt to tolerate cold. Root systems in the landscape are seldom ‘frozen’ in Florida. “The cold never bothered” them “anyway”. While dead, unsightly leaves may be removed as soon as they turn brown after a freeze, the remaining dry looking stems serve as food storage and should be allowed to remain. If they are removed before the weather is warm enough for the plant to resume growth, the root system may not be enough to support the plant and it will die. So, “let it go, let it go, let it go”. “The perfect” landscape “is gone”. “The past is in the past”. “It’s funny how some distance makes everything seem so small”.Tropical plants and summer annuals do not adapt or harden to withstand temperatures below freezing, and many suffer injury at temperatures below 50°F (10°C). Subtropical plants can harden or acclimate (become accustomed to a new climate) to withstand freezing temperatures, and properly conditioned temperate plants can withstand temperatures substantially below freezing.
Recently planted, unestablished plants may be more susceptible to cold injury. One type of winter injury is plant desiccation or drying out. This is characterized by marginal or leaf tip burn in mild cases and totally brown leaves in severe cases. Desiccation occurs when dry winds and solar radiation result in the loss of more water from the leaves than can be absorbed and/or transported by a cold root system. Plant water needs should be checked after a freeze. Plants may have lost substantial moisture during a windy freeze. Plants will transpire (lose water vapor) on a sunny day after a freeze. Cold injured wood can be identified by lightly scraping the bark with your fingernail and examining the color of the cambium layer (food conducting tissue) just underneath. Green tissue indicates the plant is still alive at that point; black or brown coloration indicates dead or injured tissue. 
After a particularly harsh cold event, some plants may be very slow to recover, so some patience is required. “It will rise” with “the break of spring”. Branch tips may be damaged while older wood is free of injury. Delay pruning until new growth appears next spring to ensure that live wood is not removed. In the meantime, take Elsa’s advice and “let it go, let it go, let it go”. You may be “too relieved to grieve”. I hope I haven’t infringed on any copyrights by letting you know “It’s okay to put off the yard work in the name of plant physiology”.
Enjoy the holiday season!
For more information please see:
Treating Cold Damaged Plants

by Mary Salinas | Jul 15, 2014
We all seem to have this dilemma: A desire to re-landscape or just add a few plants to an area, but not knowing what would be the best choice. Plants need to be compatible with their location. The right plant should be chosen for the right place. Many have particular light, moisture and zone requirements in order to do their best. The ultimate size of the plant is also an important consideration; if you want to avoid constant pruning, choose plants that only grow to size you would like to ultimately have. Some great resources are provided below to get you the information you need.
UF IFAS Extension has a brand new app for your mobile device or web! The app contains a database of over 400 Florida-friendly plants is searchable by plant name, type, shape, native status, light requirements and more. The yearly subscription is only $1.99 to have great info on the go.
The downloadable 104-page Florida-friendly Landscaping Guide to Landscape Design and Plant Selection not only has photos and detailed information about plants by category, it also has great ideas on how to improve your landscape design! 
UF’s Florida Yards & Neighborhoods maintains a searchable Florida-friendly Plant Database. Make choices based on region, plant type, light and moisture quantity, soil texture salt tolerance.
For native plants, the Florida Association of Native Nurseries has two websites where you can find plants for your particular zone, plant community (like at the beach or in pine flatwoods), plant type and by wildlife usage. There is a site designed for nursery professionals that lets you find local wholesale growers and also a similar site for homeowners that has resources on where to find desired plants at local nurseries.
Speaking of native plants, the Florida Native Plant Society also has a searchable list of plants appropriate for your particular needs.
Gardening Solutions has lots of great information for lawn, landscape and garden by category, and it is easily accessed.
Happy Gardening!
by Mary Salinas | Jun 10, 2014
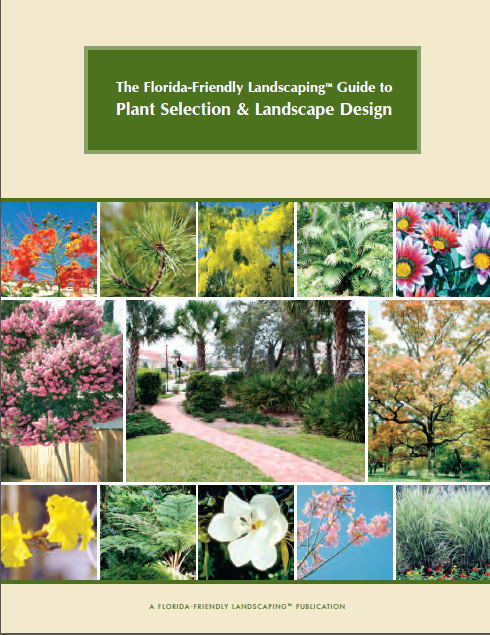
A mimosa tree invader in a natural area. Photo by Mary Derrick, UF IFAS.
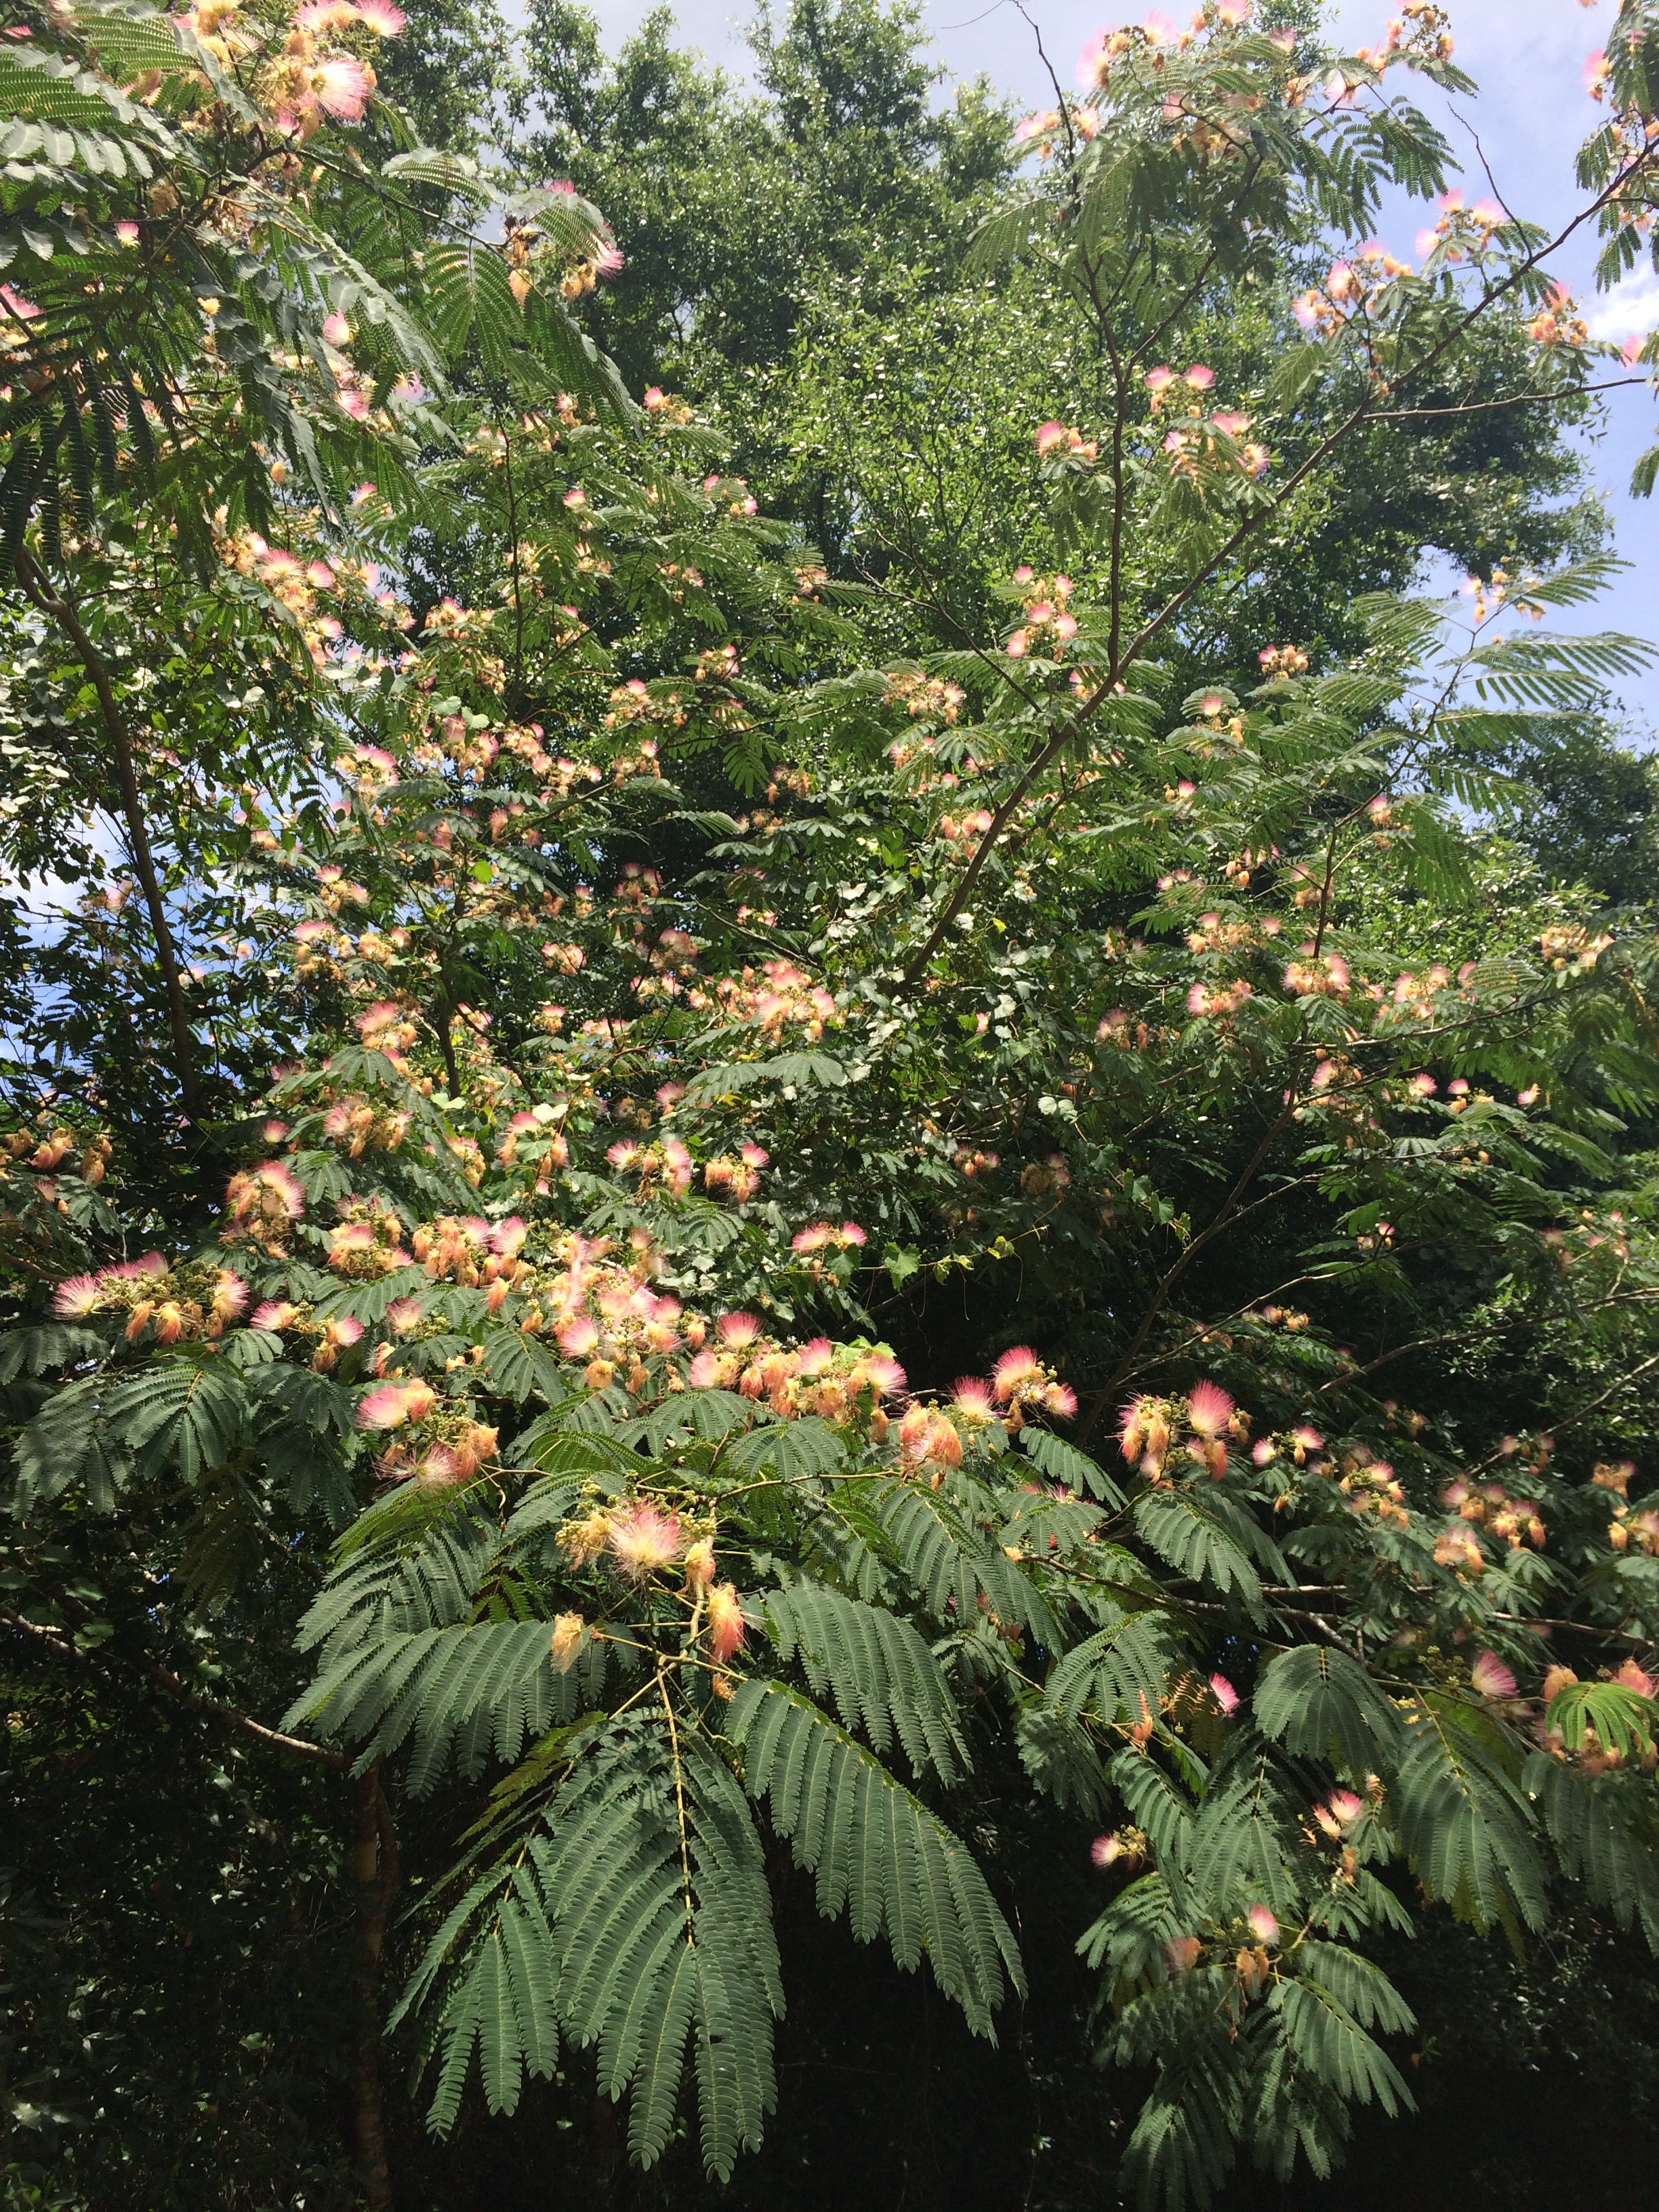
All along the roadsides and in home landscapes this time of year, a profusion of fluffy pink blossoms are adorning trees known as Mimosa, or Albizia julibrissin. This native of China was introduced to home landscapes in this country in the 1700’s to enjoy the fragrant, showy flowers and fine, lacy foliage. However, there is a dark side to this lovely tree. After blooming, it produces an abundance of pods each containing 5 to 10 seeds. Seeds can be spread by wildlife and water; this is evidenced by the appearance of mimosa trees along the roadways, streams and in our natural areas. The seeds can also remain dormant for many years, allowing seedlings to keep sprouting up long after the mother tree is gone.
Mimosa has been categorized as an invasive exotic plant in Florida as it has not only naturalized, but is expanding on its own in Florida native plant communities. This expansion means that our native plants in natural areas get crowded out by the mimosa as it reproduces so prolifically.

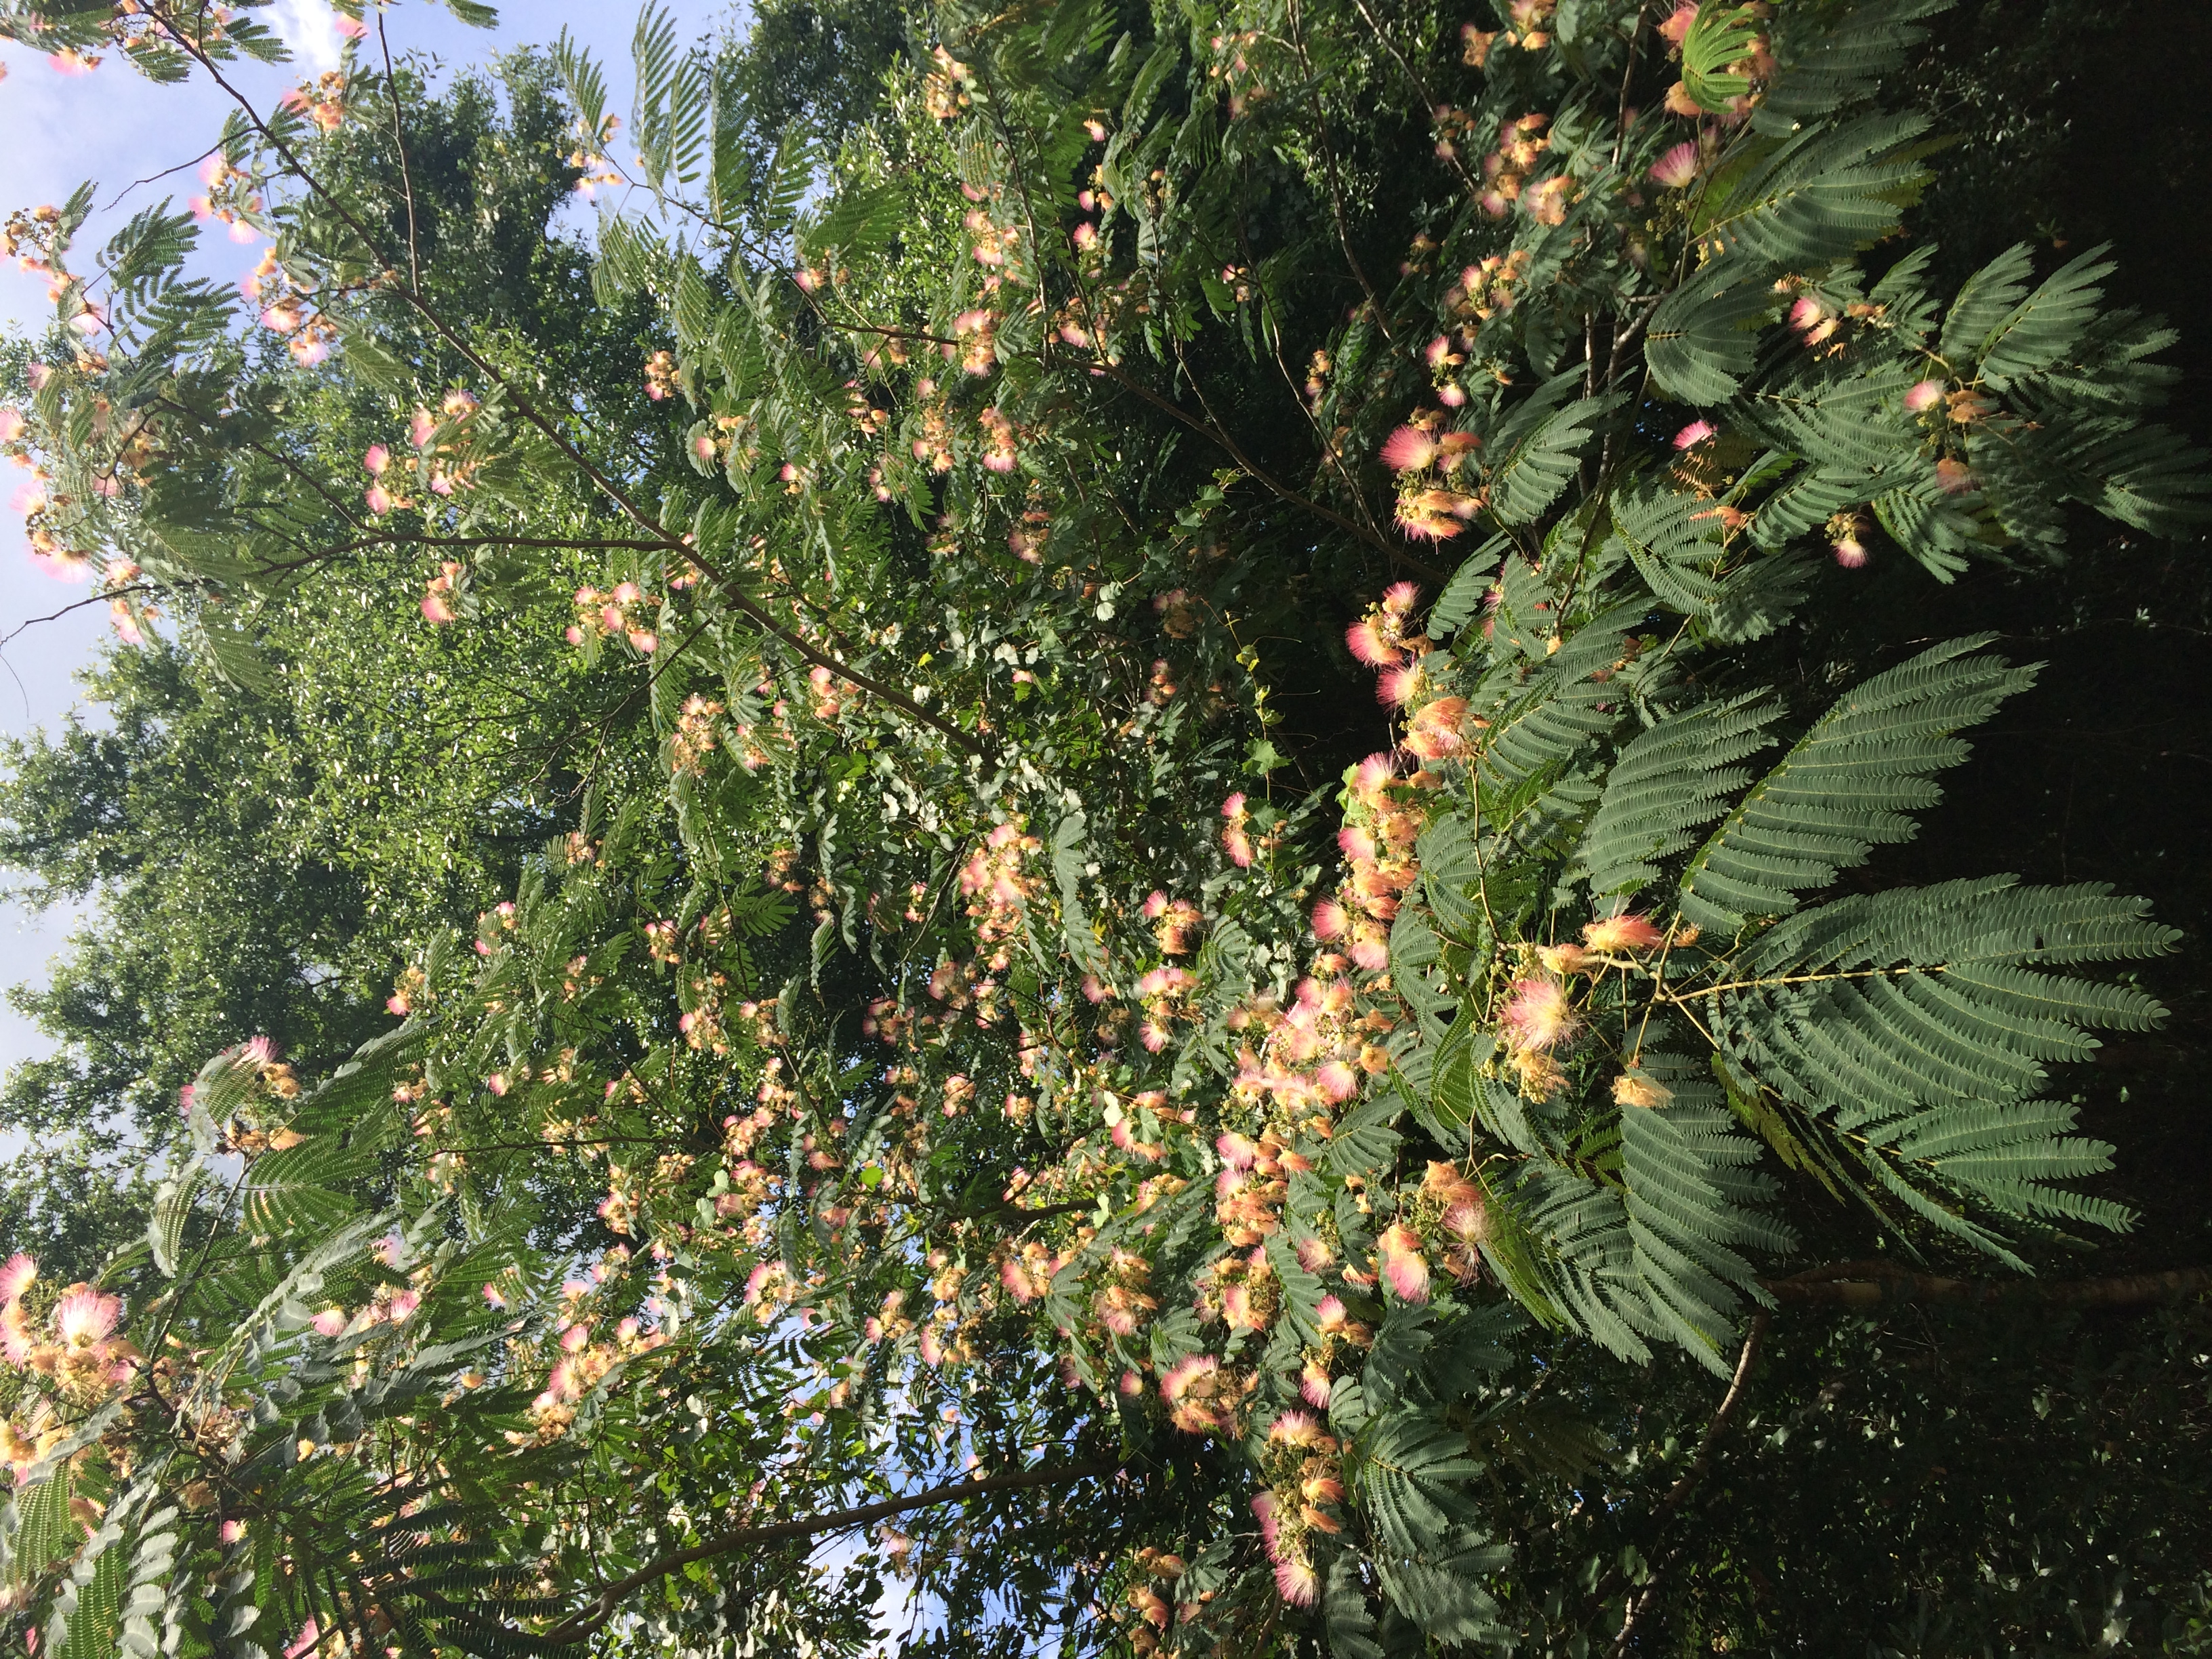
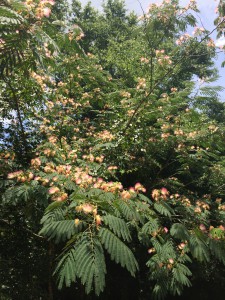
Bloom and foliage of the invasive mimosa tree. Photo by Mary Derrick, UF IFAS.
[important]The Florida Exotic Pest Plant Council (FLEPPC) publishes a list of non-native plants that have been determined to be invasive. Click here for the most recent 2013 list![/important]
The first step in controlling this pest plant is to remove existing plants in the landscape. Cutting it down at soil level and immediately painting the stump with a 25% solution of glyphosate or triclopyr should do the trick. Other details and control methods can be found here.
There are some native trees that make excellent alternatives to Mimosa such as fringe tree (Chionanthus virginicus), silverbell (Halesia carolina) and flowering dogwood (Cornus florida).
For more information:
Albizia julibrissin: Mimosa
UF IFAS Center for Aquatic and Invasive Plants: Mimosa

by Taylor Vandiver | Feb 25, 2014
Considering it is the month of Valentine’s, roses are an appropriate subject to discuss. Not bouquets couriered to various locations all over town, but bushes in the landscape that have been strategically neglected over the winter. Now their time has come; pull on the gloves and get to work.
February is the perfect time to prune rose bushes. Pruning is a step that is required to maintain healthy roses. When roses are pruned, new growth is promoted by removing dead, broken or diseased canes. Pruning also allows the gardener to give their plant an attractive shape and encourage flowering, which is ultimately the reason roses are planted!

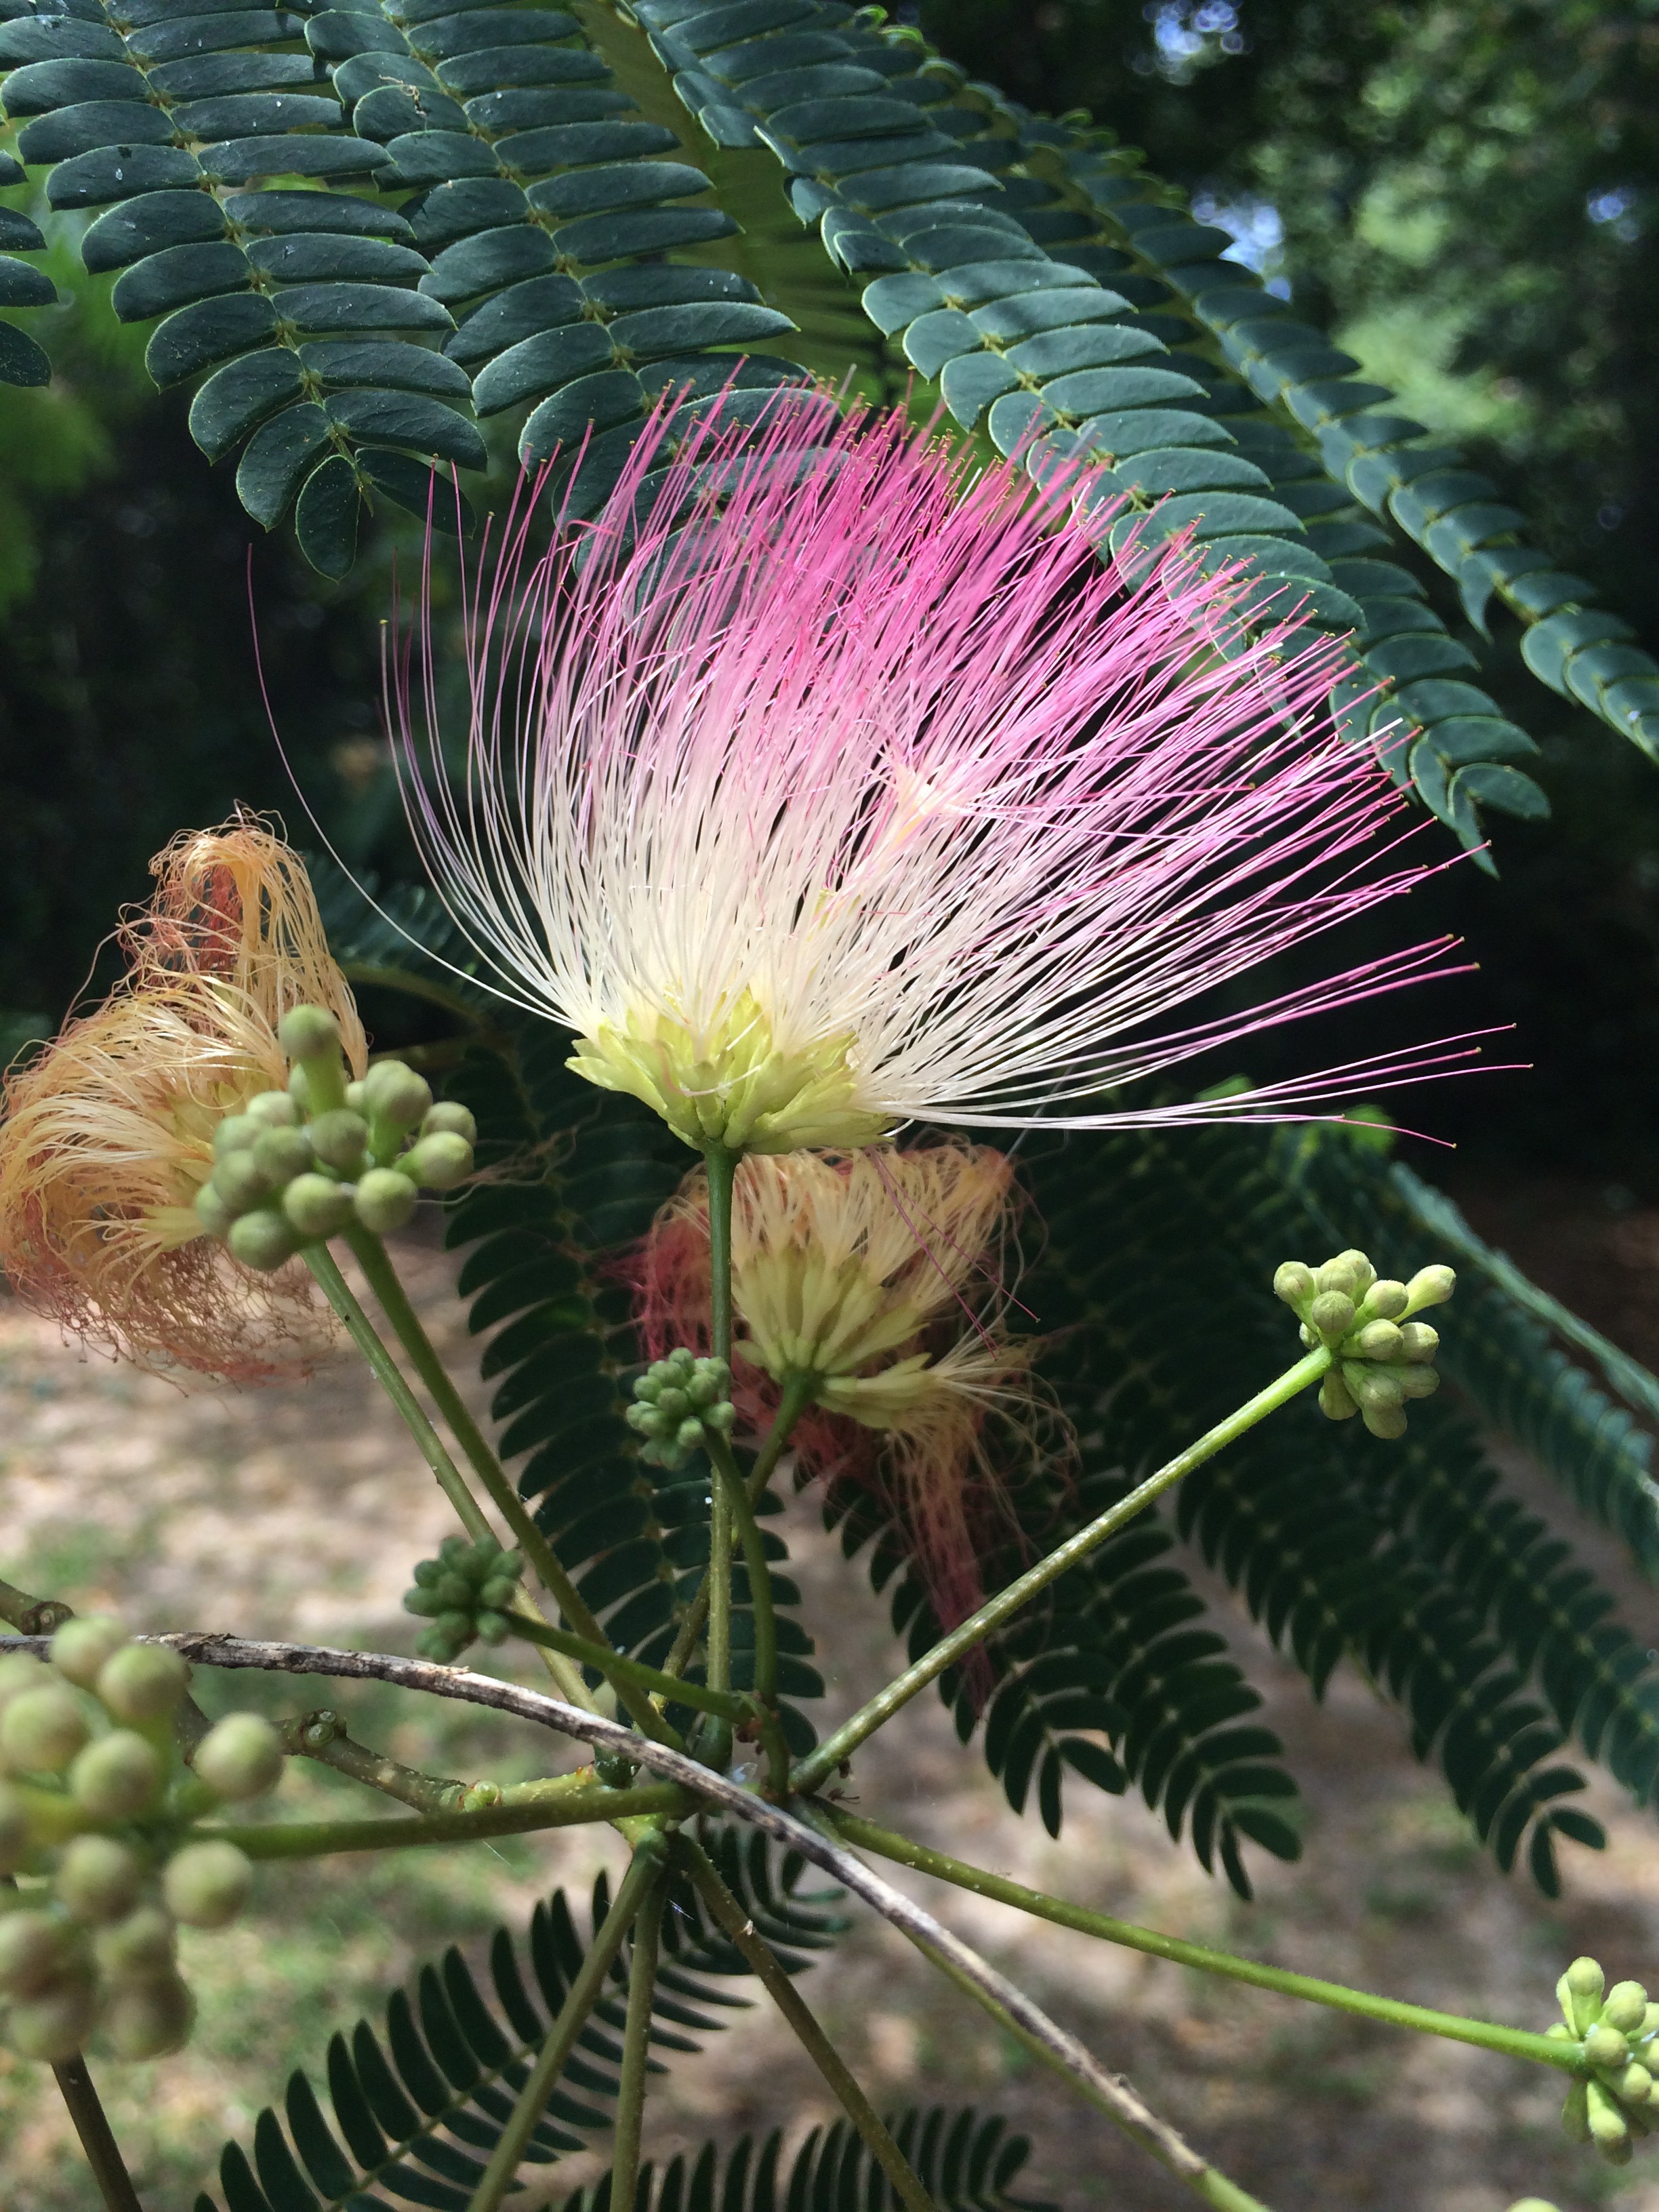
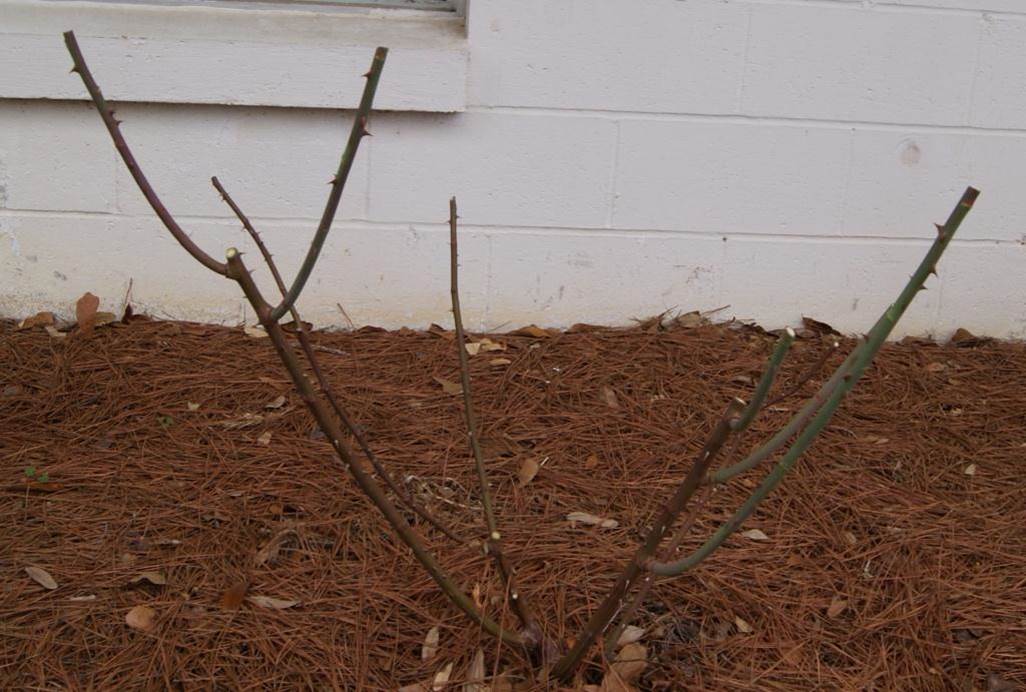
Belinda’s Dream rose before pruning. Image Credit Matthew Orwat
Deciding which roses to prune will depend on their class. Hybrid tea, grandiflora and floribunda roses are repeat bloomers and need a moderate to heavy annual pruning this time of year. Some old-fashioned roses and climbers that bloom only once a year should be treated differently and pruned immediately after flowering. They set their buds on old wood from the previous year’s growth; therefore, pruning them would remove most of this year’s blooms. An exception to this would be dead, diseased or damaged wood on any rose bush or canes that are crossing and rubbing. This should be removed immediately upon notice.
There are certain techniques that should be used when pruning any type of rose, no matter the time of year. Any pruning shear, saw or lopper you use should be sharp and sterile. Always wear protective gloves when dealing with roses, unless you don’t mind coming back bloody and mangled.
[warning]
Crown gall and canker can be spread between gardens and individual plants by dirty shears. To prevent the spread of disease, always disinfect pruning shears when beginning to prune with a 5-10% bleach or 20% rubbing alcohol solution, especiallly if they have been used in any other garden. If crown gall or canker has been found in one’s own garden, shears should be disinfected between each plant, no exception. This should also occur when bringing new plants into the garden, until they have been observed to be disease free.
[/warning]
The first step when pruning any rose is to remove dead, damaged or weak stems leaving only the most vigorous, healthy canes. Try to cut the stems one inch below darkened areas, making sure to cut back to green wood. Always make your cut at a 45-degree angle; this will keep water from sitting on top of a stem and causing rot. When pruning try to open up the center of the rose bush. Pruning like this will increase air circulation and help prevent diseases.
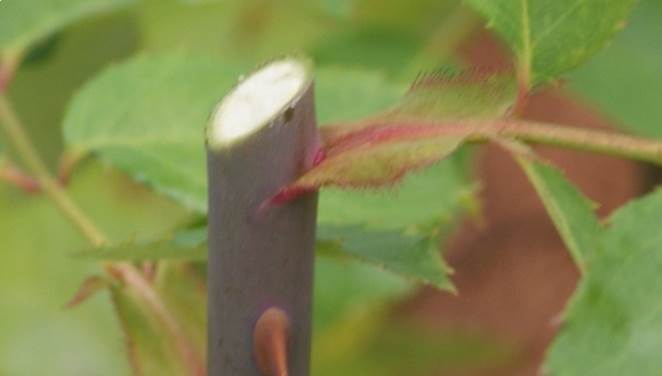
Pruning Cut on Belinda’s Dream rose. Image Credit Matthew Orwat
Since roses send out new growth from the bud just below a pruning cut, try to make pruning cuts above a leaf bud facing out from the center of the plant. Make your cut about ¼ inch above the bud and at the same angle as the bud. If any rubbing or crossing branches are noticed, the weakest of those branches should be removed.
Deadheading, or removing spent flowers, can also be done at this time of year. When deadheading, remove the flower by making a cut just above the next five or seven-leaf branch down on the stem. This will allow for a strong and healthy cane to grow in its place. If no live buds remain, remove the entire cane.
Modern reblooming roses (hybrid teas, floribundas, and grandifloras) should be pruned just as the buds begin to swell, which is around mid to late February. When practicing hard pruning, try to leave about four to eight large, healthy canes the diameter of your finger or larger on the shrub. For a more moderate approach, prune shrubs as discussed earlier and cut them back to about 12 to 24 inches from ground level. Generally, any cane thinner than a pencil should be removed.
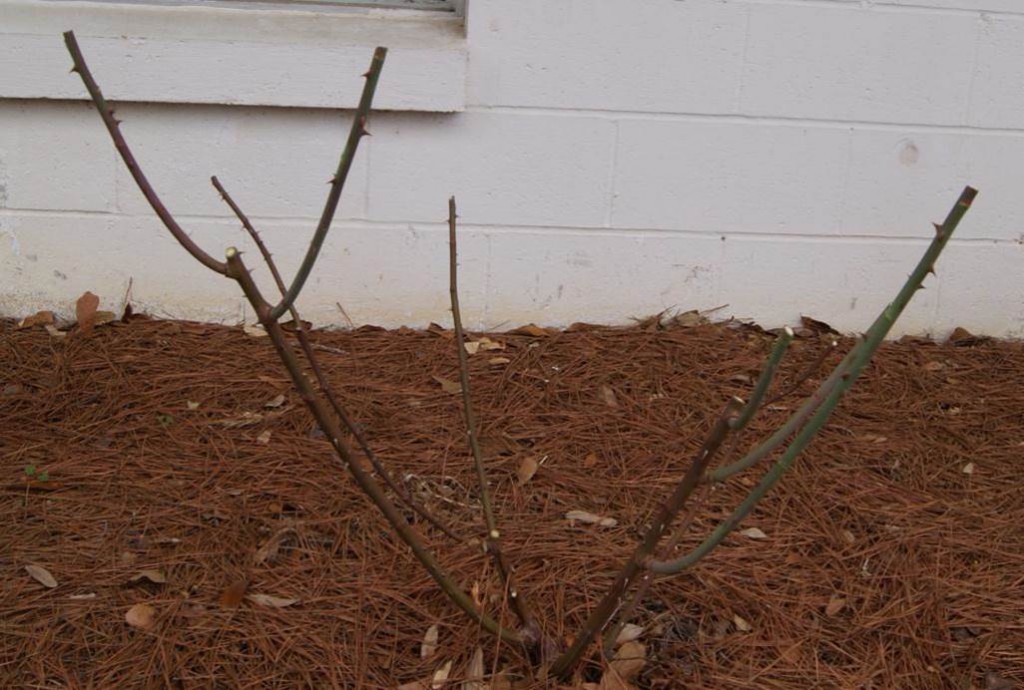
Belinda’s Dream rose after pruning. Image Credit Matthew Orwat
Don’t worry about pruning recently purchased new roses. Newly purchased roses have most likely been pruned, and no further cutting is necessary. Hopefully with the help of this article you can make a date to spend some quality time with your roses this season. The price of neglect is overgrown roses that are not nearly as attractive.
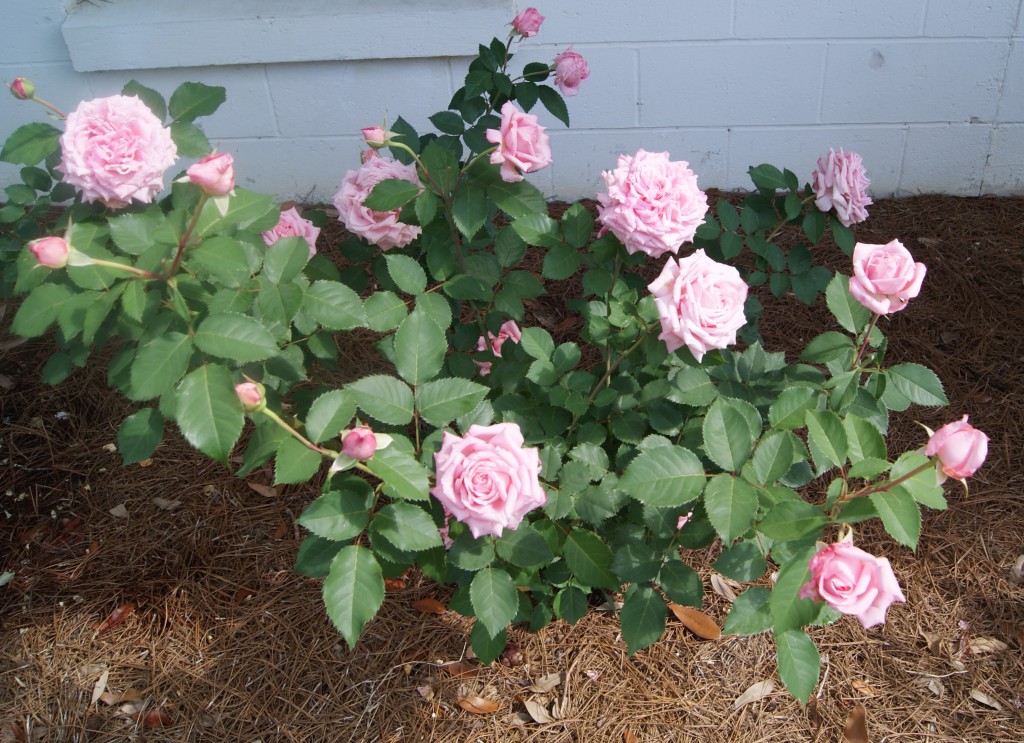
First flush of properly pruned Belinda’s Dream shrub rose. Image credit Matthew Orwat
Article written by Taylor Vandiver with additional content about sanitation by Matthew Orwat