by Matt Lollar | Dec 16, 2015
With the cotton harvest coming to an end, it’s not unusual to see cotton littered on the sides of the road. You may also think you see it hanging in the trees, but you will be pleasantly surprised to find a hidden gem. Woodbine (Clematis virginiana) and coastal virgin’s bower (Clematis catesbyana) are two native species of clematis that can be found wrapped around trees in the Panhandle. They have finished flowering for the year and you will notice their showy seed lint hanging in the trees.
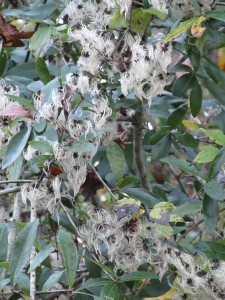
Clematis growing in an oak tree. Photo Credit: Matt Lollar, UF/IFAS
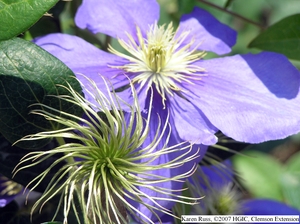
Clematis leaves are compound, consisting of 3 to 5 leaflets, dark green and glossy with toothed edges. The vines are typically 1/2 inch in diameter and can grow to 20 feet. The flowers are much smaller than those of cultivated varieties found at garden centers. Flowers are white with prominent stamens. Clematis catesbyana and Clematis virginiana have similar flowers, but the flowers of C. virginiana are fragrant.
Clematis species grow well in partial shade to full shade. Native plants are often found entwined in the forest understory near streams or ponds where soil conditions are moist. Garden varieties grow well with their roots in moist, shaded soil and their leaves and flowers in the sun. They are often seen growing on a trellis or on a fence.
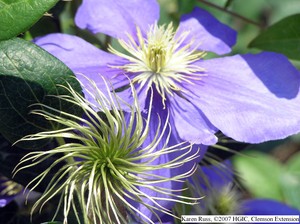
Clematis ‘General Sikorski’. Photo Credit: Karen Russ, Clemson University
It is important to note that some species of clematis are invasive. Sweet autumn clematis or Japanese clematis (Clematis terniflora) is a vigorous invasive species that was once popular in southern gardens. This species has similar characteristics to C. catesbyana and C. virginiana, but its leaflets have smooth edges. You should develop a control strategy if Japanese clematis is found in your garden. For control options, please visit EDIS – Japanese Clematis.
by Matthew Orwat | Nov 20, 2015
 Although it seems like summer outside, especially with such warm weather the week before Thanksgiving, winter temperatures will be coming. Possibly sooner rather than later. Perennials that are meant to die to the ground each winter look ugly and decayed after the first frost. Faced with such unattractive plants, most gardeners are inclined to cut them to the ground right away. That action might be a mistake.
Many perennials, such as hibiscus species, hydrangea, salvia species, firebush (Hamelia patens), rudbeckia, echinacea, lantana and others still have a large amount of starch stored in their branches, even after the first frost. Although it is very tempting to remove these unattractive reminders of the beautiful spring gardening season, it is better to wait to allow the starch to translocate (move) down to the root system. The time that this takes varies by plant species, but can be as late as February.
To determine if there is “life” left in those burned and singed stems, just scratch off the top layer of the stem. If any nutrients remain in the stem, it will be green or yellow where the scratch was made. If it is brown and dead, it is safe to prune the perennial back.
If you can stand to wait, allow those unsightly stalks to remain until February. If they contain any plant nutrients this will give the plant some energy during the winter months. This is not possible in every situation, but following this practice will bring stronger flowering perennials next season!

by Mary Salinas | Sep 24, 2015
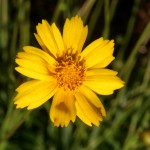
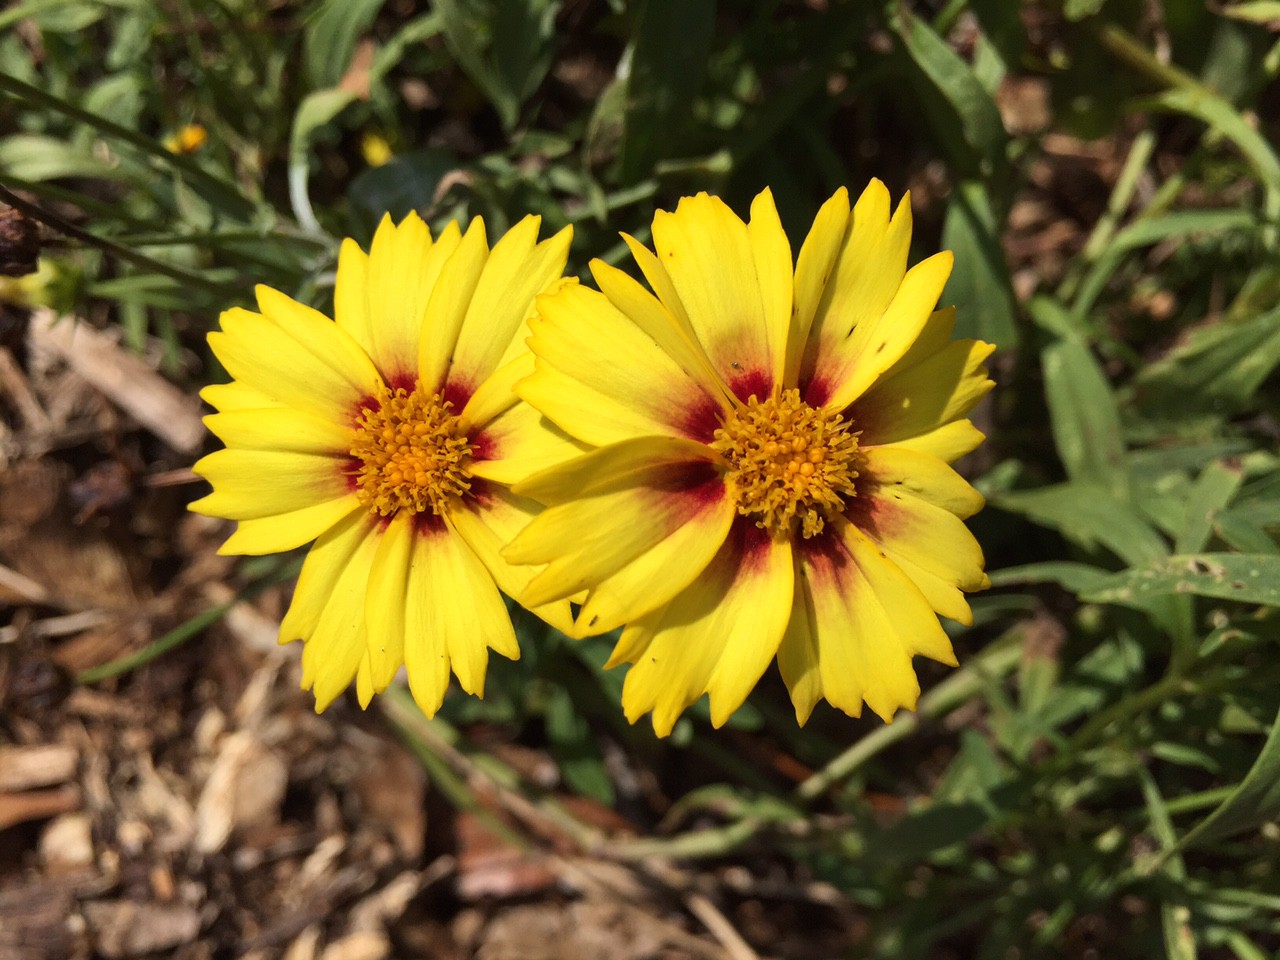
Native Lanceleaf Coreopsis. UF/IFAS Photo: Thomas Wright.
In our demonstration garden we are enjoying the small but vibrant blooms of our state wildflower Coreopsis, also commonly known as tickseed. After many years of its use in the Florida highways beautification program, Coreopsis was adopted as Florida’s official state wildflower in 1991.
Florida can boast of 16 different species of Coreopsis that occur in the state with most blooming in the spring but some species blooming in the summer to later in the fall. Some of those species are rare, endangered or only found in very limited areas of the state, while others are quite common throughout the state.
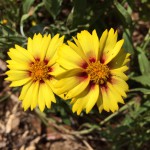
Photo credit: Mary Derrick, UF/IFAS.
Many lovely new cultivars have been introduced for our enjoyment by plant breeders through cross-breeding and selection. Some you can see in the accompanying photographs in this article.
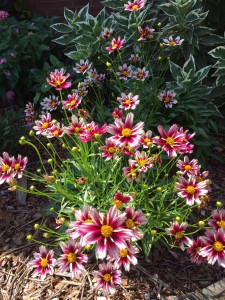
Photo credit: Mary Derrick, UF/IFAS.
Coreopsis is an annual or short-lived perennial that makes a great addition to your garden beds. And the bees and butterflies will enjoy them! The numerous flowers readily produce seed for naturalizing in the landscape. Plant them in a sunny spot in the landscape in evenly watered but well-drained soil. Removing the dead blooms will encourage plants to prolong their blooming; you can also save the seed for replanting in new areas of your landscape.
For more information:
History of Coreopsis as Florida State Wildflower
Gardening Solutions: Coreopsis
Florida Wildflower Foundation

by Carrie Stevenson | Sep 23, 2015
As September rolls into October and we finally experience cooler temperatures, I always look forward to seeing one of my favorite native grasses in full bloom. Muhlenbergia capillaris, or Muhly grass, is an extremely versatile plant in the home landscape. It is both flood and drought tolerant and easy to maintain. A true local, it is typically found growing in beach dune areas, sandhills, pine flatwoods or coastal uplands. It provides nesting material and shelter for birds and small animals, and is known to attract beneficial ladybugs.
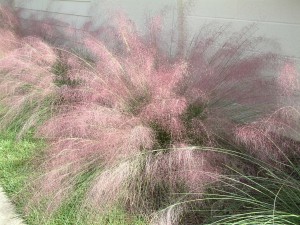
The dramatic color of Muhly grass in the fall makes it a favorite for home landscapes. Photo credit: UF IFAS Escambia Extension
Muhly grass grows in a clumping form, usually 2-3 feet in height and width, and looks great in clusters as a border along the edge of a building or lawn. It can also be used as an eye-catching centerpiece in a landscape. The plant’s most notable feature, however, appears in late September and early October. This is when hundreds of filamentous blossoms form a dramatic display of deep pinkish purple. When the wind blows the colorful blooms, it creates an appearance of a pink cloud hovering over the grass.
Muhly grass is semi-evergreen, turning more copper in color as it gets colder. The only maintenance needed is voluntary; in late winter it can be trimmed down to 6-8″ to remove older, dead blades before the growing season. This plant was chosen as the 2012 Plant of the Year by the Garden Club of America, and is a great selection for our area.
For more information on the plant, please visit UF IFAS “Gardening Solutions” or speak to your local UF IFAS Extension horticulture agent.
by Mary Salinas | Sep 9, 2015
You’ve grown some wonderful vegetables, annuals or perennials and you would like to save some of the seed from those plants to have for planting in the future. This is a great way to get more of the plants you know and love while saving on the expense of new plants. One exception are plants that are F1 hybrids; seeds from these plants will produce crops quite dissimilar to the parent.
First, you need to collect ripe seed from the desired plants. How do you know when the seeds are ripe and ready to harvest? The strategies for annuals/perennials and vegetable plants differ.

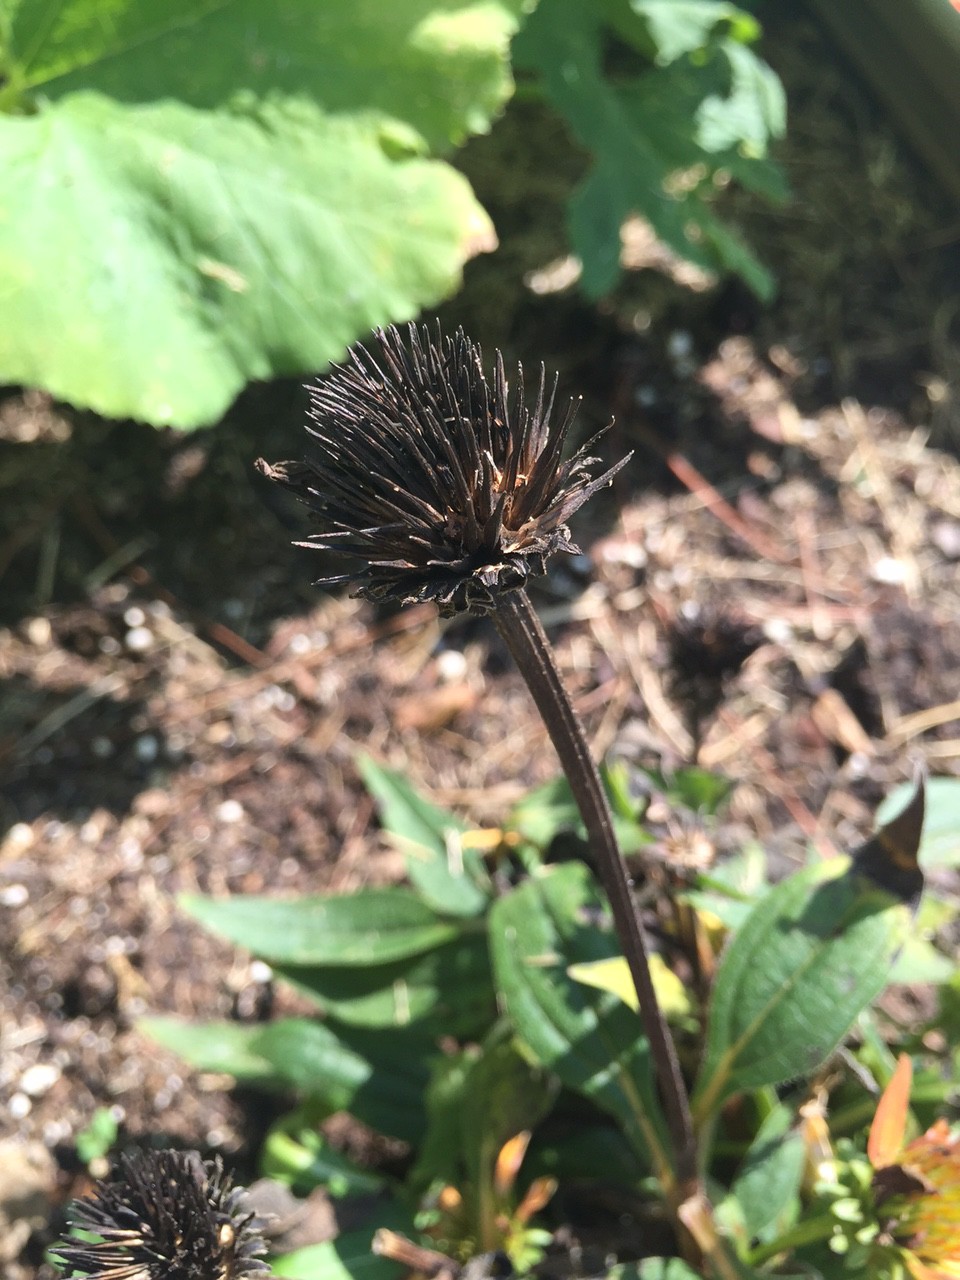
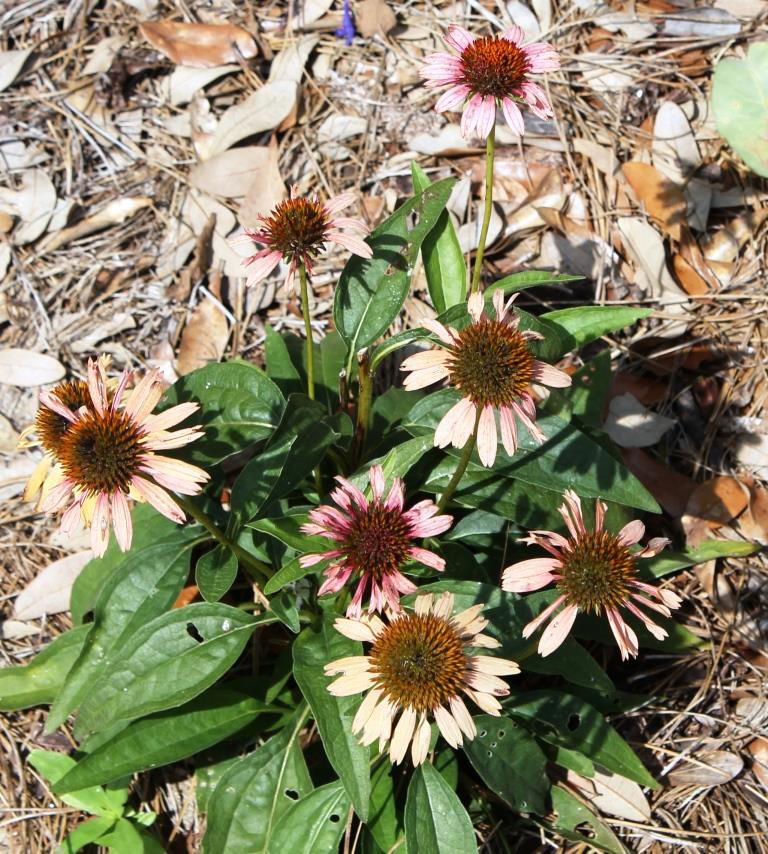
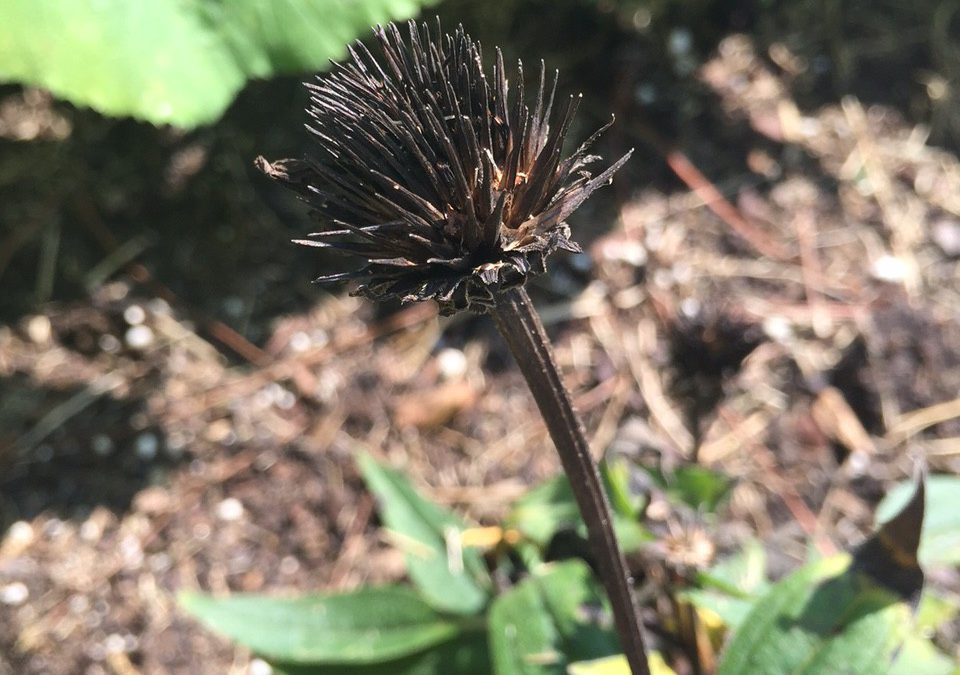
The ripe seedhead of a coneflower. Photo credit: Mary Derrick, UF/IFAS Extension.
For annuals and perennials that flower without making a fruit, wait until the flower has dried up and the seed head is brown and dead-looking. The seeds are then mature and ready to harvest. Take a look at the photo of the coneflower seedhead for reference. These seeds are already dry and can be put into an envelope and then into a sealed jar or plastic stage bag that contains a desiccant to absorb any excess moisture. There are a few options for desiccants: the little packets that come in vitamin bottles and purses to keep them dry, cornmeal or dried milk in bottom of the bag. Be sure to label your envelope with the date and name of your plant seeds. Store in the refrigerator.
When you are saving seed from a vegetable that has seeds inside it such as a tomato, pepper or squash, harvest the vegetable when it is ripe and ready to eat and scoop out the seeds and wash away all other plant parts from the seed. These seeds are very moist and if stored in this state, they will rot into a mess. You want to get the moisture content below about 8% for long term storage. There are several methods:
- If the humidity is low and the temperature high, (I know, those can be rare conditions for Florida) you can put the seeds in a single layer on a baking sheet in the shade to let them dry all day.
- Another option is to take that baking sheet with a single layer of seeds and put it in a 100° oven for 6 hours with the door open. It’s crucial to monitor your oven temperatures as those above 100° will kill the seeds.
Once the seeds are dried sufficiently, store them as described above for flower seeds. Your seeds can then last for several years.
For more information:
Seed Saving from Colorado State Extension
Saving Vegetable Seeds from University of Minnesota Extension