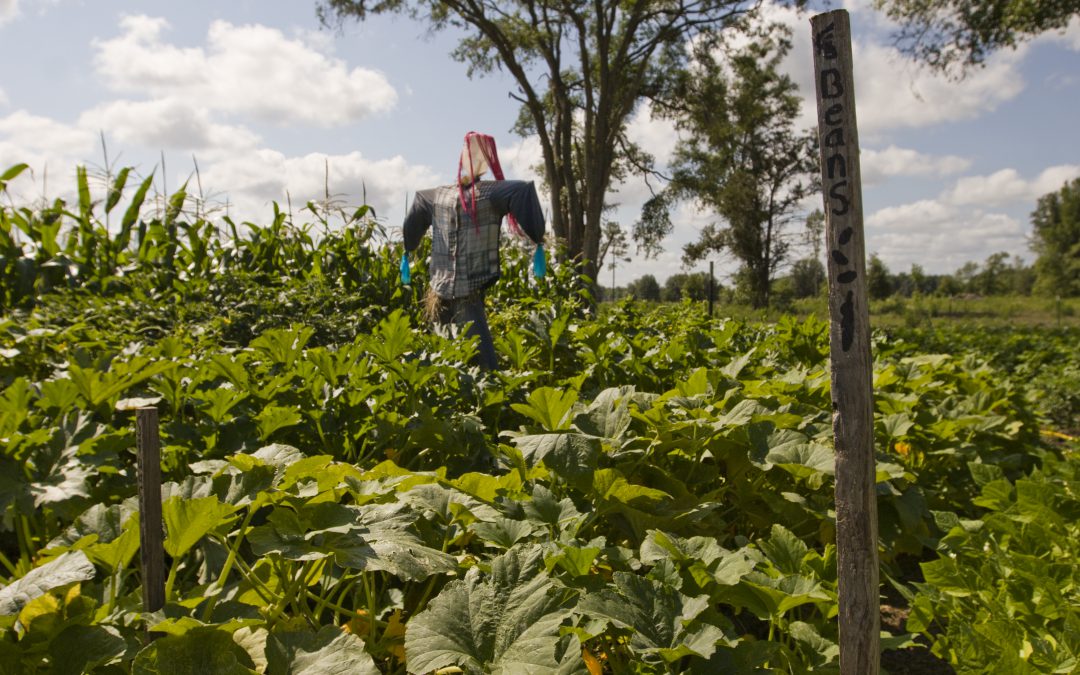
Bush beans are an easy and enjoyable plant to grow in the home garden. These particular beans do not require a trellis and will be ready to start harvesting in about 50 days. Learn more about growing your own bush beans with UF IFAS Escambia County Extension In the Home Garden.
Shrubs can serve many purposes in a landscape and have been used in both mass plantings and as accent features. They can include plants that offer colorful blooms, food for pollinators, and screens for less than favorable views.
We tend to think that shrubs will be permanent feature in our landscapes, because many are hardy and adapted to our climate. Like any other plant you may choose for your yard, shrubs may not live forever and there are a wide variety of reasons a shrub may need replacement after years of solid performance.
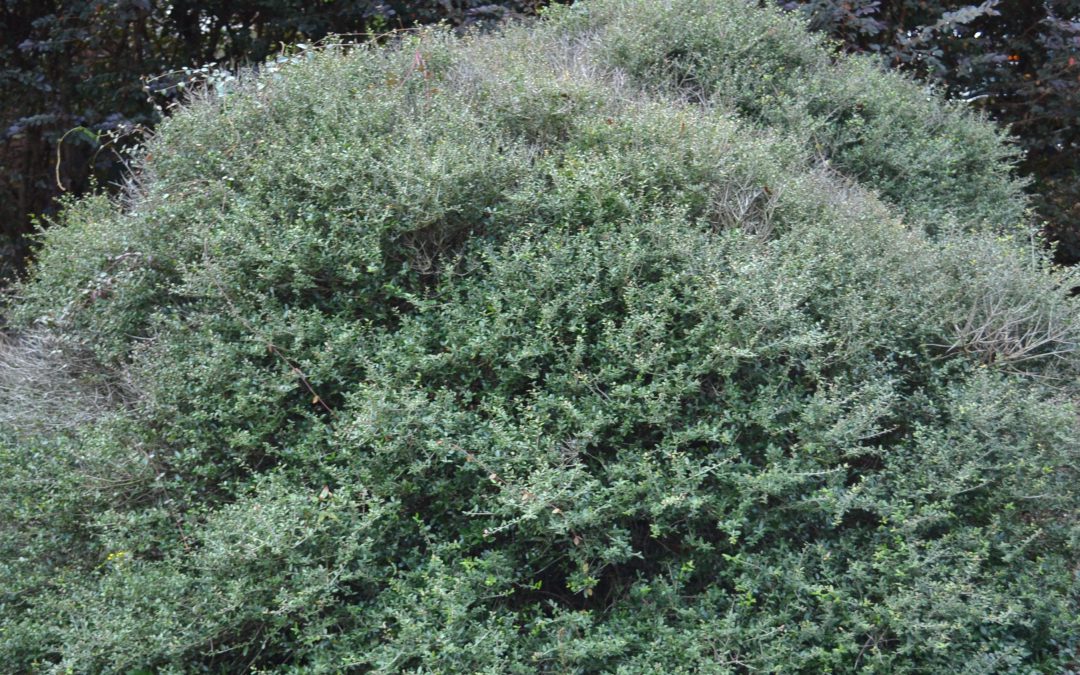
Let’s use any example from my own yard of the Dwarf yaupon holly, Ilex vomitoria ‘Nana.’ Back in 2001, I planted three hollies, spaced with plenty of room to grow, in a border area of my landscape. The plants grew well forming mounds about 3.5 feet high and 4 feet wide. Since the ‘Nana’ holly is a naturally mounding shrub, it did not require pruning and once established, rainfall supplied needed water.
Yaupon holly with dieback after 17 years in a landscape. Photo by Beth Bolles, UF IFAS Extension Escambia County
Over the past year, several areas of branch dieback have developed in all plants. After finally deciding that the dieback was unattractive enough to warrant plant removal, I began cutting the plants back. I discovered dead interior branches, girdling roots, and some internal stem discoloration. In other words, there are many factors that have led to poor plant performance. Another issue is a large Loropetalum hedge (planted by my neighbor) that shades one side of the plant.
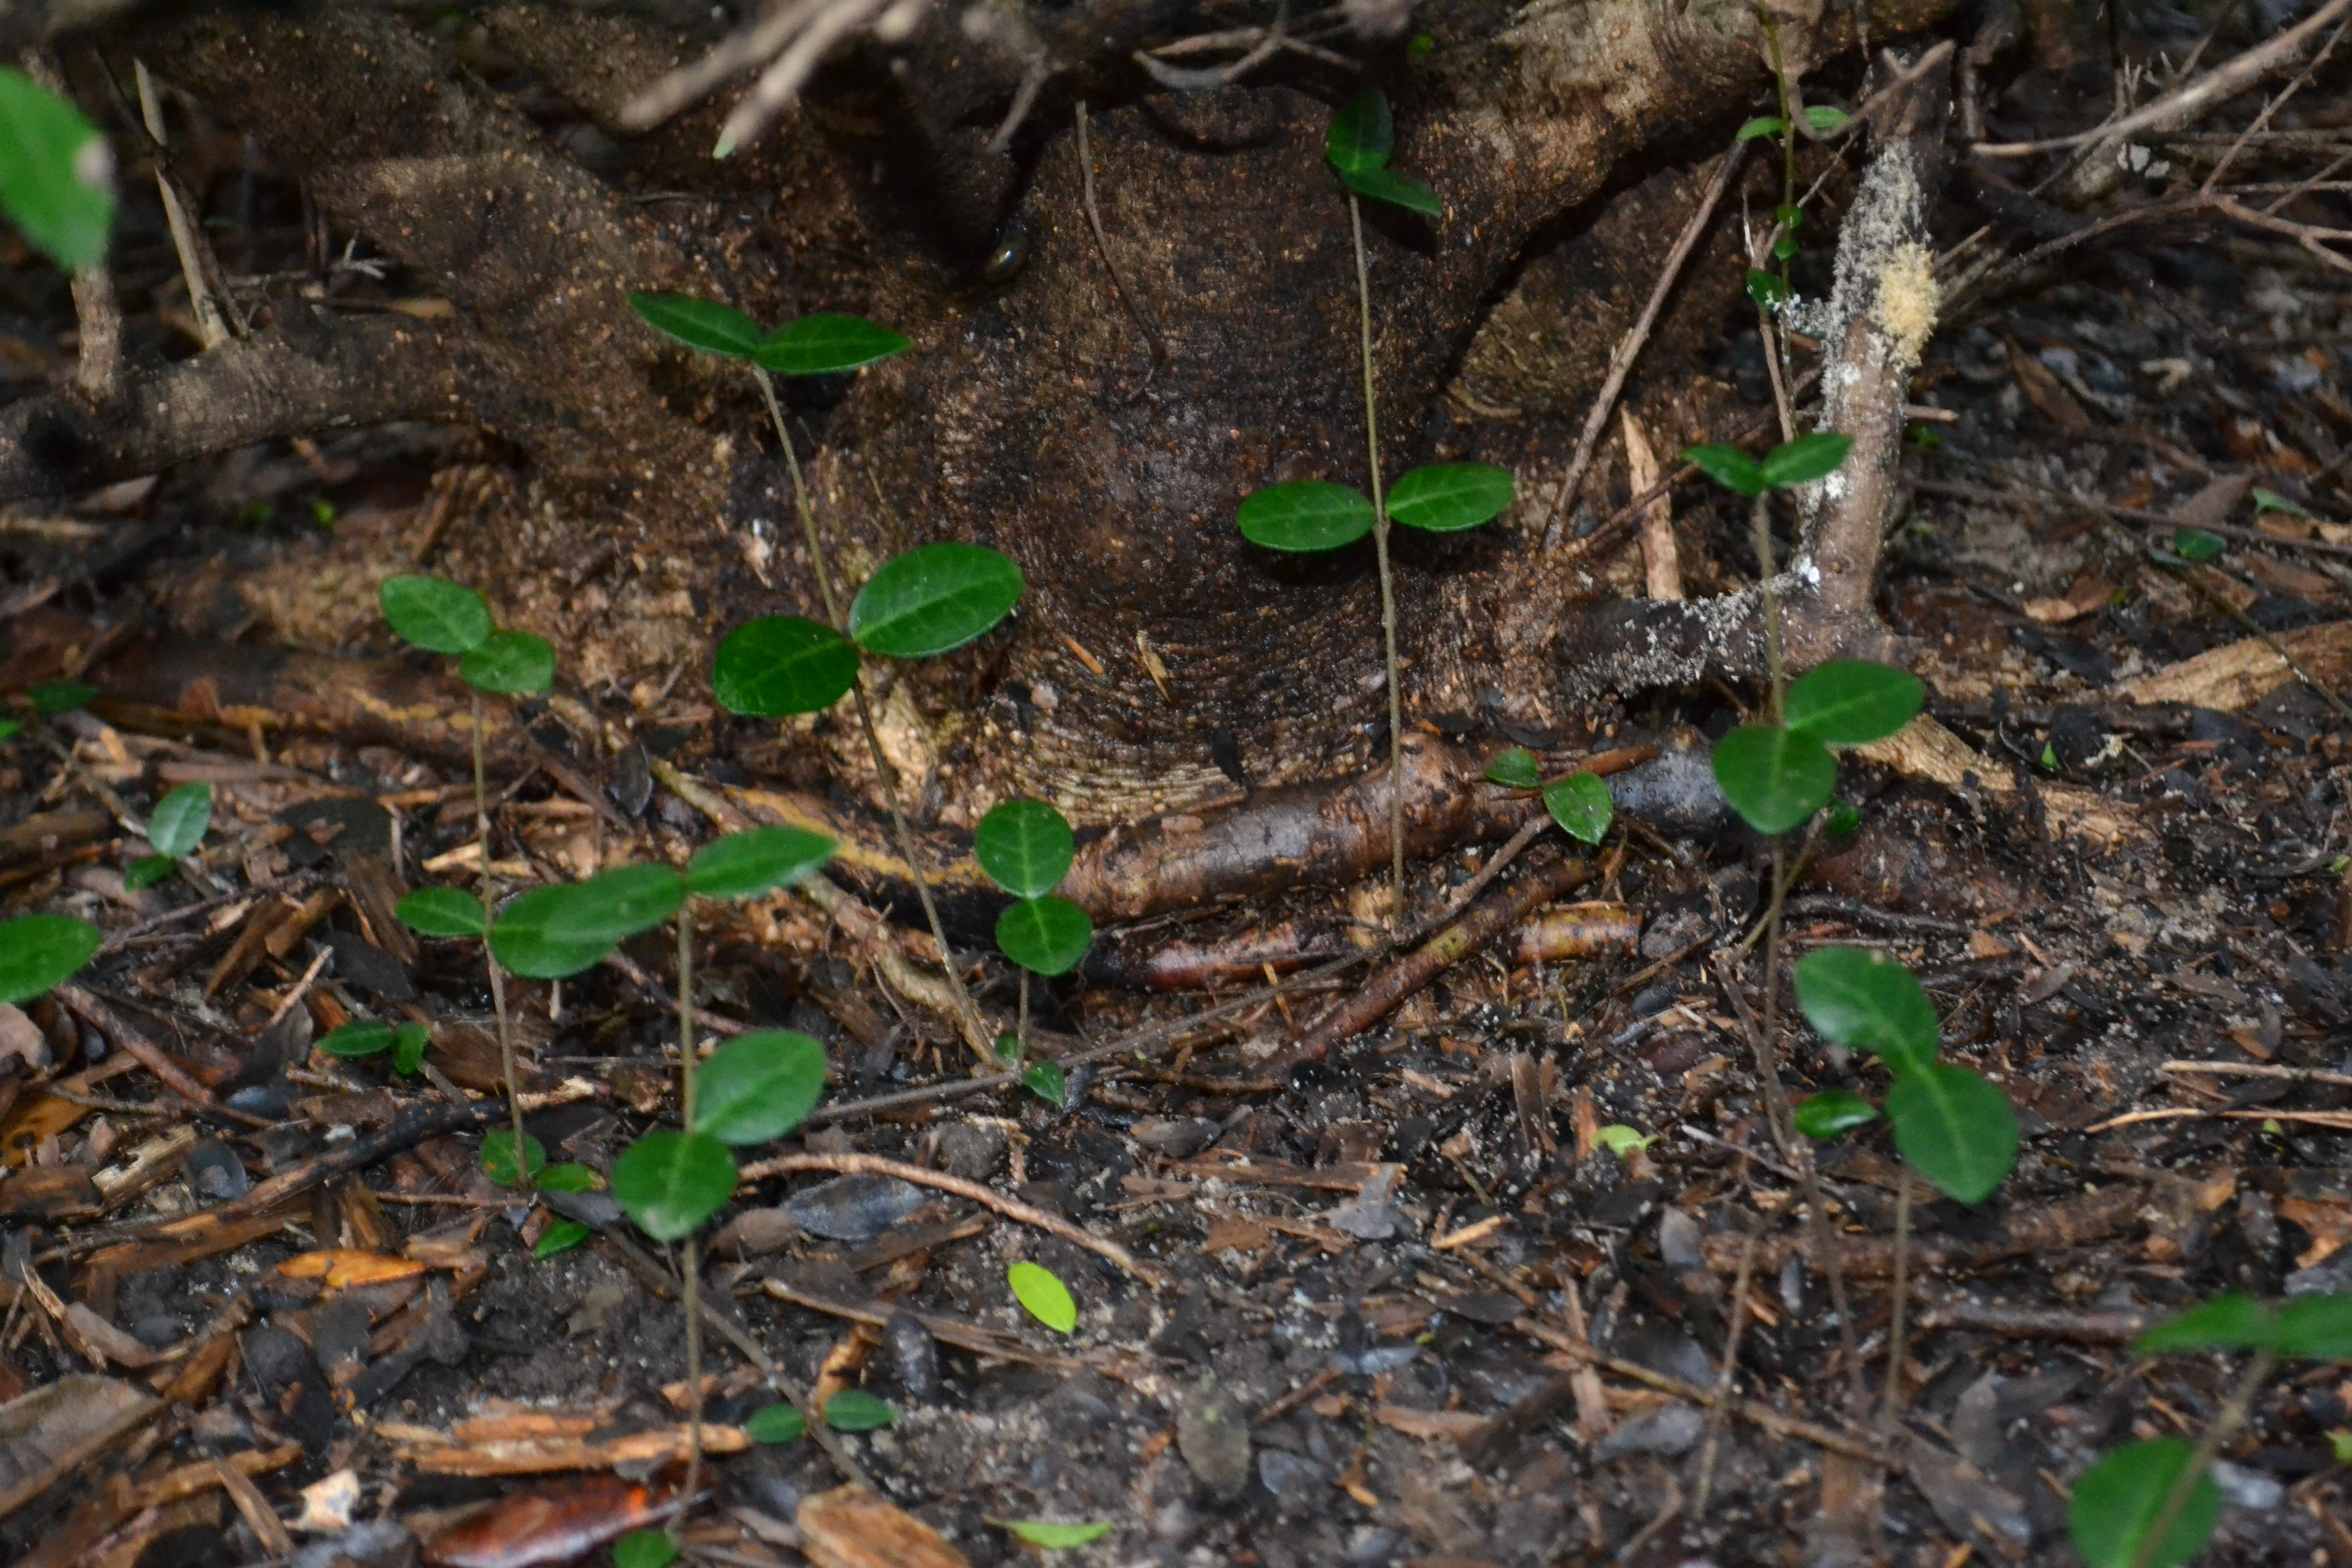
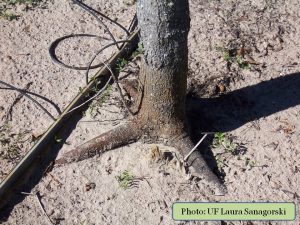
Girdling roots often develop when rootballs have not been properly prepared during installation. Photo by Beth Bolles, UF IFAS Extension Escambia County
What could I have done to help these plants stay healthier for many more years? I could have prepared the rootball better for planting by shaving off the edges or supplied a little fertilizer on occasion in my sandy soil. These practices may have extended the life of the plants for several more years, but they may not have made a difference. Sometimes shrubs decline and die. I am accepting that not everything performs at an outstanding level in our climate. Also, there is an end point for some of my favorite plants in the yard. Some may outlive me while others thrive for a few years or a decade or so.
The bright side of loss of my Yaupon hollies is that I get to plan for a feature for the new year. Maybe something for pollinators and birds to last the next 17 years.
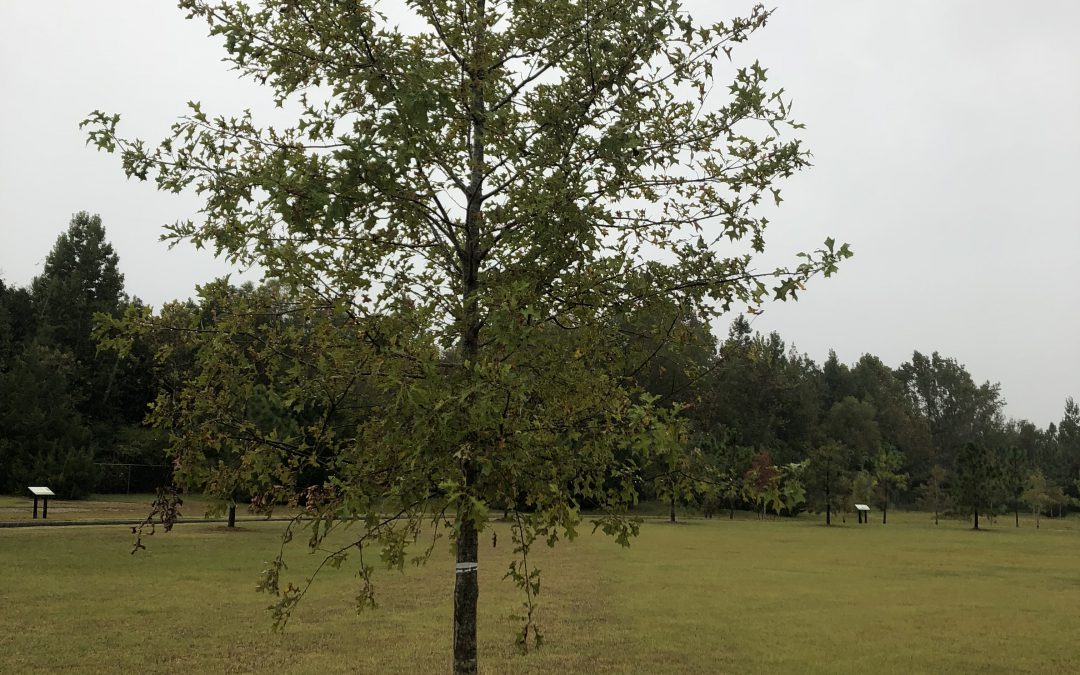
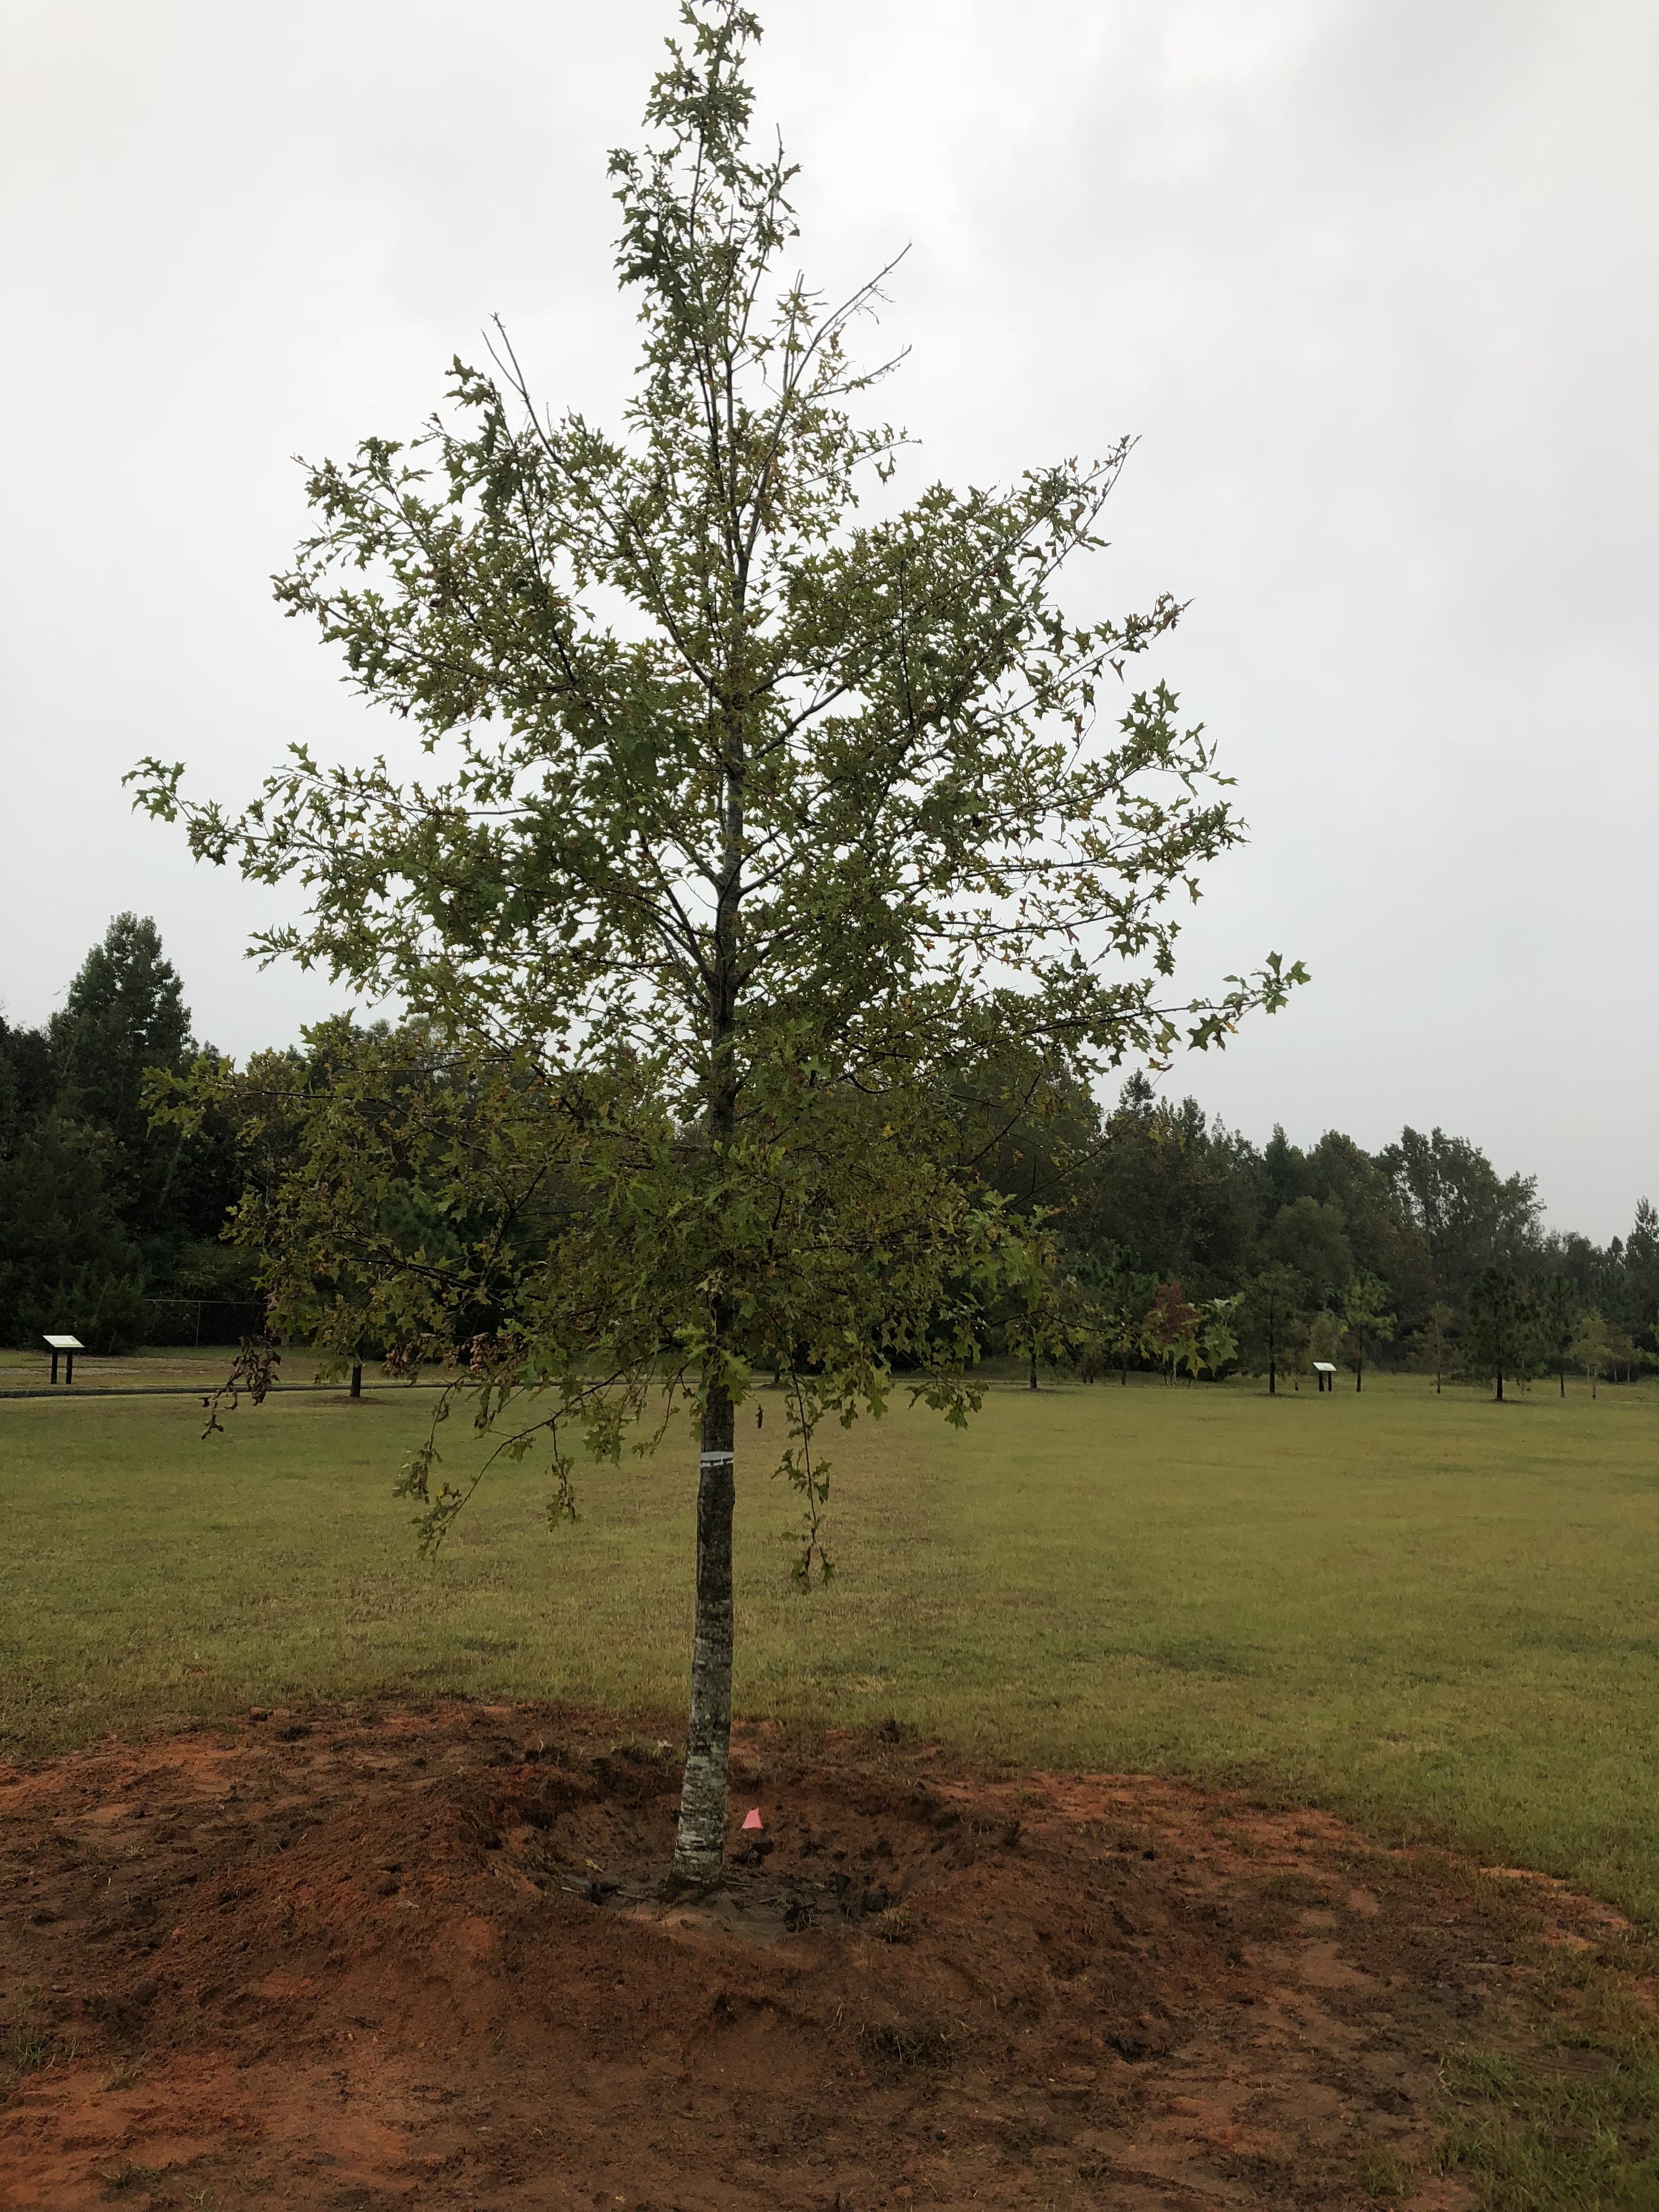
A planted tree with water retention berm. Photo Credit: Matt Lollar, University of Florida/IFAS Extension – Santa Rosa County
Often, Extension agents are tasked with evaluation of unhealthy plants in the landscape. They diagnose all sorts of plant problems including those caused by disease infection, insect infiltration, or improper culture.
When evaluating trees, one problem that often comes to the surface is improper tree installation. Although poorly installed trees may survive for 10 or 15 years after planting, they rarely thrive and often experience a slow death.
Fall is an excellent time to plant a tree in Florida. A couple of weeks ago beautiful Nuttal Oak was planted at Bagdad Mill Site Park in Santa Rosa County, FL. Here are 11 easy steps to follow for proper tree installation:
Look around and up for wire, light poles, and buildings that may interfere with growth;
Dig a shallow planting hole as wide as possible;
Find the point where the top-most root emerges from the trunk;
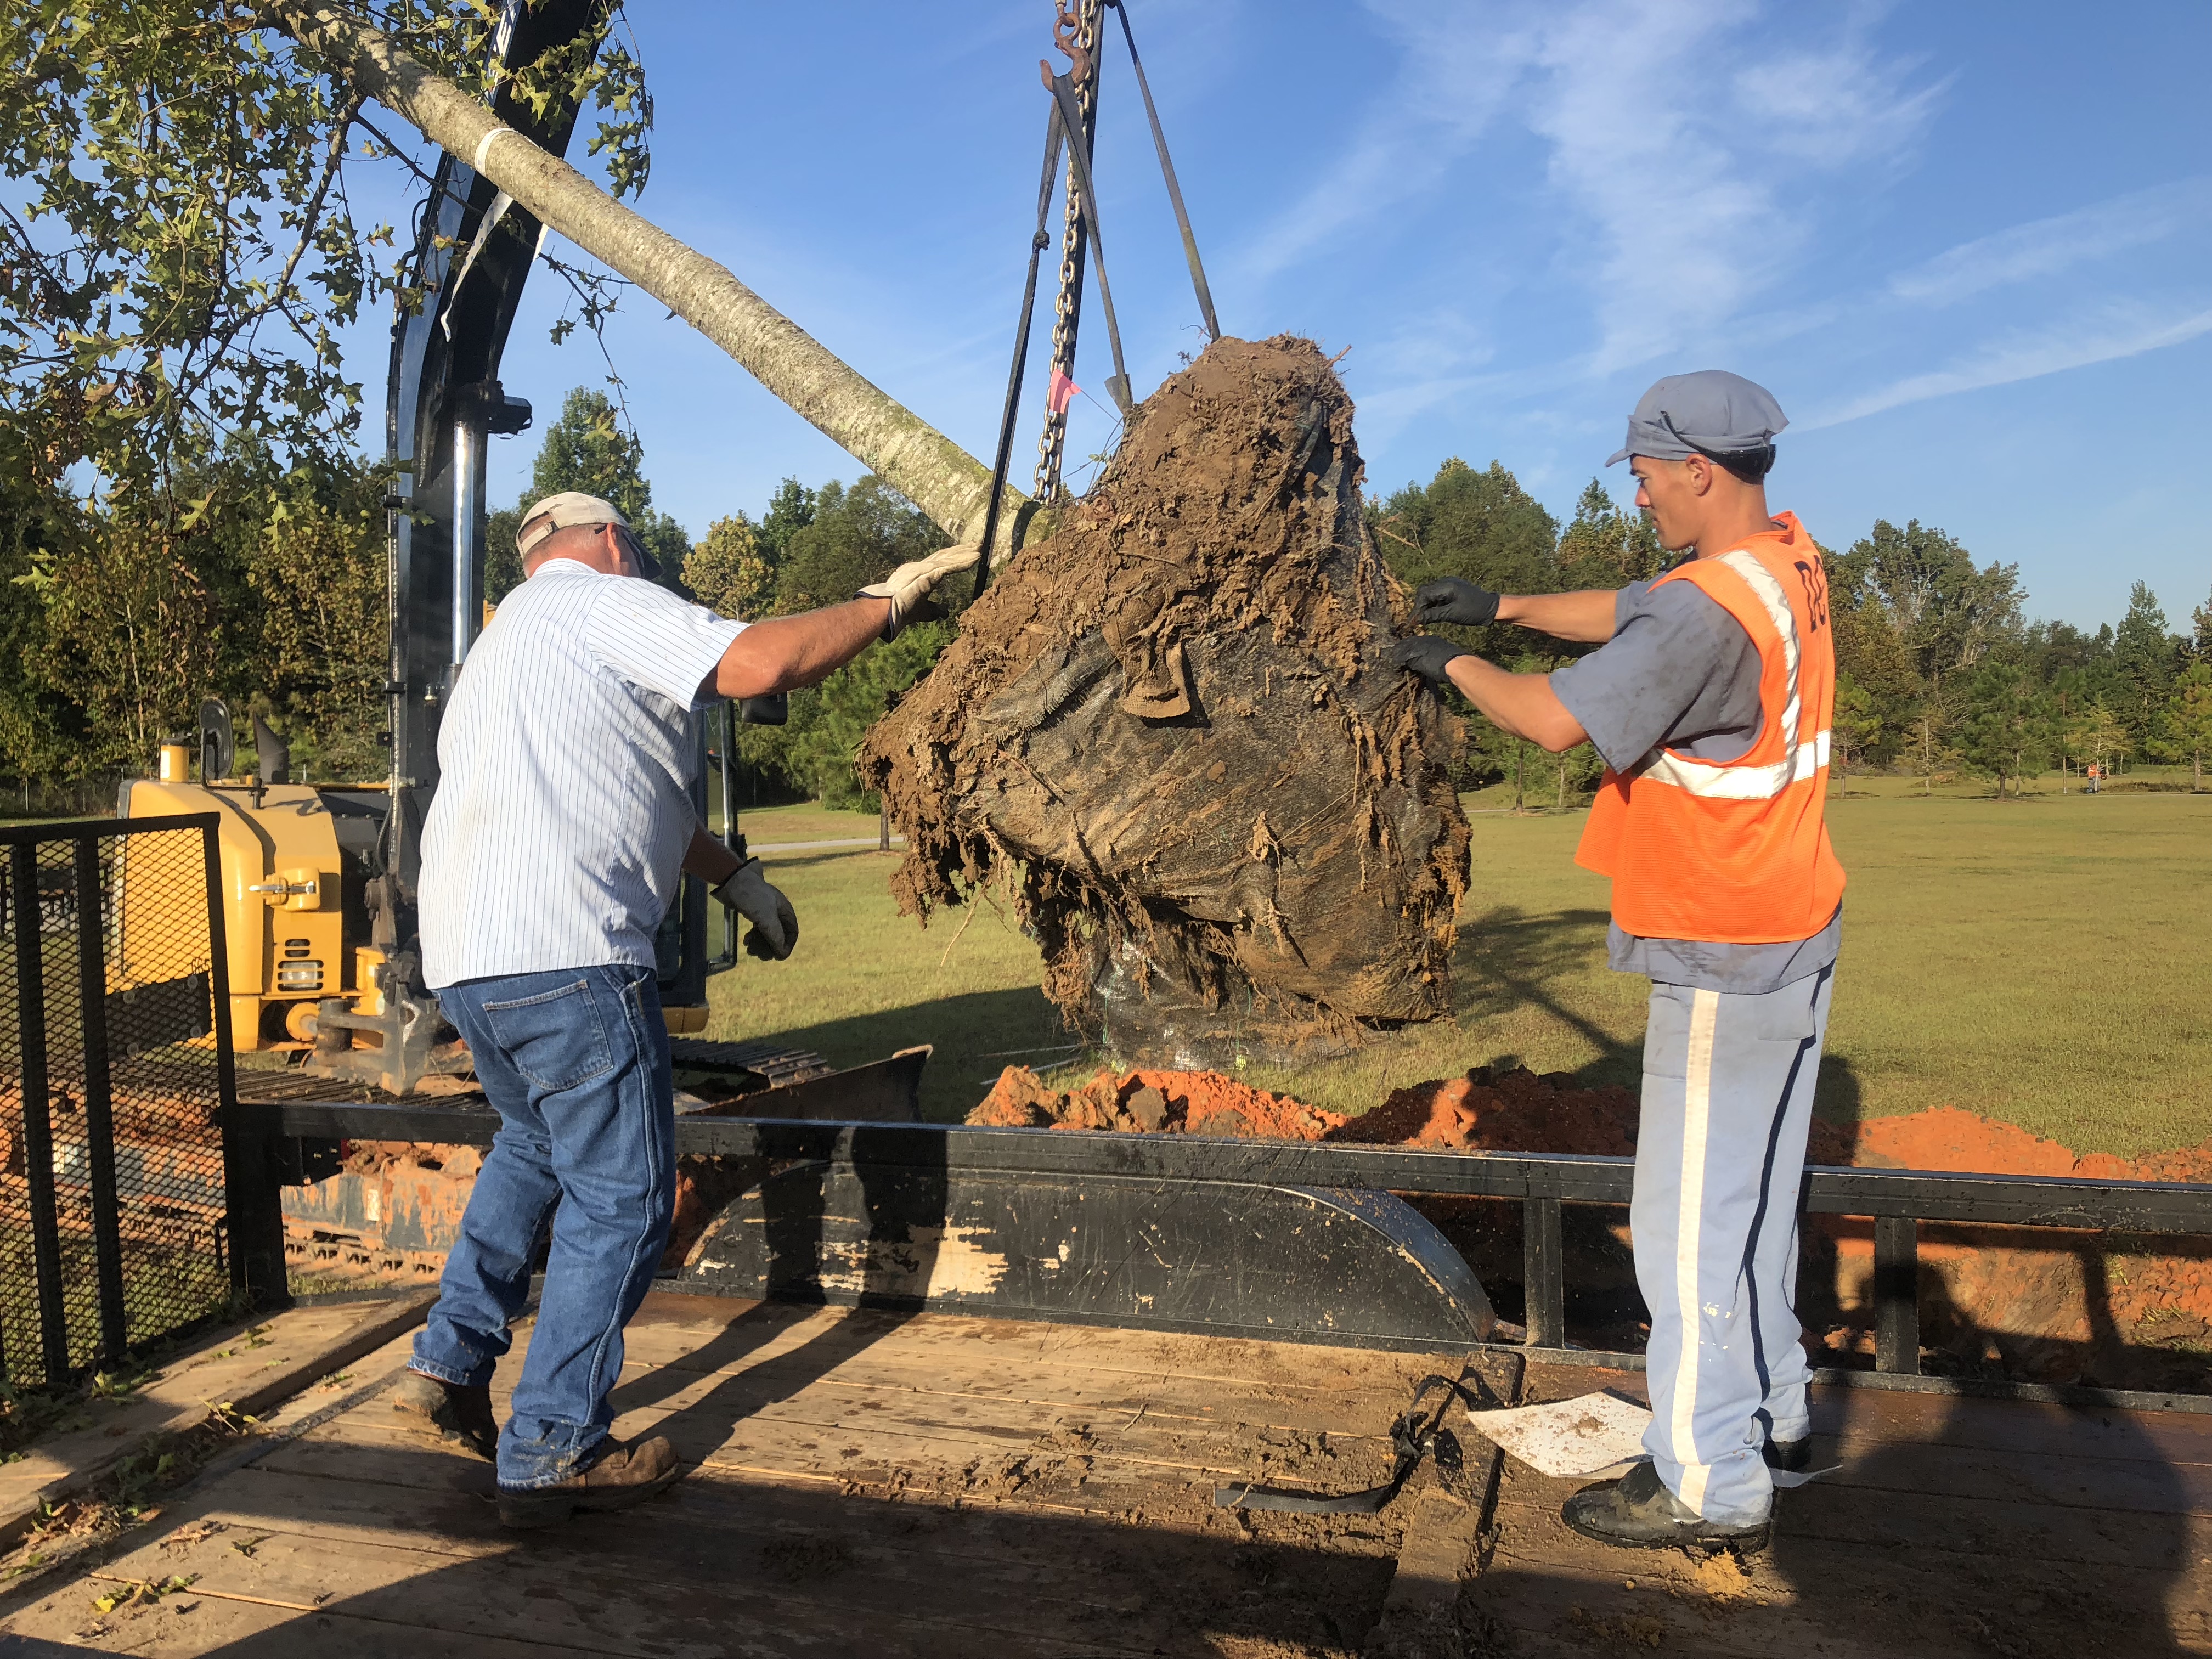
Slide the tree carefully into the planting hole;
Position the point where the top-most root emerges from the trunk slightly above the landscape soil surface;
Straighten the tree in the hole;
Remove synthetic materials from around trunk and root ball;
Slice a shovel down in to the back fill;
Cover the exposed sides of the root ball with mulch and create water retention berm;
Stake the tree if necessary;
Come back to remove hardware.
Digging a properly sized hole for planting a tree. Photo Credit: Matt Lollar, University of Florida/IFAS Extension – Santa Rosa County
Removing synthetic material from the root ball. Photo Credit: Matt Lollar, University of Florida/IFAS Extension – Santa Rosa County
Straightening a tree and adjusting planting height. Photo Credit: Matt Lollar, University of Florida – Santa Rosa County
A very popular landscape shrub installed by both professionals and homeowners is Loropetalum or Chinese fringe. This shrub offers attractive foliage and flowers along with being evergreen.
When you visit a nursery to select this plant for your landscape, realize that there are now many selections of Loropetalum available. Learn about a few of the common selections in this recording of ‘In the Garden’, with UF/ IFAS Extension Escambia County Horticulture Agent Beth Bolles, so that you are successful at matching the appropriate plant with your landscape needs.
It is a common misconception that winter is a time of rest in the landscape, for both plants and people. In the Panhandle, the winter months tend to be rainy and miserable, with wild weather fluctuations in between. These conditions cause folks to think their chores are done until the weather warms up and plants begin to grow again. In reality, winter lays the foundation for the next year of growth! This is because, though most plants are dormant or have at least slowed their growth above ground, their root systems continue to develop through the cold. This “catch-up” time when plants are not growing above ground is the ideal time to plant woody trees and shrubs so they can focus their energy on getting a root system established without having to worry about supporting shoot growth! However, even if you plant at the proper time, several common mistakes can still torpedo your planting efforts. I once worked for a snarky nurseryman who, when new employees would ask how he wanted trees to be planted, would answer, “Green side up, of course.” So, remember to plant green side up and also keep the following in mind when you plant this winter!
Cutting circling roots.
Digging the right hole. The quickest way to resign a plant to failure before even removing it from the container is to dig a bad hole. In order to facilitate ideal root development and allow the plant to establish as rapidly as possible, the planting hole should be 2-3 times the diameter of the rootball. The easiest way to measure this is to set the plant were you want it and begin digging the hole around it; this step allows you to visualize the size of the hole. Most holes that are “eyeballed” are not wide enough. A little extra digging in the beginning can make a lot of difference later. In addition, the planting hole should be, at minimum, the same depth as the rootball. In a perfect scenario, after planting, the top of the rootball should be a half an inch to an inch higher than the surrounding soil to accommodate for settling of the soil underneath the rootball. This prevents the plant from sitting in a depression that water could pool in, leading to disease issues. It can be hard to believe, but simply digging a proper hole helps ensure plant establishment and enables long-term survival!
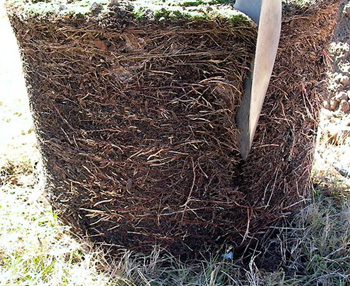
Preventing Circling Roots. Often, plants are constrained in a container that is a little too small for a little too long on the floor of a nursery. When this situation occurs, the roots of the plant do not stop growing once they reach the “wall” of the container, but rather keep going in a circular pattern around the edge of the pot. This is a problem because, if not corrected, the roots will continue this growth pattern once in the ground, eventually strangling the plant. However, this problem is easily corrected by severing the circling roots. This is where gardeners often get squeamish however. It is time to check your plant conscience at the door and know the plant will thank you later! I like to make vertical slices, evenly spaced, around the rootball. These slices should cut about an inch into the rootball to ensure both superficial and unseen circling roots are cut; this somewhat brutal task can be accomplished with a sharp shovel, machete, or even a heavy-duty pair of pruners. At every cut, the previously circling root will branch, creating a nice web of new roots that will serve as anchors for the fledgling plant.
Backfilling Correctly. The single most asked question involving plants trees and shrubs is, “Should I backfill the hole with compost?” The single most common answer I give in return is, “Absolutely not.” Although it seems counterintuitive, it is almost never a good idea to backfill with a soil that is not your native soil. There is a simple reason for this. If a tree were planted in a hole that is backfilled with rich soil and is surrounded by our infertile, native Florida sands, why would it ever want to leave that hole? Turns out, it does not want to leave that easy environment because it has all the nutrients it needs right there, which is a problem. What happens when a drought, hurricane, or other stress event comes calling? The plant will not have a wide-spreading root system for support and will suffer from lack of water or lodging from high winds. By backfilling with your native soil, you encourage the plant’s roots to grow out and seek water and nutrients.
As you can see, there is a little more to planting than “green side up.” But, if you plant at the right time, dig the right hole, prevent circling roots, and backfill with your native soil, you will have set your newly bought tree or shrub up for success and will be able to enjoy it for many years to come! For more information on planting and other horticultural topics, contact your local UF/IFAS Extension office and as always, happy gardening!


 Backfilling Correctly. The single most asked question involving plants trees and shrubs is, “Should I backfill the hole with compost?” The single most common answer I give in return is, “Absolutely not.” Although it seems counterintuitive, it is almost never a good idea to backfill with a soil that is not your native soil. There is a simple reason for this. If a tree were planted in a hole that is backfilled with rich soil and is surrounded by our infertile, native Florida sands, why would it ever want to leave that hole? Turns out, it does not want to leave that easy environment because it has all the nutrients it needs right there, which is a problem. What happens when a drought, hurricane, or other stress event comes calling? The plant will not have a wide-spreading root system for support and will suffer from lack of water or lodging from high winds. By backfilling with your native soil, you encourage the plant’s roots to grow out and seek water and nutrients.