The last several weeks have brought consistently cool weather to the Panhandle, with a few downright cold nights dipping well below freezing. Though winter isn’t officially here, that won’t happen until December 21st, grass mowing season is definitely over and, if you’re like me and didn’t cover your raised bed garden on those nippy nights, vegetable growing has also slowed significantly. So, what are us horticulturally minded folks with cold-weather cabin fever to do? It’s time to take advantage of sweat-free temperatures, break out the shovels and pruners, and get to work in the landscape!
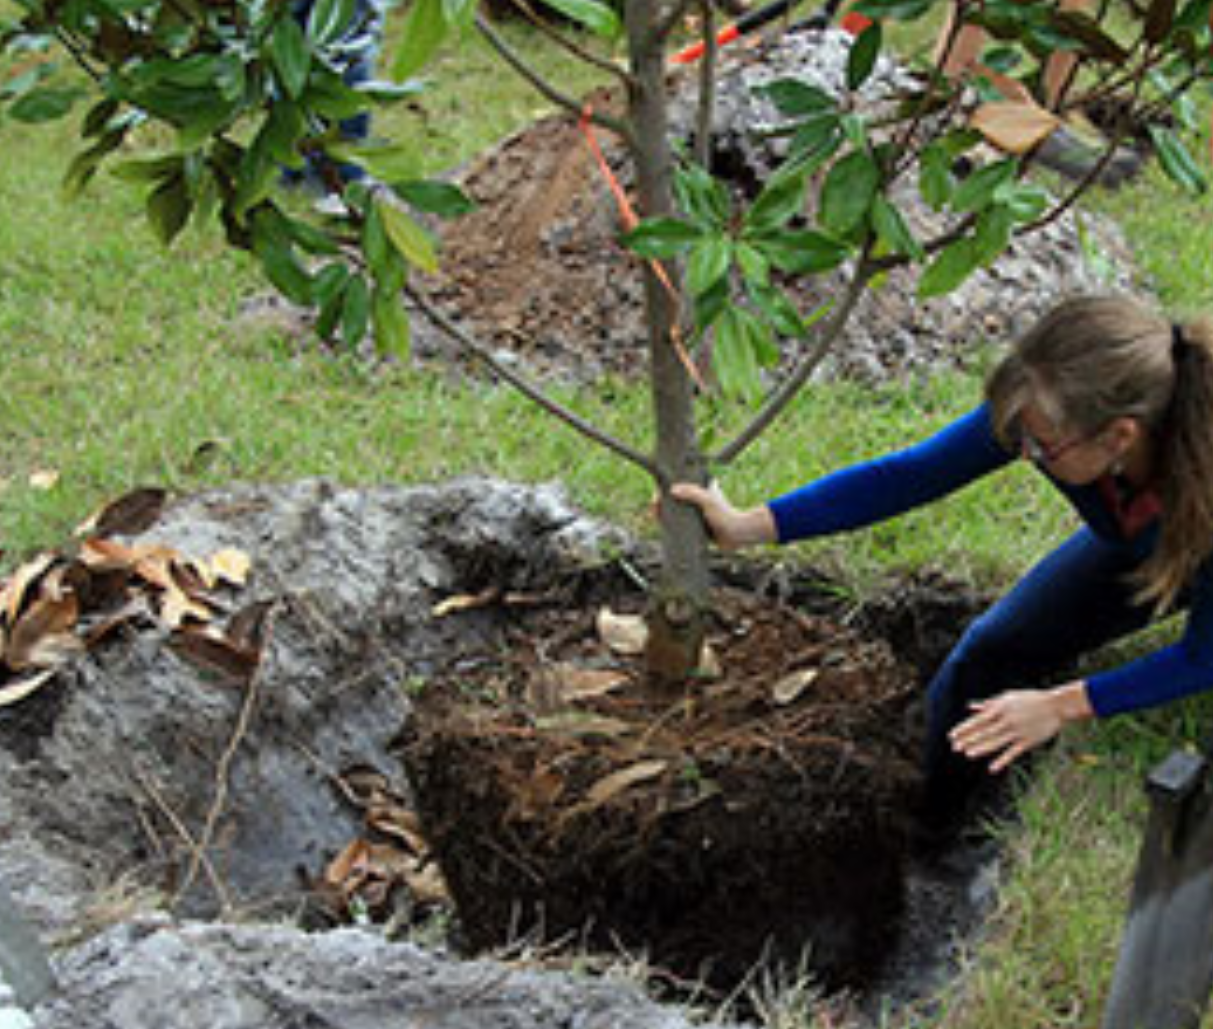
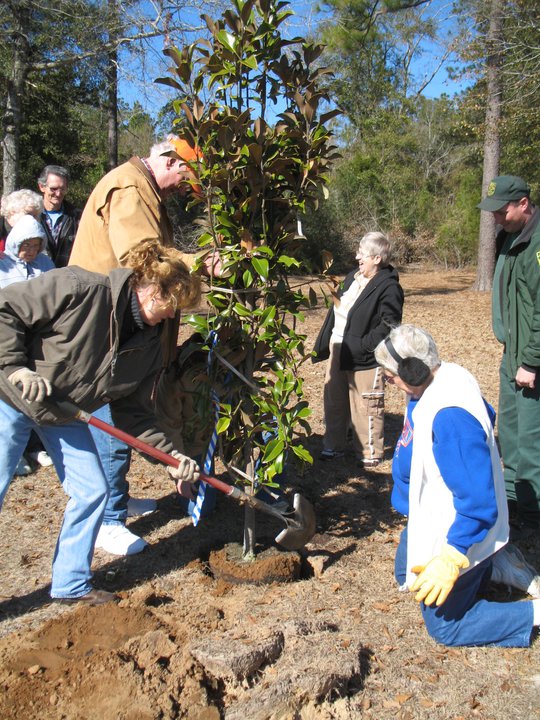
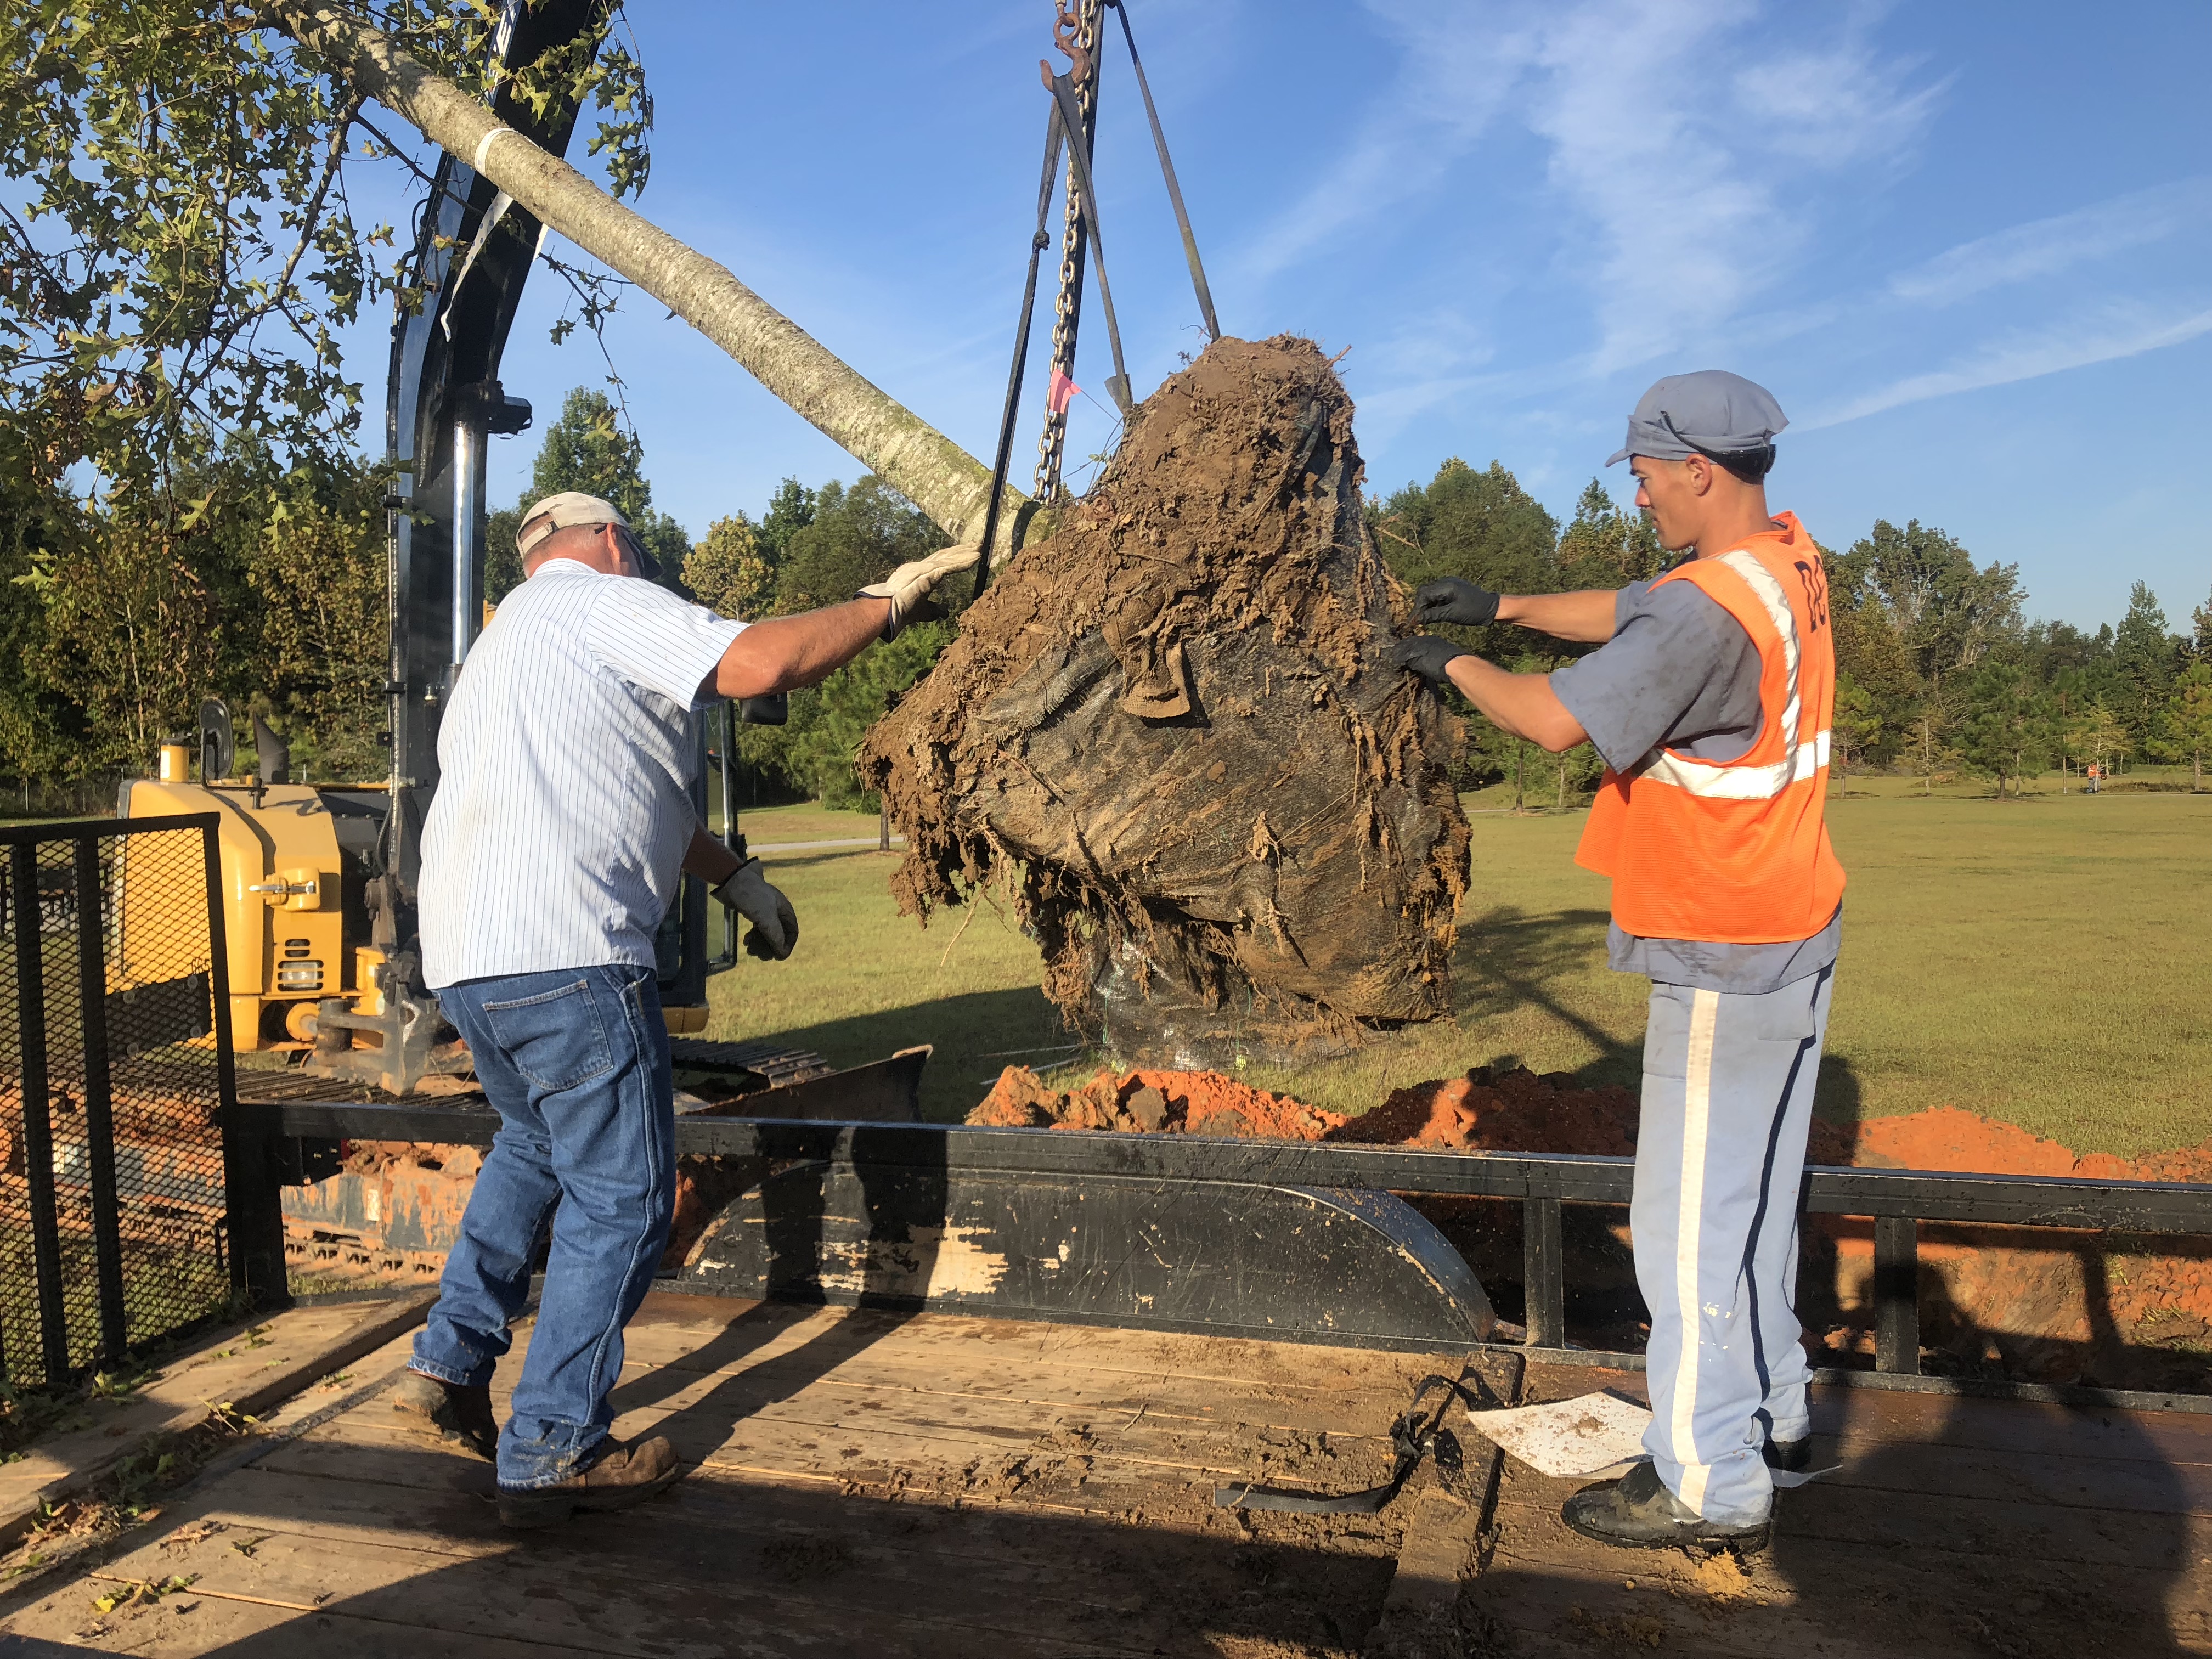
Master Gardeners demonstrate correct tree planting techniques.
The months of December through February are ideal times for planting new trees and shrubs. The reasons for this are simple. Days are short, rain tends to be plentiful, temperatures are cool, and plants are mostly dormant. While newly installed plants need water to become established regardless of when they are planted, demand for supplemental irrigation is significantly less in winter (one of our rainiest seasons) and the chances of a new planting dying from thirst is slim relative to warmer months. Also, planting in winter gives trees and shrubs several months of above ground dormancy to focus their resources below ground, recover from the shock of transitioning from a nursery container into your native soil, and produce valuable roots that will help it get through its first summer. Think about it. Would it be easier for you to start and finish a major outdoor project in July with one bottle of water to drink or in December with an ice chest full? Plants prefer the same!
Not only is winter perfect for planting, tis the season for pruning many species too, deciduous trees (those that lose their leaves in the fall) in particular! The first reason to prune these species in the winter is to give the plants several months to begin healing before growth resumes in spring and insect and disease pressure ramps up again. Many serious pests and diseases of trees are most active during warm, wet weather and all of them have easier access to attack trees through open wounds. Prune in winter to help avoid unwanted pest and disease infestations. Also, dormancy has conveniently knocked the leaves off deciduous species’ branches, allowing us a clear view of the tree’s crown and giving us the ability to make clear, clean, strategic pruning cuts. Proper pruning can help maintain a strong central leader that produces a stately, straight tree and remove dead and diseased branches that could cause problems in the future.
While planting in the winter is always ideal and we just outlined several reasons pruning now can be good, not all plants should be pruned when dormant. For instance, old-fashioned hydrangeas and azaleas that produce blooms from the previous season’s growth. Pruning these in the winter removes all the flower buds that would have bloomed the next summer and what’s the point of an azalea or hydrangea that doesn’t bloom? Also, many small trees and shrubs, like Crape Myrtle and Vitex, may never need pruning if you site them where they will have room to mature without encroaching on other plants or structures.
If you have any questions about planting trees and shrubs, what, when, and how to prune, or any other horticultural topic, please contact your local UF/IFAS Extension Office! Enjoy the weather and happy gardening!
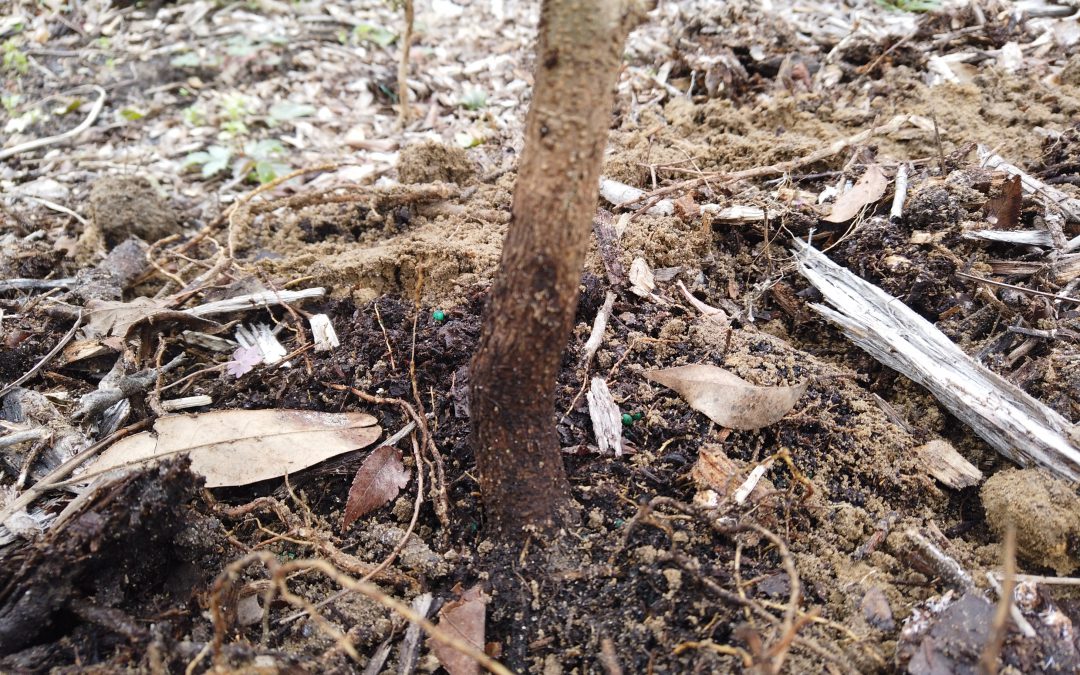
If you plan to purchase a container tree or shrub this cool season, it is important to follow a few important steps during installation. UF IFAS Extension Escambia County shows you how to find the root flare and remove excess soil above the root flare. These are a couple of steps that will help ensure your plant has a good chance at thriving in the landscape. #plantingdepth#treeinstallation
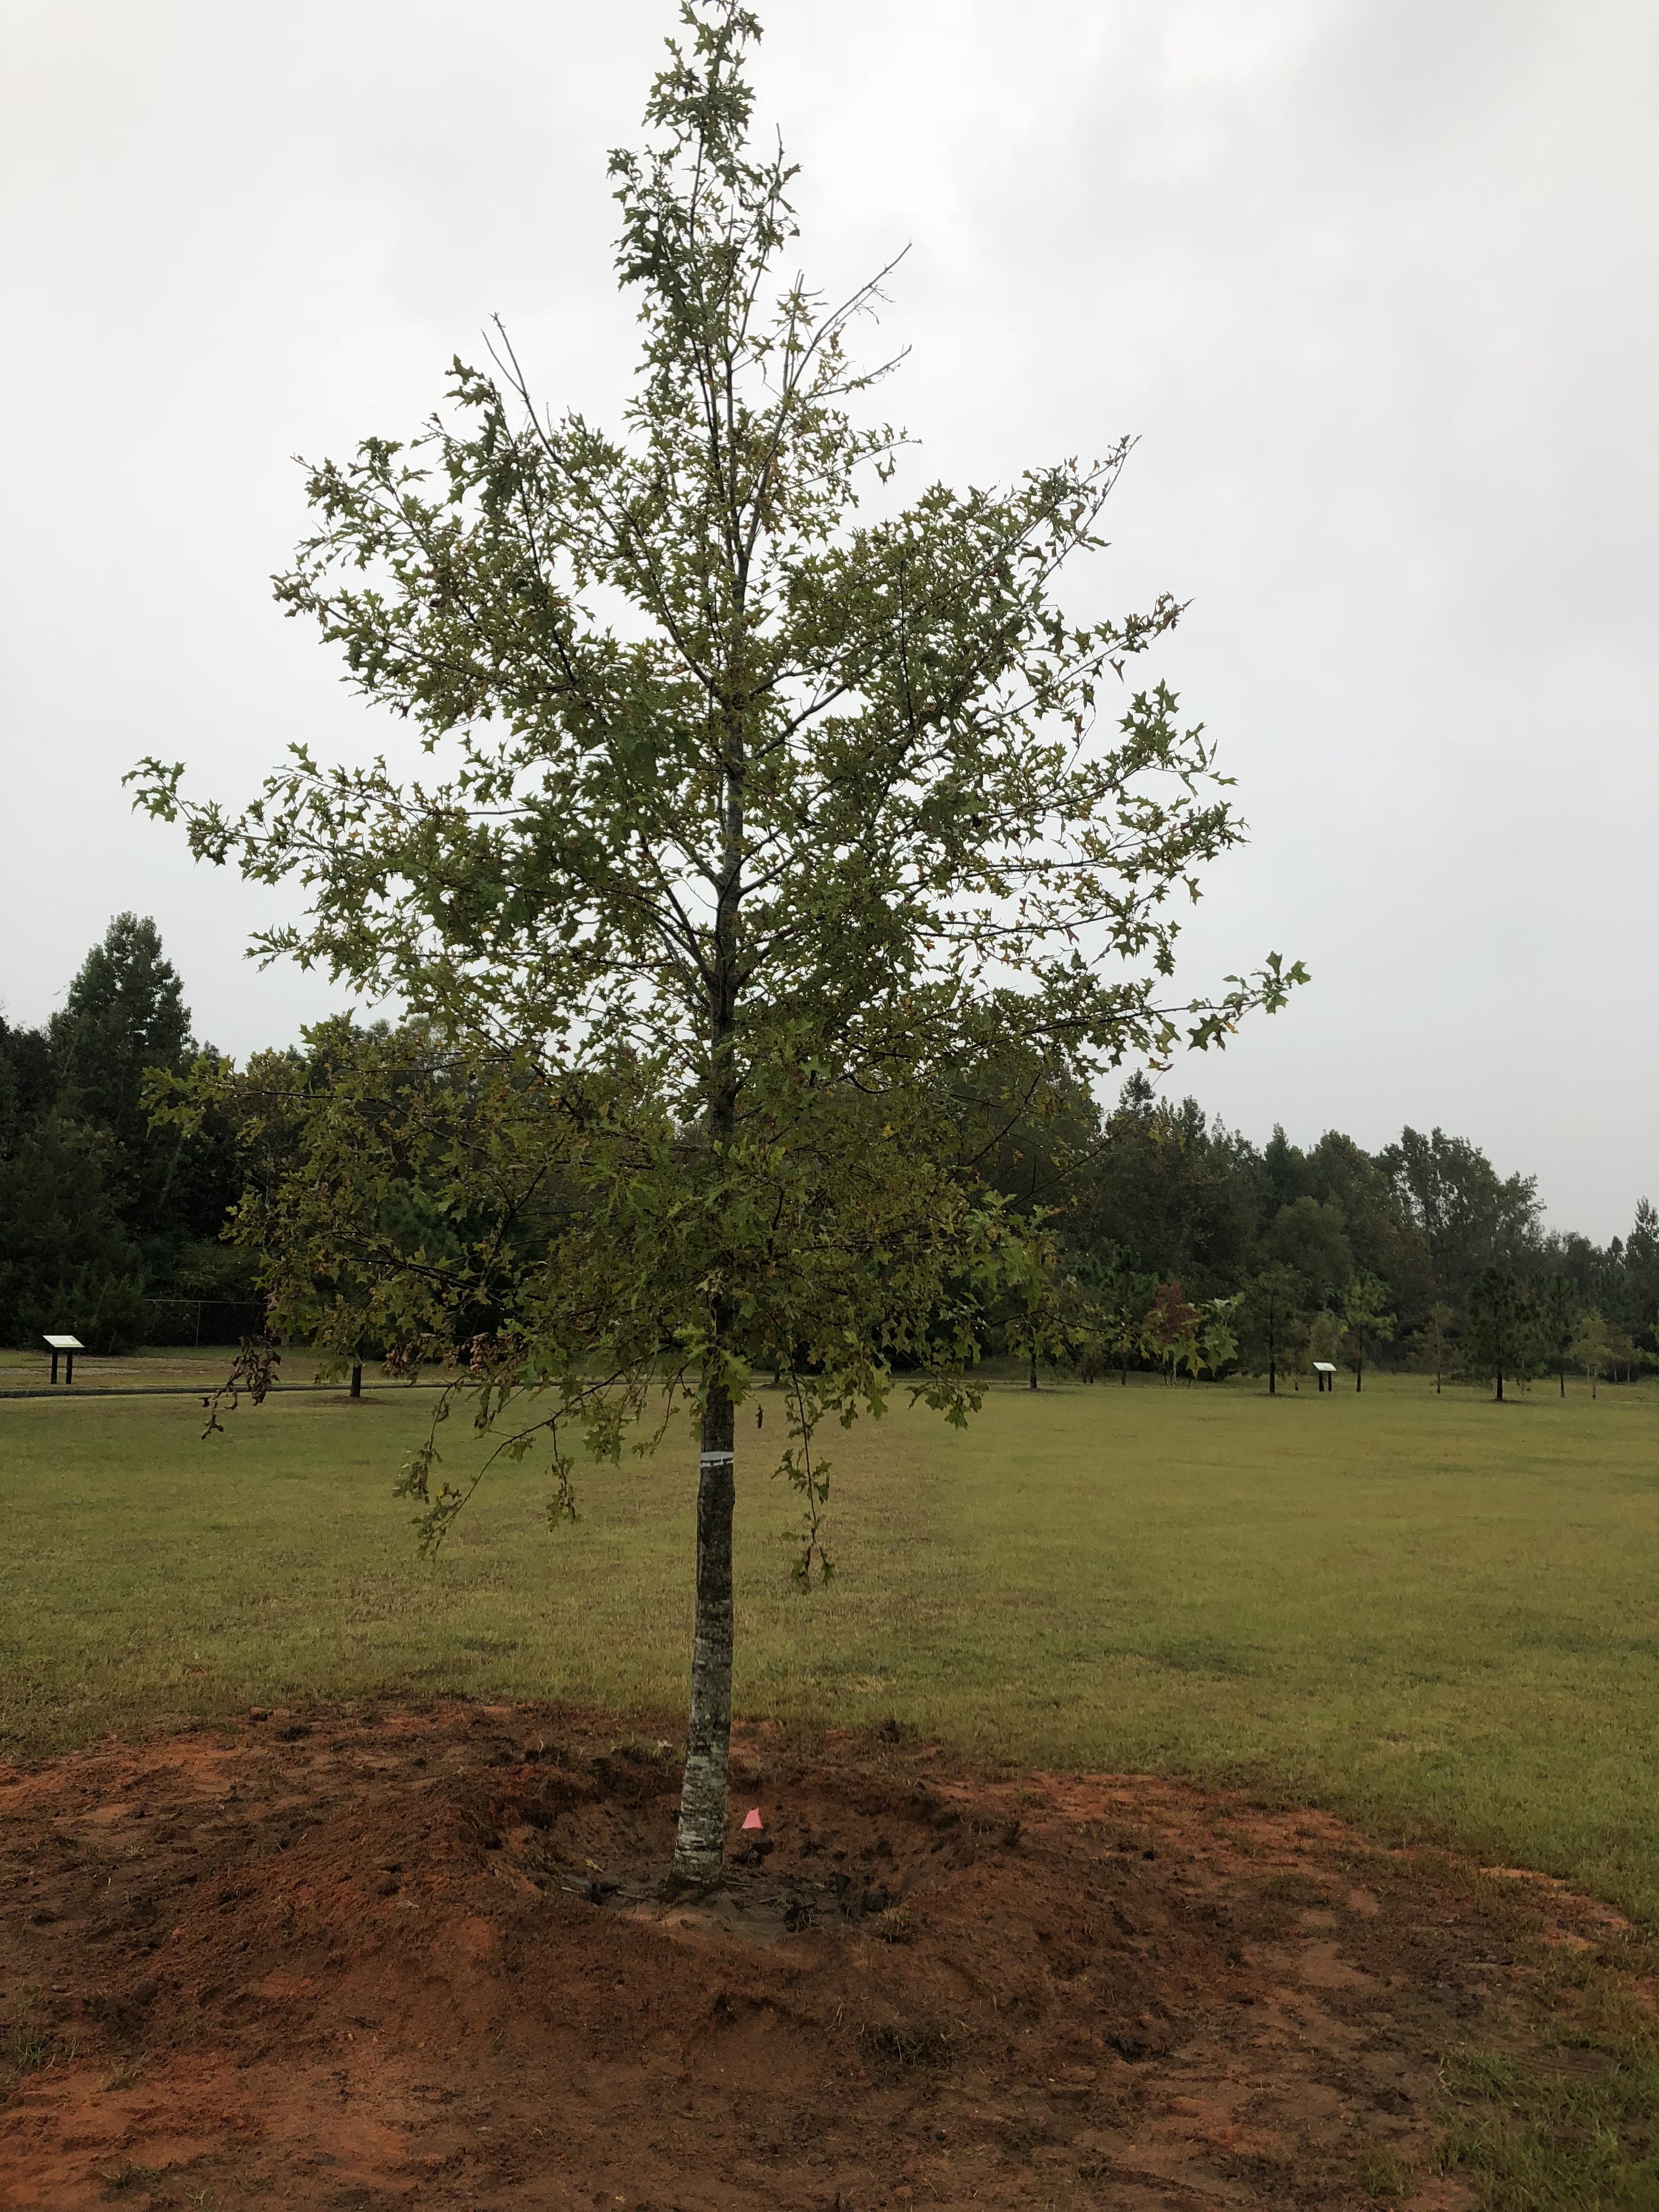
A planted tree with water retention berm. Photo Credit: Matt Lollar, University of Florida/IFAS Extension – Santa Rosa County
Often, Extension agents are tasked with evaluation of unhealthy plants in the landscape. They diagnose all sorts of plant problems including those caused by disease infection, insect infiltration, or improper culture.
When evaluating trees, one problem that often comes to the surface is improper tree installation. Although poorly installed trees may survive for 10 or 15 years after planting, they rarely thrive and often experience a slow death.
Fall/winter is an excellent time to plant a tree in Florida. Here are 11 easy steps to follow for proper tree installation:
Look around and up for wire, light poles, and buildings that may interfere with growth;
Dig a shallow planting hole as wide as possible;
Find the point where the top-most root emerges from the trunk;
Slide the tree carefully into the planting hole;
Position the point where the top-most root emerges from the trunk slightly above the landscape soil surface;
Straighten the tree in the hole;
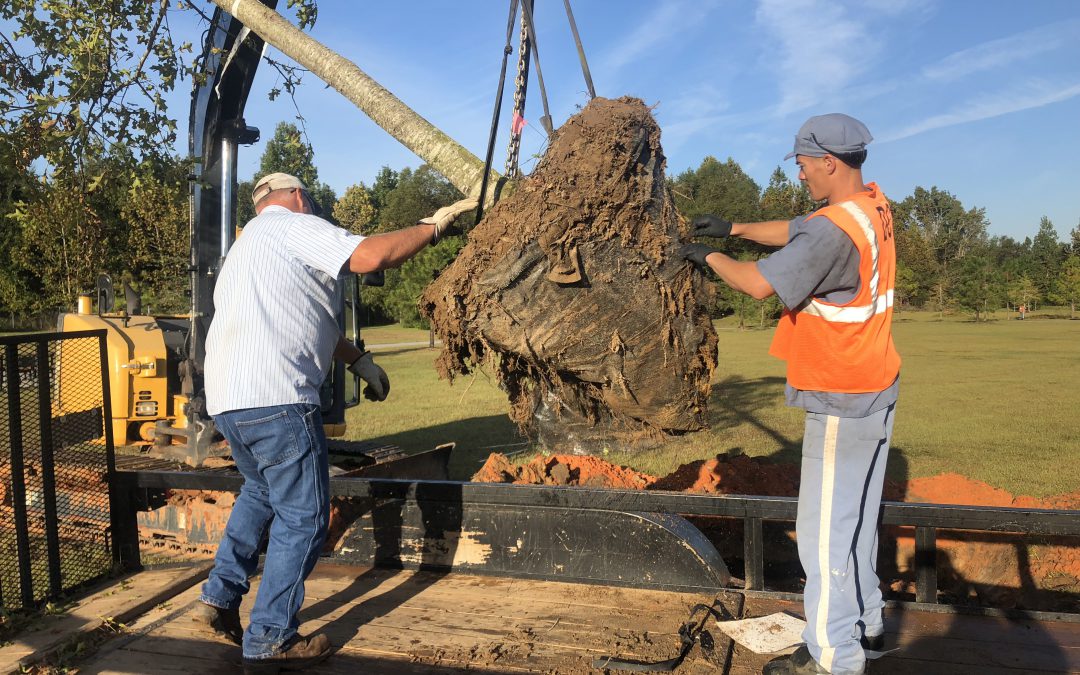
Remove synthetic materials from around trunk and root ball;
Slice a shovel down in to the back fill;
Cover the exposed sides of the root ball with mulch and create water retention berm;
Stake the tree if necessary;
Come back to remove hardware.
Digging a properly sized hole for planting a tree. Photo Credit: Matt Lollar, University of Florida/IFAS Extension – Santa Rosa County
Removing synthetic material from the root ball. Photo Credit: Matt Lollar, University of Florida/IFAS Extension – Santa Rosa County
Straightening a tree and adjusting planting height. Photo Credit: Matt Lollar, University of Florida – Santa Rosa County
Daniel Leonard, Horticulture Agent at UF/IFAS Extension Calhoun County, answers commonly asked questions about raised bed gardening. In the video he discusses construction materials, the type of soil to use, fertilization, crop rotation, cover crops, and smaller container gardens.
Whether it’s the warm or cool season of the year, vegetable gardening is as popular activity as any. In writing articles, I usually discuss best management practices on a backyard garden scale. But, what if you don’t have much of a backyard?
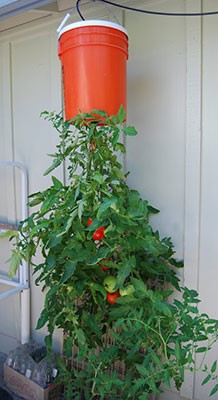
Many Floridians live in apartments, condominiums, mobile home parks, or simply homes built on small parcel lots with little open gardening space. This doesn’t mean you can’t grow vegetables. You just have to be a bit creative and that’s when the fun starts. In addition to being an enjoyable activity, mini vegetable gardening can be practical and ornamental. Containers can fit almost anywhere in the landscape, such as porches, balconies, roof tops and that spot on your property where nothing seems to fit.
There’s practically no limit to the kinds of containers one can use for mini vegetable gardening. Some examples are pots and pans, milk jugs, hollow concrete blocks, bushel baskets, trash cans, barrels, buckets and even plastics bags and “to go” food containers. As long as the container will hold soil and let excess water drain, you’re good to garden.
So, what can I use as a growing medium? Traditional garden soil will work fine. Mixing garden soil 1:1 with mushroom compost is also acceptable. Adding lightweight components to the soil mixture such as perlite or vermiculite will make it easier if you need move the container from time to time. This will also help with drainage. Sprinkling a handful of 6-6-6 or 8-8-8 fertilizer and gardening lime into the mixture will give plants much needed nutrients for development.
This growing medium will not require fertilizer applications very often. A small amount every two to three weeks should be adequate for most vegetable plants. Whether the fertilizer you choose is solution or dry form, be sure to use small amounts and water the product thoroughly into the root zone. A heavy application of fertilizer may cause plant burn.
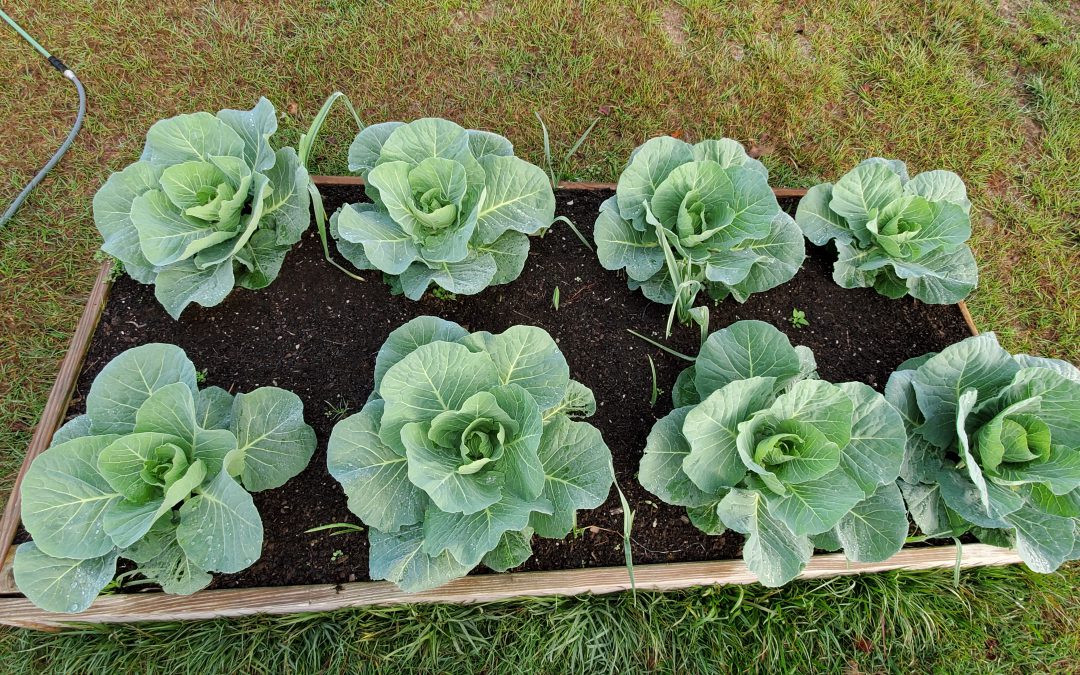
So what vegetable crops grow best in containers? Most any crop will do well in containers. Some examples are tomato, pepper, eggplant, collard, cabbage, turnip, mustard, strawberry, broccoli, cauliflower and many herbs. Container gardening is a fun and rewarding hobby. You’ll enjoy both the activity and the delicious produce you’ve grown.
For more information contact your local county extension office.
Supporting information for this article was provided by Extension’s Emeritus Vegetable Specialist Jim Stephens of UF/IFAS Extension. More information can be found at this website: http://gardeningsolutions.ifas.ufl.edu/plants/edibles/vegetables/growing-vegetables-in-containers.html
UF/IFAS Extension is an Equal Opportunity Institution.