by Carrie Stevenson | Oct 28, 2015
Dirt, earth, humus, terra firma, soil—no matter what you call it, the ground below us is one of the most important substances on, well, Earth. As children, most of us stomped in mud puddles, dug holes, and played in sand boxes—the tactile experience of moving dirt around seems to appeal to humans innately. Just last weekend a local charity raised thousands of dollars by setting up an obstacle course for adults (and kids) called the “Mud Run,” with participants exiting the race completely covered in mud.

Kids have an innate appreciation for soil! Photo credit: Carrie Stevenson
Despite how much fun it can be to play in, the humble soil often gets overlooked. Mixtures of clay, sand, and loam seem less exciting when competing for attention with more charismatic natural phenomena such as colorful flowering plants or powerful top predator animals. Partially because of this status, soil scientists and agronomists declared 2015 the “International Year of Soils” with the goal of educating the general public on soil’s importance.
While most of us don’t think about soil on a regular basis, it is the literal foundation for producing healthy food and much of our clothing, along with fuel sources and many medicinal products. Without the small organisms and insects living in the soil to break things down, everything that ever died could still be slowly decaying on the surface of the earth. Soil is the primary player in recycling and making crucial nutrients such as phosphorus, nitrogen, and potassium available to plants. If you’ve ever tried to grow vegetables in the Panhandle, you know the high sand content and low nutrient levels of many of our native soils leave much to be desired. Gardeners know that a mix of organic materials is necessary to give soil enough structure, water-holding capacity, and nutrient sources to provide plant roots a healthy growing environment.
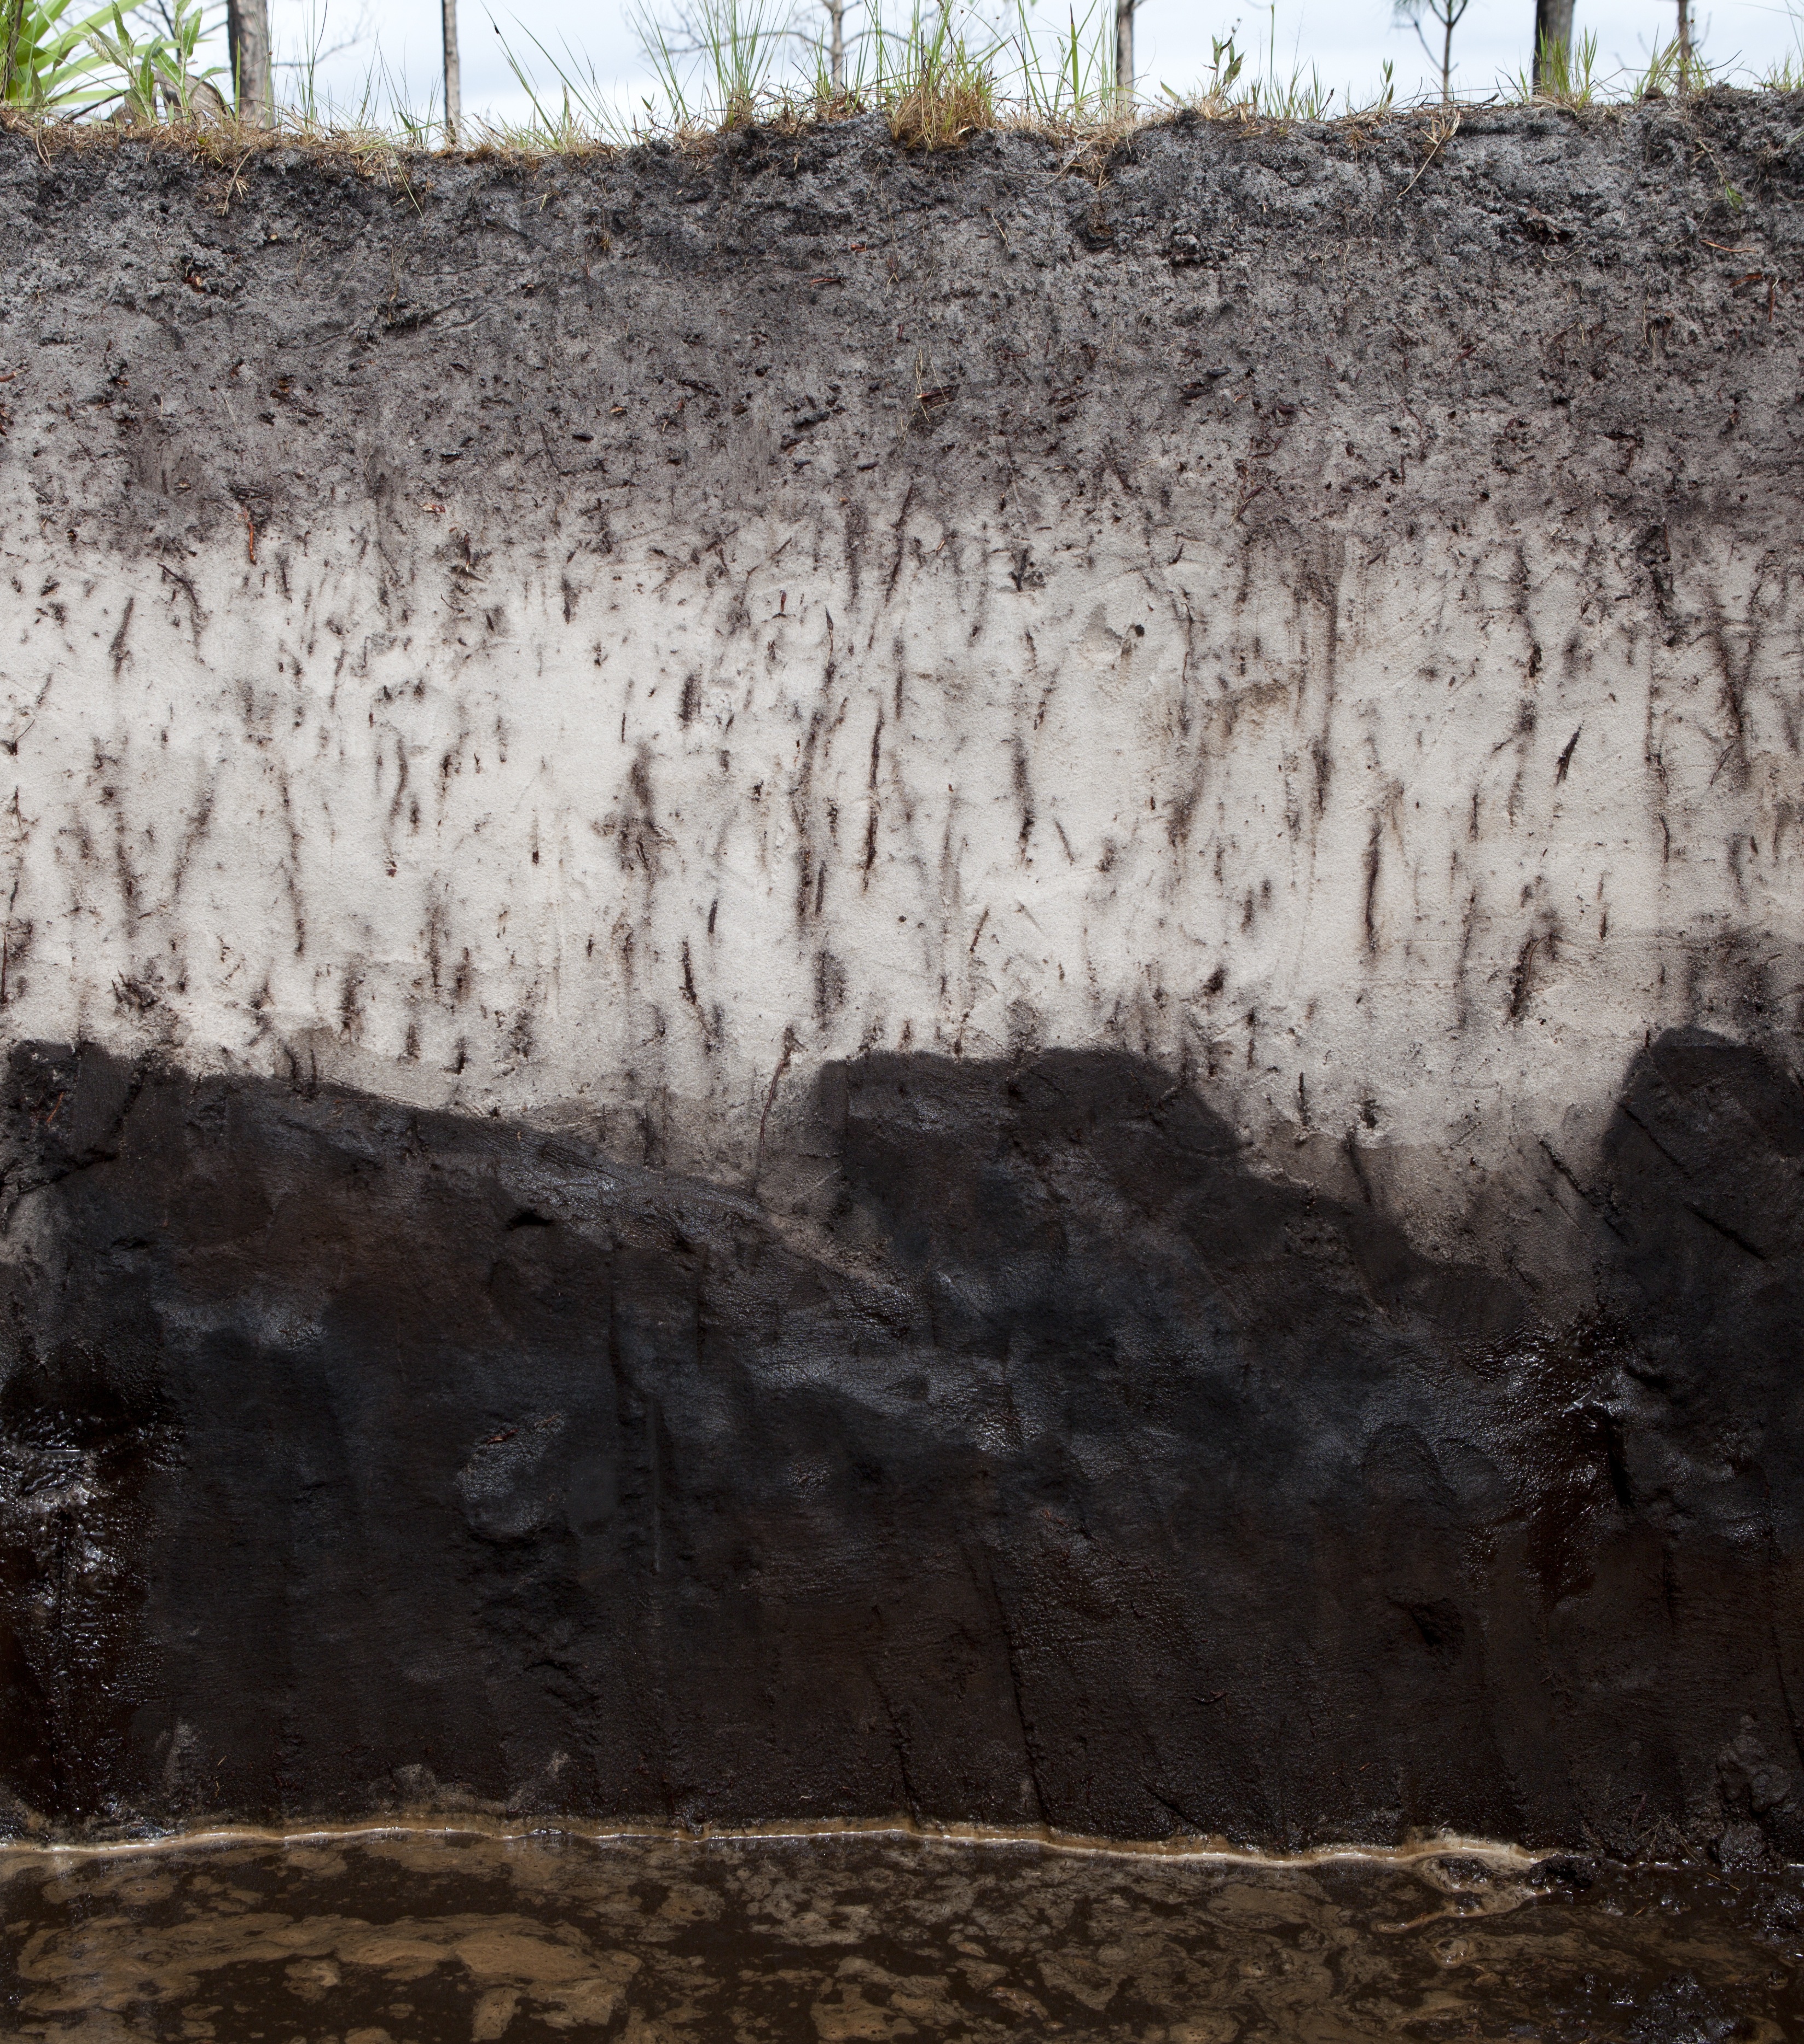
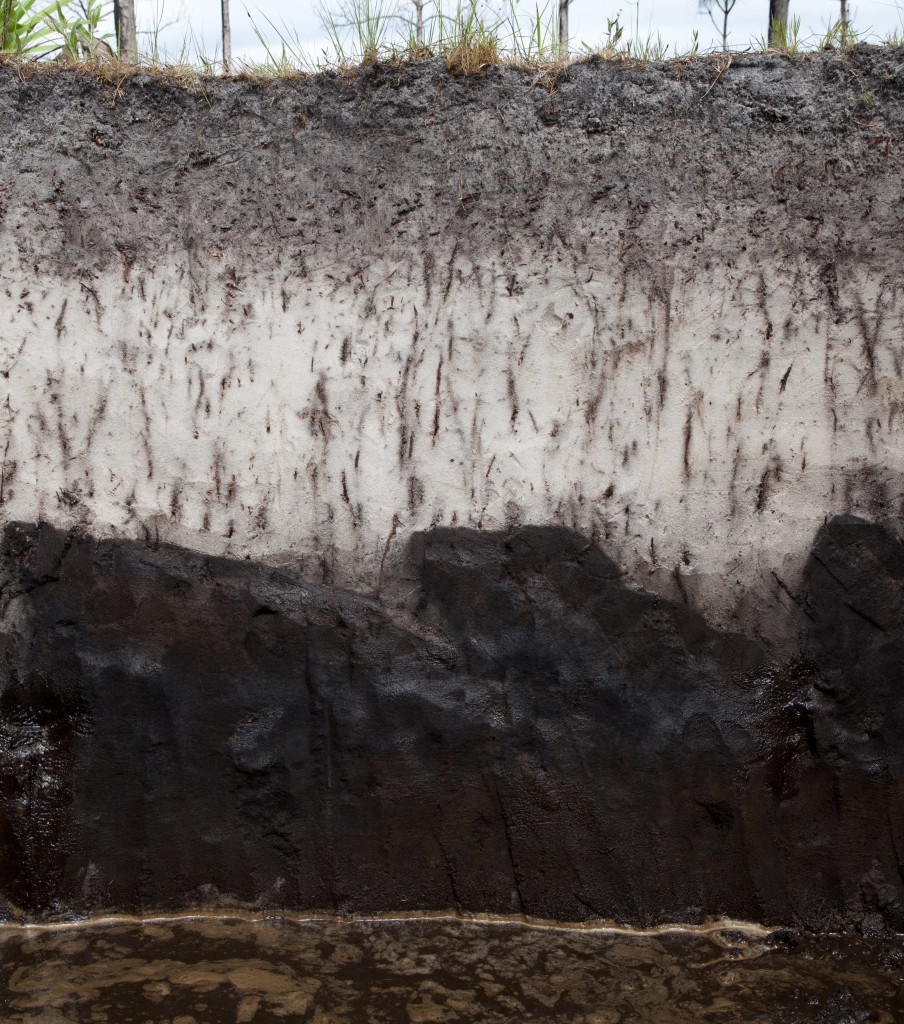
Soil profile. Photo courtesy UF/IFAS.
Soils are crucial to agricultural production, but they also play important environmental roles. On a global scale, soils are a “sink” for carbon and help combat climate change. At the same time, soils help reduce pollution through filtration and store water to recharge our drinking water aquifers. The water absorbed within healthy soils can help protect communities from both drought and flooding.
Pollution and erosion are among the biggest threats to healthy soil, and governmental agencies at all levels devote considerable funds and staff to protecting this life-giving limited natural resource. To learn more about soil and how to test for soil nutrients and pH, talk to your local Extension agent. There are many great online resources devoted to soil science, such as the Natural Resource Conservation Service’s new “Unlock the Secrets in the Soil” campaign, the USDA’s online soil surveys, and the UF IFAS Soil & Water Science Department newsletter, “Myakka.”
by Taylor Vandiver | Jan 22, 2015
You’re digging up a ridiculously stubborn patch of Florida betony when an earthworm crawls across your path. As you break apart the soil in your hands a world of active organisms is being sifted through your fingers. Fertile soil is teeming with beneficial microbes. It is estimated that there can be billions of microbes in a single gram of soil.
Bacteria, fungi, and protozoa are major players in soil microbial processes. They perform a variety of functions beneficial to soil and the plants growing in that soil. Other soil organisms of importance are nematodes, arthropods, and earthworms.
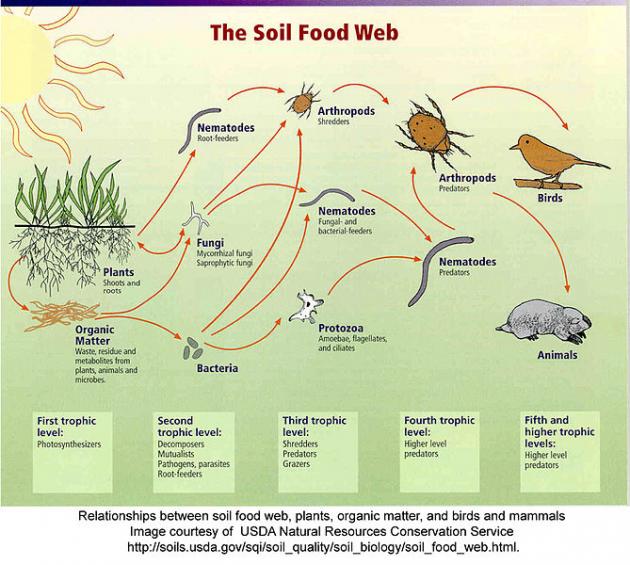
Soil Food Web. Photo courtesy USDA-NRCS.
Rather than being an inert material, soil houses a dynamic living ecosystem. Most soil organisms are too small to be seen, however they are still performing a great service to gardeners in many ways. These organisms are vitally important to improving the health of our soils. They also play a key role in making nutrients available to plants.
Soil organisms are naturally active during certain times of the year. Most are active during late spring and early summer when the soil is warm and moist. If the soil dries out during the summer months, soil organism activity will decline. During fall months, if there is rain or snow that moistens the soil while it is still warm, soil organisms may resume partial activity. As the soil cools in the fall, many organisms go dormant. It is important for gardeners to note that soil organisms help breakdown certain fertilizers and during the cool, dry months these fertilizers, if applied, will be less available for plants to take up.
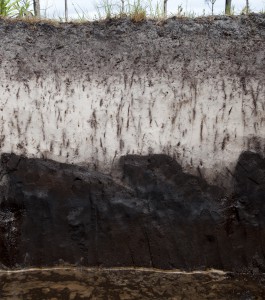
Soil profile. Photo courtesy UF/IFAS.
Soil organisms are generally placed within three categories: organisms that are beneficial to plants, organisms that play a neutral role in plant growth, and organisms that are harmful to plants. Creating a favorable environment for beneficial soil organisms can improve plant growth and reduce garden maintenance. Encouraging their efforts is key to building a healthy fertile soil. Here are some ways you can encourage beneficial organisms in your soil:
- Add organic matter to the soil. Soil organisms require a food source from soil amendments (compost, crop residues) and/or mulch.
- Water effectively. Soil organisms are happiest in an environment that is damp, but not soggy. (Avoid over-irrigation because waterlogged soils will be harmful to beneficial soil organisms)
- Avoid unnecessary tilling, as it can destroy the mycorrhizae and soil structure. Instead of tilling, mulch for weed control.
- Avoid pesticide applications that aren’t necessary. Some fungicides, insecticides and herbicides are harmful to various types of soil organisms.
by Mary Salinas | Dec 16, 2014
This is the time of year when leaves are turning shades of yellow and red and falling from the trees. And this spurs homeowners to get out there with their rakes and rid them from their lawns. This is a good practice as too many leaves will shade out the grass and decrease the quality of the lawn come next spring. So, go ahead and rake them up. However, think about using as many as you can as mulch in other parts of your yard.

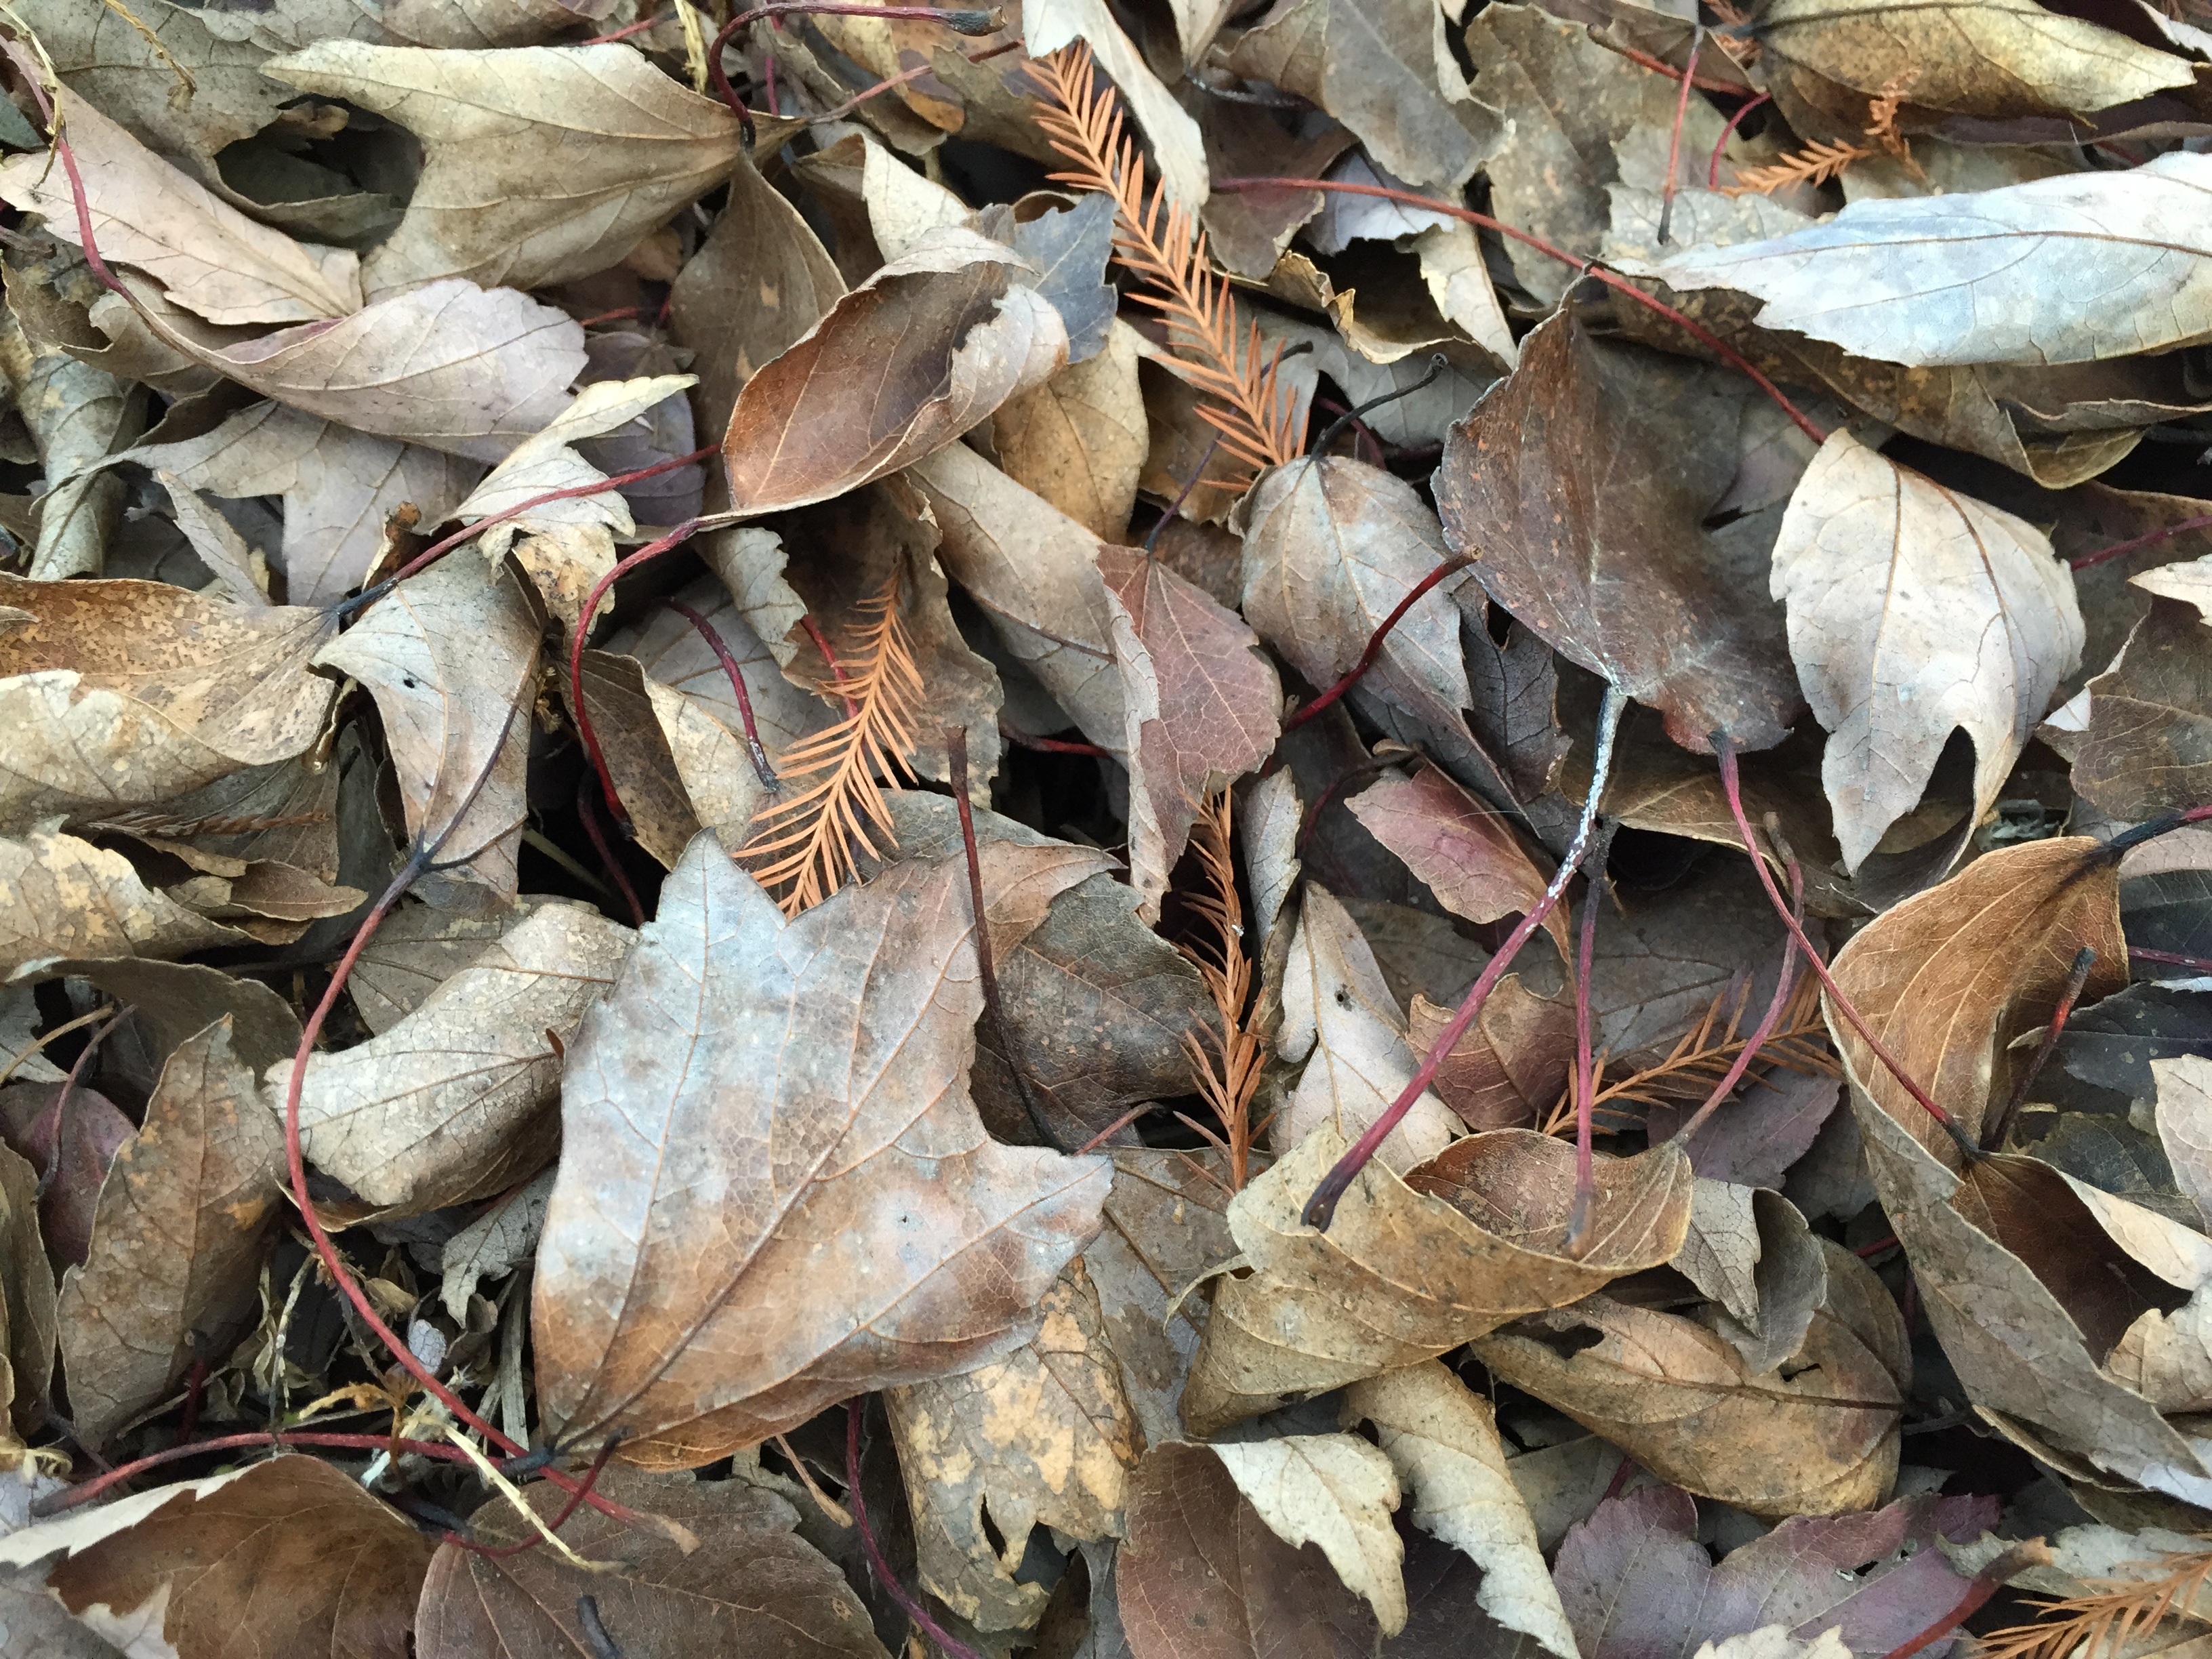
Leaves as mulch. Photo credit: Mary Derrick UF/IFAS Extension.
Leaves can be placed as mulch in landscape beds “as is” or chopped up with your mower or shredder into finer pieces and then spread around perennials, shrubs and trees. When chopped up or shredded, they tend to stay in place much better and don’t blow around when it gets windy. As the leaves break down over time, their nutrients are released and become available; that’s free fertilizer for your landscape plants. Leaves as mulch do have a natural look in the landscape, so if you prefer a more formal or polished look, you can spread a thin one-inch layer of a commercial mulch over the leaves.
Organic mulches (those made from plants) offer many benefits. They add organic matter and improve soil fertility as they decompose, thus reducing the need for added fertilizers. Mulch helps to maintain soil moisture so less frequent irrigation may be needed. Soil-borne disease can also be prevented as the soil does not splash up on the bottom leaves of plants during periods of rain. One of the favored reasons to use mulch is to prevent weeds in your landscape beds. And, of course, mulch is much prettier to look at than bare ground!
So how deep should you apply mulch? University of Florida experts advise a 3 to 4 inch layer of mulch around shrubs and trees. However, keep mulch from setting against the stems and trunks as that can cause moisture and pests to adversely affect them. Place just a thin one-inch layer of mulch over the rootballs of your plants.
Using leaves as mulch recycles a natural resource and saves you money, enriches your soil, fertilizes your plants and keeps them out of the local landfill.
For more information:
Landscape Mulches: What Are The Choices in Florida?
Mulch Recommendations
by Beth Bolles | Jun 23, 2014
In our area of Florida, soils will vary in the amount of nutrients they hold. In general, we think of our soils as nutrient poor because sand is often the highest component. Sandy soils have large pore spaces and the particles themselves do not ‘attract’ many of our nutrients. Therefore needed plant nutrients can leave a sandy soil quickly, especially when rainfall or irrigation is prevalent.
There are areas along the Panhandle that do have more quality soils that have the ability to retain some nutrients. Also, frequent fertilizer or lime applications in home landscapes can create soils with abundance of certain nutrients over time .
One nutrient that may become prevalent in routinely fertilized soils is phosphorus. We know that phosphorus is one of the big three nutrients needed by plants in order to grow and flourish. When we routinely apply phosphorus to garden beds or lawns, it can build up. Phosphorus is a nutrient that does not leave the soil as readily as other nutrients. It binds to other elements to hang around. If we keep adding phosphorus to the soil, even though there is plenty there, problems can occur. One negative impact is the potential for soils with phosphorus to wash away and pollute local water systems.
Phosphorus is absolutely necessary for plant growth. It is needed for the energy transfer which is involved in plant growth functions. Phosphorus is also important for flower and fruit formation, and root growth.

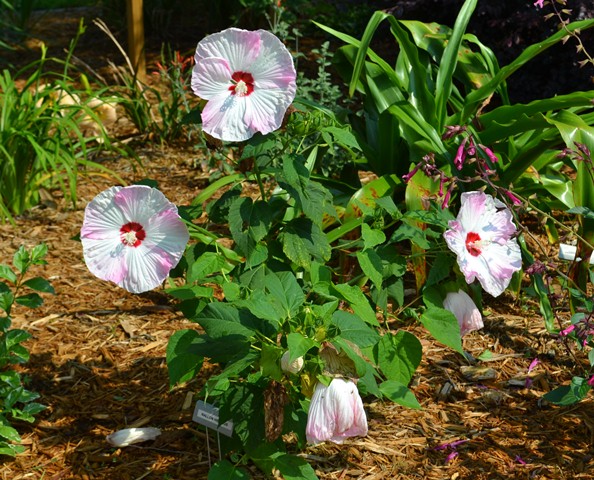
Flowering plants benefit from fertilizer but make sure your soil needs the nutrients before an application. Photo: Beth Bolles, UF IFAS Escambia Extension
There can be too much of a good thing. The key to remember, as with any nutrient, is make sure it is needed before applying it to your soil. Plant growth will not be improved beyond what is normal by adding more of any nutrient. Before you grab the bloom promoter or starter fertilizer with high phosphorus, run a soil test to accurately determine what is really needed in your soil.
by Sheila Dunning | Jun 17, 2014
 The old cliché is “April showers bring May flowers”, but April deluges create weak plants and yellow grass. You were following the UF/IFAS recommendations and waited until April 15th to fertilize. You followed the Urban Turf Rule and applied a low-phosphate fertilizer with slow-release nitrogen. Yet, your grass is yellow and the shrubs haven’t put on any new growth. What happened? The 18” + of rainfall that we experienced at the end of April flushed nearly everything out of the soil, including any fertilizer you applied. Nitrogen and potassium are highly leachable. Phosphorus is also depleted under saturated soil conditions.
If you haven’t submitted a soil test since the storm, now is the time to do so. It’s time to apply a summer fertilizer, but it needs to address all the nutrient deficiencies created from the excess rain. Soil test kits can be obtained from your County Extension office. When you get the results from the University of Florida Lab, it is important to remember the 4 Rs when applying fertilizer. It needs to be the Right Source, applied at the Right Rate, at the Right Time, and over the Right Place.
Best Management Practices (BMPs) have been developed to allow individuals to make conscientious decisions regarding fertilizer selection that will reduce the risk of water contamination. The Right Source for a BMP-compliant fertilizer is one that contains a portion of slow-release (water insoluble) nitrogen with little to no phosphorus, and a potassium level similar to the nitrogen percentage (e.g. 15-0-15, that contains 5% coated nitrogen). However, a soil test is the only way to accurately identify the specific nutrients your landscape is lacking. Many soil tests indicate a need for phosphate and currently it is illegal to apply more than 0.25 pounds per 1,000 sq. ft. without a soil test verifying the need.
Next, the fertilizer must be applied at the Right Rate. In order to do that, you must know the square footage of your property and how much you can spread using the settings on your equipment. Individuals walk at varied speeds and the product recommended rates are based on 1,000 sq.ft. areas. For information on calibrating application equipment refer to  the publication, “How to Calibrate Your Fertilizer Spreader”. Using the 15-0-15 fertilizer mentioned earlier, the Right Rate for one application would be 3 pounds per 1,000 sq.ft.. That 35 pound bag is all that is needed for a nearly 12,000 sq.ft. yard (a large corner lot).
The Right Time for applying fertilizer is when the plants are actively growing and beginning to show nutrient deficiencies. Summer, when rainfall and irrigation is frequent, is often a typical application time. The Right Place is only on living plant areas. Be cautious to avoid getting fertilizer on the sidewalk, driveway and street. A deflector on your spreader is very helpful. Otherwise, be sure to sweep or blow the fertilizer back onto the grass or into the landscape beds. Avoid having fertilizer end up in any water body.