by Blake Thaxton | May 17, 2016
In the last few weeks, more garden pests have arrived! It is a fact of life in northwest Florida that we will have a few things in our garden including heat, moisture (humidity and rainfall), and BUGS! With a cooler spring the arrival of some of the troublesome pests in the garden seemed to be delayed a few weeks. It was nice while it lasted but the insect pests are here to stay until frost in the fall or winter (at least we hope for a frost this year).
There are thousands of insects that you can see in your garden. It’s wise to identify them before making a decision to spray an insecticide or remove them by another method. Insect samples can be taken to your local county extension office for identification.
In this article we will just discuss one of the top insect pests in the vegetable garden, caterpillars, and what you can do about them.

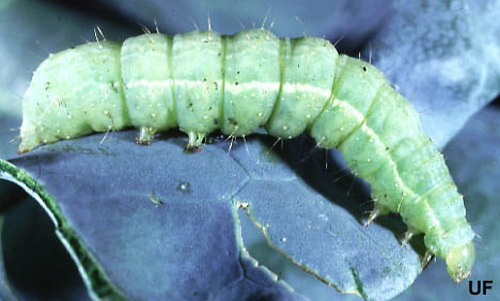
Mature larva of the cabbage looper. Photograph by John L. Capinera, University of Florida.
Beet armyworms, fall armyworms, hornworms, cabbage loopers, southern armyworms, tomato fruitworms, and other caterpillars love to feed on tomato foliage and fruit. They will show up eventually on tomato plants in the garden, if not this year then in the future. These larvae are immature moths and cause a lot of damage if left unchecked. The homeowner can control them effectively with Organic Materials Review Institute (OMRI) approved pesticides. A bacterial biological insecticide called Bacillus thuringiensis, also referred to as B.t., can be very effective in controlling these caterpillar pests. B.t. is a stomach toxin to these pests and will cause them to quit eating and starve to death. The key to using B.t. effectively is to routinely apply it before the caterpillars hatch from their eggs as the smaller caterpillars are easiest to control. Larger caterpillars are more difficult to control.
For more information related to using OMRI pesticides:
Organic Vegetable Gardening in Florida
Insecticides for Organic Commercial & Backyard Vegetable Production
by Molly Jameson | Apr 27, 2016
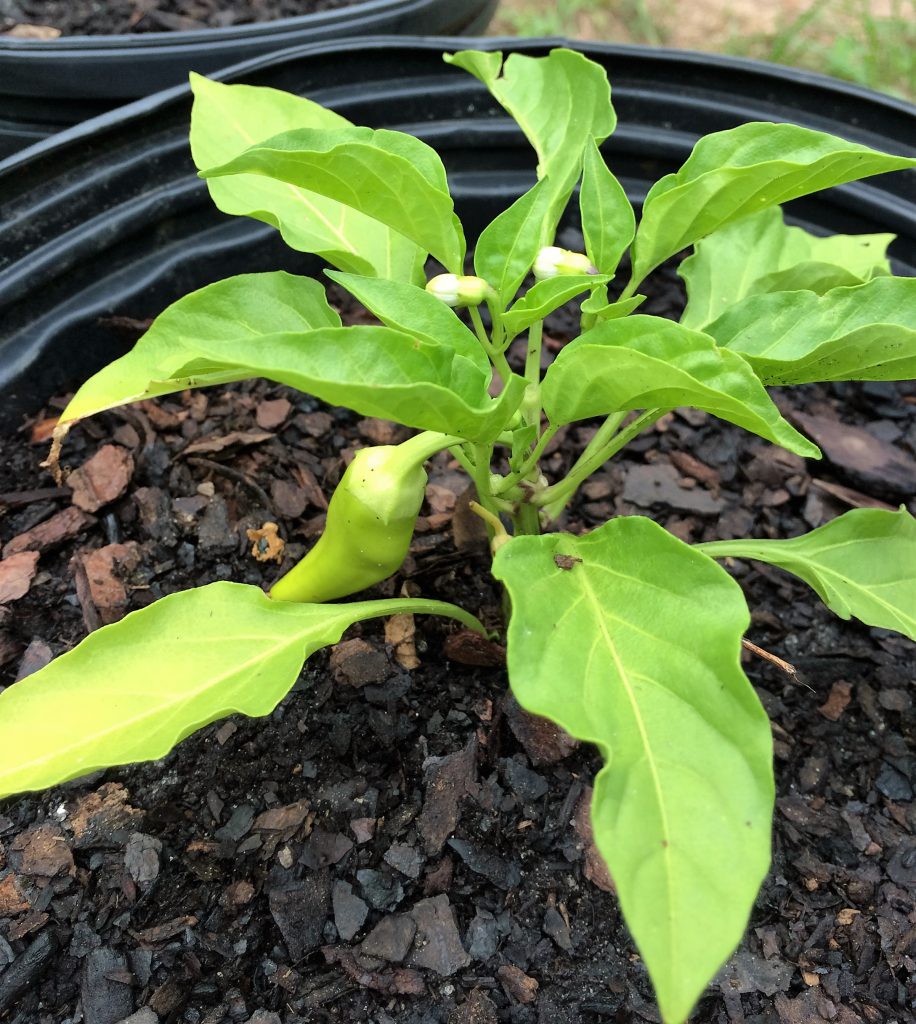
Banana pepper in container. Photo by Molly Jameson.
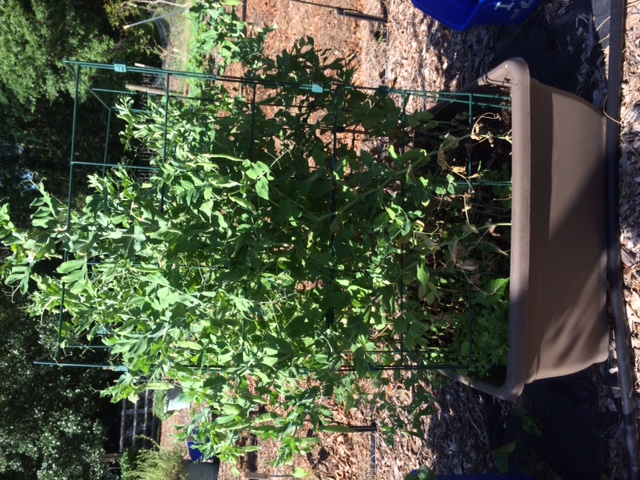
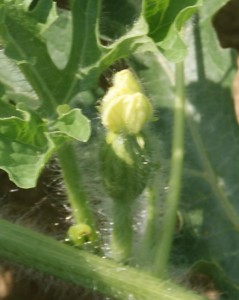
Interested in having a garden, but have limited space? Maybe you live in an apartment, have poor soil quality, or you just don’t have many areas that get enough sunlight. Maybe you’ve tried gardening, but given up, labeling yourself as one of those who “just doesn’t have a green thumb.” Well, I’m here to tell you, don’t give up! Try container gardening. Growing your own vegetables in containers is easy and can be a very rewarding experience. Container gardens also tend to have fewer weed, pest, and disease problems then regular in-ground gardens. Following just a few guidelines, you can have a bountiful harvest of fresh fruits, vegetables, and herbs right by your front (or back) door-step!
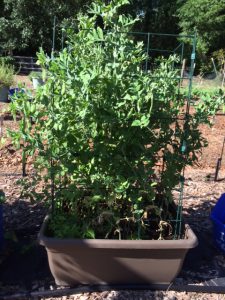
Grow vegetables easily in a large planter. Photo by Molly Jameson.
So, what are these guidelines, you ask? Well, you first want to choose the right container. This could be a large flowerpot, window box, planter, 5-gallon bucket, half-barrel, recycled material…the list can be endless. Just as long as your container is big enough and has proper drainage. Generally, the container should be at least 10 inches wide and 10 inches deep. The bigger the better, as it will give the roots more space to grow, and the soil will not dry out as fast. Tomatoes, for instance, do best in larger pots, preferably the size of a five-gallon bucket. For many herbs, you can get away with planting two or three different types in the same container. It is also important that your container has drainage holes, so water can escape and air can circulate. Use a one-fourth inch drill bit to create holes in the bottom or along the sides near the bottom of the container if it does not have holes.
Most of us know plants need both sunlight and soil. But just how much sunlight and what type of soil? If you are growing vegetables, it is best to have full sun – which means at least six hours of direct sunlight per day. An advantage of growing in containers is that you can easily place a container in an area of your yard or on a balcony that receives adequate sunlight, when it would be much more difficult to build a garden in these same areas.

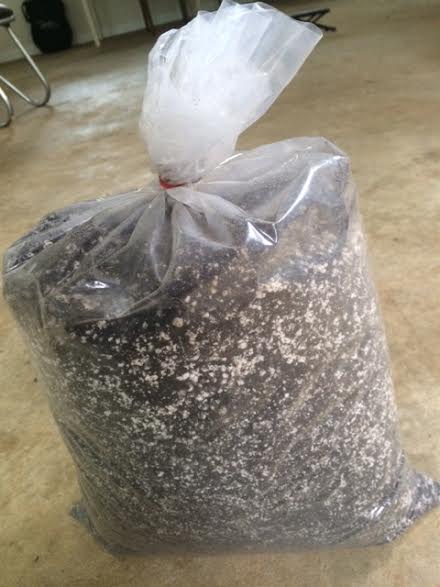
Buy potting soil in bulk to cut down on costs. Photo by Molly Jameson.
So what about soil? When growing in containers, you want to make sure you get potting soil that is made for containers. These mixes will contain materials such as peat, perlite, and vermiculite for both good drainage and moisture-holding capacity, and materials such as compost and nutrient amendments that will keep your plants healthy. You can simply ask your nursery specialist for a mix formulated to grow vegetables in large outdoor containers. If you are growing a lot of vegetables, you can cut down on costs by making your own mix. Just make sure you have a good balance of the aforementioned materials, and mix in a slow-release vegetable fertilizer, following directions on the label.
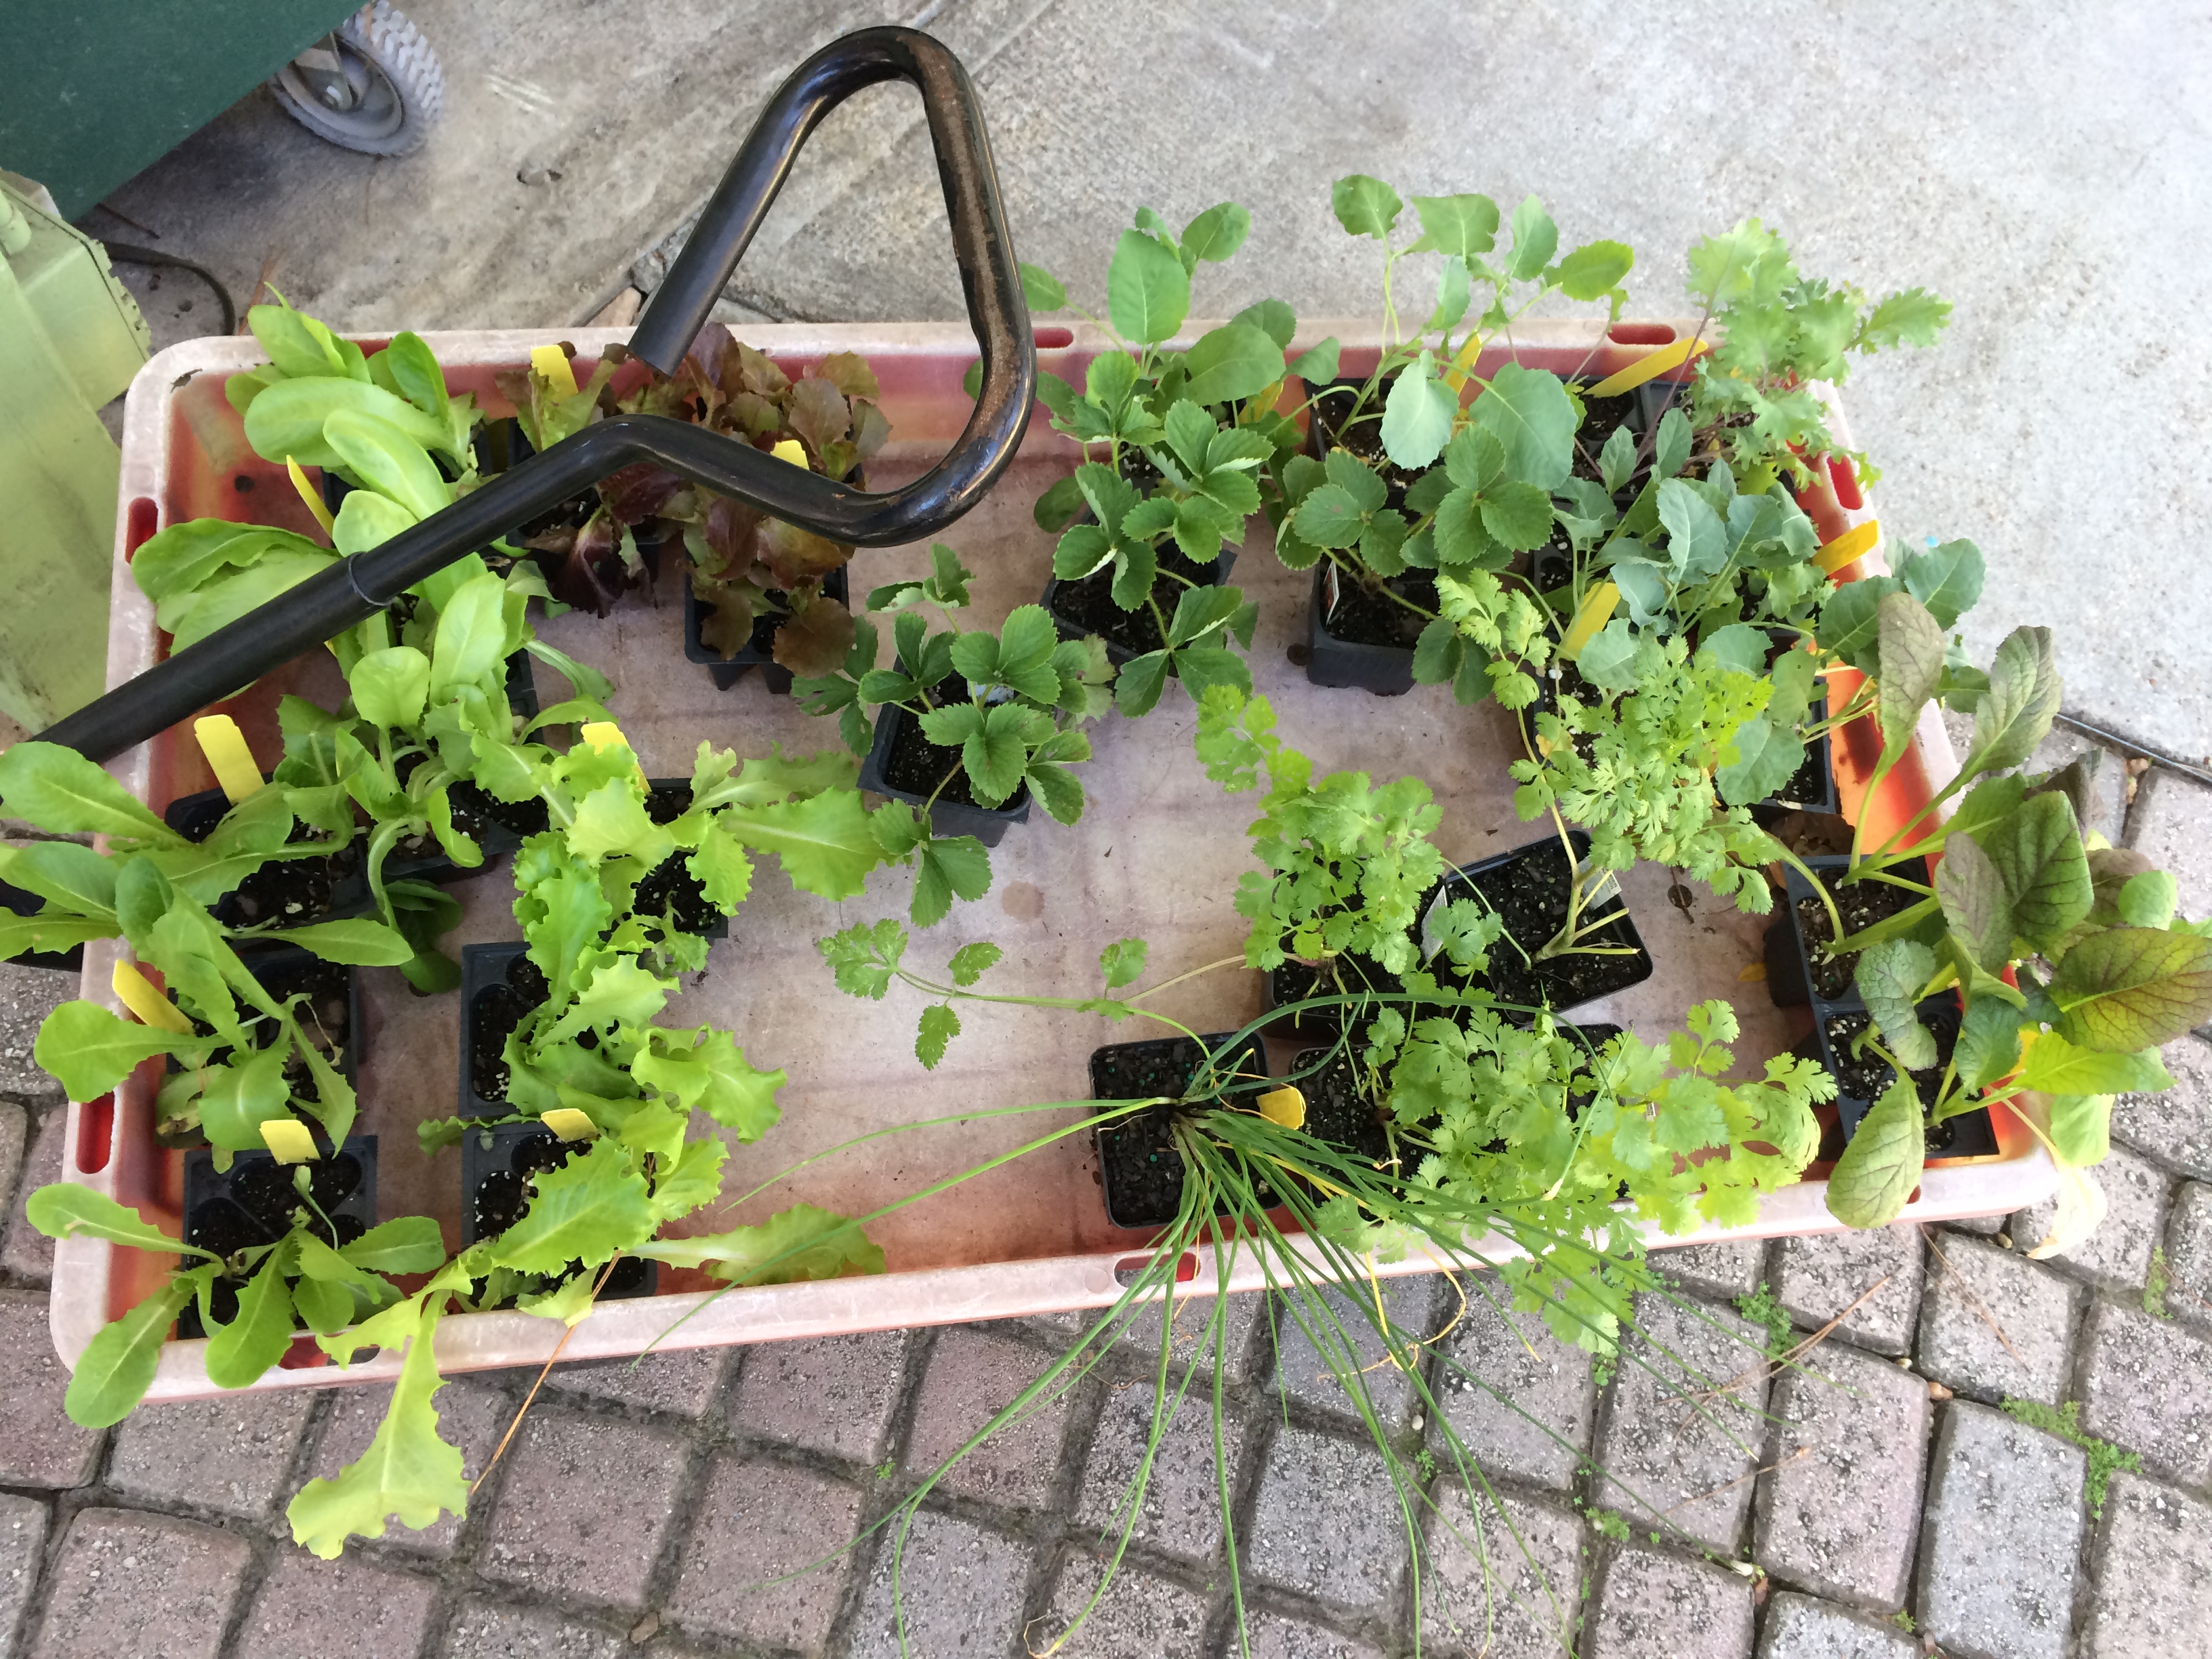
Now that you have your container, your soil, and a sunny location, it is time to get the plants. Some plants are best bought as transplants or grown from seed started indoors. Vegetables such as broccoli, collards, kale, tomatoes, eggplant, peppers, and strawberries fall into this category. Other plants, such as root crops, arugula, lettuce, spinach, mustards, beans, peas, cucumbers, squash, okra, cilantro, and basil can be started from seed directly into containers.
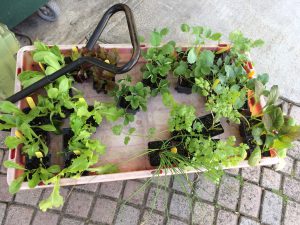
For some vegetables, buy transplants from your local nursery. Photo by Molly Jameson.
Okay, so you have all the materials. Now what? If you are growing from transplants, first thoroughly moisten the potting mix and the plant’s soil. “Transplant shock” is reduced when there is proper moisture. Set plants at about the same level they were growing in their original pot. For tomatoes, remove lower leaves and plant deeper in the container. If you are growing from seed, simply plant the seeds according to their label. A good rule of thumb is to plant the seed to a depth of about two to three times the seed’s diameter. If you are worried about your seeds not germinating, go ahead and plant more seeds than you need. But remember to thin to appropriate spacing if they do, indeed, all come up. Spacing will be specific to the type of vegetable.
After planting, water gently but thoroughly. Monitor your container garden, making sure the potting mix does not dry out. You can reduce evaporation by mulching with leaf litter, straw, or a similar material. Plants that grow tall or produce vines, such as tomatoes and cucumbers, will need support. A wire cage or pole, inserted into the container at planting time, will support the plant as it grows.
Last step is to call over all your friends and family and show off your beautiful vegetable plants! They will surely be impressed by your “green thumb” and will be eager to learn your gardening secrets.

by Matthew Orwat | Mar 11, 2016
With weather warming up and daylight savings time right around the corner, we are in the midst of prime time for planting spring vegetable gardens. Gardeners routinely growing vegetable gardens should note that it is best to rotate plant families when planning a vegetable garden. See the table below to determine which families should be rotated.
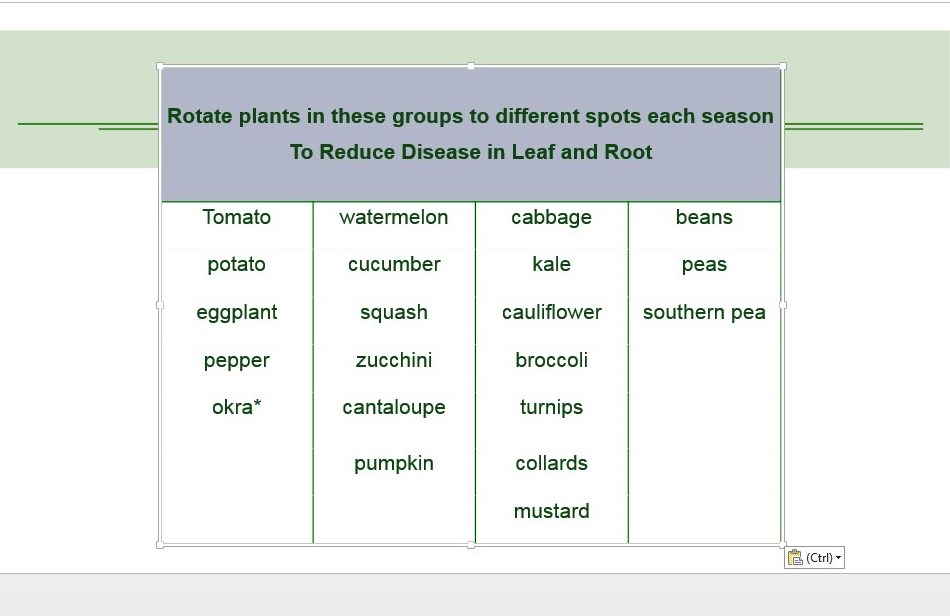
* okra is not a member of the solanaceae, but may be included as part of the solanaceae rotation
 Vegetable gardens should be located on sites receiving at least 6 hours of sun per day, consisting of well-drained soil rich in organic matter. Since most Florida soils are low in organic matter, composted organic matter should be added before or at planting time. Uncomposted organic matter should be mixed into soil one month before planting. Vegetable garden pH should be between 5.8 and 6.3 to maximize absorption of nutrients. If it is lower, addition of agricultural grade lime or dolomite will be necessary. Obtain a soil test from your local extension office to determine if liming is needed.
Once soil test results are available, fertilizer amounts will be able to be determined. Many gardeners use commonly available fertilizers such as 10-10-10 or 8-8-8, with micro nutrients, following directions on the package to determine the amount to apply. The soil test will determine if phosphorous is needed, so follow those results when choosing a fertilizer. When fertilizing, broadcast the fertilizer over the garden area at pre-plant, then apply as needed throughout the season. This will likely consist of 2-3 light applications applied beyond the reach of the outer leaves.
Irrigation of vegetable gardens is best done with drip, so that fungal disease is not spread by getting leaves wet. An added benefit of drip irrigation is a reduction in the quantity of water needed. Gardens may also be top dressed by mulch or organic matter to aid in water conservation and soil temperature reduction.
In March, bush beans, pole beans, lima beans, cantaloupes, sweet corn, cucumbers, eggplant, okra, peppers southern peas, sweet potatoes, summer squash, and tomatoes may be planted. Some crops grow easier from transplants, while others grow better from direct seeding.
Tomatoes, peppers, eggplant and sweet potatoes are best established by transplanting. Cucumbers, cantaloupes, summer squash, beans, peas and okra are best established by direct seeding. Summer squash may be transplanted, but is more vigorous and productive when direct seeded.
Be sure to choose varieties adapted to North Florida by consulting the charts on pages 8, 9 and 10 of the Florida Vegetable Gardening Guide.
Happy Gardening!
by Matt Lollar | Feb 24, 2016
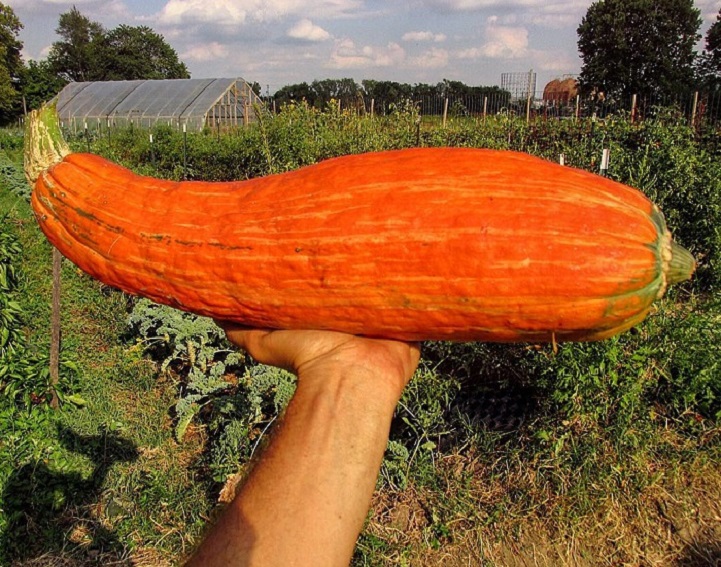
“Big Old Squash” (Gete-okosomin) Winter Squash
About an hour’s drive northwest of Green Bay, Wisconsin in the land of the Minominee Tribe, a tiny clay pot was discovered by archaeologists. The clay pot was nothing out of the ordinary, but its contents revealed a gift that will live on for generations to come. The 800 year old seeds of an extinct squash lay inside. The whimsy of this story is captivating, unfortunately it is most likely untrue.
The variety of squash reported in this tale comes from the saved seed of members of the Miami Nation of Indiana. The seeds were gifted to David Wrone, an emeritus professor at the University of Wisconsin. Although the seeds have not been stored underground in a clay pot for 800 years, they have been grown and saved by the Miami Nation for more than 5,000 years.
The squash named Gete-okosomin (meaning “Big Old Squash” in the Menominee language) is a variety of winter squash (Curcubita maxima) that can grow up to 30 pounds. It has been reported to have a much thinner rind than most winter squash. The most common preparation by the Miami people was to cut the squash in strips, allow it to dry naturally, and add desired amount to soups and stews. I would not recommend this preparation method for the humid climate of Florida.
Not only do these two stories of seed survival provoke an interest in gardening, they also bring up the question of the proper way to store and save seed. It is important that you choose to save seeds from open-pollinated varieties in order to save the traits of the parent plants. Most vegetable seeds can simply be washed, dried, and stored in a cool, dry space. However, the germination of tomato seeds can be increased by allowing them to ferment in water. For more detailed information on saving seeds, you may find this bulletin from The University of Maine helpful: Seed Saving for the Home Gardener.
by Julie McConnell | Feb 3, 2016
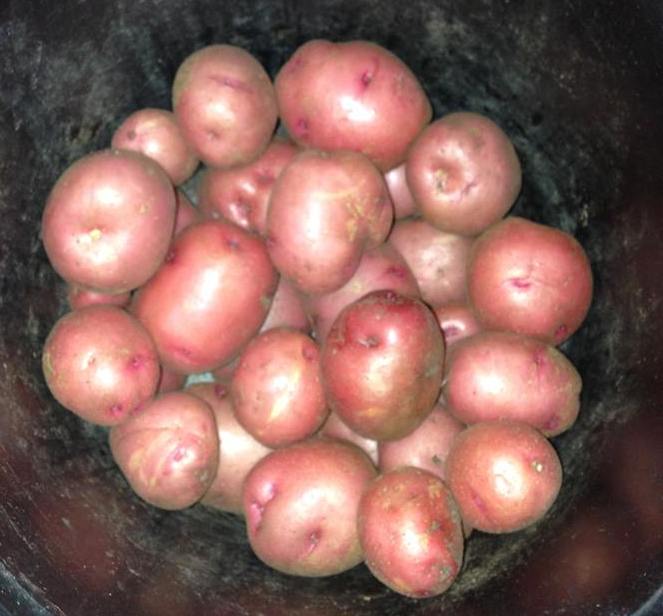
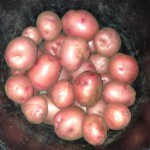
Potatoes planted in mid-February were ready to harvest in mid-May in Panama City. Photo: Vicki Evans, UF/IFAS Master Gardener
A common misconception is that all potatoes come from the Midwest. However, select Irish potato varieties are produced commercially in Florida on over 20,000 acres. Potatoes can also be grown in Florida home gardens if care is taken to select the correct type and recognize proper timing.
Potatoes are a cool season crop and the ideal time to plant in the Florida Panhandle is in January and February. Valentine’s Day is a good target planting date for home gardeners with plants producing tubers after about three months (variety and weather dependent).
The ideal site for potatoes has well-drained soils with a pH range of 5-6. To increase drainage, beds can be formed into hills that are 10-12 inches above the soil. Another option is to grow potatoes in raised beds or containers to ensure the plants will not sit in water during heavy rains.
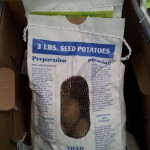
Certified seed potatoes are available in garden centers. Photo: Julie McConnell, UF/IFAS
Use certified “seed” potatoes to ensure you are starting with healthy tubers. Cut seed potatoes into egg sized pieces that contain at least one eye each. Allow the cut seed pieces to heal for a couple of days in a cool, dark spot with good ventilation. After healing they can be planted about four inches deep 6-8 inches apart with three feet between rows.
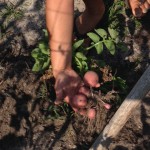
Sometimes potatoes will push to the surface of the soil and will need to be covered with more soil (hilling). If the potatoes are not covered, they can become damaged by the sun and inedible.
Keep your garden weed free to minimize competition with your crop and to also reduce the likelihood of weeds harboring insects or disease that can be harmful to potato plants.
A few weeks after planting seed potatoes, you should begin to see some vegetative (leaves and stems) growth above the soil. Potato plants can grow over a foot tall and are bushy. Small new tubers start to form underground before blooming, but they need more time to bulk up before harvesting. The entire growing process takes between 80 and 115 days from planting to harvest.
 If you plan to store your potatoes, allow them to remain in the ground for 2-3 weeks after the top of the plant has died to fully mature. If the vegetative portion of the plant does not die on its own the top can be cut to induce maturation of the tubers.
For recommended varieties and more information on care and harvesting please see “Growing Potatoes in the Florida Home Garden.”