by Daniel J. Leonard | Apr 29, 2020
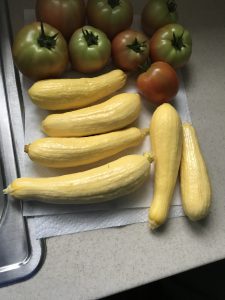
‘Multipik’ fruit. Photo courtesy the author.
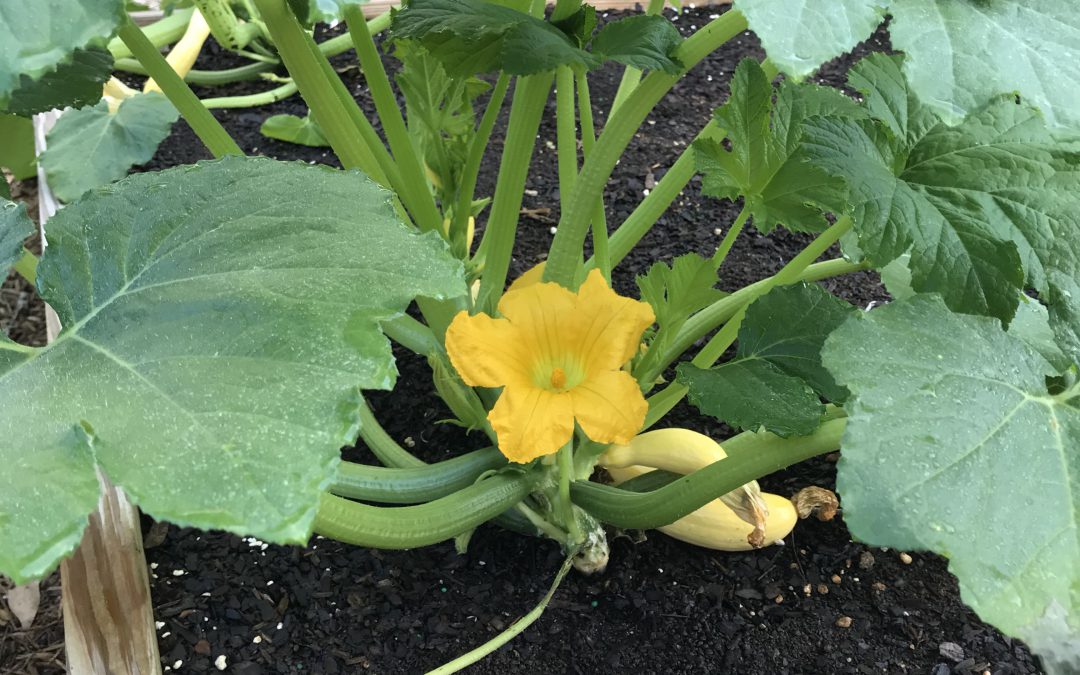
Never one to be satisfied growing “standard” vegetable varieties, last year I decided to peruse various seed sources in search of a superior yellow summer squash selection. Plain ‘Yellow Crookneck’ just wasn’t doing it for me anymore. After doing a little research and consulting a friend who works for Johnny’s Selected Seeds, I settled on a straightneck variety called ‘Multipik’.
Developed in the 1980’s by Harris Seed and now sold by many seed purveyors, ‘Multipik’ enjoyed immediate popularity with commercial squash growers due to its many outstanding qualities but curiously, is just making inroads with the home garden market. Even as it is set to celebrate its 30th anniversary next year, two years of personal experience with ‘Multipik’ verify several important characteristics making it a superior choice to many other traditional summer squash varieties: earliness/heavy yields and a precocious gene.
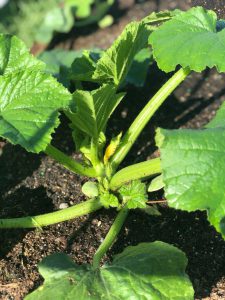
Newly developing ‘Multipik’ fruit. 4 weeks after planting. Photo courtesy the author.
The longer I garden, the more I’m convinced that earliness to maturity is directly related to yield potential in home gardens, especially in the Panhandle. Lots of varieties have high yield potential but that potential is often at least partially wasted here due to the length of time from seed to harvest. Ideally, you could plant, grow a crop and be done by mid-late June, before intense heat, humidity and all the wonderful garden pests and diseases arrive to destroy spring gardens. Maturing just 50 days from planting, ‘Multipik’ beats that deadline (when planted on time in late March) and yields heavily for at least a month before succumbing to the harsh Panhandle summer. Many traditional summer squash varieties, including ‘Yellow Crookneck’ mature 8-14 days later. While 8-14 days doesn’t sound like much, it can mean a major yield difference when factoring in the almost certain late season pests, diseases, and adverse weather conditions.
The next major advantage ‘Multipik’ offers is a precocious gene, meaning that it will mask symptoms and maintain its yellow color if infected with either Watermelon Mosaic Virus (WMV) or Cucumber Mosaic Virus (CMV), two destructive pathogens commonly affecting squash by discoloring fruit and reducing yield. This trait is critical to commercial growers because yellow squash that isn’t yellow isn’t marketable and is important to home gardeners too as a means to eke out higher yields under virus pressure. While the precocious gene isn’t a cure for either virus, it can help hold them at bay while you harvest! Another quirk caused by the precocious gene is the all-yellow appearance of the fruit, from the peduncle (the stalk holding the fruit to the plant) to the apex! From one end of the fruit to the other, Multipik ensures that when you plant yellow squash, you harvest yellow squash.
‘Multipik’ just days from harvest. Photo courtesy the author.
Whether you are trying to avoid yield loss from late season insect and disease pressure plaguing your traditional squash plantings or just want to try something a little different, I highly recommend planting ‘Multipik’ Squash. This early, disease-resistant cultivar with delicious medium sized, light yellow fruit is sure to be a hit in both in the garden and on the table. As always, if you have any questions about vegetable gardening or any other horticultural topic, give your local UF/IFAS County Extension Office a call! Happy gardening!
by Daniel J. Leonard | Apr 1, 2020
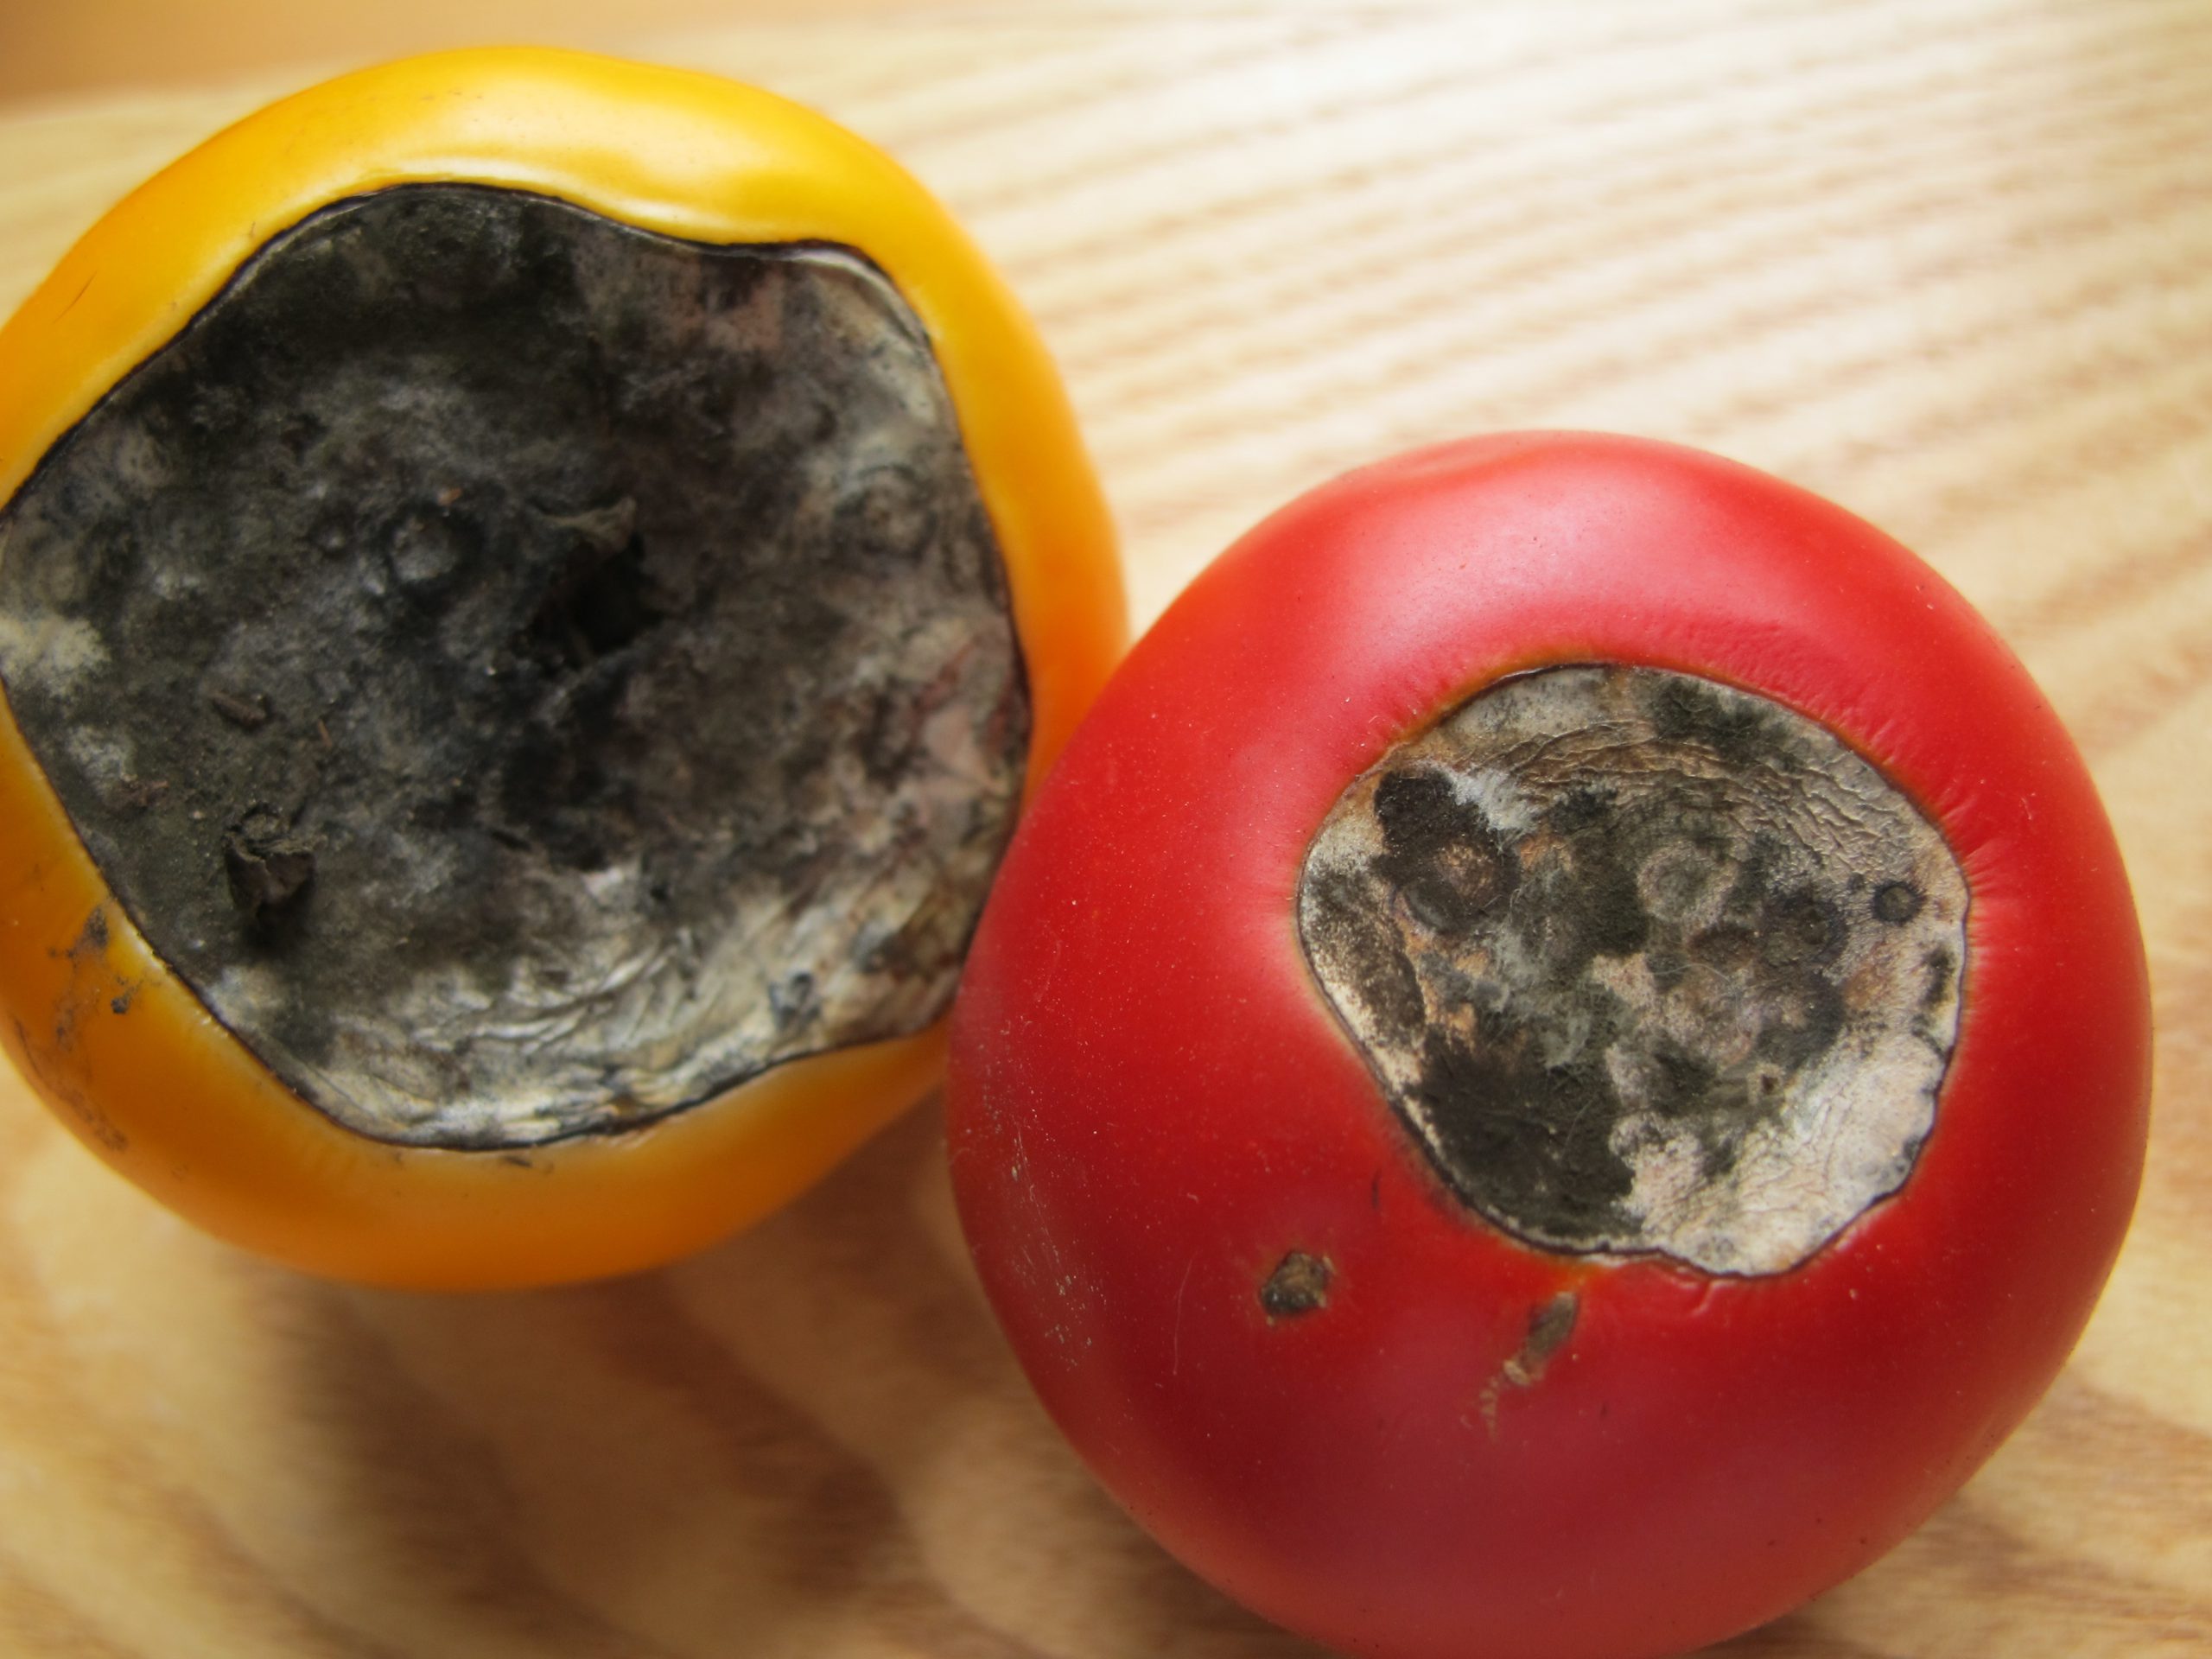
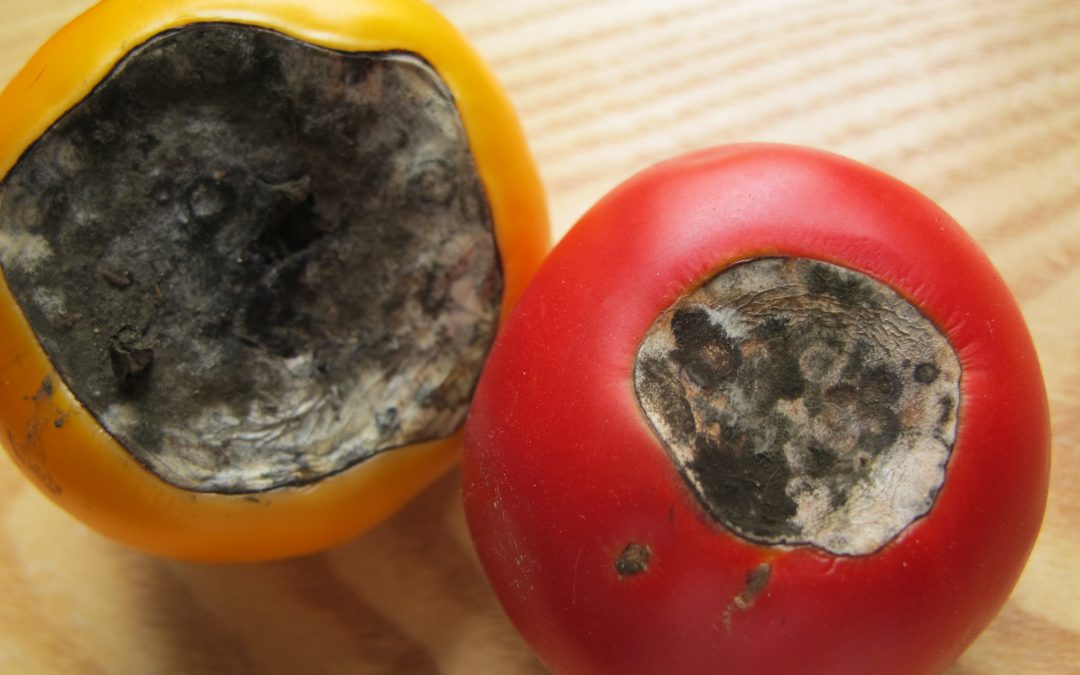
There aren’t many more frustrating things than growing seemingly healthy tomatoes, those plants setting an abundance of flower and fruit, and then, once your tomatoes get about the size of a golf ball, having the fruit rot away from the base. This very common condition, called Blossom End Rot (BER), is caused one of two ways: by either a soil calcium deficiency or disruption of soil calcium uptake by the plant. Fortunately, preventing BER from occurring and then realizing an awesome crop of tasty tomato fruit is relatively simple and home gardeners have a couple of possible preventative solution!
Blossom End Rot damage. Photo Courtesy Larry Williams, Okaloosa County Extension.
- Soil Test & Lime if Needed. The only way to really know if your soil calcium level is sufficient is through a soil test. A complete soil test through the UF Soil Lab or other lab measures both raw nutrient levels and pH. Testing for pH is especially critical. For calcium, either already in the soil or in a supplement you apply, to be available to tomato plants, soil pH needs to be between 6.0-7. In more “acidic” soil pH below 6, nutrients like iron and aluminum become more available to your tomato plants, outcompeting calcium for uptake into the roots. We don’t want that. If your soil test indicates a pH below 6, it will give a lime recommendation somewhere between 3-5 lbs/100 ft sq of garden area to raise the pH to the sweet spot between 6.0-7.0 where your tomatoes will thrive.
- Use a Non-Lime Calcium Supplement. If you’ve had your soil tested and your pH is fine, adding more lime as a calcium supplement isn’t helpful. Using lime as an additional calcium source can actually lift pH above that 6.0-7.0 zone and cause other problems. At this point, once pH is where we want it, I like to add a non-lime calcium supplement. There are lots of options here. Traditional fertilizers labeled for tomatoes and veggies tend to have a good calcium content in the 6-10% range and work great. However, if you’re into organic gardening or just don’t need the extra nutrient value of a complete fertilizer, Gypsum is a good calcium supplement and is widely available. Regardless of which non-lime source you choose, apply at planting or shortly after and follow label rates for best results.
- Water Properly. Consistent watering is key in helping ward off BER. Though we know BER is generally

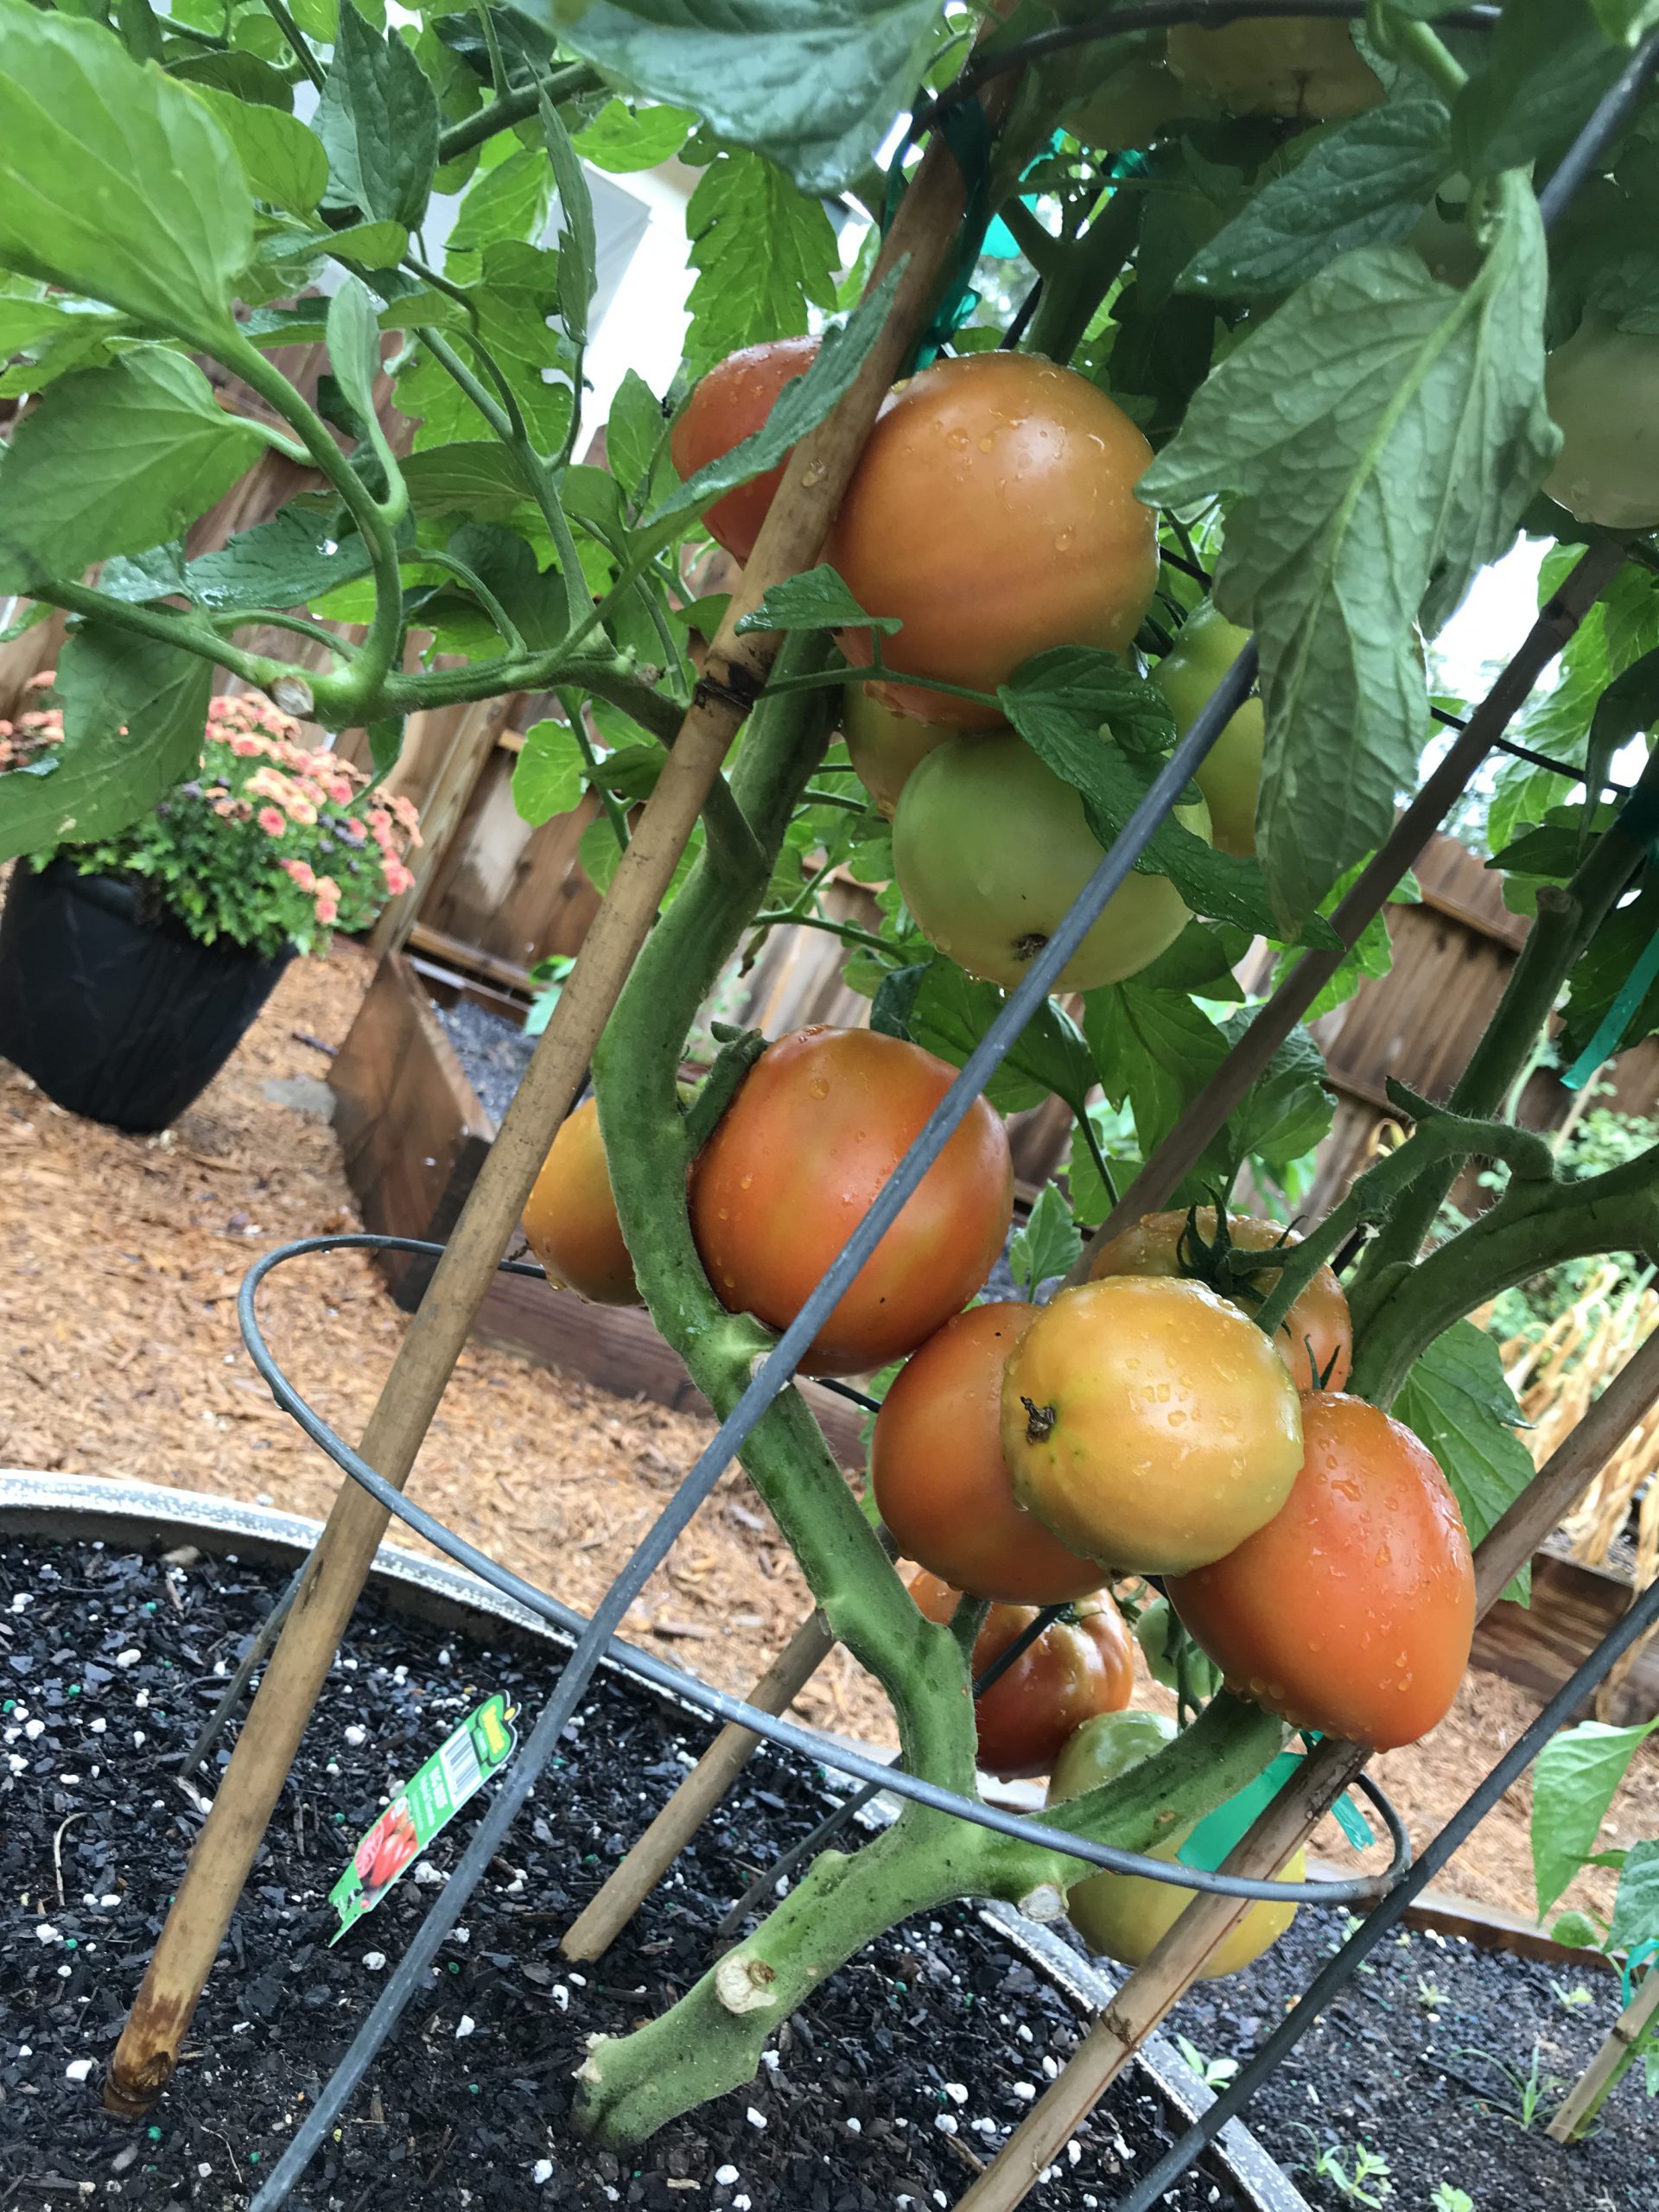
Healthy ‘Big Beef’ tomatoes grown in 2019 with a pH of 6.5, amended with Gypsum at planting, and watered regularly each day! Notice no BER. Photo courtesy the author.
caused by calcium deficiency, it can be induced by creation of distinct wet and dry periods from non-regular watering, interfering with calcium uptake and availability to the plant. So, while you may have adequate soil calcium, if you don’t water correctly, the condition will happen anyway! It’s also good to keep in mind that mature tomato plants use large quantities of water daily, so during the heat of summer, plants in containers may need to be watered multiple times daily to maintain consistently moist soil. Think about it, you don’t drink 8 glasses of water when you wake up and then never drink again throughout a hot day. A tomato is no different. Allowing your plants to wilt down before providing additional water ruins productivity and can induce BER.
Blossom End Rot, while one of the more destructive fates of tomatoes, is totally preventable by a little legwork early in the growing game from you! Soil test and change pH with lime if needed, add a shot of calcium through a tomato blend fertilizer or non-lime supplement like gypsum, and water regularly! Do these three things and you’ll be well on your way to a great crop of early summer tomatoes. If you have any questions about tomato blossom end rot or any other horticulture or agricultural topic, please don’t hesitate to reach out to us at the UF/IFAS Calhoun County Extension Office. Take advantage of this beautiful spring weather and get in the garden today! Happy gardening.

by Danielle S. Williams | Apr 1, 2020
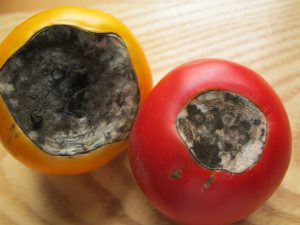
Fertilizer Spreader – Image Credit Les Harrison ,UF / IFAS Extension
Plants require nutrients to grow and they typically get them from the soil. Oftentimes, we apply fertilizer to help them along. Fertilizers provide specific nutrients for your plants and are available in a variety of different forms. When used correctly, fertilizers are a great tool that can help plants thrive. If used incorrectly, fertilizers can harm plants and also the environment.
Different plants have different nutrient requirements and in many cases, fertilizer may not be necessary so do your research before purchasing fertilizers. Sometimes, certain plants, like azaleas or blueberries, need a special formulation of fertilizer.
Think about having your soil tested to see what nutrients are already present in your soil. Contact your local Extension Office for sampling procedures.
Fertilizer Components
Most fertilizers used in the home landscape and garden are blends of several elements mixed together to create a specific formulation of plant nutrients.
Macronutrients
Macronutrients are nutrients required by plants in relatively large amounts for optimum growth. The three main nutrients contained in fertilizers are nitrogen (N), phosphorus (P), and potassium (K). Most folks are familiar with these because they are represented by three numbers that appear on the fertilizer bag. You may be familiar with the term ‘complete fertilizer’. This means the fertilizer with contain all three of the major plant nutrients – N, P and K. Other macronutrients include calcium (Ca), magnesium (Mg), and sulfur (S).
Micronutrients
Micronutrients are nutrients most plants need in small quantities. They are sometimes referred to as trace elements or minor elements. These nutrients include boron (B), chlorine (Cl), copper (Cu), iron (Fe), manganese (Mn), molybdenum (Mo), and zinc (Zn). They are often available in sufficient quantities in the soil, but are also present in many fertilizers. Micronutrients are also sold as individual nutrients.
Types of Fertilizer
Inorganic Fertilizers
Inorganic fertilizers are materials that are mined or synthesized from non-living materials. Many inorganic fertilizers contain nutrients that are immediately available to plants. Others are formulated to be released over a period of time.
Organic Fertilizers
Organic fertilizers are materials that are derived from plants and animals. One of the most common forms of organic fertilizers is manure. Organic matter incorporated into the soil before planting will help fertilize your vegetable plants, but you’ll need to add additional fertilizer after planting.
The quick availability of nutrients, especially nitrogen, is very important in vegetable growing. Therefore, you may want to supplement any organic fertilizer you apply with some inorganic fertilizer for quick feeding. It is a common practice for gardeners to use a combination of fertilizers and techniques in the garden.
Slow- or Controlled-Release Fertilizers
Slow- and Controlled-Release fertilizers provide nutrients to plant roots over an extended period of time. This allows you to fertilize less frequently and prevent nutrients from leaving your landscape and entering groundwater or waterways.
Understanding a Fertilizer Label
The fertilizer label includes a series of numbers that indicate the percentage of nitrogen, phosphorous, and potassium, by weight. The numbers will read something like 15-0-15 or 16-2-8. The first number represents the percentage of nitrogen in the bag, the second refers to phosphorus, and the third number is the amount of potassium. For example, a 50-pound bag of 16-2-8 is 16% nitrogen (8 pounds total); 2% phosphorus (1 pound total); and 8% potassium (4 pounds total). The remaining weight is usually comprised of inert ingredients.
Preventing Pollution
- Follow UF/IFAS Recommendations. Rates, application timings and formulas vary depending on the plant.
- Do not fertilize before a heavy rain. If rain is in the forecast for the next 24 hours, wait to apply fertilizer. Heavy rains can cause fertilizer to leach into groundwater.
- Keep fertilizer off hard surfaces. If fertilizer is spilled on a driveway or sidewalk, sweep it up and dispose of it. Fertilizers can wash into storm drains and nearby bodies of water.
For more information on fertilizers visit:
The Fertilizer Label
by Ray Bodrey | Feb 18, 2020

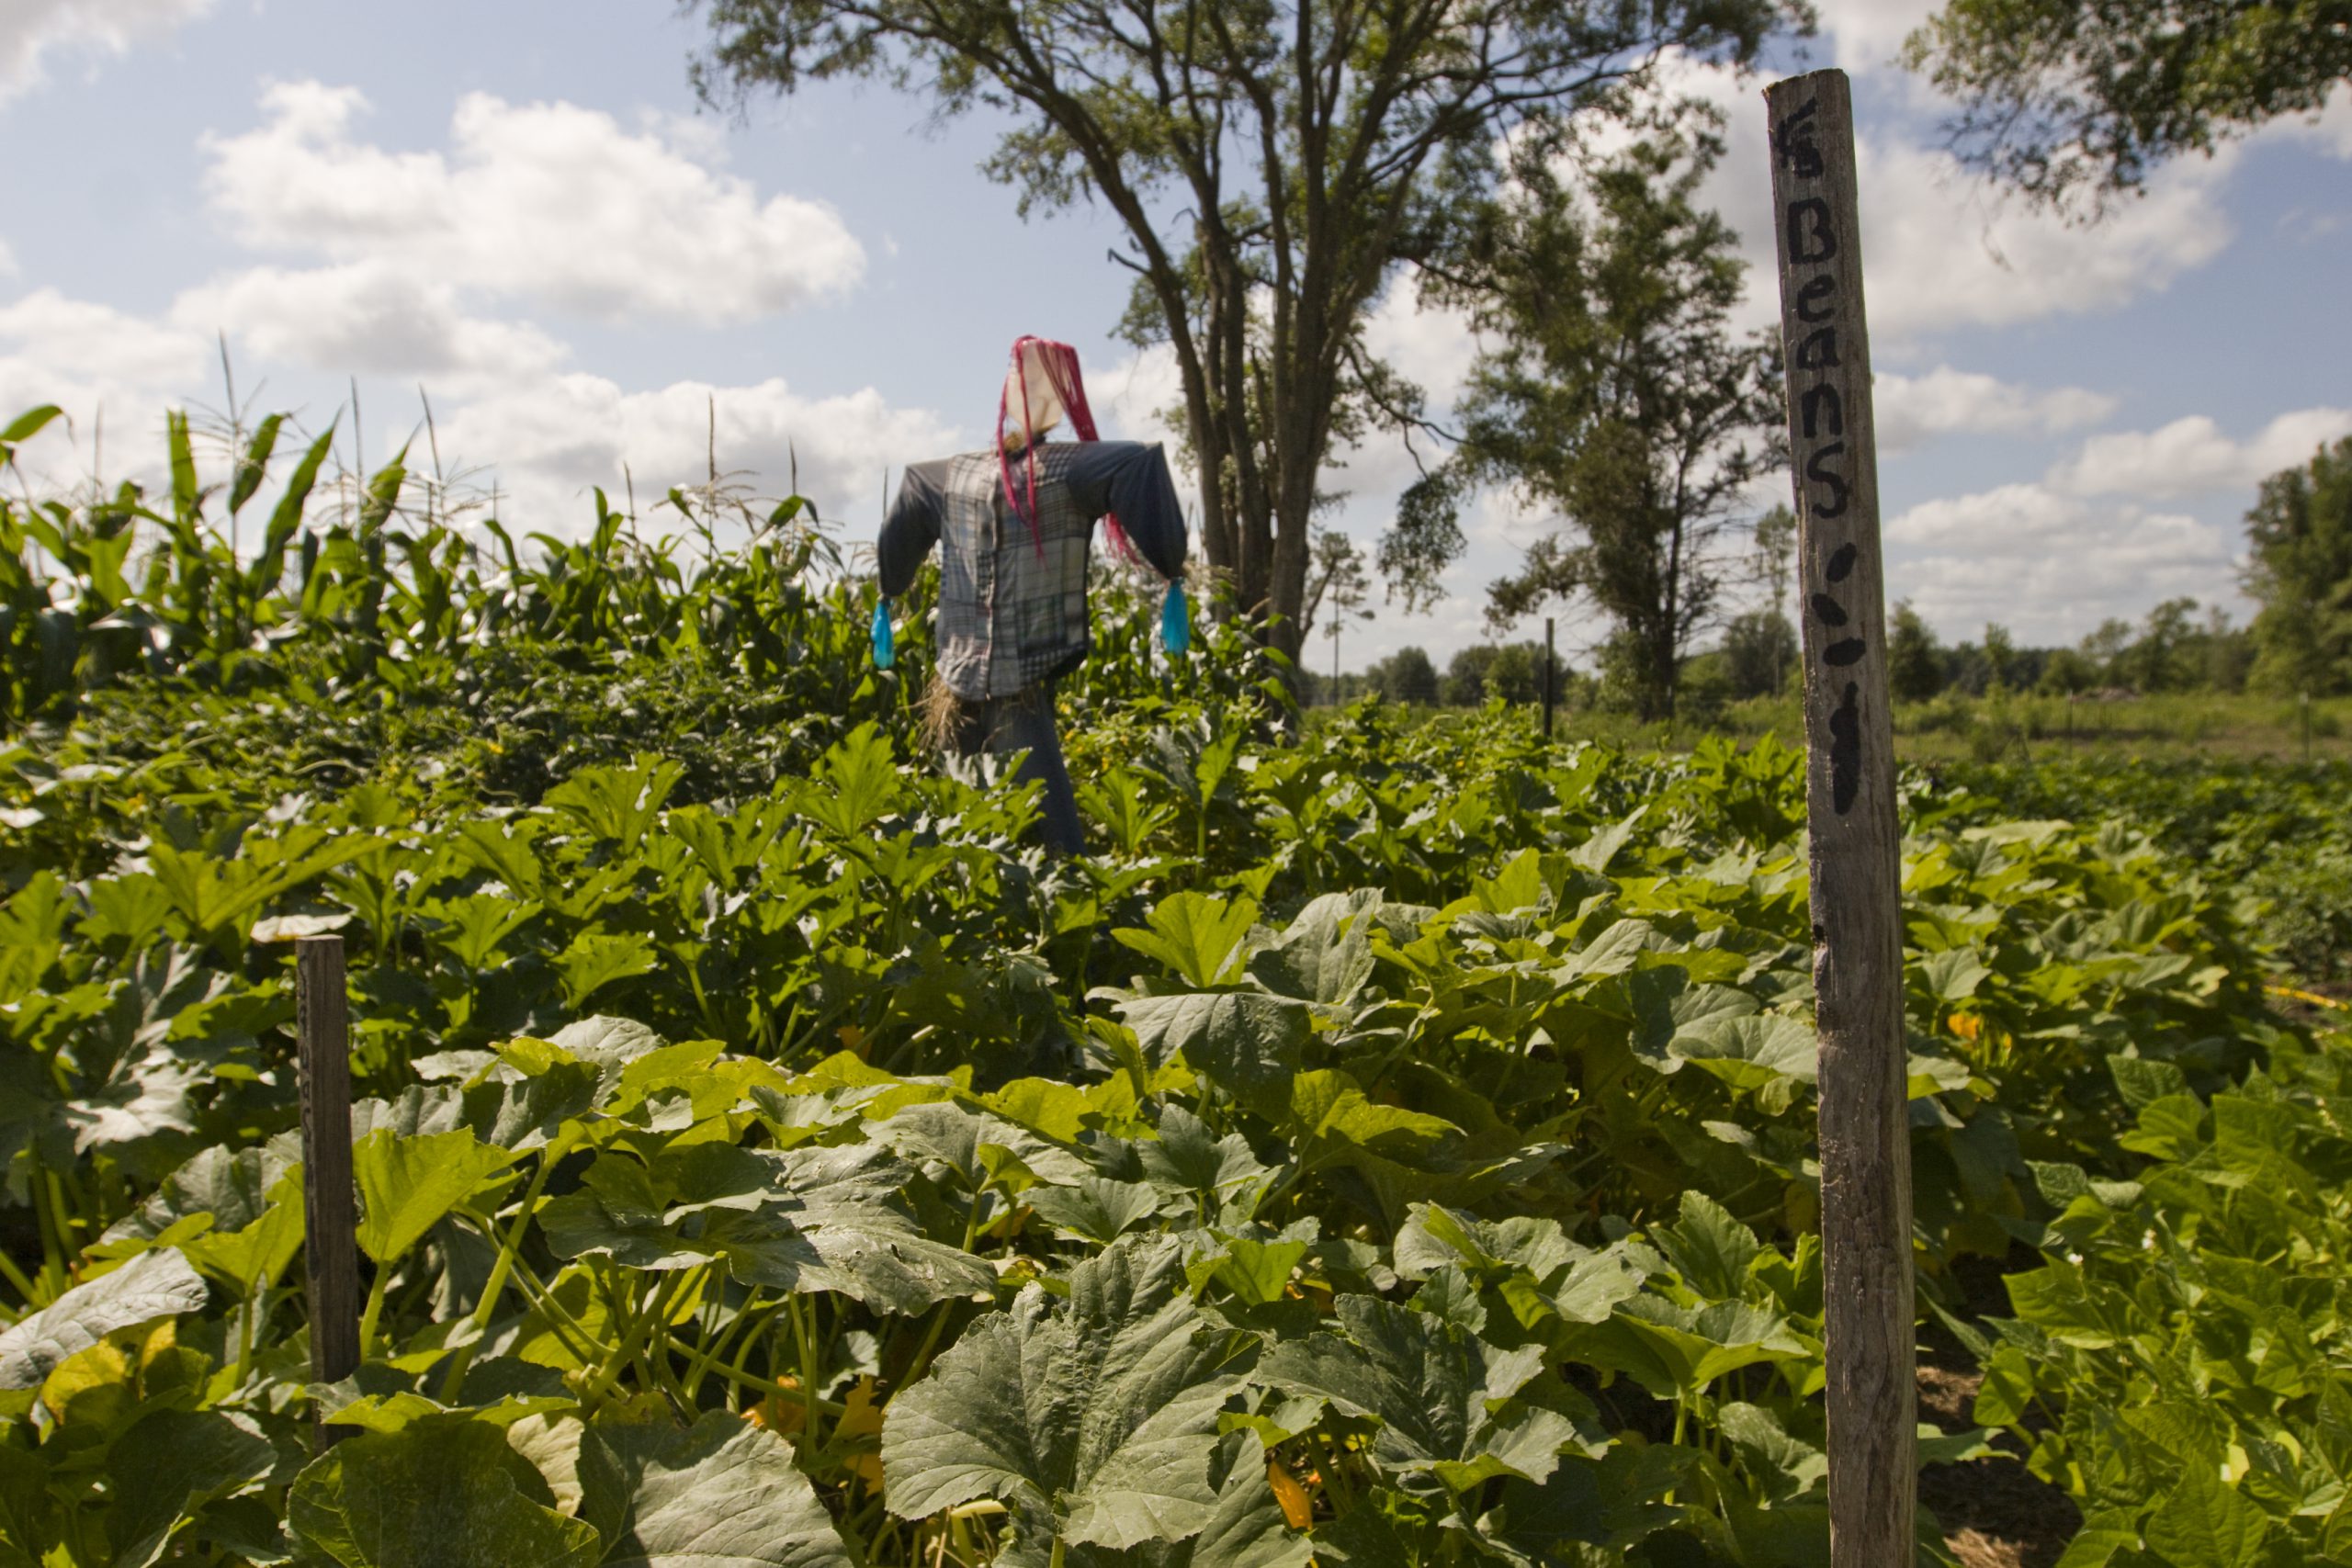
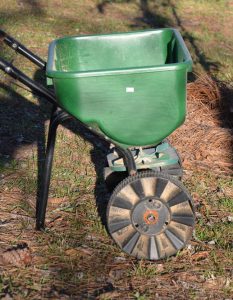
A scarecrow in a 4H youth vegetable garden in Gilchrist County, Florida. Beans, vegetables, gardening, sustainability, 4H, youth programs, education. UF/IFAS Photo: Tyler Jones.
Spring & summer are certainly not far away. The following information pertains to the first step in the vegetable garden planning process. Just remember, as the soil preparation goes, so goes the vegetable production.
By far the most physical part of vegetable gardening is soil preparation. This is the foundation that your garden is built on, so let’s not cut corners at this stage. Plain and simple, poor soil prep will result in poor garden performance. Before you begin prep, it is a good idea to have a soil sample analyzed. With a soil analysis complete, a more customized fertilizer and application may be recommended for your needs. However, a complete fertilizer like 8-8-8 or 10-10-10 can be used as general purpose.
Also, pH can be determined through this test. If the soil is too acidic for vegetables, then a liming requirement may be needed. pH is key information, especially regarding planting time. If one needs lime, it is recommended to wait at least a month before planting to allow the lime to begin to adjust soil pH. Generally, a small amount of lime can be added to a garden space regardless, as lime also contains the vital micronutrients calcium and magnesium. Contact your local county extension office for more information on soil testing.
To begin the garden prep, one will first need to remove the weeds from the space. The next step is to turn the soil. This will help aerate the soil and accelerate soil decomposition which leads to higher organic matter. Turing the soil will also eliminate any soil compaction issues that would stifle seed germination. With sandy soils throughout the Panhandle, one may need to amend by spreading a rich organic compost in the space.
An application of fertilizer can be mixed in at this stage as well. Always follow the manufacturers label regarding application directions. Once complete, the soil should then be turned by digging down six to eight inches. A large garden will require a motorized tiller, but hand held implements should be fine for smaller spaces.
After the soil is turned, be sure to break up any clods and rake so that the area is level. The soil should be of a fine texture by this point. Again, this makes seed germination much easier and will assist in further root development of transplants.
To have a vegetable garden that all will envy, it begins with soil prep. Remember, not only does a vegetable garden provide nutrition, but it also provides for exercise, a feeling of accomplishment and even could save you a few bucks. Please contact your local county extension office for more information.
Supporting information for this article can be found in the UF/IFAS EDIS publication: “Florida Vegetable Gardening Guide” by Sydney Park Brown, Danielle Treadwell, J. M. Stephens and Susan Webb: http://edis.ifas.ufl.edu/pdffiles/VH/VH02100.pdf
UF/IFAS Extension is an Equal Opportunity Institution.
by Evan Anderson | Jan 27, 2020
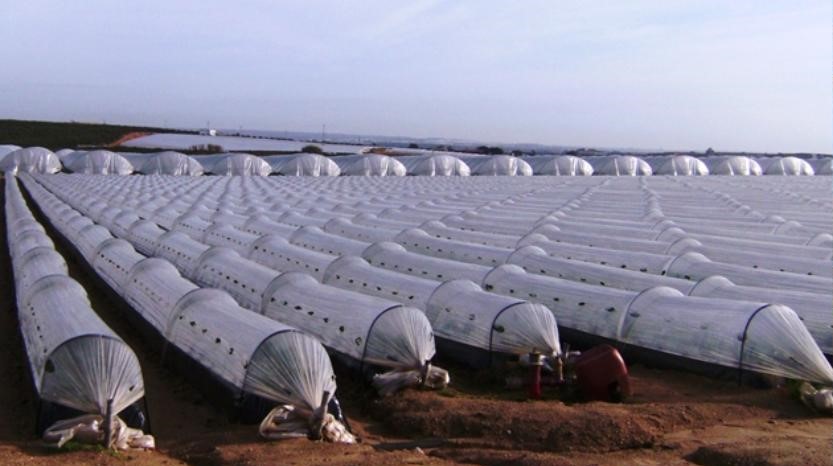
North Florida weather brings its ups and downs, and there are times during the winter season when the downs are low enough to trouble even cold-tolerant crops. Gardeners who wish to keep their plants growing as long as possible, or give them a head start in the spring, may want to consider installing low tunnels.
The term ‘low tunnel’ refers to a structure used for season extension that is usually made of hoops covered with some material, such as fabric or plastic. A low tunnel, as you might surmise, is low to the ground, like a miniature greenhouse that just covers the plants. They are usually no more than a few feet in height. A high tunnel, by comparison, is tall enough to walk in, but with a similar sort of construction.
These are versatile structures, which can act as more than just protection from cold. Low tunnels can be easily modified to provide extra shade for crops during the hottest months. A lighter fabric or fine mesh can also be used as protection from insect pests. Low tunnels can be constructed to stand on their own or may be integrated into a raised bed. They may even be placed inside a larger structure such as a high tunnel to offer a double layer of protection.
An example of a low tunnel using wire hoops and plastic mulch to prevent weeds. Photo credit – B M. Santos, UF / IFAS Extension

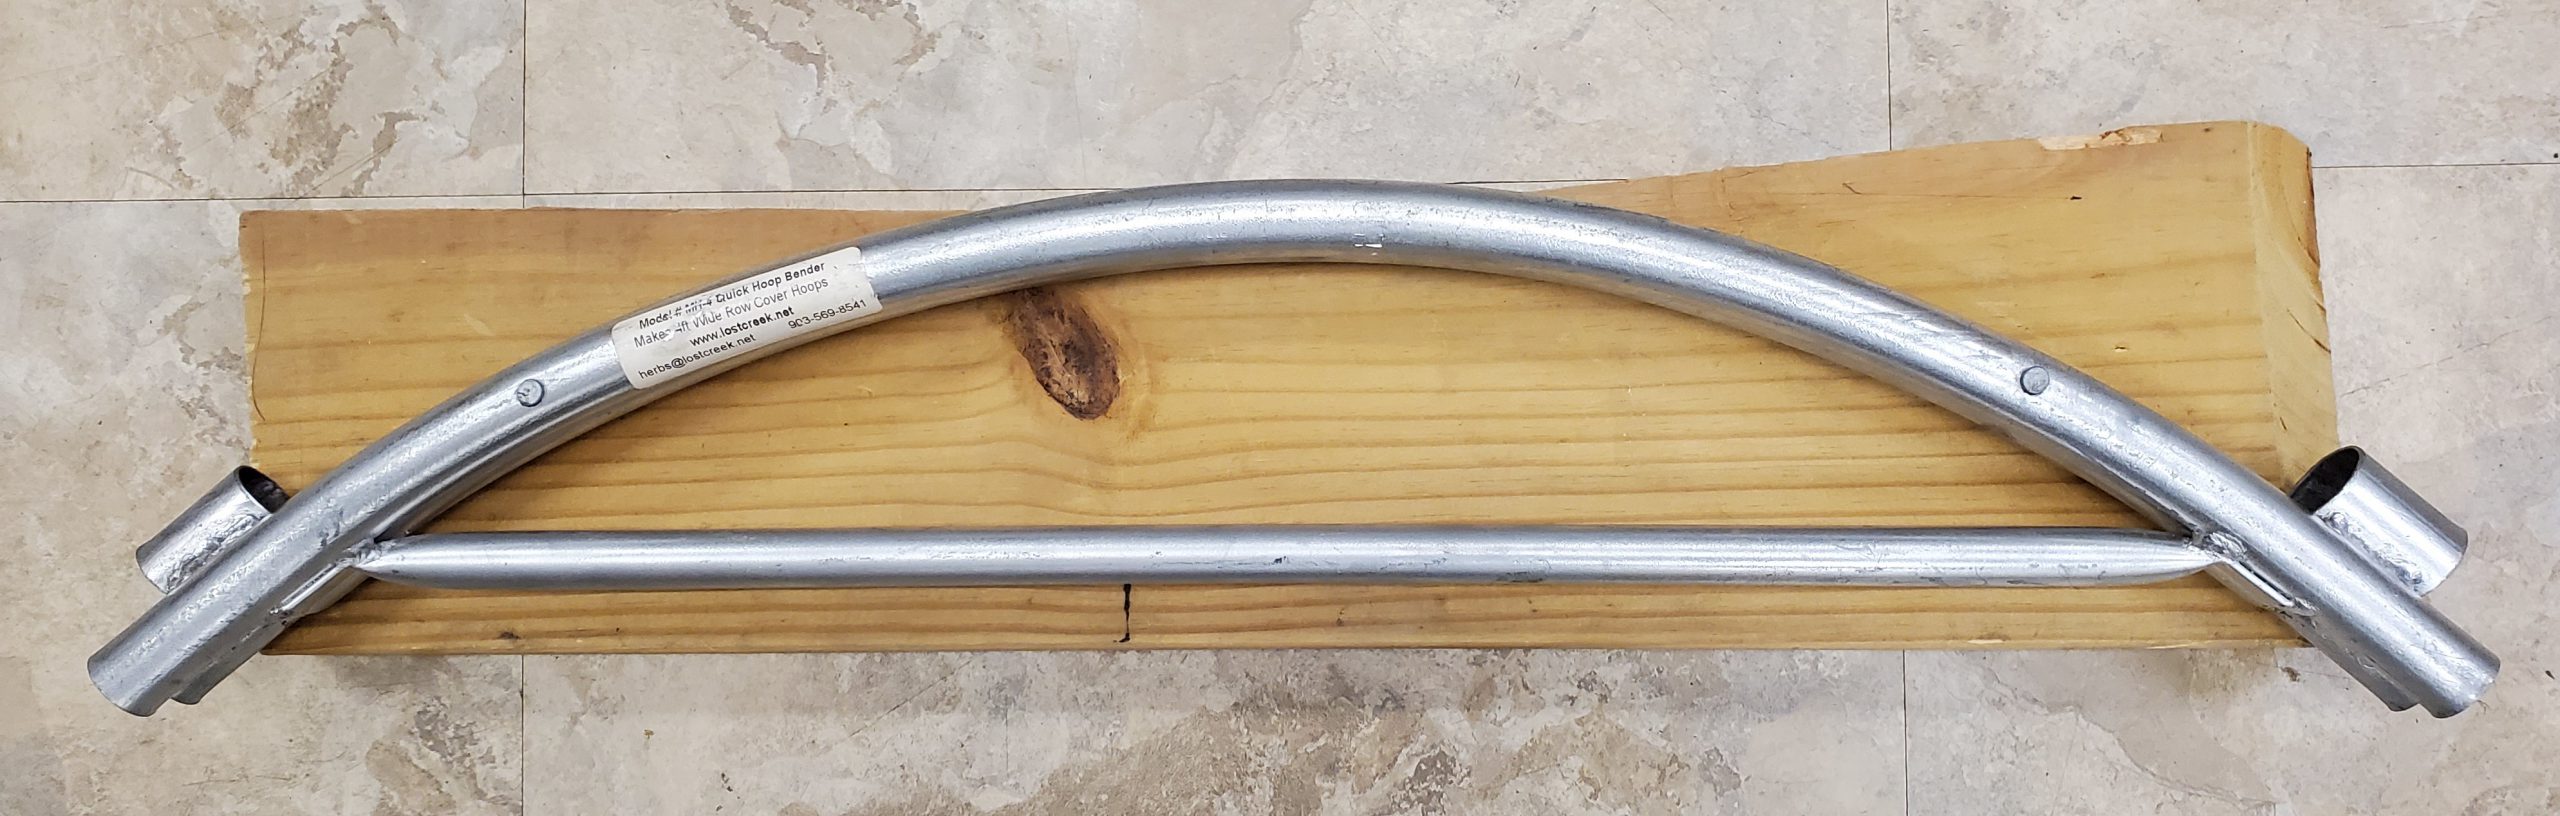
Pipe Bender for bending hoops for low tunnel systems. Image Credit Evan Anderson, UF / IFAS Extension
The cover of a low tunnel can be plastic, fabric, shade cloth, or even insect netting, depending on the needs of the crop. The hoops that hold the cover may be made of any sturdy material, such as wire, pieces of PVC, or metal electrical conduit. Hoop benders are available to help bend metal conduit to the correct shape. For more information about low tunnels, please see this EDIS publication.