by Beth Bolles | Feb 5, 2019
Are you a patient gardener? If not, try you hand at growing microgreens. Why wait for at least a month or so for a harvest when you can enjoy fresh greens in as little as 7 days.
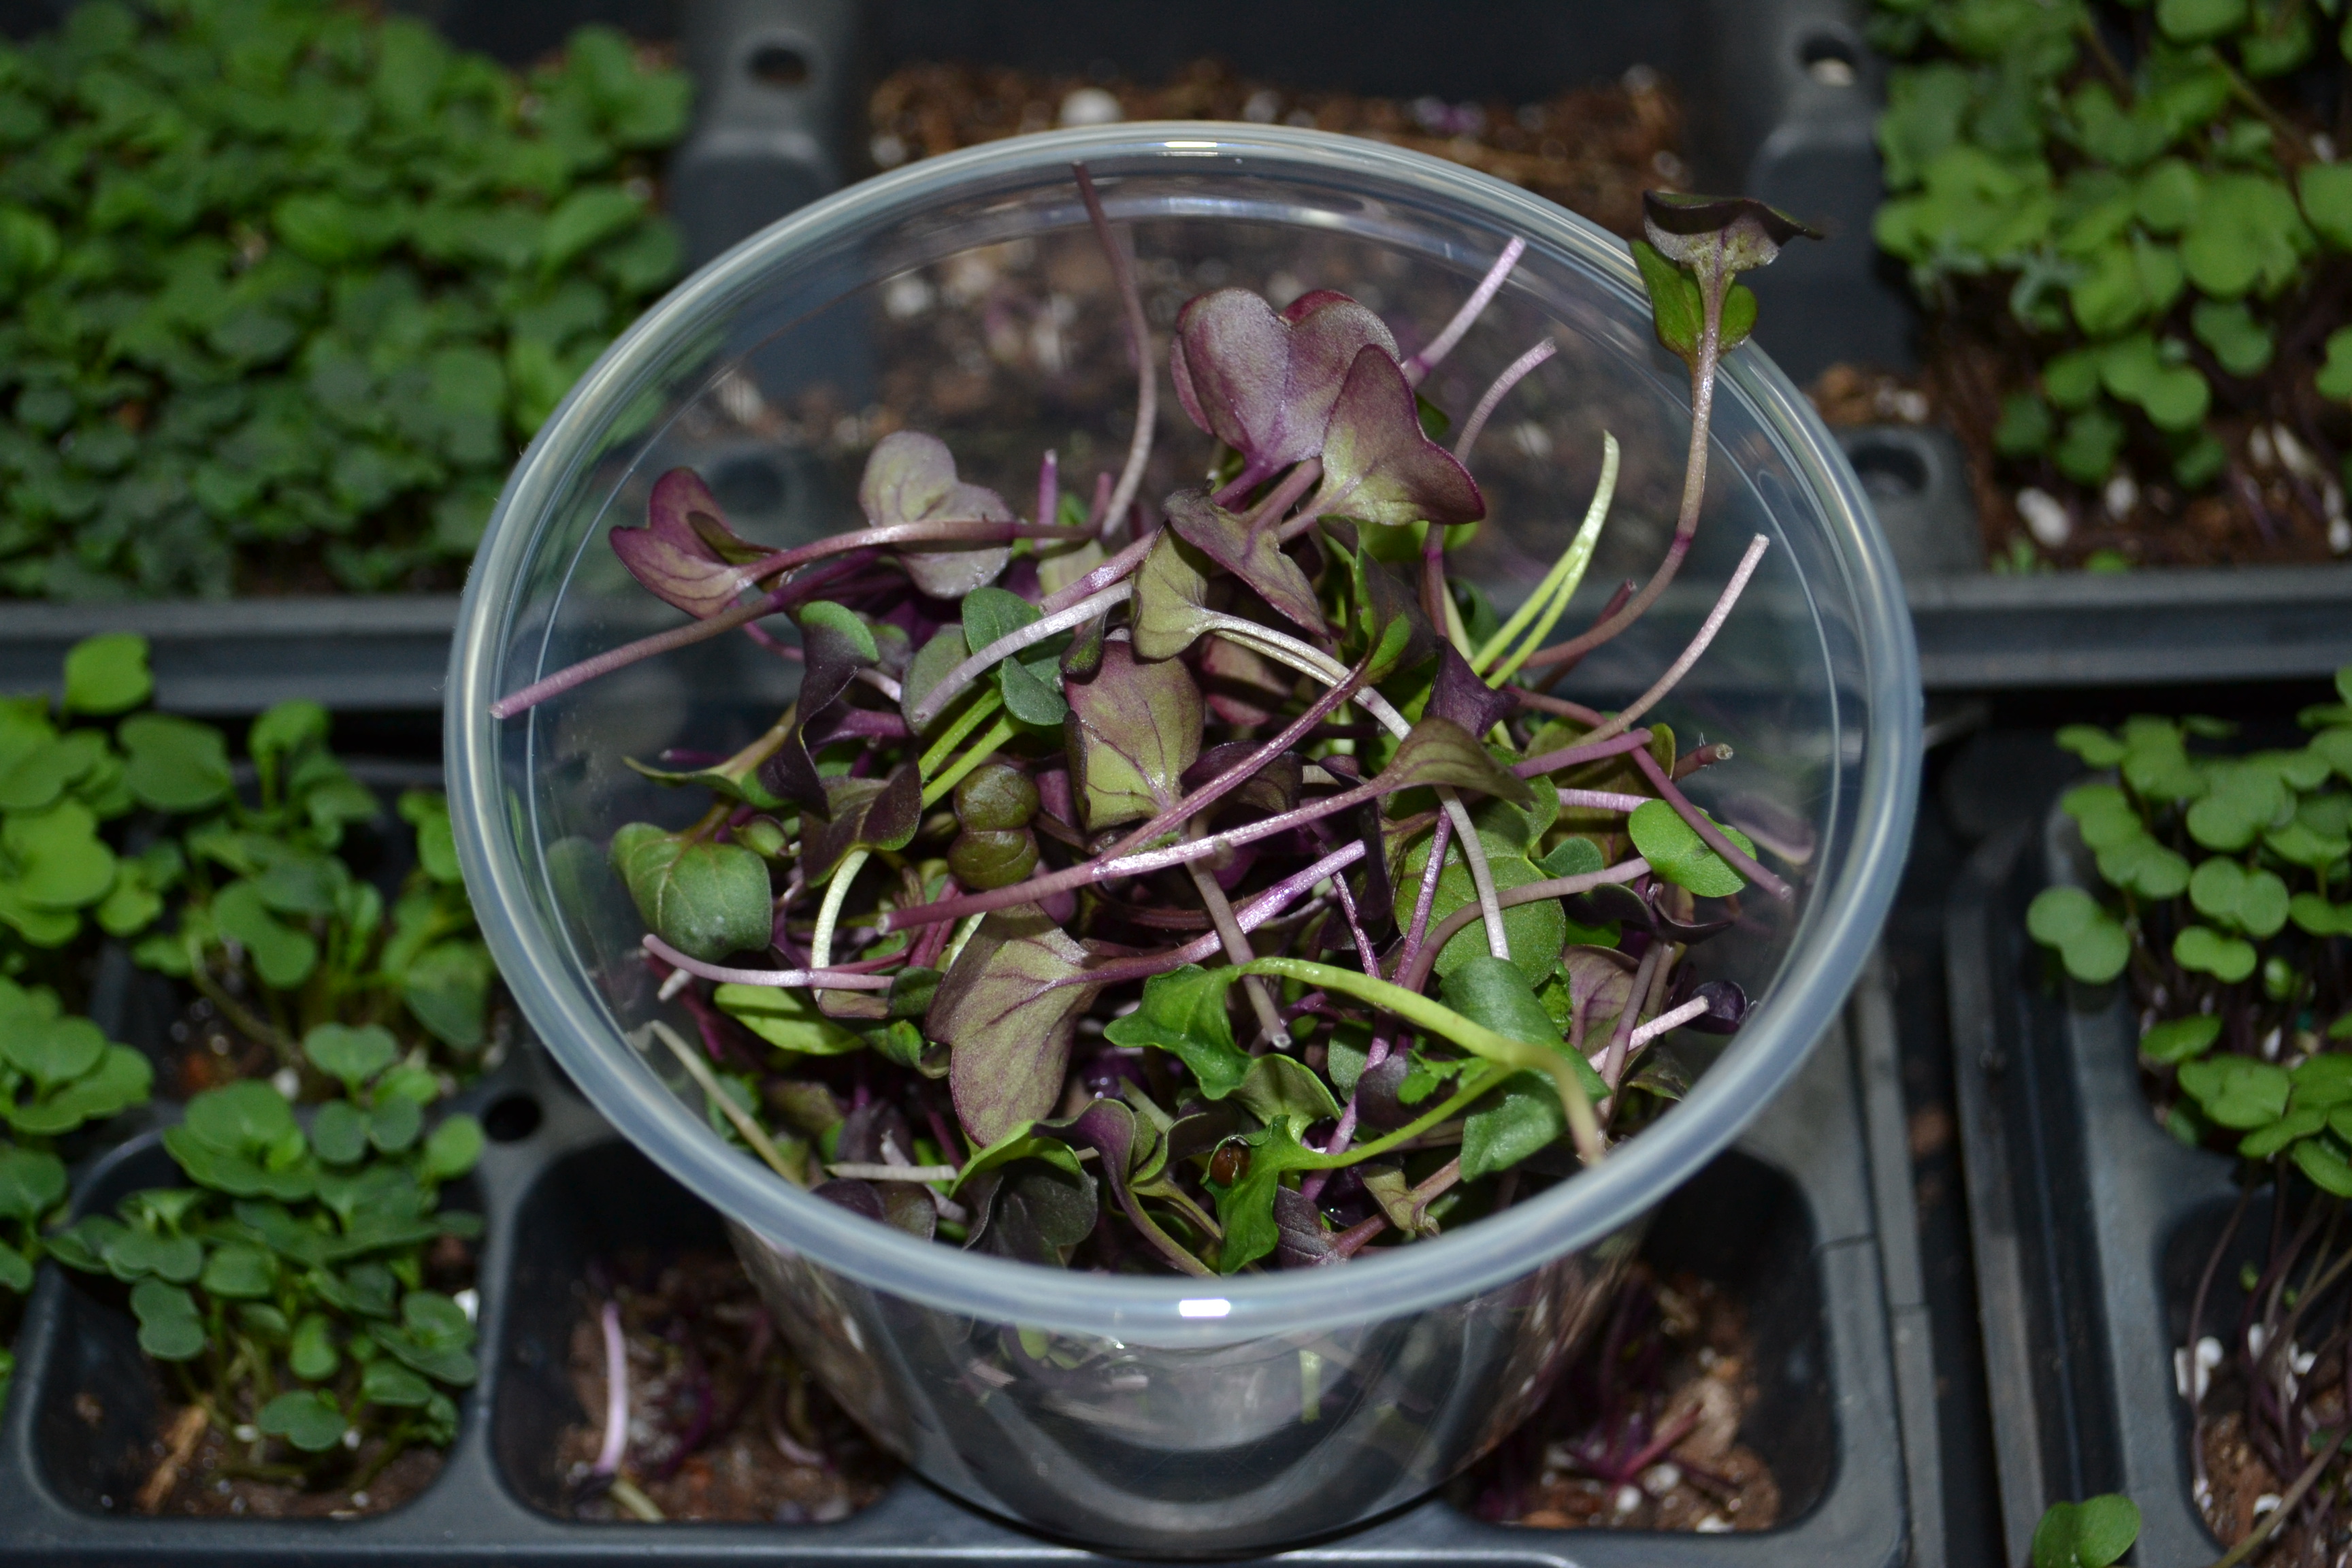
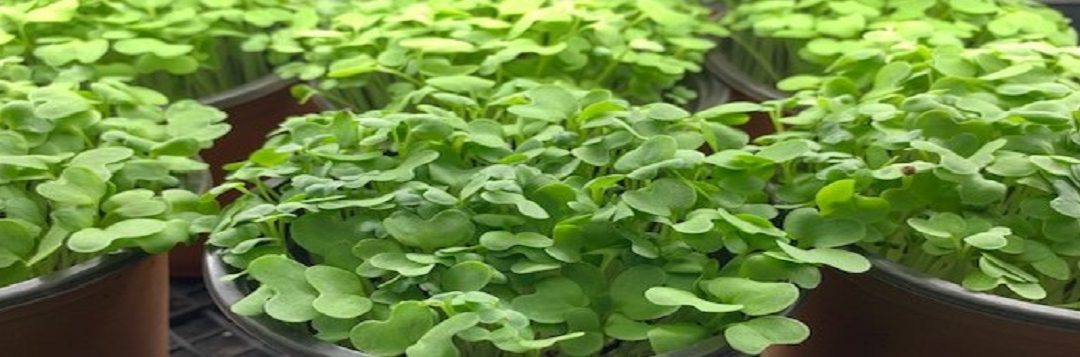
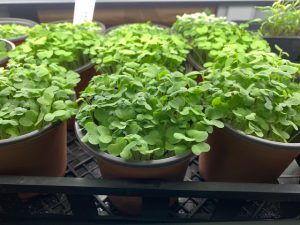
Microgreens are the tender seedlings of your favorite vegetable or herb. They are grown in containers or flats and harvested when the first seed leaves are fully emerged. You may also wait until you see the first true leaf. Unlike sprouts, microgreens require light and are cut when harvesting to only include the stem and leaves. Depending on the seeds you start, you may enjoy mild or spicy greens, or refreshing lemony flavors of a young herb.

Microgreens can offer beautiful colors for your dish. Photo by Beth Bolles, UF IFAS Extension Escambia County.
Here are the basic steps to get started growing microgreens.
- Get a commercial tray or recycled container and sterilize it in a 10% bleach solution. Make sure your recycled containers have drainage holes.
- Choose a good seed starting potting mix that is more fine textured. Many seeds you will start are small and a mix with a lot of bark may affect seedling germination. Add one to 1.5 inches of the soil in your container. You don’t need more depth of soil since you will be harvesting in a week to 20 days.
- Decide which types of greens you like. Consider arugula, radish, mizuna, or mustard for some spice. Swiss chard and purple cabbage will give you color, while collards, broccoli, and kale will offer mild flavors. Don’t forget about herbs like dill, cilantro, or basil for good flavors too.
- Once you have chosen your seed, beginners should seed one selection per container. As you learn the growth rate of your favorite selection, you may can combine different varieties in a flat.
- Make sure your soil is moistened (but not soaking) and spread seed on top of the soil. You will be adding about 12 seeds per square inch of soil for small seeds and about 7 seeds per square inch for larger seeds.
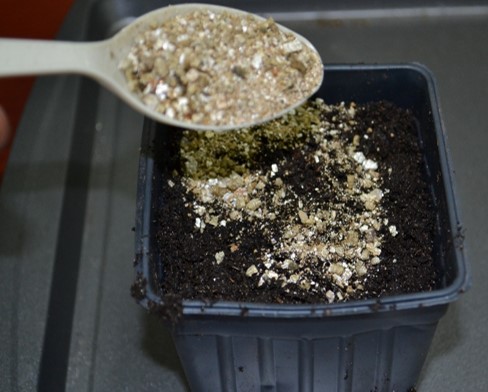
- Sprinkle vermiculite over the seeds and then use a spray bottle or nozzle mister to moisten the vermiculite.
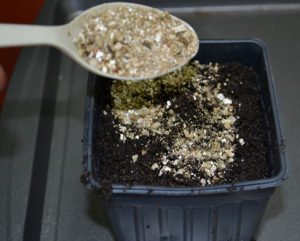
Vermiculite allows moisture to get to seeds and may reduce seedling disease pressures. Photo by Beth Bolles, UF IFAS Extension Escambia County
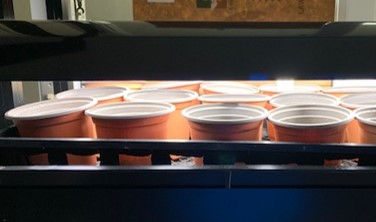
- Place containers in a greenhouse, window sill, or indoor growing tray. As soon as the seeds germinate, make sure they are receiving bright light. If growing indoors, the fluorescent or plant lights need to be a few inches above seedlings. Move the lights higher as your seedlings grow.

New seedlings need bright light. Indoor lights that are 2-3 inches from seedlings prevent thin, spindly stems. Photo by Beth Bolles, UF IFAS Extension Escambia County
- Maintain a room temperature of about 70 degrees F. Temperatures above 75 degrees F can lead to disease issues
- It is also best to water from the bottom to prevent disease issues. If this is not possible, carefully water seedlings so not to injure delicate plants.
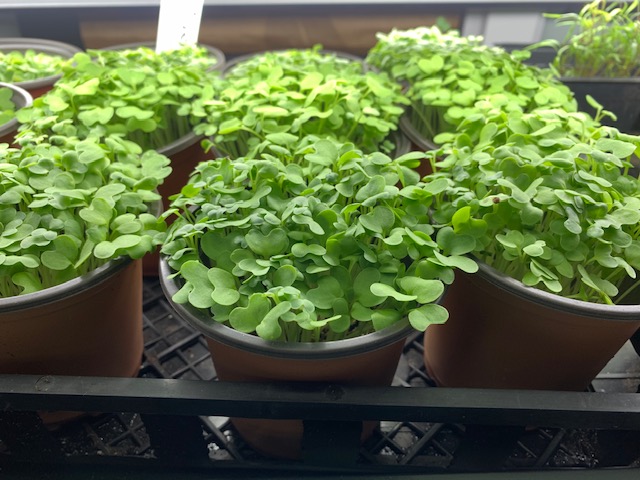
- Radish and kale will be ready for harvest in about 7 days. Swiss chard, basils, and cilantro may take 20 days.
Microgreens are ready to harvest. Photo by Beth Bolles, UF IFAS Extension Escambia County
- Use clean scissors to cut stems, careful not to pull up any soil. Remaining soil and roots can be composted.
- When you are ready to use in a salad, sandwich or in juicing, place microgreens in a bowl of water to wash. Let them air dry on a paper towel.
The good news about growing microgreens, is if you find they are not to your liking or too much trouble, you it has only been a couple of weeks of effort.

by Daniel J. Leonard | Jan 18, 2019
Many Americans have a remarkably unrefined taste in salads; my brother has long counted himself in this group. Dice up some crunchy Iceberg type lettuce, splash on a dollop of ranch dressing, maybe chop a leaf of romaine up if you’re feeling frisky and call it a salad, this is the way we’ve been trained to eat. I’m here, a voice in the supermarket produce aisle wilderness calling, to tell you it’s time to open up your palate, look beyond lettuce, live a little, and add some spice to your life and salad bowl with three of my favorite easy to grow leafy greens: Mizuna, Frilly Mustard, and Italian Dandelion.
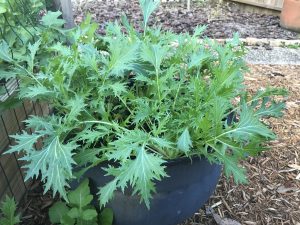
Mature Mizuna plants in the author’s container garden.
Before we get into species specifics, let’s cover a couple of reasons you should grow them at home! Growing your own flavor-packed greens has many benefits. First, leaves from these plants can be difficult to find anywhere but specialty health food stores or high-end supermarkets. Growing your own ensures a consistent supply, especially if one utilizes the “cut and come again” harvesting method (just remove the leaves and stems you need that day, leave the crown intact and allow the plant to regrow for next week’s harvest). Second, you do not have to worry about the too common food safety recalls and other health scares involving “leafies”. If you follow standard safety practices (clean irrigation water, wash picked leaves and store properly, etc.), you’ll be eating scrumptious salads when everyone else is begrudgingly trashing entire bags of recalled store-bought greens. Finally, each of these species double as gorgeous accent plants in
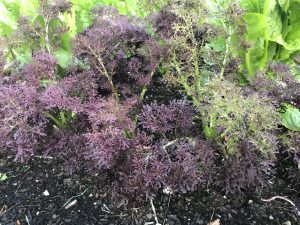
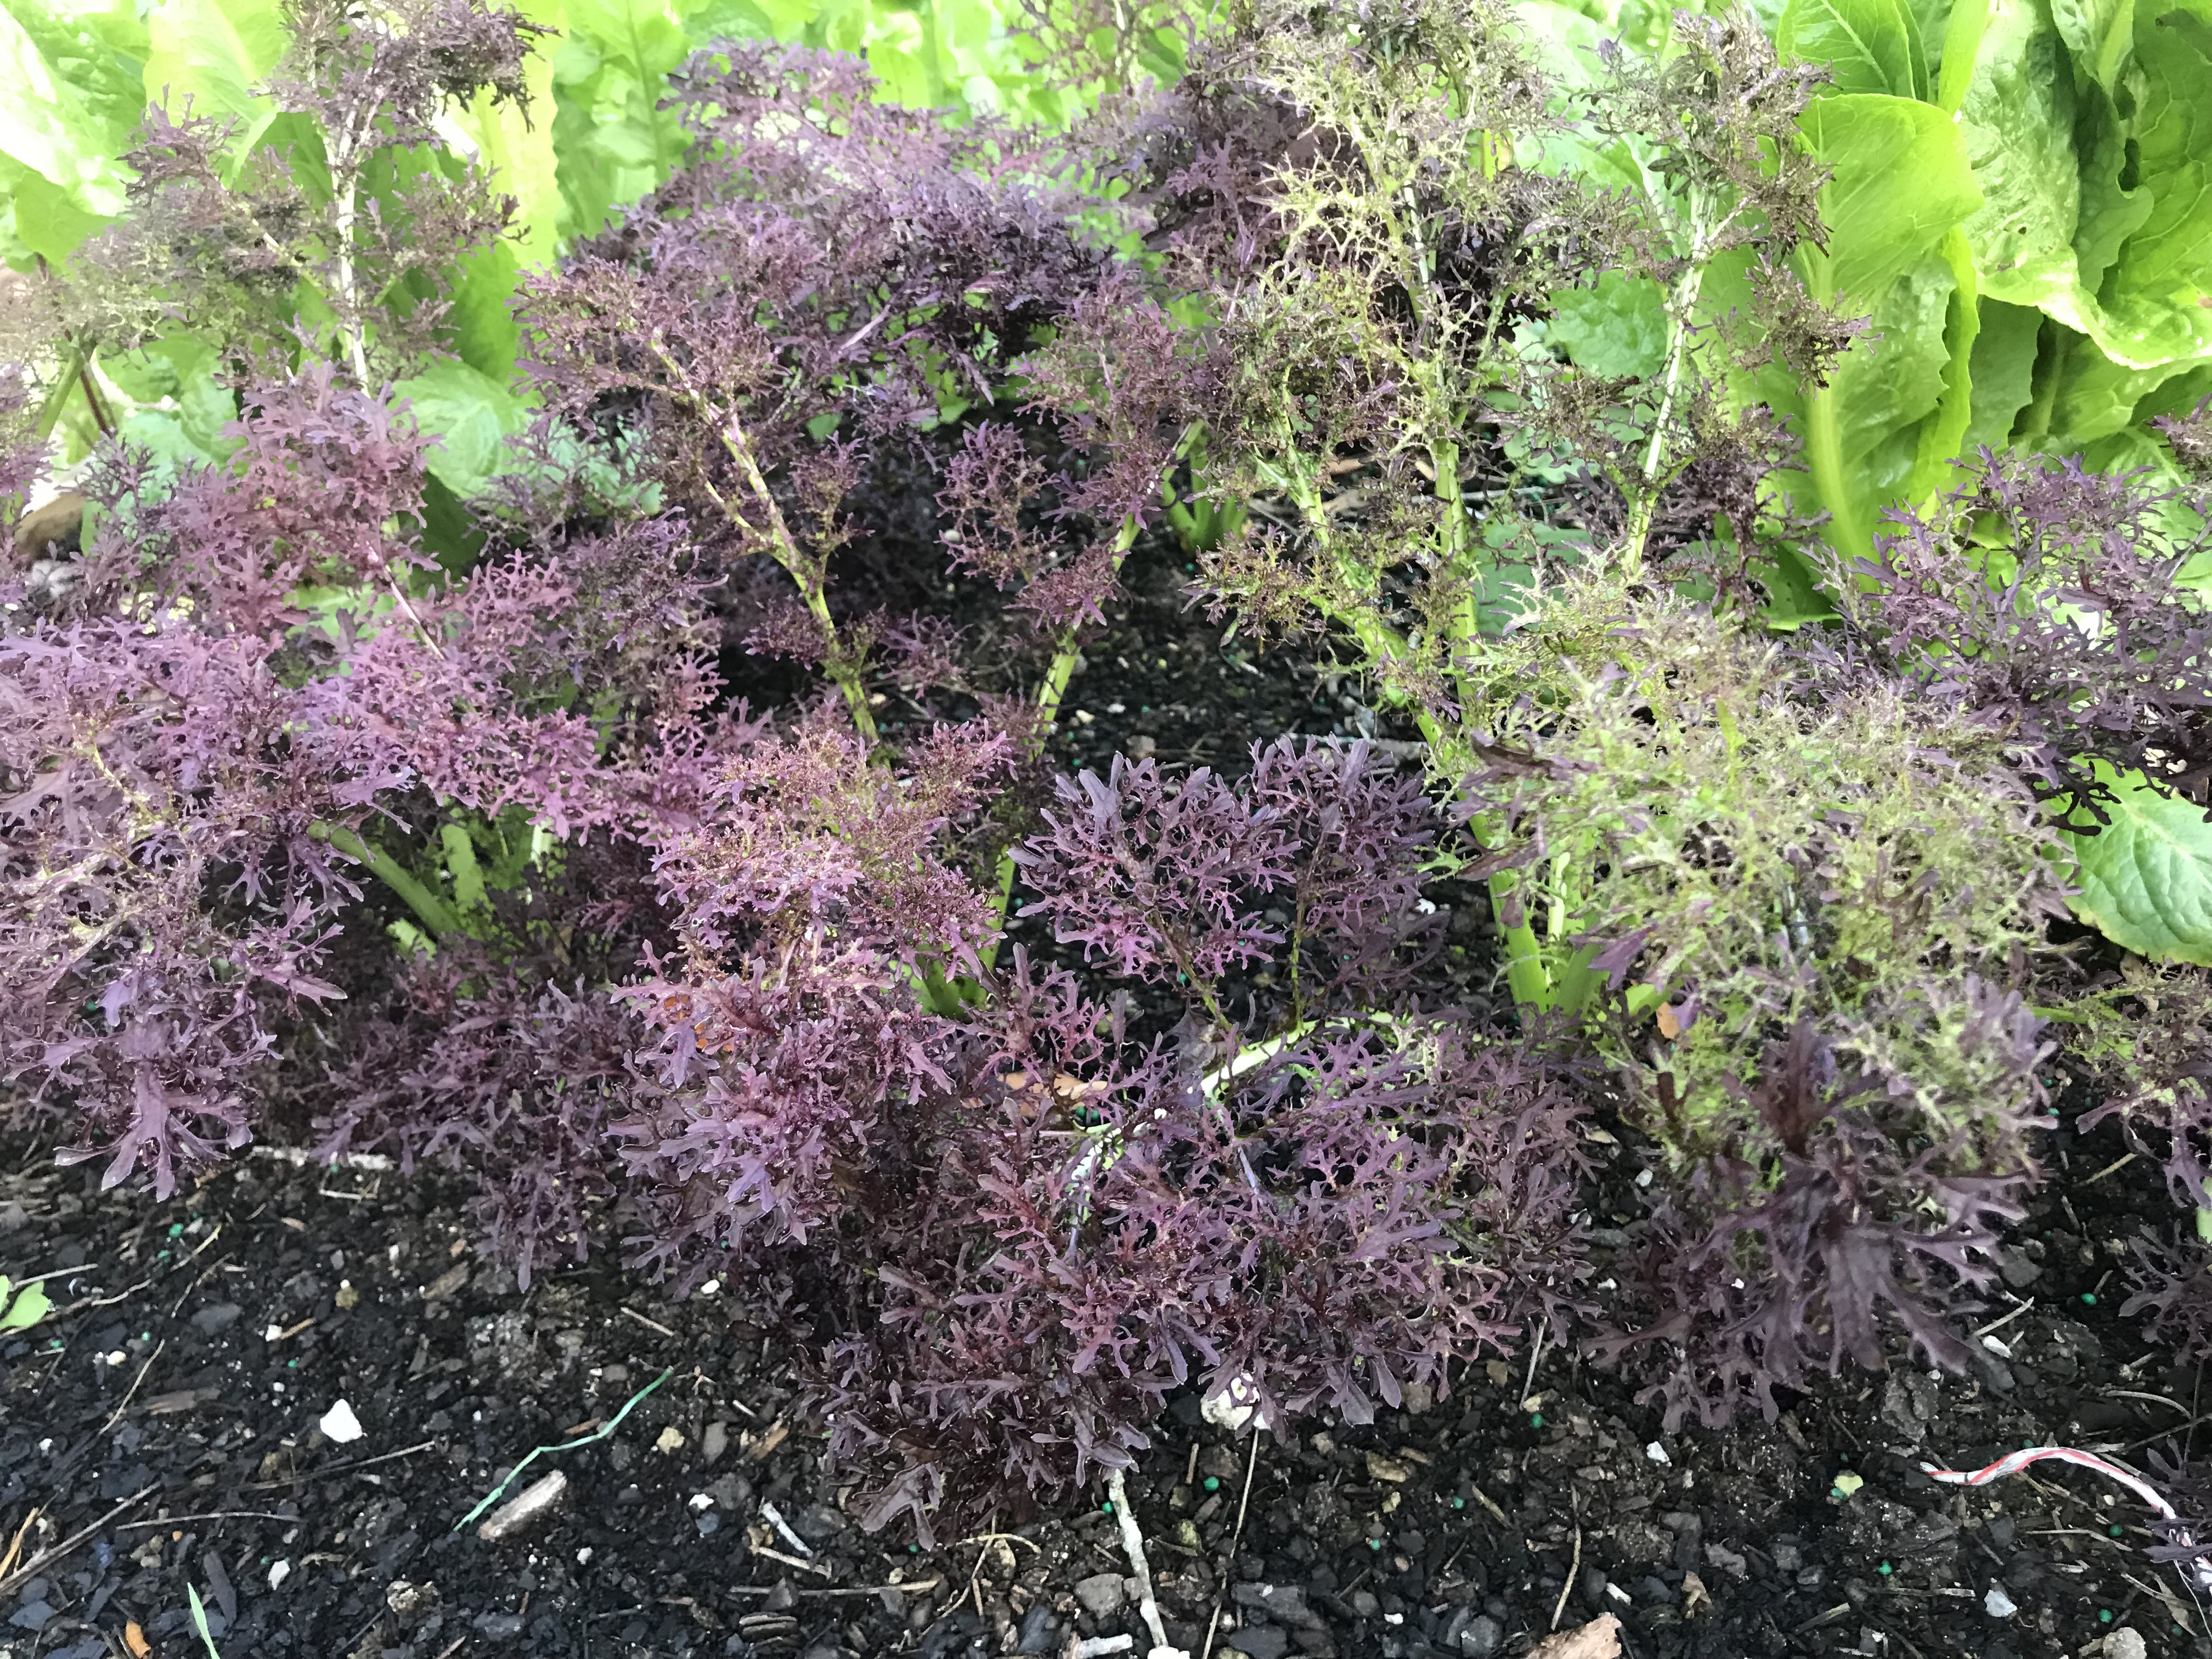
‘Scarlet Frills’ Mustard in the author’s container garden.
raised beds or containers. I love plants that do heavy lifting as both eye-catching ornamentals and delicious edibles!
Mizuna is a little known member of the mustard family that is quickly becoming one of my favorite leafy greens! It faces no major pest or disease problems in the garden and it is extremely tolerant of the cold weather Floridians periodically face through the winter, laughing off frost. Mizuna possesses lovely, deeply cut, pale green, fringy leaves complete with crispy white stems, all of which are edible – no need to separate stems when processing to eat! This lovely little Asian green has a mild peppery taste (think a toned-down Arugula) and adds perfect flavor and texture to any salad!
Many Southerners are well acquainted with traditional Mustard greens and their preparation (more than a little bacon and salt) but may not be aware of newer Mustard cultivars that give the species a bit of refinement and make it a salad celebrity! This winter, I’m growing a cultivar of Mustard called ‘Scarlet Frills’ (aptly named with finely serrated burgundy-red leaves) and really enjoy its peppery horseradish taste as a foil to the mildly sweet taste of traditional salad greens like lettuce and spinach. Mustards are extremely cold tolerant and slow to bolt, making it a mainstay in the salad garden all winter long; you really get your money’s worth from a few Mustard plants! However, even if this leafy green wasn’t delicious, it would be worth growing. The “fancier” Mustard cultivars are highly ornamental and deserve a spot in any cool season container garden.

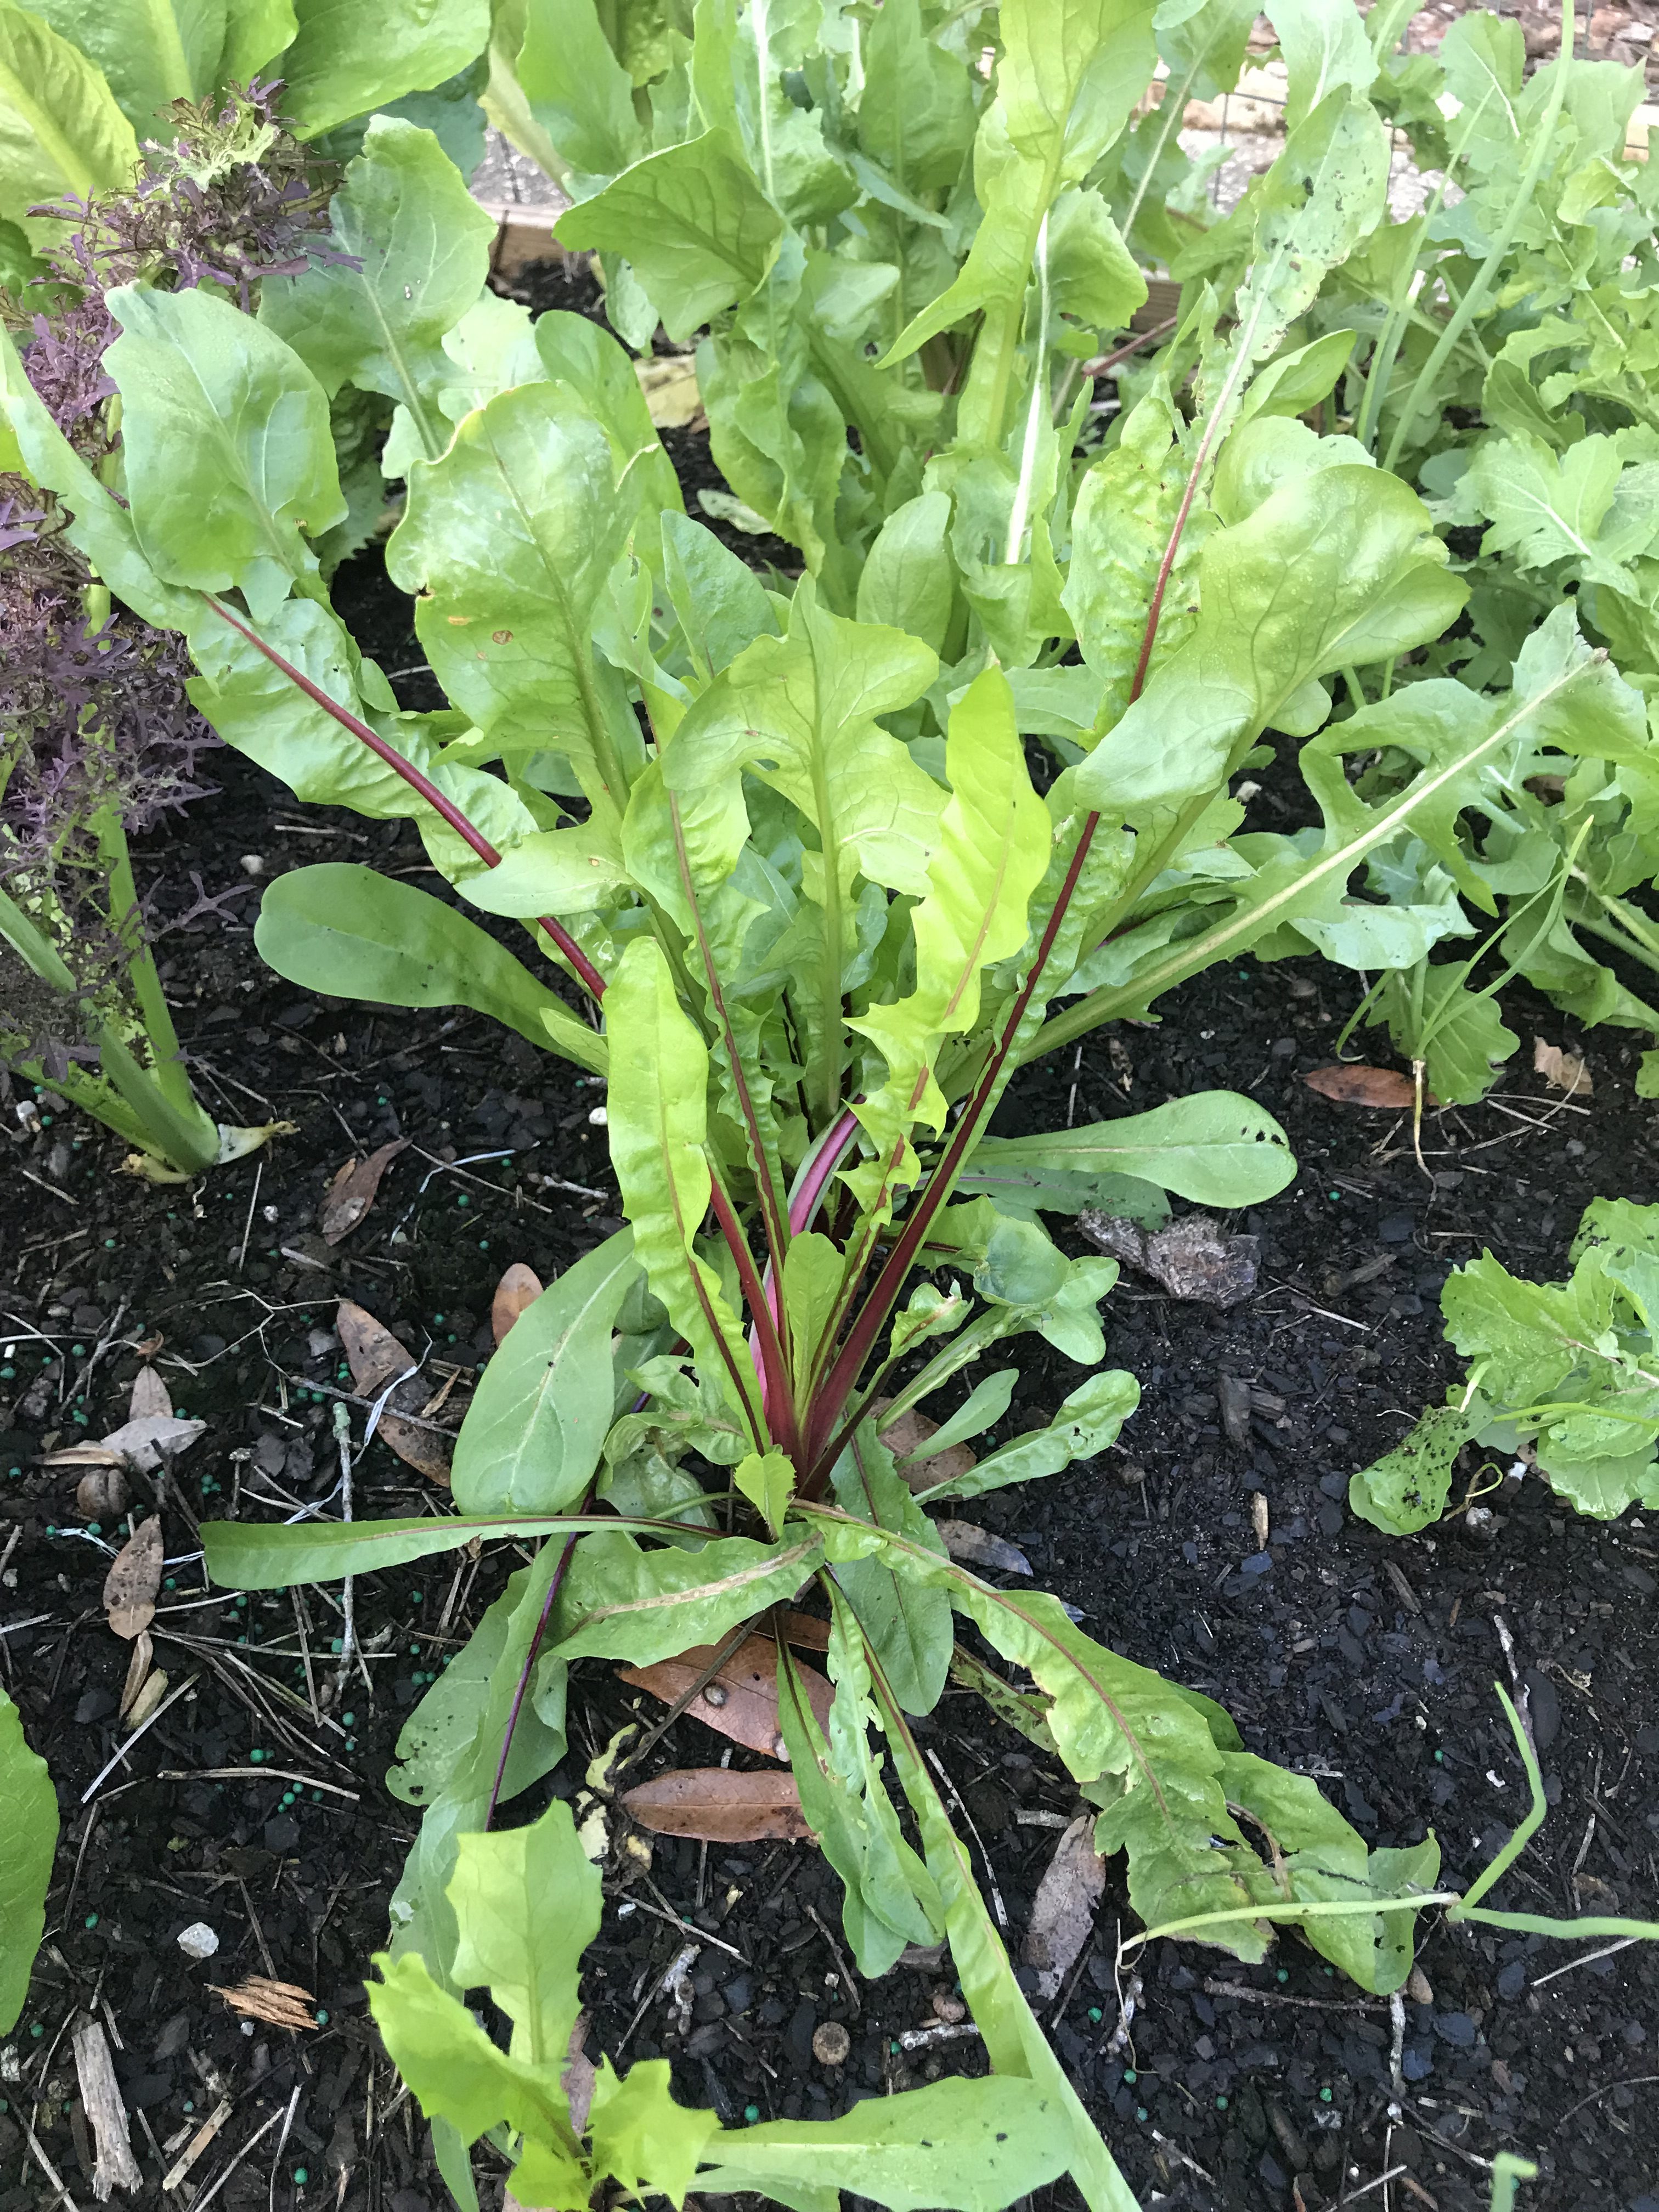
‘Italiko Red’ Italian Dandelion in the author’s container garden.
Finally, the one that turns up the most noses when I mention growing and eating it, Italian Dandelion (Cichorium intybus)! I’m not advocating foraging in your turfgrass to find dinner, in fact, Italian Dandelion is not a true dandelion (it’s actually a chicory). However, it does share a number of features with its weedy cousin, including leaves that are similar in appearance and a vigorous taproot. That’s where the comparisons stop though, as Italian dandelion is a superior garden plant, more upright growing, much larger, and deeper green (some varieties including the one I grow ‘Italiko Red’ have red veined leaves) than its wild cousin. Unlike Mizuna and some of the milder mustards, Italian Dandelion is a bit of an acquired taste. It imparts a strong bitter flavor that may be cut with milder greens in a salad or cooked down to reduce bitterness. Either way you try it, put Italian Dandelion on your cool season garden next year!
Mizuna, Frilly Mustard, and Italian Dandelion all require similar growing conditions. In Florida, leafy greens are cool season vegetables, growing through the fall, winter and spring months. Seeds should be sown in late September and can be stagger-sown (plantings every couple of weeks) to ensure a steady supply through spring. As a rule, they prefer rich, well-drained soil high in organic matter. These soil conditions are achievable with either quality commercial potting mixes or homemade concoctions of compost and pine bark. The beds or containers you fill with the aforementioned soil should be sited near a good water source (plants that aren’t convenient to water get neglected, trust me) in an area that gets 6-8 hours of full sunlight. I like to topdress at planting (if using transplants) or after germination (if using seed) with a good general purpose, slow-release fertilizer, many formulations and brands that work are widely available for purchase. Finally, be sure to purchase seed from a quality source. Online purveyors Johnny’s Selected Seeds, Baker Creek Heirloom Seeds, and Sow True Seeds are good places to start, though the options are nearly endless!
Next year, when planning your cool season garden, remember to add a little spice with these three leafy greens, Mizuna, Frilly Mustard, and Italian Dandelion! For more information about cool season gardening and other topics, consult your local UF/IFAS Extension Office.
by Matt Lollar | Jun 21, 2018
Are you interested in growing squash in your garden? Do you know the difference between summer squash and winter squash? Check out this very informative instructional video on growing squash in your home garden by Walton County Agriculture Agent Evan Anderson.
[youtube https://www.youtube.com/watch?v=hlbJfV-0FuU&w=560&h=315]

by Matthew Orwat | Dec 2, 2016
 In Northwest Florida gardeners are fortunate since it is possible to grow ample supplies of vegetables throughout the winter months. While the Florida Panhandle does receive the occasional hard freeze, many winter vegetables such as radish, onion, lettuce, carrot and the various cole crops, can easily withstand mild freezes.
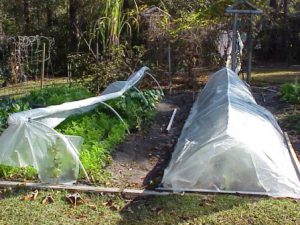
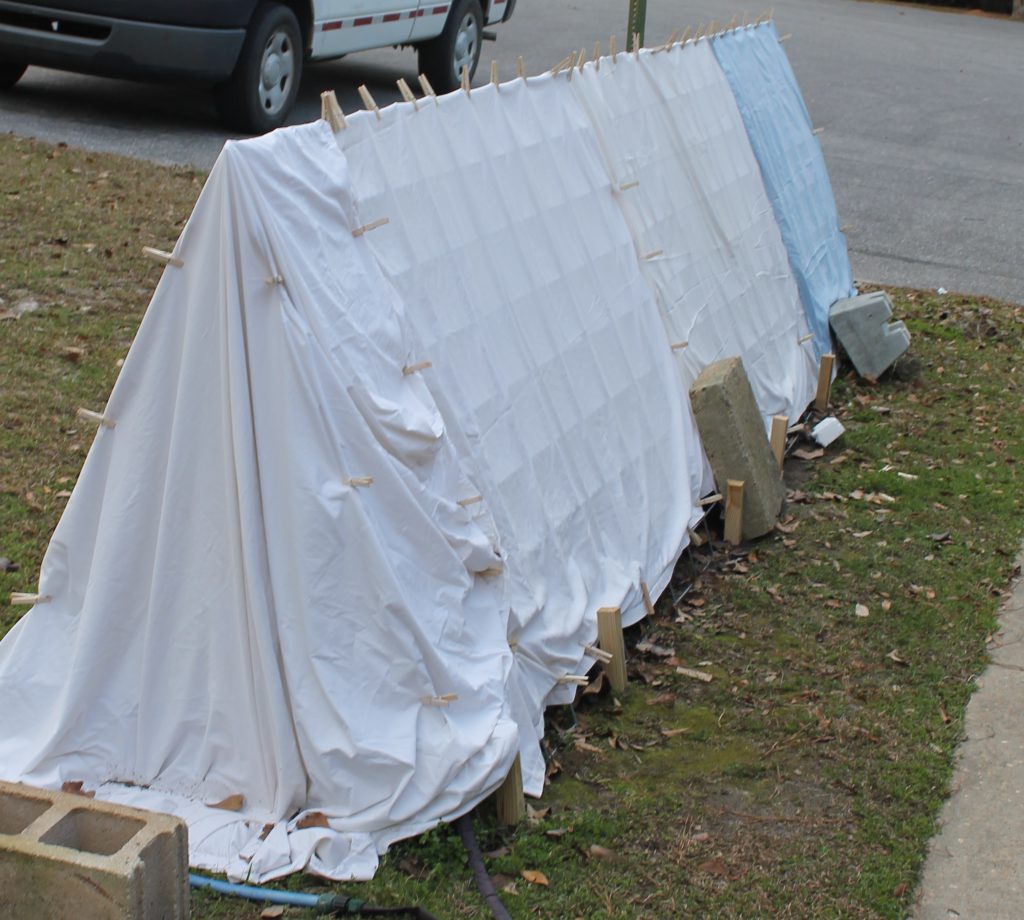
When a hard freeze occurs, defined by temperatures that dip below 28°F for over five hours, it is important to be prepared with frost cloth, cotton sheets or other suitable material. Frost cloth is a good option since it protects plants from morning frosts while still allowing for a little air transfer. It is a synthetic fabric which offers 4-8 degrees of protection and is available through many online greenhouse and agricultural suppliers. Old cotton sheets, often found at thrift stores for very low cost, offer good protection from frost damage. With both of these products, ensure that the coverage extends completely to ground level with no gaps, to not allow cold air to infiltrate from the bottom.
While these methods will not provide enough protection to allow summer vegetables to be grown during winter months, it can be beneficial in reducing frost and freeze damage to winter vegetable crop.
Additional Tips:
Do not use plastic covers, since they radiate cold and heat more readily. Even if they protect the plants from the cold, they can quickly trap heat in when the sun rises and “cook” the plants.
Additionally, it is important to keep vegetables well-watered at all times, but this is especially true during frost events since moist soil holds more heat. Healthy, appropriately watered plants withstand cold stress at greater rates.
Happy gardening over the Holiday Season!