by Sheila Dunning | Jun 10, 2021
Potting soil, potting mix, garden soil, topsoil. The bags are all sitting side-by-side on the shelf at the garden center. Your challenge is to figure out which one you need for your project. What’s the difference? To begin with, none of them are dirt. The Soil Science Society of America defines dirt as “displaced soil”, the dead nuisance material left on your hands after working with soil. Soil is a blend of sand, silt, clay and organic matter. It is alive with nutrient and water holding components. But, all soil is not equal.
Soil contains decayed organic remains. It may be composted leaf tissue and/or microorganisms. The terms potting soil and
 potting mix are often used interchangeably, but there is a significant difference. Potting soil contains compost or the flora responsible for the breakdown process. Potting mix is soil-less. It is a blend of sphagnum moss, coir, bark, perlite and/or vermiculite. While these are natural occurring materials, they are in their original state. No decomposition has occurred. In the absence of compost, the resulting potting mix is sterile and free of fungus spores and insect eggs. Potting mixes are excellent choices for container growing, especially for house plants. The sphagnum moss, coir and bark hold and release water and nutrients, while the vermiculite or perlite keep the mix loose and well-drained. Some blended products add microbes, which then requires the word soil be added to the packaging. These are still suitable for potted plants.
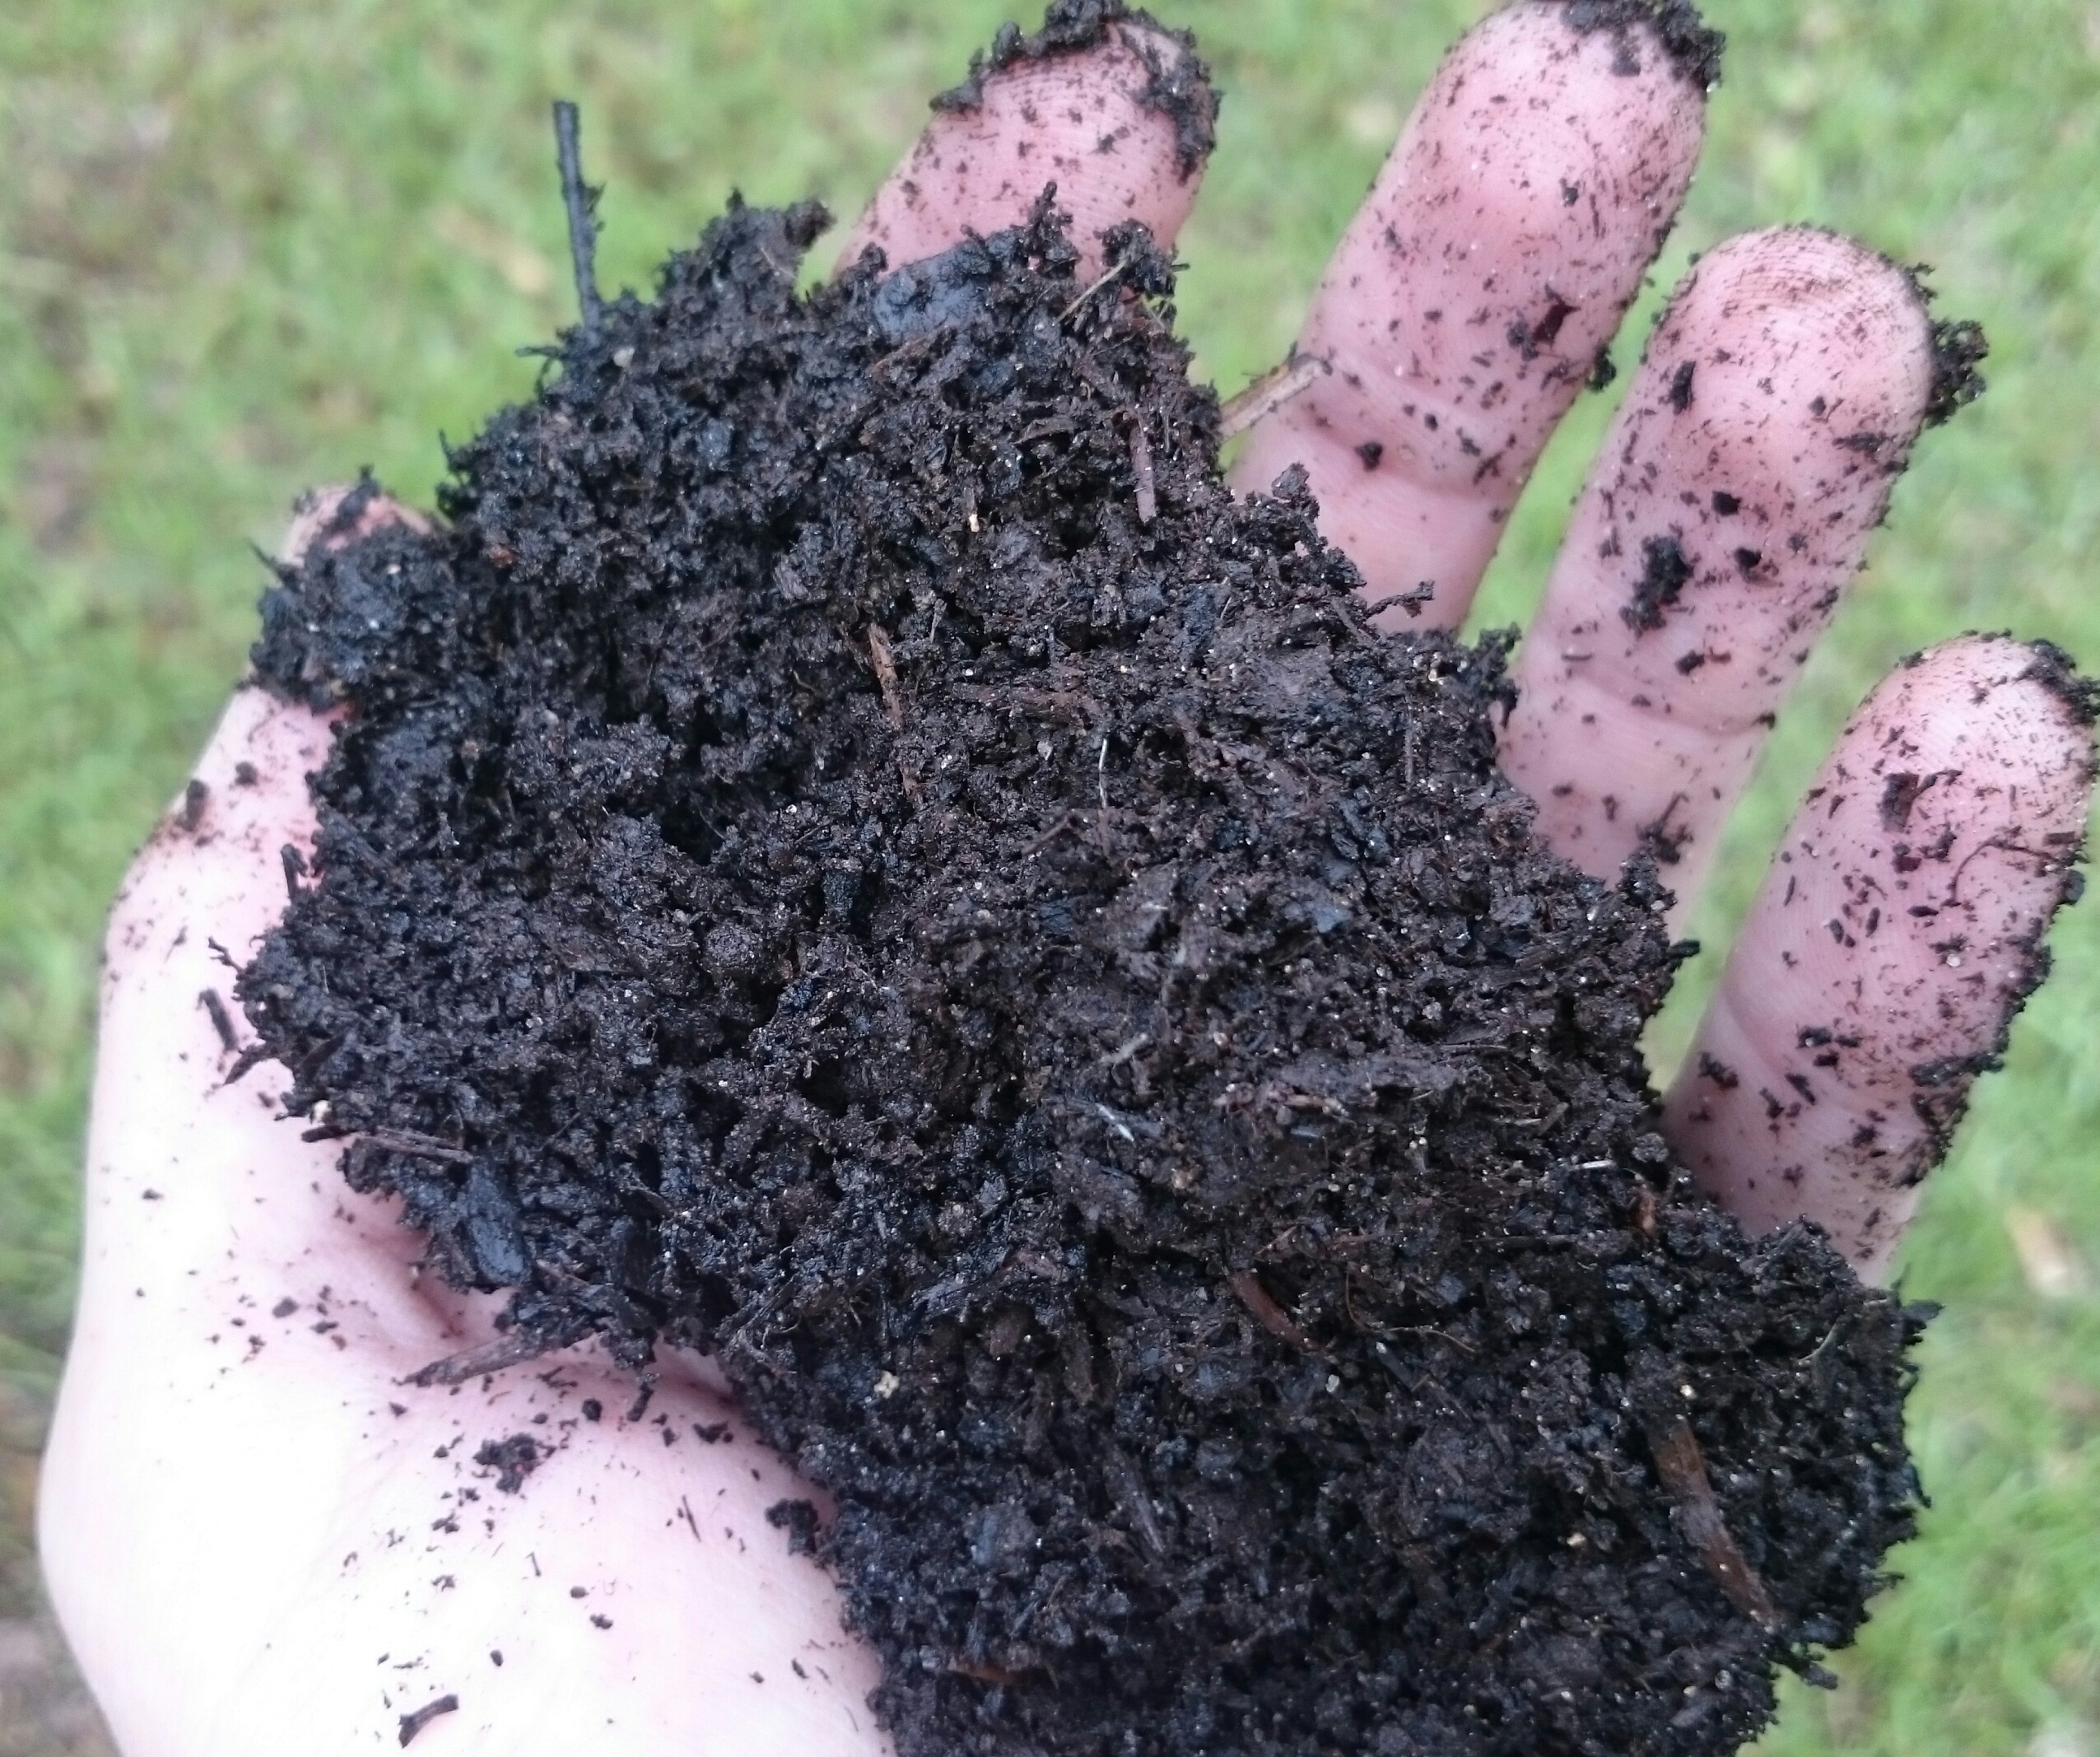
But, if the potting soil is made from mostly compost, the potential of having poor drainage and fungus gnat problems increases substantially. The only containers these type of potting soils should be used in are raised gardens. Depending on the compost source, these soils can sour, grow mushrooms or become extremely hard. 
 Garden soil is a blend of soil and soilless ingredients. It can be used in very large containers (24” or greater) or added to native soils to enrich planting areas.
Then there is topsoil. It varies widely in composition and quality. Use it to fill holes in the yard, build berms or mix it will compost to increase water retention in dry garden areas. 
So, when standing in the store comparing prices, don’t let price dictate your purchase. To keep your containerized plants doing well, do some bag reading. Choose the product that has aged forest products, sphagnum moss and perlite. Use the soils made from bio-solids and composted materials to improve the sand in the yard. When you’re done, go wash the dirt off your hands.
by Larry Williams | Jun 10, 2021
Every time we have a dry period in spring or summer, I get those predictable calls about some mysterious pest that’s playing havoc in lawns.
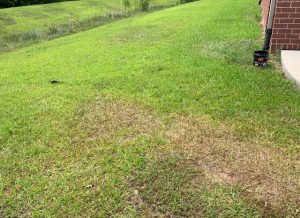
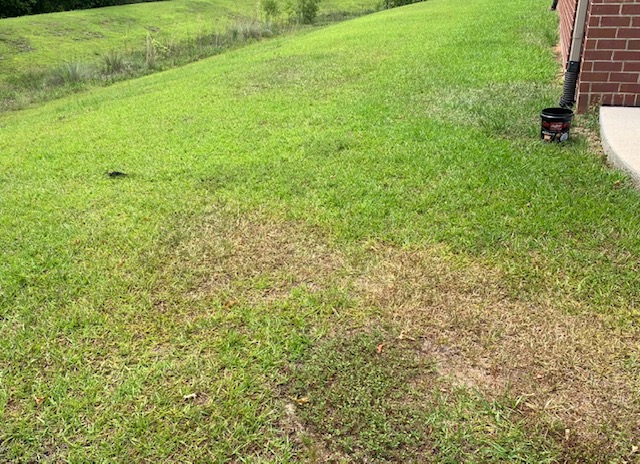
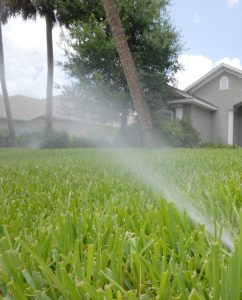
Dry spots in lawn. Photo credit: Larry Williams
Without realizing it, the caller usually describes a textbook example of dry spots in a lawn. And many times that’s what the problem areas are – dry spots.
Dry spots are the result of imperfections in an irrigation system. They are revealed during dry weather. Adequate rainfall masks the imperfections in an irrigation system.
Possible imperfections are many. The homeowner may easily fix some irrigation system problems while other problems may require the expertise of a licensed irrigation contractor. There may be too few sprinkler heads for adequate coverage, insufficient pressure to operate each zone, incorrect choice of nozzles or wrongly mixing rotors with spray heads on the same zone. The cause for dry spots may be as simple as a maladjusted spray head, a broken spray head, a plugged nozzle, a tree or shrub blocking the water, grass that has grown over a pop-up spray head, etc.
Regardless of the cause, there are a couple of simple tests that can help confirm that the problem areas are to be blamed on lack of sufficient water vs. a mysterious pest.
First, check the affected areas by taking a soil sample in the root zone. Use a soil probe or shovel to remove a core of soil to a depth of 6 to 8 inches. Visually inspect and feel the soil sample for moisture. Do the same test in an area of the lawn that looks normal and compare the difference. It should be obvious if there is a difference in moisture between the areas tested.
The second test involves placing several empty straight-sided cans such as tuna fish cans in the affected area and several in a “normal” area of the lawn. Then let the irrigation system run long enough to collect some water in the cans. Compare the amount of water collected in the two areas. It should be obvious if there is a difference in the amount of water applied in the areas tested.
These tests are cheaper, less trouble and more environmentally friendly as compared to purchasing and applying pesticides for nonexistent pests as a result of incorrectly diagnosing the problem. If these tests do not identify the problem as lack of water, you may have a lawn pest. But don’t guess.
Occasionally inspect your irrigation system while it’s running for obvious, easily corrected problems such as a maladjusted or broken spray head. The following UF/IFAS Extension publications will help with your inspection. https://edis.ifas.ufl.edu/entity/topic/residential_sprinkler_systems

by Sheila Dunning | Apr 1, 2021
Call 811 before you dig. No one wants a weekend project to be the cause of internet, phone and cable outages. Worse yet, what if someone gets hurt from contact with natural gas or electrical lines? That’s why it is so important to have buried utilities in the yard located and marked before digging. Sunshine 811 coordinates each individual company to clearly mark where the service lines are located. Homeowners are required by law to contact 811 three days before any soil removal is done. The service is free.
Have information prepared before making the request. Describe the work to be performed (e.g. fence install, landscaping, irrigation install), including the type of equipment that will be used. Specify the exact location on the property and how long the work will continue. Finally, provide all the contact information (e.g. name, phone number, e-mail), should there be any additional questions.
Call 811 or request a single address ticket online. Receive a ticket number and wait two full business days, not counting weekends or holidays. Then contact 811 again. Make sure that all the utilities have responded in the Positive Response System (PRS). Sometimes that may mean that the company doesn’t have anything to make in the area.
If there are utility lines running through the yard, they will be marked with specifically colored paints or flags. Red is used for electrical lines, orange indicates communication lines, yellow means gas, blue is used for potable water, purple is reclaimed water, and green indicates sewer lines. White lines may be used to outline digging areas and pink are temporary survey marks. This is the APWA Uniform Color Code.
Every effort is made to locate the lines as accurately as possible. But, the safest thing to do is hand dig to expose the utility line before using any mechanized equipment. Lines can vary up to 24” from the marked line and depths can be less than 5”. Remember there may be access lines running through the property even if that service isn’t utilized at that address.
Keep safe this spring. Call 811 before digging.
by Larry Williams | Jun 22, 2016
MICROIRRIGATION – Image Credit UF/IFAS Extension
When watering to establish a lawn or when renovating (redoing, patching, reestablishing, starting over, etc.) a lawn, we normally call for 2-3 “mists” throughout the day for the first 7-10 days until roots get established. These are just 10 minute bursts. Then back off to once a day for about ½ hour for 7-10 days. Then go to 2-3 times a week for about 7 days. By then your lawn should be established.
If we are experiencing adequate rainfall, you may not need to irrigate. Rain counts. But in the absence of sufficient rain, you’ll need to provide enough water at the correct time to allow your new sod to root – hence, the above directions.
A well designed and correctly installed irrigation system with a controller, operated correctly, helps to achieve uniform establishment. It can be difficult or impossible to uniformly provide sufficient water to establish a lawn with hose-end sprinklers, especially if the lawn is sizeable and during dry weather. Most people are not going to do the necessary job of pulling hoses around on a regular basis to result in a well-established lawn.
Too much water will result in rot, diseased roots and diseased seedlings and failure. Too little water will result in the sod, seedlings, sprigs or plugs drying excessively and failure to establish. The end result at best is a poorly established sparse lawn with weeds. Or complete failure.
There is no substitute or remedy for incorrect irrigation when establishing a brand new lawn or when renovating an entire lawn or areas within a lawn.
It would be wise to not invest the time and money if the new lawn cannot be irrigated correctly. Taking the gamble that adequate (not too much, not too little) rainfall will occur exactly when needed to result in a beautiful, healthy, thick, lush lawn is exactly that – a gamble.
An irrigation system is nothing more than a tool to supplement rainfall. As much as possible, learn to operate the irrigation controller using the “Manual” setting.
The above schedule should help when planting a lawn from seed, sprigs, plugs or sod.
For additional information on establishing and maintaining a Florida lawn, contact your County UF/IFAS Extension Office or visit http://hort.ufl.edu/yourfloridalawn.
by Carrie Stevenson | Mar 17, 2015
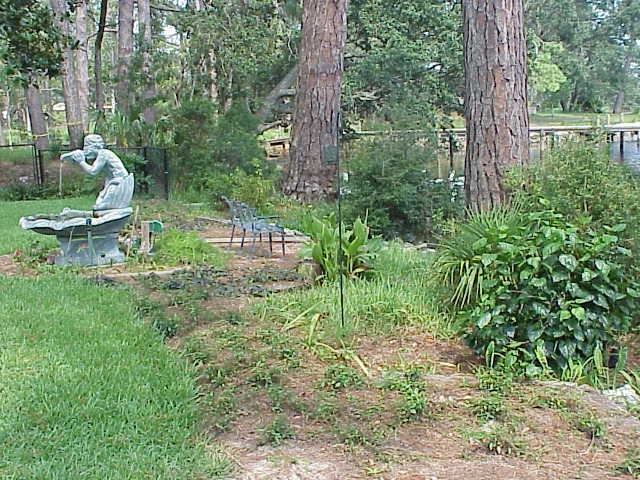
A waterfront buffer zone may include a raised berm with native vegetation to slow runoff from a yard before entering the water. Photo credit: Carrie Stevenson
A taste of spring weather has arrived, and people will soon be filling the home improvement stores and getting ready for outdoor projects. If you live on the water or near a storm drain, it’s worth considering buffer zones and best management practices for fertilizing and lawn maintenance.
A waterfront buffer zone is an area the length of one’s property line, typically running about 10 feet (although it can be wider) from the edge of a shoreline (or even a storm drain) into the yard. In this area, the homeowner allows native vegetation to grow along the water and uses low-maintenance plants within the buffer. In this zone, no fertilizers or pesticides are used. Some homeowners will build a small berm to divide the area of maintained lawn (uphill) from the downhill waterfront side. This berm may be composed of a mulched area with shrubbery to catch and filter runoff from the more highly maintained lawn. This combination of actions helps treat potentially polluted stormwater runoff before it reaches the water, and keeps homeowners from using chemicals close to the water. It is often quite difficult to grow turf next to the water, anyway, and this takes the pressure off of someone trying to grow the perfect lawn down to the water’s edge. The buffer zones are often quite attractive and can be an excellent transition between managed turf and the waterfront.

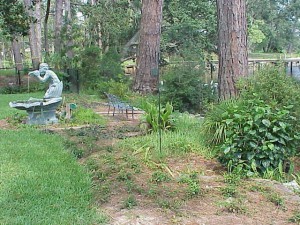
Unmaintained dirt roads along creeks are significant sources of sediment, which can harm the bottom-dwelling insects that form the base of the food web. Photo credit: Carrie Stevenson
Erosion prevention is crucial along waterways, as well. An open, non-vegetated lot can contribute a significant amount of sediment to a storm drain, stormwater pond, or natural body of water. Whether grass, trees, or bushes, any kind of vegetation is preferable to soil washing out of a yard and into the water. Sediment is a problem because it causes water clarity to drop, which can prevent seagrasses from getting the sunlight they need. Once settled, underwater sediment can form a stifling layer that chokes out small insects and invertebrates, which live in the soil and form the basis of the aquatic food chain. With no fish food available, fish may die or move out of an area. The most dramatic examples of this can often be found at dirt roads that cross over creeks. If not managed properly, the clay on these roads can nearly bury a small stream.
Other lawn care techniques for protecting the waterfront and preventing stormwater pollution include not mowing along the water, using a deflector shield and staying 3’-10’ away from the water’s edge when fertilizing, and not allowing grass clippings to blow into storm drains. Large amounts of decaying grass in a waterway can use up available oxygen, endangering aquatic organisms. When applying granular fertilizer, be sure to sweep up any spills on concrete so it doesn’t run into a storm drain. When cutting grass, mow at the highest height recommended for your turf to encourage deep rooting and stress tolerance. Healthy turf is better able to withstand drought, pests, and choke out weeds, reducing the frequency of pesticide and water application.