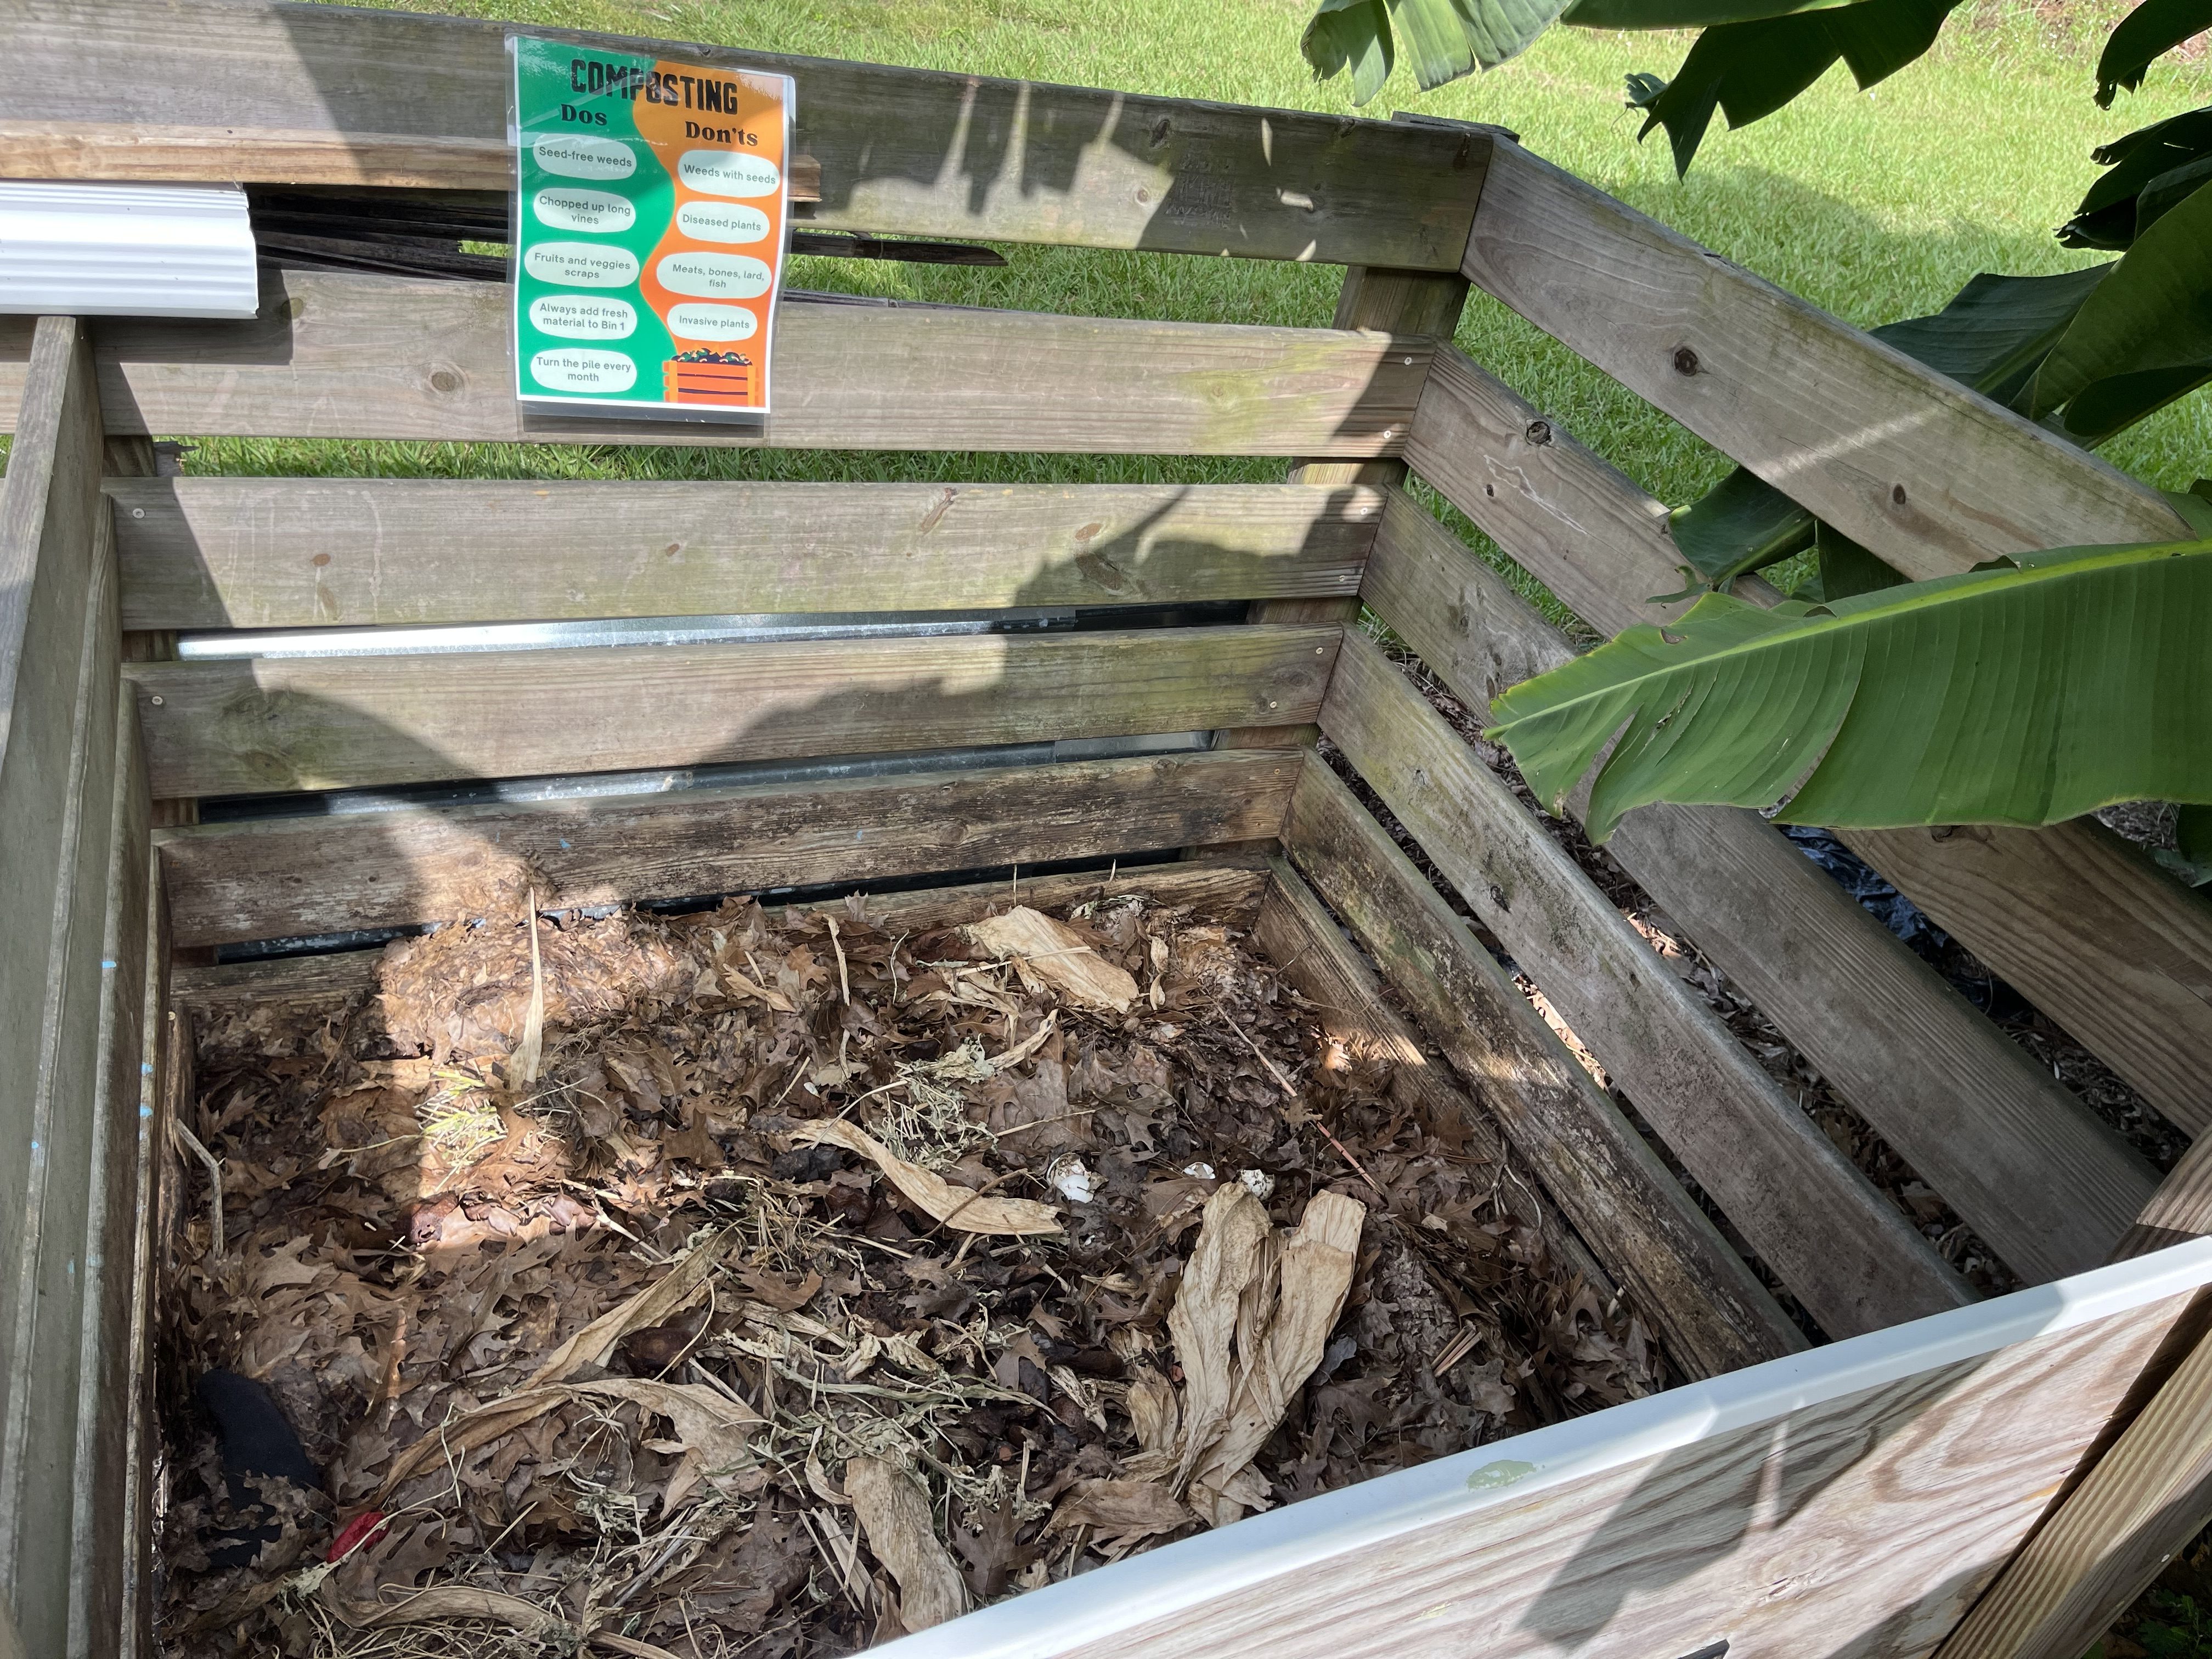
A simple wooden bin provides airflow and space for layering “browns” and “greens” to create balanced compost at home. Photo by Molly Jameson.
The Dirt on Compost: Hot and Worm Composting at Home
Every week, many of us dump spoiled food or leftovers into the trash and haul yard waste to the curb, not realizing that all of that organic material could be turned into something incredibly useful. Composting is the answer. It’s a simple, natural process that transforms food scraps and yard debris into a rich soil amendment that feeds your plants and improves soil health.
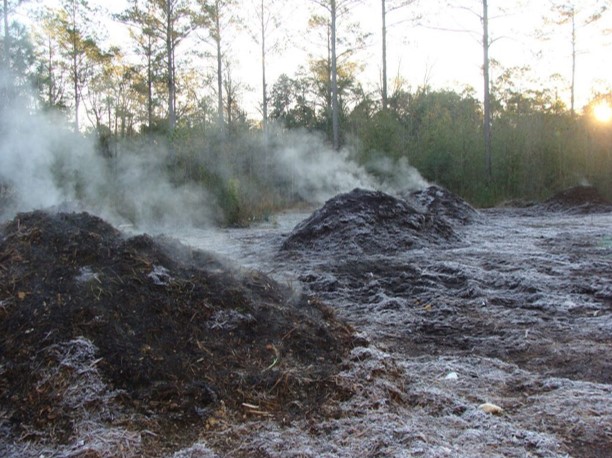
Microbial activity generates heat as organic matter breaks down, causing visible steam to rise from active thermophilic compost piles on cool mornings. Photo by Turkey Hill Farm.
There are two main ways to compost at home: thermophilic (hot) composting and vermicomposting (composting with worms).
Thermophilic composting is the classic backyard method that relies on heat-loving microbes to break down organic material. With the right mix of “browns” (carbon-rich materials like dried leaves, cardboard, and straw) and “greens” (nitrogen-rich materials like vegetable scraps, coffee grounds, and grass clippings), the pile heats up to between 130–160°F. This high heat speeds up decomposition and kills weed seeds and harmful pathogens. Turn the pile occasionally and keep it moist, and in a few months, you’ll have dark, earthy compost ready to mix into your garden beds.
Hot Composting Fun Facts
Food scraps and yard waste make up nearly 30% of what we throw away, most of which could be composted instead.
Microbes in a hot compost pile can double their population every 20–30 minutes under the right conditions.
A compost pile needs at least one cubic yard (3x3x3 feet) of material to build enough mass to heat up properly.
Steam rising from a compost pile on a chilly morning isn’t smoke – it’s water vapor from microbial activity.
Red wiggler earthworms transform food scraps into nutrient-rich worm castings. Photo by Leon County.
Vermicomposting is a little different – and a bit squirmier. This method uses red wiggler earthworms (Eisenia fetida) to process kitchen scraps into a fine, nutrient-rich material called worm castings. Earthworm bins can be kept indoors or outside in a shaded area, making them a great option for those with limited space. It’s clean, odor-free when managed properly, and a surprisingly fun way to recycle your food waste.
Worm Composting Fun Facts
Red wigglers can eat up to half their body weight in food scraps each day.
Worms breathe through their skin and need moist bedding to survive and stay active.
Worm castings contain five times more nitrogen and seven times more phosphorus than average topsoil.
Worm castings contain beneficial microbes that help suppress certain plant diseases in soil.
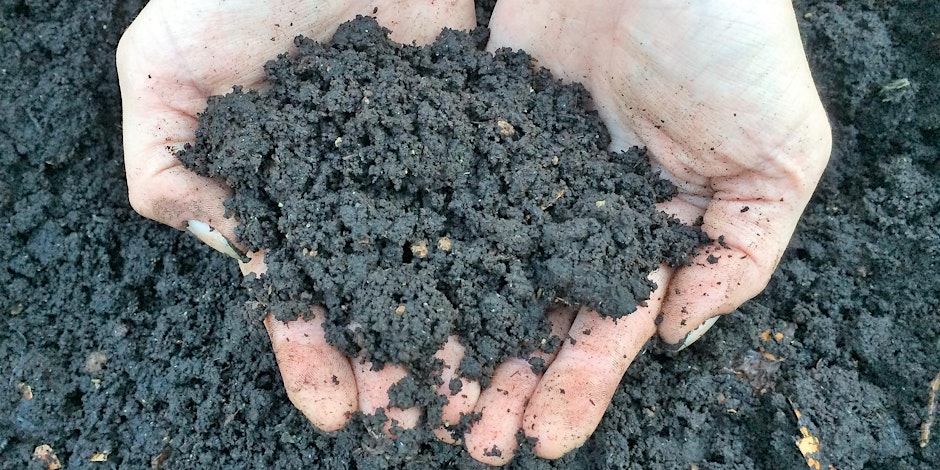
Finished vermicompost is dark, crumbly, and nutrient-rich – the result of red wigglers breaking down organic waste. Photo by John Edwards.
Both methods keep organic material out of the landfill, reduce methane emissions, and build healthier soil – something every gardener can appreciate.
If you’d like to learn even more about composting and hear additional fun facts about how nature recycles, join UF/IFAS Extension Agents Mark Tancig and Molly Jameson for The Dirt on Compost: Hot & Worm Composting at Home on Wednesday, November 12, from 6:00 to 8:00 p.m. at the Leon County Extension Office (615 East Paul Russell Road).
As we transition from the dog days of summer into (hopefully) the cool weather of fall, it is a great time to consider the nutrient levels of your garden soil. One of the best things you can give your garden is the foundation of healthy soil, but to do that you may have to add some things over time. A natural way to boost your garden’s nutrient levels is through composting. But what exactly is compost and where can you get it?
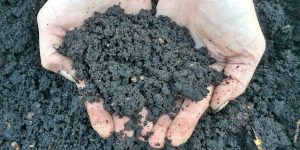
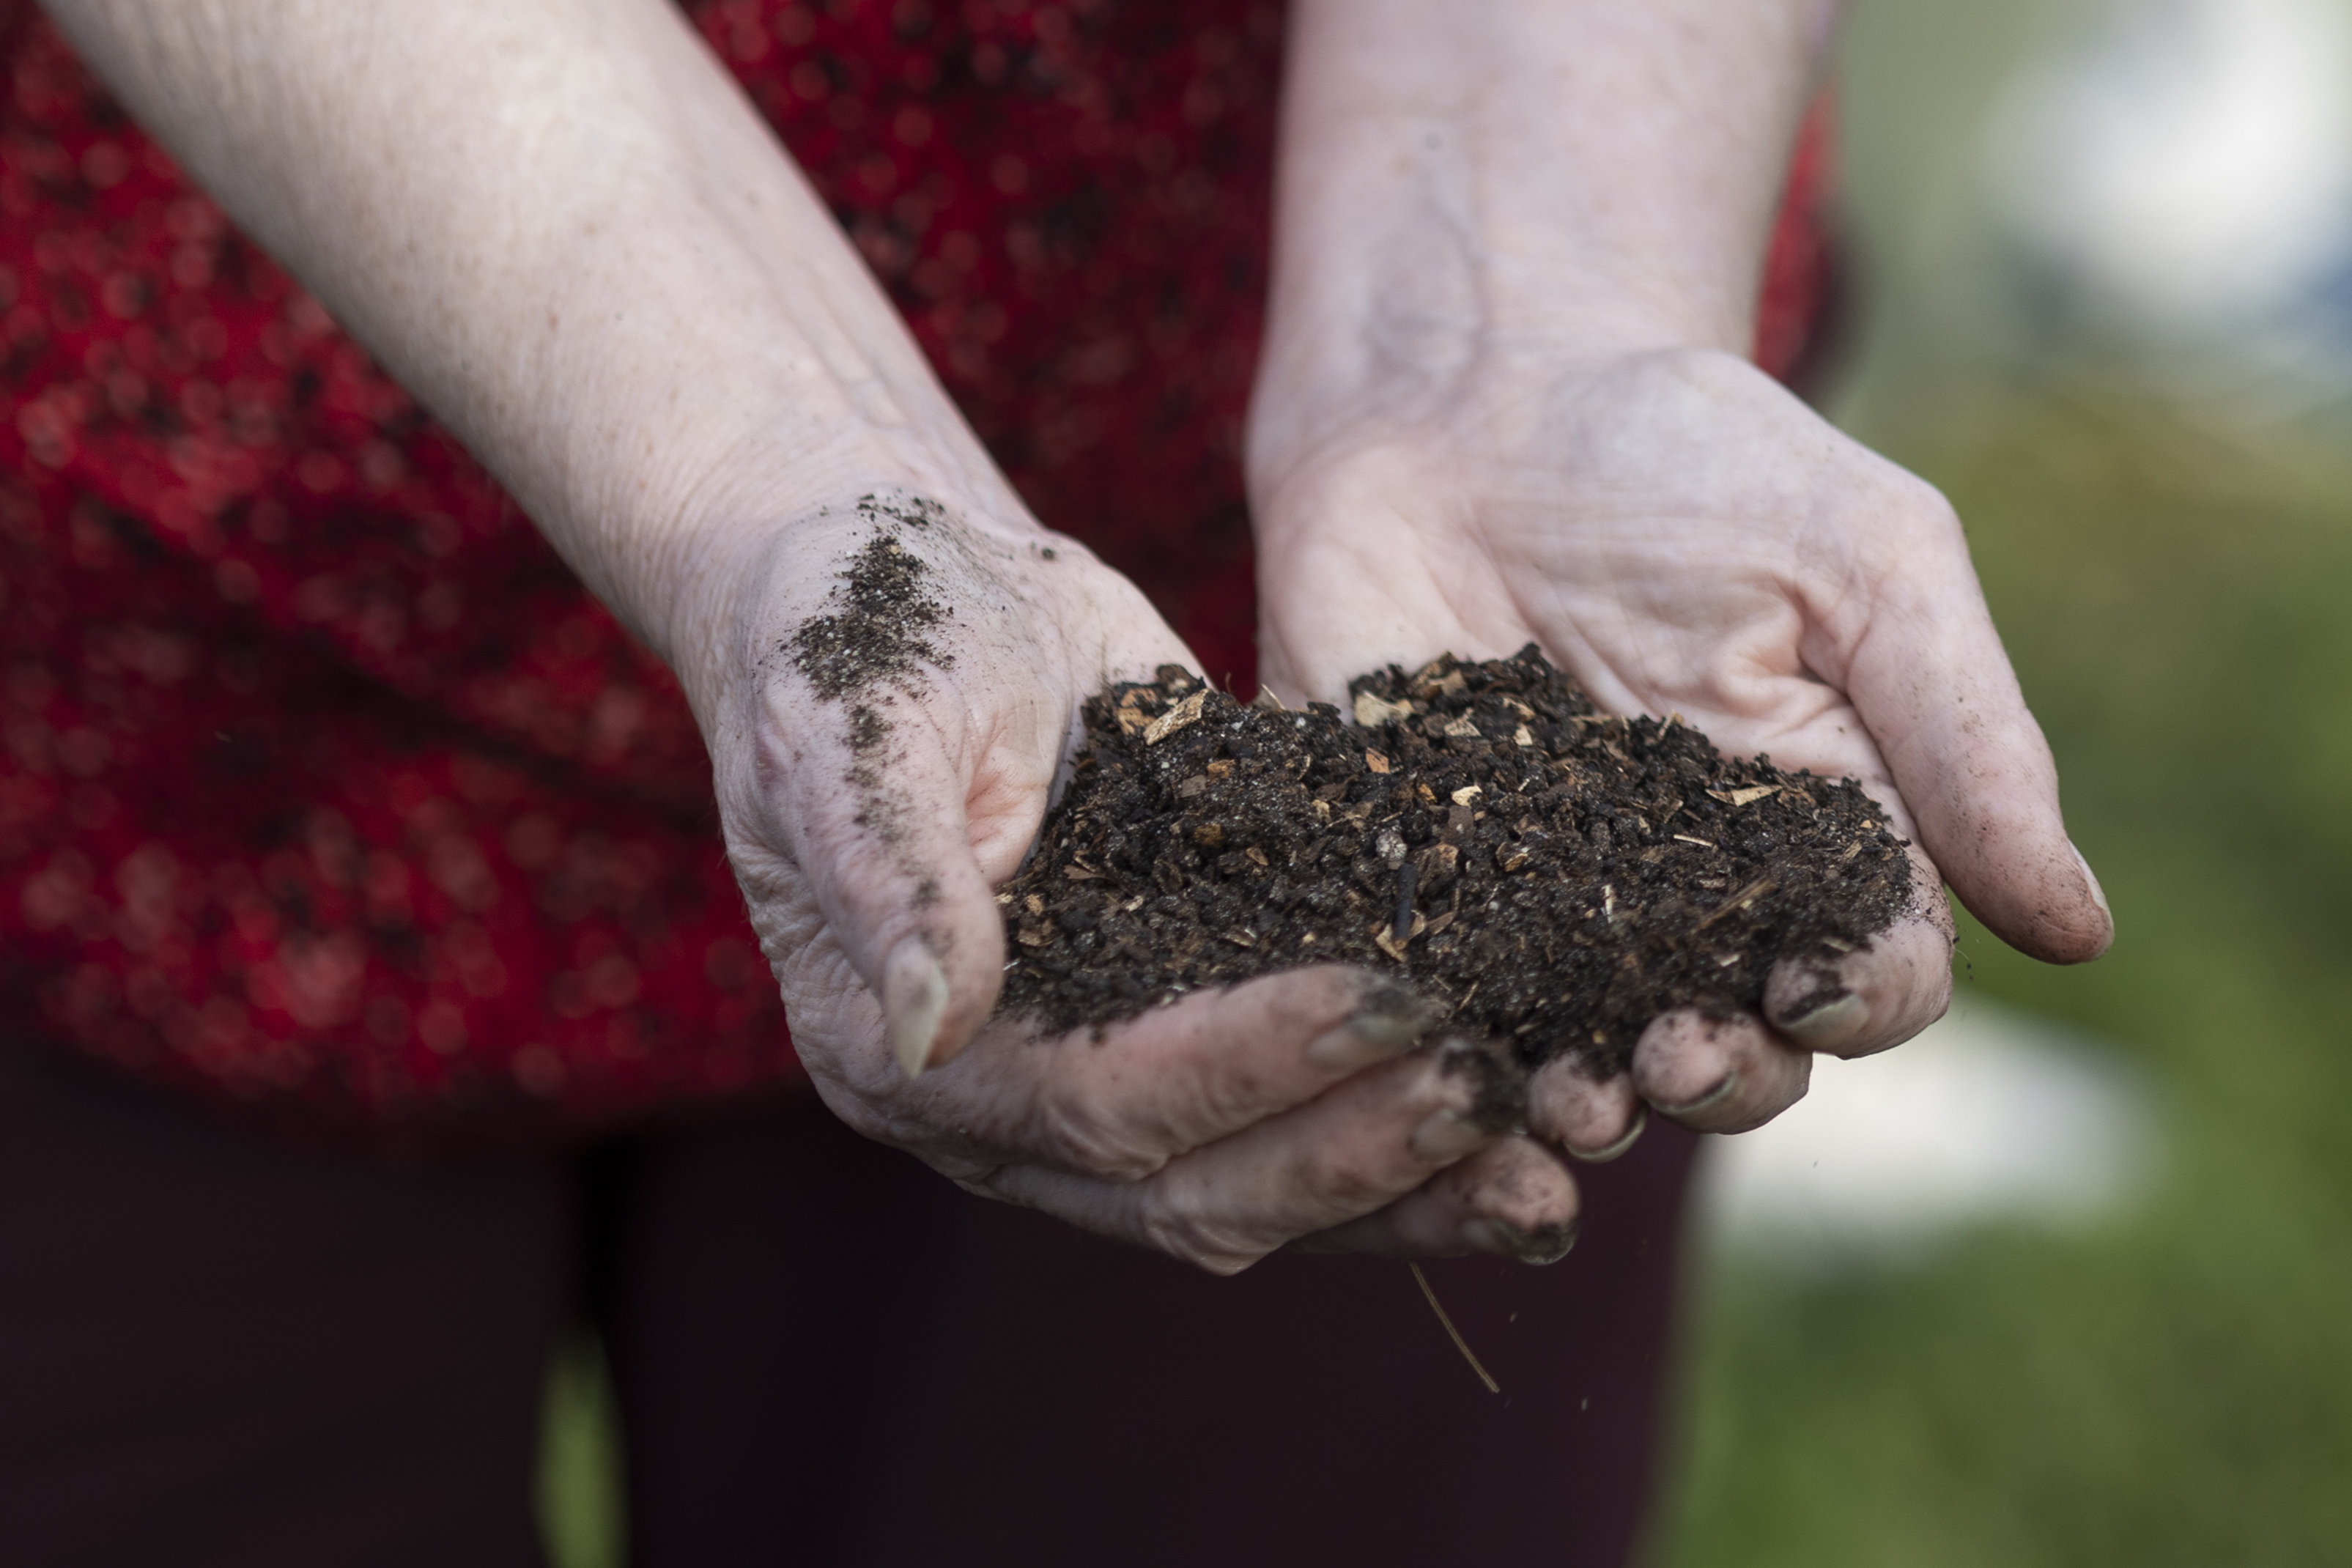
Handful of finished compost soil. Photo Credit: UF/IFAS Tyler Jones
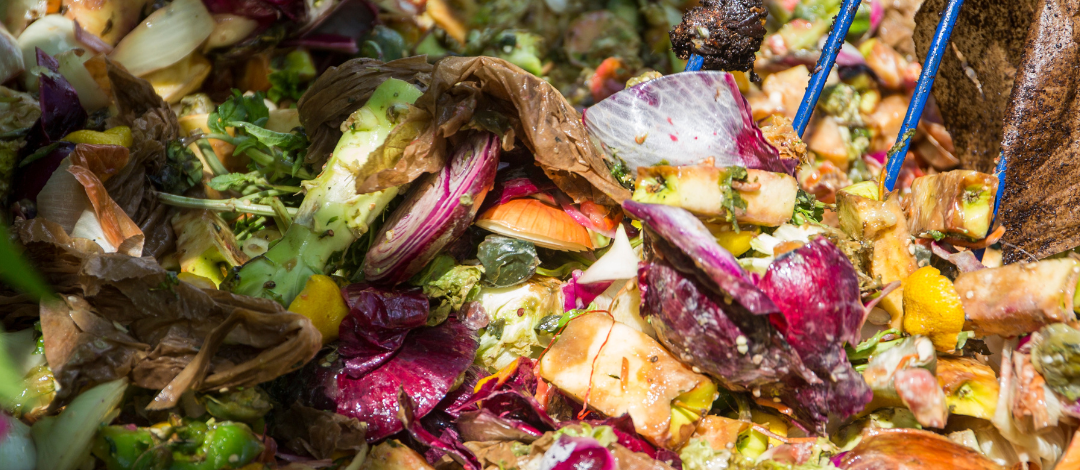
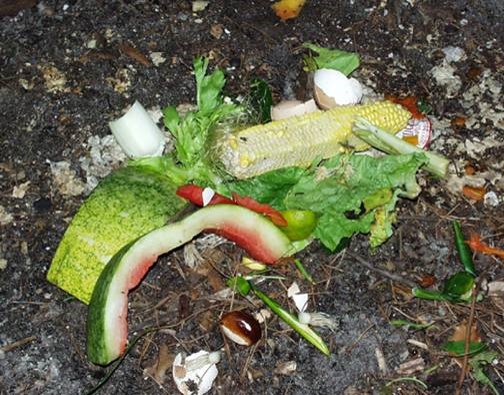
Compost is often referred to as “black gold” by gardeners because of its nutrient dense consistency. And even better, you can make your own compost from home. Compost is the makeup of an even ratio of carbon and nitrogen by-products that naturally decompose over time to create a brown-soil like substance. Carbon products are often referred to as “browns” and nitrogen products “greens.” Examples of browns are straw, cardboard, and old leaves. Green materials are often food scraps, lawn clippings, and animal manures. Compost can be added and tilled into your garden or depending on the type of compost, it can also be used as a potting soil alternative.
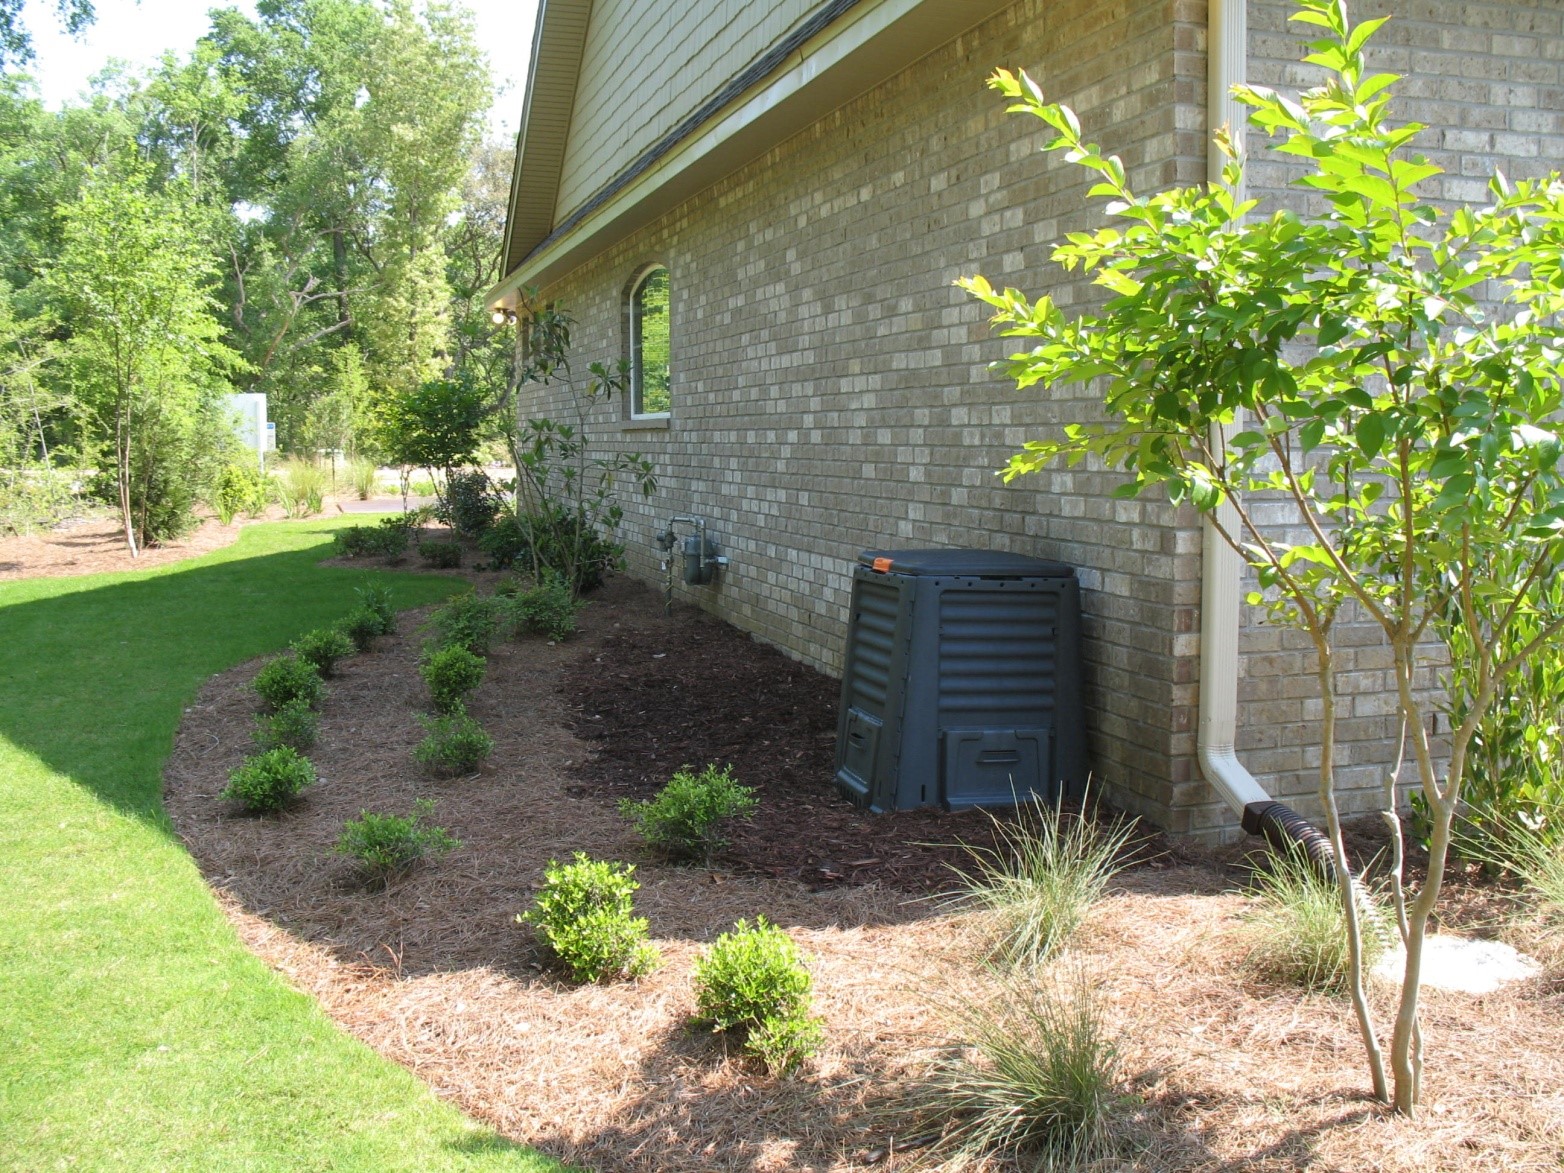
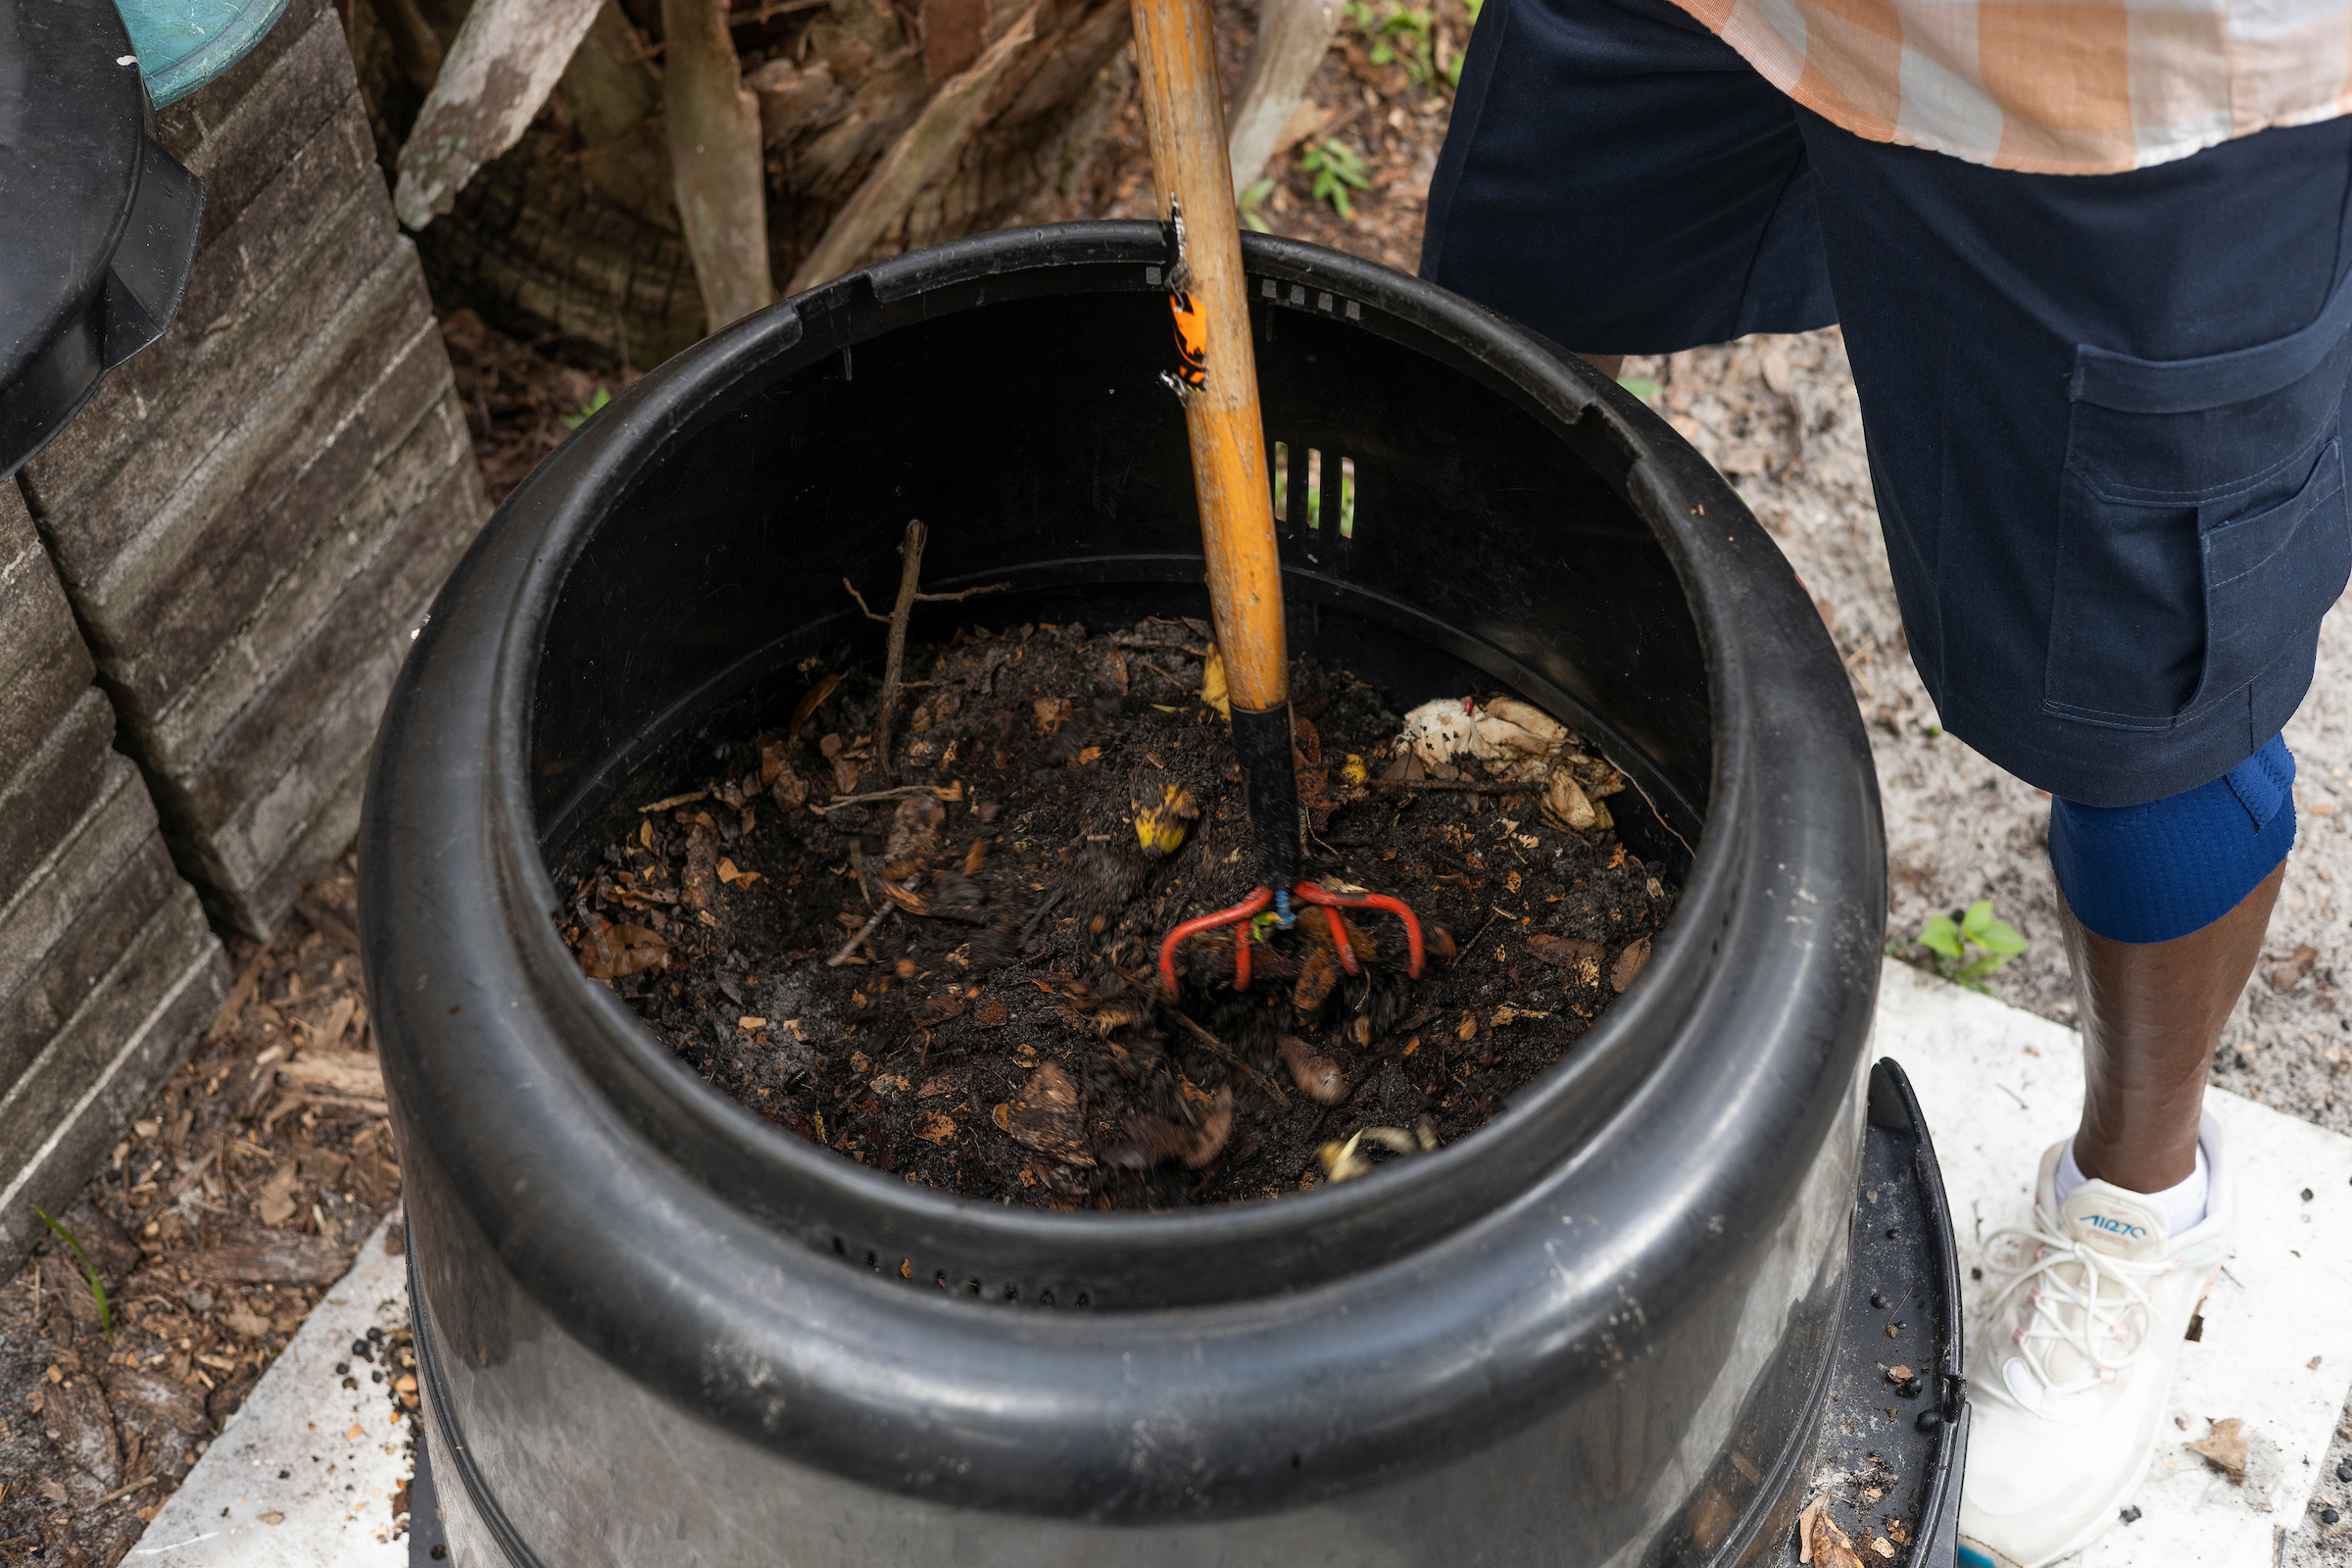
It is easy to create a compost bin at home. It does not have to be fancy or expensive to create. Some people opt for a pre-made compost tumbler bin to make turning their pile easier, while others use old wood pallets for their siding. You can even create a vermicompost bin inside a storage tote and use worms to do the composting for you. There are many possibilities. But it is important to note that bins do create a slight odor, because they are breaking down waste products. Location of your bin should be kept in mind if you don’t want close neighbors or even family members making complaints about the smell. However, if there is a strong odor overtaking, it could indicate an issue with the bin and will need to be addressed. Keeping a 1:25 ratio of greens to browns will keep odors at a minimum.
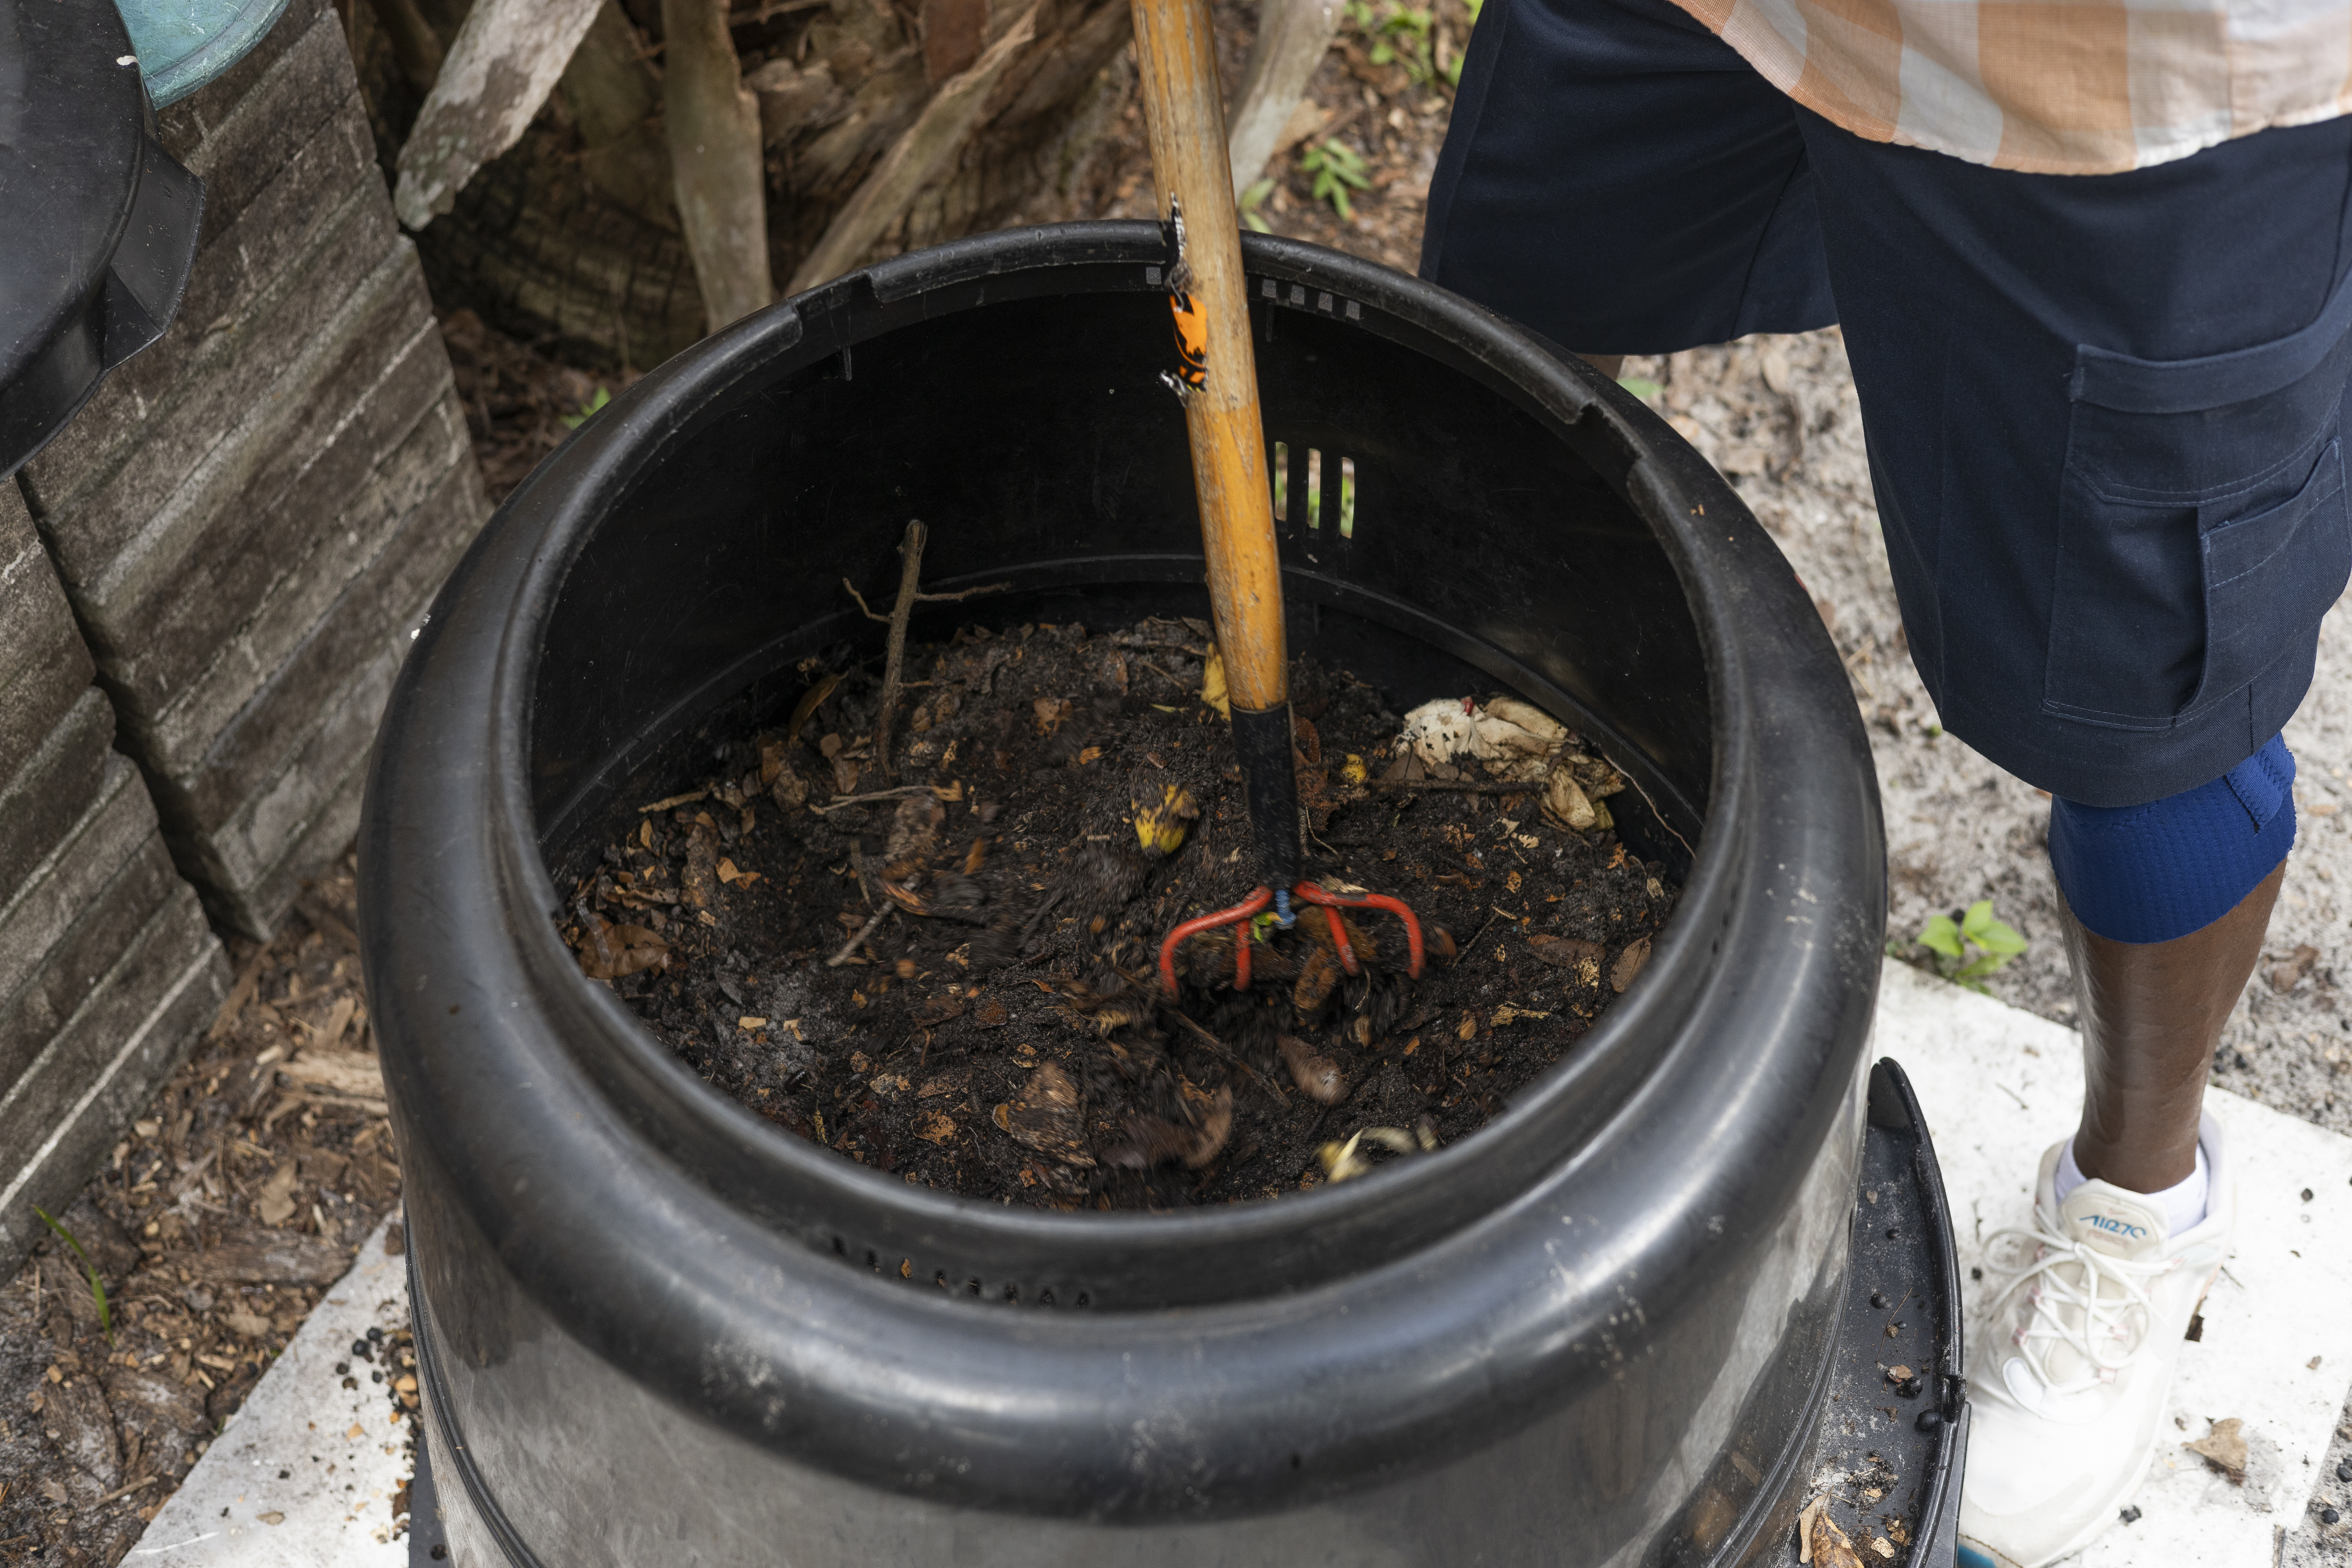
A compost bin being stirred. Photo Credit: UF/IFAS Cat Wofford
If you are interested in hearing more about compost and getting a hands-on demonstration on how to build a compost bin at home, the Jackson County Master Gardener Volunteers are hosting an informational workshop called Backyard Composting 101 on September 20 at 9:00 am at the Jackson County Extension Office. Admission is $7 per person. Space is limited for this class, so be sure to call 850-482-9620 to pre-register today.
Kitchen and yard waste can be recycled into excellent soil amendments, reducing waste and saving money. Photo credit: UF IFAS Extension
When we turn the page into a new year, the motto is often “out with the old, in with the new.” But what if we actually kept the old and transformed it into something really useful? That’s exactly what happens with composting. Instead of raking up leaves, bagging them, and throwing them away, you can recycle them in a compost bin. The same goes for food waste—instead of throwing it in the trash, a significant percentage of our groceries can be repurposed. These in-house materials can produce your own high-quality potting soil and mulch, for free.
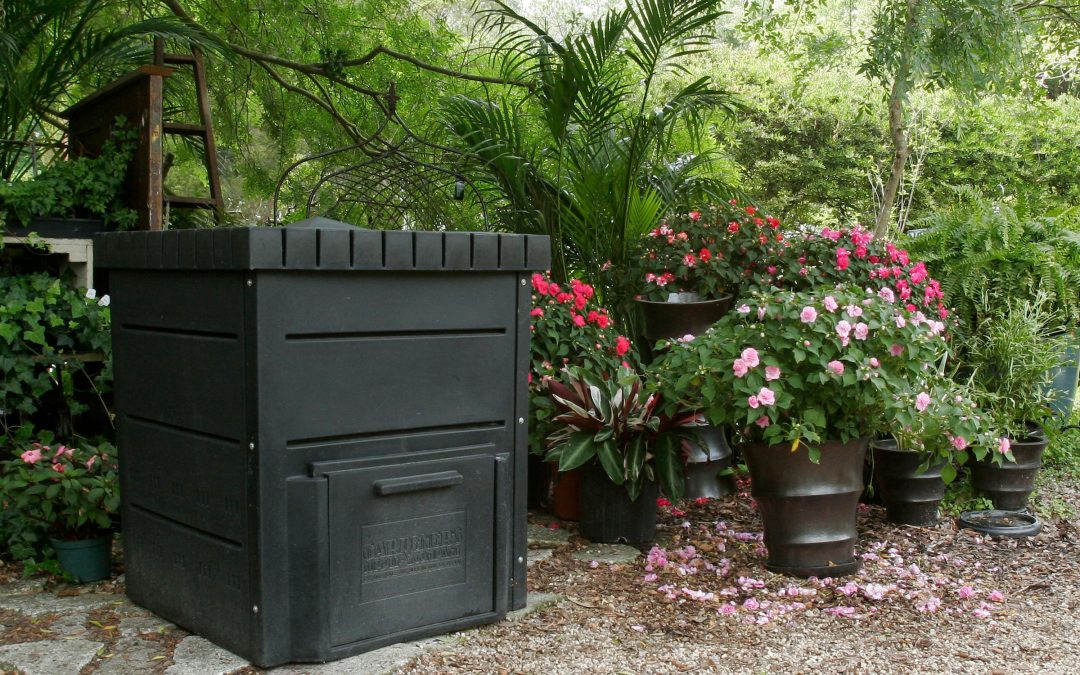
Compost bins should be located in an unobtrusive but convenient location. Photo credit: Carrie Stevenson, UF IFAS Extension
So, where to start? Logistics are important. If a compost bin is inconvenient, you won’t use it. Locate bins in a regularly traversed part of your yard, so it’s easier to make dropping the kitchen waste into a bin part of your routine. If you’ve got space, you can use a counter-top compost container or just a second trash can to hold material until it goes outside. Compost bins should be fairly close to a water source in case you need to moisten the material.
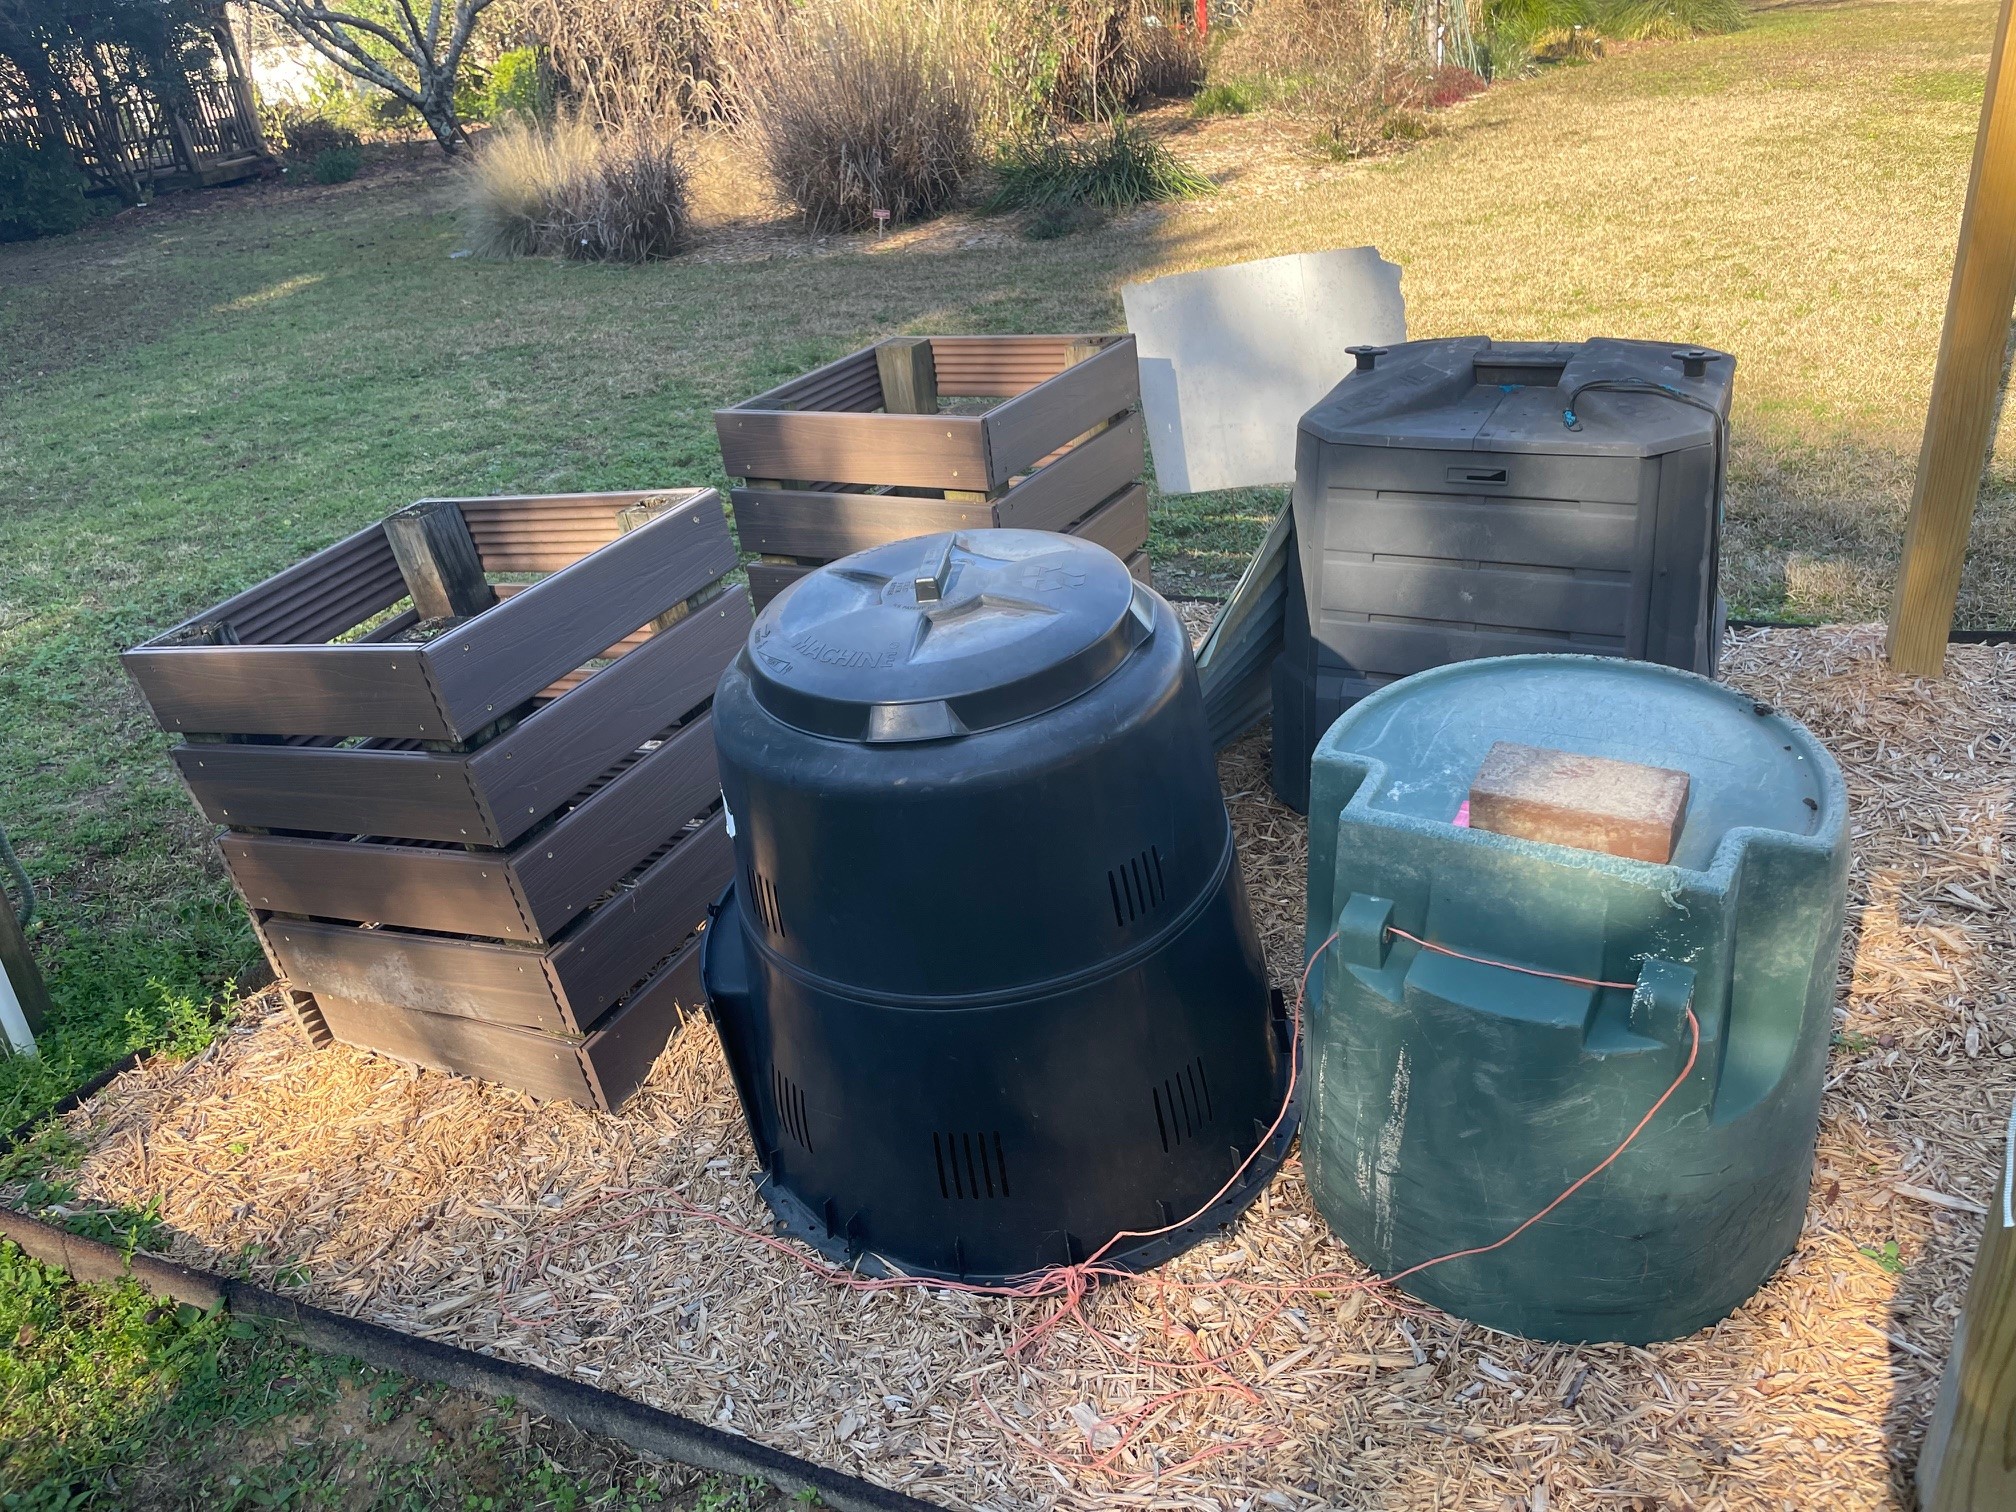
The composting demonstration area at our Extension office includes several types of bins. Photo credit: Carrie Stevenson, UF IFAS Extension
There are numerous types of bins, ranging from open-topped 3-sided wooden or concrete block piles, to hand-built bins with adjustable slats, or prefabricated plastic and metal bins and turners. If you have a lot of space, the open holding areas might work fine. But, in a neighborhood you may want a neater, more contained and covered bin.
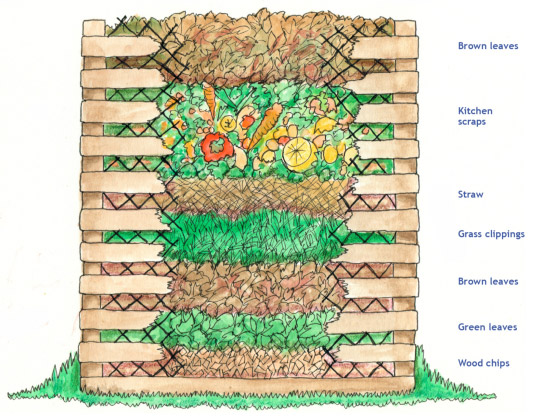
Properly layered compost. Figure courtesy of Colorado State University Extension
The ingredients for compost are simple—you need “greens” and “browns”. “Greens” include fresh vegetables, fruit, eggshells, coffee grounds, lawn clippings, and other materials that contain nitrogen. These should be raw waste—if they’ve been cooked in oil or butter, they can go rancid in the pile, causing an odor and attracting unwanted wildlife. “Browns“ are carbon-rich materials that include dry leaves, straw, pine needles, and shredded uncolored paper. Besides oils, you’ll want to avoid meat and dairy products, dog/cat waste, and plants full of weedy seeds or recently treated with pesticides.
Finished compost can be used as a soil amendment or potting soil. Photo credit: IFAS Photography
This mix of green and brown materials provides a balance of carbon and nitrogen. You’ll layer the materials, green/brown/green/brown and add a bit of water. Once the compost starts “cooking,” microorganisms from the surrounding soil will start further breaking down the larger materials. These are the critters who put the decomposition in compost. Worms will often make their way in, adding their efforts to the material breakdown. There is a much more specific process of vermiculture (aka worm farming) if your primary interest is producing worms. Compost can take as long as you want it to—in the hot, humid Florida summers, with regular mixing you can produce compost from raw materials in as little as 2 months. In cooler weather or in passive composting, where you just dump it and leave it alone—it will take longer. Properly managed compost will not smell bad, so if there is an odor, add more “browns” or mix it. Ideas for troubleshooting compost bins can be found in Table 3 of the UF publication, “Compost Tips for the Home Gardener.”
For more information and great detail on both composting and vermiculture, check out the recorded webinar on YouTube our horticulture team hosted in October.
Since 2020, we have delivered timely webinars using Zoom and Facebook Live to reach Gardening in the Panhandle LIVE! viewers. In 2024, we are changing things up just a bit. Due to changes in the way Zoom and Facebook interface we will only be transmitting live through Zoom.
What does that mean for our Facebook viewers? We will still post Events about upcoming programs with links to register for the episode and will continue to share videos after they are uploaded to YouTube (usually this is within 24 hours). Thank you for your patience as we make this change
Below is our lineup for 2024 – we hope you will join us!
In case you missed it, you can watch our last session of Gardening in the Panhandle LIVE! that aired on October 12th by visiting our YouTube Playlist with all the past episodes of our gardening webinars.
We had a great conversation about herbs and cool season edible plants last month and this article compiles the links shared by the expert panel in the episode. Thanks for watching!
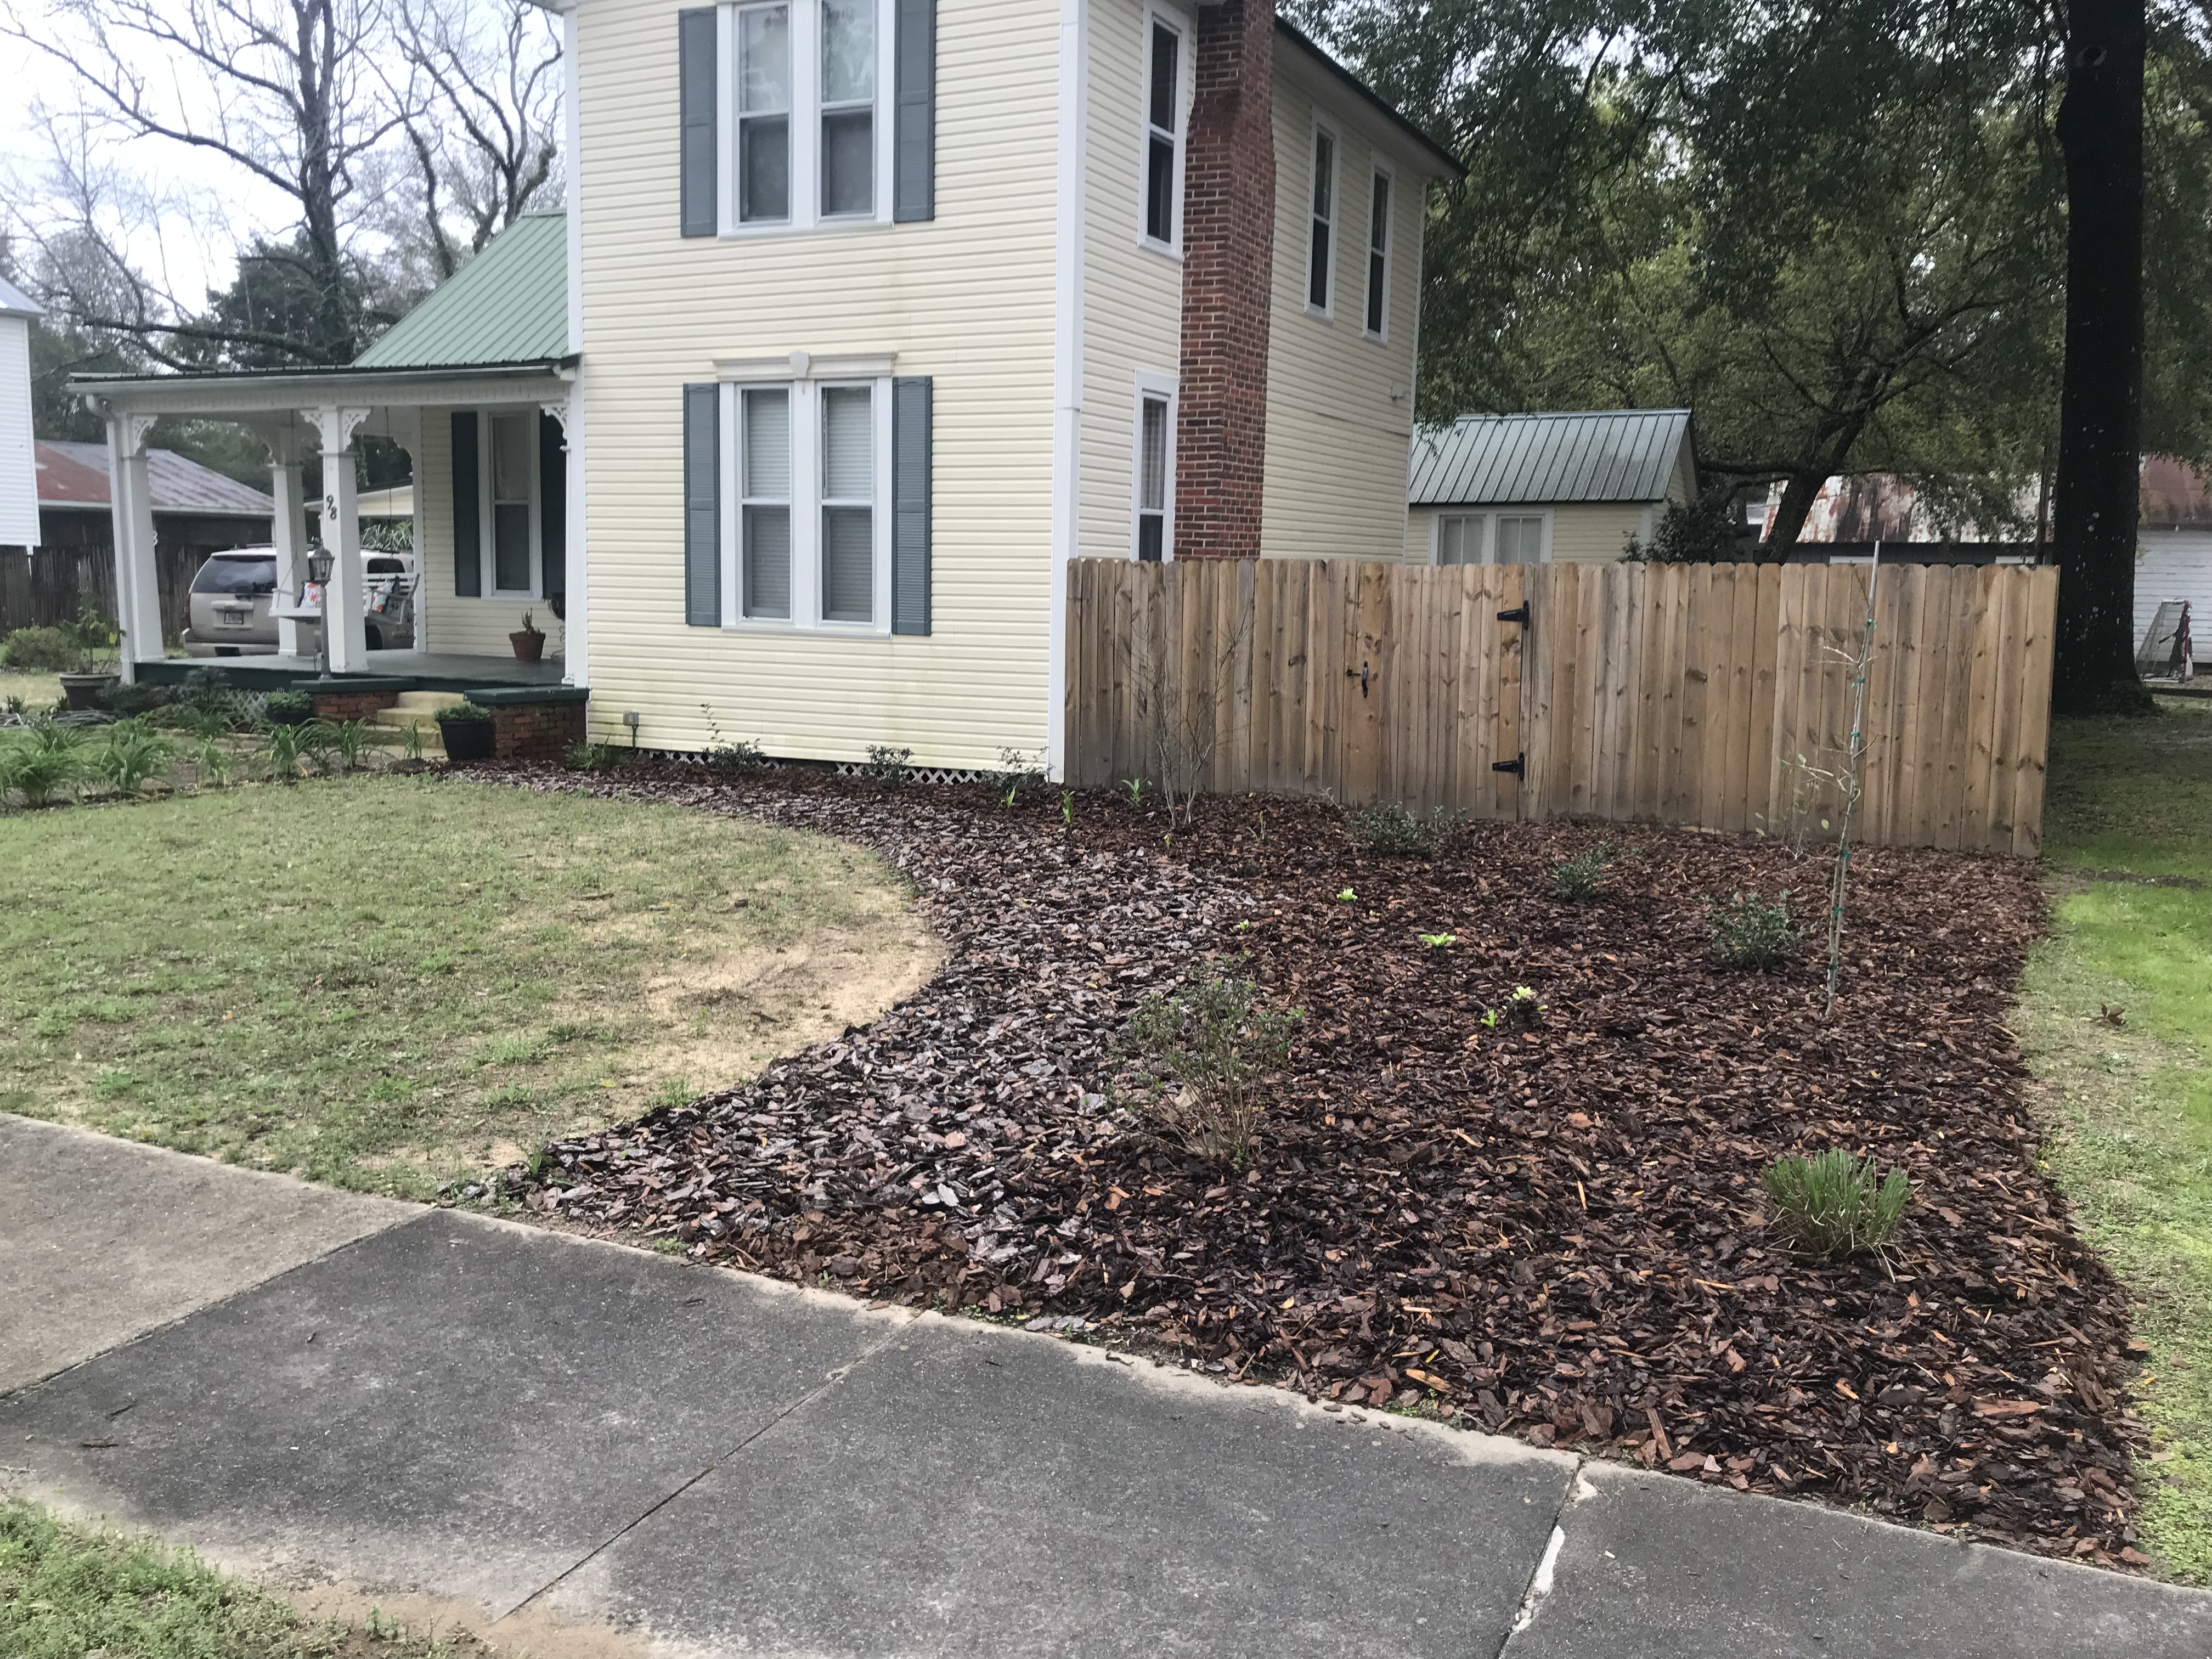
Mulch provides nutrients to soil and plants, reduces weed growth, controls soil temperature, and improves the look of lawns and gardens. It gives the landscape a neat, uniform appearance and is an excellent Florida-Friendly choice for hard-to-mow areas and shady spots. One should keep a 2- to 3-inch-deep layer of mulch on plant beds. Always leave at least 2 inches of space around tree trunks to prevent rot. Create self-mulching areas under your trees by allowing fallen leaves to stay in place. Though bark and wood chips are typically the most common mulch, other forms are just as beneficial. The following are the best overall mulches for Panhandle gardeners!
Bark and Wood Chips
Bark and wood chips are frequently used on flower beds and around small bushes and shrubs. As they decay, the material provides nutrients to the soil. Both materials are inexpensive and can be found at most gardening supply stores. Cedarwood chips are popular for their repellent properties, keeping fleas and other pests away.
Pebbles and Rocks
Pebbles and rocks are effective in retaining soil moisture and minimizing weed growth. They are excellent mulch alternatives for flower beds. Rocks are economical in cooler climates, where heat retained by rock mulch can extend the growing season. Since rocks do not decompose, they don’t provide nutrients to the soil. If you’re looking for a nutrient-rich mulch alternative, rocks are not a good choice. This can be easily remedied by fertilizing your landscape to provide more nutrients. If you decide to use pebbles or rocks, keep in mind that they can be difficult to remove if you switch to a different type of mulch a season or two.
Leaves and Pine Needles
Leaves and pine needles are an affordable nutrient-rich mulch alternative. Rake and gather fallen leaves each season and redistribute them above your soil. For the best results, one should shred the leaves. Let the shredded leaves dry before adding them to your garden to reduce bacteria growth and pest infestations. Pine needles decompose and add nutrients to the soil, just like other organic forms of mulch. They work best with plants that prefer acidic soil conditions, like holly gardenias, roses, and chrysanthemums. You can buy bundles of pine needles at your local gardening store or gather them from your own trees and spread them around your garden.
Pine bark in a Panhandle planting bed. Tree bark makes great mulch! Photo courtesy of Daniel Leonard.Pine bark is an excellent, regionally available mulch. Photo courtesy of Daniel Leonard.Pine straw is a popular mulch in the Panhandle. Photo courtesy of Daniel Leonard.Leaves make wonderful mulch! Photo courtesy of Daniel Leonard.
Grass Clippings
Grass clippings are a cost-efficient alternative to traditional mulch. However, they must be dried out or composted before use to prevent potentially damaging heat from affecting plants. If you treat your lawn with chemicals, don’t use grass clippings in your flower or garden bed.
Compost
Compost is an affordable mulch alternative and enriches the soil by adding essential nutrients. Apply compost above your garden or lawn in a thin layer. Compost improves the soil, adding nutrients such as phosphorus, potassium, and nitrogen to your garden. One can make it yourself with discarded vegetable scraps, coffee grounds, dead leaves, and water.
Newspaper
Newspapers effectively keep weeds at bay, retain moisture, and regulate soil temperatures. Newspaper is equally functional compared to traditional mulches, but is not as visually appealing as other options. Moisten the newspaper slightly before laying it above the soil so that it stays in place. Then, add a thin layer of organic mulch on top. Apply five to eight sheets of newspaper at a time. If using newspaper without another mulch on top, shred it before applying it to your garden. Newspaper is biodegradable and will deteriorate like other mulches.